Java has been developed for years as a technology for the development of applications that can be accessed from the web and Java offers the developer different options and usage characteristics.
Java integrates with plugins such as:
- Java Runtime Environment (JRE) which is added when installing Java in the default operating system
- JRE which is integrated with Java Virtual Machine (JVM), contains different classes from the core of the Java platform as well as the platform libraries
- JRE which is a component that acts on the Java software runtime for use on the network
The essential components as such are JRE which is a set of software applications for the implementation of Java applications and JDK which is a development environment for the construction and compilation of Java applications. This is why TechnoWikis will explain how to install these two components in Arch Linux step by step..
To stay up to date, remember to subscribe to our YouTube channel! SUBSCRIBE
How to install Java on Arch Linux
Step 1
The first thing will be to check the Java version with the command:
java -version

Step 2
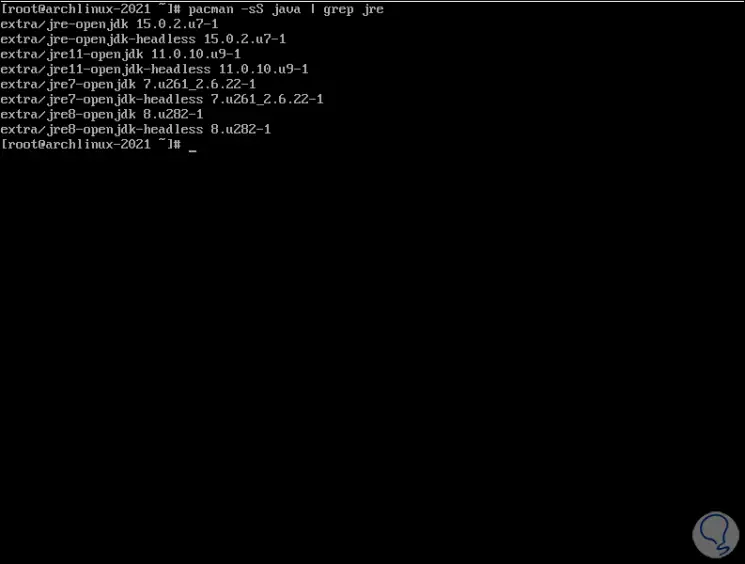
We see that Java is not installed, now we are going to list the available versions of the JRE with the command:
pacman -sS java | grep jre
Step 3
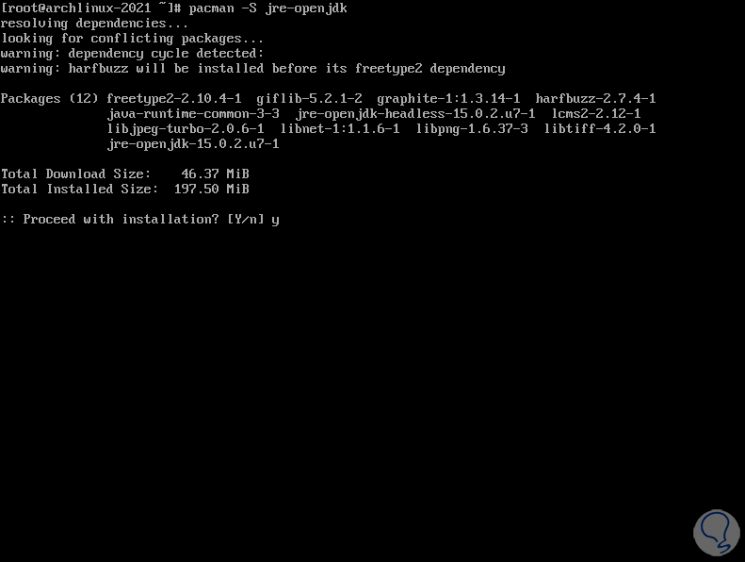
After this we will install the most recent version of JRE:
pacman -S jre-openjdk
Step 4
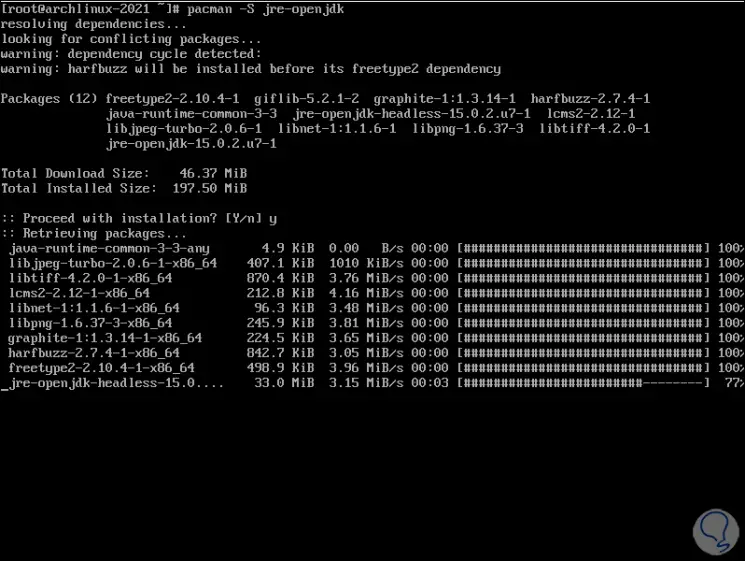
We apply the changes by entering the letter Y:
Step 5
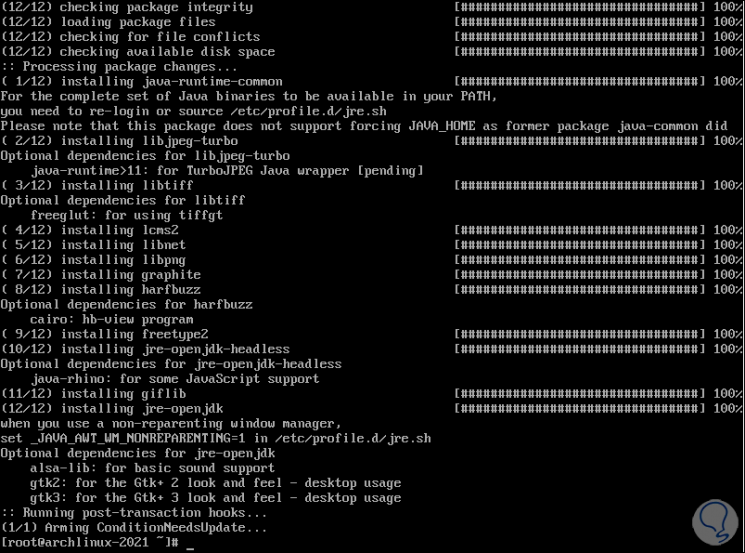
At the end of this process we will see the following:
Step 6
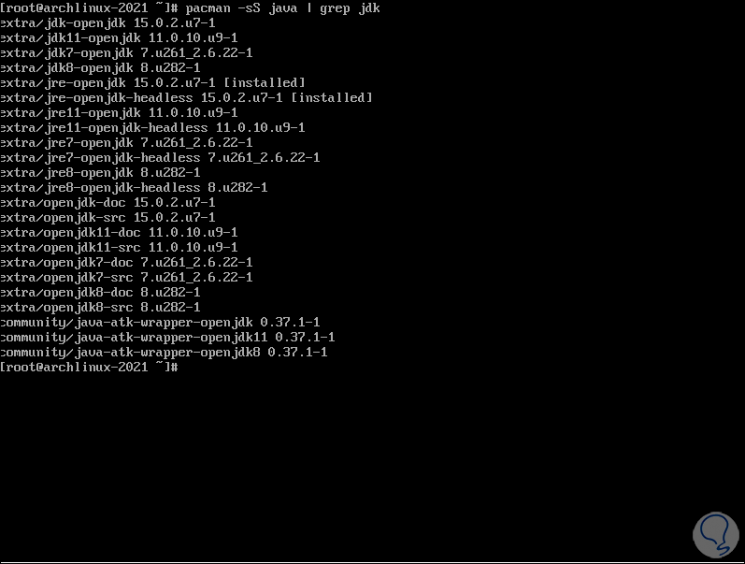
Now we are going to list the JDK versions
pacman -sS java | grep jdk
Step 7
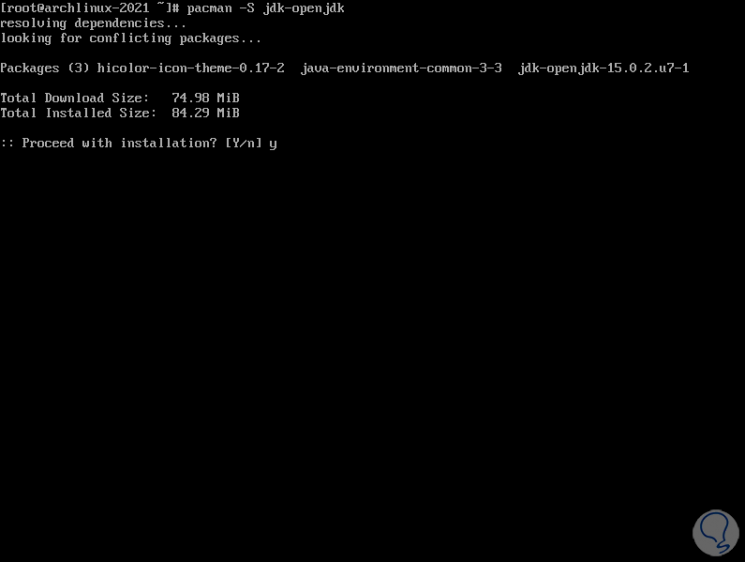
We will install the latest version of JDK with the command:
pacman -S jdk-openjdk
Step 8
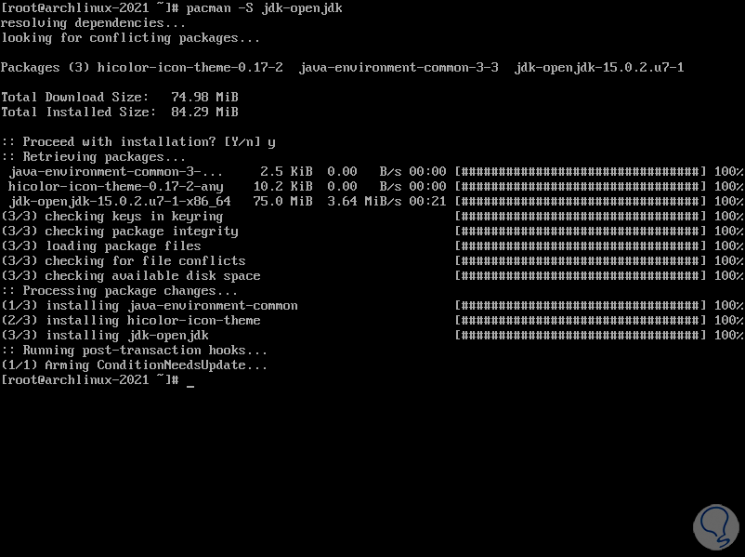
We apply the changes by entering the letter Y:
Step 9
We validate the Java version with the command:
java -version
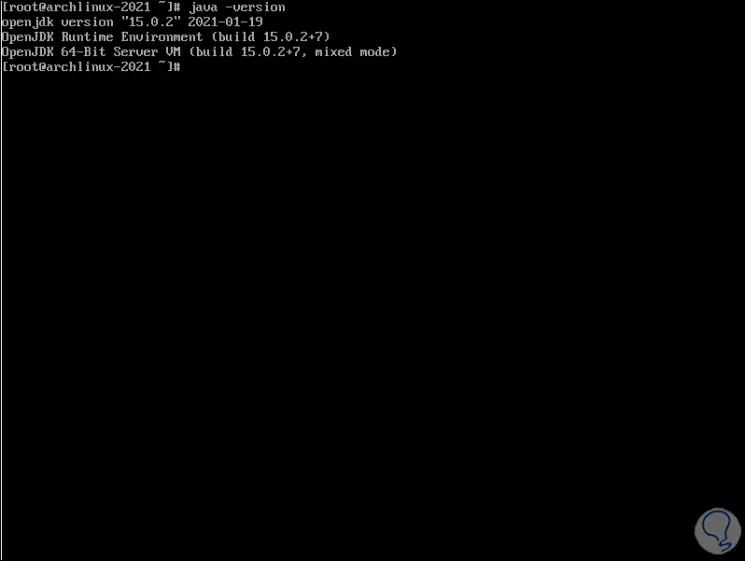
We see that we now have the latest version of Java on Arch Linux.