QuickTime has been developed by Apple as a standard multimedia framework integrated by a set of libraries as well as the traditional and well-known QuickTime Player multimedia player. With this application it is possible to play and transmit content via streaming to the Internet and more compatible devices..
It is possible that when trying to install QuickTime in Windows 10 as a video player , it gives an error during the process, in some cases it is due to problems with the libraries and in others due to compatibility issues. At this point it is important to clarify that Apple no longer supports its version QuickTime 7 for Windows, this is because since 2009, new versions of Windows already have support for formats enabled by QuickTime 7 such as H.264 and AAC.
If you have an error during the installation of QuickTime in Windows 10, TechnoWikis will give you the step by step to correct the error..
To stay up to date, remember to subscribe to our YouTube channel! SUBSCRIBE
Fix error when installing QuickTime in Windows 10
Step 1
We go to the QuickTime URL in the following link:
Quicktime
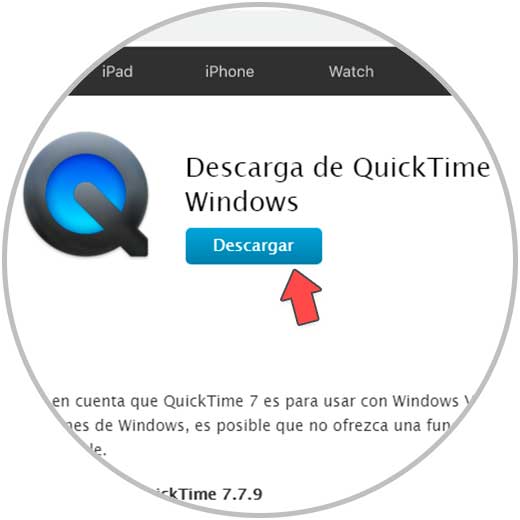
Step 2
Download the Windows version and once downloaded we will access the folder where QuickTime was downloaded:
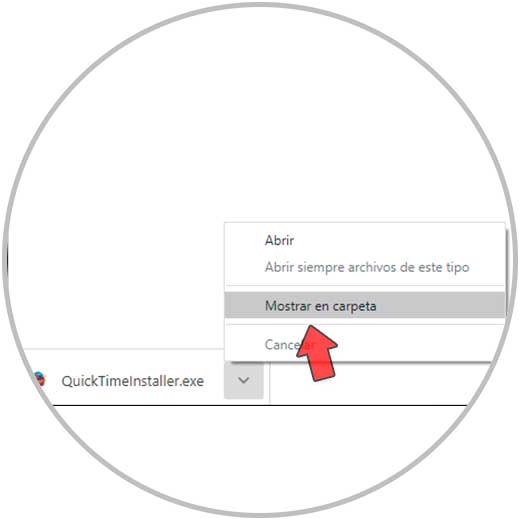
Step 3
In the folder we drag the executable to the Windows 10 desktop:
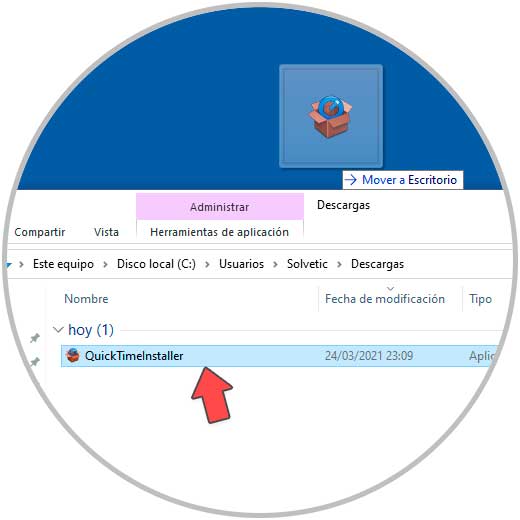
Step 4
Once it is on the desktop, we right click on the executable and select "Properties":
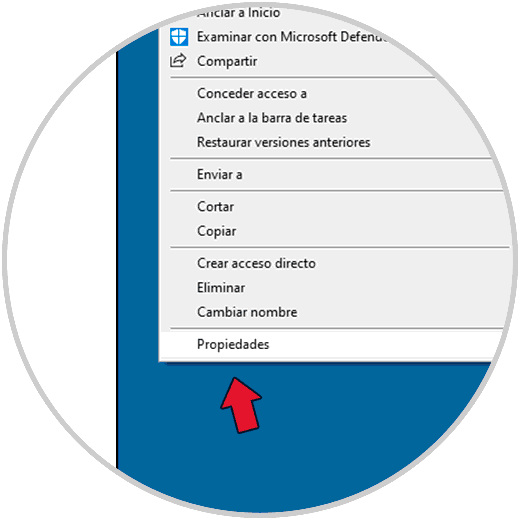
Step 5
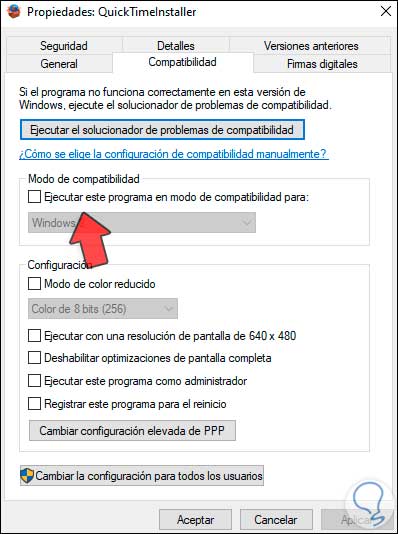
In the pop-up window we go to the "Compatibility" tab where we will see the following:
Step 6
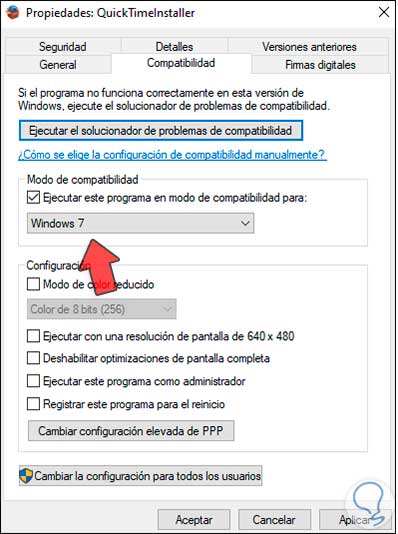
There we activate the box "Run this program in compatibility mode for" and select Windows 7 as the system. We apply the changes.
Step 7
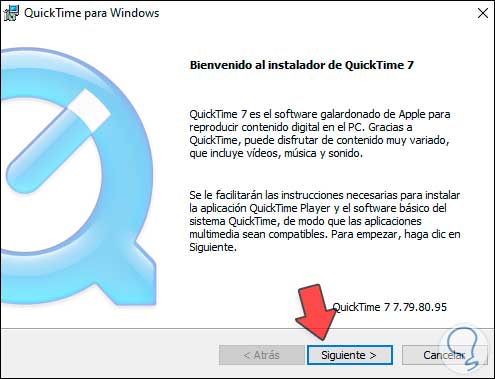
After this we run the installation wizard:
Step 8
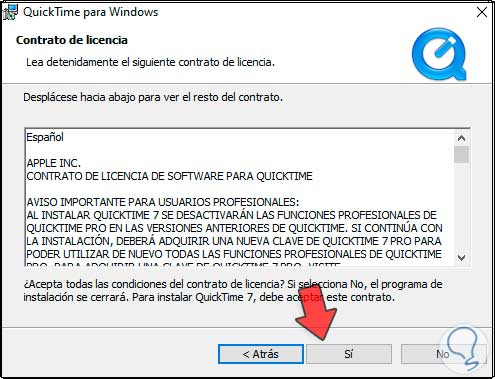
Click Next to accept the license terms:
Step 9
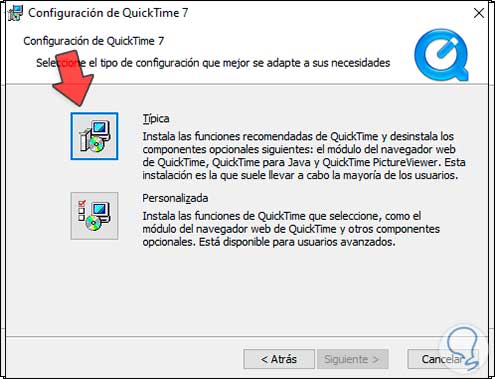
Then we define the type of installation to use:
Step 10
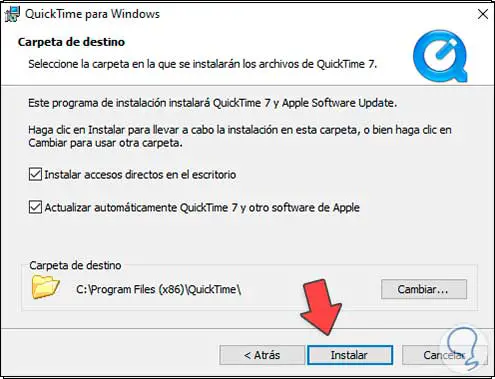
In the next window we can define the path where it will be installed, as well as configure the shortcuts:
Step 11
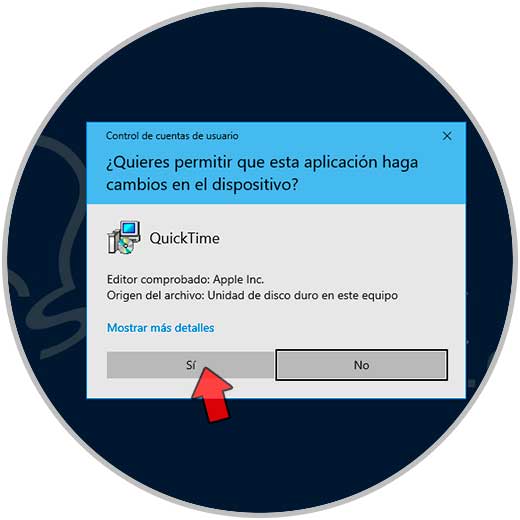
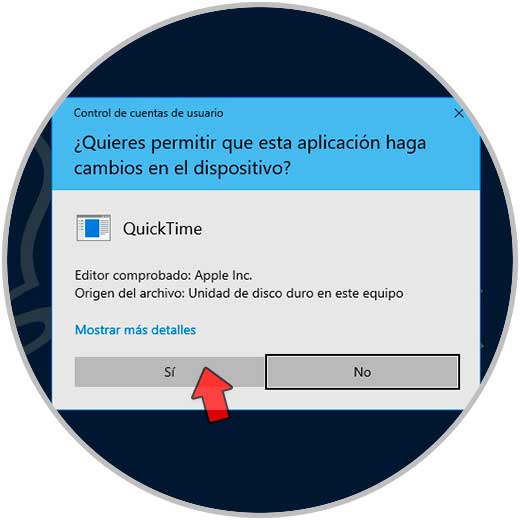
Click Install and it will be necessary to accept the permissions:
Step 12
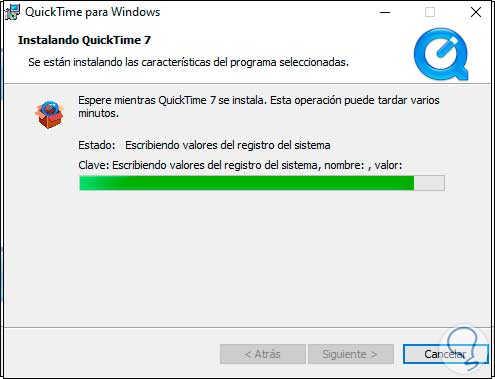
It will give way to the installation of QuickTime in Windows 10:
Step 13
During this process we must grant additional permissions:
Step 14
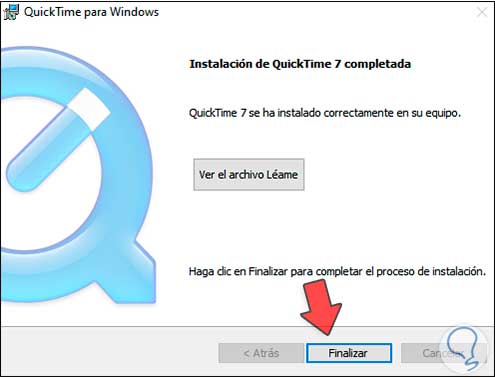
At the end of the process we will see the following. We click Finish to complete the installation process.
Step 15
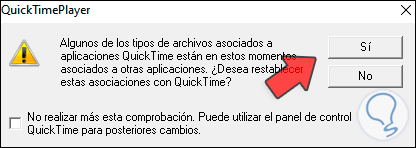
After this we run QuickTime in Windows 10 and the following window will be displayed:
Step 16
There we define whether or not we want to associate the files and we will access QuickTime:
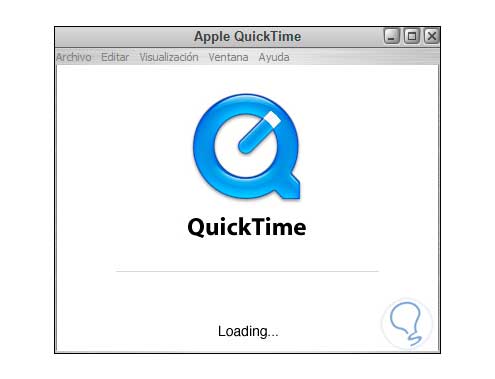
This is how we have solved the QuickTime installation error in Windows 10.