The USB format tasks are key to erase all the information stored on a device, be it USB or external hard drive, this is key in cases such as:
Format USB
- Manipulation by other users etc.
In general, the format of a USB in Windows 10 is done from the File Explorer by right clicking on the device and selecting Format, but this task can be done directly from the PowerShell console with a series of useful and functional variables for it. , TechnoWikis will explain how to format our USB in Windows 10 through PowerShell..
To stay up to date, remember to subscribe to our YouTube channel! SUBSCRIBE
1. Format USB from PowerShell
Step 1
One of the basic methods is to access PowerShell as an administrator from the Start context menu:

Step 2
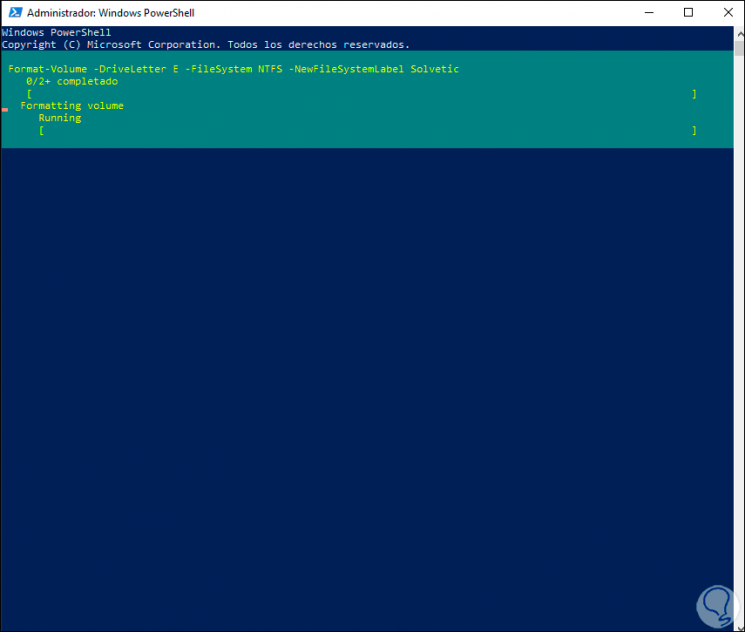
In the PowerShell console we will execute the following syntax to format the USB:
Format-Volume -DriveLetter LETRA_USB -FileSystem NTFS -NewFileSystemLabel NAME
Step 3
The parameters used have been:
- In the -DriveLetter line we must enter the letter assigned by the system to the USB
- In the -FileSystem line we assign the format to be set (NTFS, FAT32, etc)
- -NewFileSystemLabel allows us to add a label to the USB
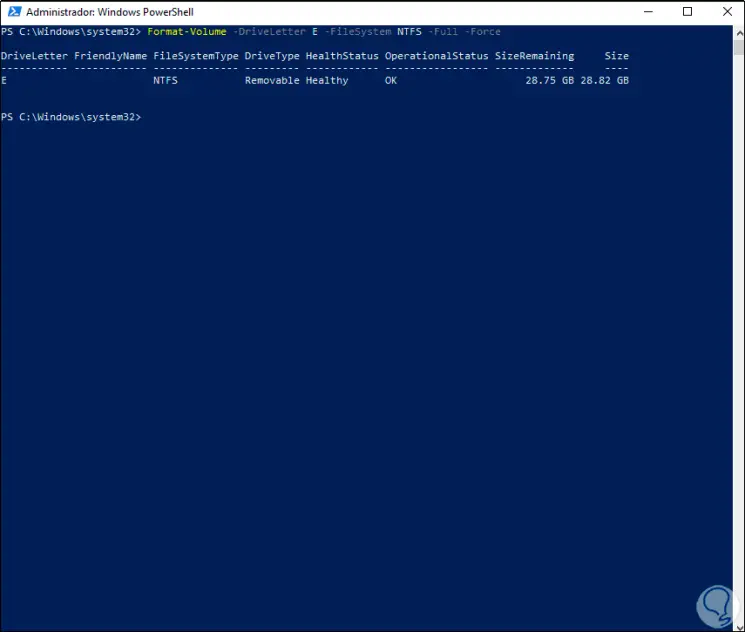
Step 4
At the end of the process we can see that it has been completed correctly:

Step 5
In addition to this, it is possible to perform a full format, that is, a low format that takes longer but gets to erase much deeper sectors of the USB, to perform a full format we execute:
Format-Volume -DriveLetter LETRA_USB -FileSystem NTFS -Full -Force
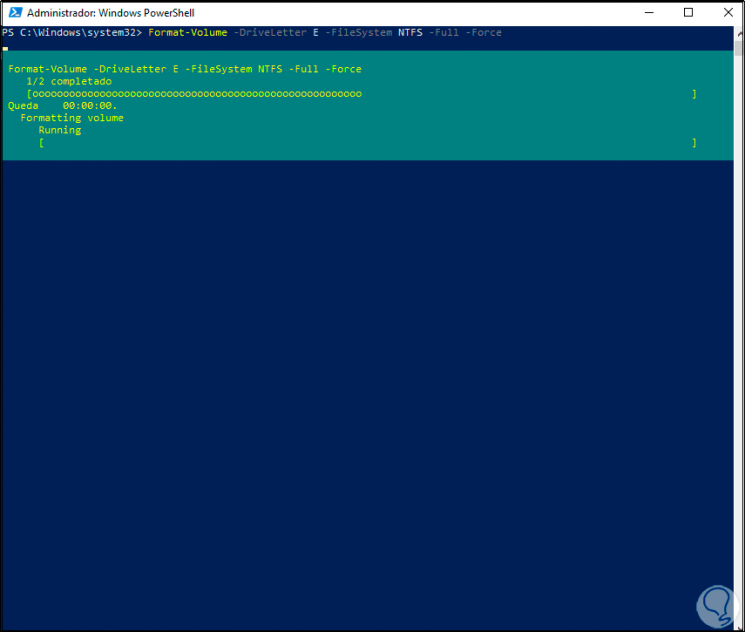
Step 6
At the end of this process we see the complete format:
2 . Clear USB from PowerShell
Step 1
Another option available is to perform extra tasks on the USB from PowerShell, for this case we access PowerShell as administrator:
Step 2
In the PowerShell console we are going to list the disks with the command.
Get-Disk
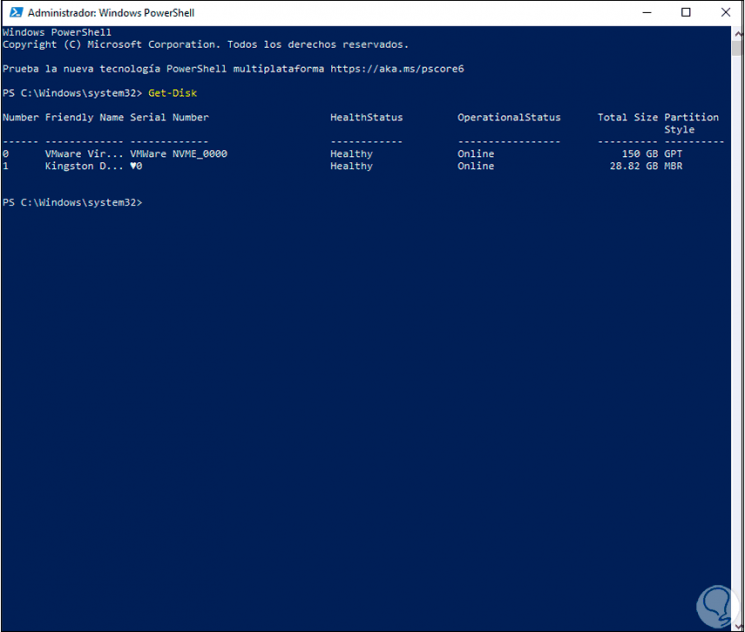
Step 3
In this case the USB is assigned the number 1, we erase the data from the USB taking into account the number assigned to the USB:
Get-Disk #DISCO | Clear-Disk -RemoveData
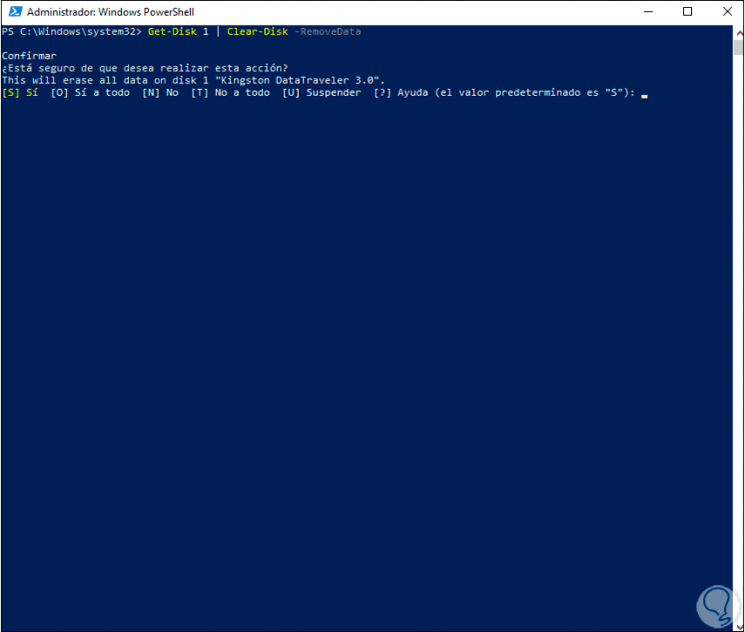
Step 4
We enter Yes or the letter S to confirm the data erasure process:
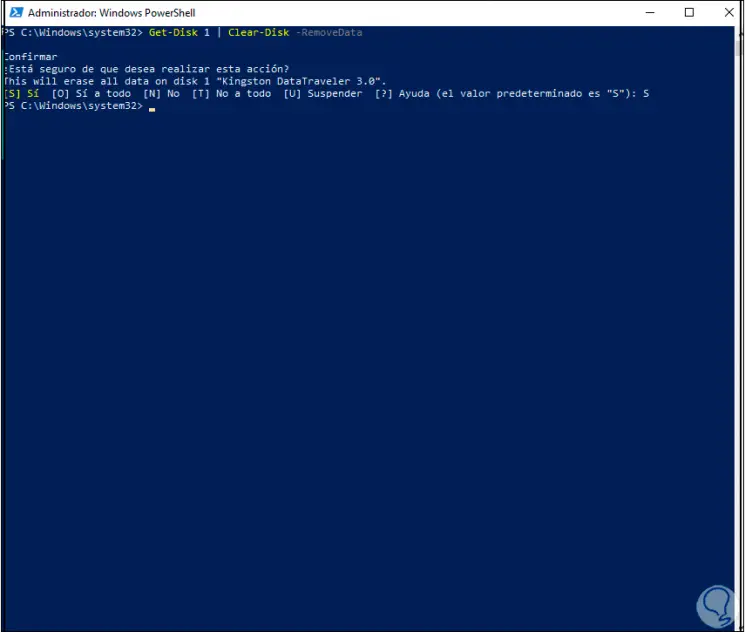
Step 5
Now we are going to create the new partition on the USB with the command:
New-Partition -DiskNumber #DISCO -UseMaximumSize
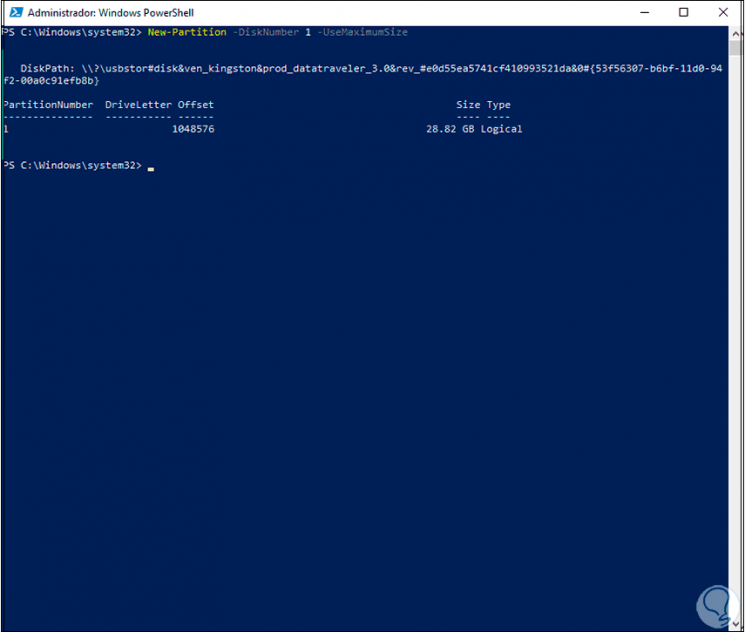
Step 6
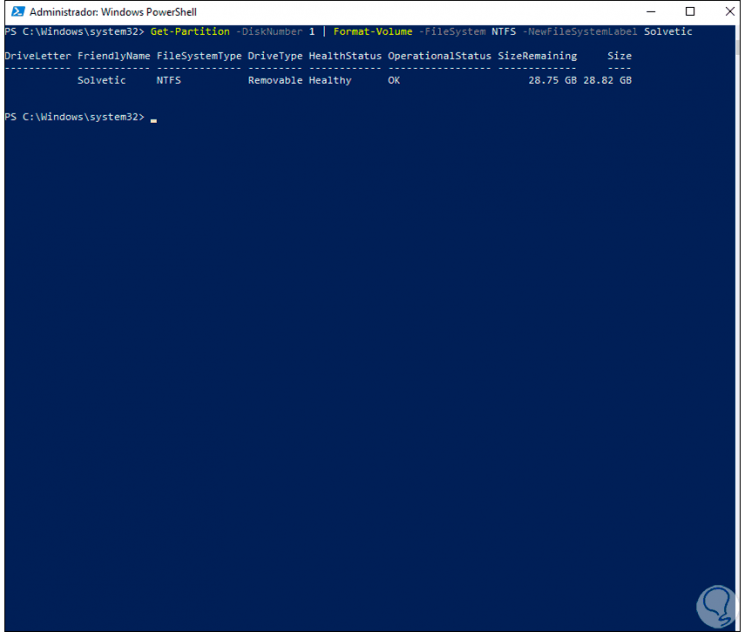
As we can see, it takes all the capacity of the USB, once this is done we apply the fast format to the USB using the desired file system (NTFS, FAT32, EXT4, etc):
Get-Partition -DiskNumber #DISCO | Format-Volume -FileSystem NTFS -NewFileSystemLabel NAME
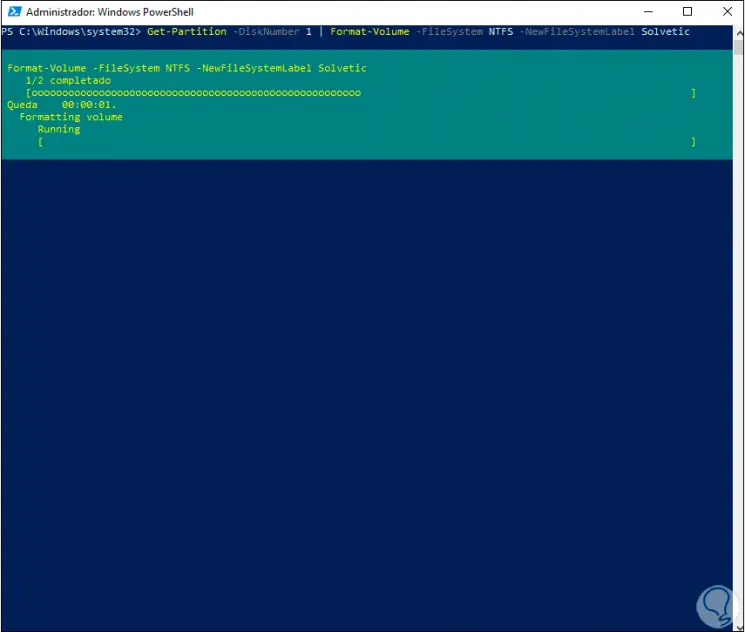
Step 7
When this task is completed we will see the following:
Step 8
Finally, we are going to assign the letter to the USB:
Get-Partition -DiskNumber #DISCO | Set-Partition -NewDriveLetter LETTER
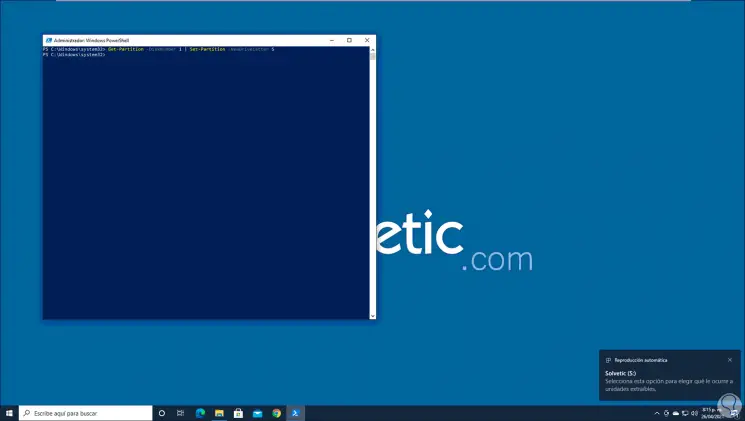
Step 9
As we see the system recognizes it immediately, we check that the unit is available in File Explorer in Windows 10:
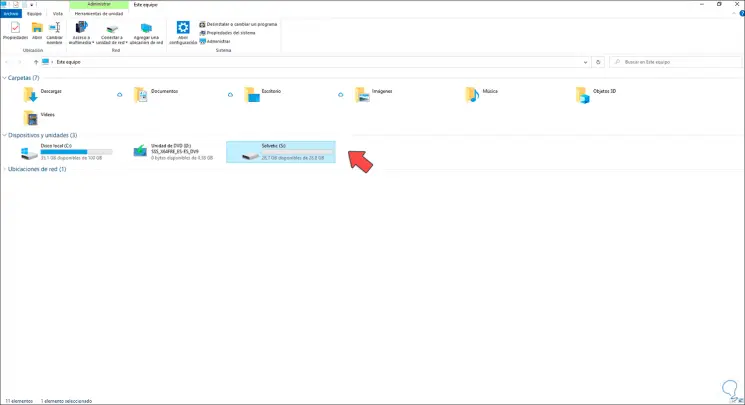
This has been the complete process to format a USB in Windows 10 from PowerShell.