Operating systems evolve every day so that the user or administrator has the best work options and this includes details such as compatibility, security, management utilities and more. Fedora is enterprise-class profiling and therefore has key built-in applications for this type of work. But in addition to this, it has different operating methods so that we always have the updates. Today we have the stable version 34 but for users who like to be one step further, a beta channel has been available where it is possible to know and use the next version of Fedora which is in this case Fedora 35..
Fedora 35 Features
Fedora 35 will be in its stable version at the end of 2021 and we find some features such as:
- DNS improvements over TLS
- DNF / RPM copy-on-write activation for all system variants
Fedora 35 is a test system which makes it unstable, therefore TechnoWikis's advice is to install it in a virtual environment and what better way to use VirtualBox for it. VirtualBox is a virtualization platform available for various operating systems and that allows total interaction between both systems (physical and virtual), its download is available at the following link:
VirtualBox
We are going to see the step by step to install Fedora 35 in VirtualBox.
To stay up to date, remember to subscribe to our YouTube channel! SUBSCRIBE
How to install Fedora 35 in VirtualBox
Step 1
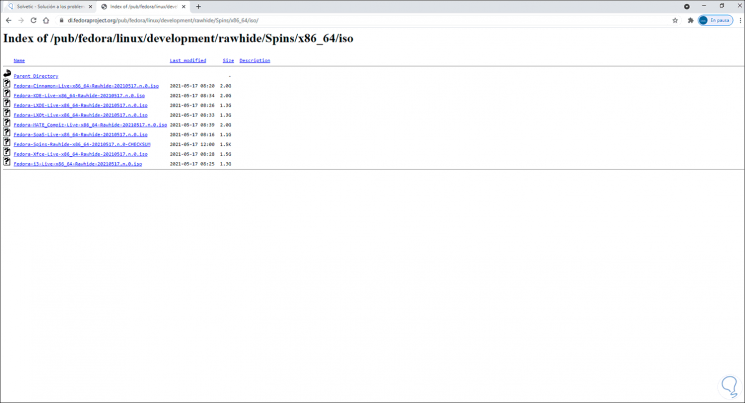
The first thing to do is go to the following link to download the Fedora 35 ISO image. There we have various environments to download Fedora 35.
Fedora 35
Step 2
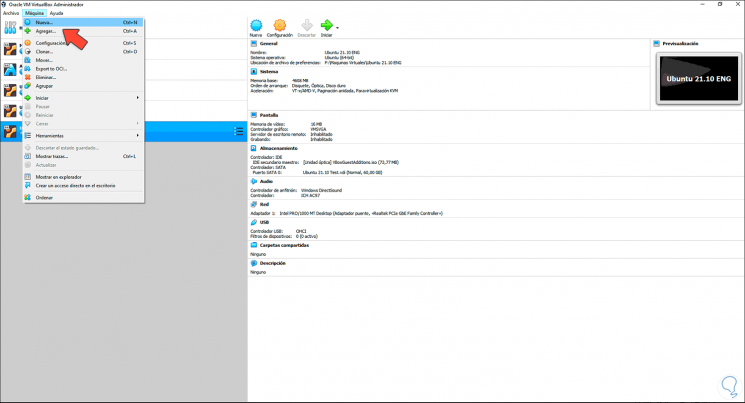
Once the ISO image is downloaded, we open VirtualBox and create the virtual machine using one of the following options:
- From the New -Machine menu
Ctrl + N
- Clicking on the New button
Step 3
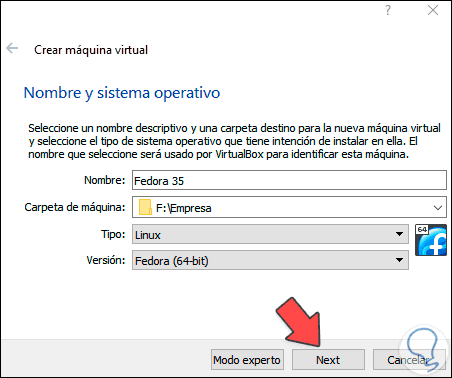
In the pop-up window we enter:
Step 4
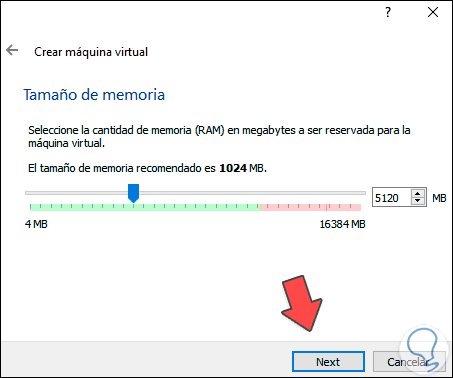
We click Next and now we enter the amount of RAM to allocate:
Step 5
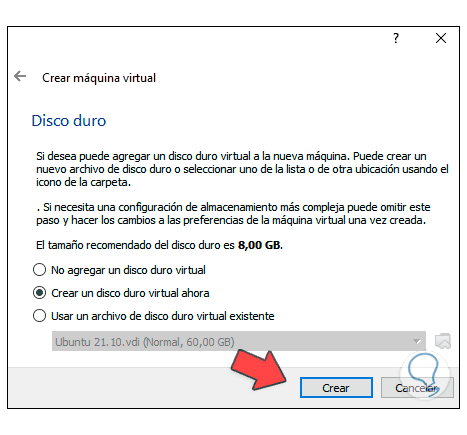
In the next window we select the option "Create a virtual hard disk now":
Step 6
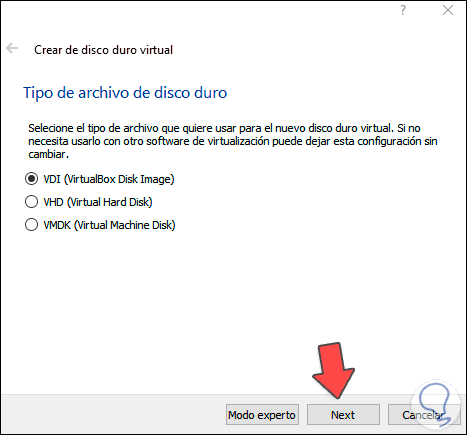
We click on Create and select the type of hard drive to use:
Step 7
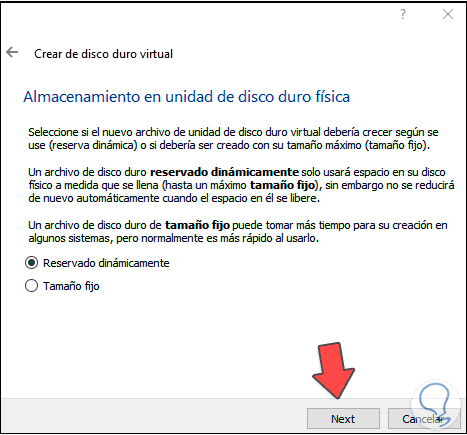
Then we set the type of storage to use:
Step 8
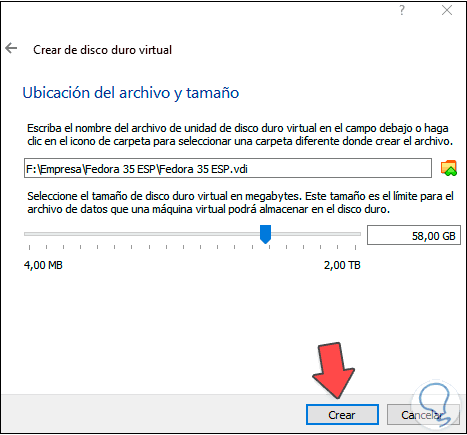
We click Next and define:
- Virtual hard drive location
Step 9
We complete the process by clicking on "Create":
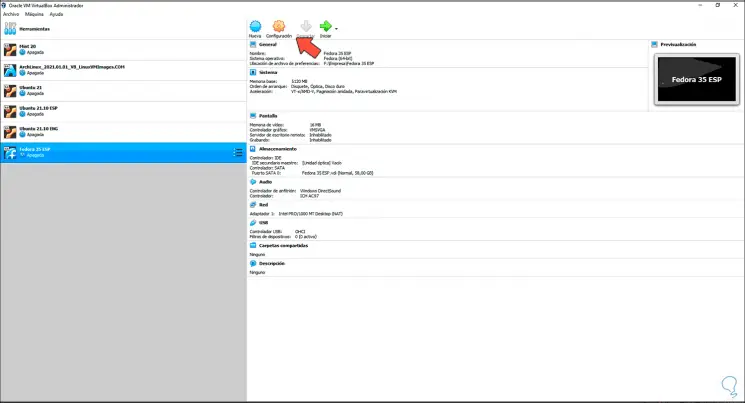
Step 10
There we open the virtual machine configuration and in the Network section we enable the network adapter:
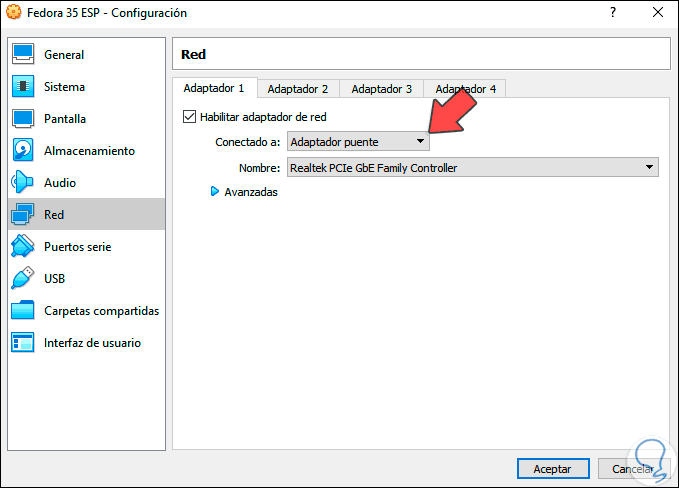
Step 11
We apply the changes and start the virtual machine, we will see this:
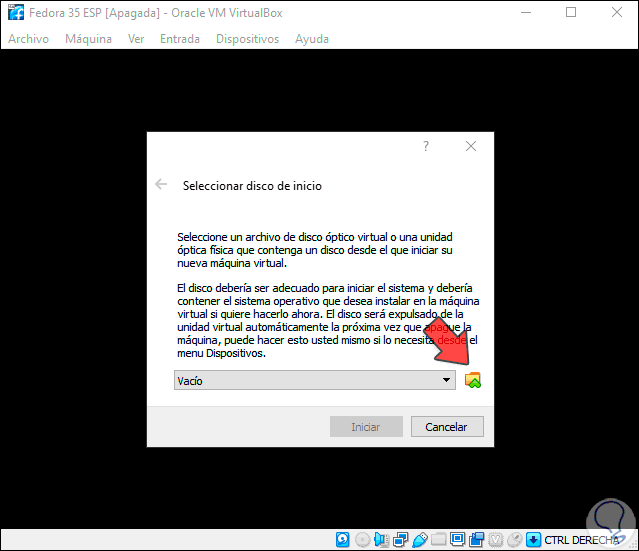
Step 12
We click on the browse button and select the ISO image that we have downloaded:
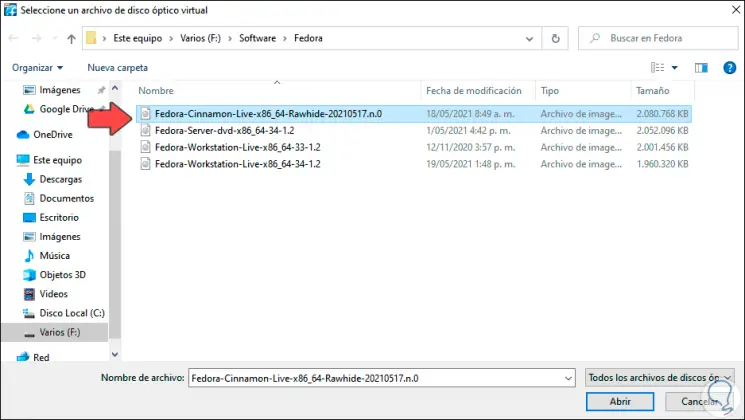
Step 13
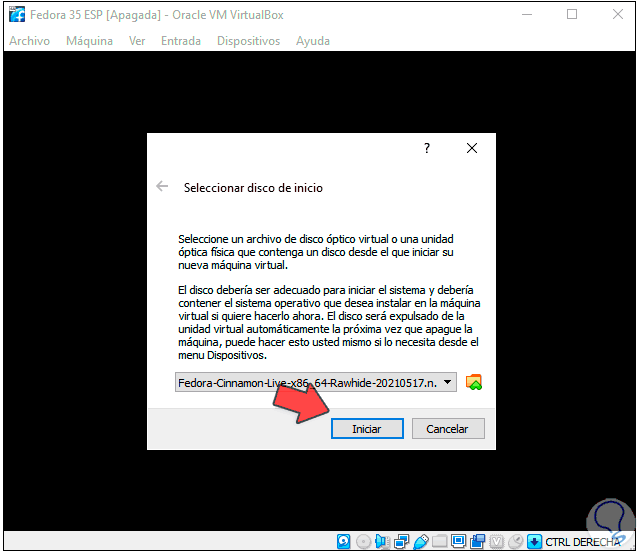
We click Open and we will see the integrated ISO:
Step 14
We click on "Start" to begin the installation of Fedora 35:
Step 15
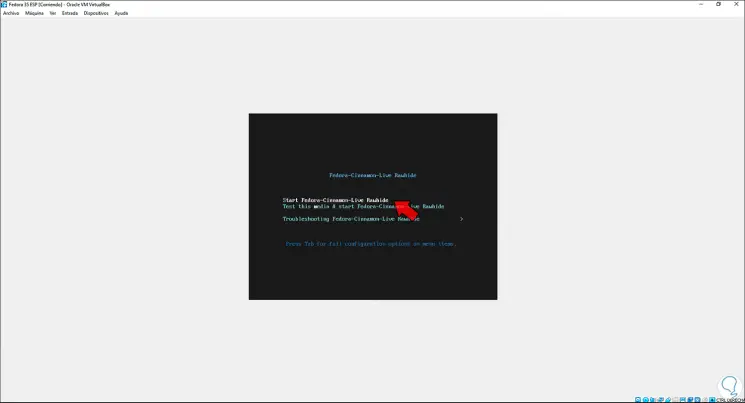
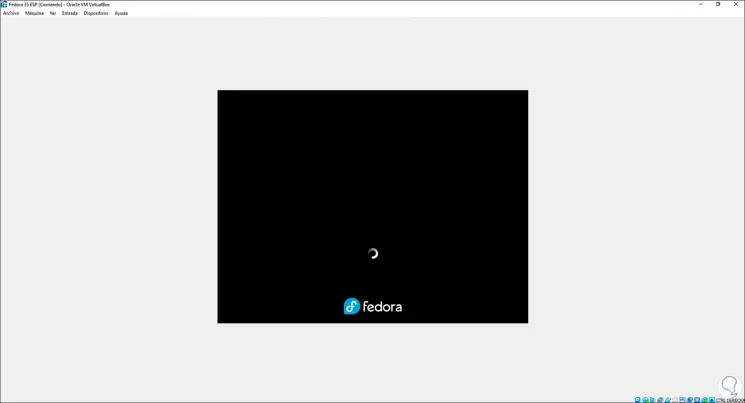
In the boot menu we select "Start fedora Rawhide", the system services will be loaded:
Step 16
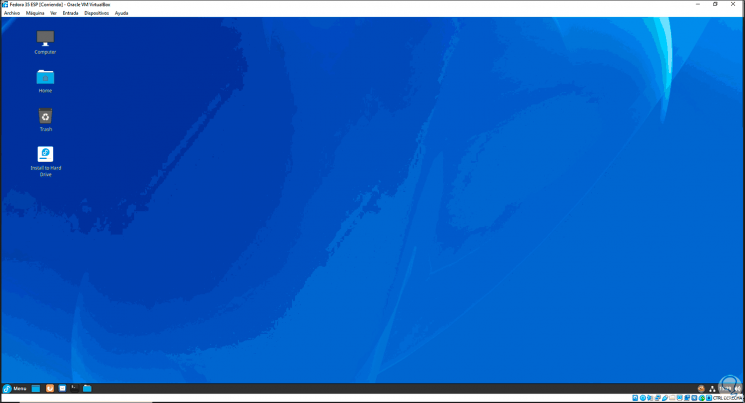
After a moment Fedora 35 will assume the full screen of VirtualBox, we will see the following:
There Fedora 35 is in Live mode, that is, we can know the system, its functions, but everything that is done will be lost when log out or restart the virtual machine.
Step 17
We click on "Install to Hard Drive" to install it locally, first of all, we are going to configure the language of Fedora 35:
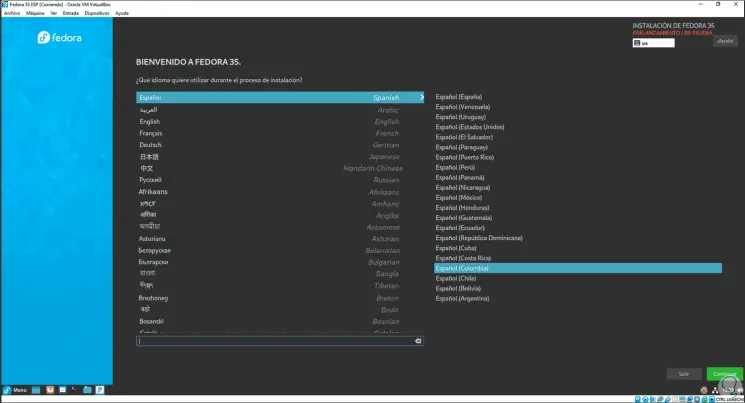
Step 18
We click Continue and we will receive the following warning:
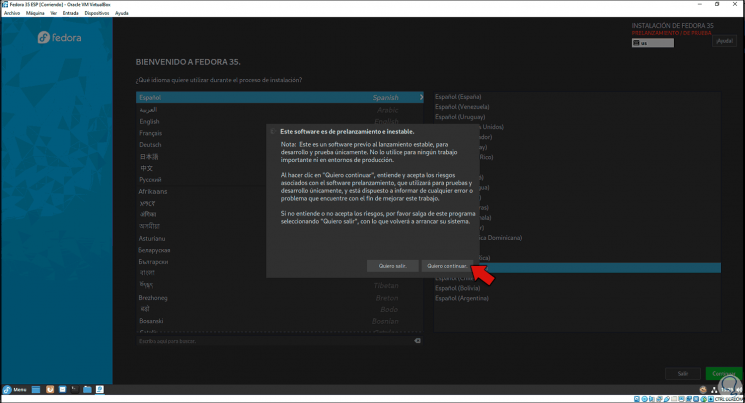
Step 19
This is because it is a trial version, we click on "I want to continue" and we will see the central menu of Fedora 35:
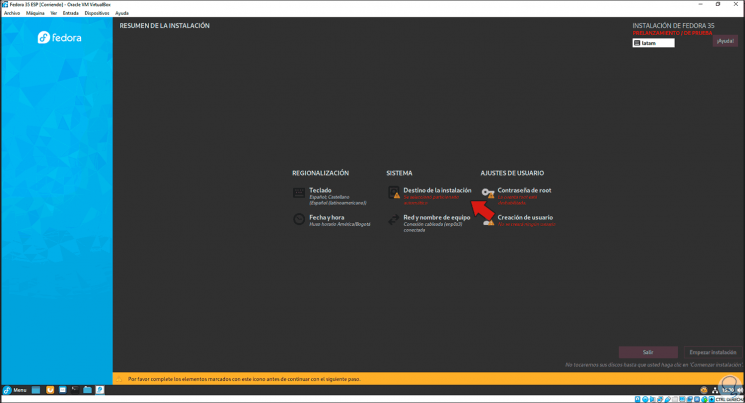
Step 20
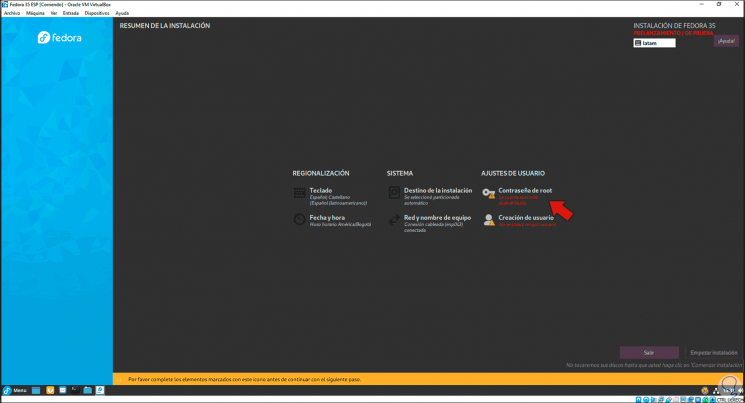
The fields marked with a warning must be completed. First, we click on "Installation destination" to configure the disk where Fedora 35 will be installed:
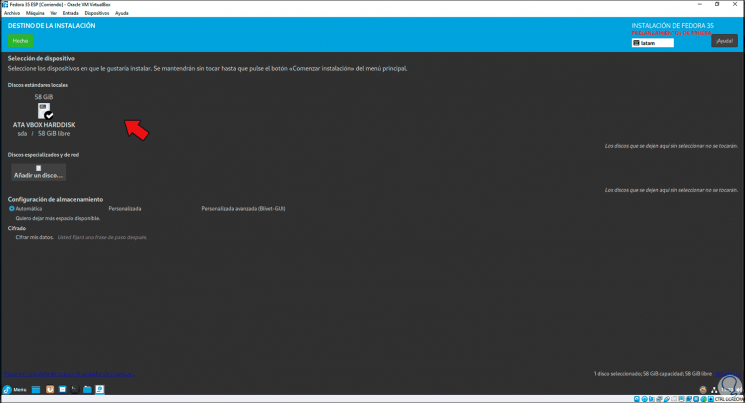
Step 21
There it will be possible to leave the partitioning configuration automatically or manually by activating the "Custom" box, click on Done to apply the changes:
Step 22
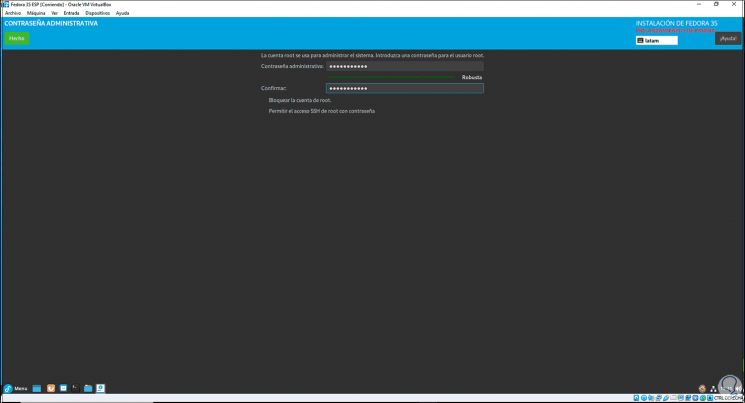
Now we click on "Root password" to set the password for the root user. Click Done to apply the changes.
Note
There it is possible to lock the root account for security or enable access through SSH.
Step 23
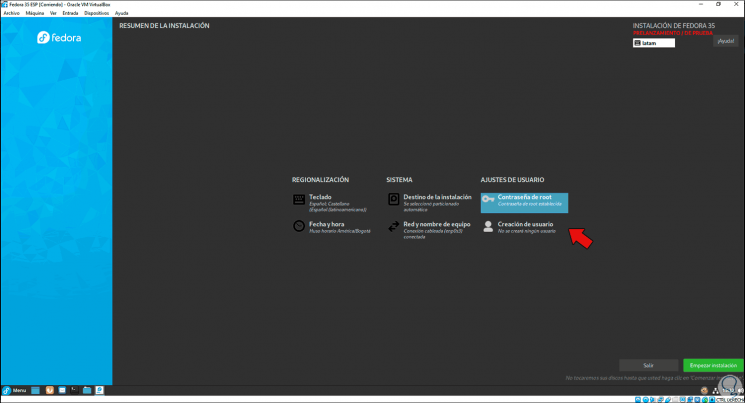
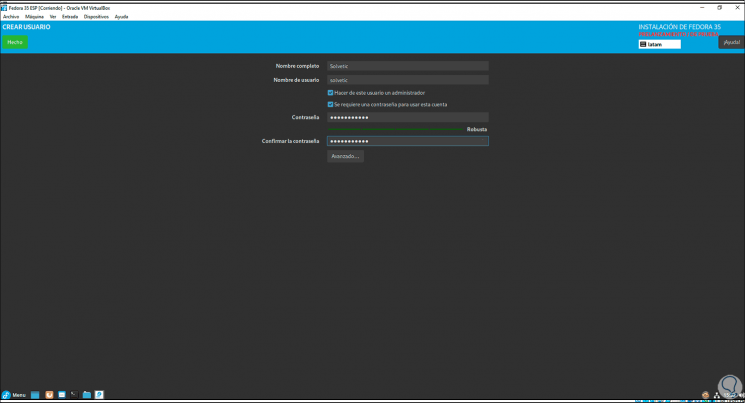
We click on "User creation" to create and assign a password to the administrator user:
Step 24
We enter the data:
Step 25
We apply the changes:
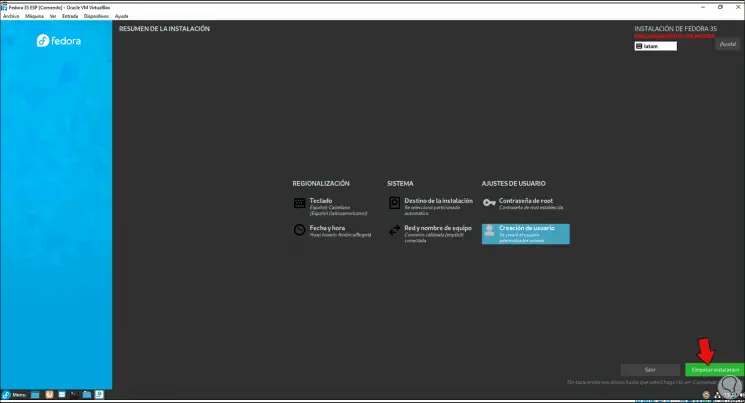
Step 26
We click on "Start installation" to go through the installation process of Fedora 35 in VirtualBox:
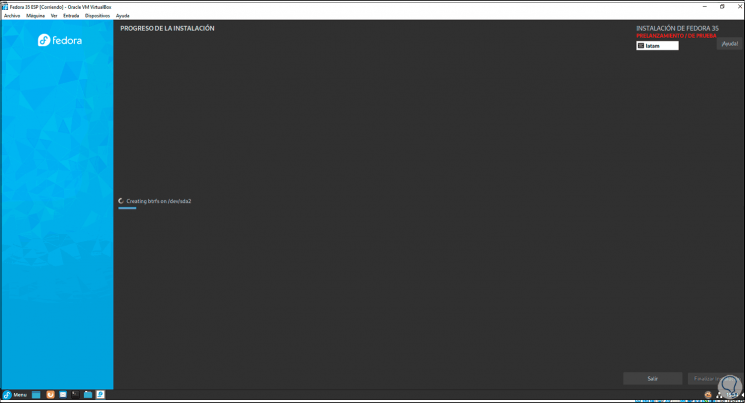
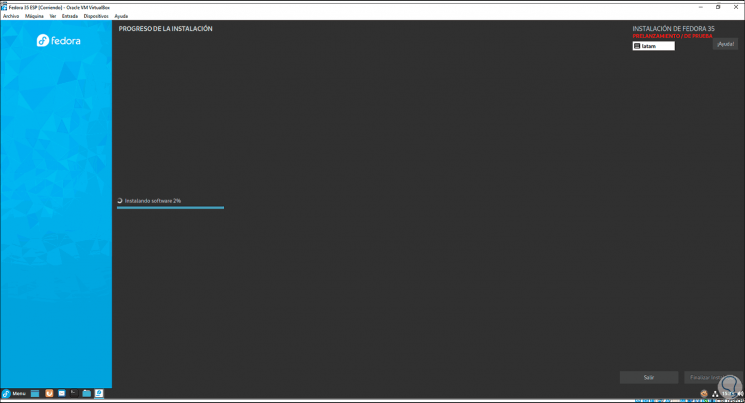
Step 27
After the disk labels are created, the software will be installed:
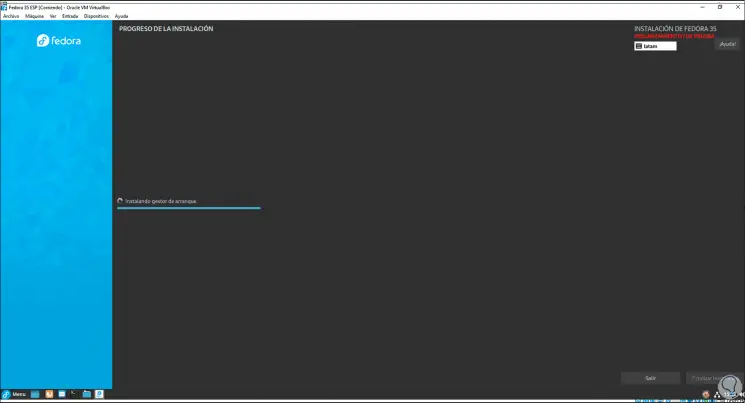
Step 28
In the final part of the process the bootloader will be installed:
Step 29
At the end we will see the following:
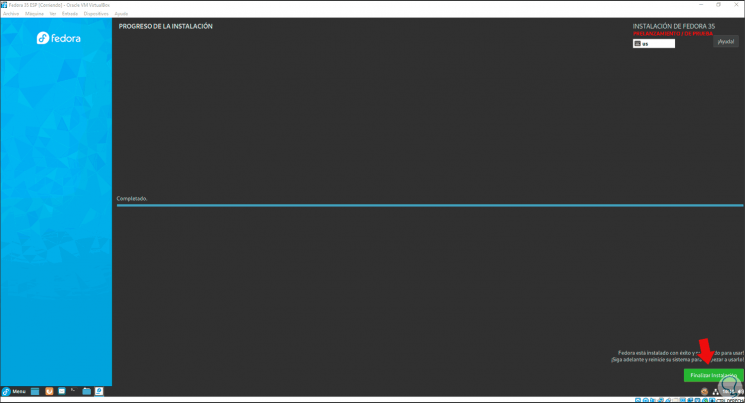
Step 30
We click on "Finish installation" and we must restart the virtual machines:
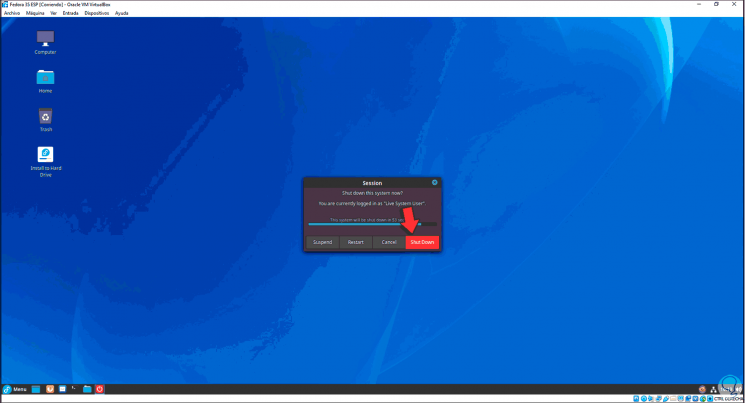
Step 31
Because the virtual disk is with the ISO image, the system will return to the boot menu, there we must go to the menu "Devices - Optical drives - Delete disk from the virtual drive":
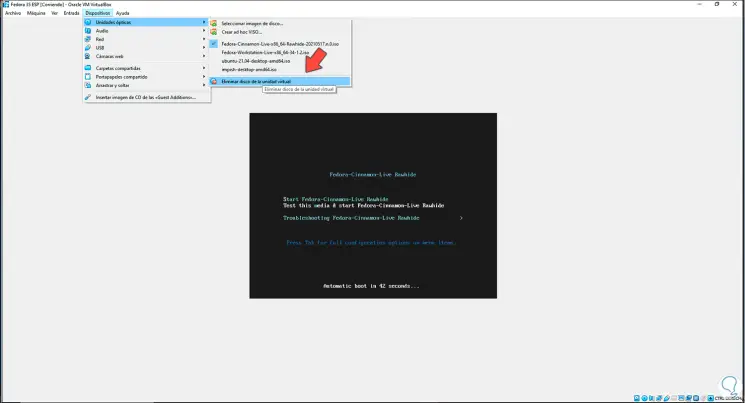
Step 32
Then we click on "Force disassembly" and restart the virtual machine:
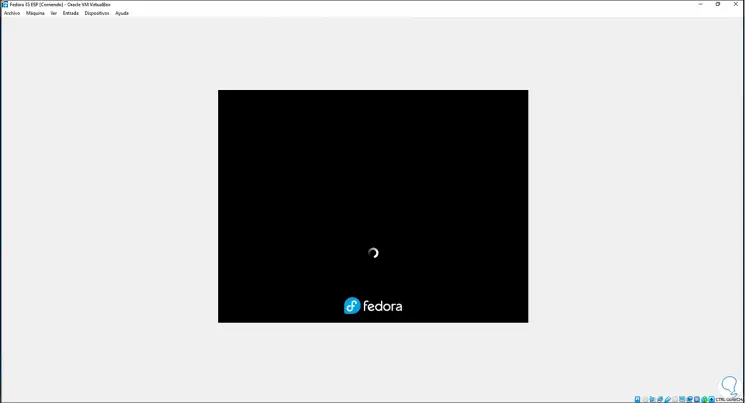
Step 33
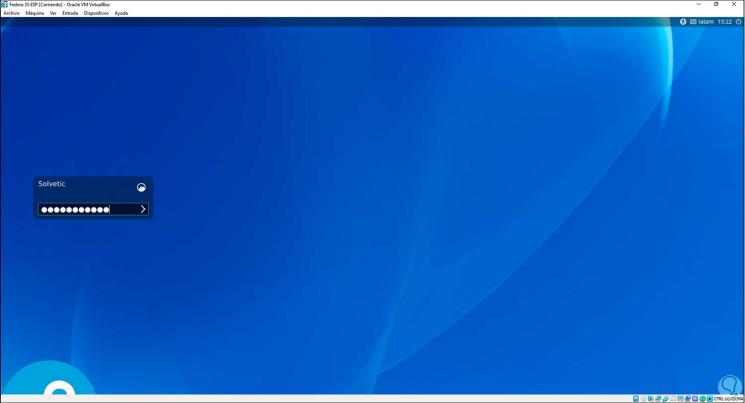
We log in:
Step 34
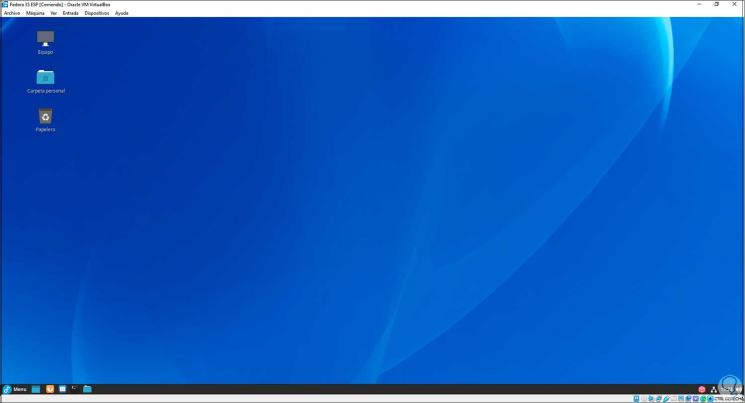
We access the Fedora35 virtual machine in VirtualBox:
Step 35
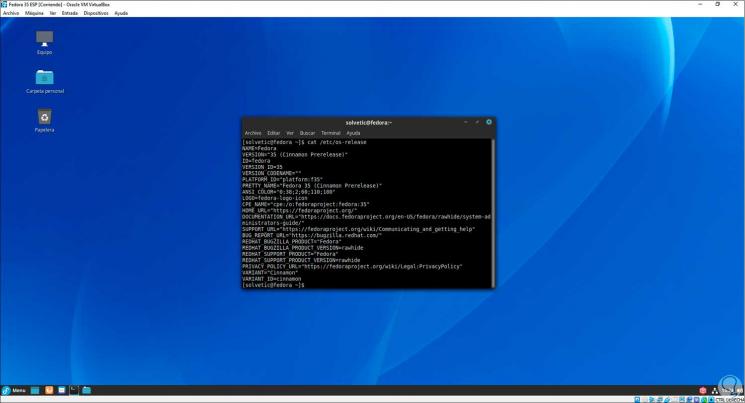
We open the terminal and execute "cat / etc / os-release" to validate the use of Fedora 35:
Later it will be possible to install the VirtualBox Guest Additions to have a better interaction between both systems such as sharing folders, duplicating screens, etc. This is the step by step to install Fedora 35 in VirtualBox..