To stay up to date, remember to subscribe to our YouTube channel!
SUBSCRIBE ON YOUTUBE
AlmaLinux has been developed as an alternative to the popular CentOS which has a purely corporate focus with the advantage that AlmaLinux is offered with fewer requirements than CentOS, AlmaLinux OS is compatible with ABI with RHEL which can guarantee us the same functions and characteristics. from CentOS..
architectures
AlmaLinux can be installed on the following architectures:
Characteristics
Among its general characteristics we find:
- Compatibility with RHEL since it is based on the RHEL source code.
- Simple migration from CentOS or RHEL.
- Stable and long-term updates.
- It integrates different management and administration tools.
- Security and constant updates.
To learn a little more about the environment or performance we can make use of a virtual environment, this allows us to perform all kinds of tests without affecting the base operating system or user data and one of the most used virtualization platforms. and known is VirtualBox which we can download for free at the following link:
VirtualBox
TechnoWikis will explain how to install AlmaLinux in VirtualBox for us to delve into its environment.
How to install AlmaLinux in VirtualBox
Step 1
The first thing is to go to the following official AlmaLinux link:
SoulLinux
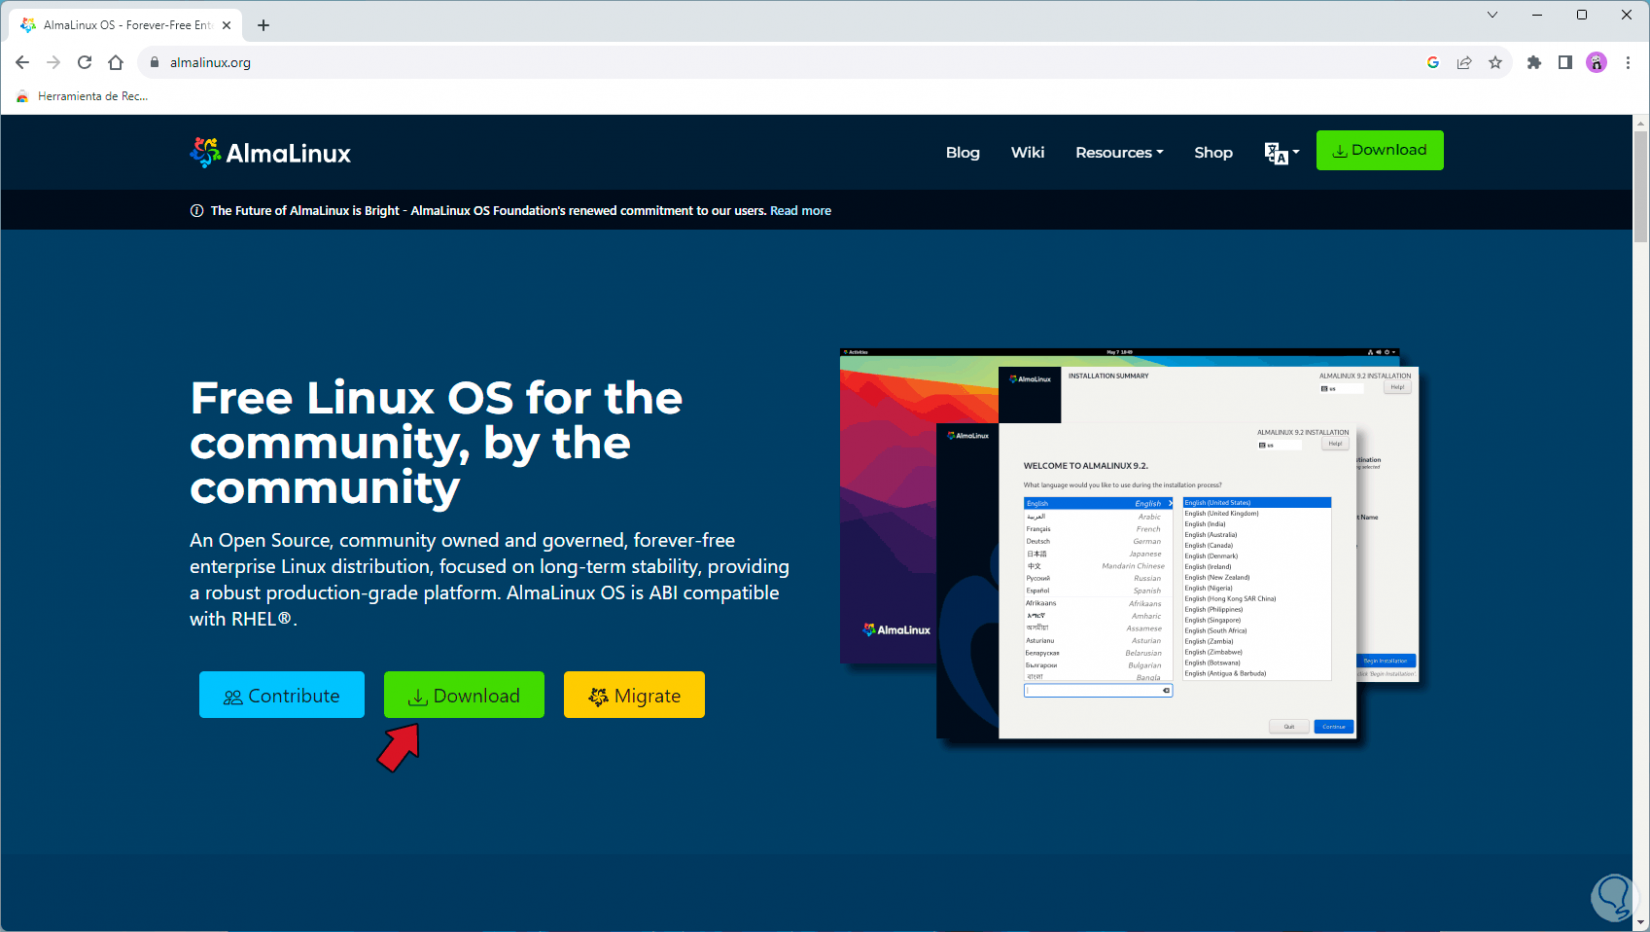
Step 2
There we click on "Download" and we will see the following:
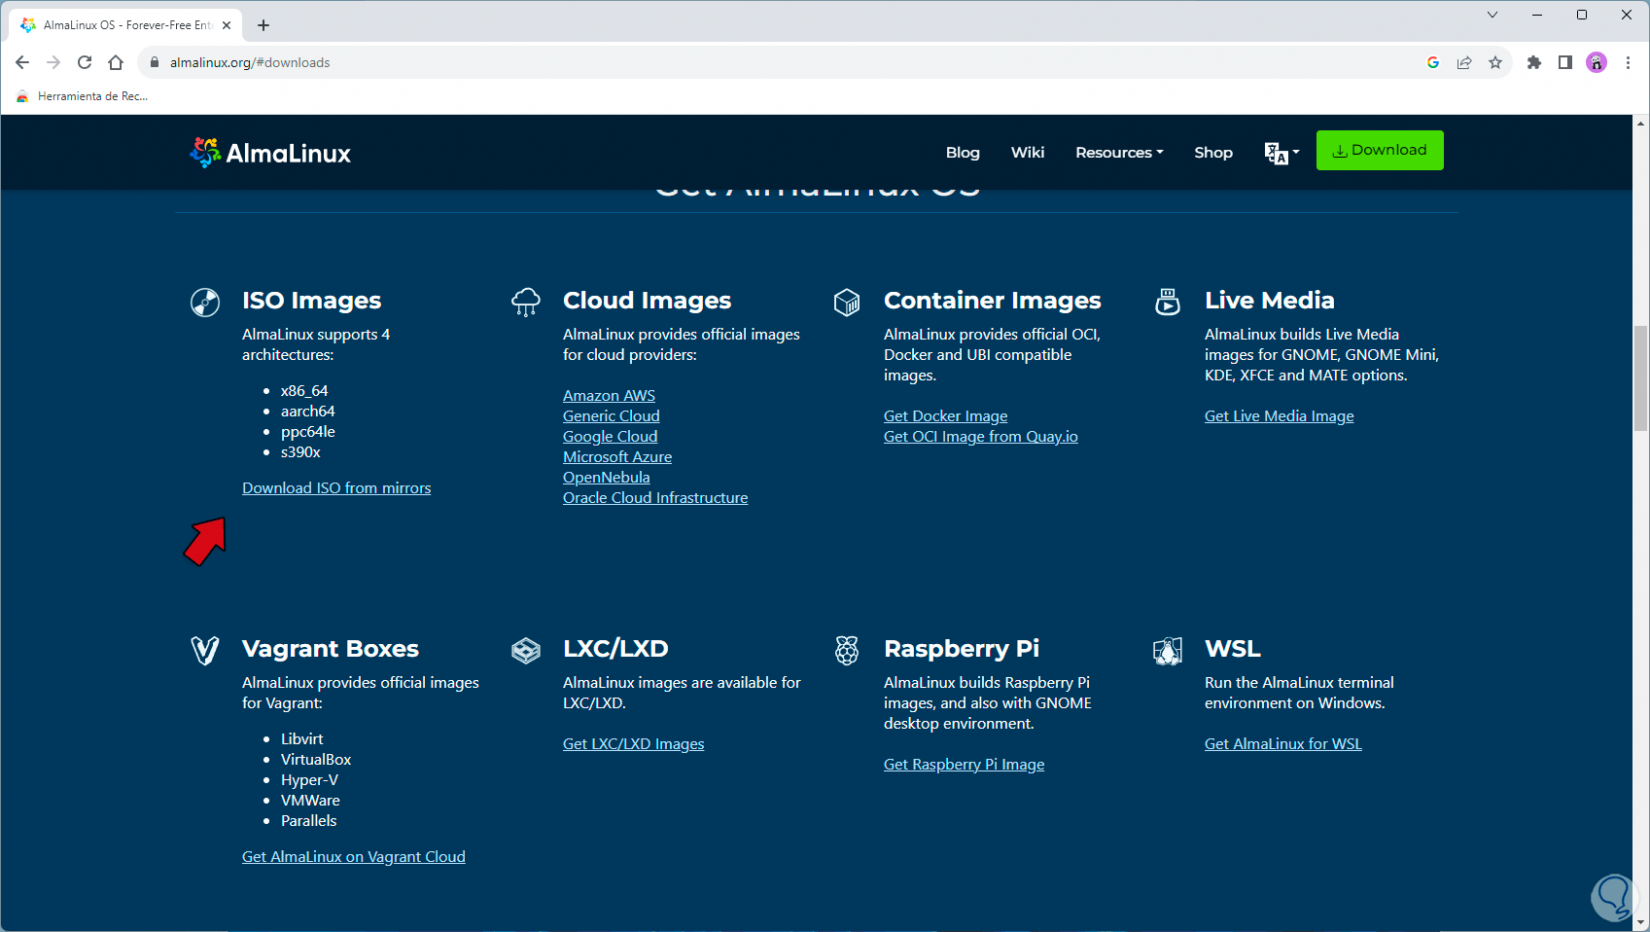
Step 3
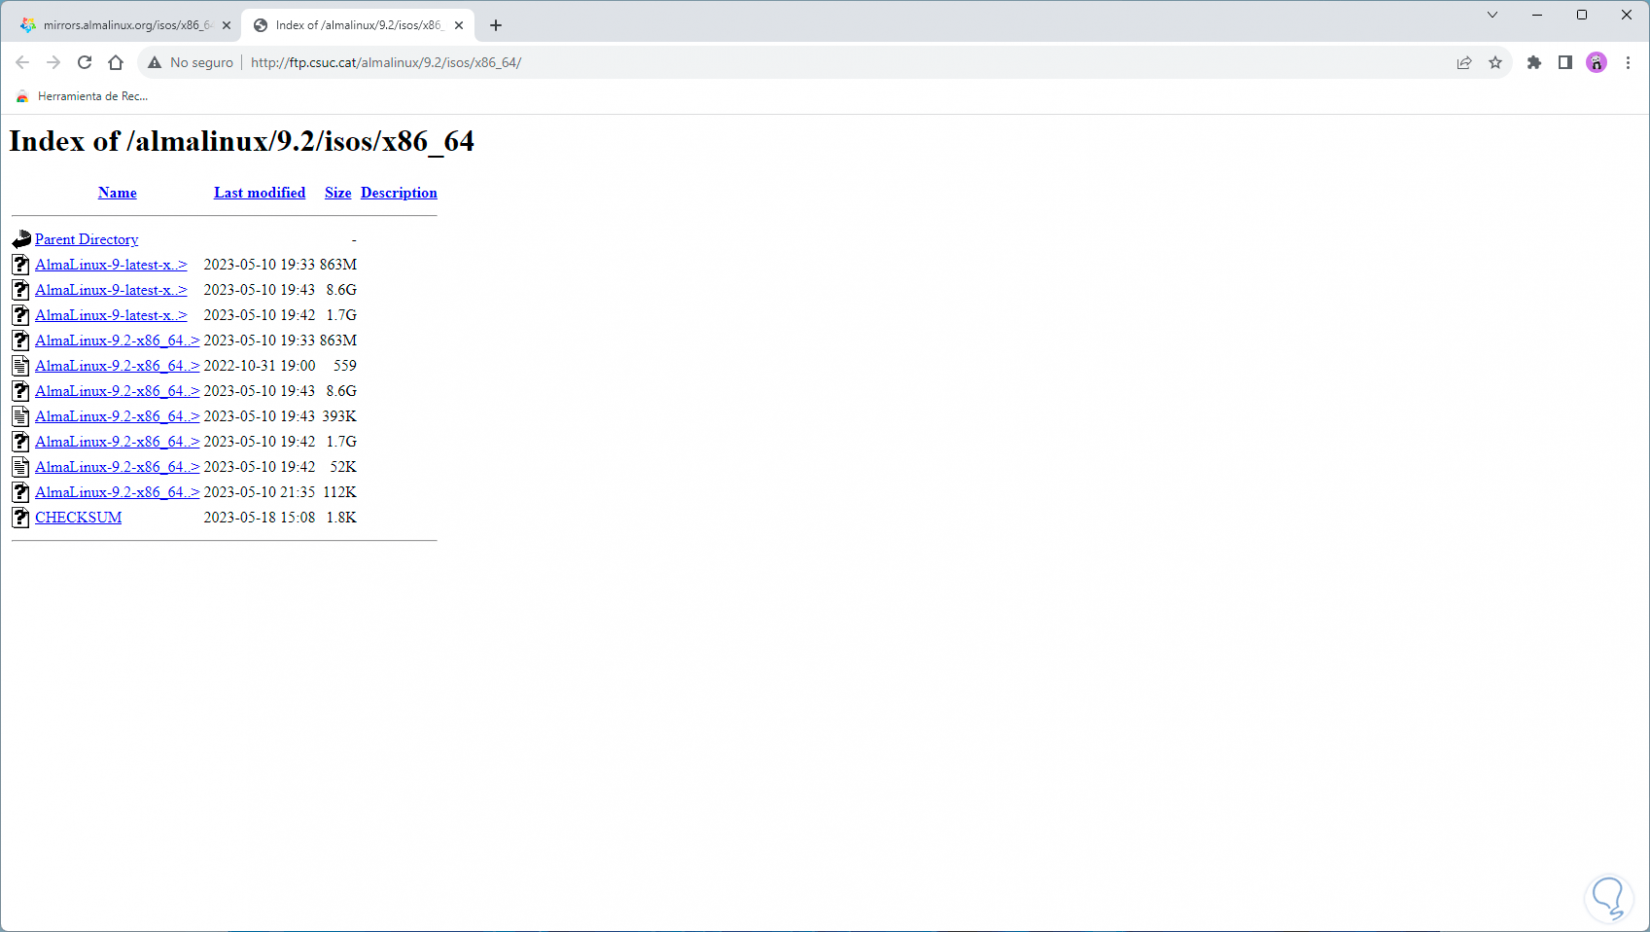
There we must select the ISO image by clicking on "Download ISO from mirrors" and the following will open:
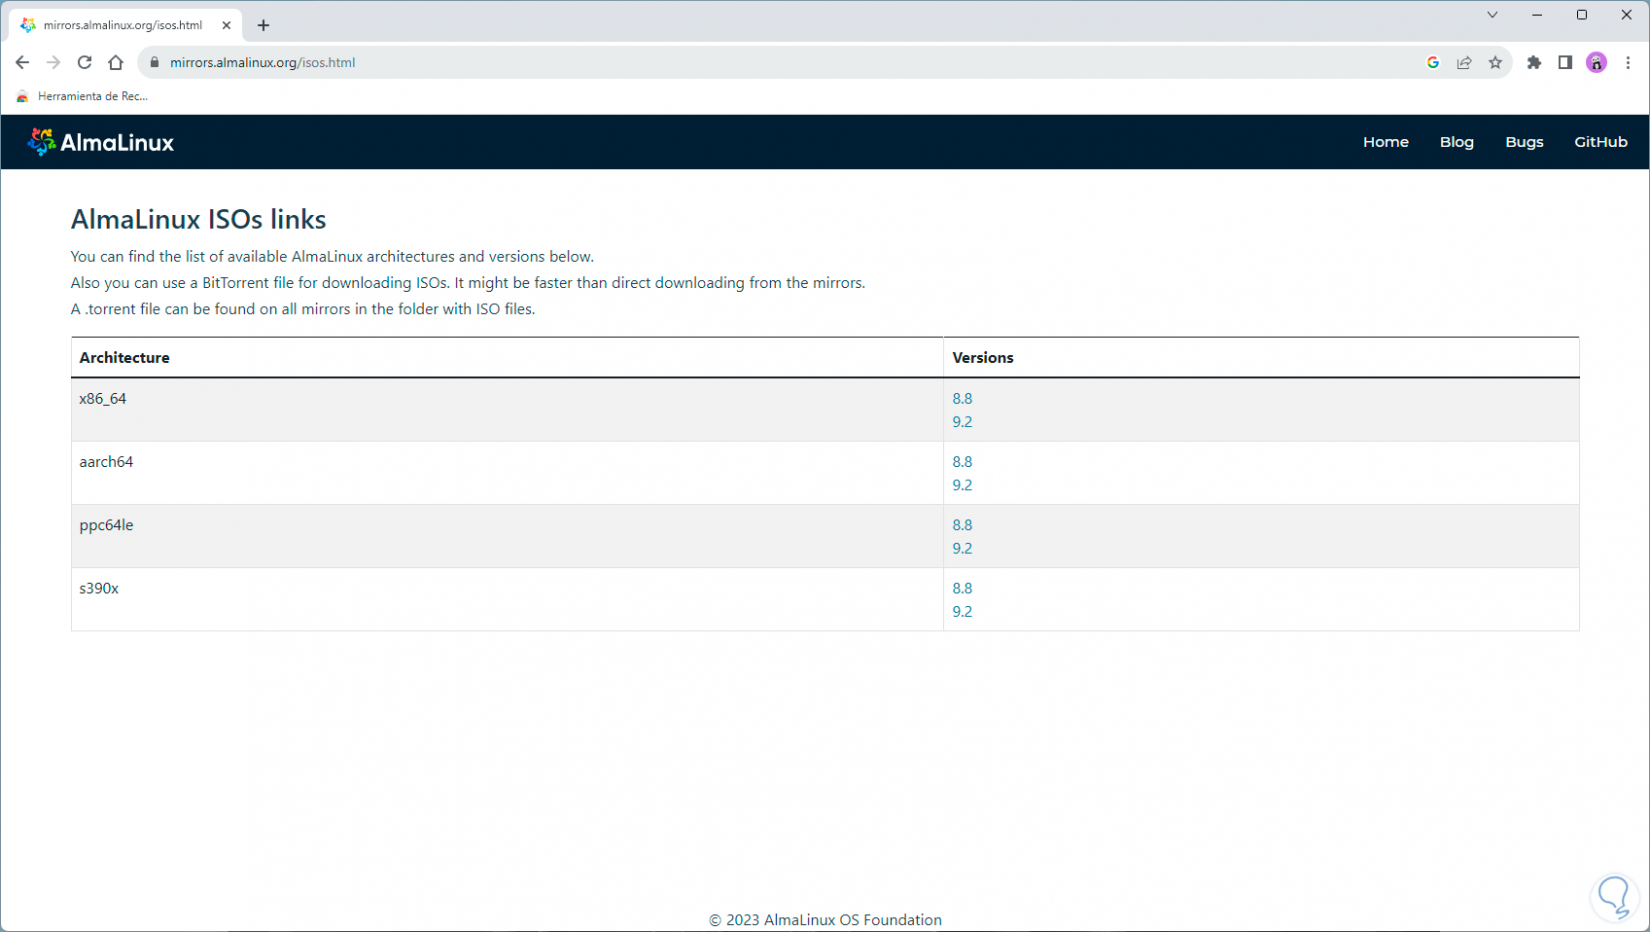
Step 4
We click on the version to use and then we will see the available repositories:
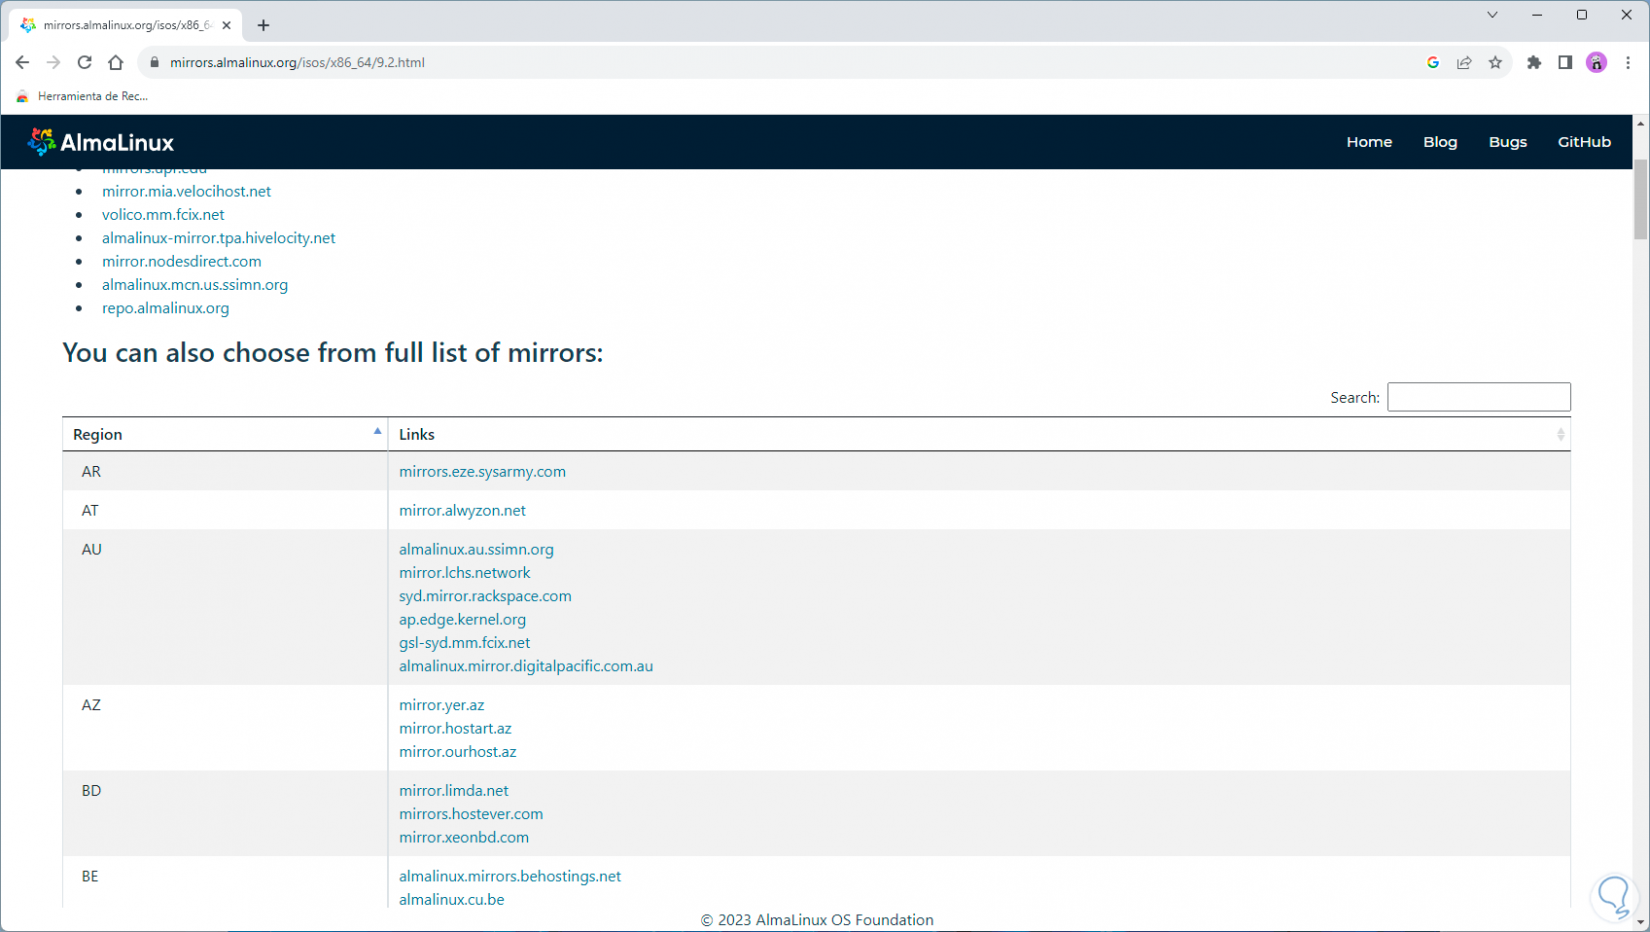
There we download the AlmaLinux ISO..
step 5
Now we open VirtualBox. There we click on "New"
step 6
and the following window will open: In this window it is possible to assign the name to the virtual machine and define where it will be hosted:
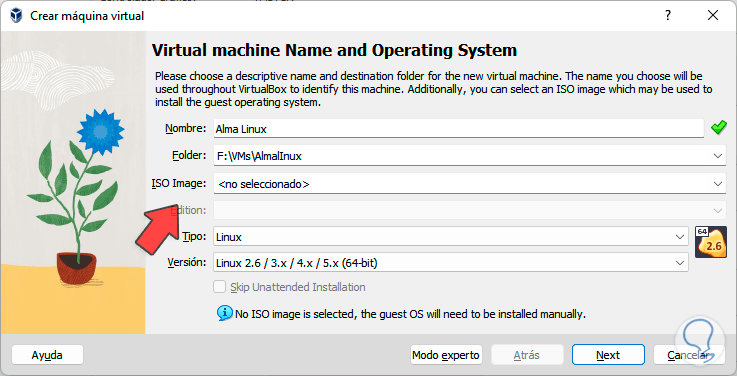
step 7
Now in "ISO Image" we select the image that we have downloaded:
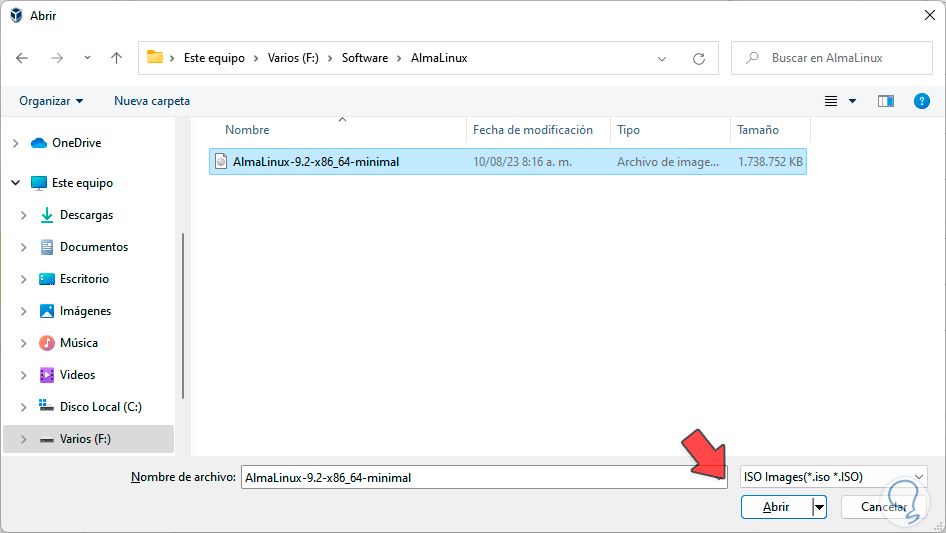
step 8
We click on "Open" to integrate it.
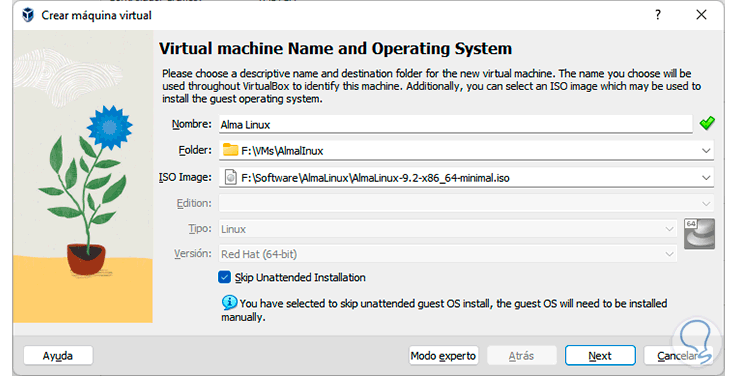
step 9
We activate the "Skip Unattended Installation" box to carry out the configuration, click on "Next" to assign the memory to use:
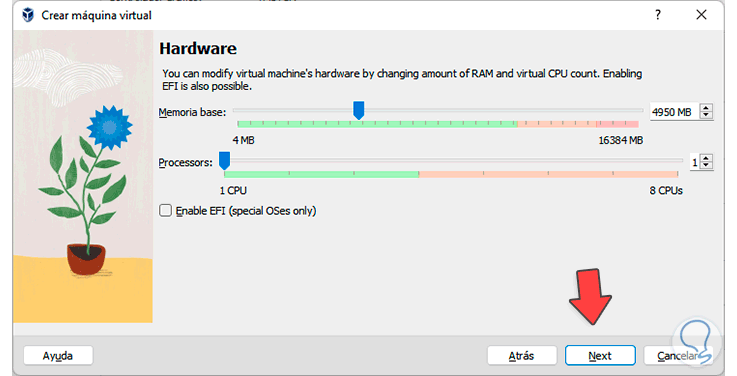
step 10
Then we define the size of the hard drive:
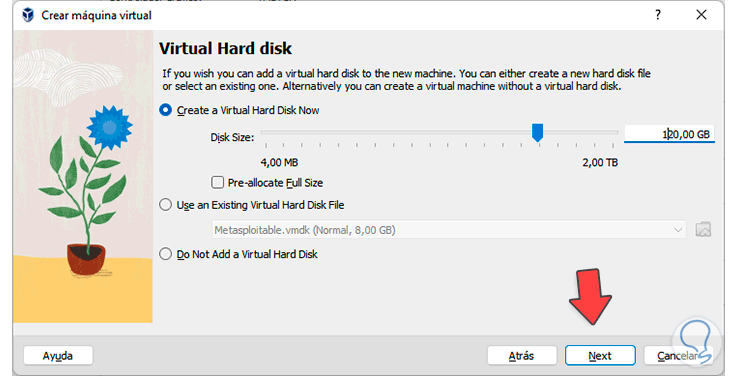
step 11
In the following window we can see a summary of the machine to be created:
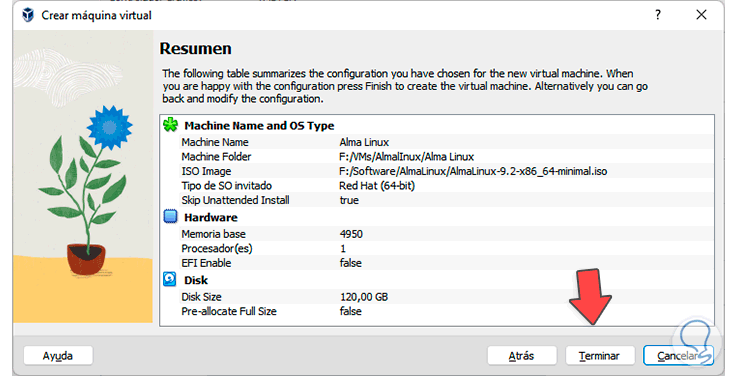
step 12
We click "Finish" to create our virtual machine:
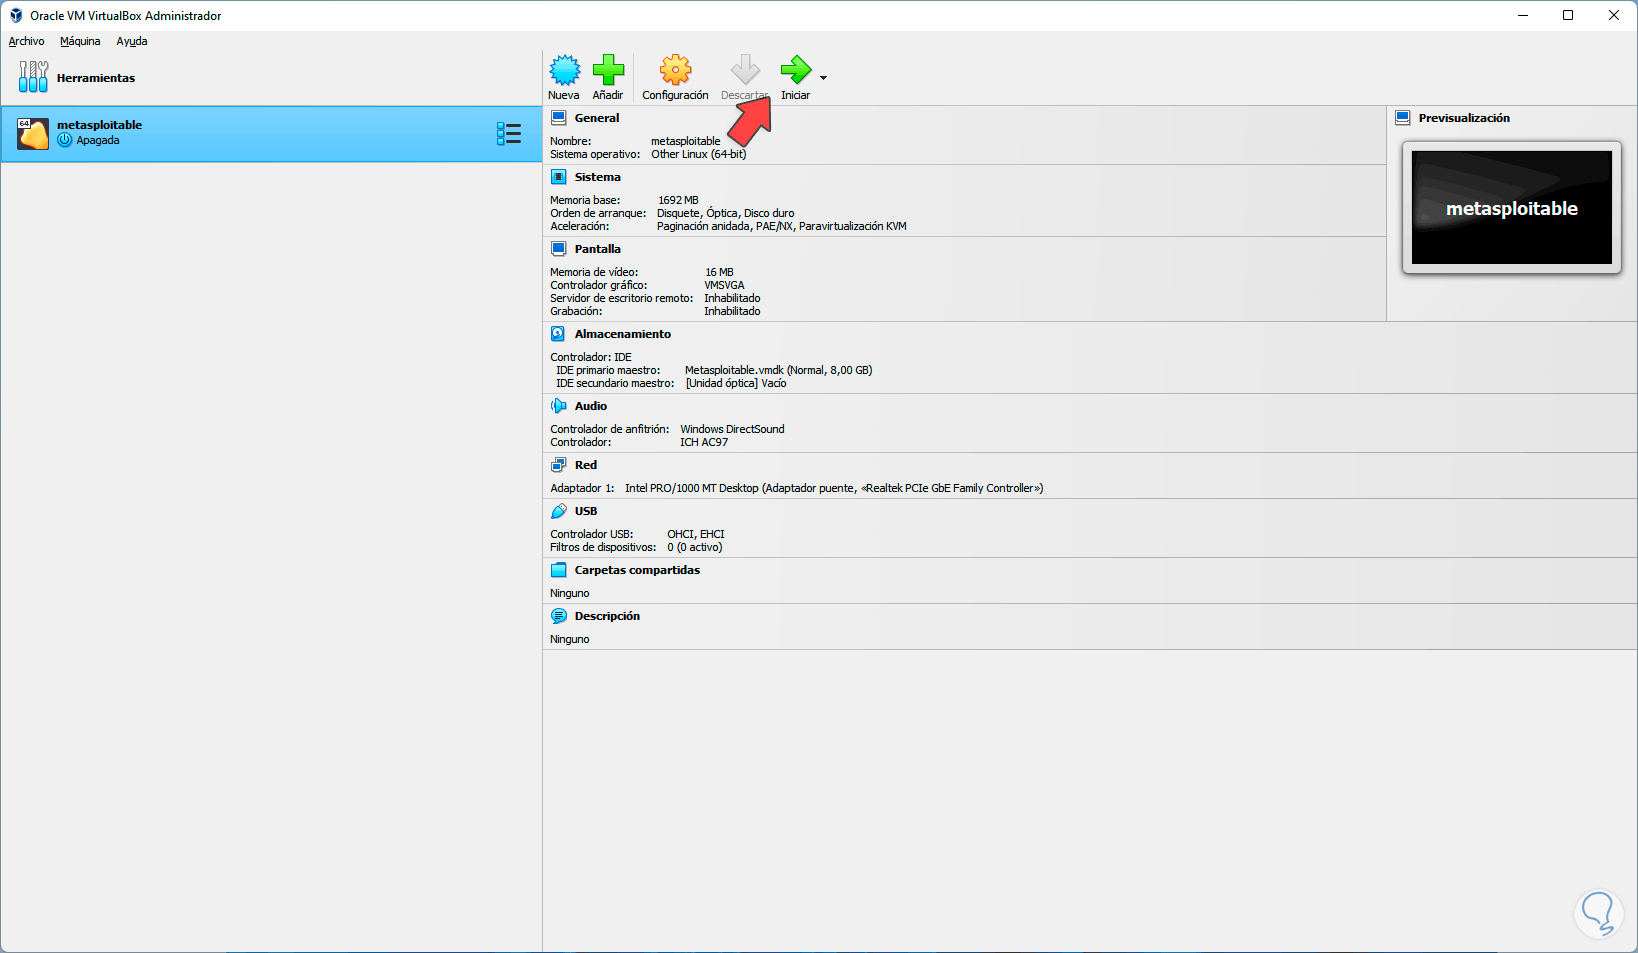
step 13
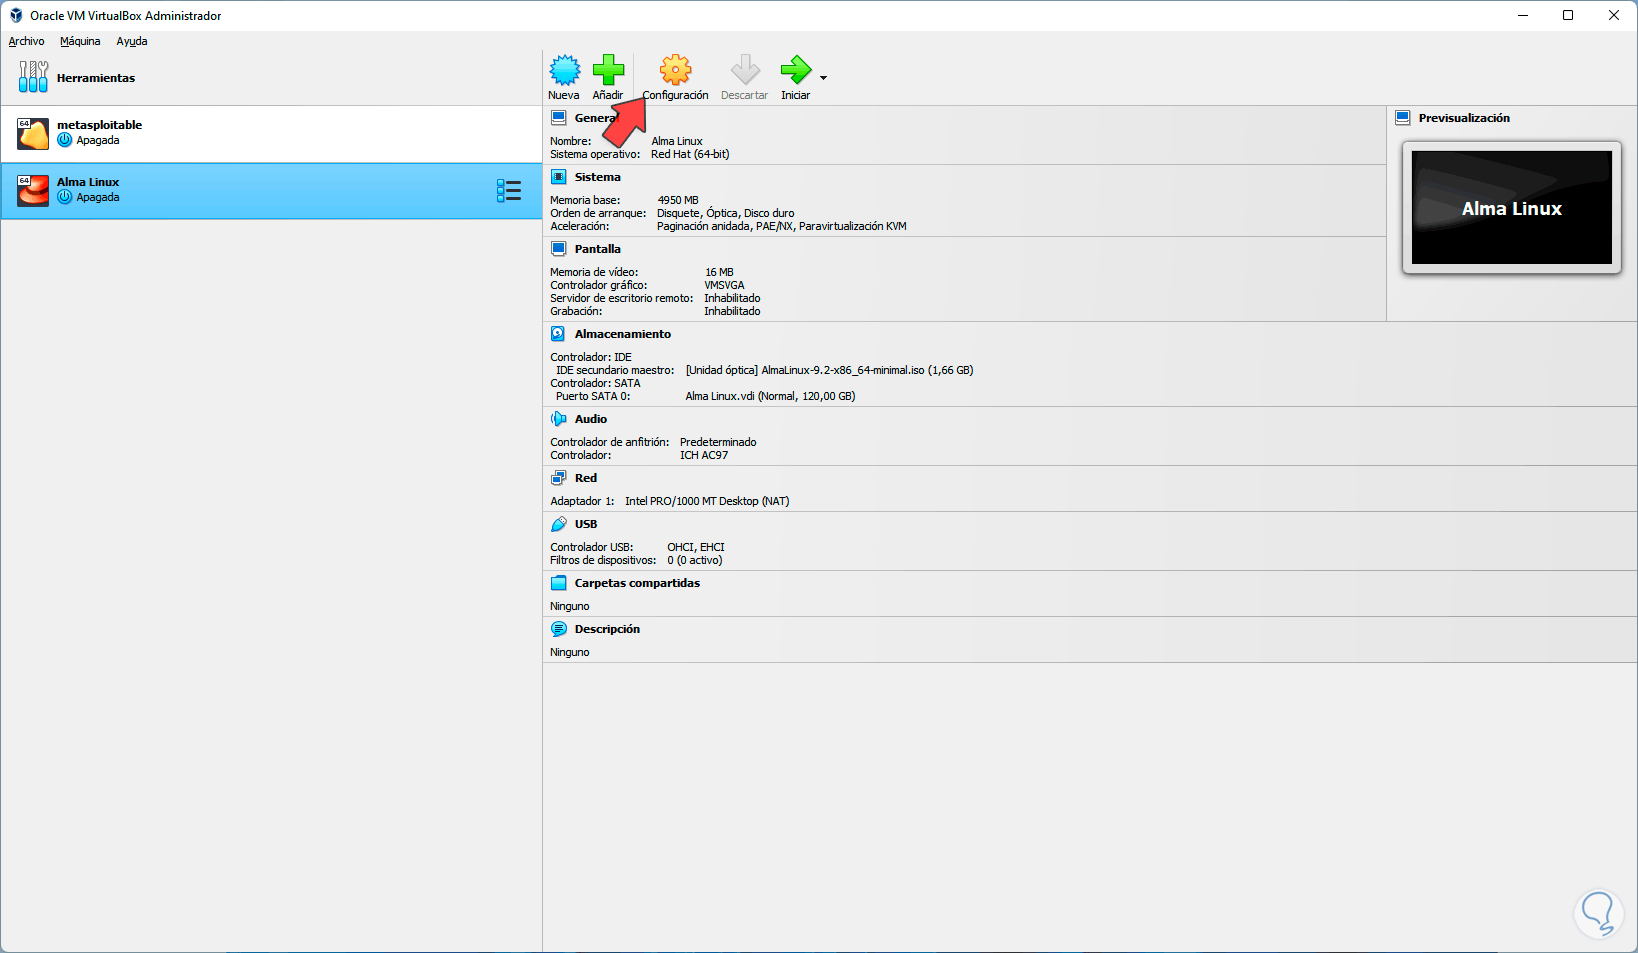
Now we click on "Settings" to be able to adjust the various parameters so that the machine works correctly:

step 14
In the "Network" section we will see the following:
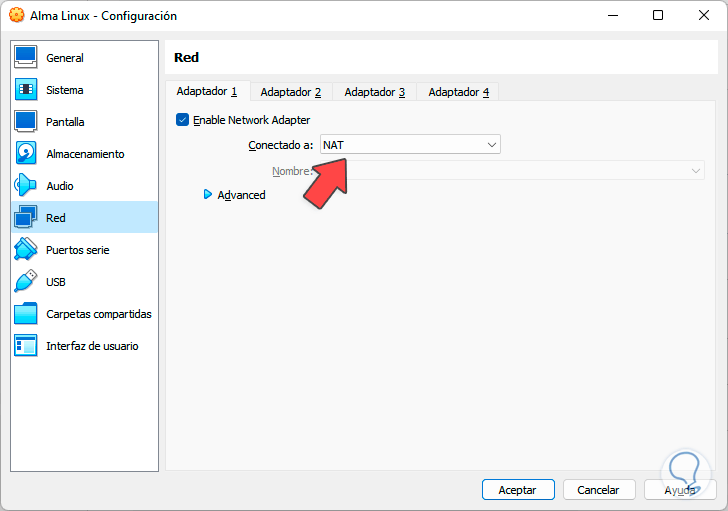
step 15
In "Connected to" we establish "Bridge adapter" so that the network is enabled:
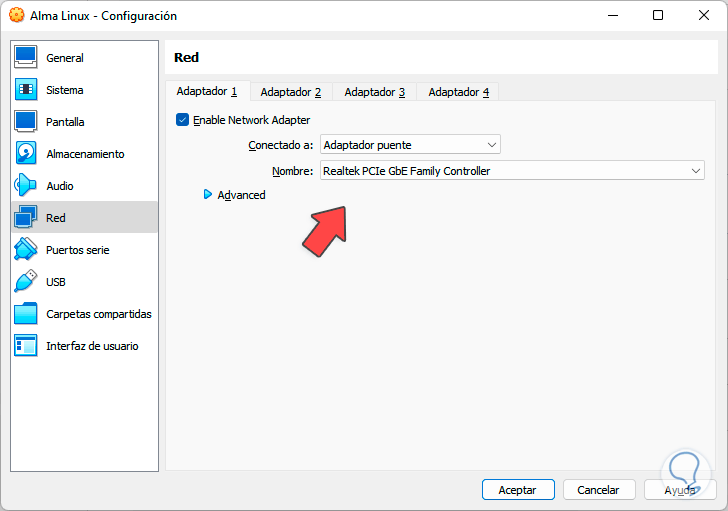
step 16
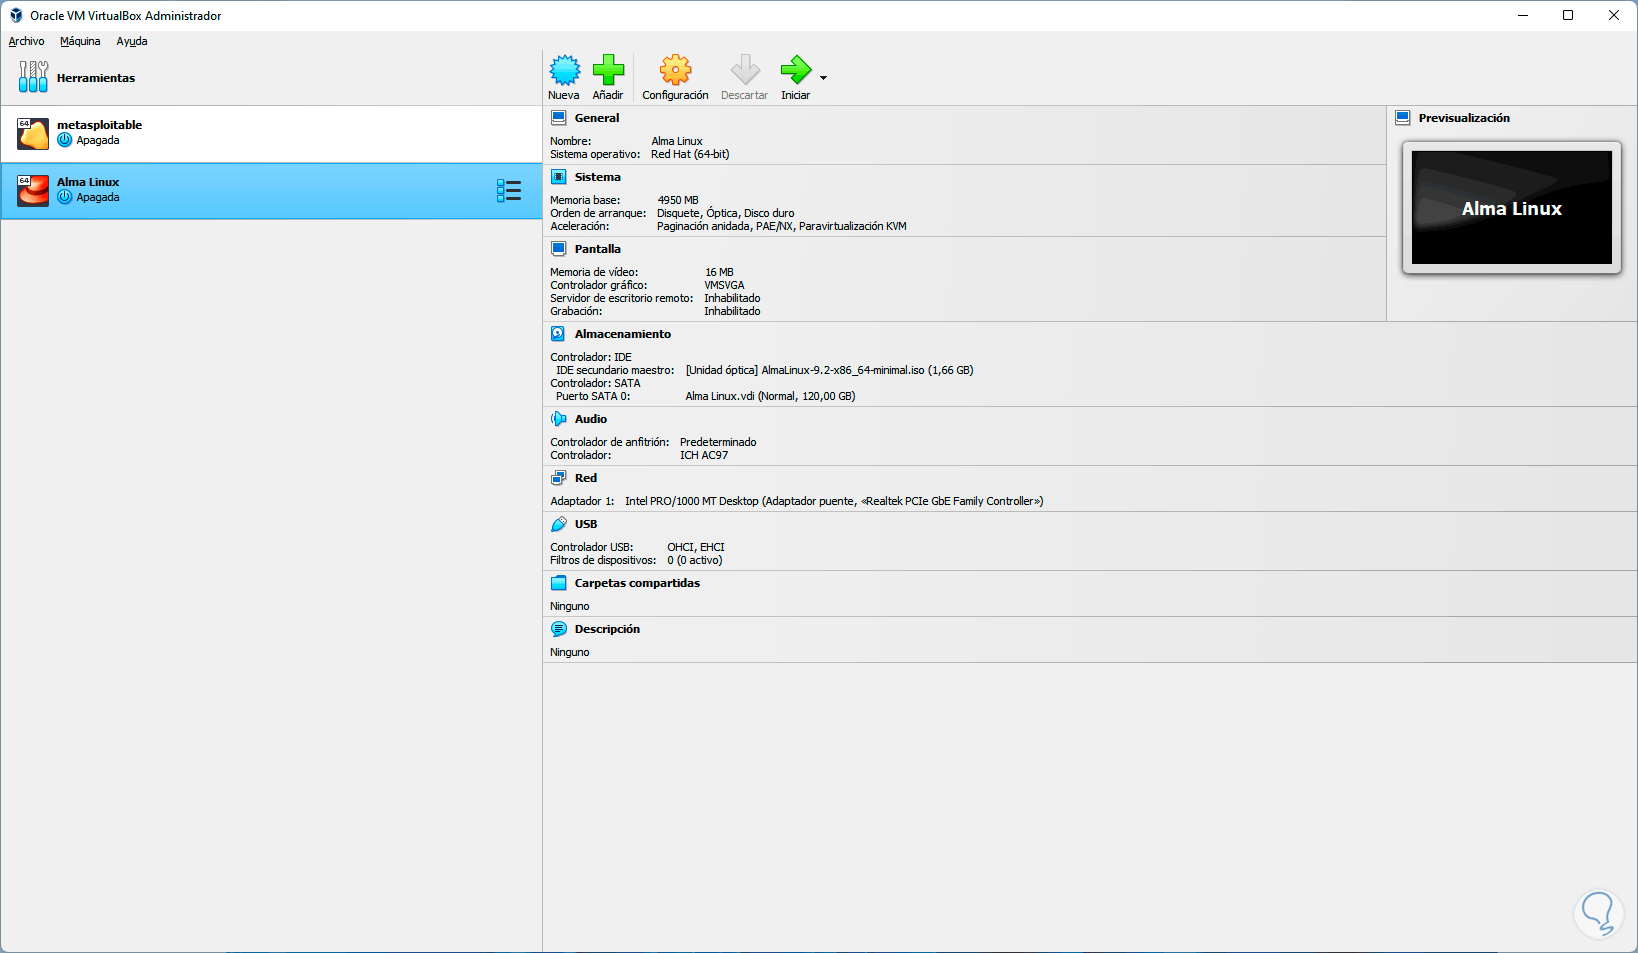
We apply the changes:
step 17
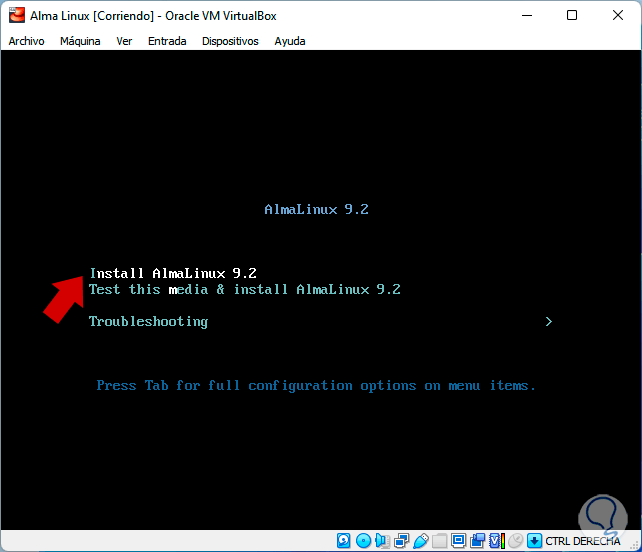
Now we click on "Start" to start the virtual machine, in the first window we click on "Install AlmaLinux (version)":
step 18
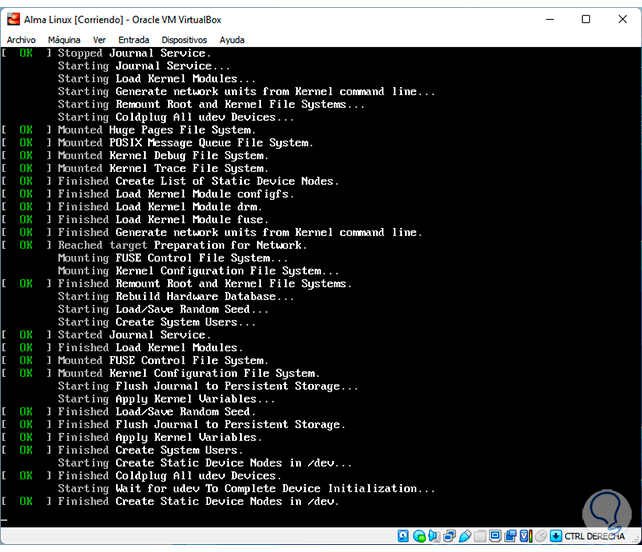
Wait for the processes to load:
step 19
Then we select the language to use in AlmaLinux:
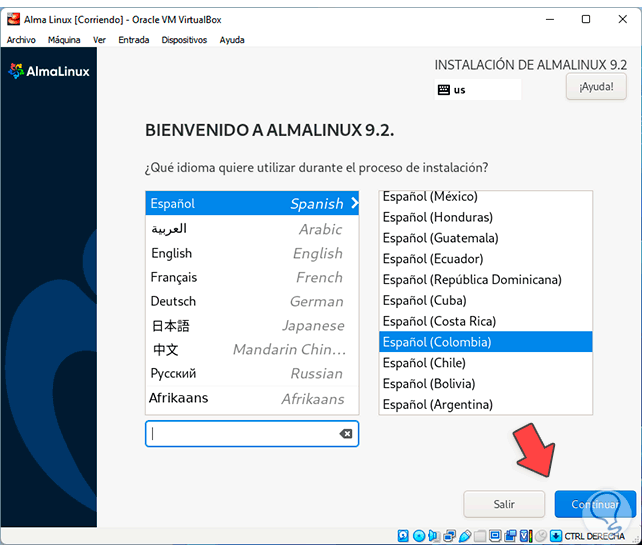
step 20
We click on "Continue" to access the main menu:
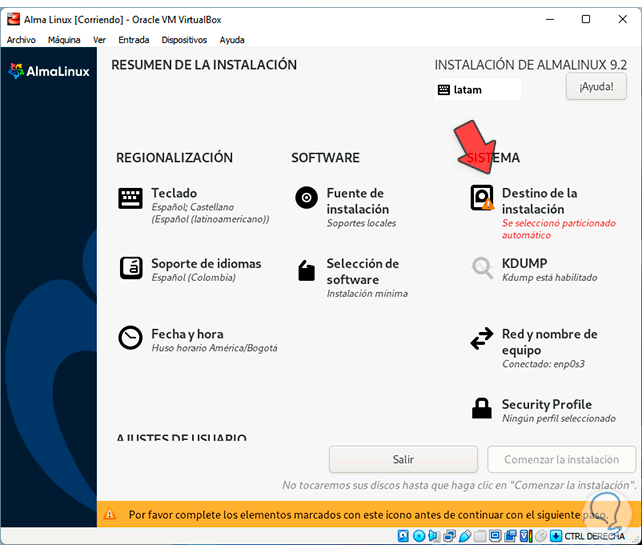
step 21
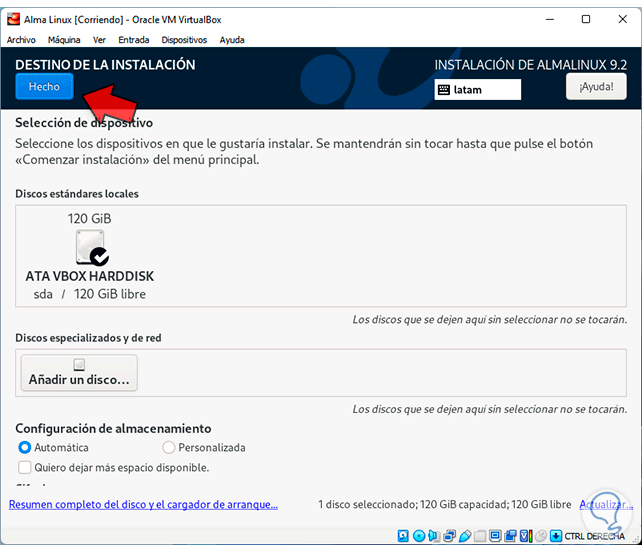
There we select the option "Installation destination" where we will see the following options:
step 22
There it is possible to add more disks or configure the storage manually if necessary, we select the hard disk and click on "Done":
Step 23
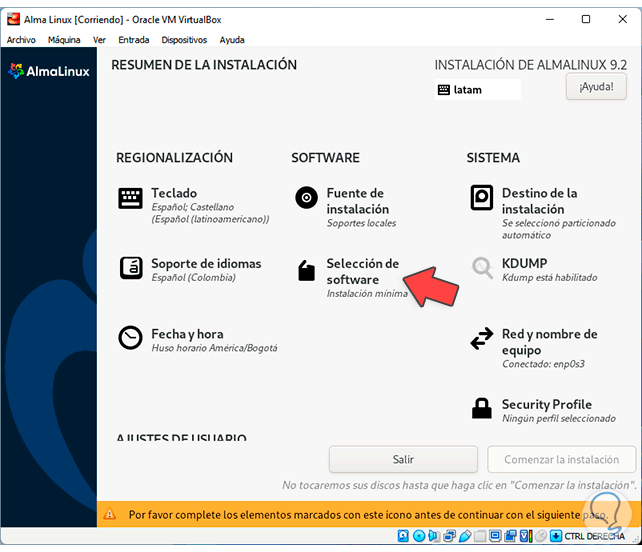
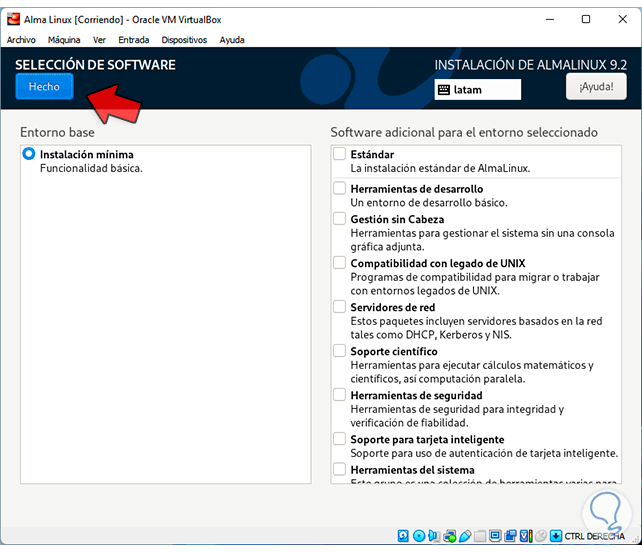
Now we select the "Software selection" option and there it will be possible to choose if something extra will be installed in AlmaLinux:
step 24
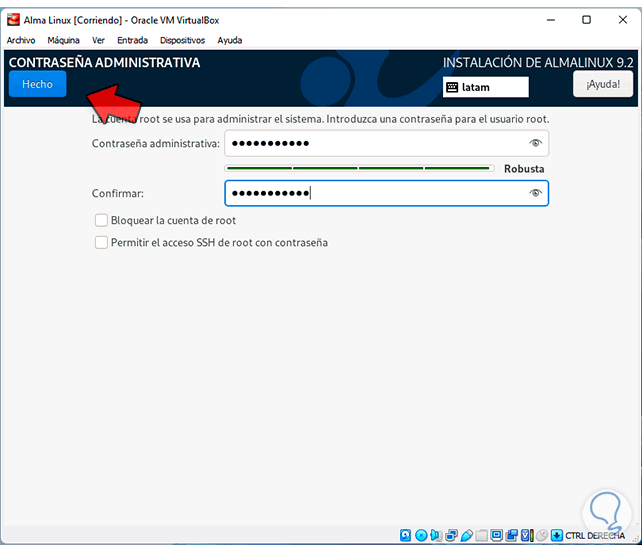
Now it is possible to use the Tab key to select the root user at the bottom, we can assign the password to this user:
step 25
We apply the changes to see this:
step 26
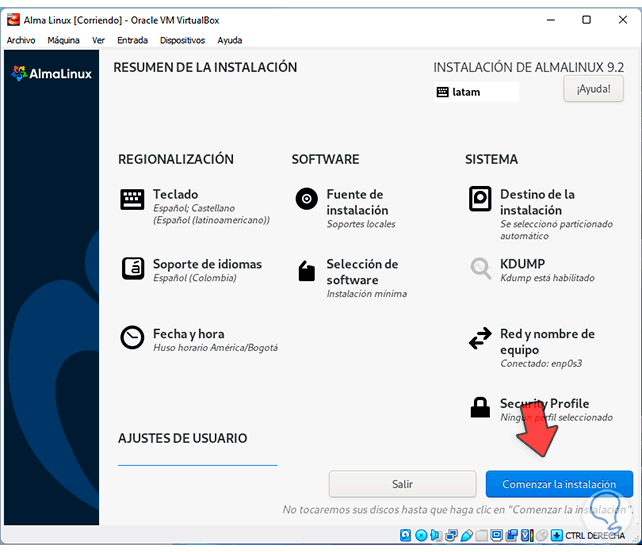
At this moment we click on "Start installation" and the installation process of AlmaLinux in VirtualBox will begin:

step 27
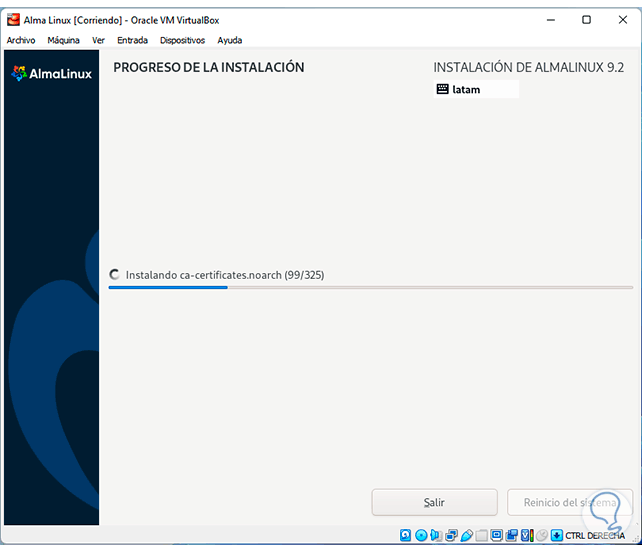
We can see that the various options are installed and configured:
Step 28
The bootloader will be created and the system configured:

Step 29
When this process is finished we must click on "System restart":

step 30
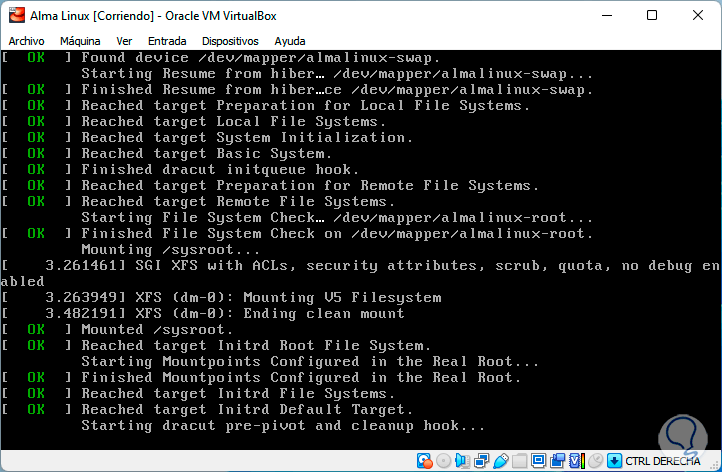
AlmaLinux will reboot:
step 31
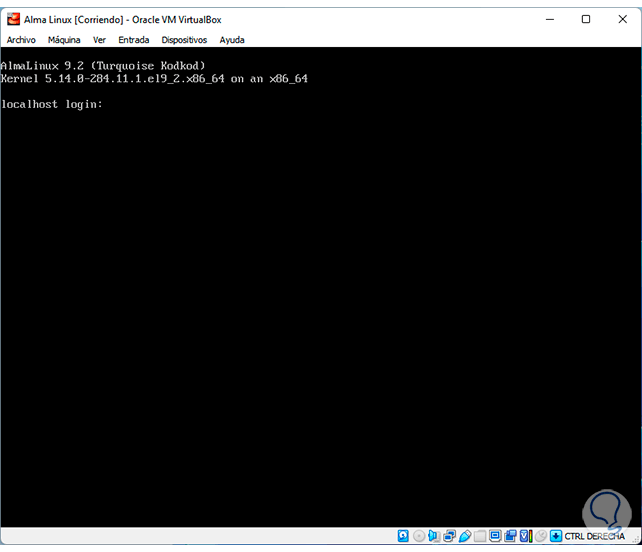
We wait for the entire system to load and we start the session:
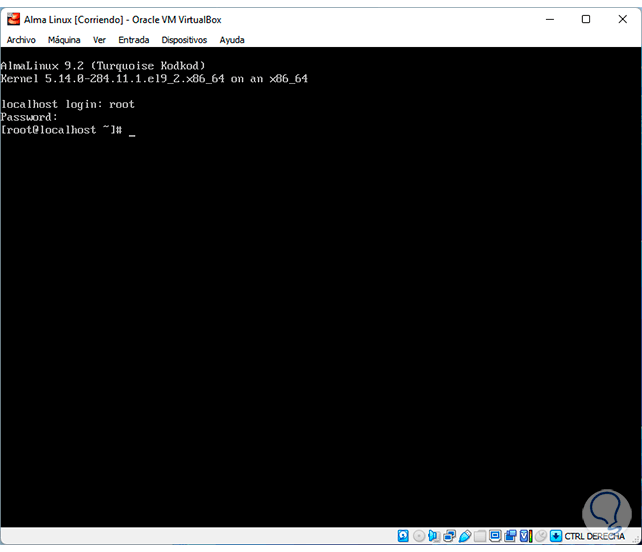
step 32
We enter the account configured to access and we can see the installed version of AlmaLinux at the top:
This is the way to install AlmaLinux in VirtualBox and have this method to test this system.