Connect a projector to your Apple MacBook step by stepStep 1: determine what you needStep 2: Connect the projector to your MacBookStep 3: choose the right settings
You have created a nice presentation and now want to present it to your colleagues. With a projector, you know exactly that the message will get through. It's not difficult to connect your Apple MacBook to a projector. If you have the right cable adapter, it'll be done in no time. We'll tell you here how you can quickly and easily connect a projector to your MacBook.
Connect a projector to your Apple MacBook step by step

In 3 short steps you are ready for your presentation:
- Determine what you need.
- Connect the projector to your MacBook.
- Choose the right settings.
Step 1: determine what you need

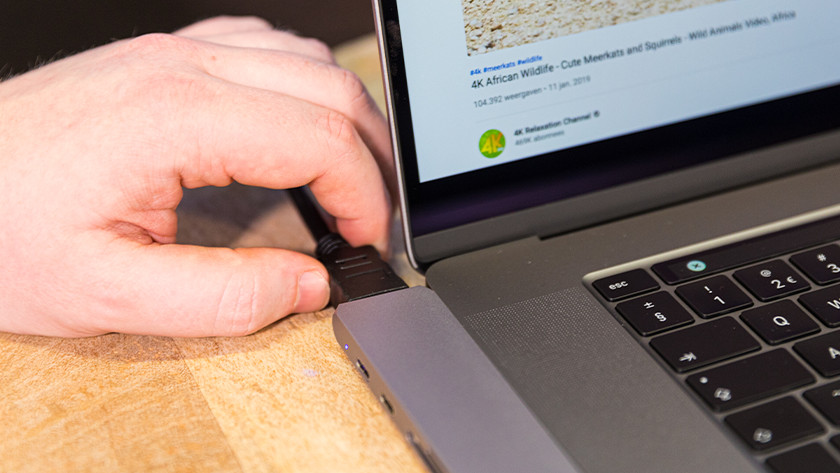
In many cases, you will need a cable adapter to connect a projector to your Apple MacBook. You connect most projectors via an HDMI or VGA connection. New models like Apple MacBook (introduced in 2015 or later) only have Thunderbolt 3 ports (USB-C). So check which connections you have. Do you only have USB-C ports? Then use a cable adapter.
Step 2: Connect the projector to your MacBook

Now is the time to connect the projector to your Apple MacBook:
- Plug the projector's power cable into the socket.
- Press the on / off button on the projector to turn it on.
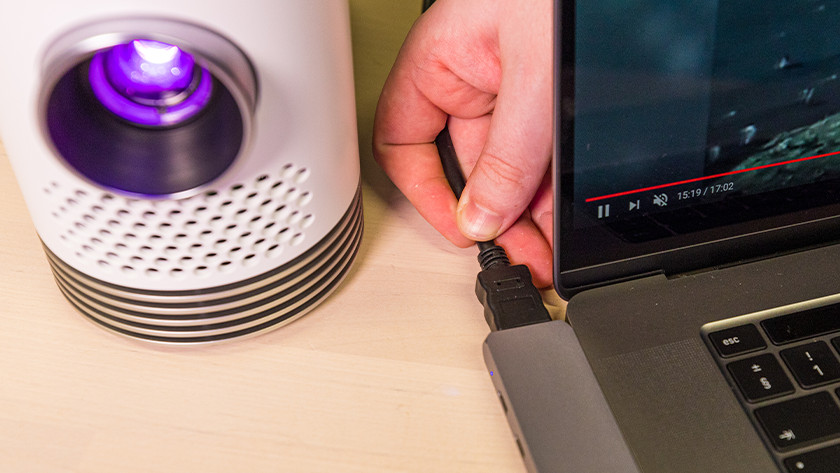
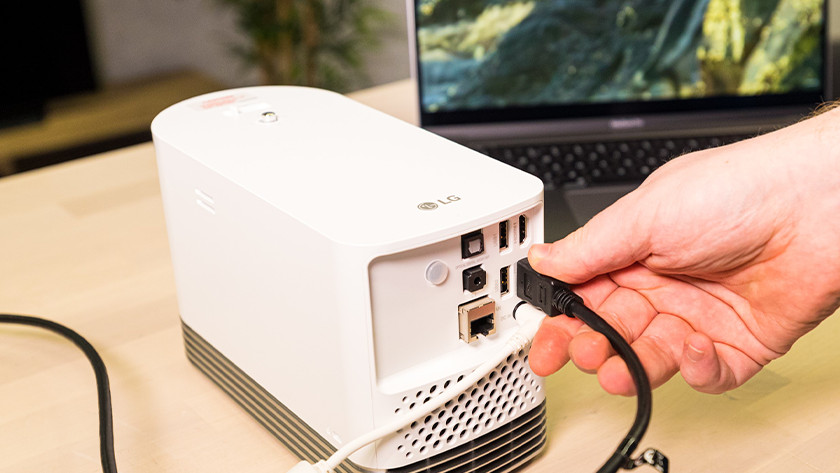
- Connect the projector to your Apple MacBook with the HDMI or VGA cable with adapter.
Step 3: choose the right settings

Do you see the picture you want right away? Then you can start your presentation right away. No picture? Then follow the steps below:
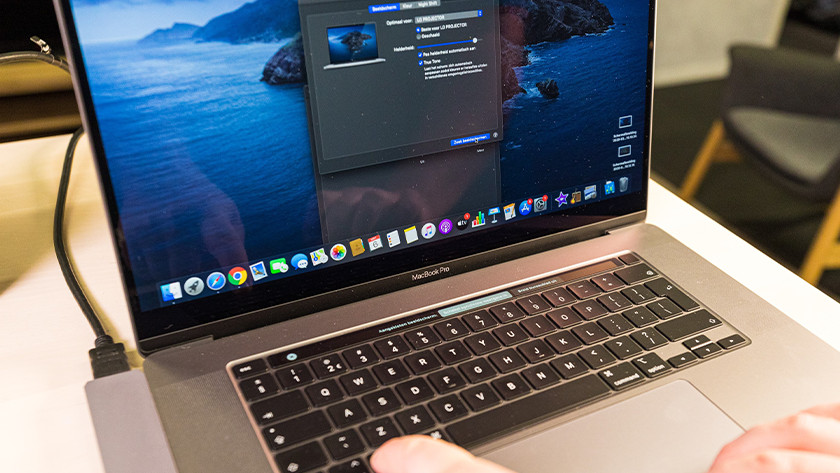
- Click on the apple in the top left corner of your screen.
- Click on System Preferences , then click Screens .
- Click on Options and click on screens seen on the bottom right of the screen.
Then you choose whether you want to expand or duplicate the image. To do this, activate or deactivate Sync Screens .