Congratulations on your new Apple Mac! Unpacked the box, plugged in and ready to set up? Here are the steps you need to follow and the options you can choose from.
Step 1: welcome
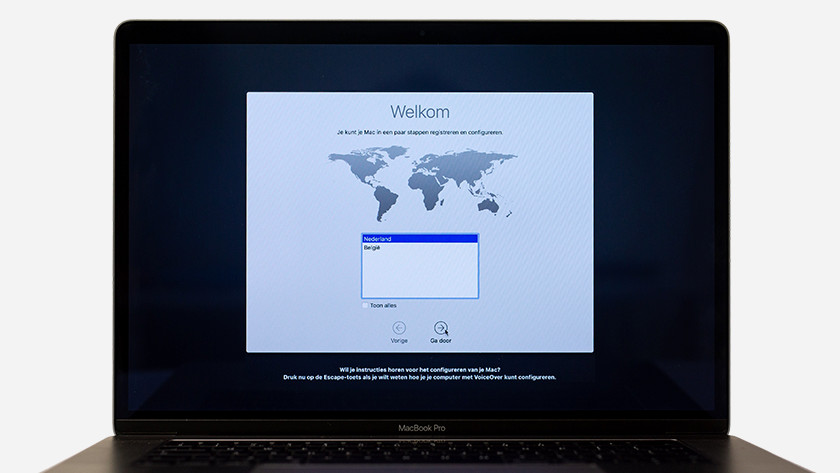
First, when you set up Apple, you will be asked which country you are from. Depending on the country, you will see different important options later in the setup process. For example, for selecting the right keyboard layout.
Step 2: select keyboard
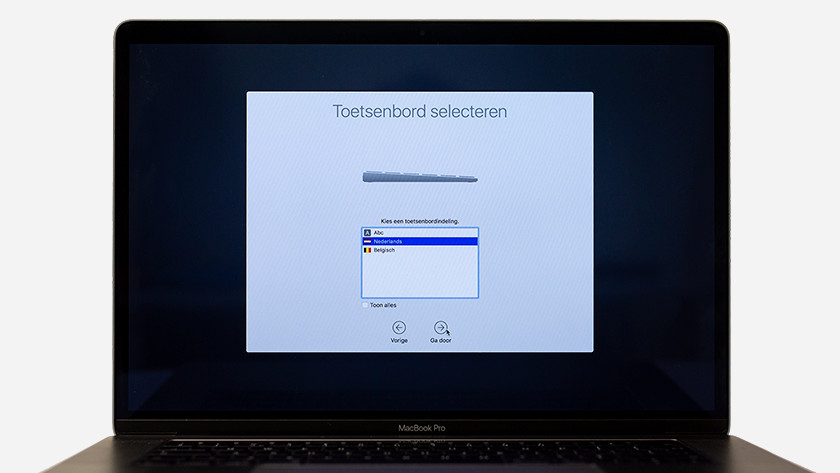
Here you can select the keyboard layout.
Step 3: Select your WiFi network
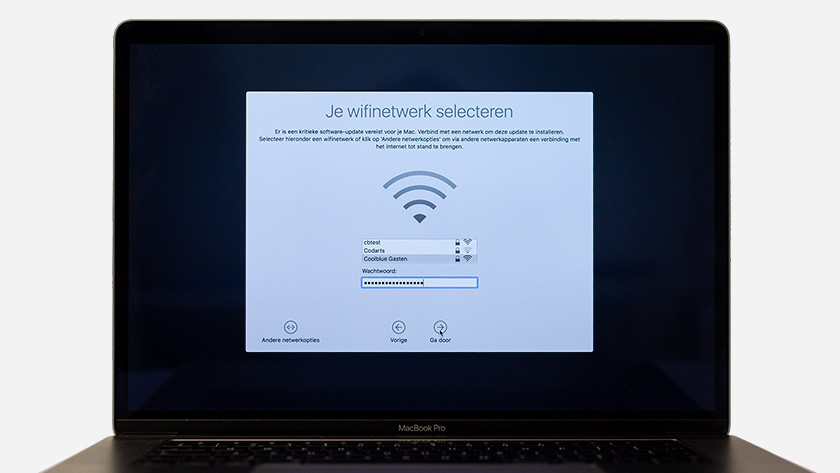
Time to connect your Mac to a Wi-Fi network. Select your network from the list and enter your password if it is a secure network. If you'd rather connect to a local network, choose Other Network Options .
Step 4: copy data to this Mac

Are you moving data from another computer to your new Mac? Do it here. Want to transfer data from another Mac? Choose the option from a Mac, Time Machine Backup, or Startup Drive .
Is your data coming from a Windows device? Select the option from a Windows PC . If you don't want to transfer the data now, choose the third option.
It is also possible to transfer the data later using the migration assistant.
Step 5: Switch on location detection
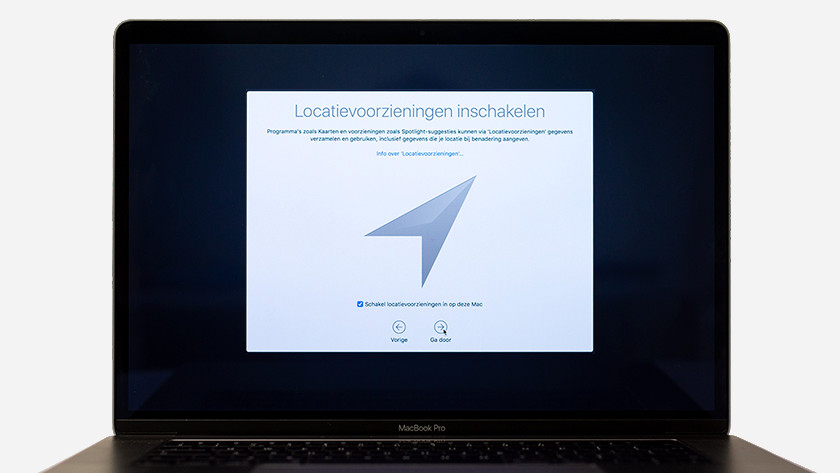
This step tells your Mac whether it can share your location with apps and websites. Many apps, like Safari, Maps, and Twitter, use location feeds to give you more specific and personalized information. The downside is that it can invade your privacy and affect your battery life.
Step 6: Sign in with your Apple ID
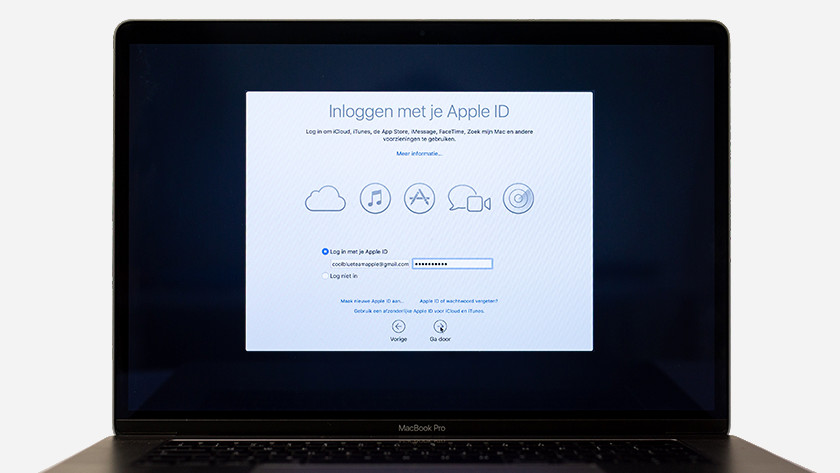
You can use an Apple ID to sign in to the App Store, iTunes, iCloud, and other apps. In addition to an email address, a password and security information, you can also link payment data to your Apple ID so that you can, for example, buy apps. You can also use your Apple ID for other devices.
You can also choose not to sign in with an Apple ID or add the account information later. Then select Don't sign up .
Step 7: conditions
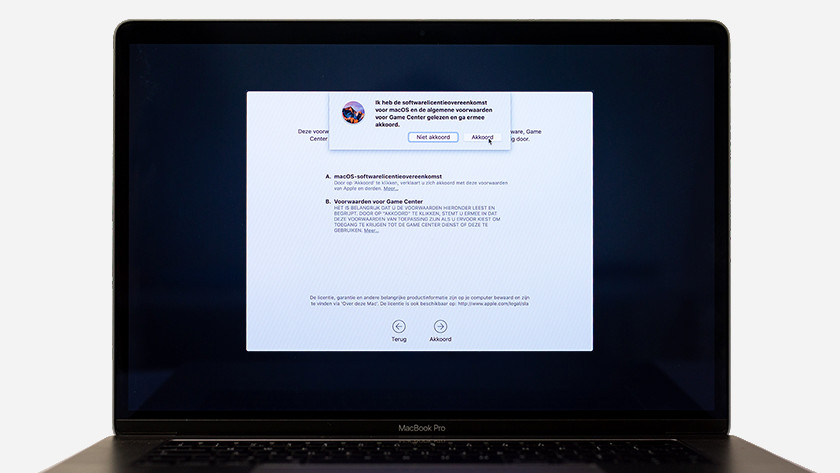
The fine print that you usually click away without reading through it. If you have the time, however, you should read it carefully. If you agree to them, then click Agree .
Step 8: create a computer account
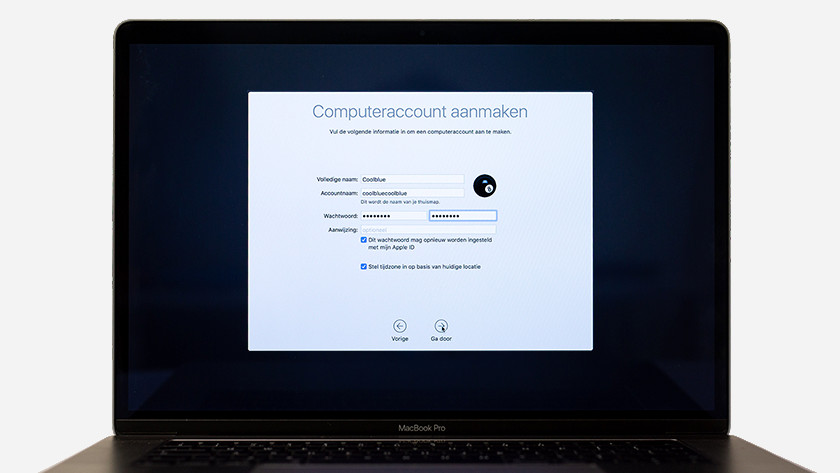
Here you enter your name and your account details. The account name you enter will also be the name of your personal folder, and you will see it over and over again when you use your Mac. Also think of a good password. One that is not too easy to guess, but also one that you will easily remember. If you forget later, you can ask for a hint. Enter the clue in this step.
Step 9: Select the time zone
If you have not activated the location services in step 5, you can inform us here in which time zone you are. This will help your Mac know what time to show, for example.
Step 10: diagnosis and application
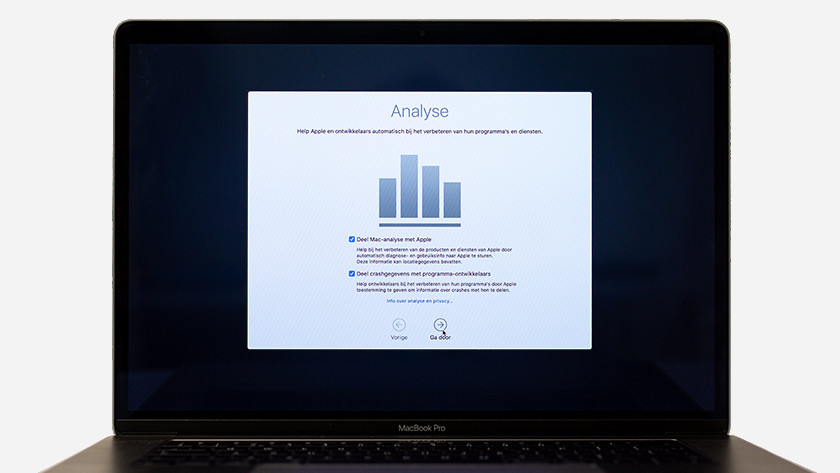
Would you like to give Apple a hand in the further development of their apps? Then you can tick the two options for forwarding the user information and sharing the crash data.
Step 11: turn on Siri
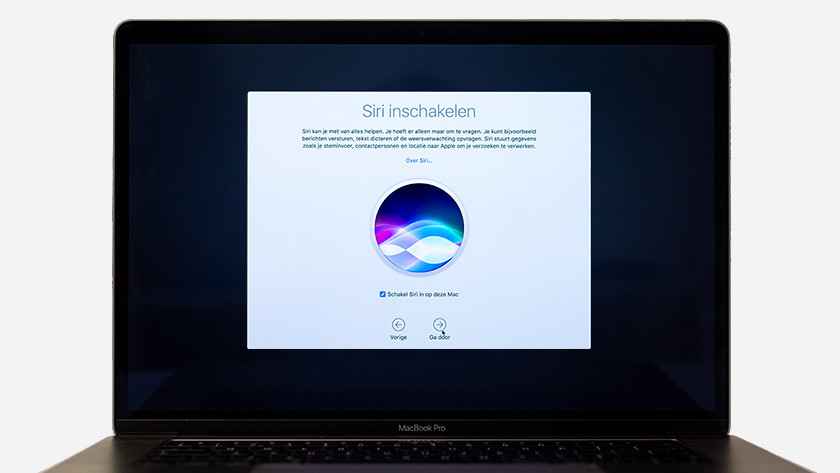
Siri is Apple's personal assistant who works with speech recognition. For example, ask your Mac what the weather will be like tomorrow, or start an app, or do a math problem for you.
If you don't turn it on now, you can still turn on Siri later.
Step 12: Touch ID
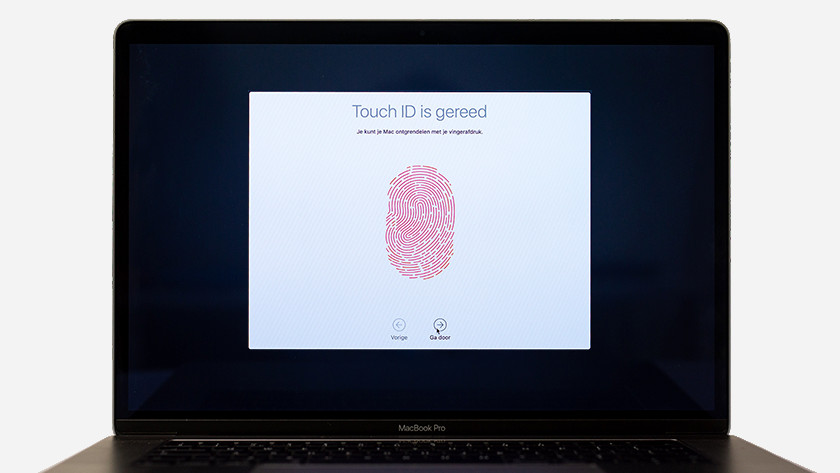
Your Apple MacBook has Touch ID. In this step you will configure the fingerprint reader. Place your finger briefly on the reader, which is located on the right above the keyboard. Then the pages of your fingerprint will also be scanned so that you can easily log in with Touch ID.
Get to work!
And then it's over. Your personal settings are saved and your Mac is ready to use. Have fun!