Step 1: Open SettingsStep 2: Go to the printer settingsStep 3: add the printerOptional: use a wired printer
A Chromebook is used differently than a MacBook or laptop with Windows 10. Installing a printer also works a little differently than you might be used to. In this article you will read how to connect a Chromebook to your printer.
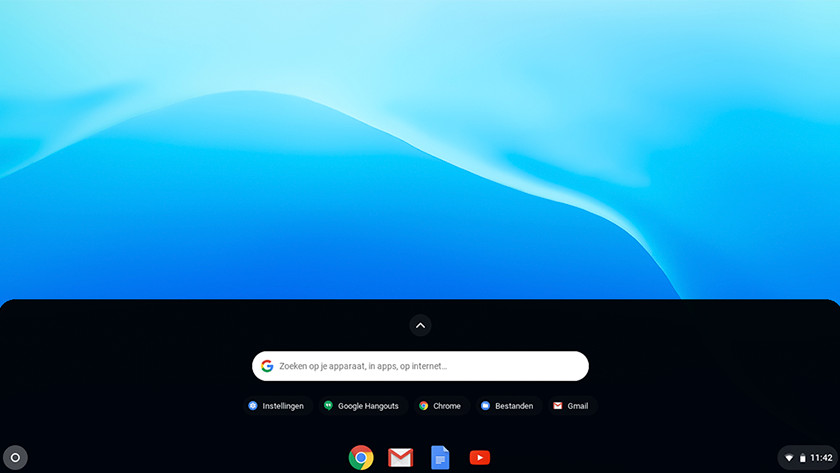
Step 1: Open Settings

Turn on your printer and make sure it's connected to the router. Then follow these steps:
- Open Google Chrome on your Chromebook and click on Settings.
- Open the hamburger menu in the top left.
- Click on Advanced .
View all Chromebooks
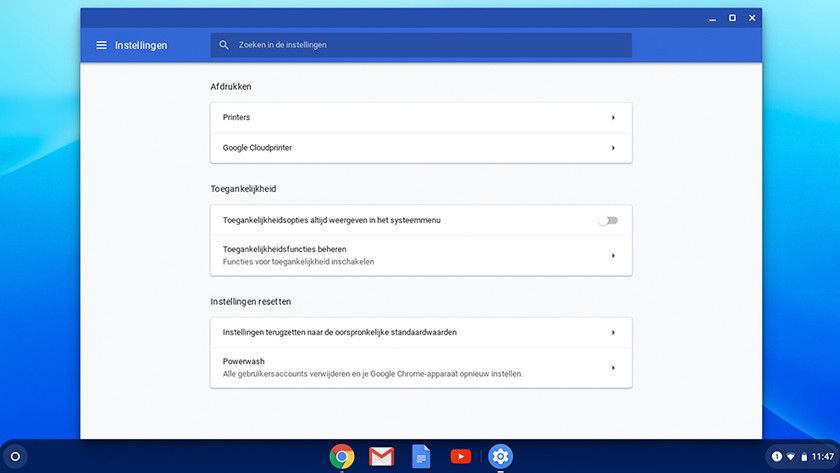
Step 2: Go to the printer settings

You will now see a new window. Scroll down or use the search bar at the top and click Add Printer .
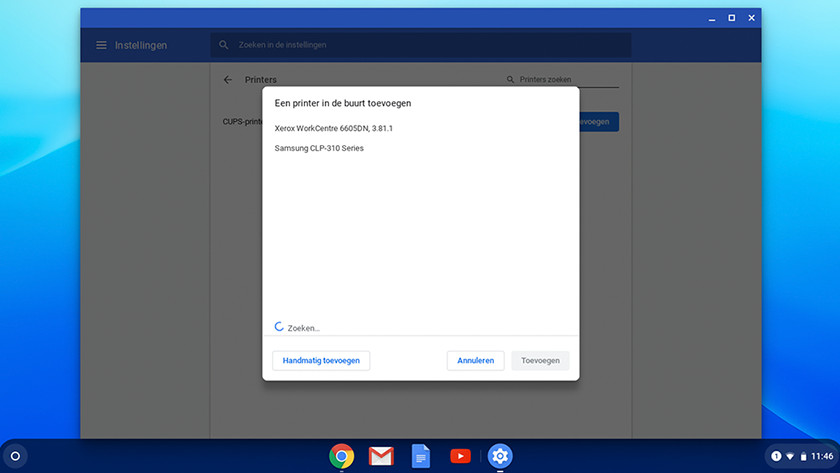
Step 3: add the printer

The Chromebook will now search the network for printers connected to the network. Wait for the printer to appear. Select the printer and click "Add".
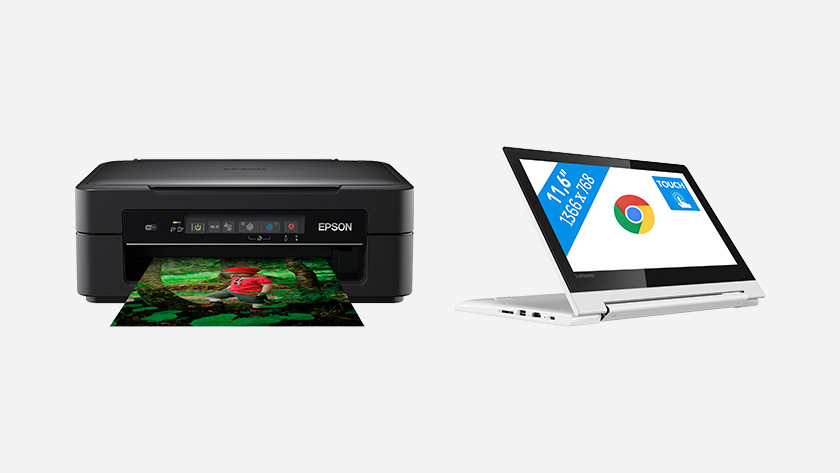
Optional: use a wired printer

Make sure the printer is turned on and connect it to your Chromebook with a USB cable. Then follow the steps below:
- Open a file that you want to print.
- Click on the settings in the top right corner of the Chrome screen and select "Print" from the expanded menu.
- On the next page, click on "Change" on the left and then select the printer. Then you can start the printing process.