You bought a new Chromebook and are turning it on for the first time. This article will walk you through the steps to take when using your Chromebook for the first time. So you can quickly start surfing, typing and watching movies.
preparation
Preparation is half the battle. Before you turn on your Chromebook, make sure that the following are okay:
- The charging cable is connected to your Chromebook.
- You have access to a WiFi network in the area.
- You have access to the login data for the WiFi network.
- The login data for your Google account. Don't have a Google account? Then you can create one during the installation.
steps
This article discusses the following steps:
- Language settings and internet connection.
- Set up WLAN.
- Agree to the terms and conditions.
- Log in.
- Here we go.
Step 1: Language settings and internet connection
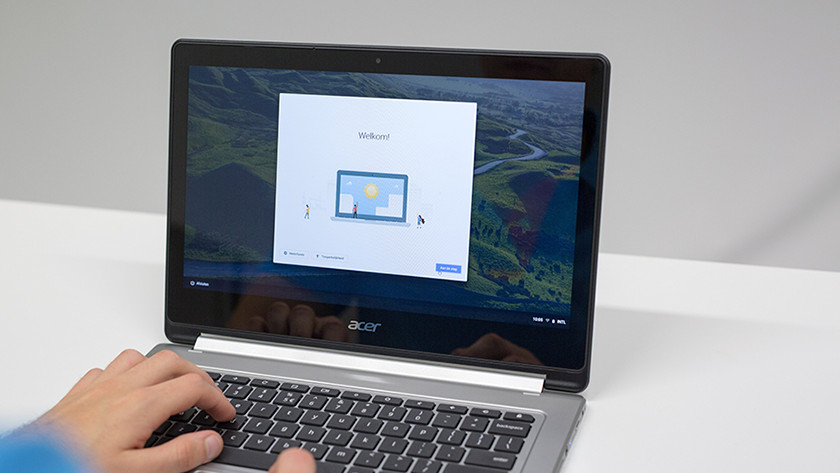
Press the power button on your new Chromebook to launch Chrome OS. You will then see a welcome screen in which you can configure the language, keyboard settings and your WiFi network. Follow the steps below:
- Click on the bottom left to set the language in which you want to use the Chromebook.
- If necessary, click Accessibility to adjust the text size and input method.
- Then click on Let's go .
Step 2: Connect to the Internet
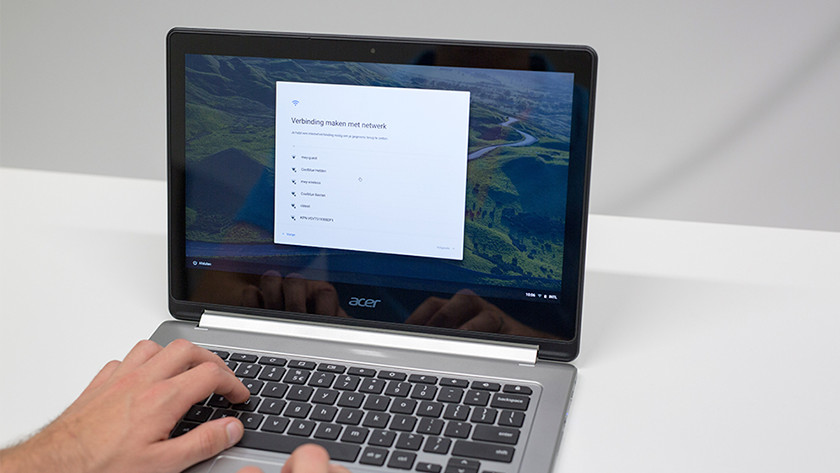
This step provides a list of Wi-Fi networks that are available in your area. Here click on the network you want to use. Do you have a secure network? Then you also have to enter the corresponding password to establish a connection. Then click on Connect .
Step 3: the terms and conditions
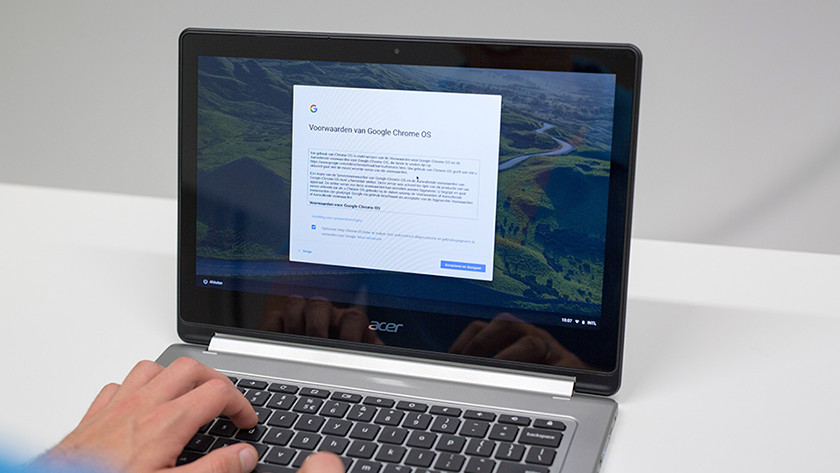
The next window will show the 'fine print' that you'll need to agree to before you can use the Chromebook. Read the terms and conditions carefully and, if necessary, tick the box to send error messages and user data to Google. Click Agree and Continue . The Chromebook is now checking for updates.
Step 4: Sign in with your Google account
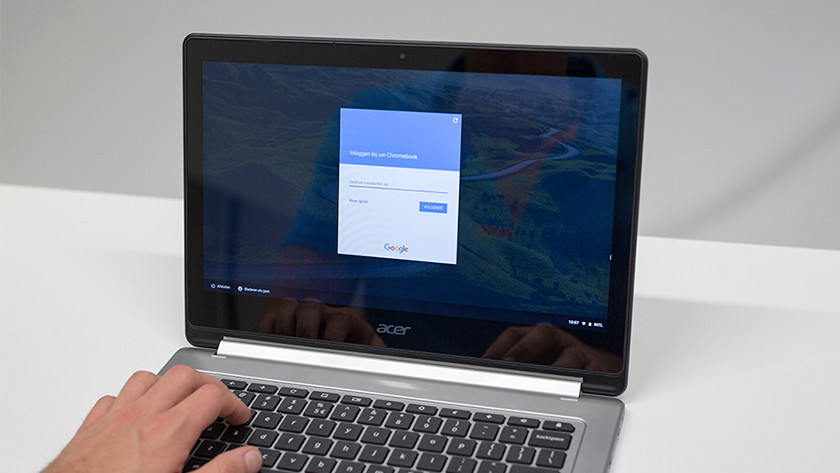
In the next window, sign in to your Google account. You can use this account to sign in to your Chromebook. This account is also used to store everything you do on your Chromebook in the cloud. That means your files, applications and settings will never be lost again. Enter your email address and click Next . Then enter the appropriate password and click Enter .
Don't have a Google account yet? Then click on More Options in the login window and create a new account.
Step 5: let's go
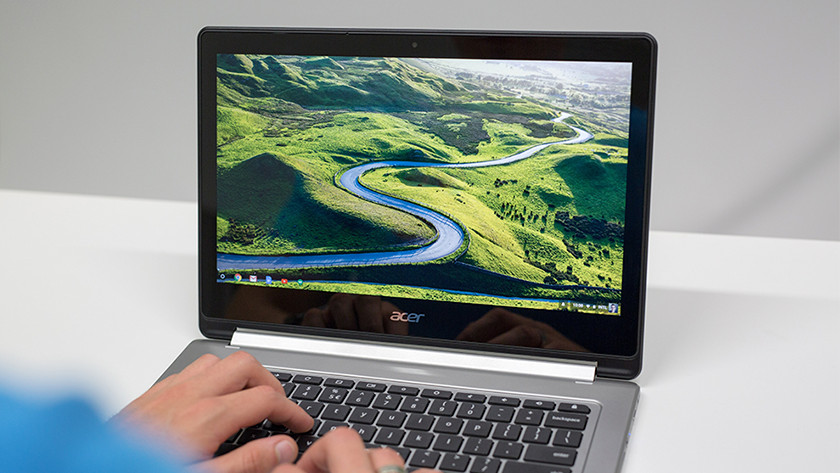
Your Chromebook is installed, and you can get started with emailing and surfing the web. In the next window you can possibly take a 'tour', during which the basic functions of your Chromebook will be explained to you. Treat yourself to a cup of coffee or tea and enjoy your new Chromebook.