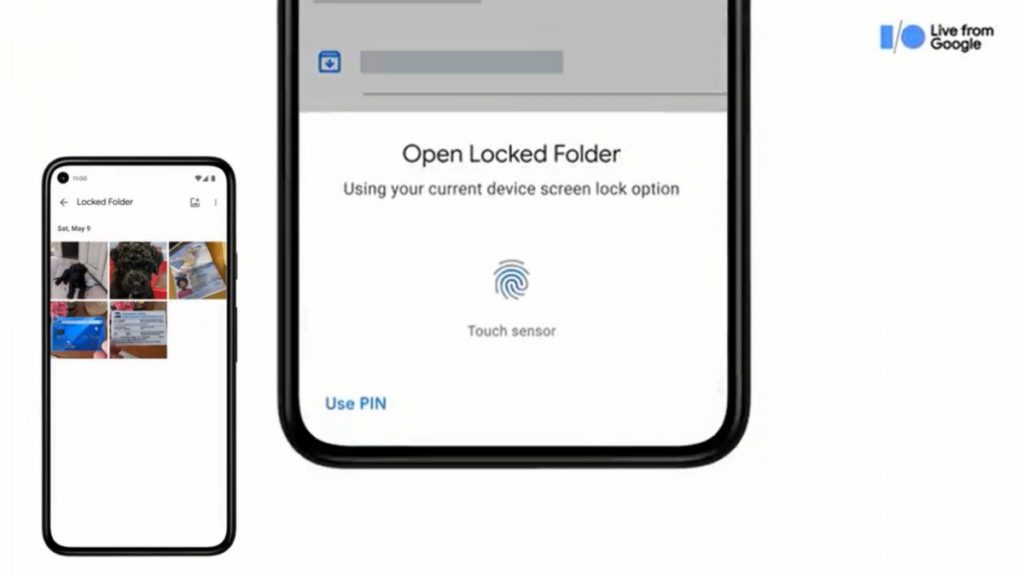
Although we have been able to hide intimate photos in Google Photos for a long time, the truth is that, for many years, as users we demanded that the people of La Gran G take a step forward in this regard, incorporating some more specific tool in terms Of privacy. Fortunately, they have listened to us, and if you want to keep one or more of your images and / or videos away from the eyes of others, in this article you will learn how to use the locked folder in Google Photos, a space inaccessible to others within the app ..
As we know, Google Photos is a really interesting service if what we want is to access all our treasured memories in photographs and images from anywhere, via cloud storage. Now, it is possible that, for security reasons, you do not want all those files to be there, hanging around, at the mercy of someone with bad intentions to get to them.
As we said, fortunately the people of Google have heard these claims, and although it is no longer free and there are alternatives to Google Photos that are, it allows us to take advantage of the locked folders to be calm..
The locked folder will prevent people who use your mobile from seeing the stored contents unless they know the device password, but it will also prevent those contents from being synchronized in the cloud .
It is a function that was originally introduced in Pixel devices, but that is gradually reaching all those Android that run versions after Android 6.0 ..
How to create a locked folder in Photos?
The procedure to create a locked folder in Photos is remarkably simple:
- Open the Google Photos app on your smartphone
- Tap on the Library tab at the bottom of the page
- Now click on Utilities, at the top of the page
- Select Configure locked folder
- Follow the instructions on your mobile
Then, a locked folder will appear that you will only be able to access by entering a specific code, or a fingerprint . Naturally, they are the same ones that allow access to the telephone .
You have to bear in mind, of course, that the files that you store in that folder will not have automatic copies in the cloud. Therefore, they will not be protected against the eventual loss of the device .
How to add photos or videos to the locked folder?
- Access the locked folder with your code or fingerprint
- Select the Move items button, inside the empty locked folder
- Go indicating all the photos and videos that you want to move, selecting them in a single step
- Unlock the locked folder again, and wait for the contents to move
That's it, in just a few seconds, you will have your most sensitive content stored in Google Photos.

What to do after setting up a locked folder?
Once you have your locked folder, you can add more and more photos within it , selecting them in the application from the three-dot menu button and clicking on "Move to locked folder . "
You also have the ability to access the locked folder from your Pixel's Camera application. Eventually. the images you take will be stored directly in the locked folder.
Lastly, if you are running out of storage, you can always back up all the files on your computer. By cleaning them on the phone, you will have space in your locked folder again.