Although macOS is a safe and stable operating system, that is no guarantee against problems or operating errors. Folders, programs or files can easily be moved to the trash. Apple's automatic save function is also a source of eternal annoyance: pictures, documents and other files are quickly overwritten. Fortunately, there is Apple's Time Machine: If the backup is running on an external hard drive or NAS, you can restore the file or the entire Mac at any time. Apple's Time Machine now also runs with APFS. That's how it works:
You can find out how to create a Time Machine backup on your Mac here.
Restore Mac completely
Restoring a complete Time Machine backup works both when setting up a new Mac or a Mac with a new hard disk, as well as when it is already set up ..
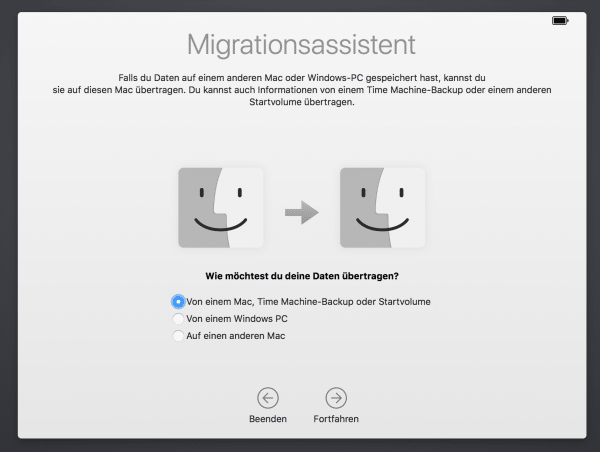
Apply Time Machine backup to Mac setup
When you start using a new Mac, macOS asks during setup whether you want to import a backup. Choose From a Mac, Time Machine Backup, or Startup Disk, and connect your old Mac's backup hard drive. Then click on " Continue ". Now select the backup hard drive and click on “ Continue ”. The read back process then starts, which may take a while depending on the size of the backup.
Apply Time Machine backup to a Mac that has already been set up
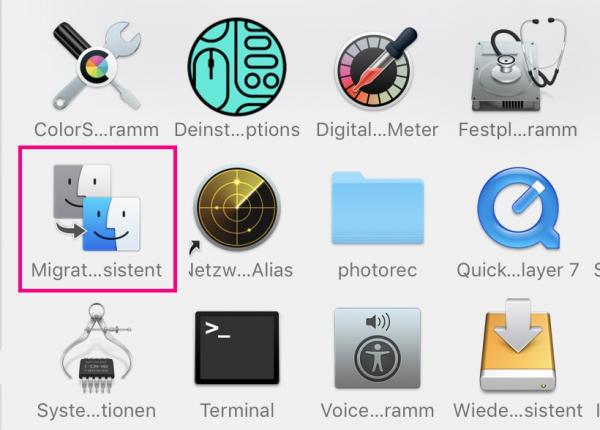
If you've already started using your Mac, that's no problem either: Apple has a tool for this , the migration assistant . You can find this in / Programs / Utilities . Start the program, which first closes all programs and switches the Mac to migration mode. Then the procedure is identical to step 1 of this paragraph..
Recover lost files
If you accidentally delete a file or folder, you can easily restore it using Time Machine backup:
1st step:
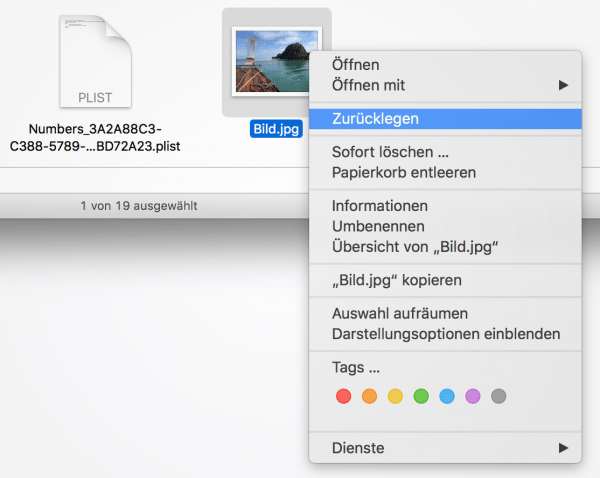 Before you restore a file with Time Machine, you should check your Mac's Recycle Bin , which is in the Dock: the deleted file may still be there. If so, you can simply drag them to the desktop or right- click them. Select “ Put back ” to put the file in its original location.
 2nd step:
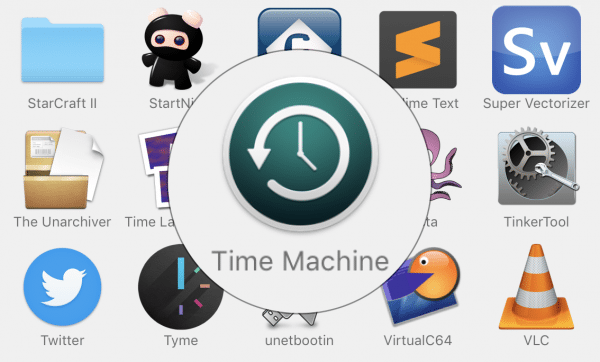 If the file is no longer in the trash, Time Machine comes into play. Make sure you have connected the backup drive and then open the Applications folder . Here you will find the “ Time Machine ” app , which you can open with a double click .
 3rd step:
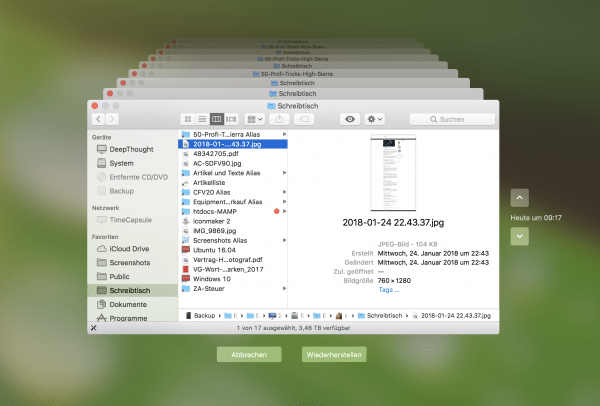 Time Machine will now show you a Finder window with other Finder windows stacked behind it. First, navigate to the folder from which you deleted the file .
 4th step:
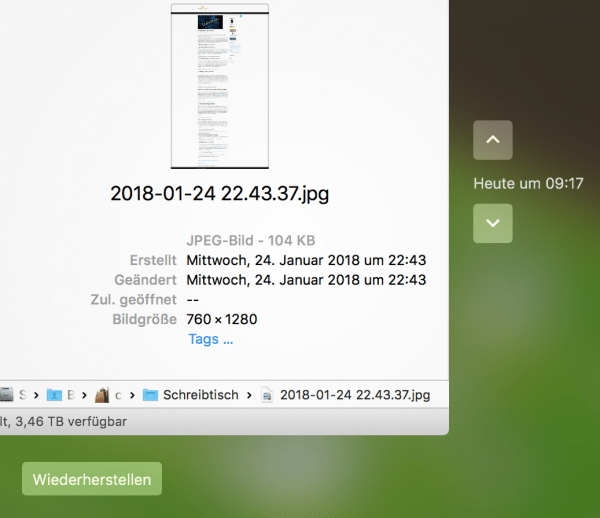 Now click the arrows to the right of the Finder window : clicking up takes you back in time. Repeat until you see the file. You can then get them back from the backup by clicking on " Restore ".
 5th step:
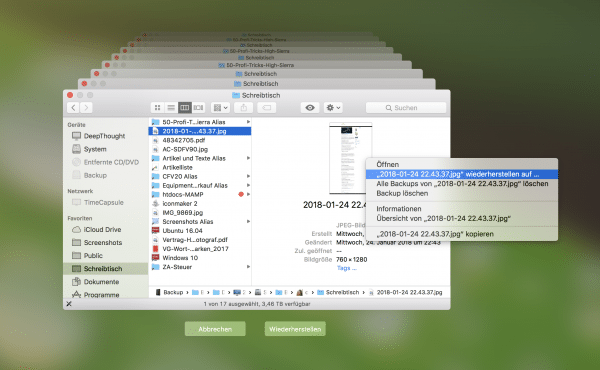 Sometimes it is necessary to restore a file to a different location. You can do this by right-clicking the file and selecting " Restore (file name) to ... ". Then macOS offers you a folder selection in which you can save the file.
 Alternatively, you can also reset files to a different processing status : For this, a second Time Machine backup runs on every Mac , which saves the files locally. The function is useful if, for example, you have edited an image with Preview and then closed it, which meant that the editing could no longer be undone with [CMD] + [Z] :
1st step:
 Open the file that you made edits to that you now regret. In the menu bar of the program, select " File " -> " Reset to " -> " Search all versions ".
 2nd step:
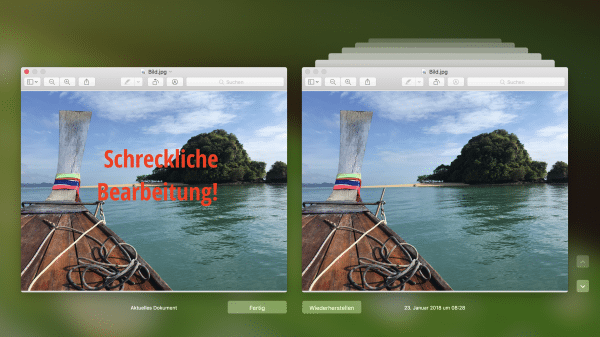 Now a Time Machine window opens in which you only see the file. To the right of this you can see all the cached versions . Click the up arrow until you find the version you want to revert the file to and choose Restore .
 3rd step:
 Alternatively, you can also save the older file version elsewhere: Hold down the [Alt] key : “ Restore ” becomes “ Restore a copy ”. If you click here, you can choose the location.