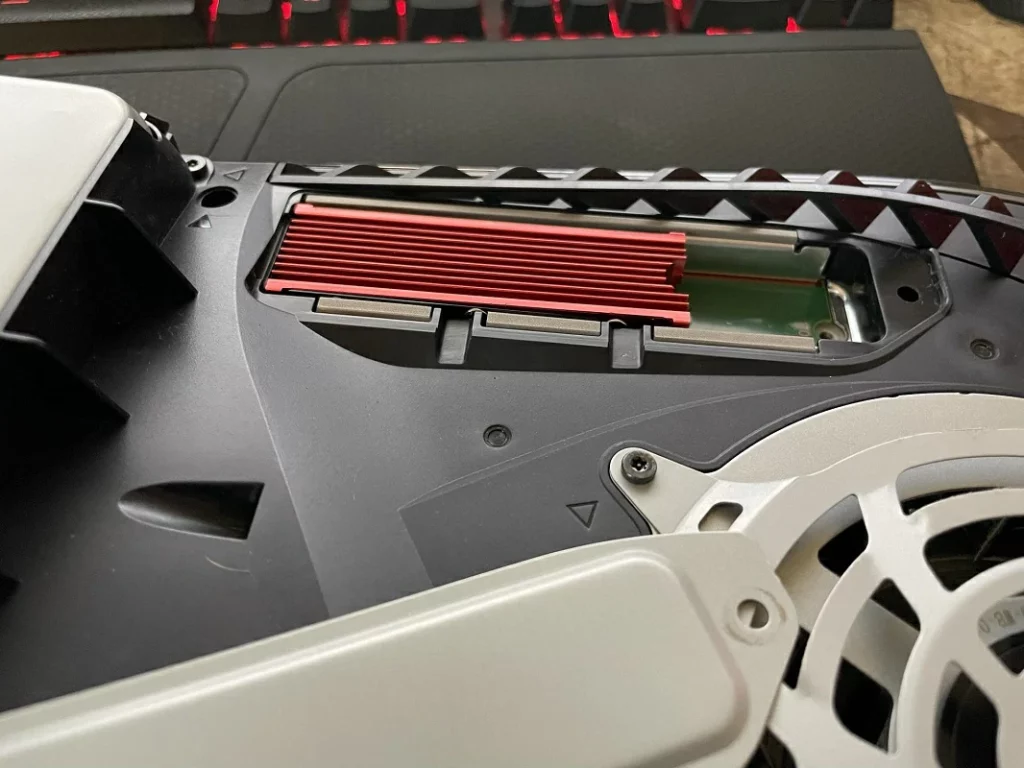
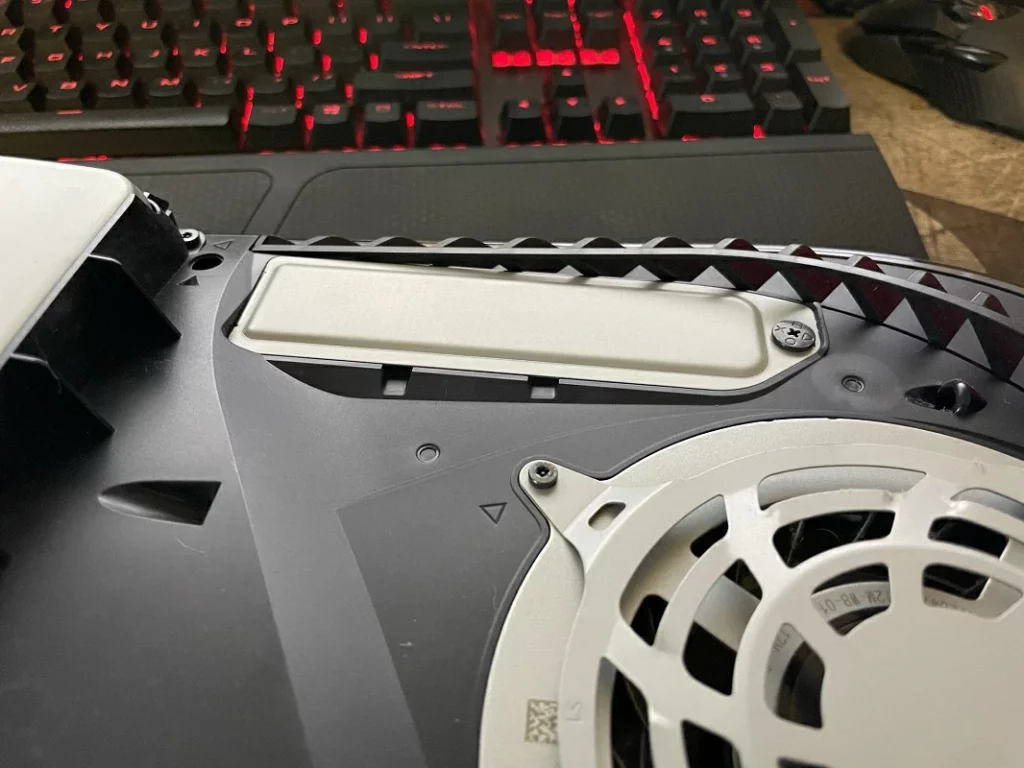
- A heat sink can be a must-have accessory for your console's SSD drive if you tend to push it too hard, requiring it to run today's most demanding games.
- Carrying out the installation of the heat sink on PS5 is not too complicated, even less if you have placed the SSD disk before. Anyway, knowing the steps is always helpful.
If you have come to this article, it is because you have probably already taken the trouble to install an SSD drive to your PS5. There are not a few users who consider that this is the best possible solution to make the most of all the potential of the recent Sony machine. Well, if you tend to push your video game console to the maximum, you should probably learn how to install a heat sink on the SSD of your PlayStation 5 ..
The truth is that if you have already carried out this procedure, surely installing a heat sink on the SSD disk of your PS5 will seem like a piece of cake, but since it may have been carried out by a third party, or that you suffer some difficulties, we are going to teach you what are the steps you have to follow in this type of circumstance.
Something that you have to take into account, especially if you have not yet bought the heatsink and you are thinking of doing so, is that you should check if it is a double or single-sided heatsink, because although the former are more powerful, will require you to remove the SSD . The second, less powerful, are easy to install..

Place a heatsink on the SSD disk of the PS5 step by step
Well, now that you have the heatsink, let's get to know all the details of this procedure :
- Take the back corner of your PS5 cover and remove it with force, feeling the classic "click"
- Immediately afterwards, do the same with the left front corner, pulling up until you hear another click
- To finish removing the cover, you must lift it up while sliding it towards the base of the PS5
- With the cover removed, you have to make sure that the fan and the metal cover are in front of you
- Take a Phillips screwdriver, and remove the retaining screw located on the metal panel
- Remove the metal panel and unscrew the screw holding the SSD drive
- The above items aside, the metal spacer should be inserted into one of the cutouts, so you should check the size of your SSD, combining it accordingly, and fixing everything in place
- To replace the cover on your PS5, you must carefully align the tabs and slide it up from the base towards the fan while pushing down until it clicks into place.
In short, adding a single-sided heatsink like the Sabrent model is as simple as placing it where the SSD shroud normally is, but for a double-sided one you have to hold the drive steady with tape .
Because heat sinks are meant to disperse heat, they usually have a simple design . Sometimes they can be a single piece of metal with a strip of silicone gel in the middle . All you need to do to connect one is place it over the drive and screw it into place, following some tutorial on YouTube.

conclusions
Although it can be a little intimidating to open your PS5 for the first time, you can be sure that it is worth it . The built-in SSD only has around 667GB of usable storage, and with some games reaching almost 100GB, that leaves little headroom. So if you don't want to keep deleting and re-downloading games, a new SSD is the way to go. But you must make sure that it is 100% compatible..