An issue in Windows 11, and in general in all editions of Windows, that is very careful due to its impact on the system are environment variables. These variables are basically strings that hold environment information for both the system and the currently logged in user..
When an application is installed, it is possible that it uses that information to determine the location of the files and the environment refers to the execution time in which a program is executed in Windows 11.
In Windows 11 we normally make use of many of these variables but we do not know its functionality, for this reason TechnoWikis will explain how to access and use some of these environment variables.
To stay up to date, remember to subscribe to our YouTube channel!
SUBSCRIBE ON YOUTUBE
1 Windows 11 Environment Variables | Access
Step 1
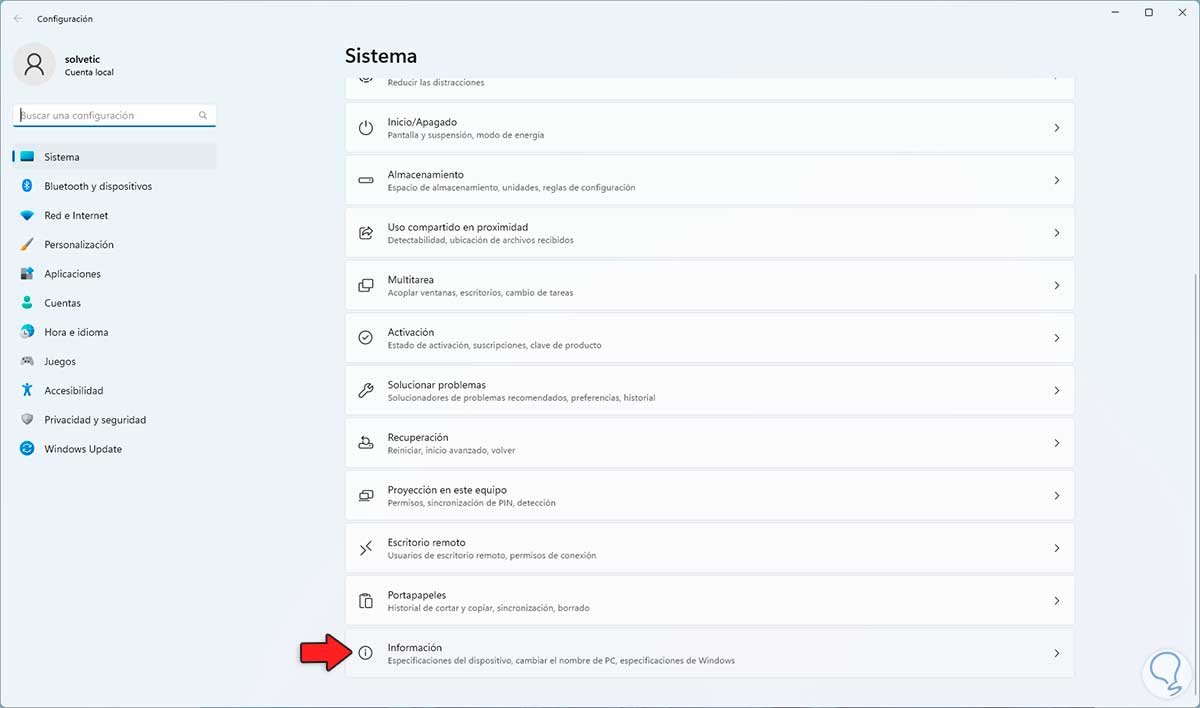
To see the environment variables in Windows 11 we go to "Start - Settings - System - Information":
Step 2
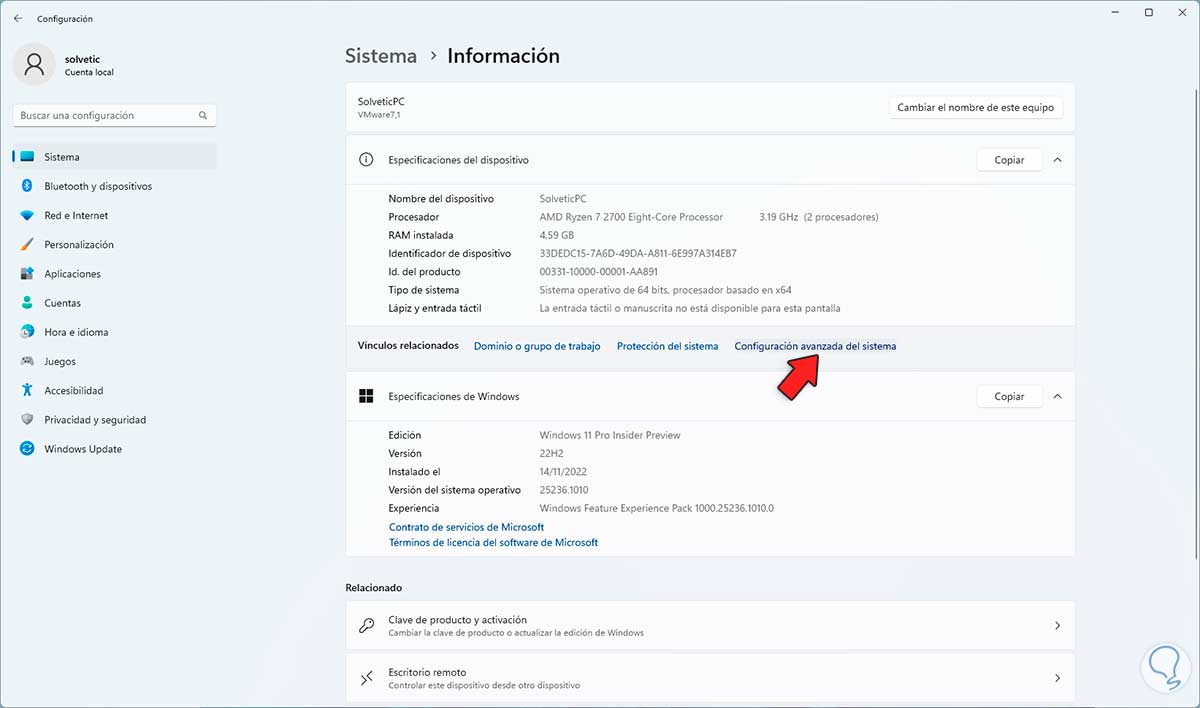
We will see the following when accessing there:
Step 3
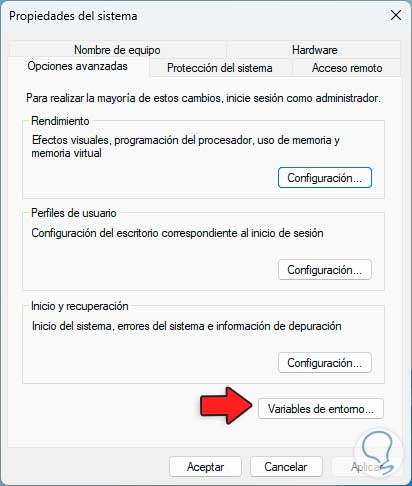
We click on "Advanced system settings" to see the following pop-up window:
Step 4
We click on "Environment variables" and we can view the system and user variables:
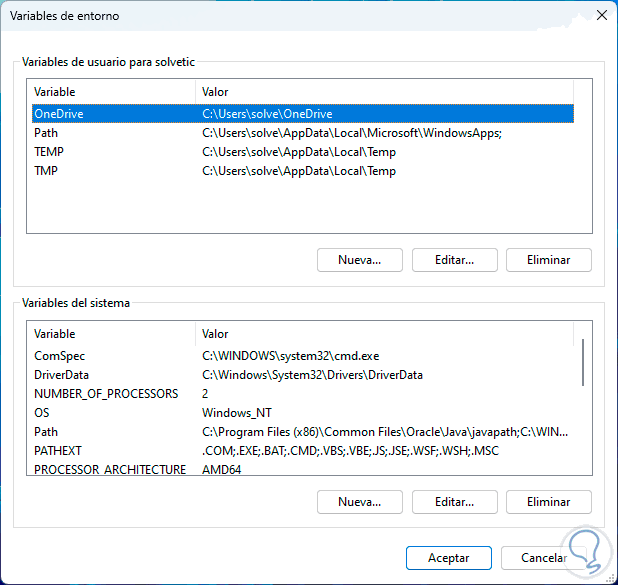
For system variables, an administrator user must be the one who accesses to modify said system environment variable. These system environment variables are defined by the Windows system itself and will be applied to all users of the computer, with them all the changes that we do will be written to the Registry and a reboot will be required for them to be applied..
In the case of user variables, these can be managed by a normal user in tasks such as adding new variables, editing or removing them. These variables are defined by the Windows installation program as well as by some programs and users. When editing them, the changes will be written to the Registry and normally do not require a reboot.
2 Windows 11 Environment Variables | commands
Step 1
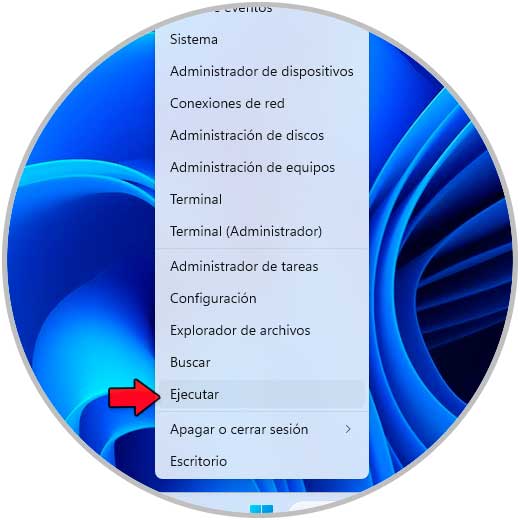
Now we are going to see a little about these variables, we will basically work with Execute and with the CMD console, we open Execute:
Step 2
To list the AppData Roaming folder which allows user login information to be transferred from one device to another we execute:
%appdata%
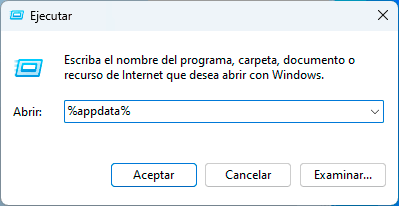
Step 3
Click on OK to see said folder:

Windows applications generally store temporary data and settings in the AppData folder, within AppData we find the folders:
- The Local folder which is used to store data specific to a Windows system, i.e. the data is not synchronized between multiple computers
- The LocalLow folder which is identical to the Local folder except that there are applications running with restricted security settings
- The Roaming folder in which data is stored to be synchronized across multiple Windows systems simultaneously
Its default value on drive C is C:\Users\{username}\AppData\Roaming.
Step 3
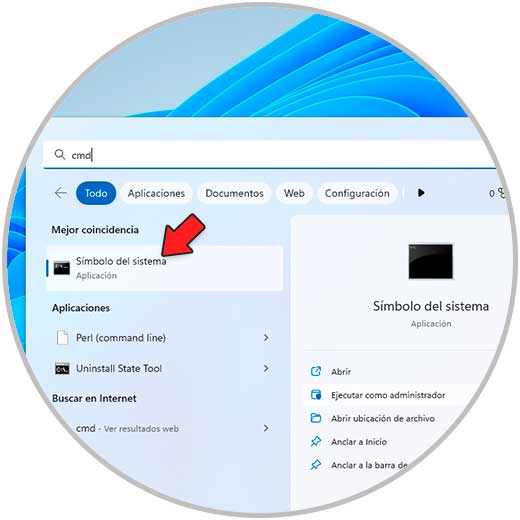
Now we open CMD as administrators:
Step 4
To see the current execution directory we execute the following:
echo %cd%
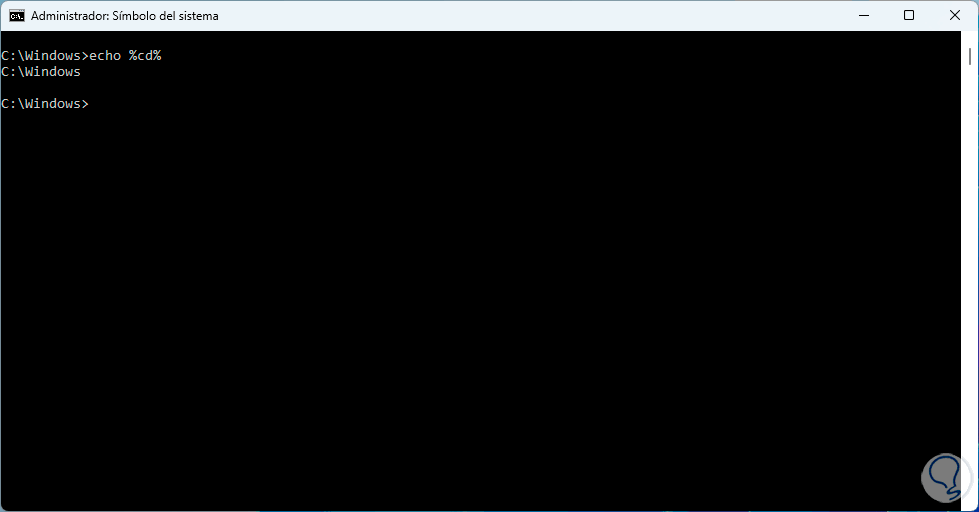
The CD (Change Directory) command allows you to change directory paths in both the command prompt and PowerShell..
step 5
The paths where both 32-bit and 64-bit applications are installed can be accessed by running the following:
echo %CommonProgramFiles% %CommonProgramFiles(x86)%
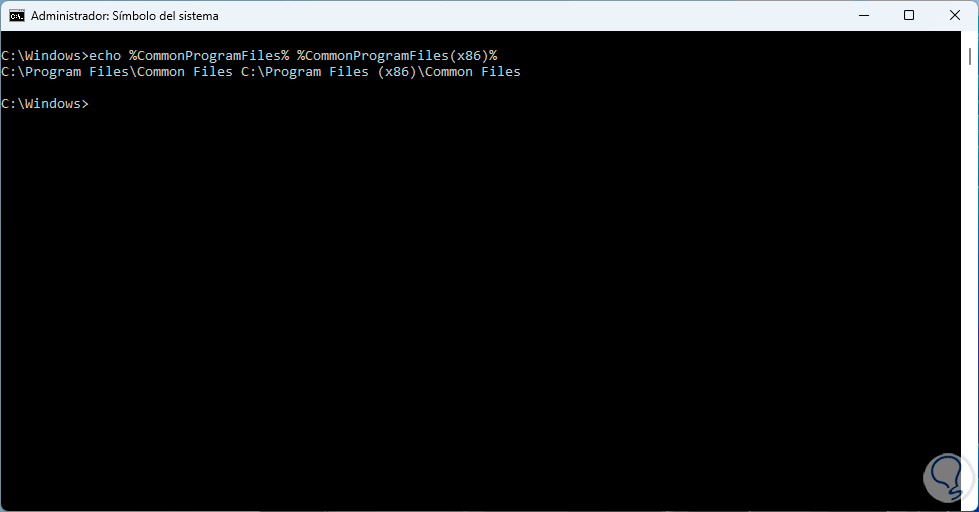
Remember that the path %CommonProgramFiles% indicates that 64-bit applications are located there, while %CommonProgramFiles(x86)% includes 32-bit ones.
step 6
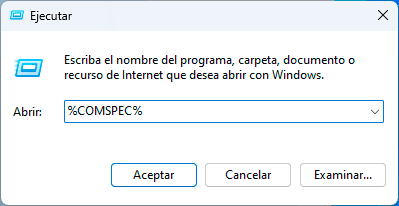
We open Run and to open the command prompt in the path "C:\Windows\System32\Cmd.exe" we execute the following:
%comspec%
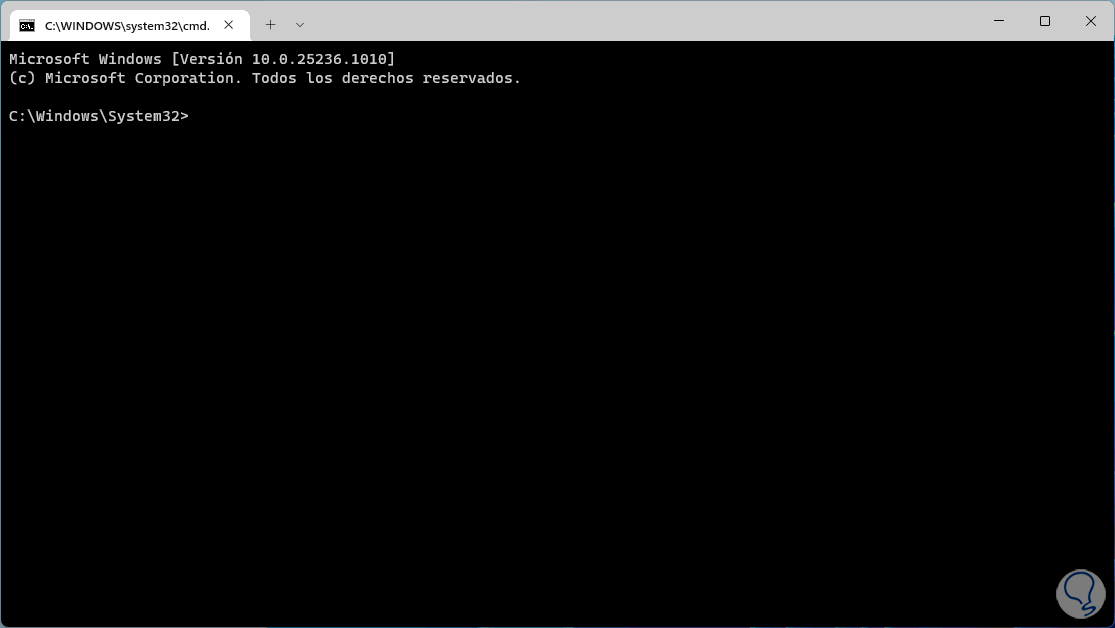
step 7
Clicking on OK will open the CMD console as administrator:
step 8
The %comspec% paths are:
C:\Windows\System32\cmd.exe or in case of running a 32-bit WOW it will be the path C:\Windows\SysWOW64\cmd.exe
In the CMD console it is possible to generate the current system date and time:
echo %date% %time%
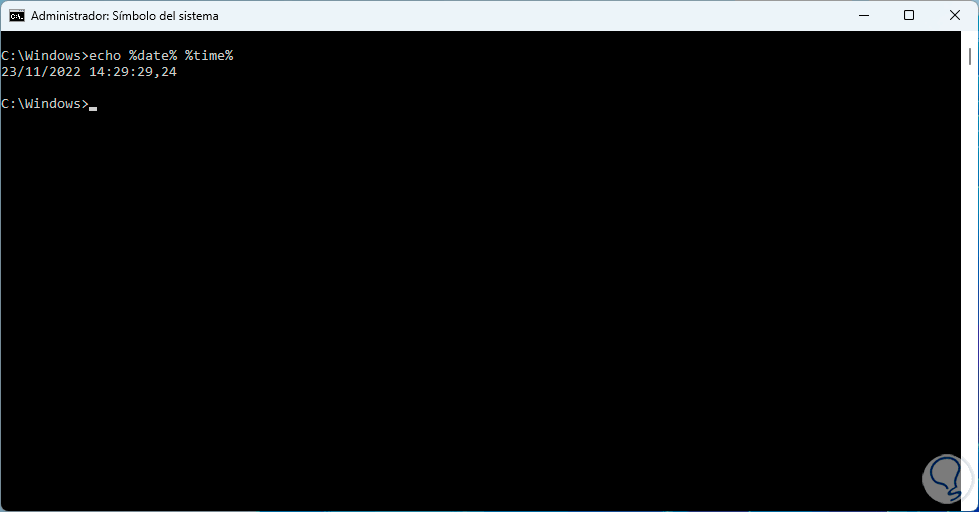
The current date will use the same region-specific format as DATE and the current time the same format as TIME.
step 9
Open Run again, to go to the DriverData folder, which is where driver information is stored, we use:
%driverdata%
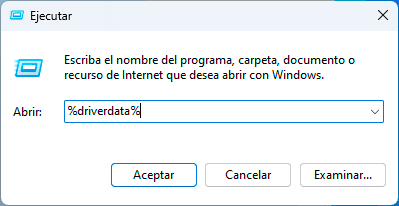
step 10
By pressing Enter it is possible to see the following:
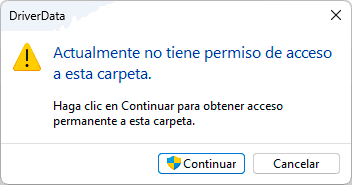
step 11
We click on "Continue" to access the folder:
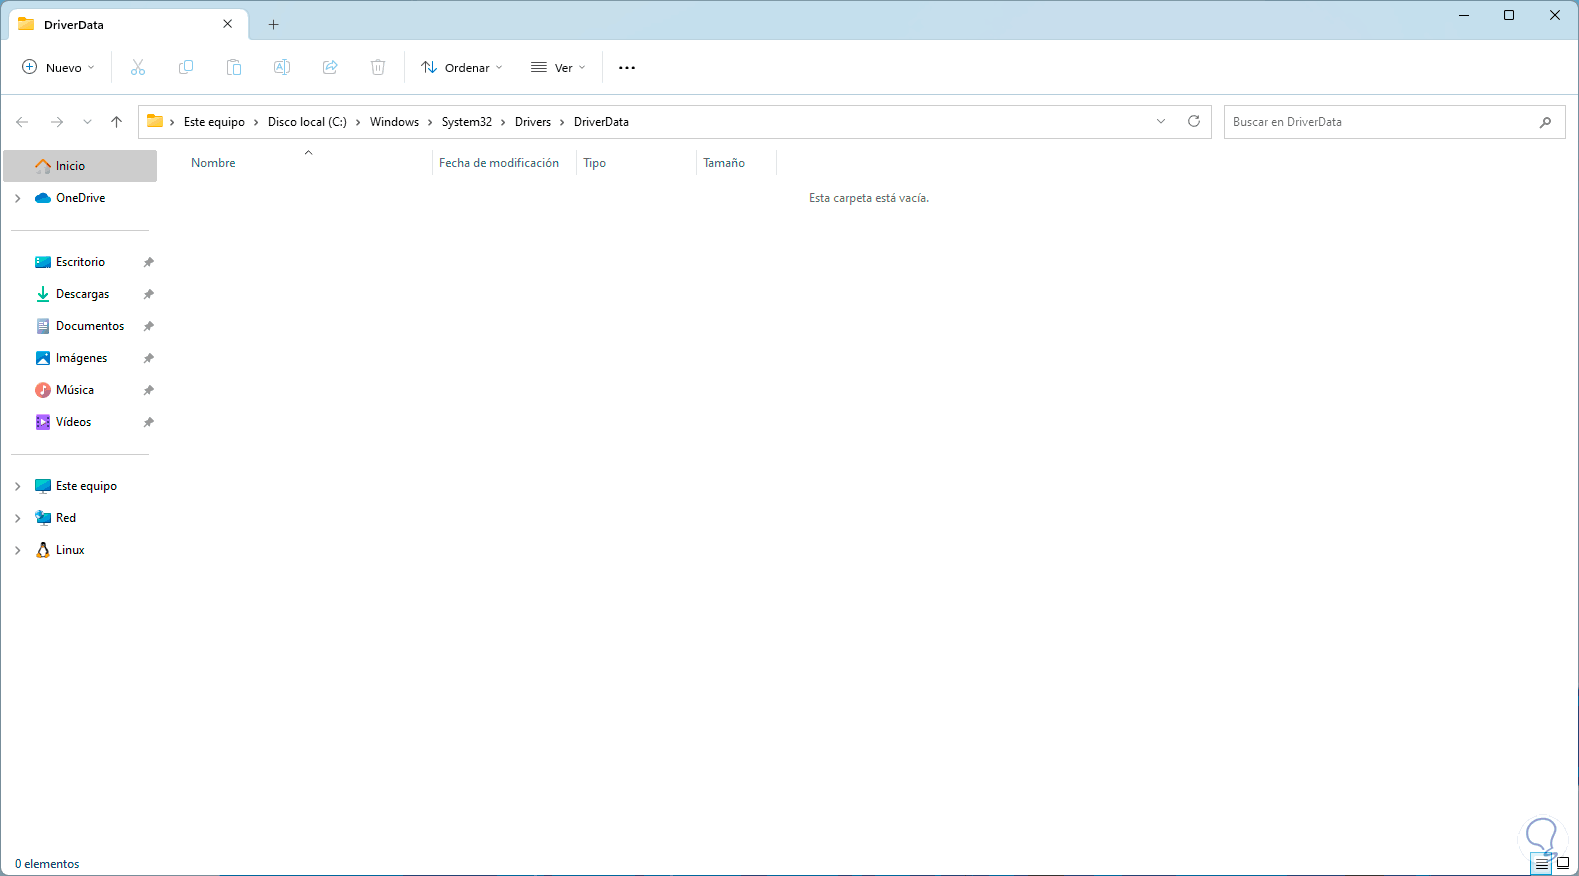
The default folder for %driverdata% is C:\Windows\System32\Drivers.
step 12
In Run we can go to the root of drive C using:
%HomeDrive%

step 13
We click OK and we will see the following:
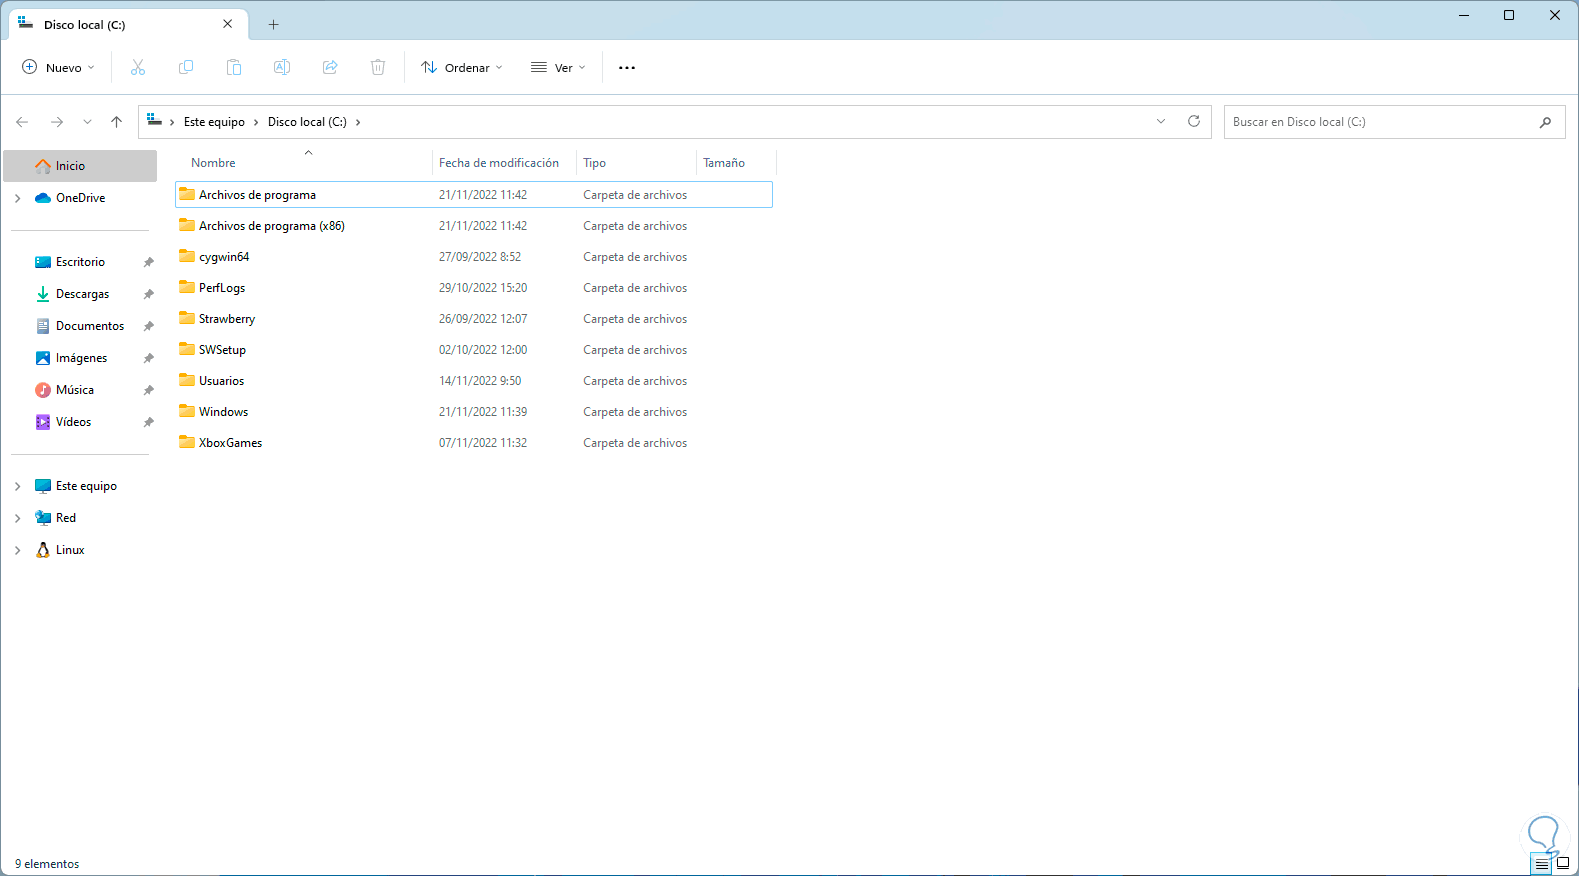
This command is also called %SystemDrive% and as we mentioned it is the root of
C:.
step 14
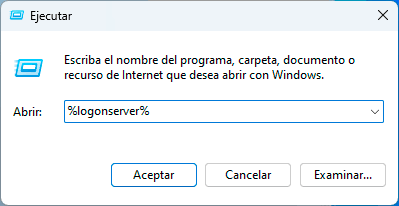
To see the Windows login server in Run we enter:
%logonserver%
step 15
By clicking OK we will see this:
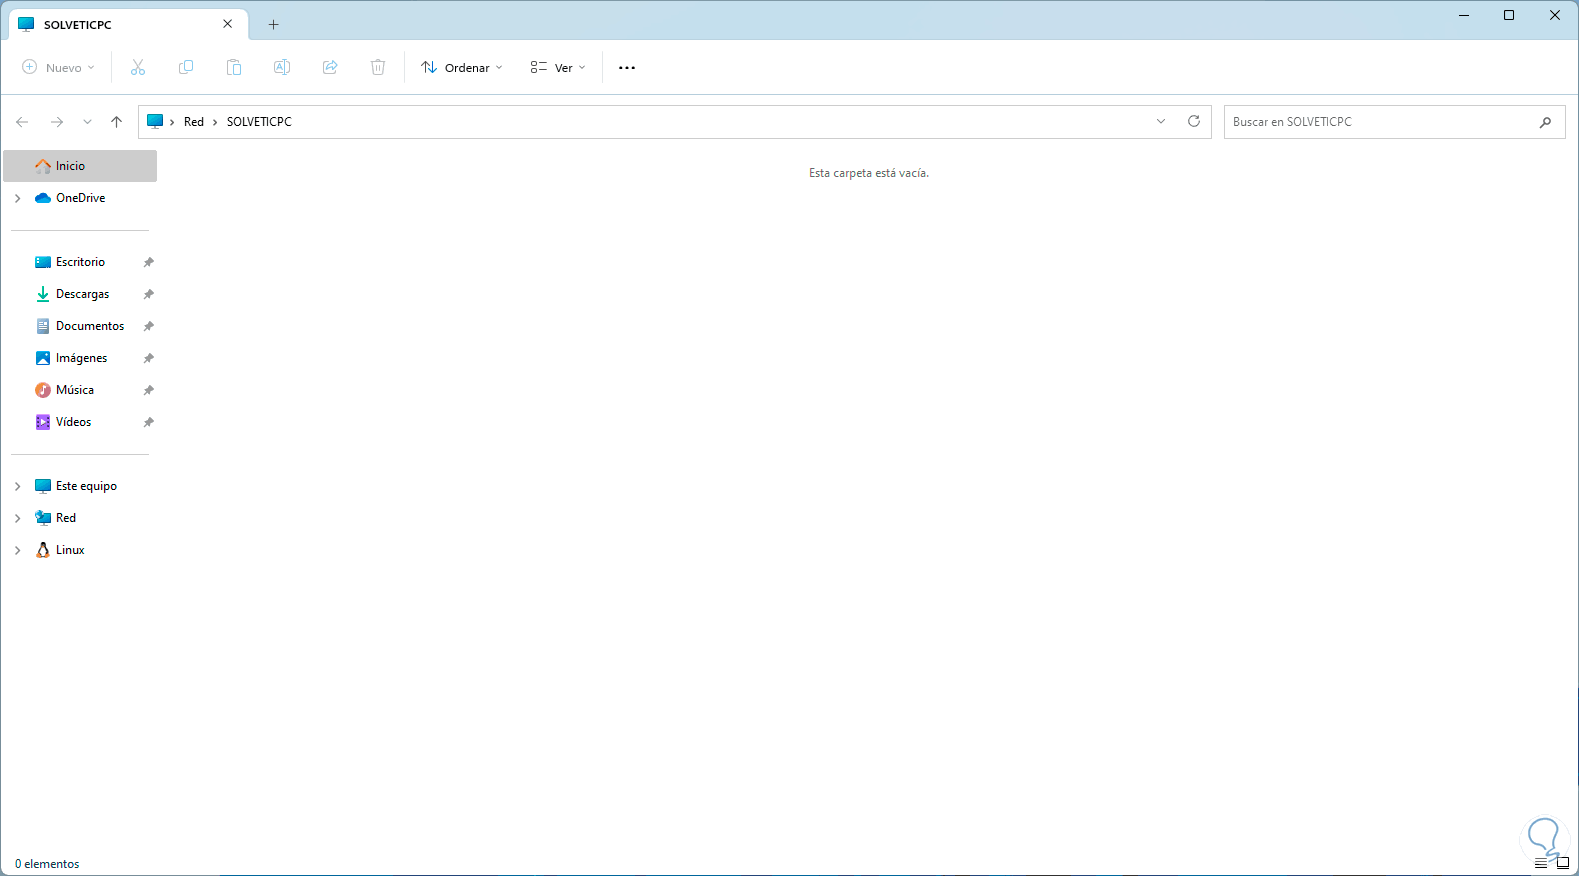
This applies when the computer connects to a domain group or network of devices, there we can see a domain or the current name of the PC.
step 16
Now we open the console and to see the number of current processors we use the following:
echo %Number_Of_Processors%
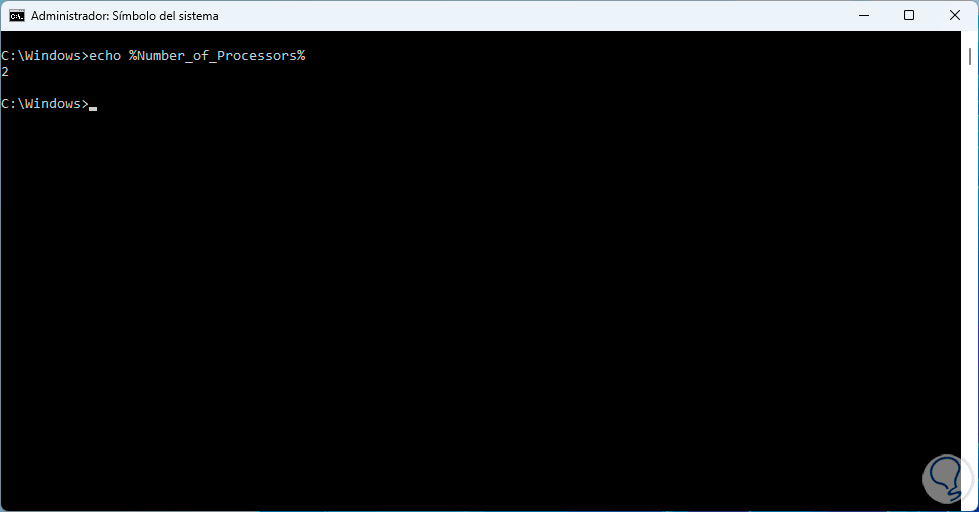
This command will generate a numerical value indicating the number of processor cores of our CPU, they can be values such as 2, 4, 8, 16 etc.
step 17
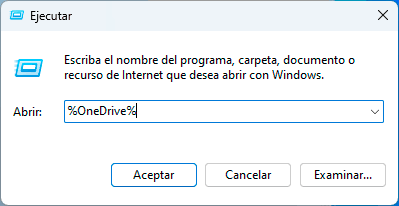
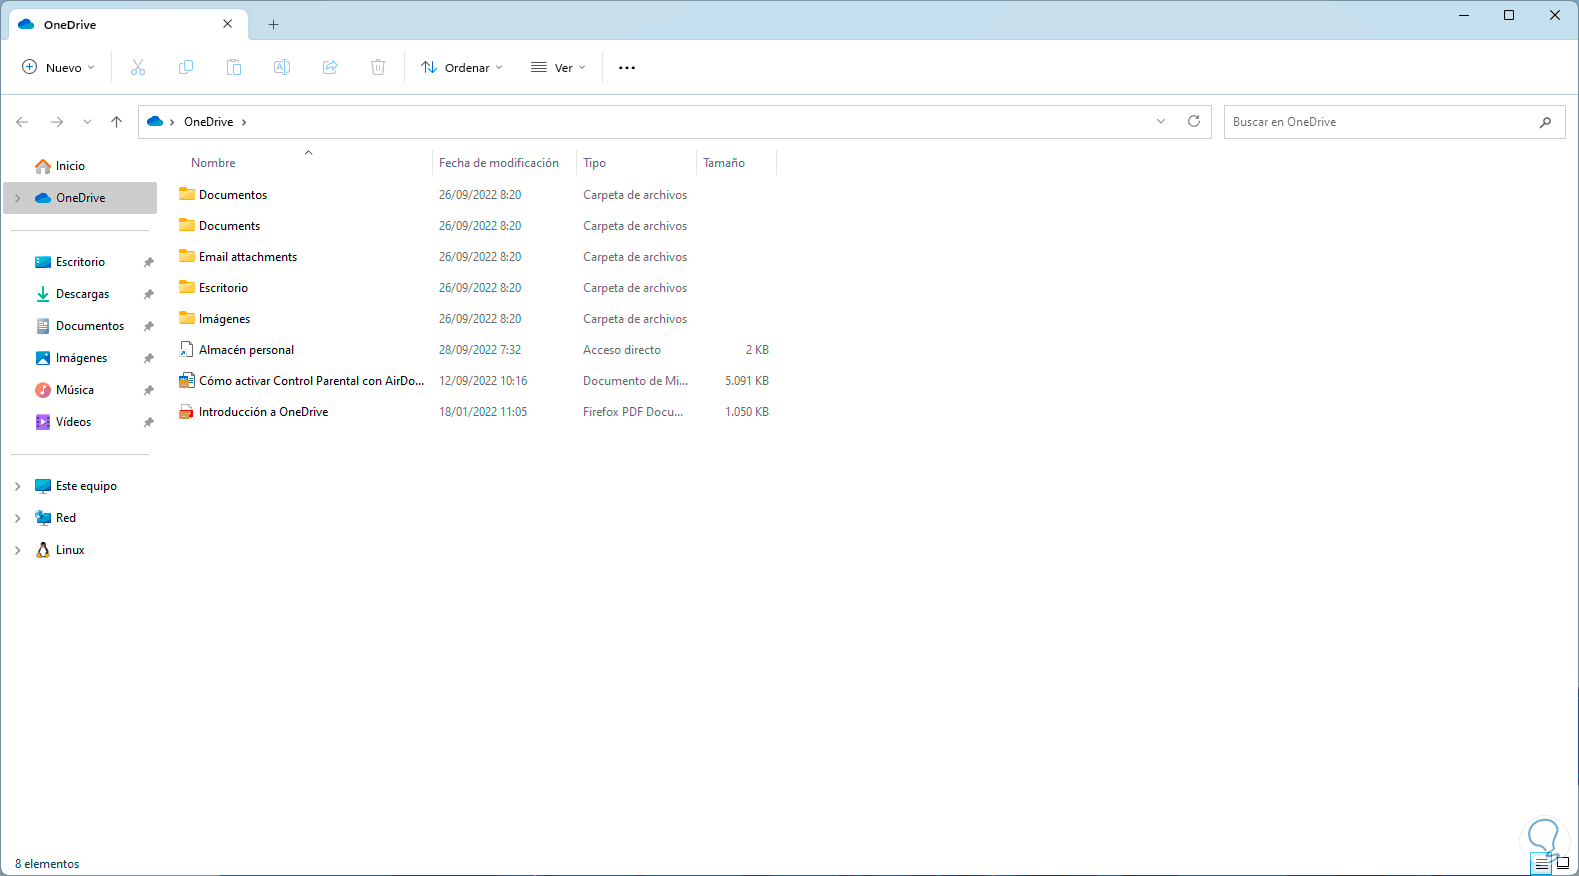
To access the OneDrive folder, which is where our files are stored in the cloud, in Run we enter:
%OneDrive%
step 18
You will have access to this folder:
step 19
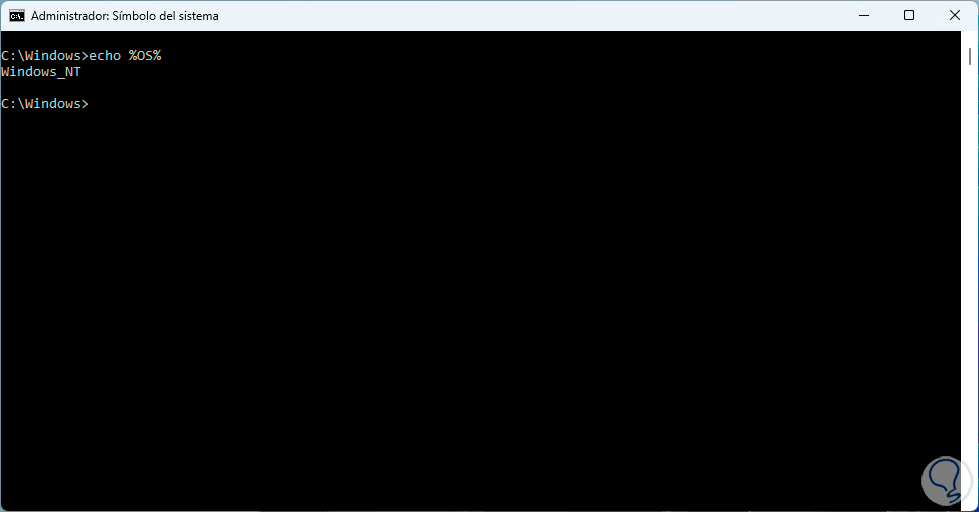
We open the terminal and to see the base of the current system we execute:
echo %OS%
step 20
Windows_NT is the base of all Windows operating systems even if we use Windows 10 or Windows 11.
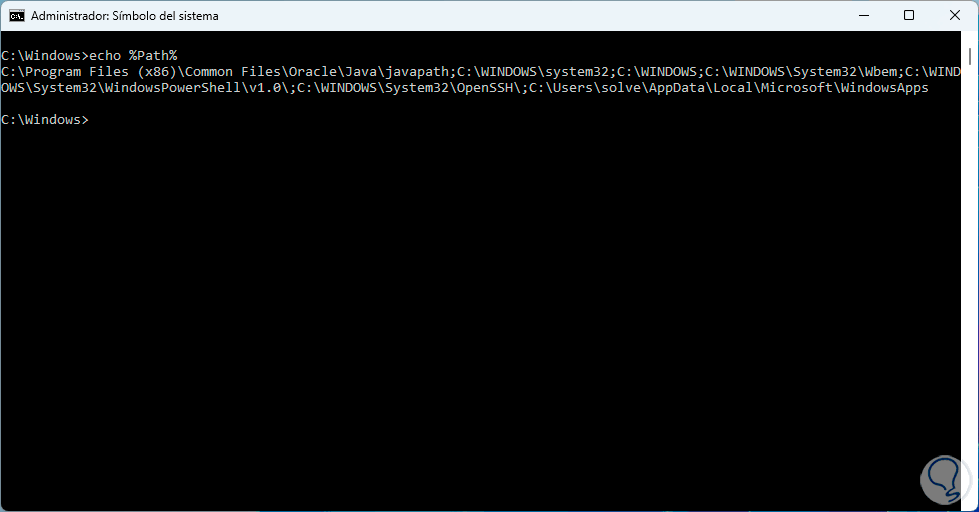
To see the key path files in Windows 11 we execute in CMD:
echo %path%
step 21
The default paths for this command are:
C:\Windows\System32\;C:\Windows\;C:\Windows\System32\Wbem;
To know the types of file extensions to use in the %Path% variable in CMD we execute:
echo %pathext%

This command determines the default executable file extensions to search for and use in Windows 11 and they are generated in order from left to right, the values use semicolon separators and the options will be .COM; .EXE; .BAT; .CMD; .VBS; .VBE; .JS ; .WSF; .WSH; .MSC.
step 22
To know the architecture of the CPU we execute in the terminal:
echo %Processor_Architecture%
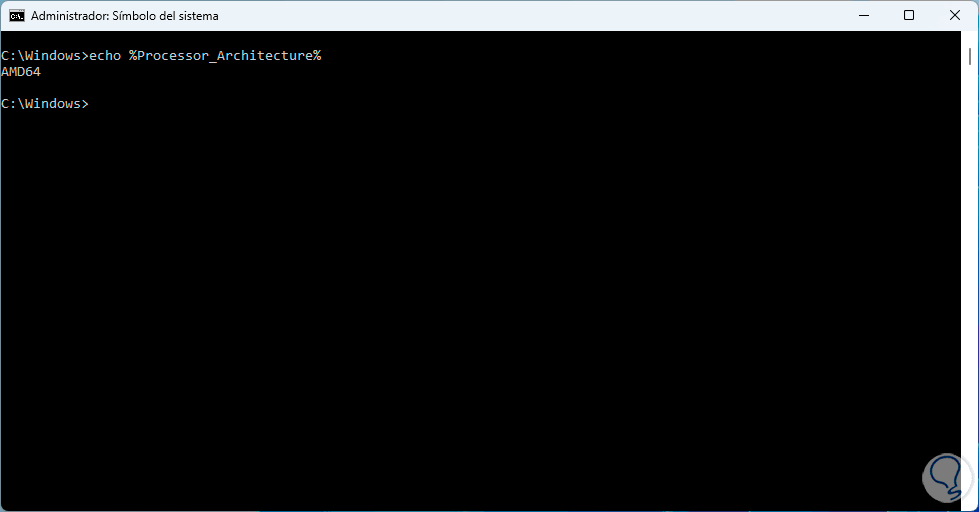
The result options are AMD64/IA64/x86, keep in mind that this does not indicate the processor architecture as such but the current process, so if we see "x86" it will indicate that it is a 32-bit WOW process running on Windows of 64 bit.
Step 23
To access details of the processor we execute in the terminal:
echo %Processor_Identifier%
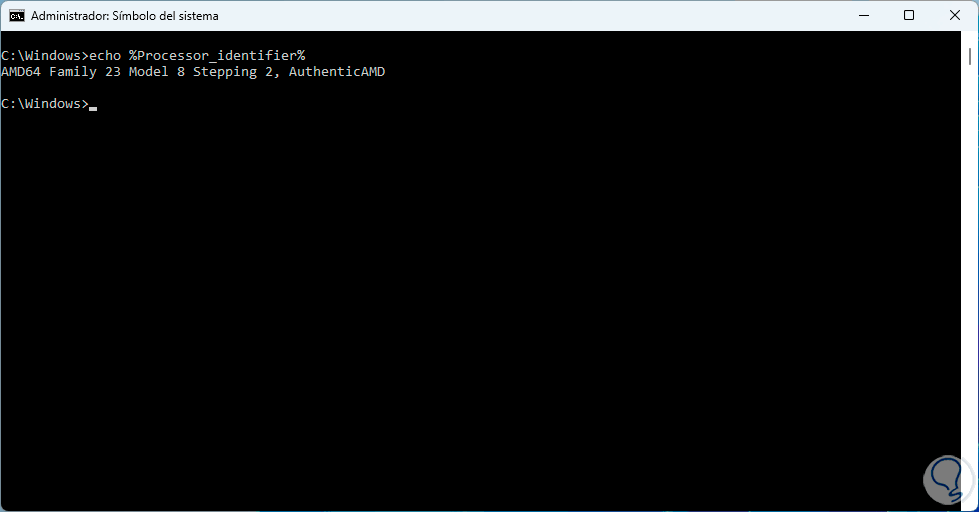
This result covers details of the processor as well as the model series, Intel or AMD, and at what level of design change the CPU was managed.
step 24
To see the processor level we execute:
echo %Processor_Level%

This command displays the processor level as well as the model number of the installed CPU.
step 25
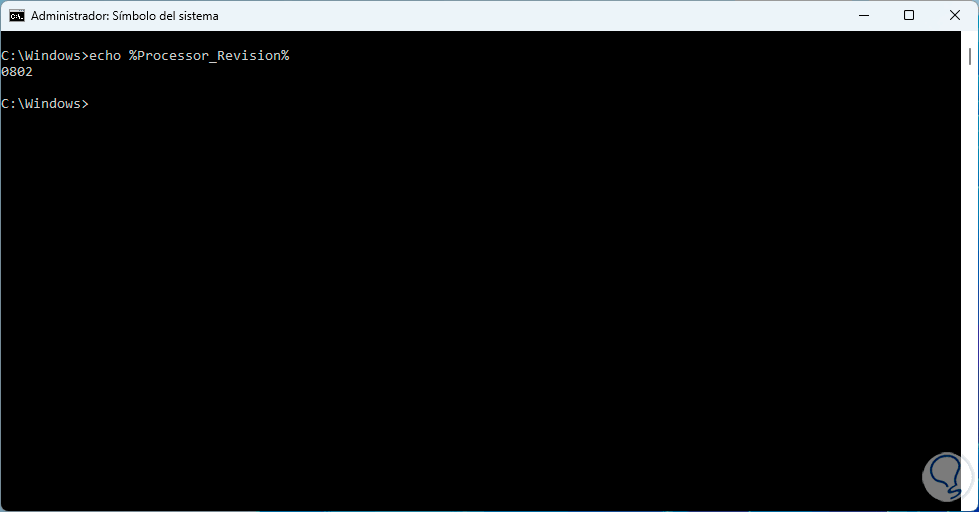
To see the revision number of the CPU installed on the computer, in CMD we execute:
echo %Processor_Revision%
step 26
To see the Windows 11 data folder from Run we enter:
%ProgramData%

Step 27
We will see the following:
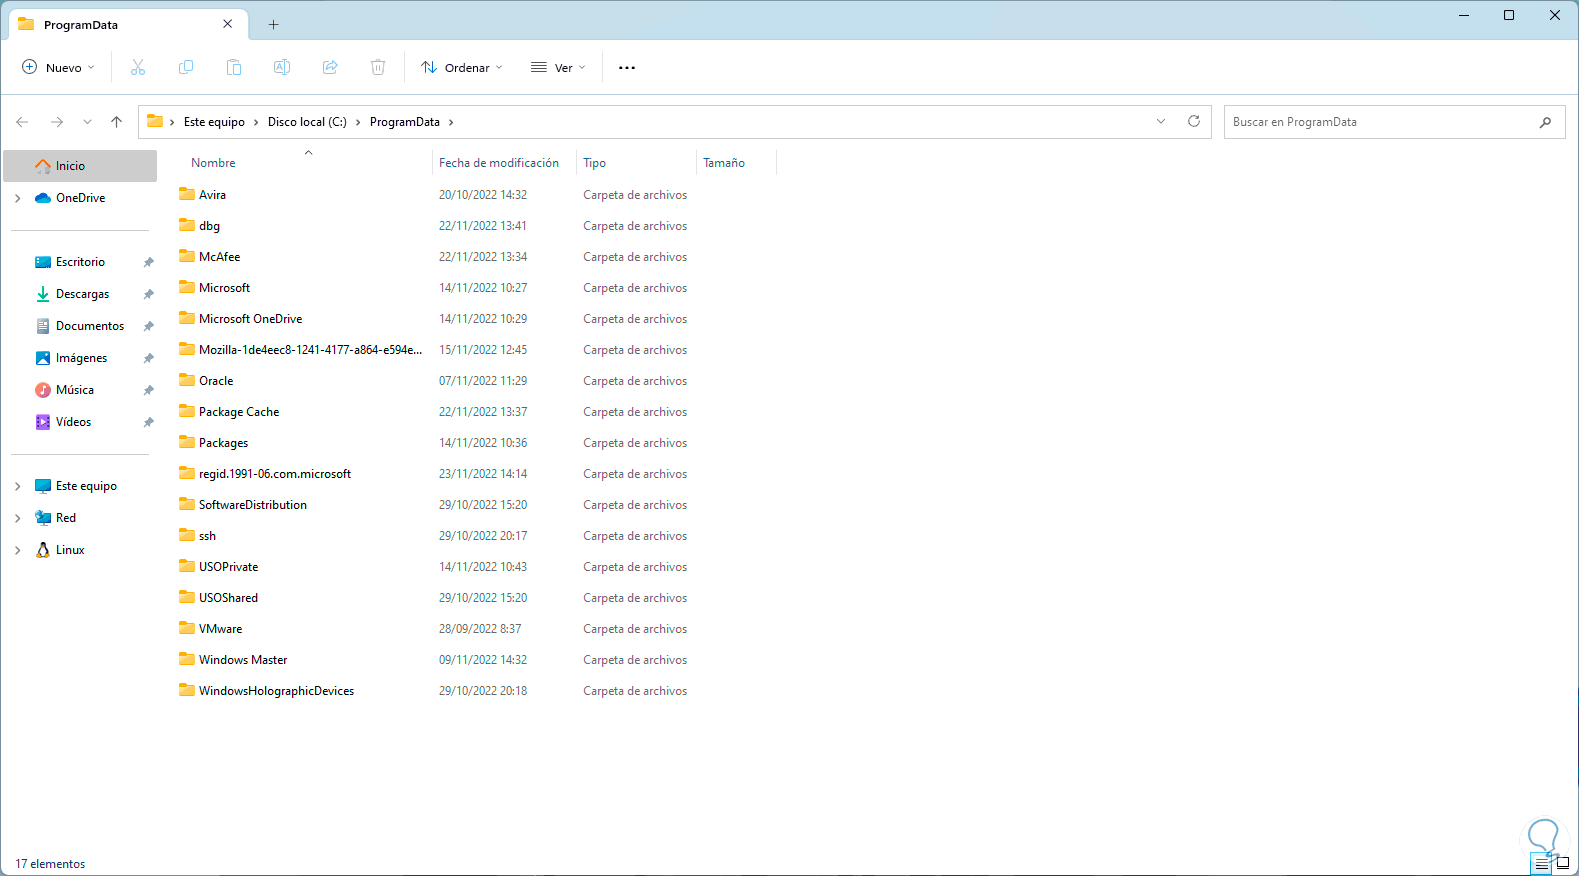
Its default path is C:\ProgramData and there Windows 11 can install standard applications.
Step 28
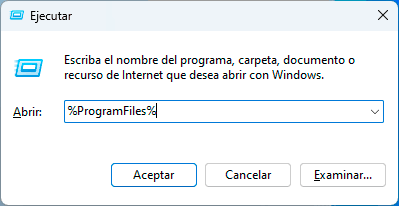
To see the file folder we enter Execute:
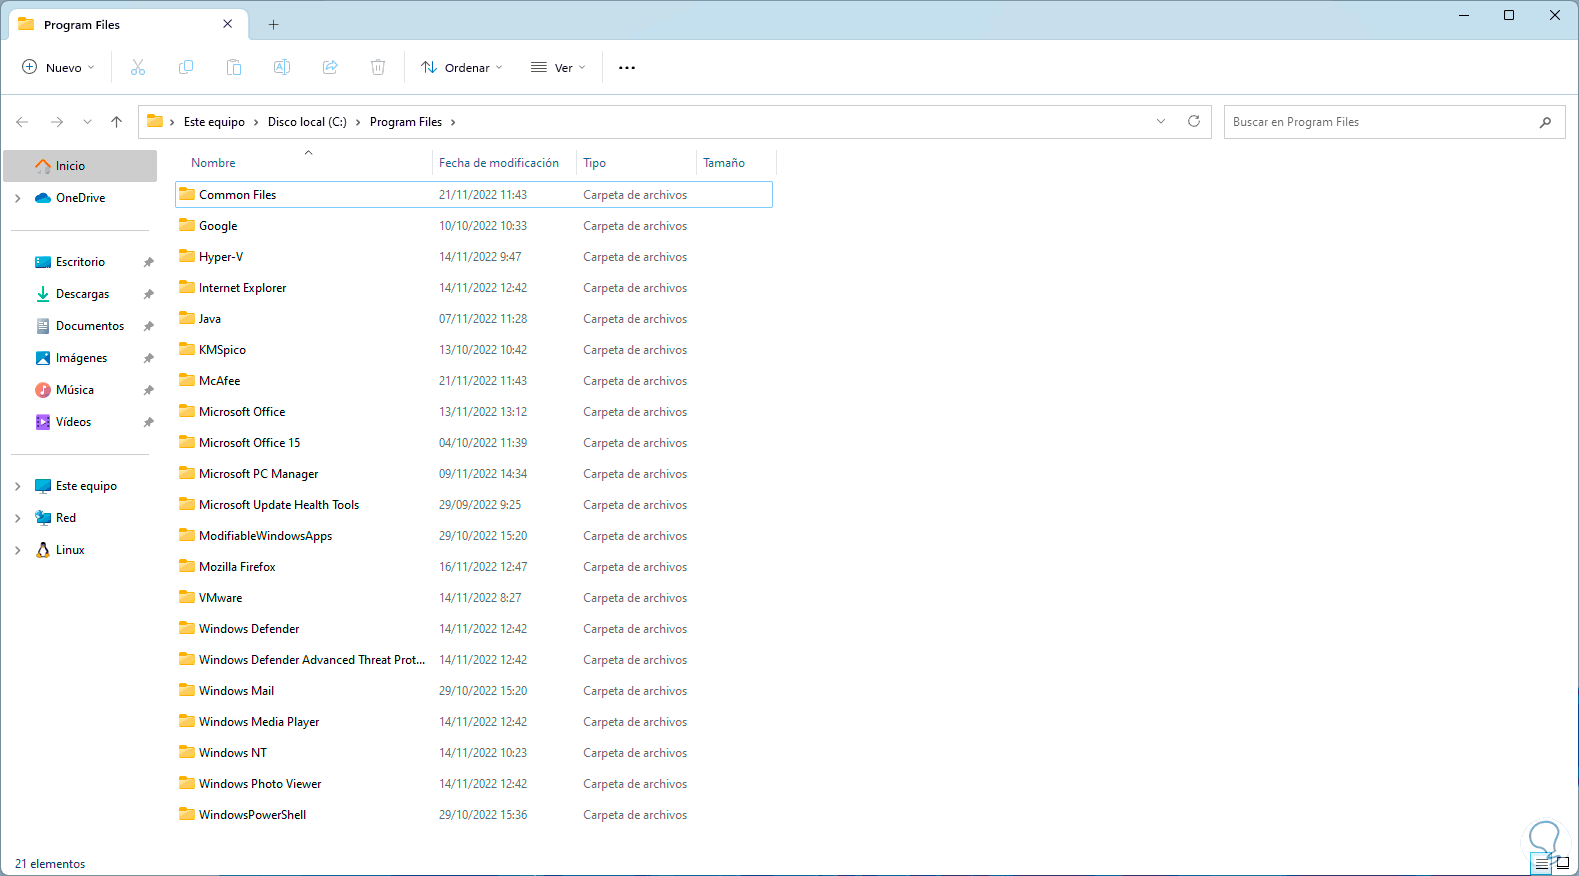
%ProgramFiles%
Step 29
By clicking OK we will see the following:
step 30
The default paths are C:\Program Files and C:\Program Files (x86) and it is where the applications are installed.
In CMD we run "echo %Prompt%" to validate the current command prompt:
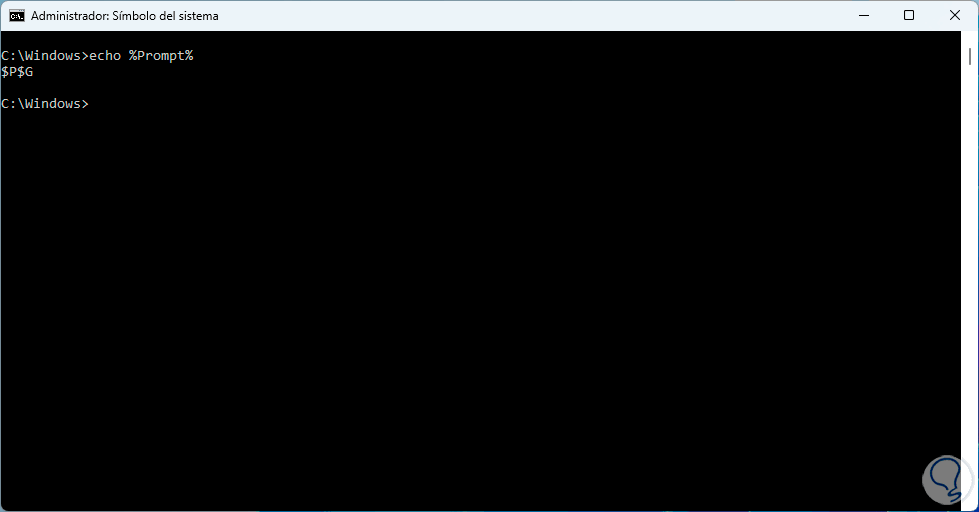
This indicates the code for the current command prompt format, typically $P$G.
step 31
To see the paths of the PowerShell modules, we execute in CMD:
echo %PSModulePath%
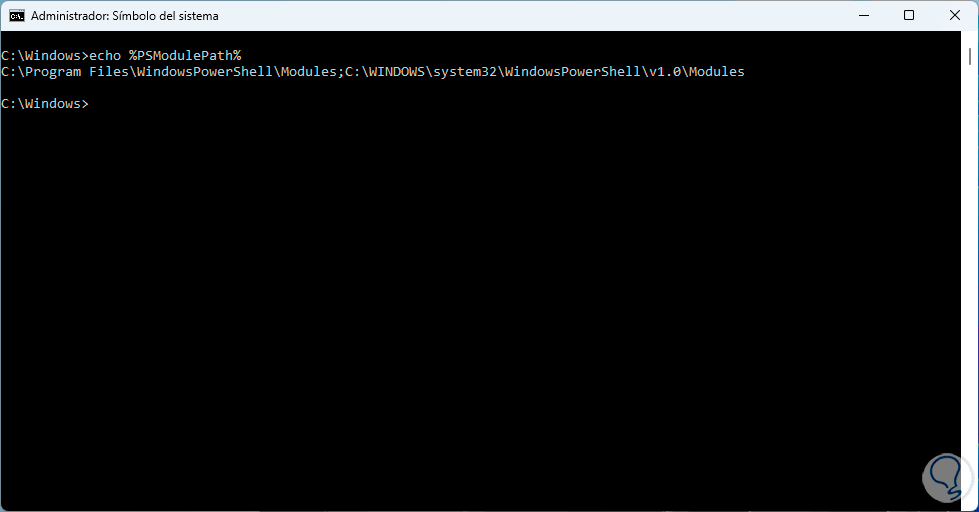
Its associated path is %SystemRoot%\system32\WindowsPowerShell\v1.0\Modules\ and these are the paths used by PowerShell for its work.
step 32
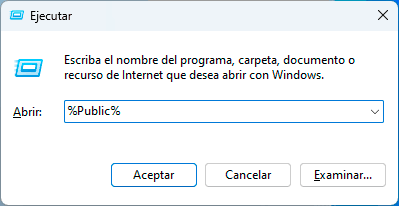
To access the Public folder in Windows 11 we are going to Run and enter:
%Public%
Step 33
We click OK to access said folder:

Step 34
We open CMD, to generate a random number between 0 and 32767 we execute:
echo %Random%

step 35
These random numbers can be used in Windows batch scripts for various tasks.
To see the name of the current session we execute in the terminal:
echo %SessionName%

If using a terminal server session, SessionName will be a combination of the connection name, followed by #SessionNumber, if using a console session SessionName will return "Console".
Step 36
To access the root folder of Windows in Run we enter:
%SystemRoot%

Step 37
We will see the following:
This is the main Windows 11 system folder which is C:\Windows, systemroot is a predefined read-only system variable which resolves to the default location.
Step 38
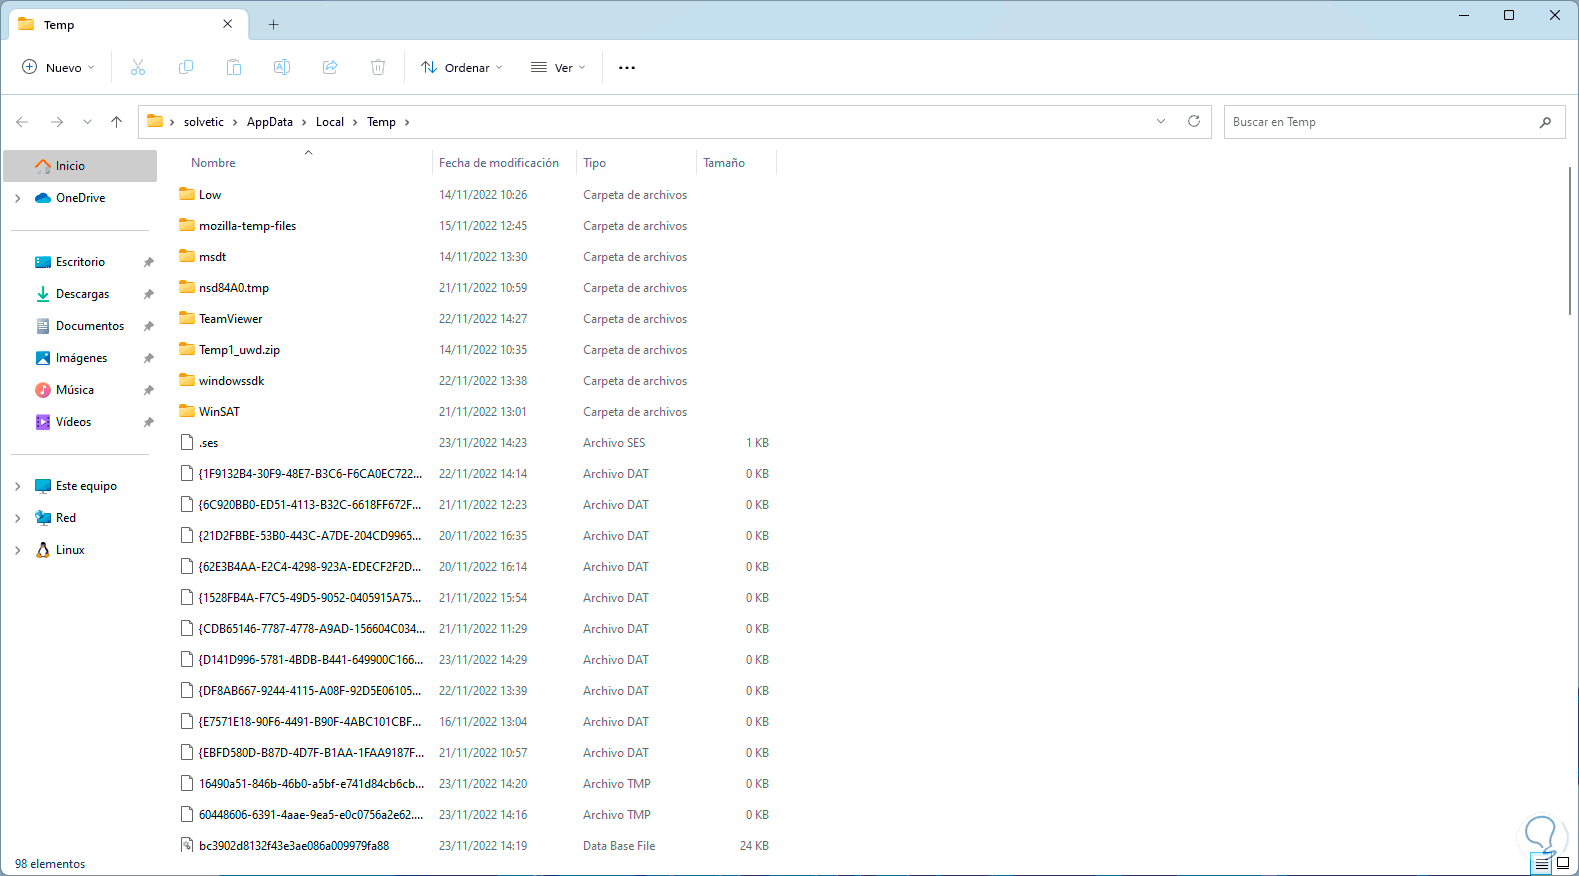
To see the temporary files folder we enter:
%temp%

Step 39
You will have access to all temporary files generated by the system and applications:
step 40
We open CMD, to see the domain user (if applicable) we execute:
echo %UserDomain%

Step 41
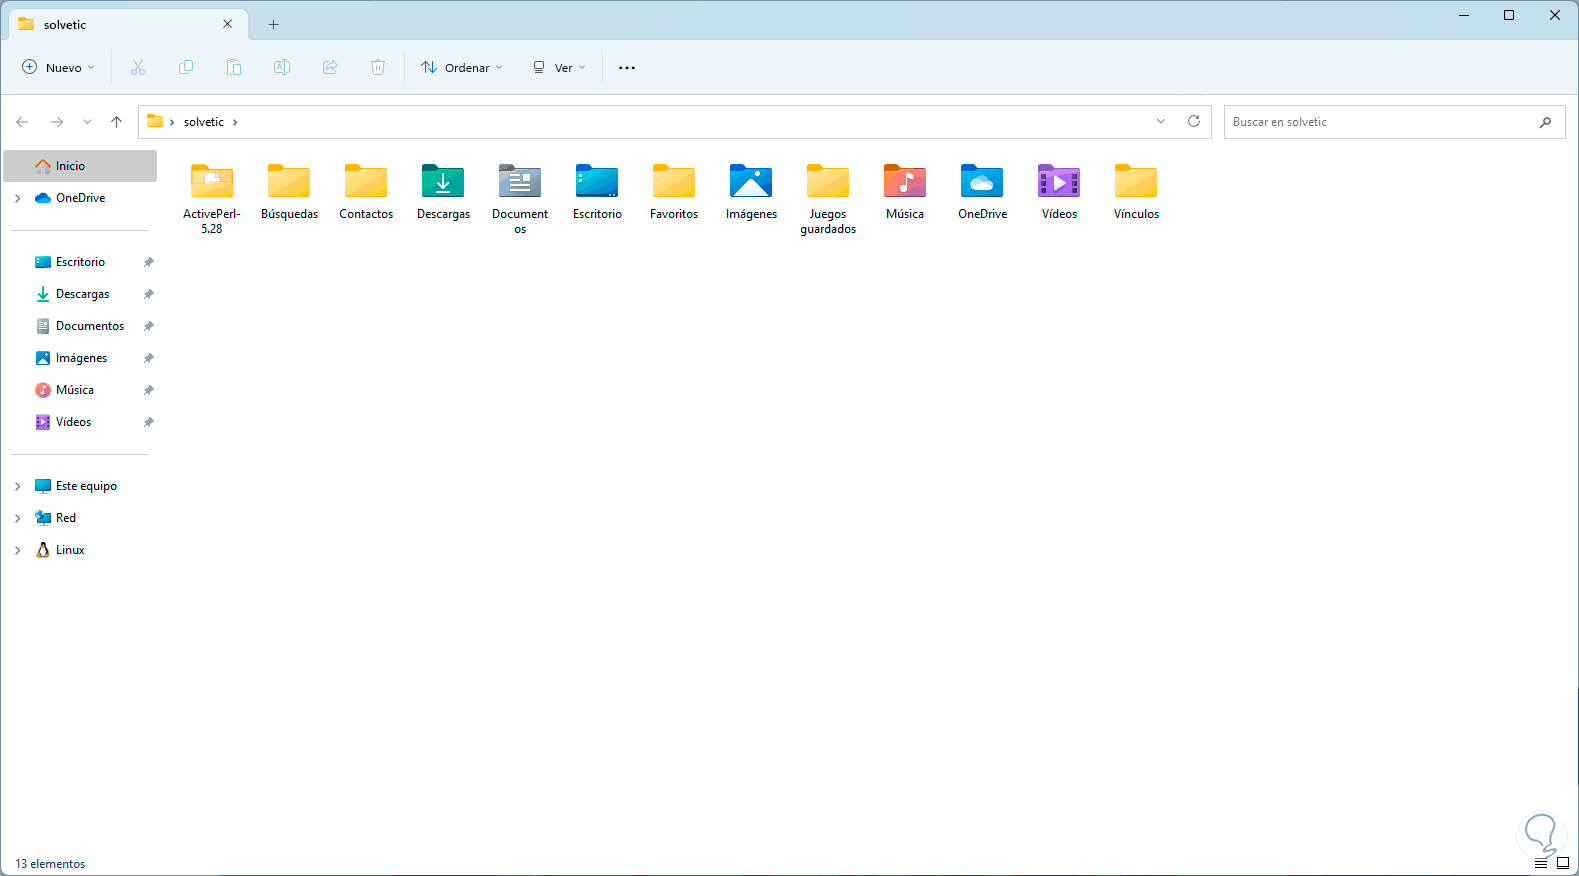
To access the local user profile folder in Run we enter:
%userprofile%
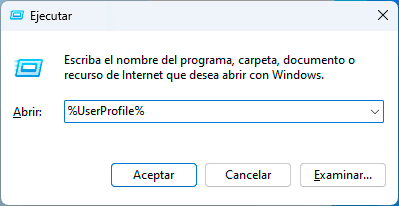
step 42
We will see the logged in user folder:
Step 43
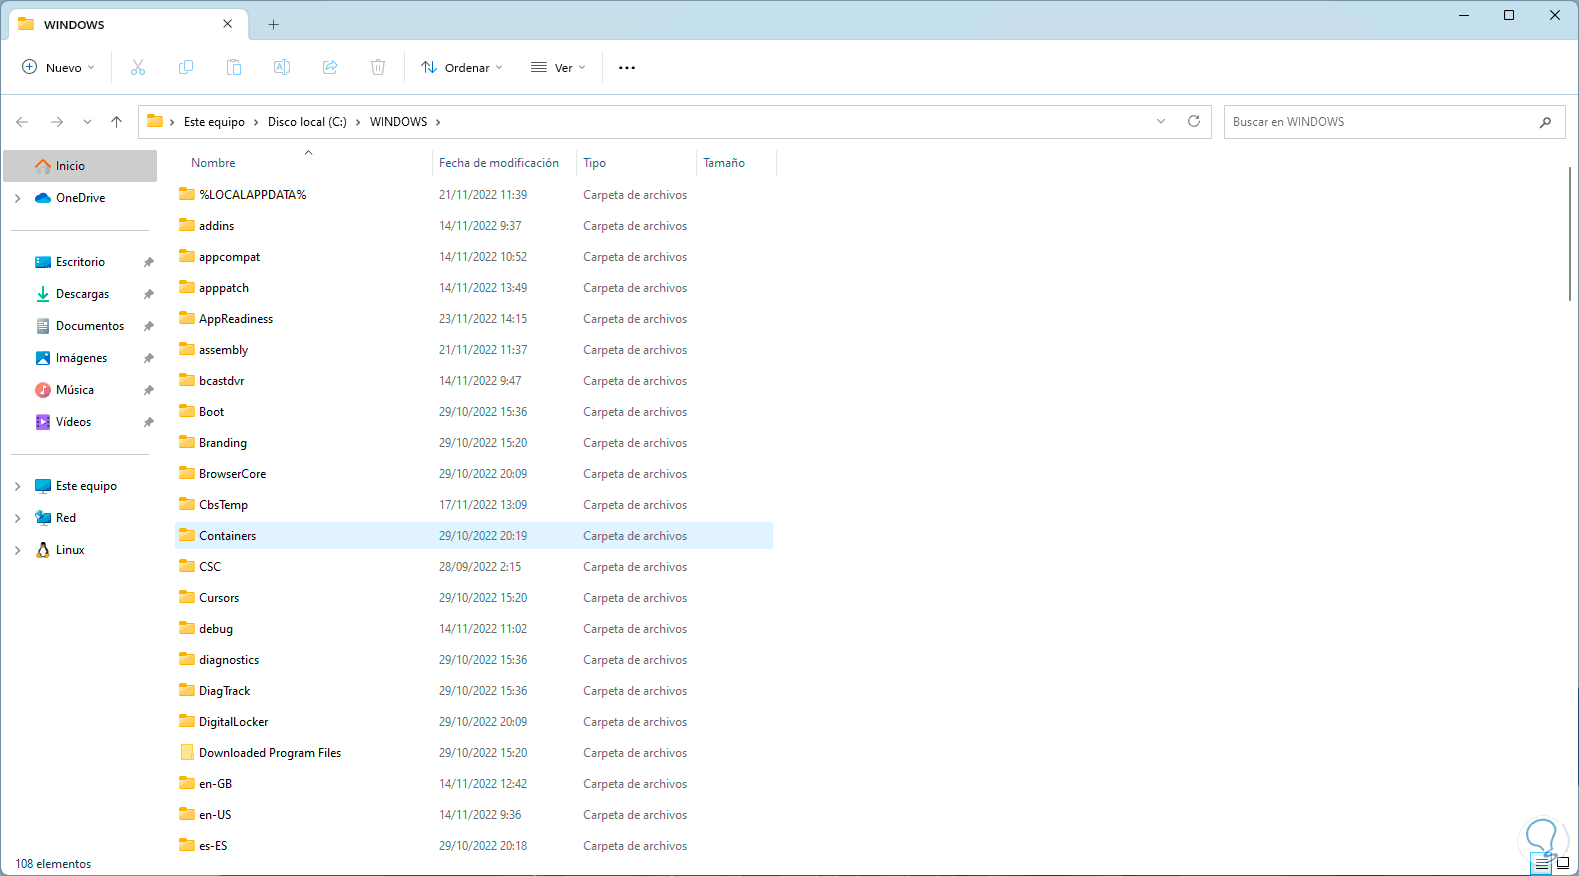
To open the Windows 11 Directory we execute:
%WinDir%
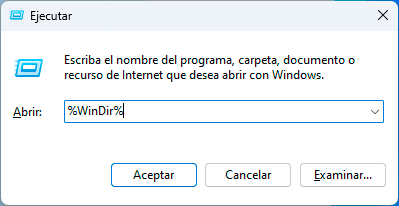
Step 44
You will have access to the following:
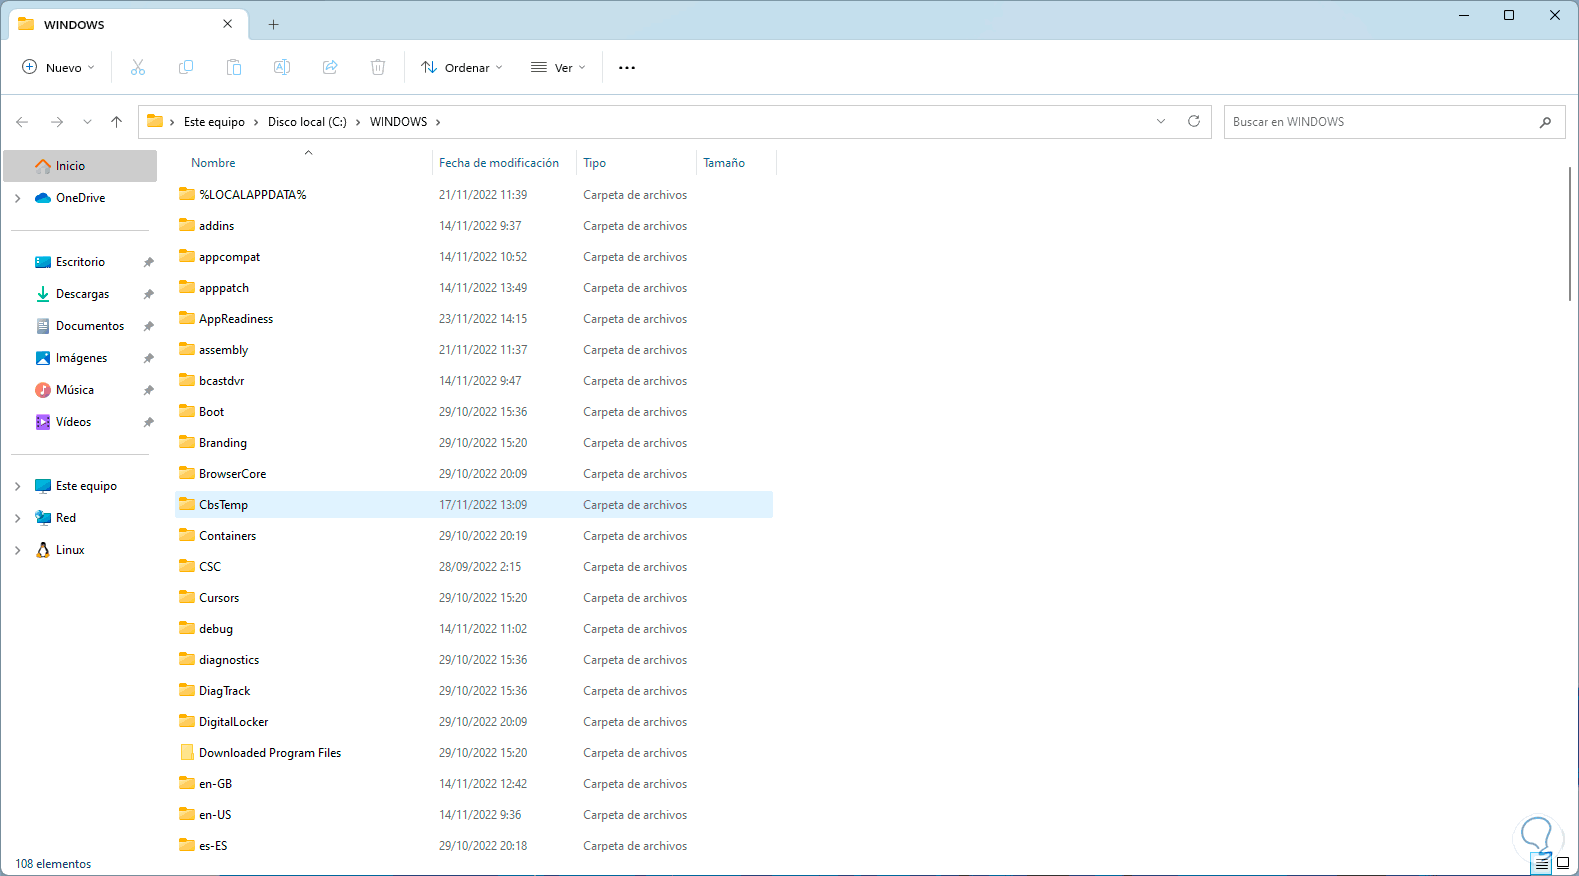
This command has been defined by default as windir=%SystemRoot%.
step 45
In CMD to enable the configuration of the system resource management library we execute:
echo %ZES_ENABLE_SYSMAN%
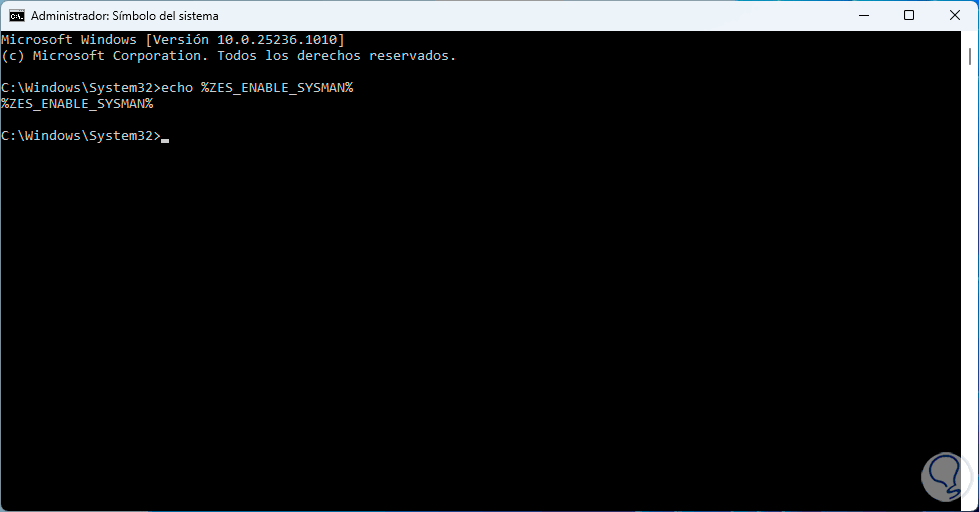
We see how these variables are essential for comprehensive work in Windows 11 and hence the importance of their management.