Perspective is one of the visual resources that we can use in our favor when we want to take photography. Having an image with a well-used vanishing point can lead to quite interesting images, so it will always be a resource to take into account. When editing these images it may seem like a complication when we want to clone, for example, but we will see that we have a tool that will get us out of this predicament: The vanishing point. Let's see what this tool that we will use today consists of:
vanishing point photoshop
The vanishing point is a tool that will allow us to make edits to our image without losing perspective. This can be really useful since sometimes for example if we use cloning we can experience problems when we have vanishing points in perspective.
Some examples of images with which we can find some perspective difficulty is that of a street or floors in general, sides of buildings and monuments or any element that presents a rectangular composition..
We will establish the perfective plane of our image and then proceed to apply the edits.
By using the Vanishing Point, the edits we make to our image tend to respect its perspective, such as painting, cloning or transforming. This allows our image not to be deformed when we want to apply modifications to it, even if it has a very marked perspective. The result will be more realistic images and adjusted to the original image even if we clone parts with another perspective or from another point. Once you finish working from the Vanishing Point we can continue editing our image as normal in Photoshop.
If we clone from a flat image and do a sample it will not be the same as doing it in an image where there is a street with a lot of slope. The references such as the ground lines will move and the result will be quite disastrous. So it will be interesting to see how we can work in perspective in Photoshop..
Clone in Photoshop perspective
As we are commenting throughout this chapter, cloning is one of the tasks that we can normally use the most while we are editing in Photoshop. This is because it is quite versatile and will help us with different problems, from duplicating areas to easily correcting imperfections. When cloning we take a reference zone and then we will duplicate it according to the adjustments in another zone of the same or another image.
The problem comes when we have shapes or areas with perspective and the cloning is evident since elements such as walls, corners or edges are incorrectly cloned. This will not give a good impression and will expose the edit made. That is why using the vanishing point will allow us to work with perspective, achieving quite real results.
When we access the Vanishing Point tool we will find different options:
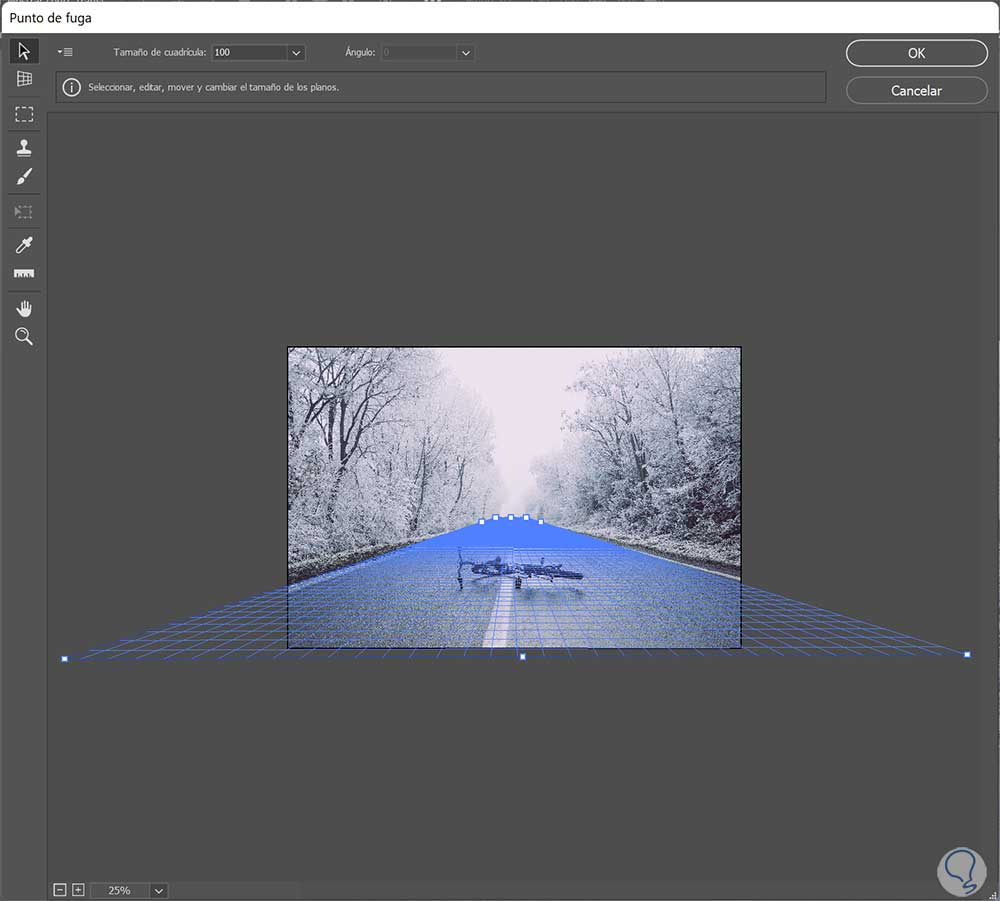
Vanishing Point Options
Let's see the different options available within Vanishing Point:
- Edit plane tool. This option will be to select, edit or move the planes.
- Create Plane tool. It will be the first thing we will define to create the 4 nodes of our plane.
- Marquee Tool. Allows you to make square or rectangular selections as well as being able to move or clone selections.
- Stamp Tool. Through a sample of the image we can paint with it and make a clone. Its main difference with the traditional Clone Stamp is that it is not possible to clone areas of another image.
- Brush Tool. It will paint with the color that is selected on a plane.
- Transform Tool. With this we can rescale, rotate or move a floating selection by using the handles of the bounding rectangle that appears. It is similar to using the traditional “Free Transform”.
- Eyedropper Tool. It is used to select a color to paint.
- Measurement Tool. It will measure the angles and the distance in a plane.
- Zoom tool. You will be able to increase or reduce the view of our preview image.
- Hand Tool. Allows us to move around the image in preview mode.
Let's see how to clone in perspective in Photoshop..
Step 1
We have our image with perspective, which in this case is a pedestrian crossing with perspective. We want to clone the white line that crosses the street.
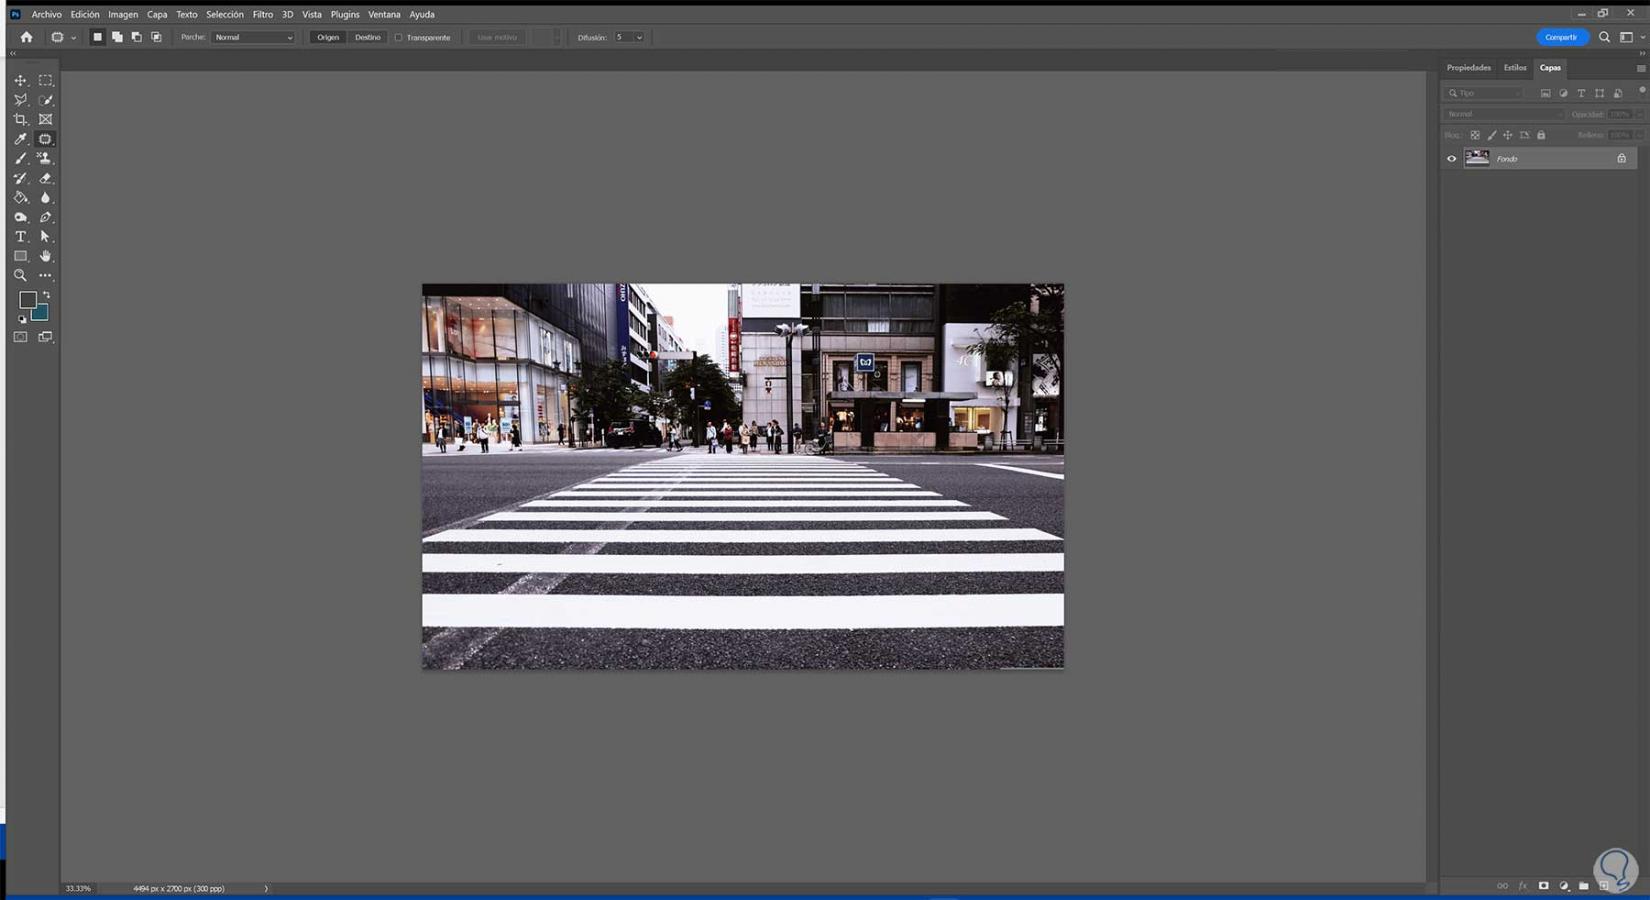
Step 2
We'll start by opening the Vanishing Point tool. To do this we will go to the “Filter – Vanishing point” menu. You can also use a key combination:
Ctrl + Alt + V
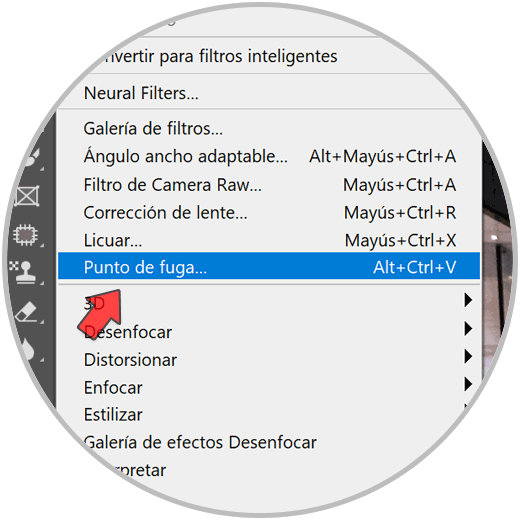
Step 3
We see that the Vanishing Point configuration window opens. The first thing we are going to do is create our perspective plane.
To do this, click on the "Create plan tool" option.
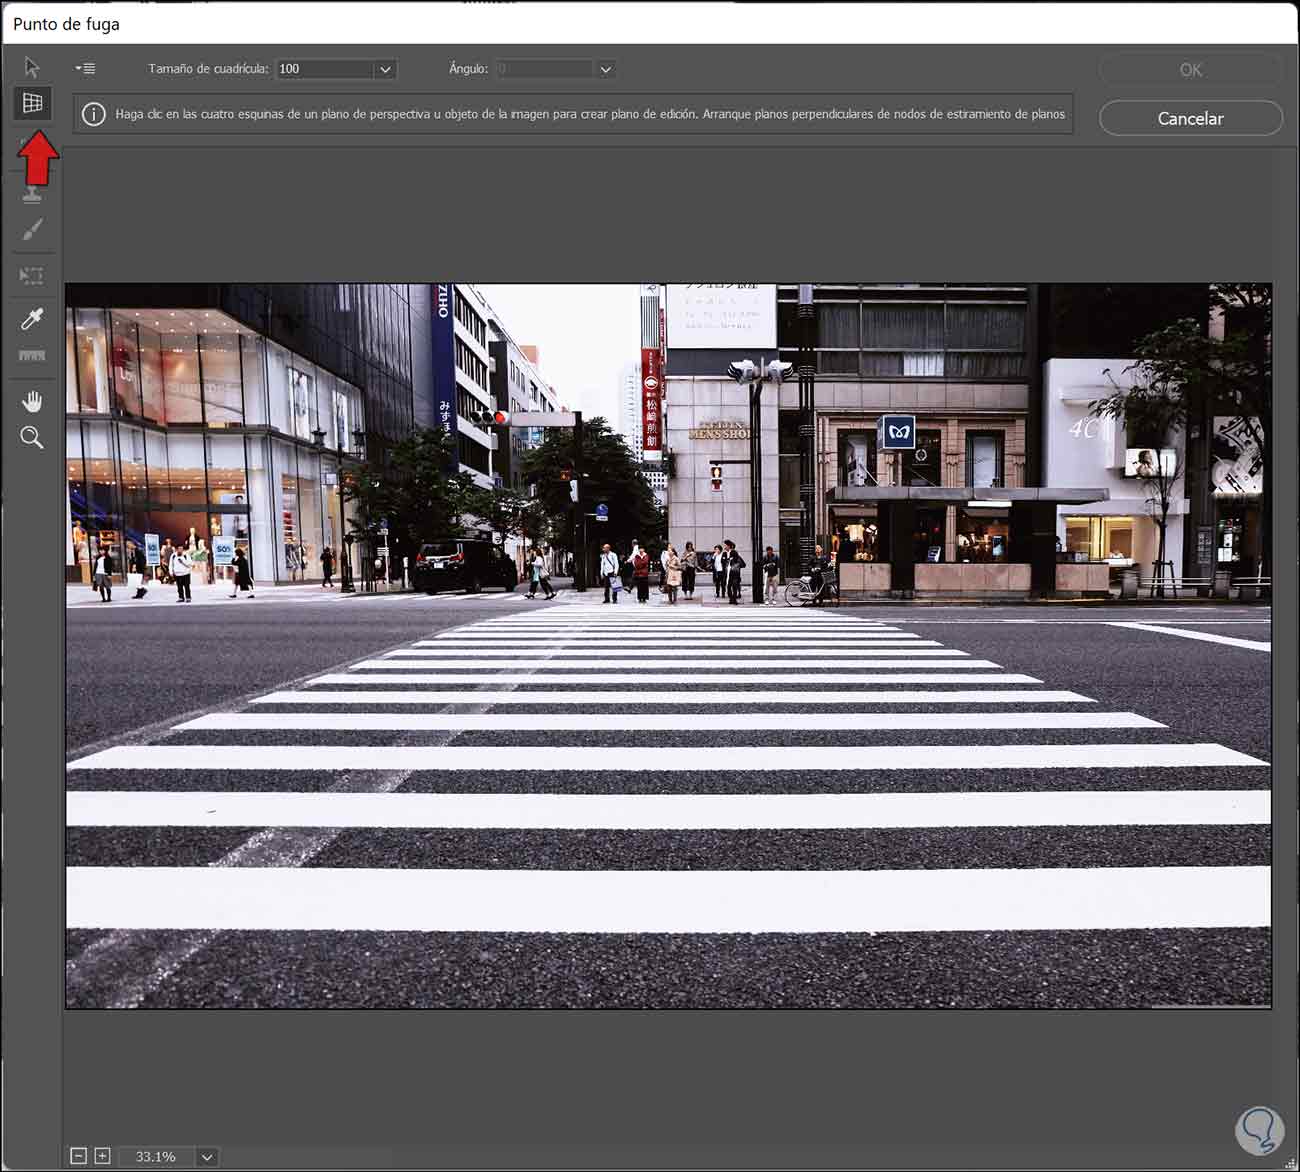
Step 4
The next thing will be to place each of the 4 nodes of the perspective in the places of the vanishing point of our image.
In case you need more space to define it, reduce the zoom of the preview with the magnifying glass icon to have more margin.
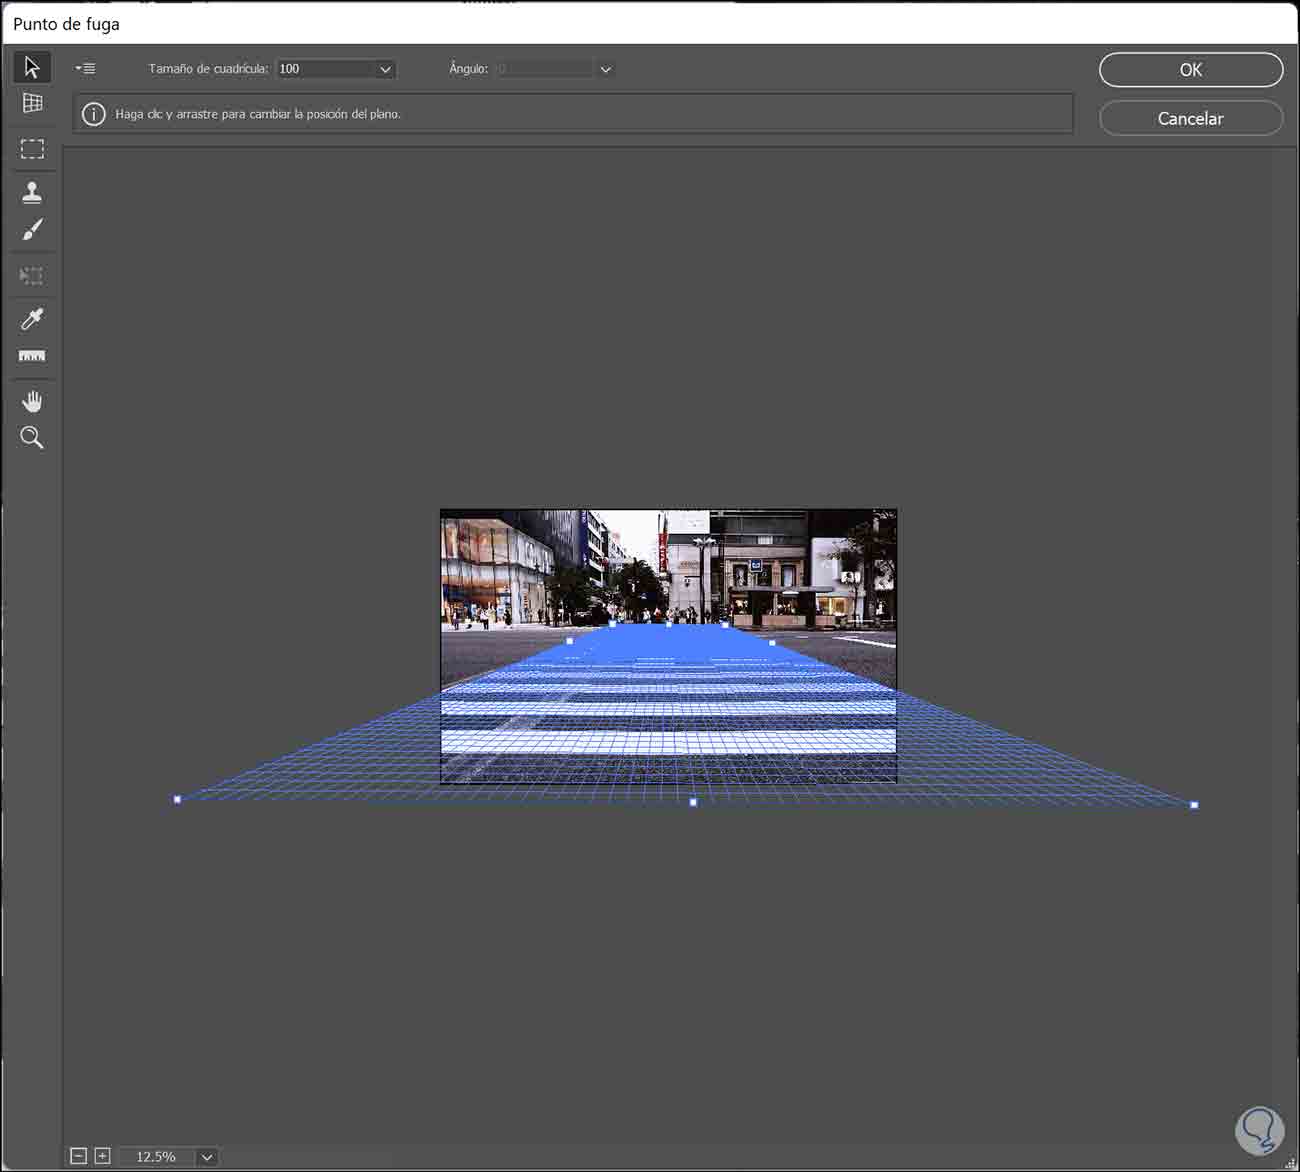
step 5
If you need it you can use the delimiters of the plane to adjust it again:
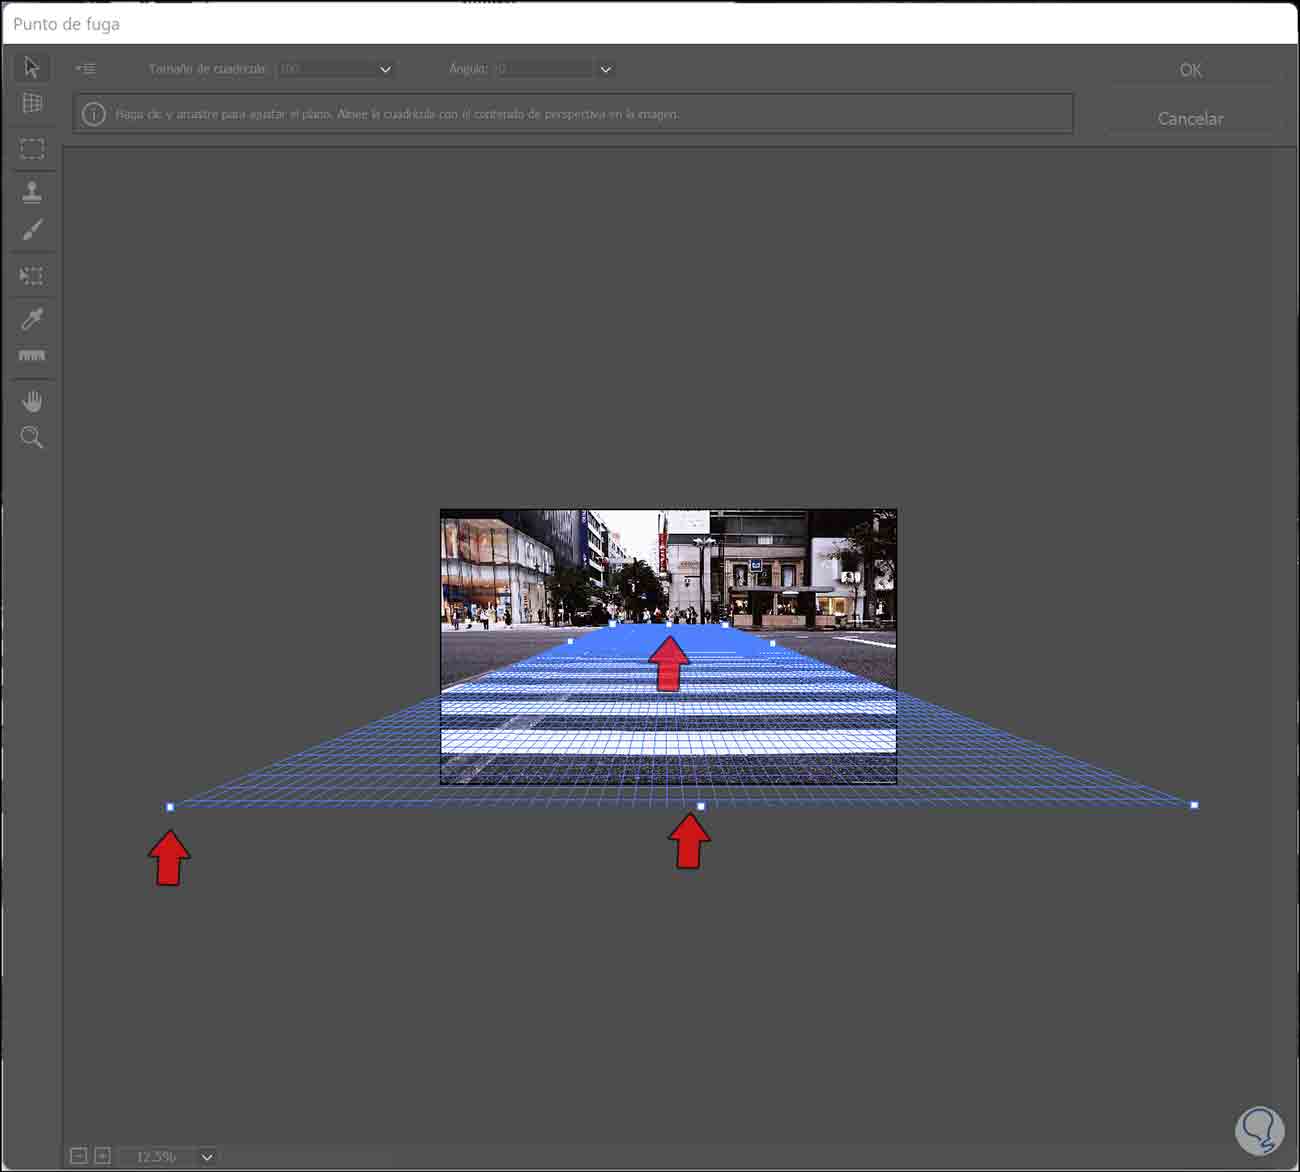
step 6
Once we have our perspective defined with the vanishing point, we can click on the “Stamp” icon.
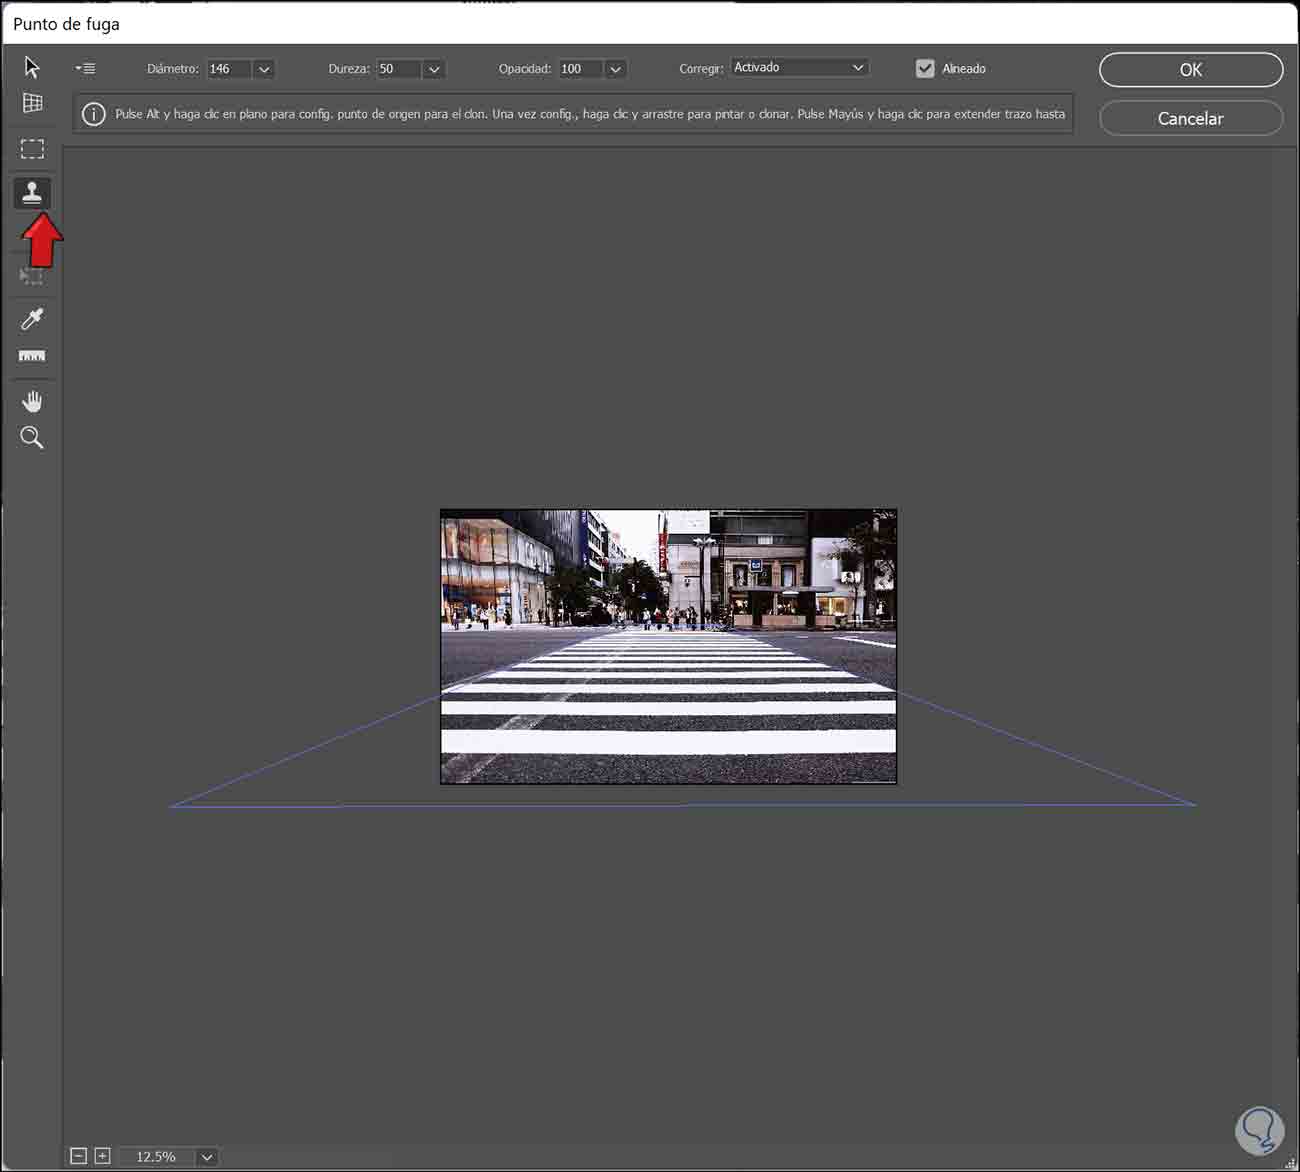
step 7
At the top you can define the adjustment parameters of your Stamp tool such as diameter or hardness. It is important that you activate the "Correct" option so that once we clone parts, a lighting auto-adjustment is made.
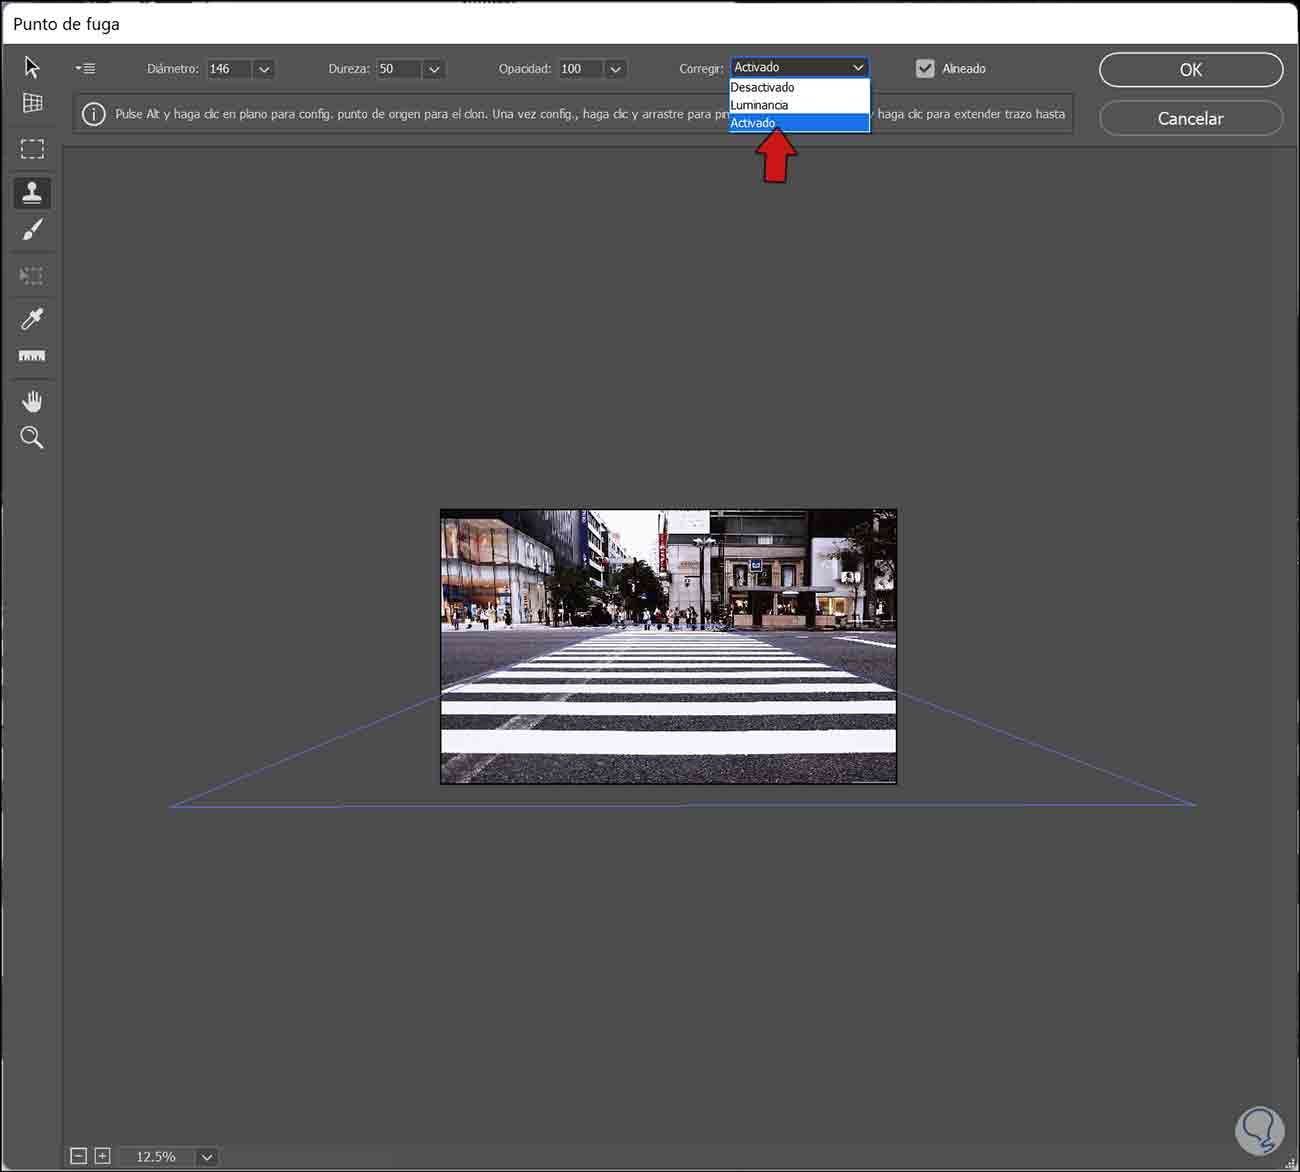
step 8
Now we can start cloning. To do this, hold down the Alt key and click on an area to clone.
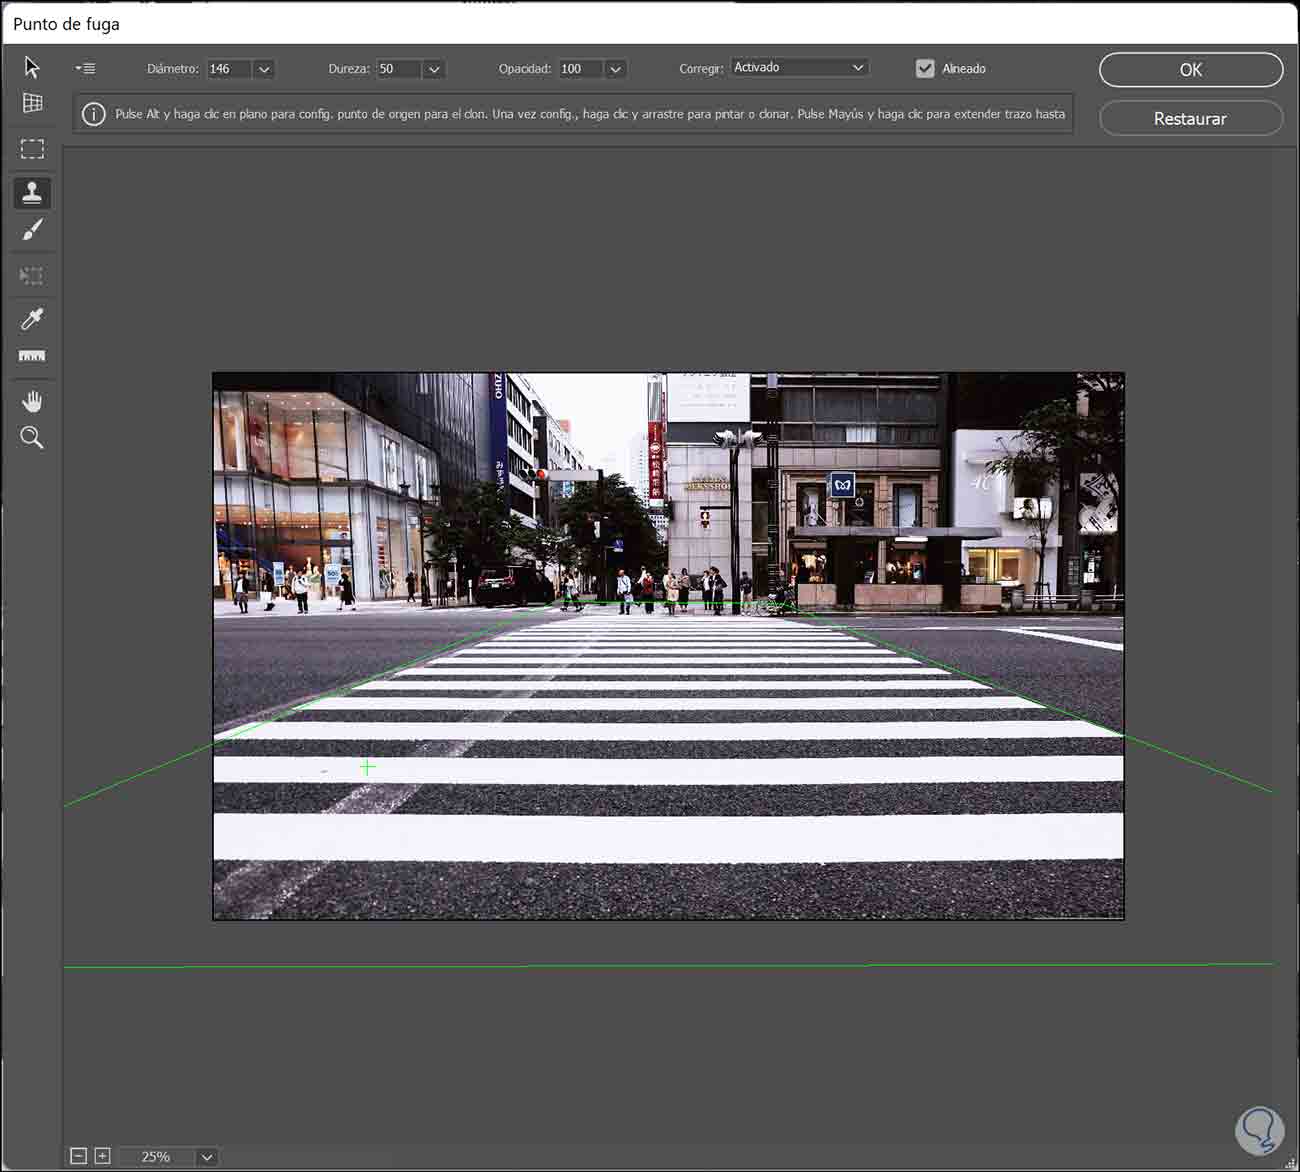
step 9
Now we can start cloning wherever we want. In case there are separations of tiles, corners, edges... always check that the continuity of the lines fits well when cloning.
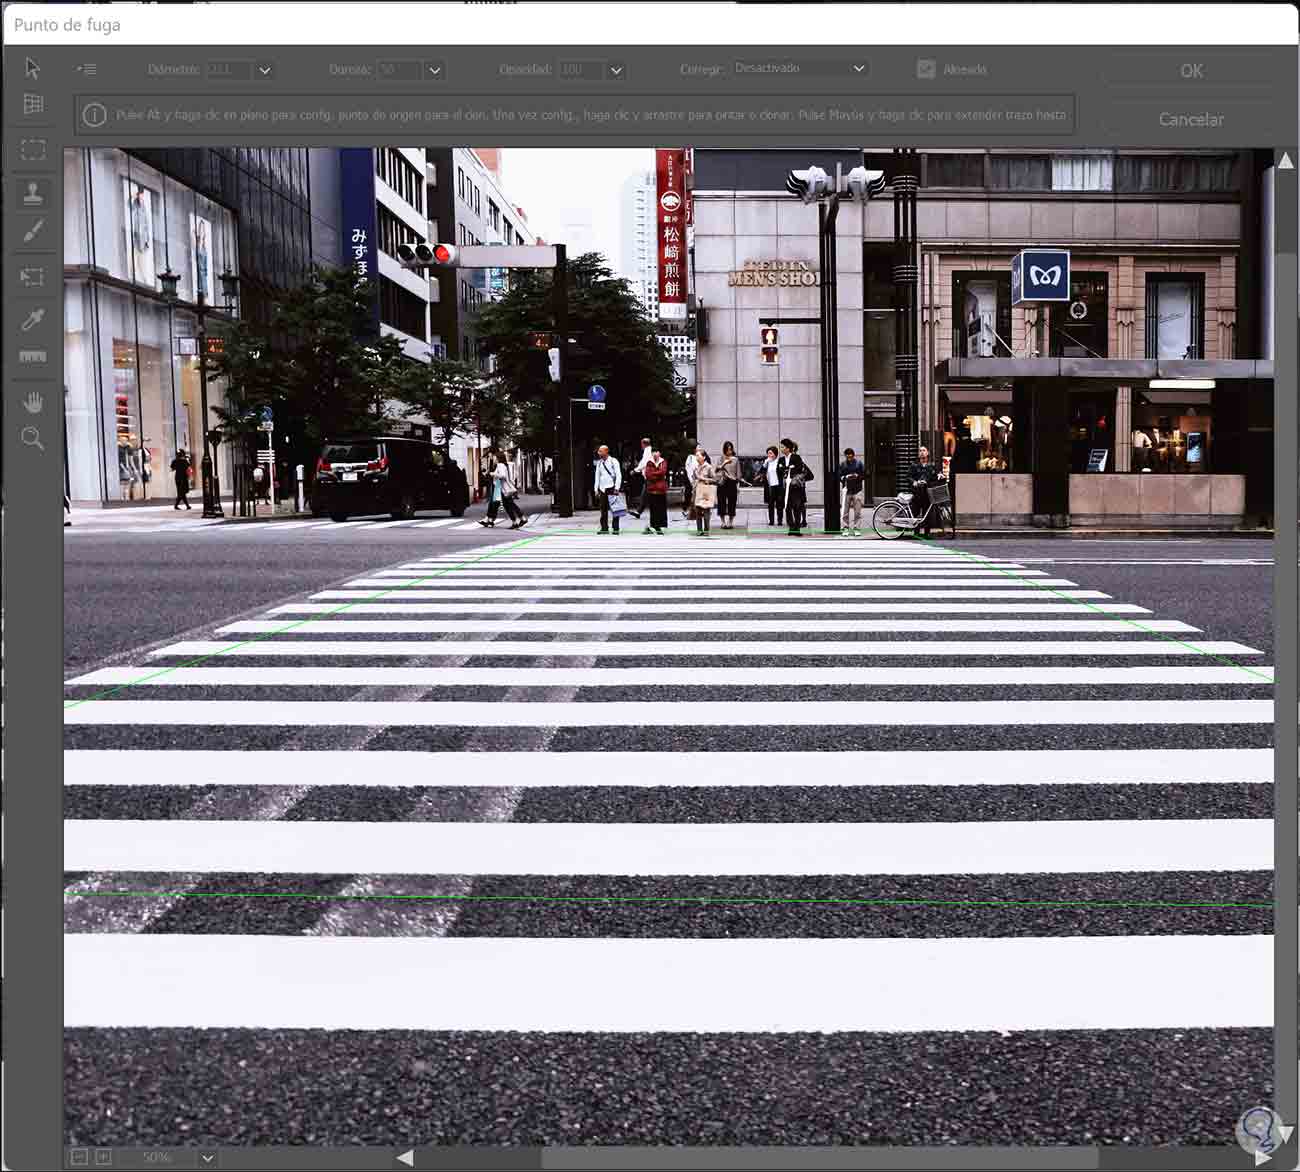
step 10
We will try different cloning starts and then we will paint to start our cloning where we want. We see how a new line has been created in perspective.
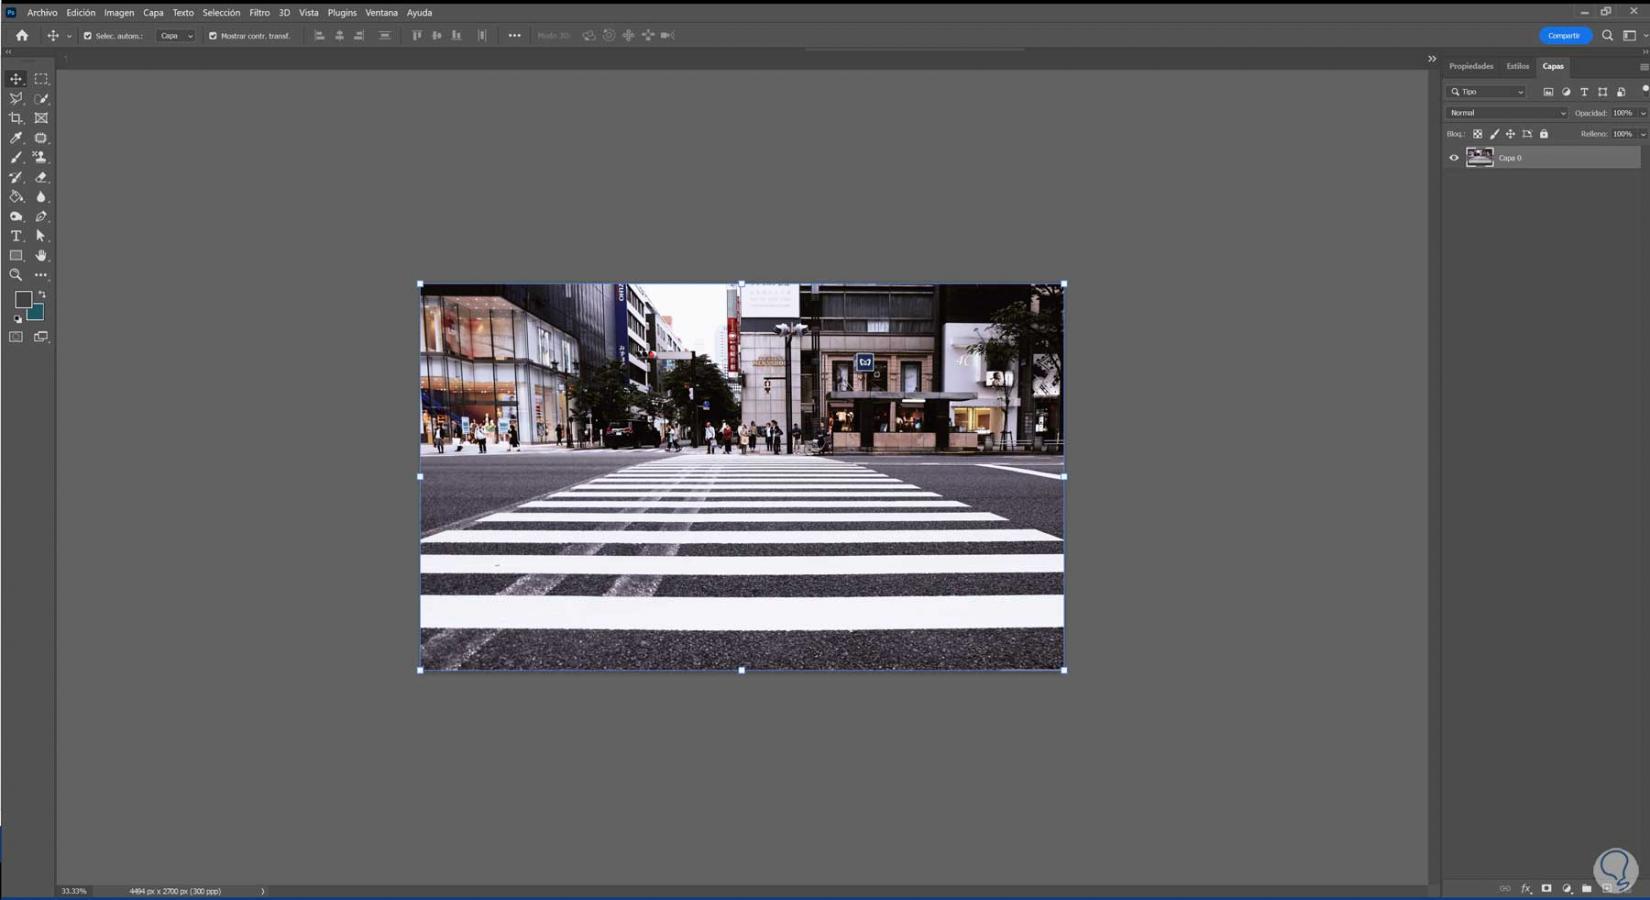
In this way we can clone in perspective from any image using the Vanishing Point tool in Photoshop. You will no longer have problems when editing an image and cloning its zones without seeing the perspective properties disappear using the Vanishing Point.