Perspective helps us to be able to create that sensation of depth and to give us a position within a space that has room to go back. In photography, perspective is an important resource to fully exploit the sensations of our photographs. Through photography we can give a sensation of larger or smaller elements depending on the distance of the observer. It will not be the same to see something or someone close to the horizon as it is far away from it and more positioned in the foreground in our photography..
We start from the fact that unlike how the brain translates the world into three dimensions, photography moves in a two-dimensional world. Despite this, we are capable of conceiving reality portrayed in depth, something that is achieved thanks to perspective. That illusion that will be created between the one who observes the image and the position of the different elements within the photograph. The art of photography also resides in being able to create three-dimensional sensations in two-dimensional supports thanks to the changes in size and position of the different elements and subjects of the photograph. Once we take perspective into account and start using it, we will see how its possibilities of use are enhanced.
We could talk about some types of perspective that we can find in our photographs..
perspective types
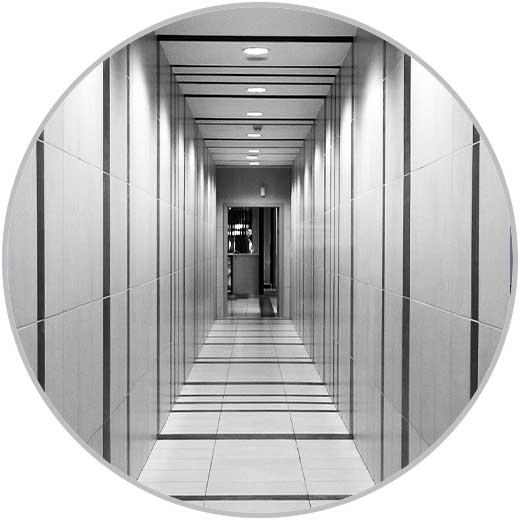
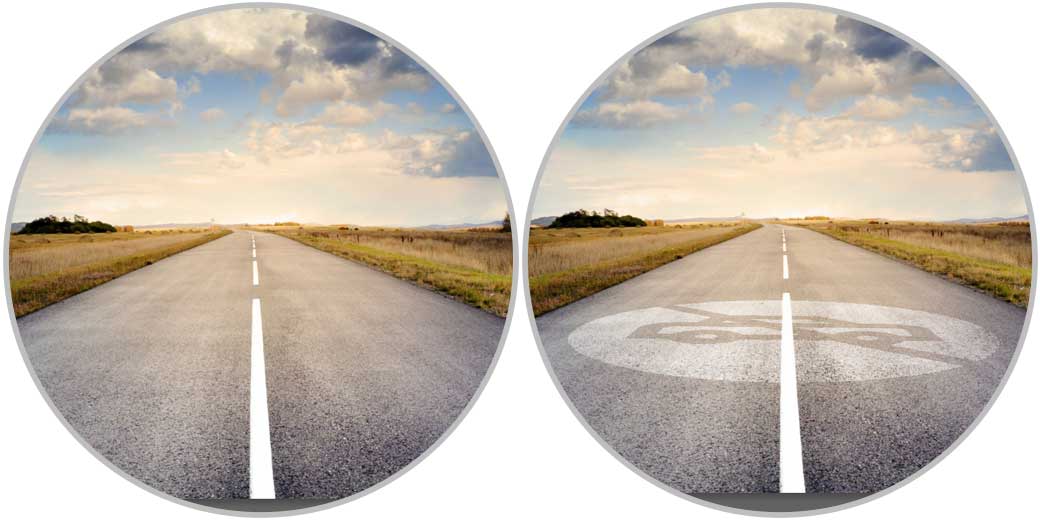
Linear perspective. More geometric type of perspective where the lines are protagonists of the final effect, the more the better. We will see different parallel lines that will converge at a point called the vanishing point and that provide a great sensation of depth.
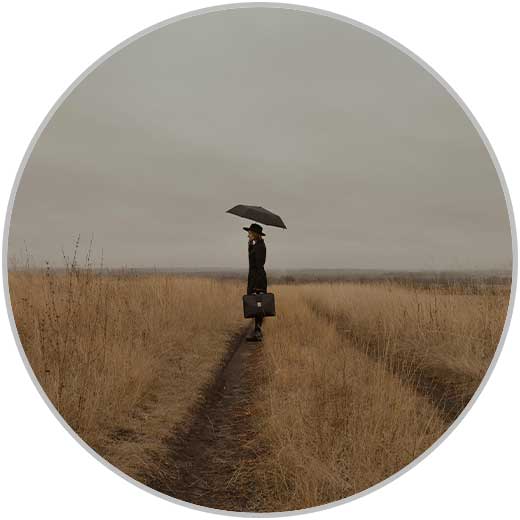
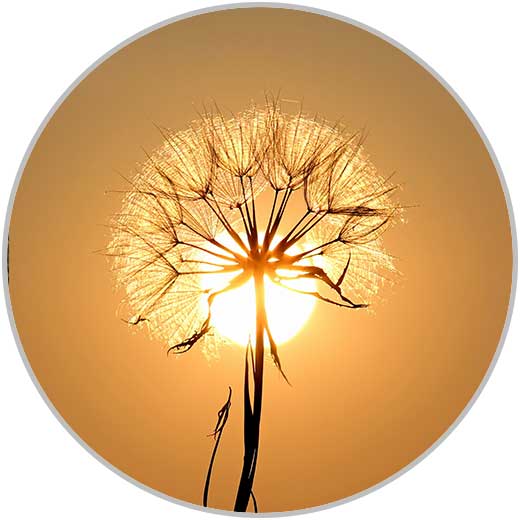
- aerial perspective. Also called atmospheric is used when we photograph landscapes with their environmental conditions. Climatic agents such as rain or fog will be used or that which may provide a sense of remoteness. Cold tones are usually used and seeks to create a feeling that there is a distance so great that your eyes could not see it.
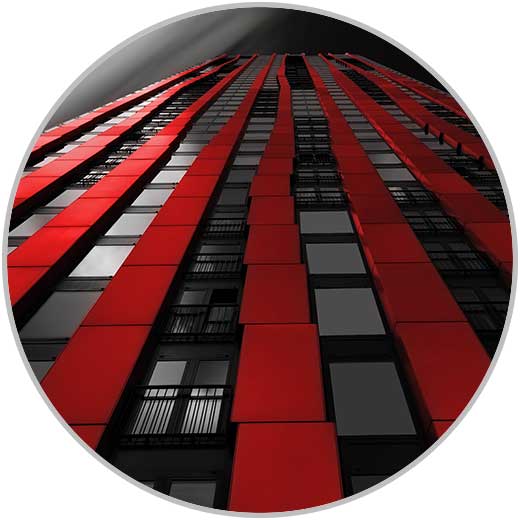
- forced perspective. Here we will be the ones who manipulate the scene and, depending on the angle, position and moment, we will play with the sizes of the elements, creating a deceptive sensation for the viewer. We will play here with the size and position of the elements to make the composition. When someone tries to pretend that they are holding the Tower of Pisa or holding an airplane or the sun with their fingers, we will be creating a forced perspective with this game of positions.
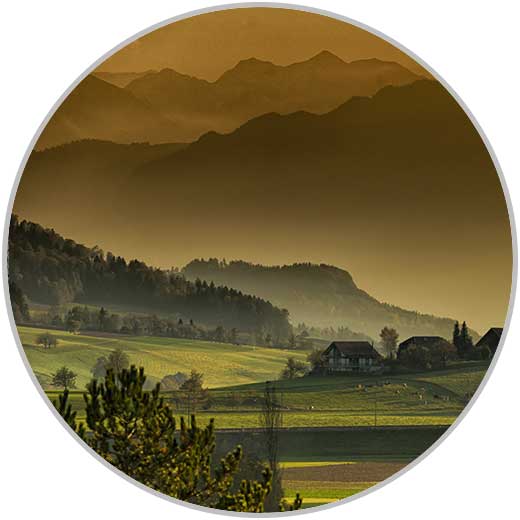
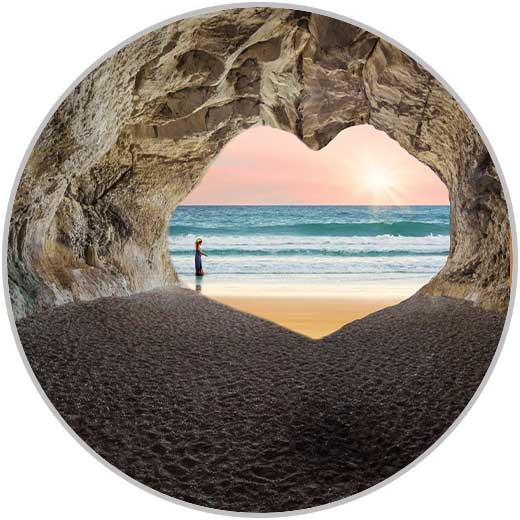
- Overlay perspective. In this type we will play with two different elements that can converge and offer a more complete and harmonious result. The two help each other and generate a greater sense of depth.
Let's see how we can place an image in Photoshop with perspective and especially when it is a linear perspective.
To stay up to date, remember to subscribe to our YouTube channel!
SUBSCRIBE ON YOUTUBE
Place image in perspective Photoshop
We have already been seeing the importance of perspective and that is that depending on how we use it, the results can be totally different. Depending on the perspective with which we have worked on our photography, we will later have one or the other result. In this case we will work under a linear perspective in which we want to place one image over another but without fitting the perspective we will have disastrous results. For this we are going to work with the Vanishing Point tool and thus achieve the result we are looking for.
Also for this example we are going to want to place an image on top of another, we will put an image on a floor and we will merge it to make it as real as possible. We can apply it to many types of perspective but in this case we will do an example where we will see how well we can integrate images in perspective without a problem:
Step 1
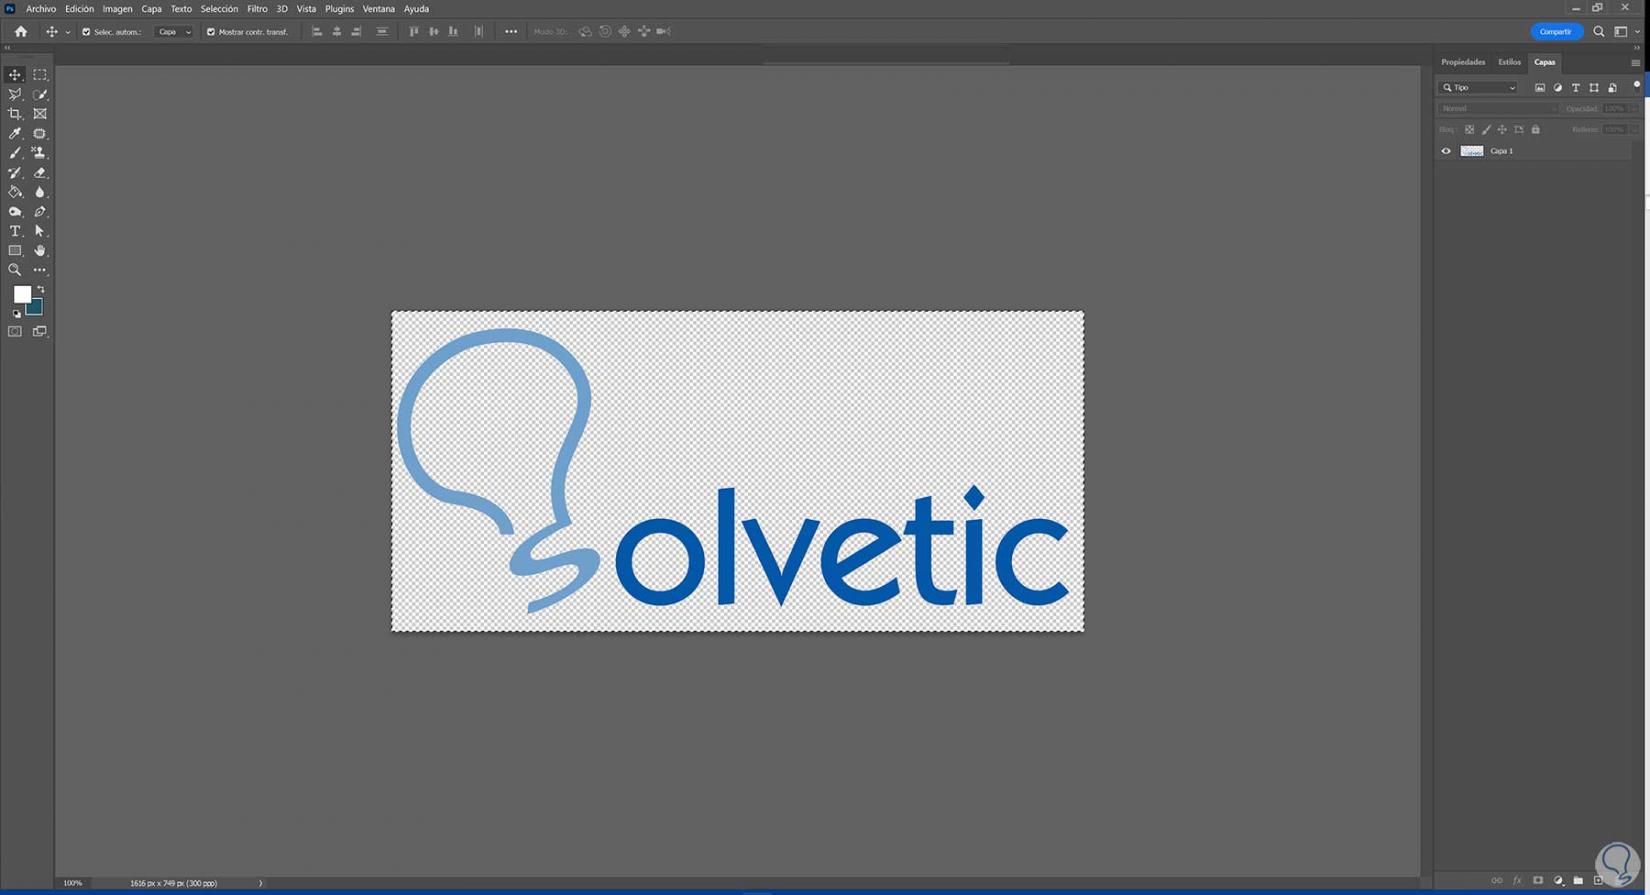
We see our image that will be the one we want to place in perspective on top of another. We are going to start by selecting our image completely, it is recommended that it already have the background removed for better insertion.
To select our entire image we will use the following key combination:
Ctrl + A
Step 2
Now copy the entire image for which we will use a hotkey combination:
Ctrl + C
Step 3
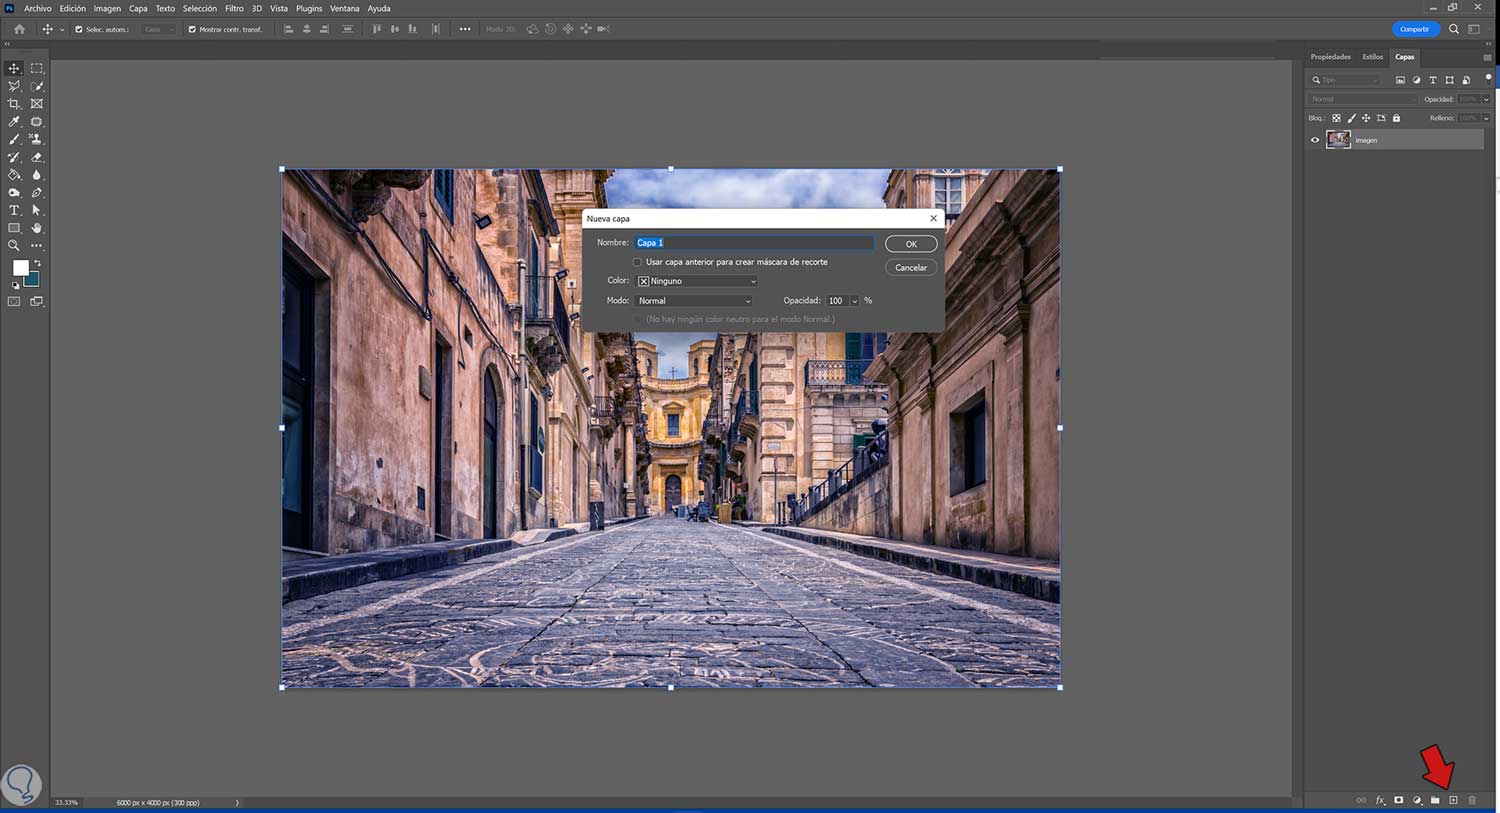
We go to the final image where we will put the copied image. The following will be to create a new layer by clicking on the New Layer icon or using the following quick key combination:
Shift + Ctrl + N
Step 4
In this case we want the TechnoWikis logo to appear superimposed on the ground that we see in the image of the street.
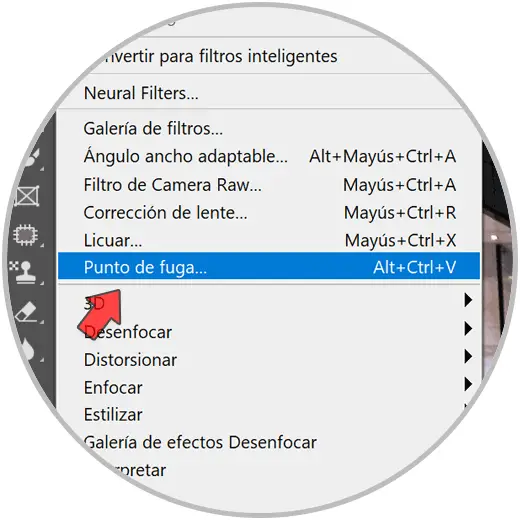
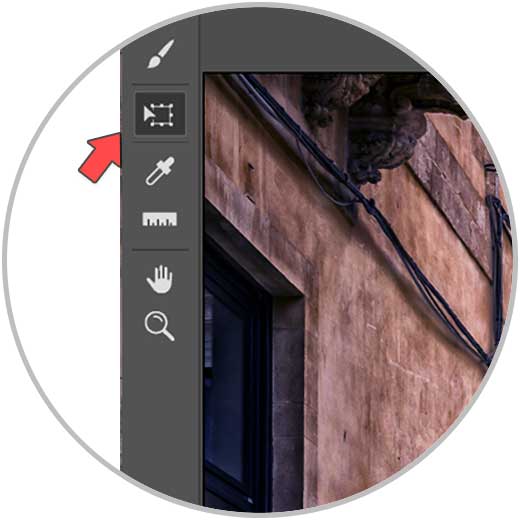
We are going to work with Photoshop's Vanishing Point tool to get that perspective paste. To do this, by clicking on the new layer we will go to the top menu of "Filter - Vanishing point" or use the following key combination:
Ctrl + Alt + V
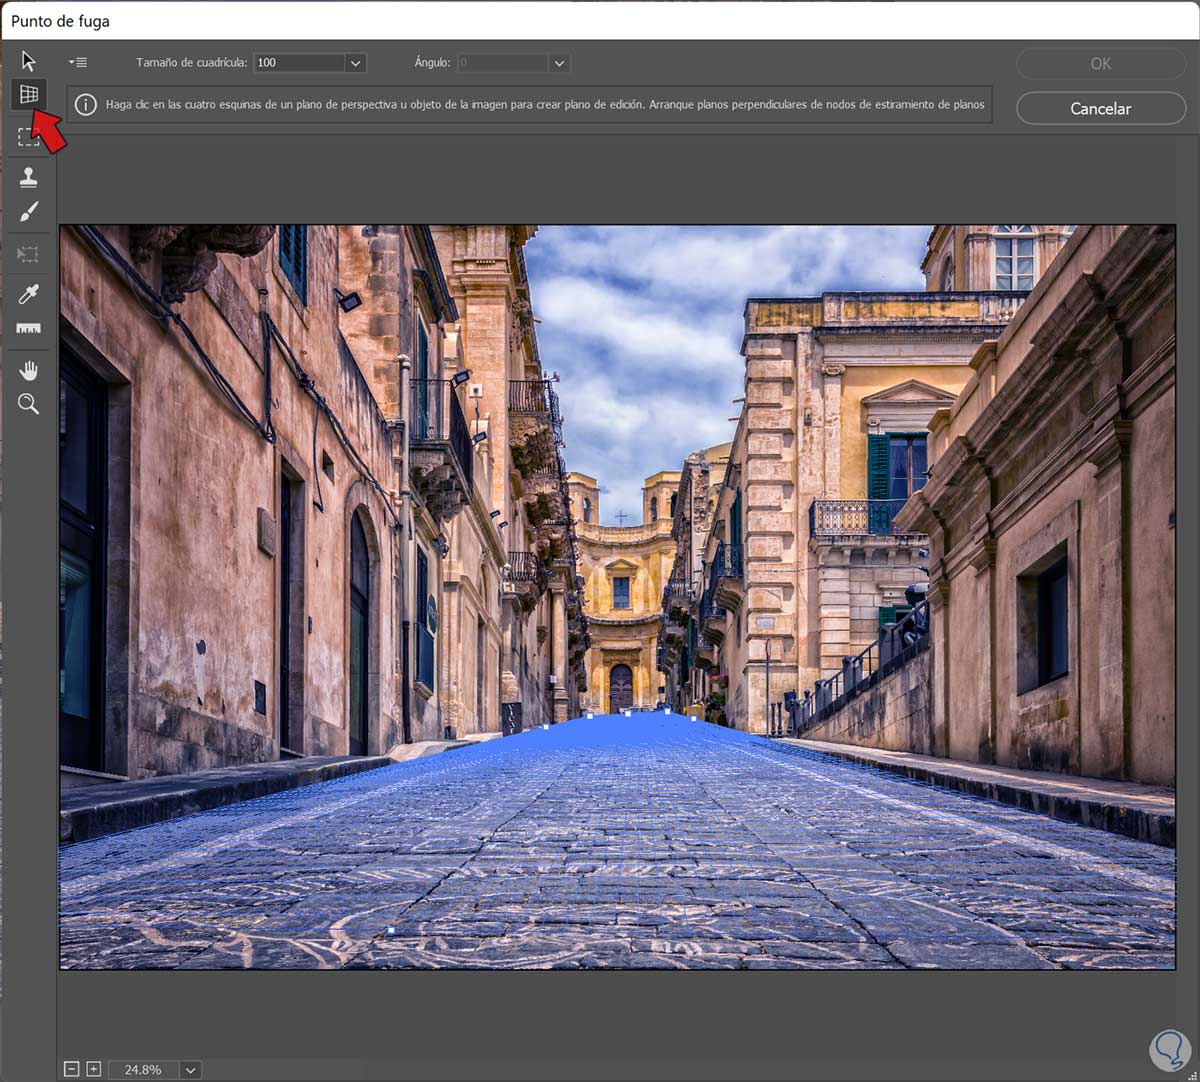
step 5
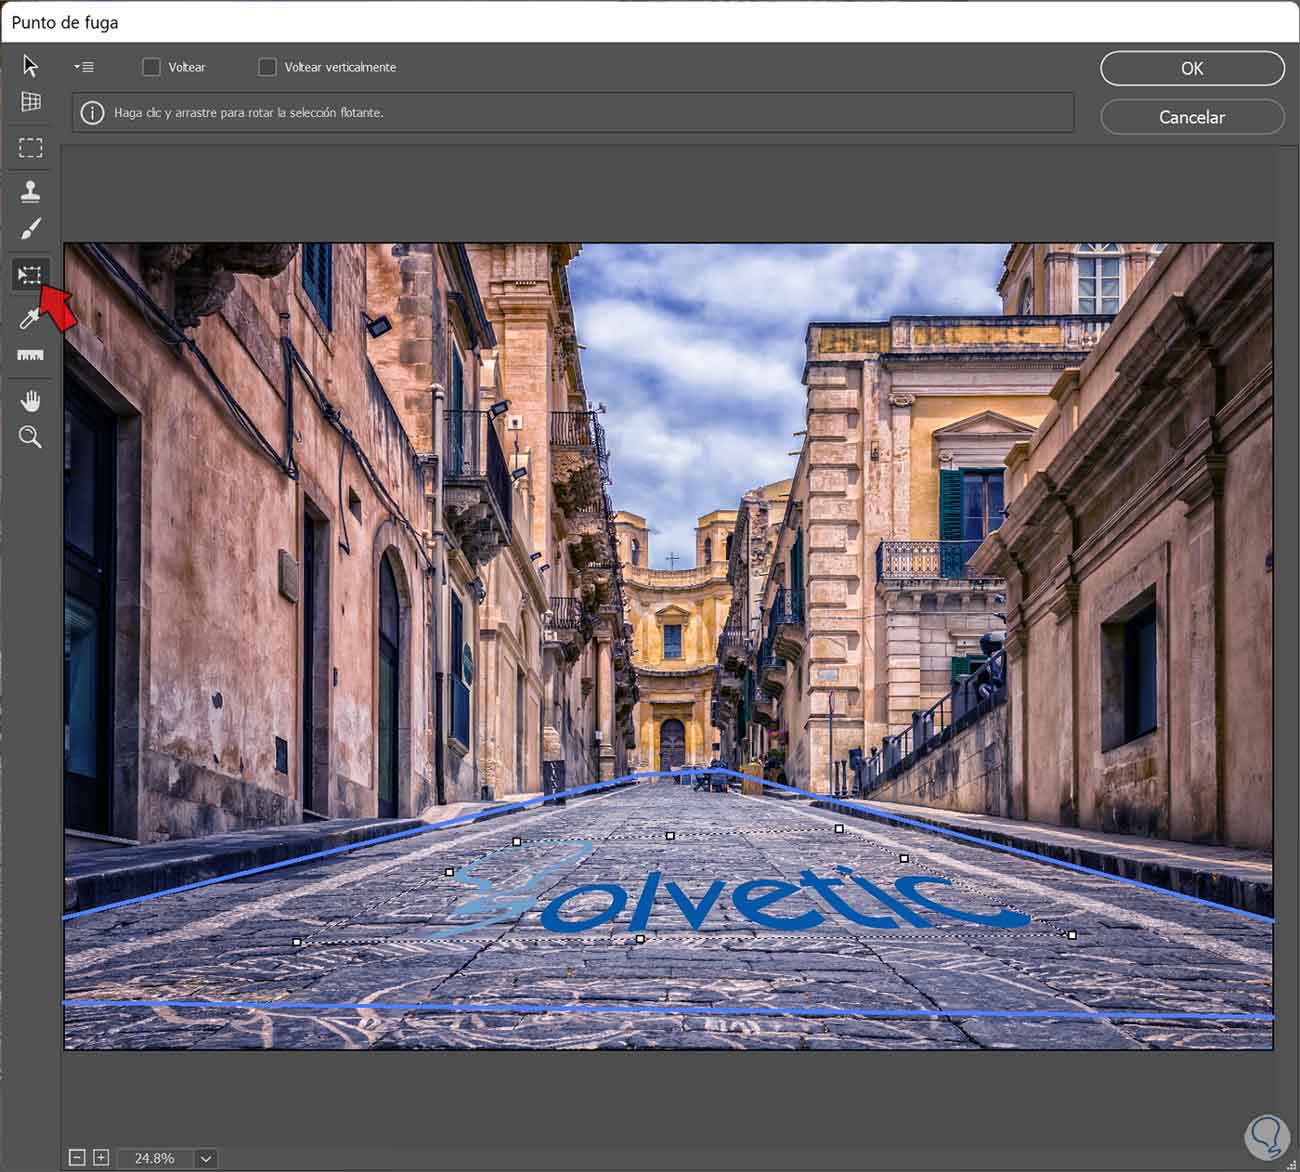
Here we will use the “Create Plan Tool” to design our perspective plan. To create it we will have 4 nodes that we have to distribute in the corners that make up our vanishing point or perspective.
step 6
Since we already have our plane defined, we can directly paste our image here. To do this we will paste with the following key combination:
Ctrl + V
step 7
We will see that our pasted image will appear in the Vanishing Point window and now we can proceed to adjust it well in our image:
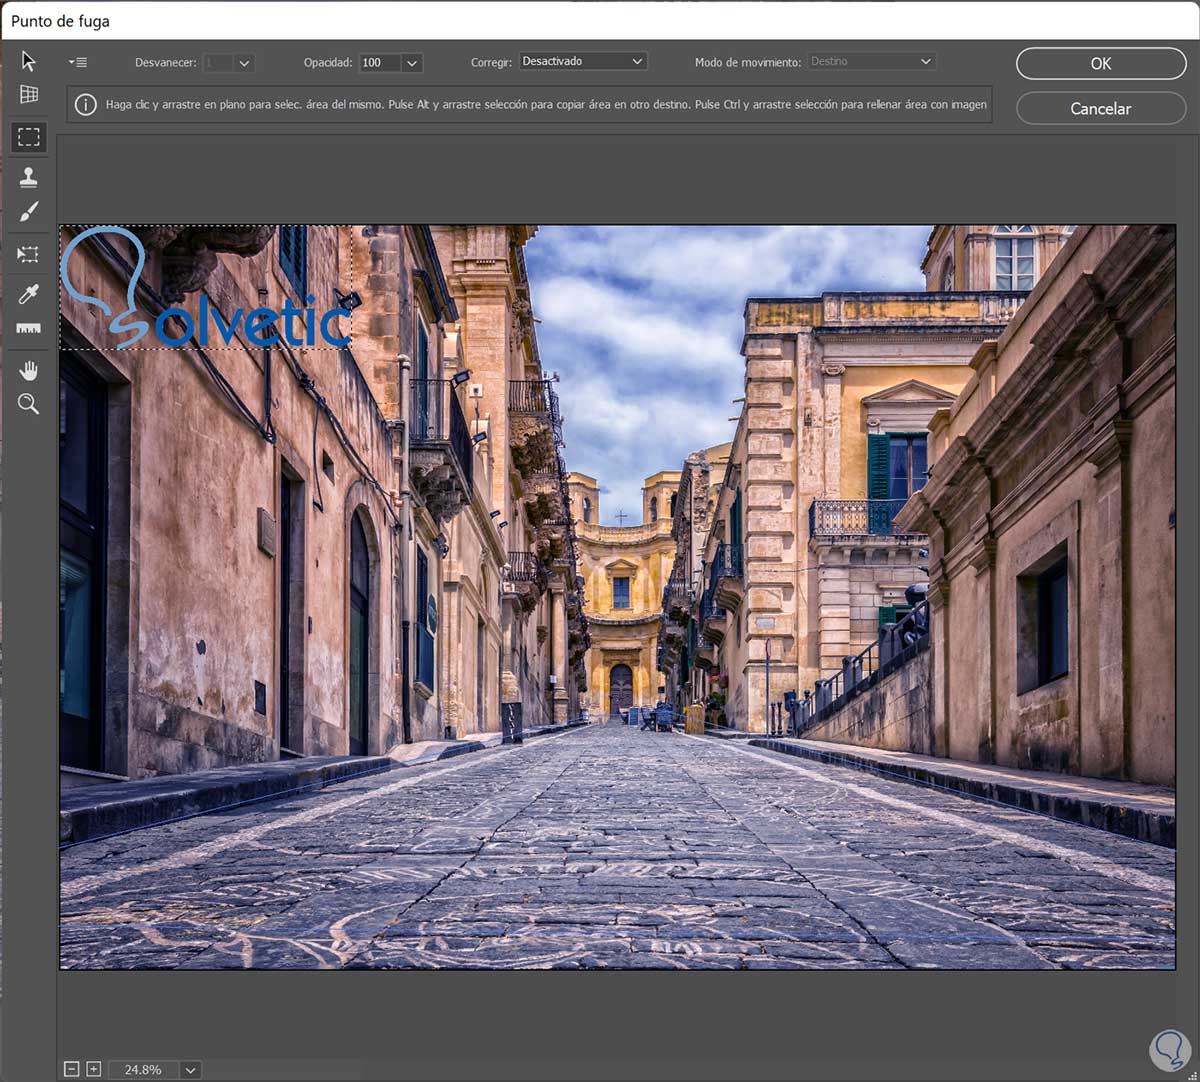
step 8
We are going to move and adjust our image using the tool on the left called the “Transform Tool (T)”.
step 9
Click on the tool and then we can move and adjust the size of our image wherever we want.
We will see that depending on the perspective area where we place it, the perspective orientation changes. We can vary its size with the adjustments of the borders of the transformation frame..
step 10
Once we have adjusted and placed our image in perspective we can apply the changes correctly.
step 11
We will see that we already have our image satisfactorily placed in perspective in Photoshop.

step 12
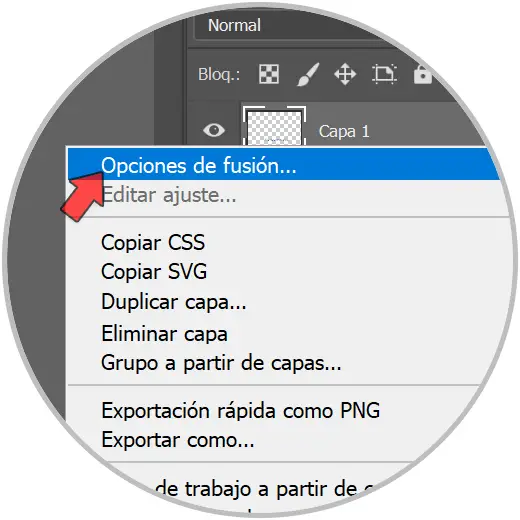
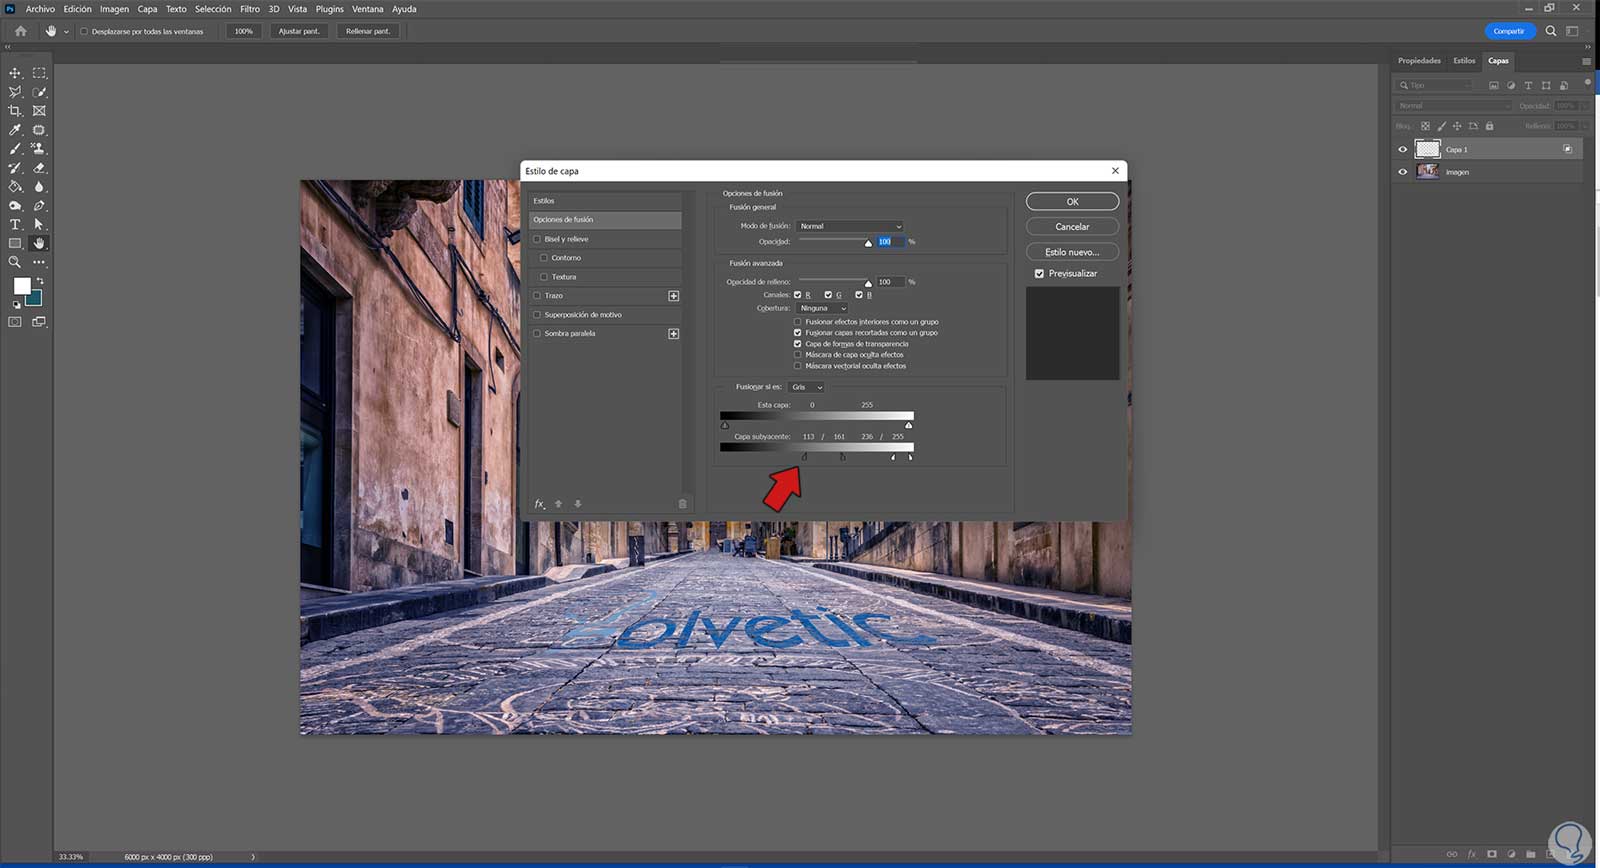
We are going to improve the integration of both images a little more. To do this we are going to double click on the layer that contains the image placed in perspective or we right click and choose "Fusion Options":
step 13
We'll go to the bottom of this settings window and look at the “Underlay Layer” panel. Here we will be moving the handles of the black part to the right until we see a greater aspect of realism.
To move the individual handles hold down the “Alt” key and move these sliders.
step 14
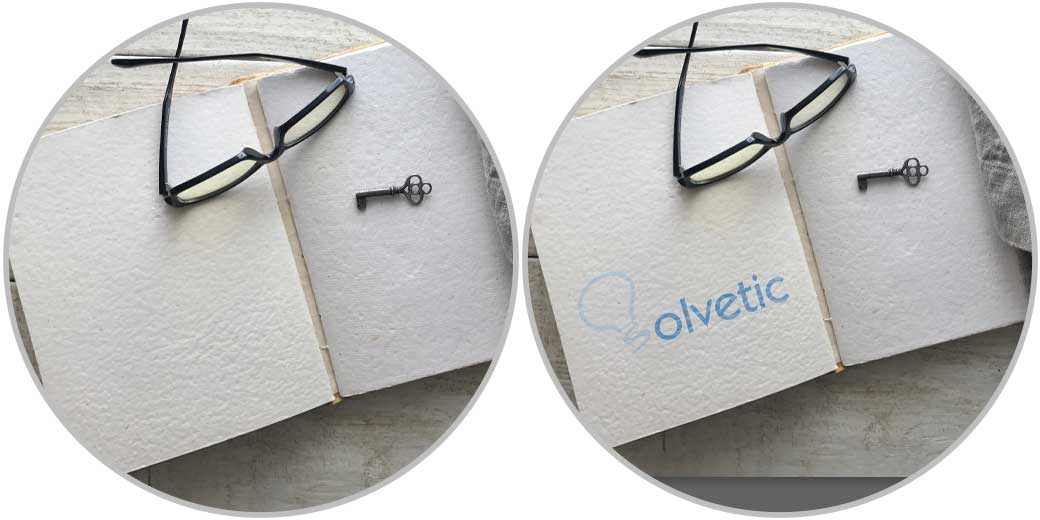
We will apply the changes and we will see our image placed in a more natural way and integrated with the other image.

step 15
You can apply these steps for different compositions that you need and with this we will be able to fully integrate two images by placing one of them in perspective with the other in Photoshop:
In this way we can place an image in perspective in Photoshop and that when we paste we do not lose those vanishing points of perspective that the photo includes.