The background is one of the parts that we can find in our photographs and that we must also take into account when composing our images. Many times we take photographs without taking into account what is behind our subject, sometimes finding backgrounds that we must hide so as not to ruin the image, even backgrounds with a lot of visual power. If what you want is for your subject to have total prominence in the image, we will try to play with the depth of field so that the background appears more blurred and has less presence..
But on many occasions we don't like the background that our photography has directly and we want to change it directly for another. This time we will have the Photoshop tool to be able to play with our backgrounds in the photographs and even eliminate them if we don't want to. Once we have removed the current background from our photograph, we will be able to modify it for another, even making a transparent background that can be used on other platforms and applications. If you are looking for a personalized edition with tasks such as changing the background of the photo, we will show you today the example of putting the white background in Photoshop or another color that you prefer.
To stay up to date, remember to subscribe to our YouTube channel!
SUBSCRIBE ON YOUTUBE
1 Put White Background to a Photoshop Photo with Selection
Step 1
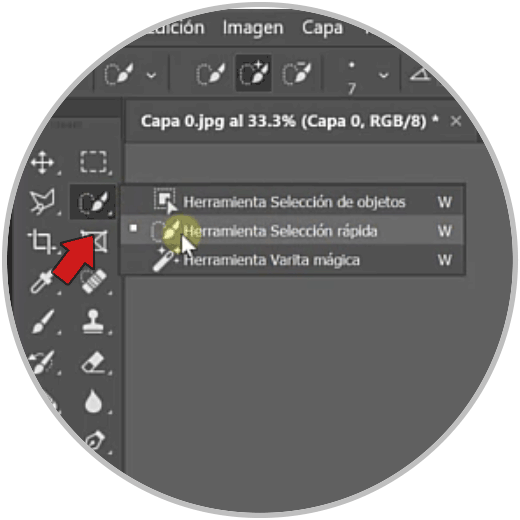
We open our image in Photoshop. Let's go to the "Quick Selection" tool.
Step 2
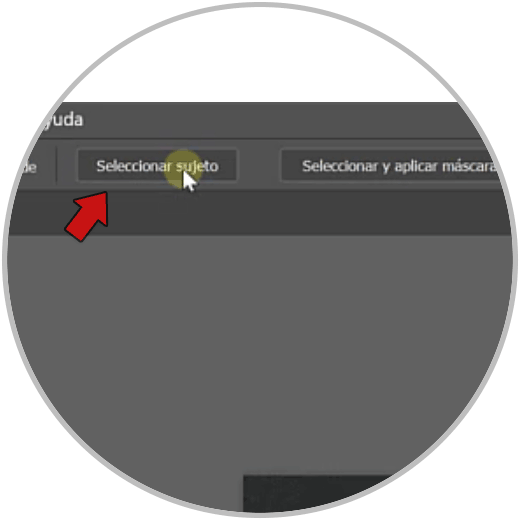
Click on the top option "Select subject" that appears in the menu bar.
Step 3
We see that our image is selected but the subject.

Step 4
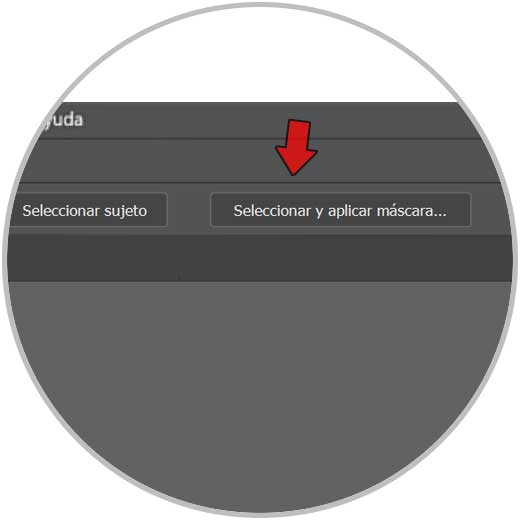
If we want to refine the selection, we will click on "Select and apply mask"
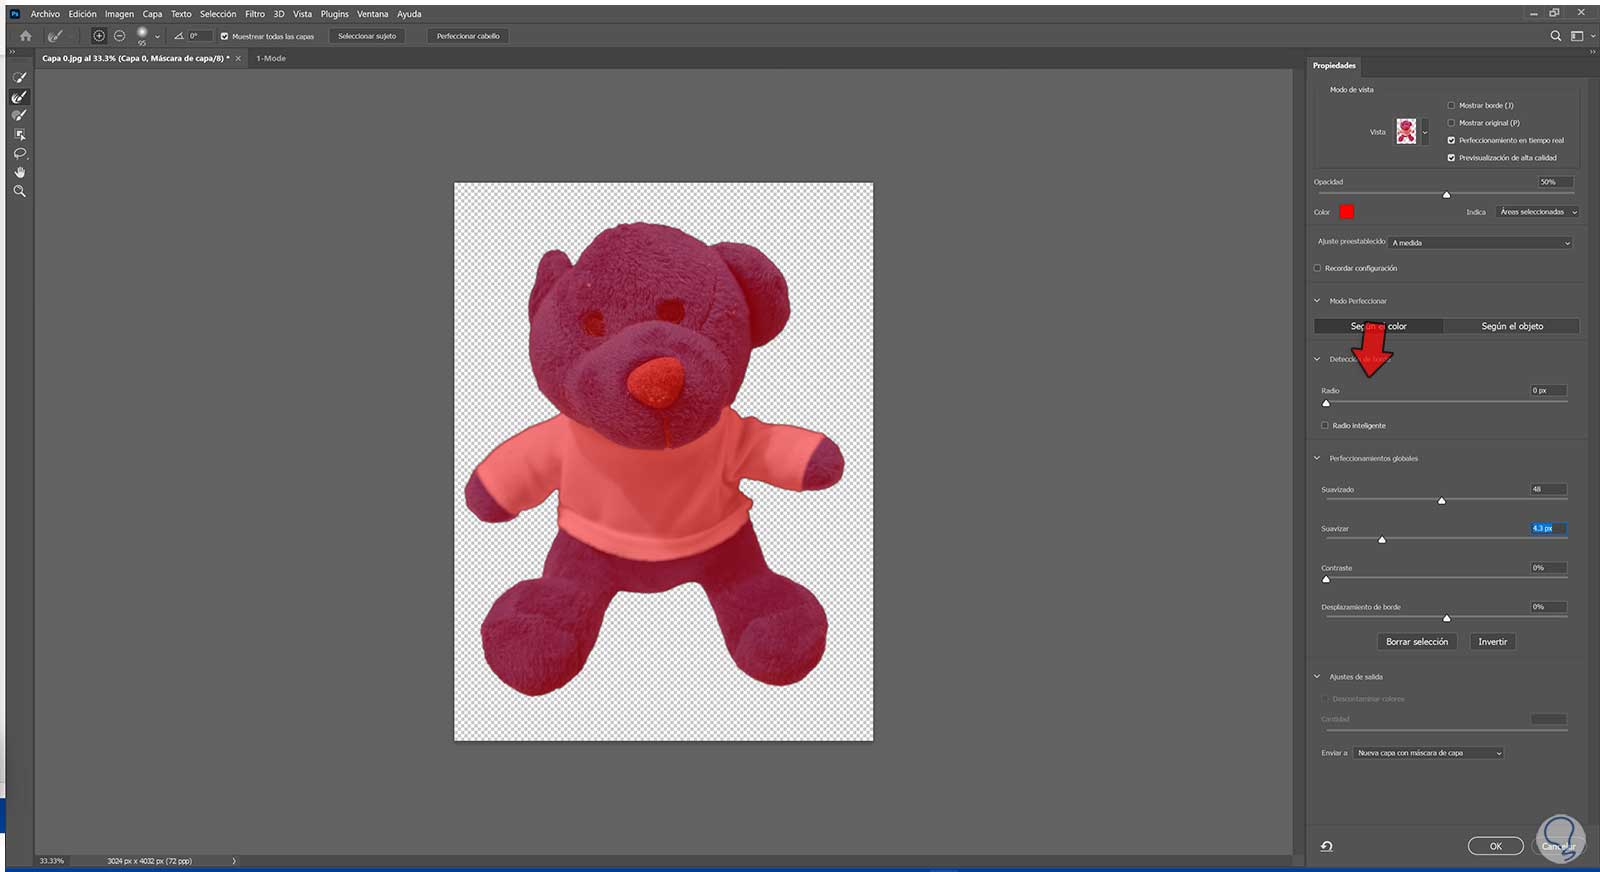
step 5
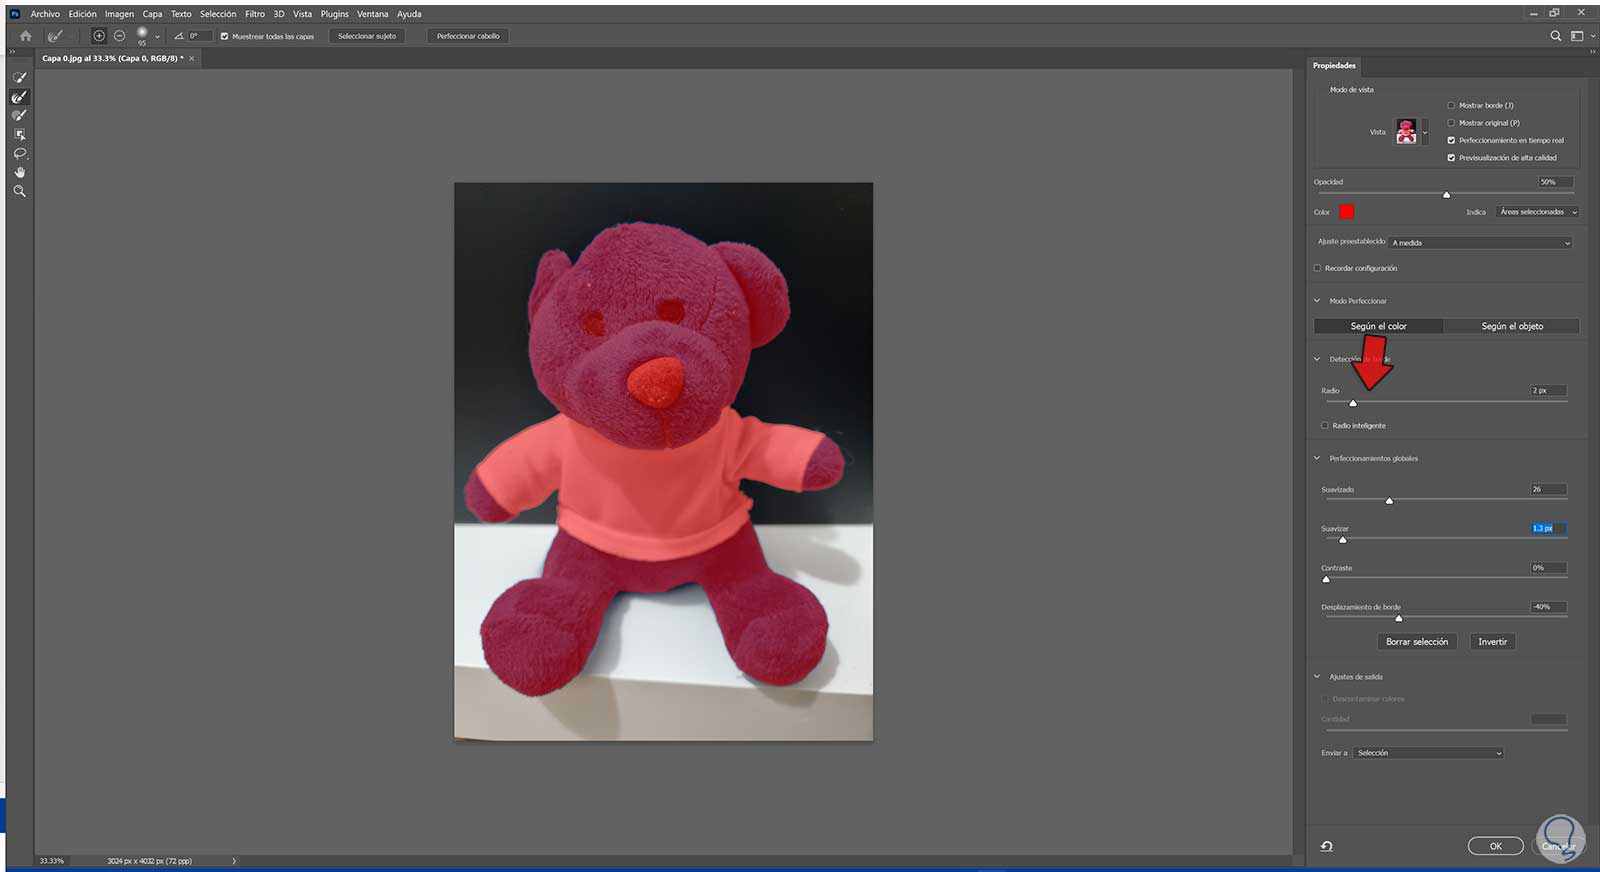
Here we can adjust each of the sliders that we see in the panel on the right to adjust the selection
step 6
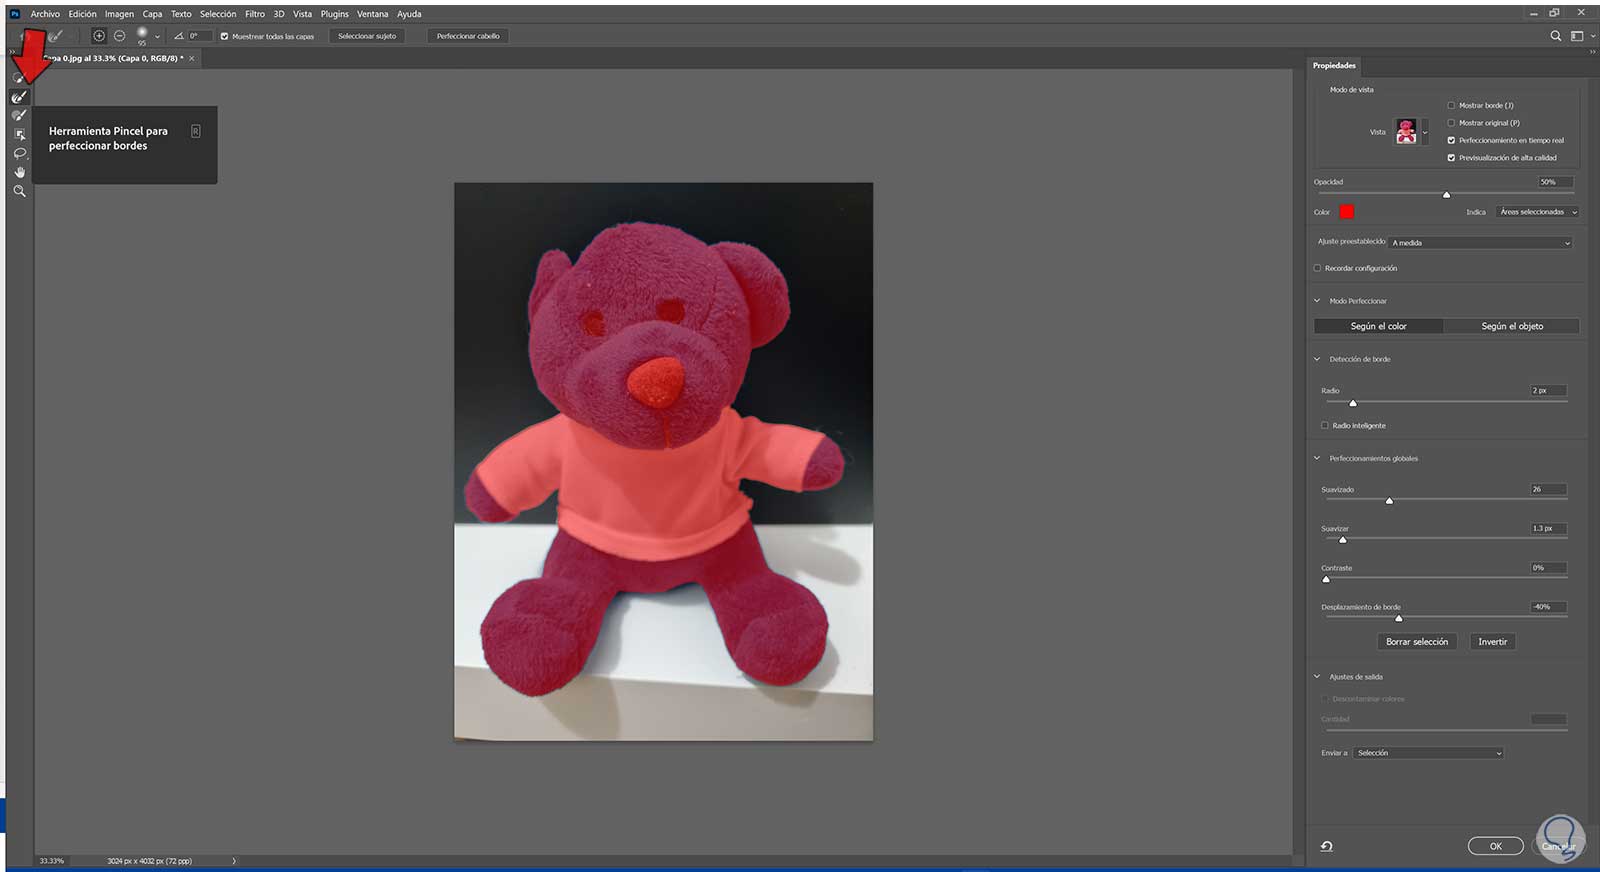
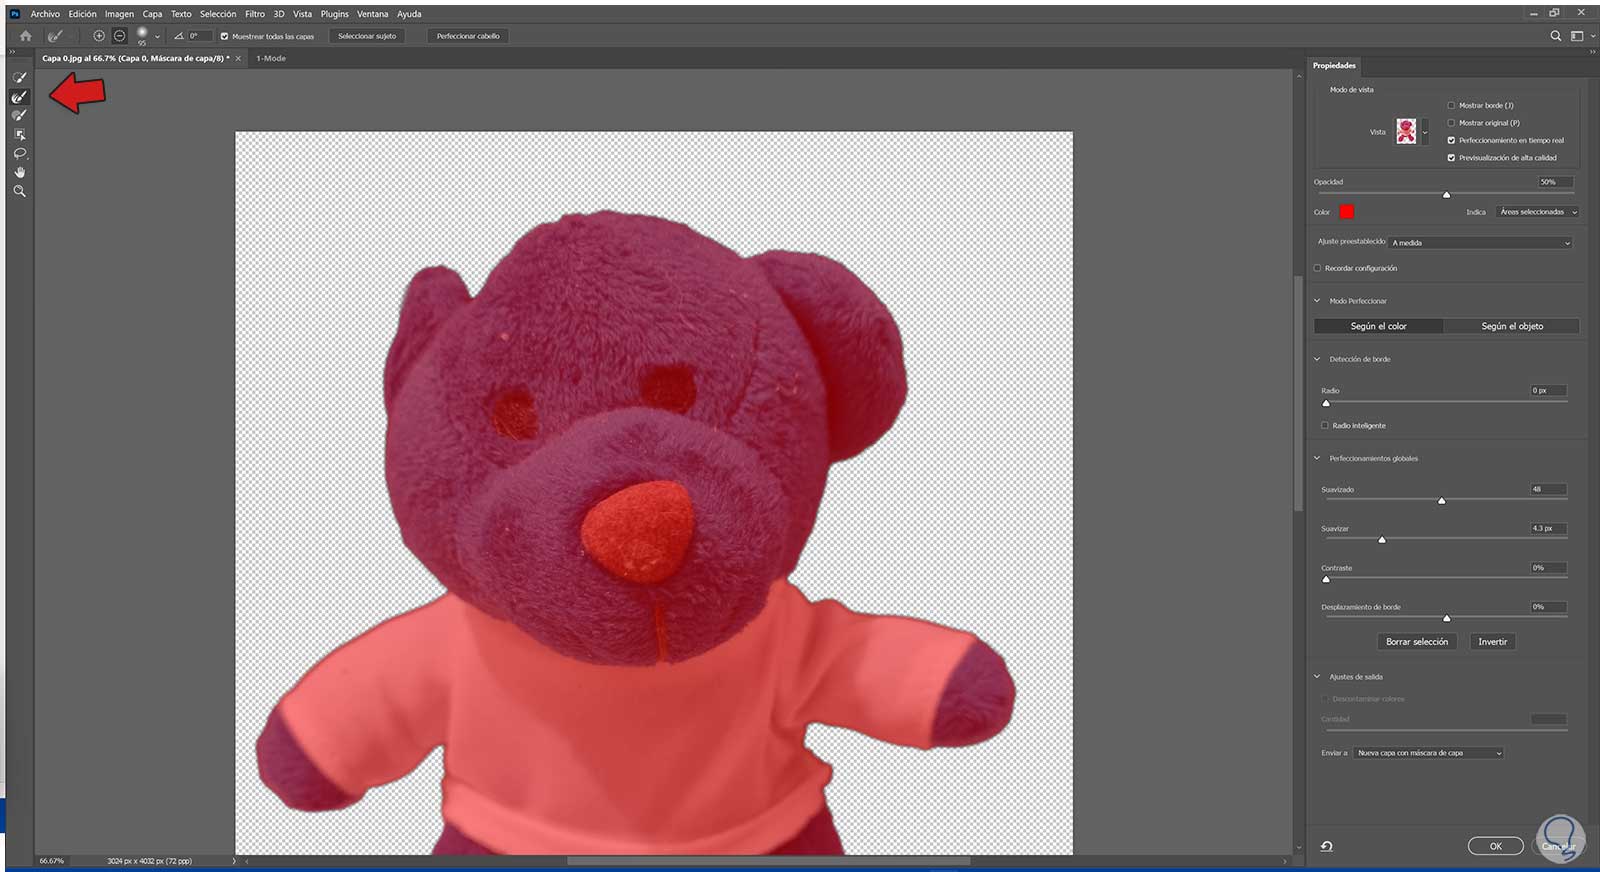
We can also improve the selection with the "Refine edge" tool
Then we will adjust the size of the brush and we will go over the area that we want to improve, such as the edges of the image..
step 7
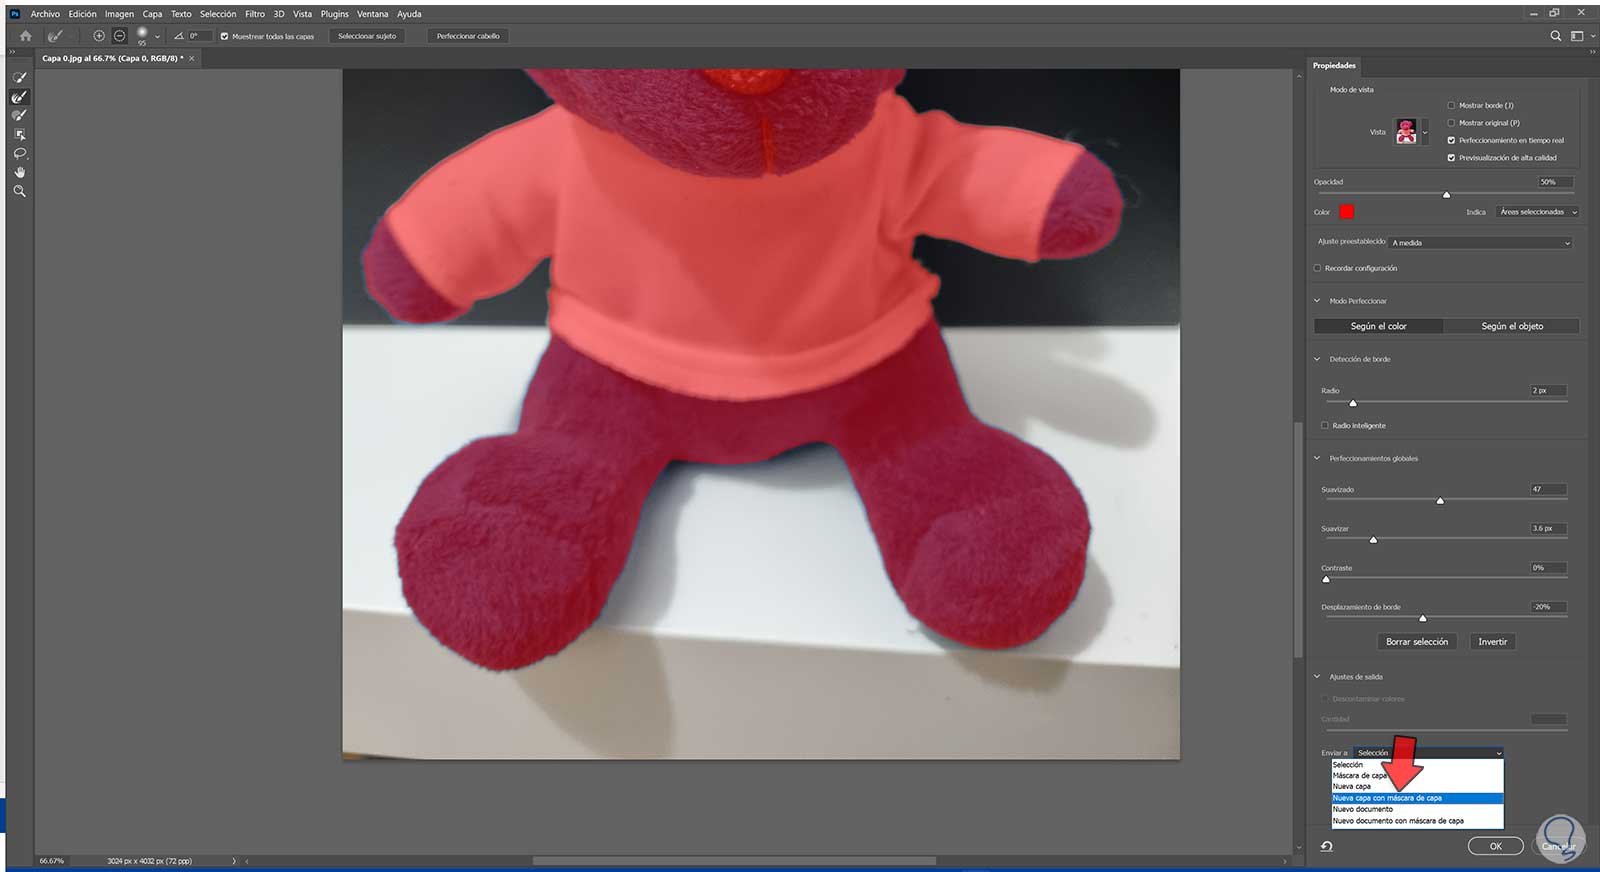
Once we have the selection created we are going to send it to a new layer
To do this, we will indicate that a layer with a layer mask is created from "Send to" and click on "OK".
step 8
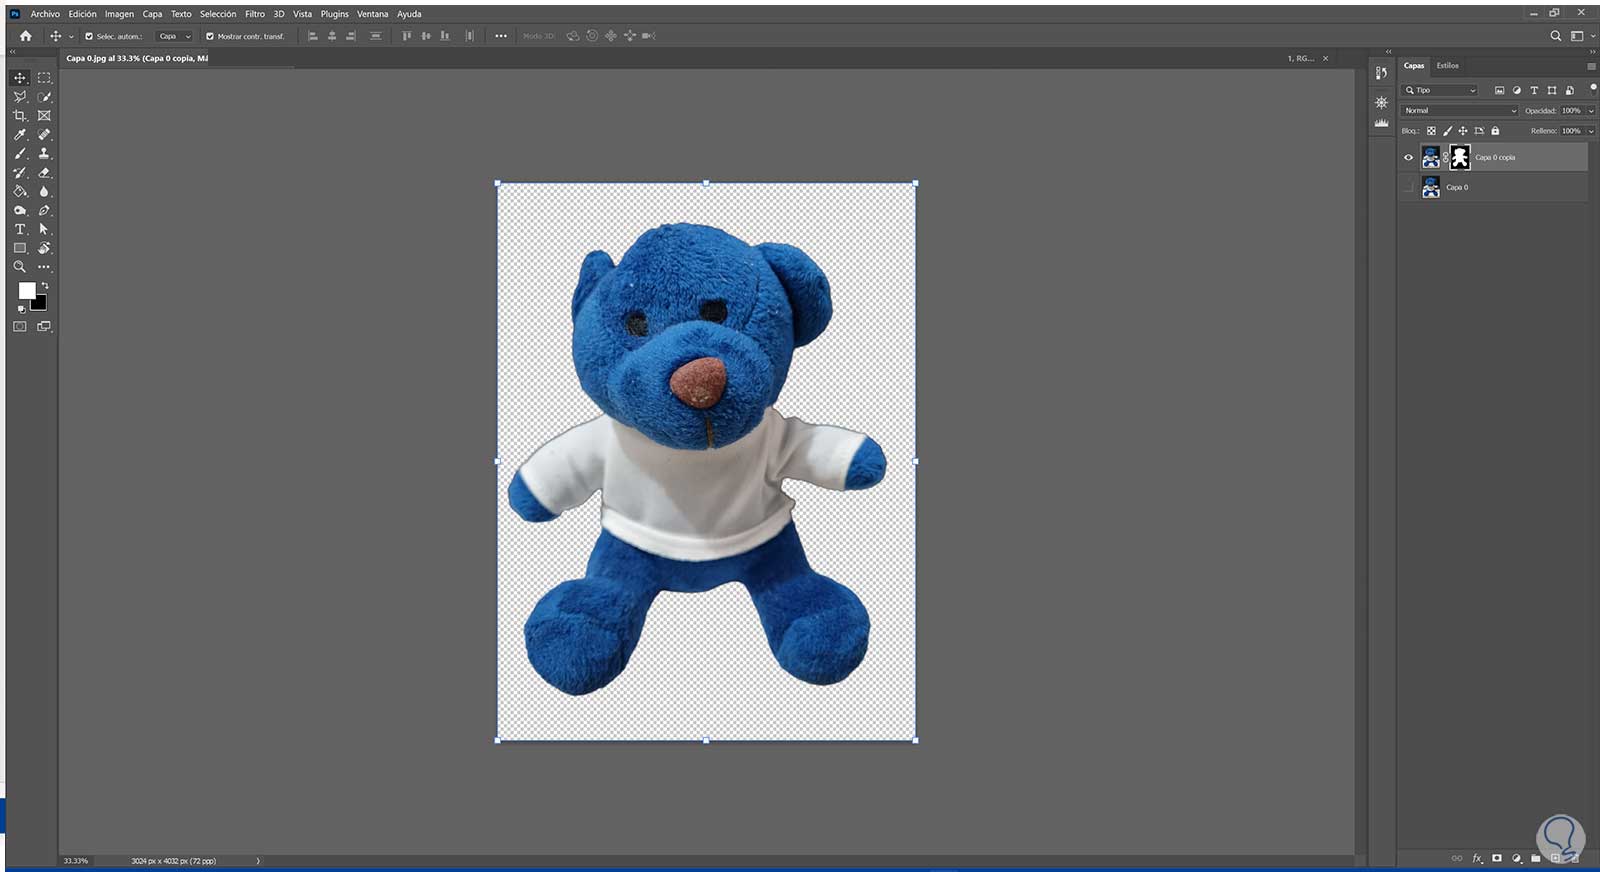
We already have our image without background. By having it with a layer mask we will be in non-destructive mode since only the non-removed background will be hidden.
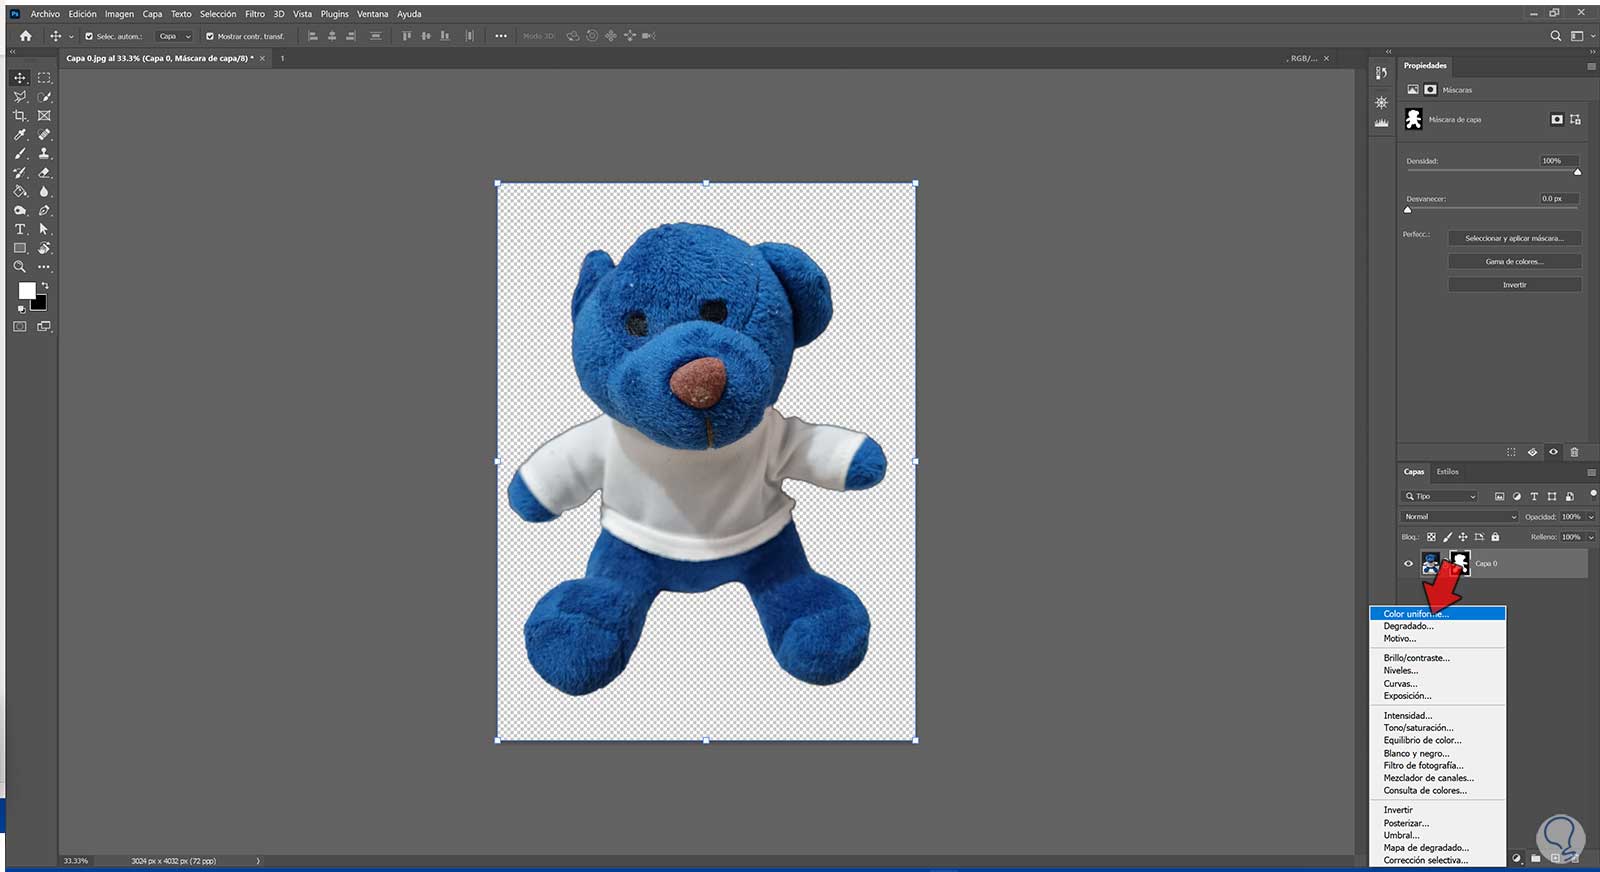
step 9
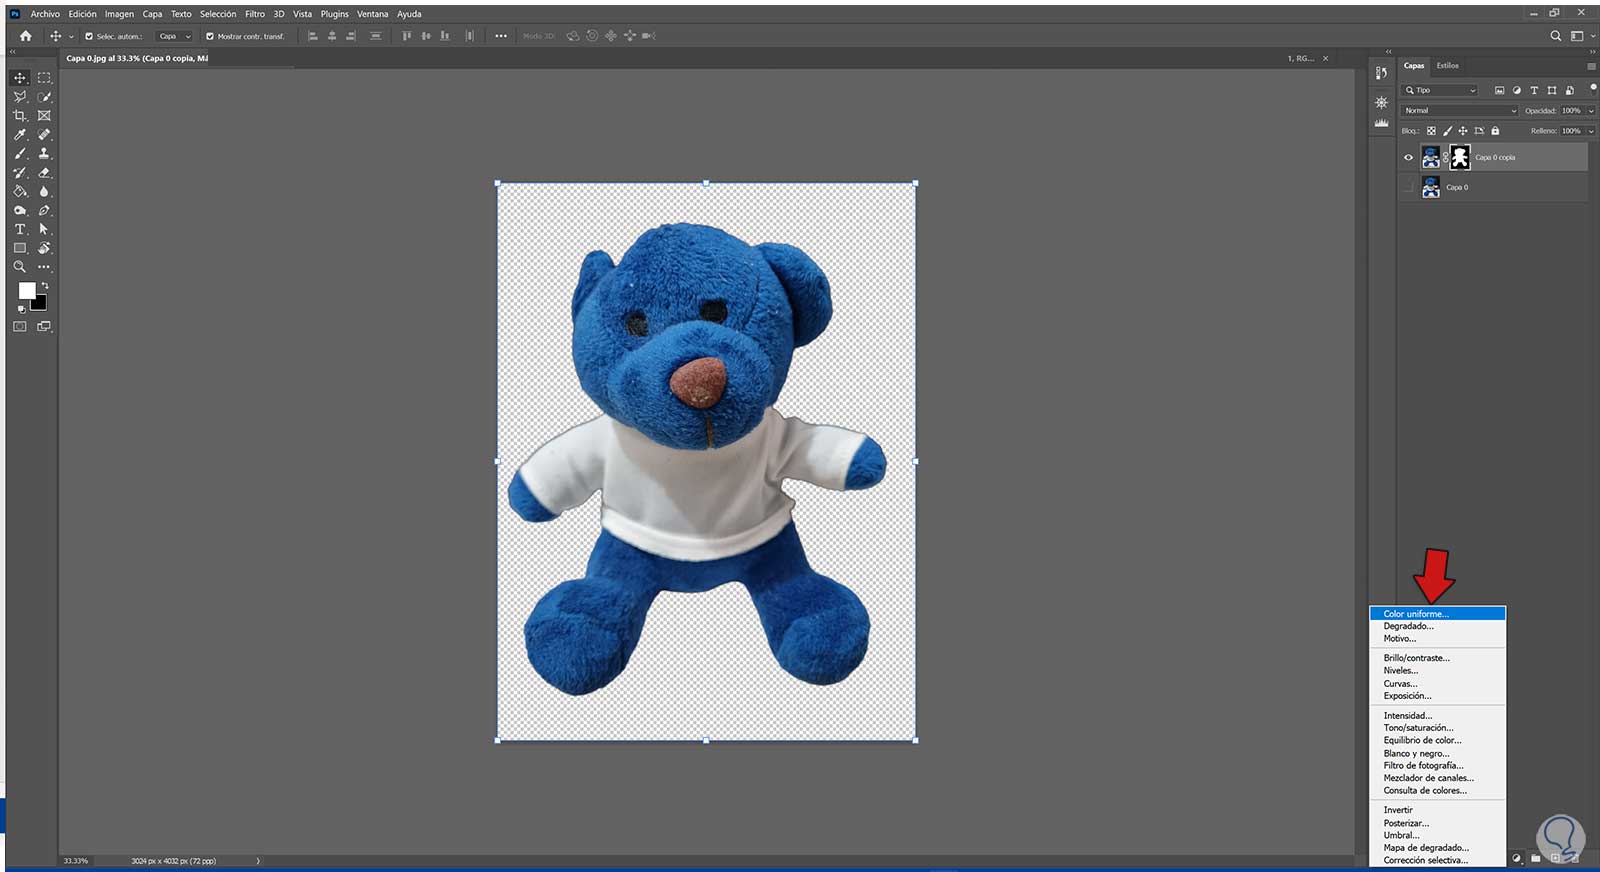
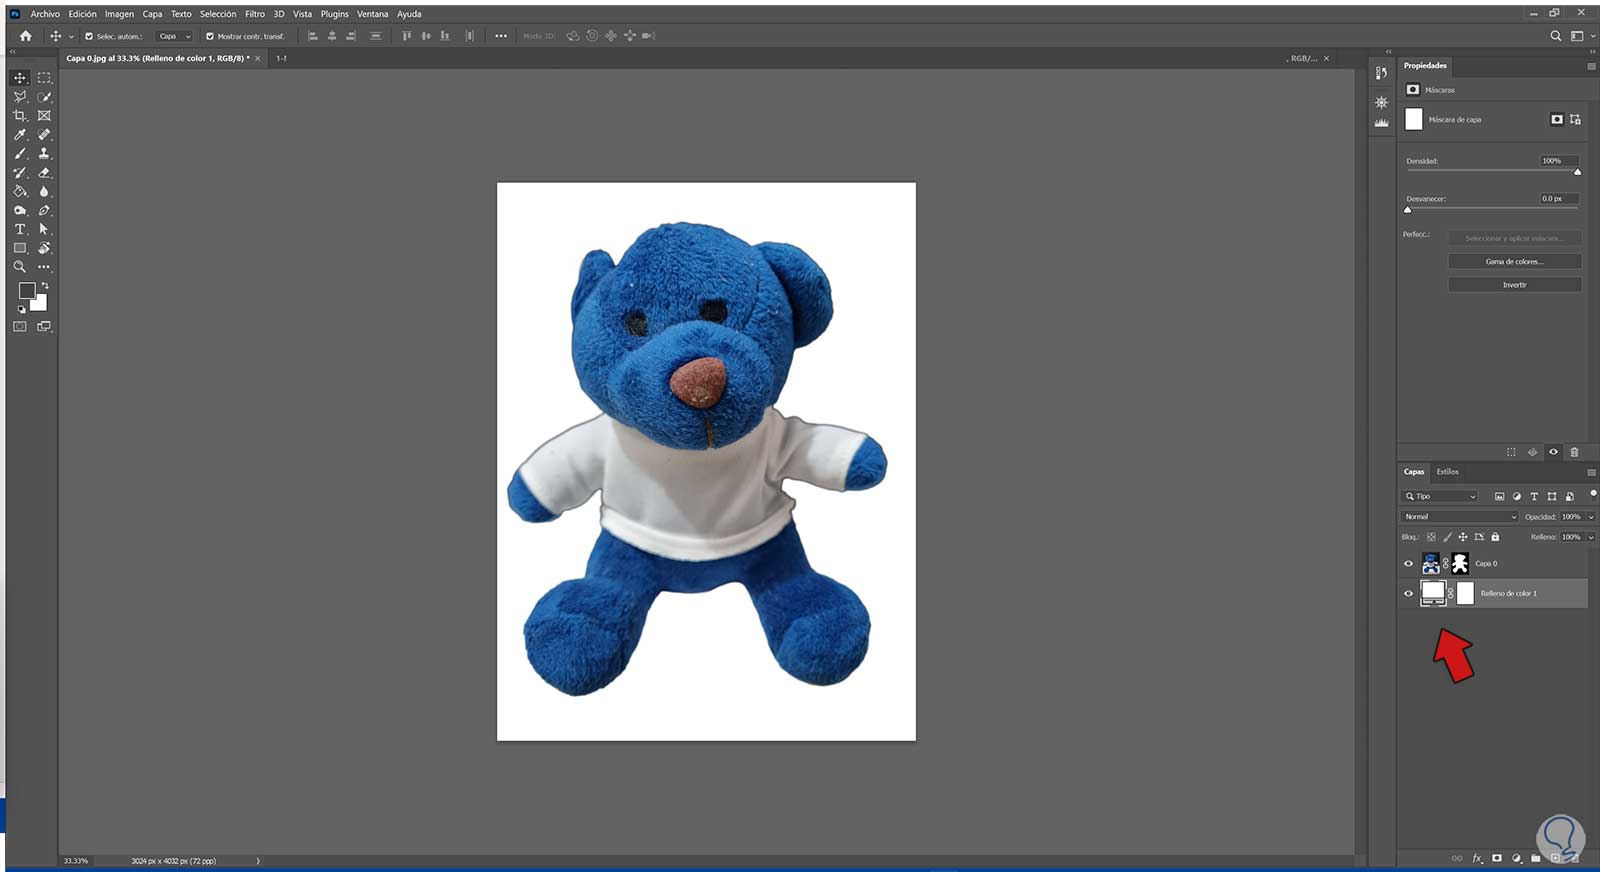
Now we will go to "New Fill Layer" and create a "Uniform Color" layer with the color we want.
step 10
We choose a color that in this case is white and we place it below our image.

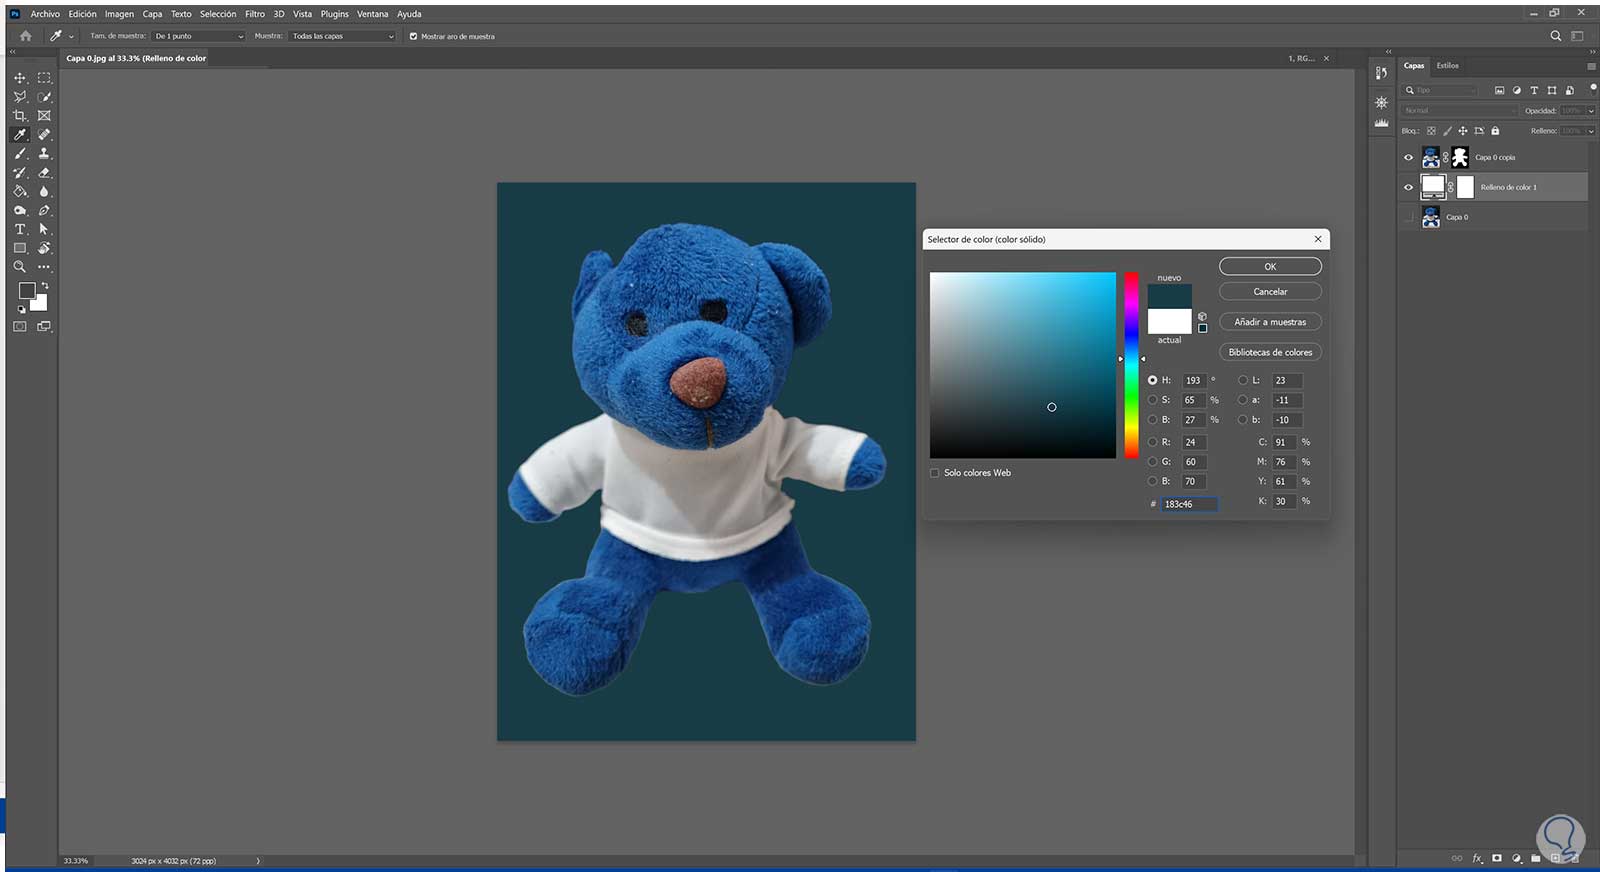
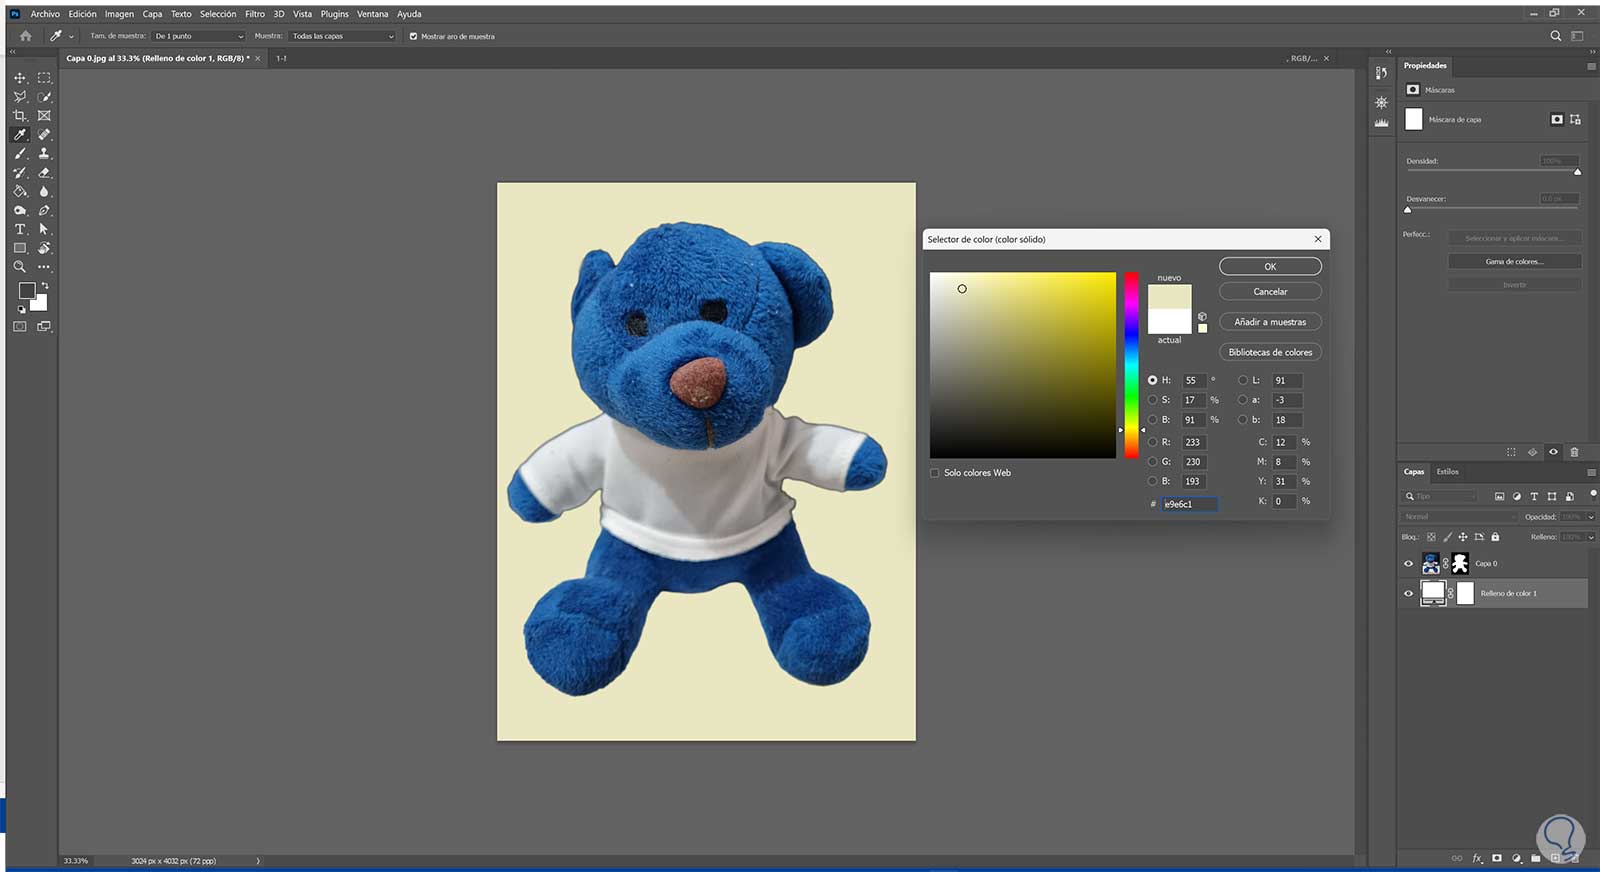
step 11
Here we can let the background be white or double click on the adjustment layer and select another color.
2 Put White Background to a Photoshop Photo with Remove Background
Step 1
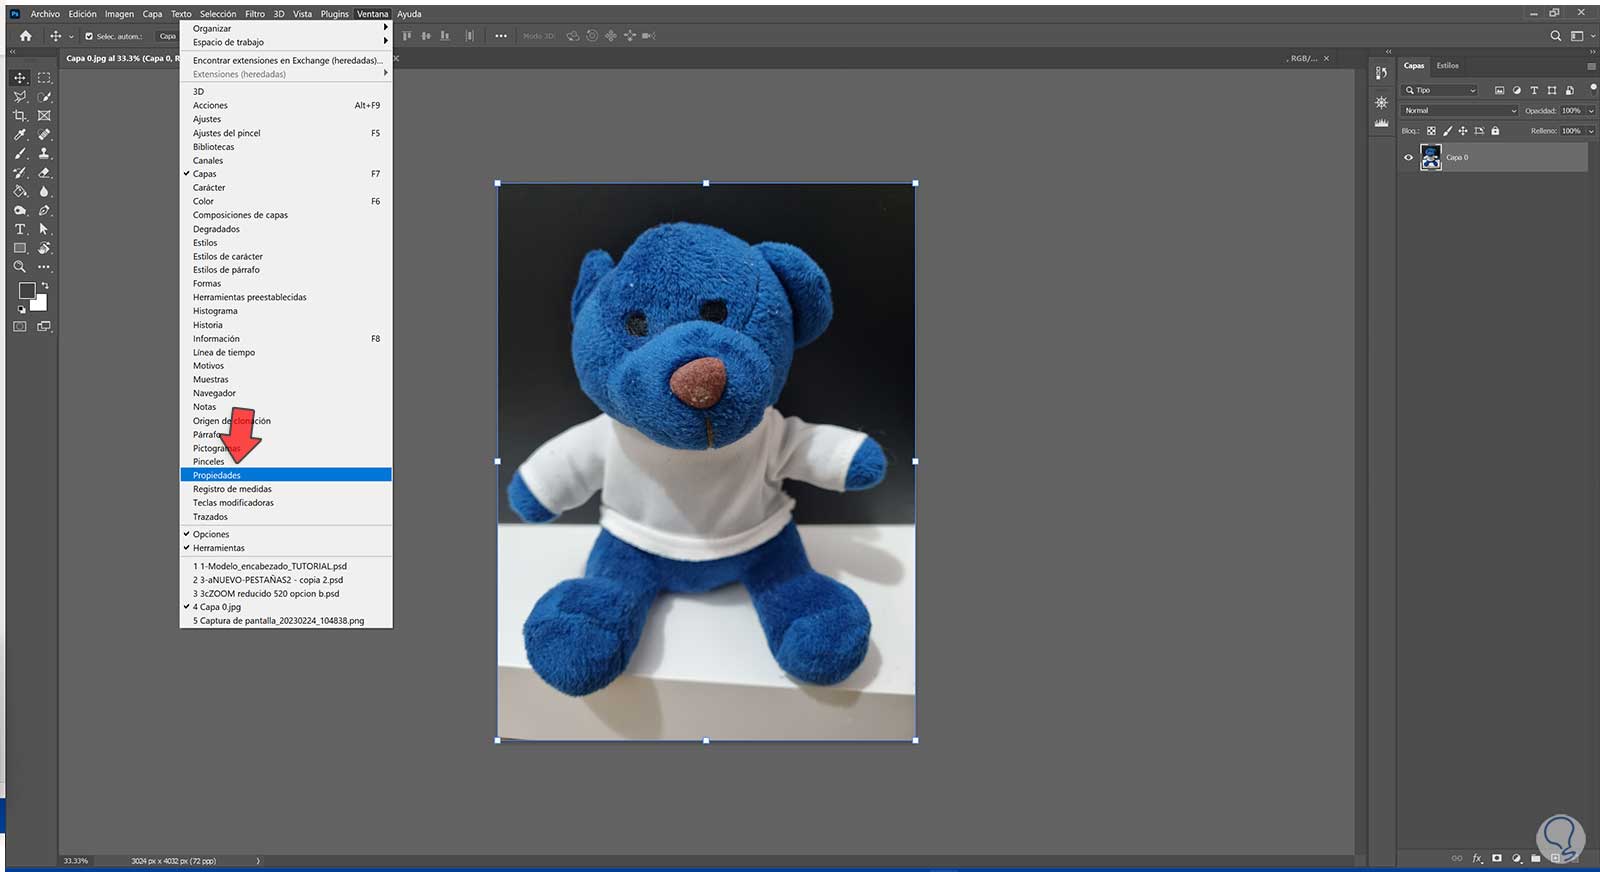
The first thing we will do is open the "Properties" window from "Window".
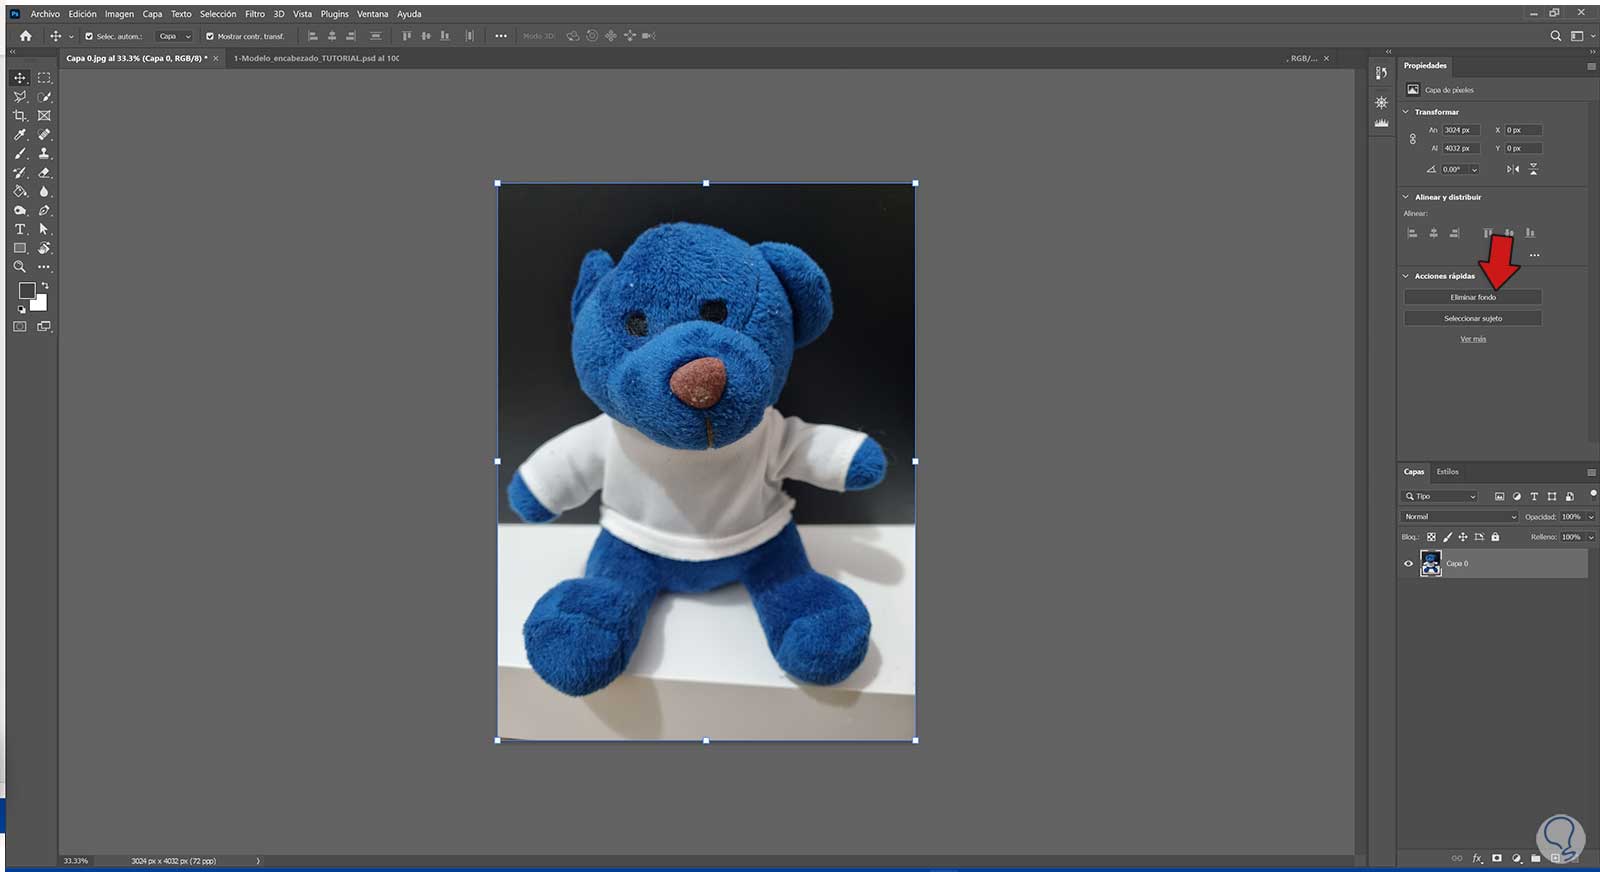
Step 2
Within the Properties window that appears, click on the "Remove background" option.
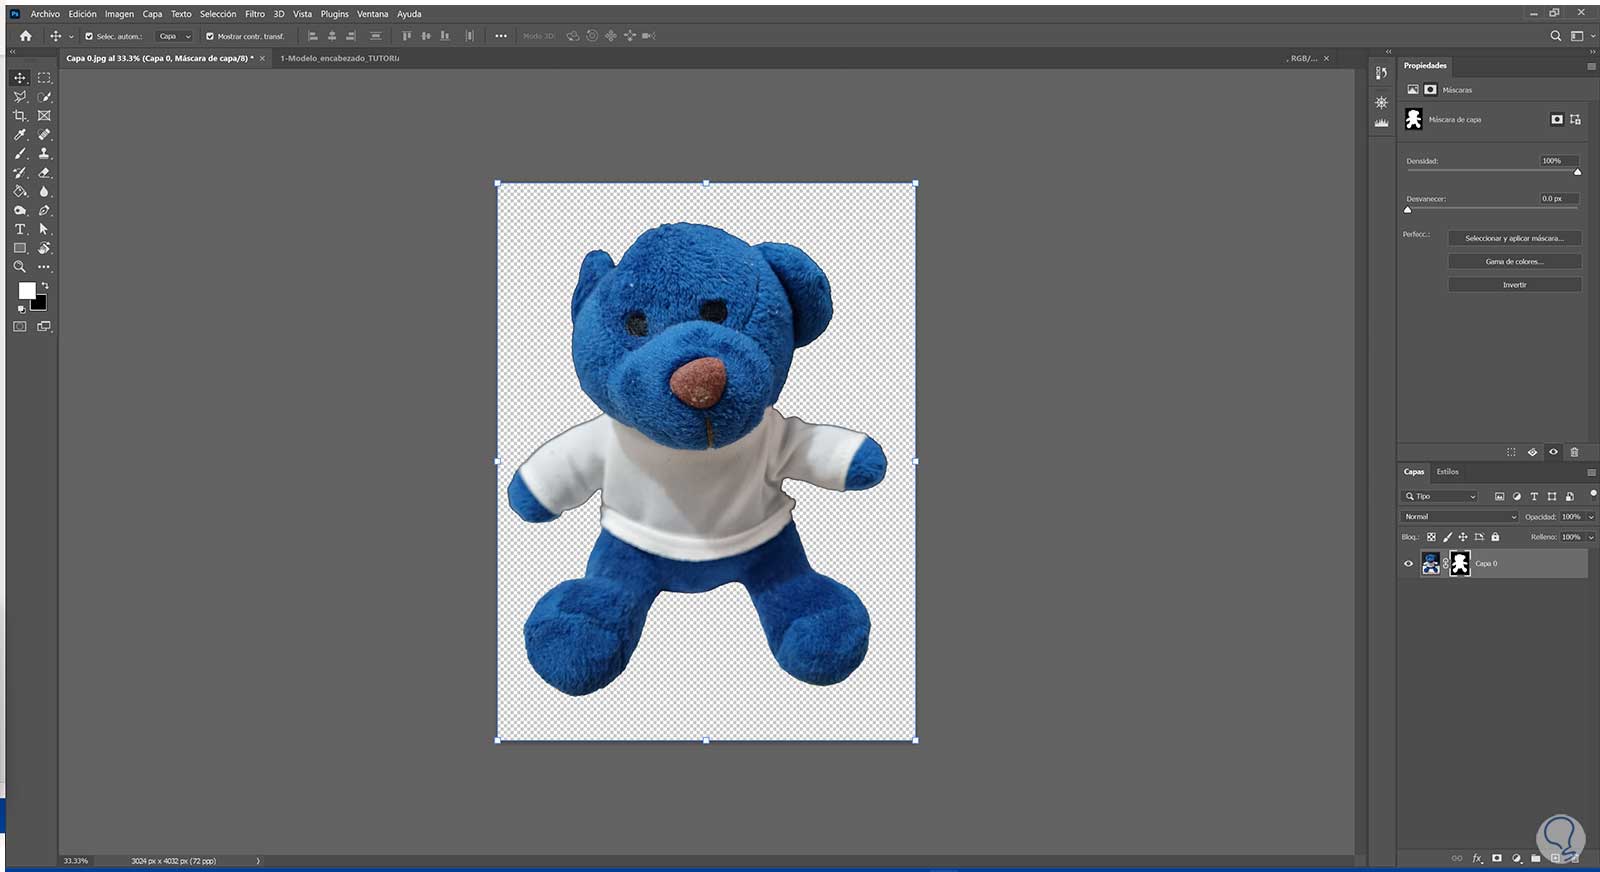
Step 3
We see that in our image the background is removed.
If we want to refine the selection, we will double click on the layer mask and choose "Select and apply mask" in the window that appears..

Step 4
Here we can adjust each of the sliders that we see in the panel on the right to adjust the selection.
step 5
We can also improve the selection with the "Refine edge" tool.
Then we will adjust the size of the brush and we will go over the area that we want to improve.
step 6
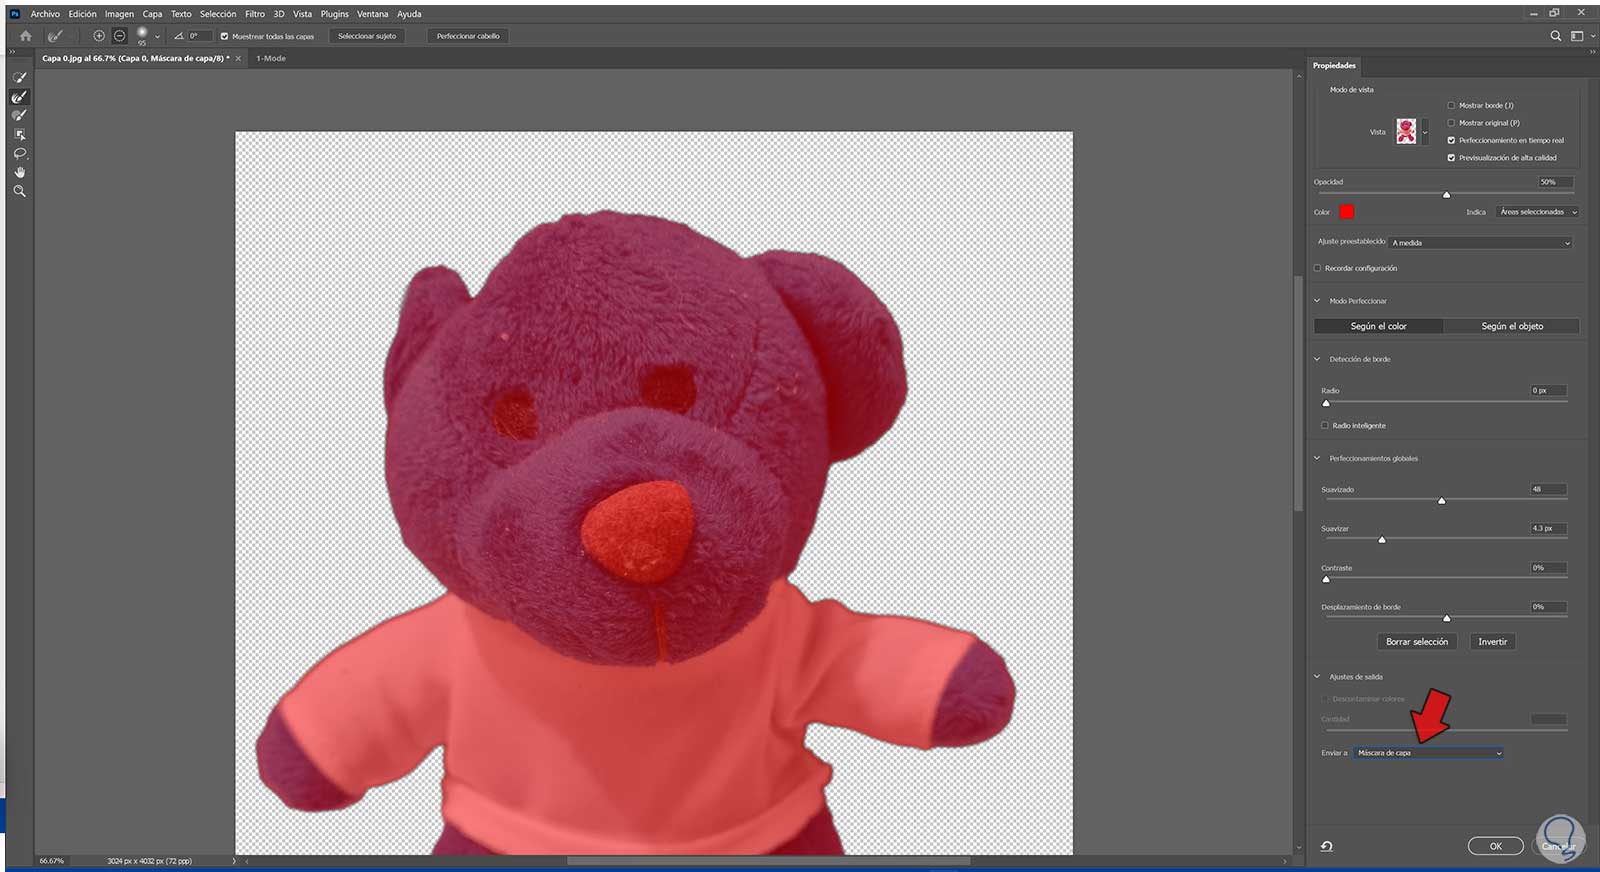
Once we have the selection created we are going to send it with the changes to the layer mask
To do this, we will indicate that the edition be sent to the layer mask with "Send to - Layer mask".
step 7
We already have our image without background. By having it with a layer mask we will be in non-destructive mode since only the non-removed background will be hidden

step 8
Now we will go to "New Fill Layer" and create a "Uniform Color" layer with the color we want.
step 8
We place it below our image.
step 9
Here we can let the background be white or double click on the adjustment layer and select another color.
In this way we will achieve that we can put a white background to our photograph using Photoshop and with the possibility of being able to put another color if we want.