The inclusion of artificial intelligence has been key to accelerating work processes in various fields, since it allows us to automate tasks or perform them ourselves. This cost savings and investment of time and effort means accelerating many tasks that a priori required initial wear and tear. Including artificial intelligence in some tasks within Photoshop saves time and effort for editors who see how they can do processes in seconds that used to take hours..
On many occasions, the workflows that are generated when working with different editions of Photoshop become quite dense and complex, so everything we can find that speeds up this work will be well received. That is why today we are going to talk about an incorporation in the latest versions of Photoshop that has helped us speed up different editions that would previously take us many hours to do. In this case we will talk about Neural Filters and their different options.
What are Neural Filters?
Neural Filters is a work option that Photoshop offers us and that allows us to expand our editing possibilities through the use of intelligent filters. This use of smart filters means that we can significantly reduce the workflows we have to do for certain tasks.
The editions and filters that are found within the Neural Filters work in non-destructive mode so our image can always recover from these changes that we have made. Neural Filters are capable of generating new pixels that did not exist in our image before.
Thanks to the use of these Neural Filters we will be able to work in a faster and more automated way, being able to recreate complex effects in seconds. We will be able to change the features of a face to be able to color an image that is in black and white. Some of the Neural Filters that we can find at the moment are:
Examples of Neural Filters
Let's see how we can use these Neural Filters and what options they provide us in our edits..
How to Use Neural Filters Photoshop
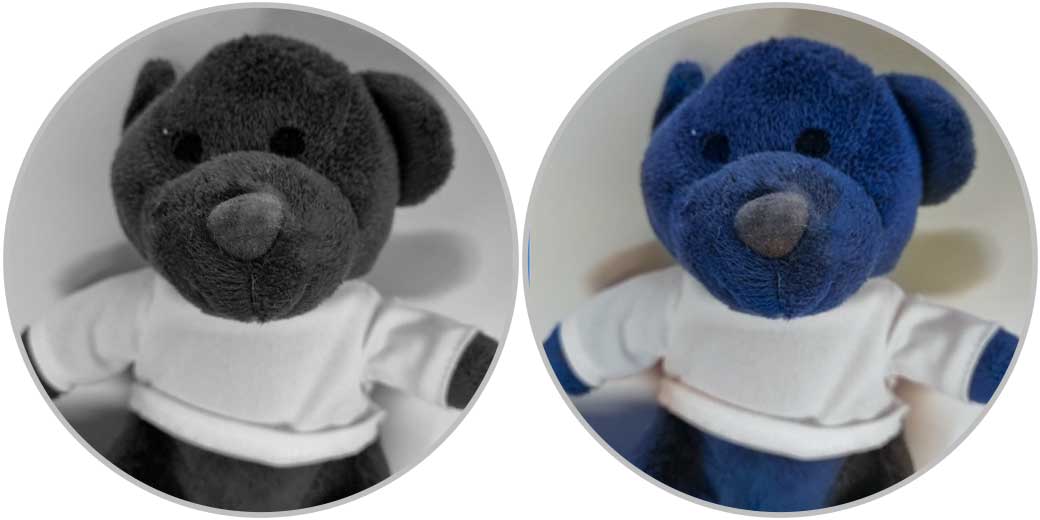
We are already seeing that this Neural Filters thing can be very useful for us to test our edition and add effects to our composition in a few seconds. Imagine that you have a photo that is originally in black and white, well, with the "Color" filter, your image will be colored automatically in seconds and you can even edit it manually. This can save us a lot of time and in a few seconds we can color an image that was originally based on a gray scale as we see in this example below. We have gone from a black and white image to an automatically colored image with a Neural Filter:
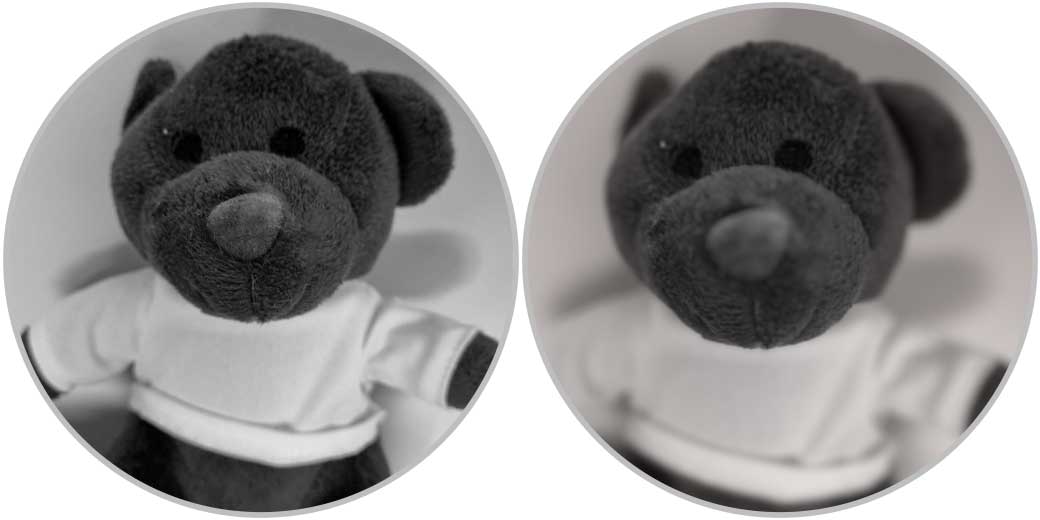
Another of the effects that can be most useful to us with the extension of social networks and photography is the Depth Blur Neural Filter that allows us to simulate the use of lenses that generate this effect, giving more blurred backgrounds and more prominent first terms. :
Once we have seen these examples, we are going to see how we can access the Neural Filters, what options we have and how we can apply them when we want to use one. Keep in mind that some are in beta mode so they may experience some kind of error. We encourage you to follow TechnoWikis's steps and practice with the different smart filters present in Photoshop.
Open Neural Filters
Finding the Neural Filters options is quite simple. To open its use panel we will have to go to:
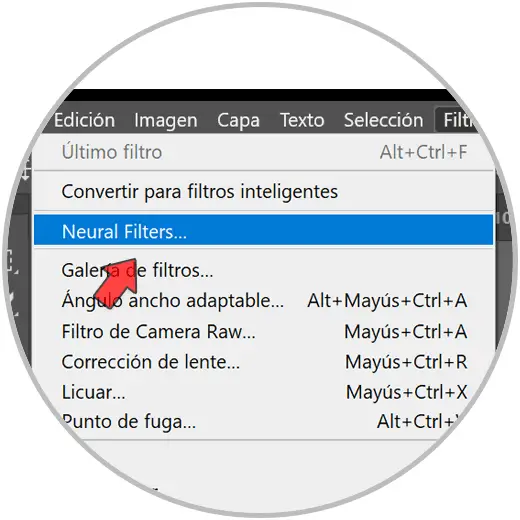
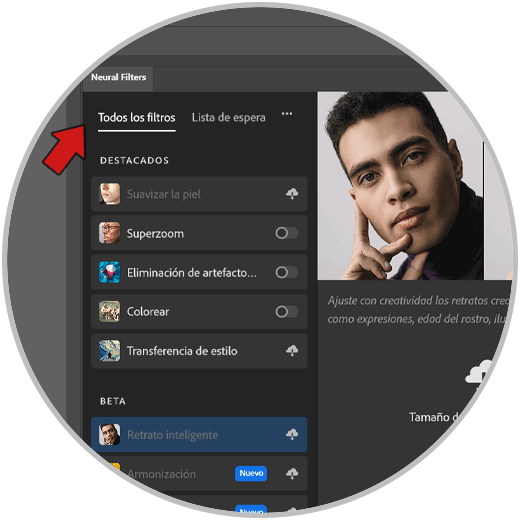
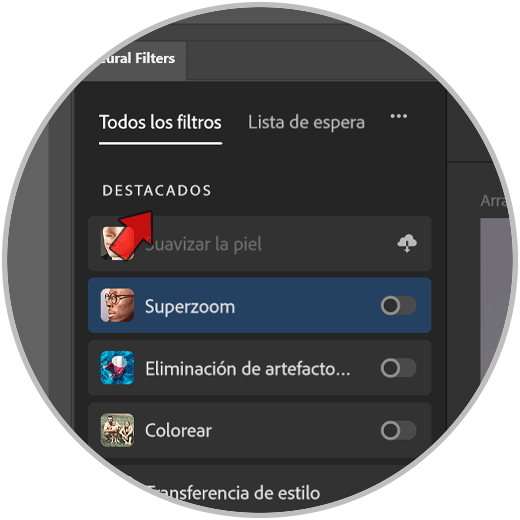
Then we will see the Neural Filters panel with the different possible filters. Click on “All filters” to see them all..
Download and install Neural Filters
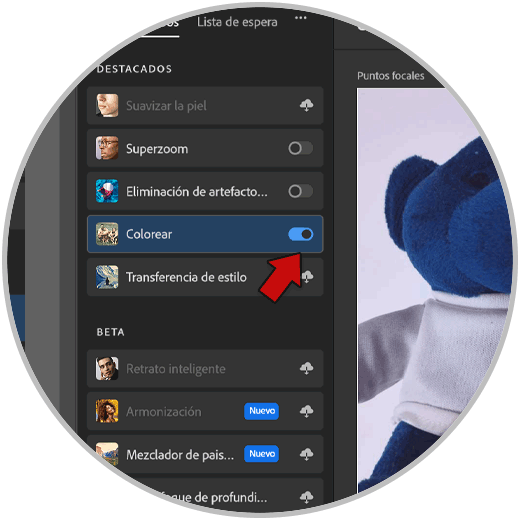
Once we are inside the Neural Filters window we can activate filters that are available or download and install them from the cloud depending on availability. If we go to the "All filters" section, we will see that a switch appears to activate or deactivate the filter depending on whether it is already installed or not.
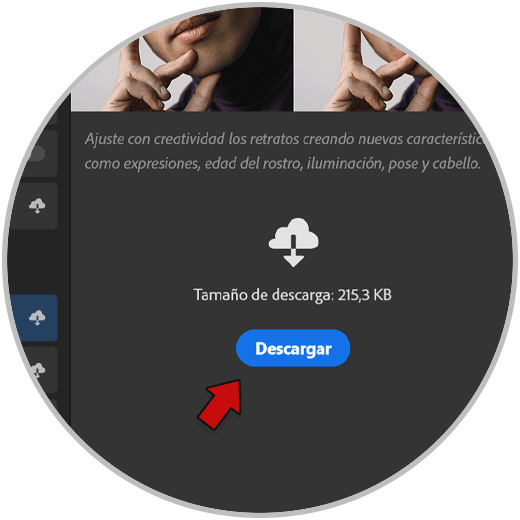
If you are available in the cloud, we will see the "Download" option to obtain it.
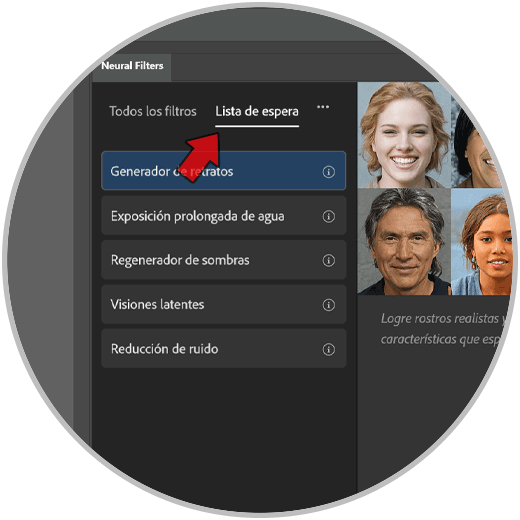
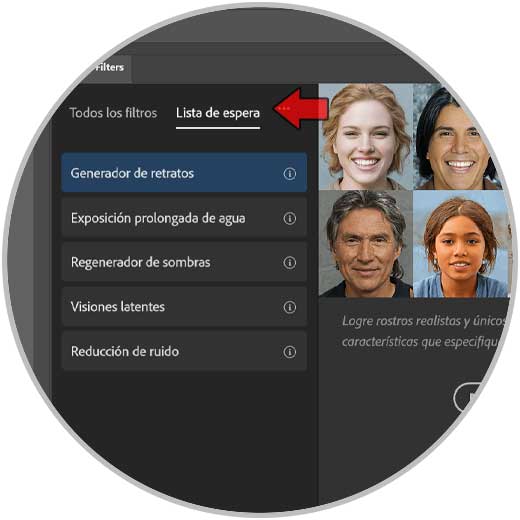
You will also see that there is a “Waiting List” section with Neural Filters that are yet to come to Photoshop.
Note
If you are going to use a filter that requires the use of a face and it is not detected well, you will see that it appears in gray.
Categories Neural Filters
We are going to see the different categories that we will find when we open the Neural Filters window.
- Featured. These filters are the ones published that meet high standards and that are also up to date in terms of any legal standards and inclusion. Select one from your list to start configuring it.
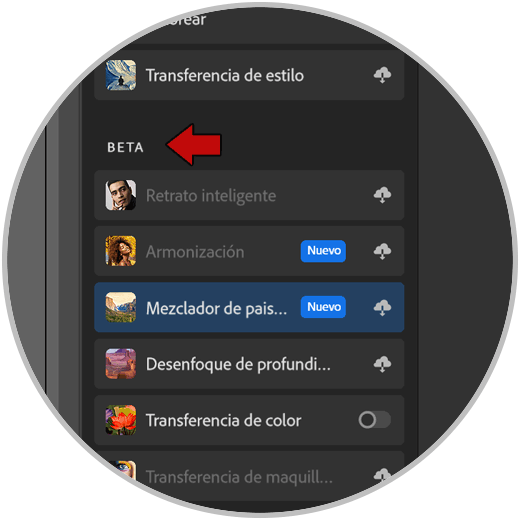
- Beta. Here are the filters that we can use to be able to test them. The filters are continually being improved, which is why they make filters available to users that can be used but are in the testing phase. Keep in mind that being a beta phase it may present some type of error.
- Waiting list. In this section we can find the filters that are not available at the moment but that will surely be in the future. You can click on each one and see its description.
Output Options Neural Filters
Once we have applied the Neural Filters that we want and have configured them, we can now export the image to a new layer, current layer or new document depending on what we want. At the bottom we will see the "Output" section where we can find the following options:
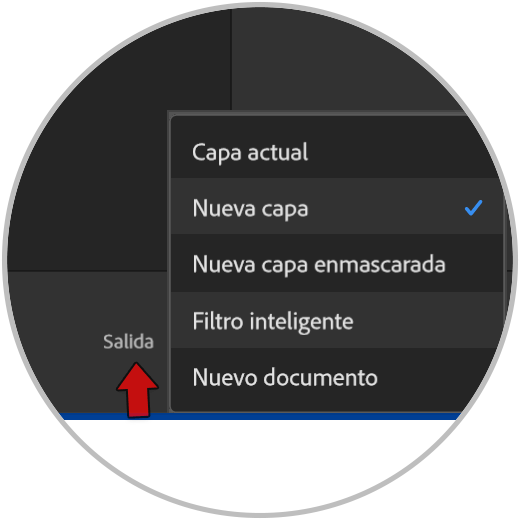
- Current layer. Filters will be applied destructively on our current layer.
- New layer. Filters will be applied to the image on a new layer.
- New masked layer. Filters and changes will be applied to a new layer containing a pixel mask of the output created.
- Smart filter. The current layer that we are editing will be converted into a smart object and the filters that we put will be editable smart filters.
- New document. The filters will be created as if it were a new Photoshop document.
Additional Features Neural Filters
Within the Neural Filters panel we can see other secondary options that can be used for specific options. We are going to see what optional options we have in the Neural Filters window and what each one is for.
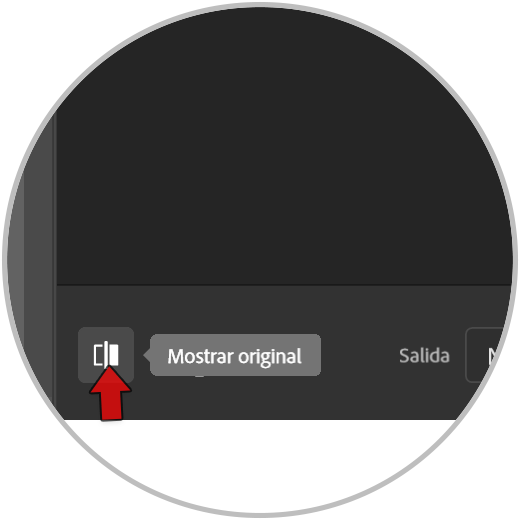
- Preview changes. This option will allow us to switch between the previous and subsequent preview in each filter used. We can find it in the lower left corner:
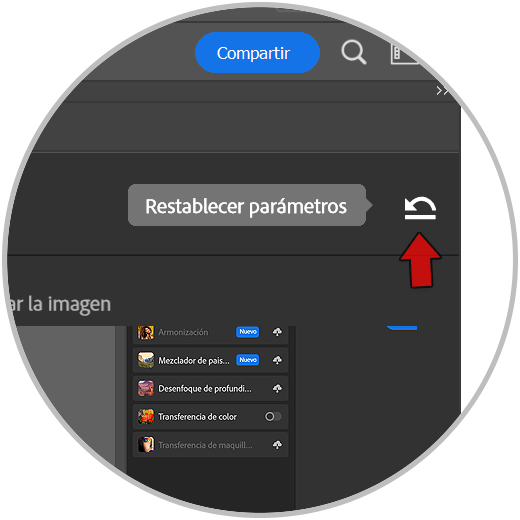
- Restore. This option allows us to return to initial values some of the filters that we have used. You'll see this icon at the top right of the filter gallery along with its settings.
- feedback. This option is more supportive and consists of providing comments and opinions to the support so that the different filters available can be improved. In this way, the filters can be better optimized and improved thanks to the suggestions issued.

Examples of use Nueral Filters
Let's take a look at some filters we've tested to see how these Smart Filters work in Photoshop:
- Soften face: This option will soften the skin of the face giving a softer effect to our portraits:

- Create smile automatically: We can create a smile out of nothing thanks to artificial intelligence and adjust it manually:

- Add features of age: Allows you to simulate features of age by completely modifying our face in a realistic way:

In this way we have seen how easy it is to be able to use the Neural Filters and to be able to experiment with our photographs in Photoshop, reducing a lot of workflow and automating various tasks.