Light is one of the fundamental elements in our photography composition since it will give a vital meaning to our image. If we want to have a good photograph, it will be key to take light into account since it will configure both the bright and dark part of the image, in addition to determining the tone or atmosphere of the composition. The light will be in charge of giving your image a personality and if we vary it in editing later we will see how it can change the intention and the sensations it evokes..
Light is the essence of photography because if we don't have light we don't have photography. From this we can get the image of our photography in different ways, whether we want it to be natural light, artificial light or a combination of both. Other times we do not take into account the secondary light or complementary sources that appear in our photography and it is normal that at some point we want to enhance them.
If you have the image of a street, it is possible that you consider improving the light of the streetlights at night since it can accentuate a feeling of melancholy and loneliness or create more light in a lamp that you have on a nightstand to give a more sensation of home. All this leads us to be able to need at some point to create lens flares or rays of light artificially in editing with Photoshop..
Lens Flare or Flare
When we talk about a lens flare or flare, we are talking about a kind of reflection that occurs when there is a cross between the light rays and the camera lens. Once these rays enter the lens, these effects are created that are often created in post-production. The light is scattered inside the body that contains the objective lens of our camera and ends up giving that effect of light points or flashes.

Light rays
The light rays in our photographs are produced because a reflection phenomenon occurs between the internal and external part of the lens of our camera. Naturally we contemplate these rays of light that are lines with the same direction as the one that propagates the light itself. These rays of light glimpse the path the light is taking to propagate. In photography, it is usually enhanced in certain images where we want light to be present and its rays to have an important weight of content.

We are going to see how we can create rays of light or lens flares in Photoshop with different examples like the ones we will see.
1 How to Make Rays of Light Photoshop Windows
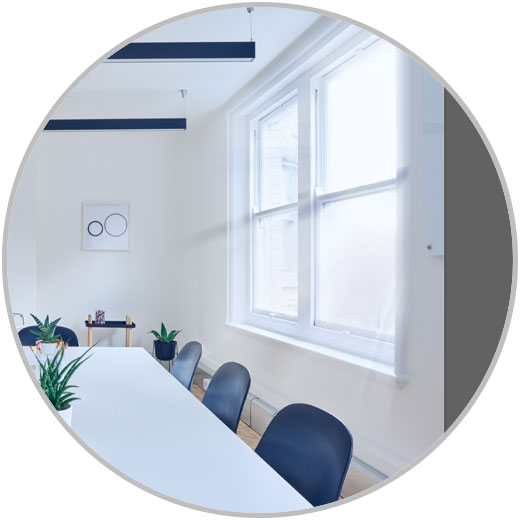
The windows with resource elements that can help us a lot when it comes to composing our photography. Using windows in our photographs can have several meanings, since it could be a support for the message that a subject in the photo is giving or it can constitute a main source of lighting. When these elements play an important role in the composition or we want to give it greater meaning, it is possible that we can choose to create rays of light to make it even more evident that a significant amount of light enters through this element, which is the window.
It is not always easy to capture these rays of light from a certain source since we need them with the right configuration at the right time, hence being able to simulate those rays of light through the window can help us enhance the role of that window. So let's see how to create rays of light through a window or similar with Photoshop..

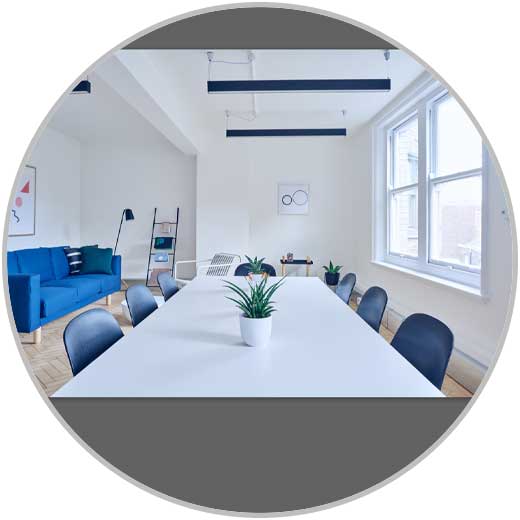
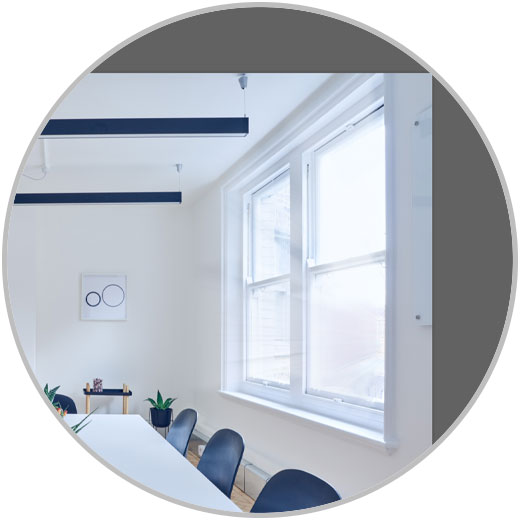
Step 1
We have our image where we are going to create the flashes of light. The first thing we will do is select the parts through which the flashes of light will pass, in this case the window panes.
Step 2
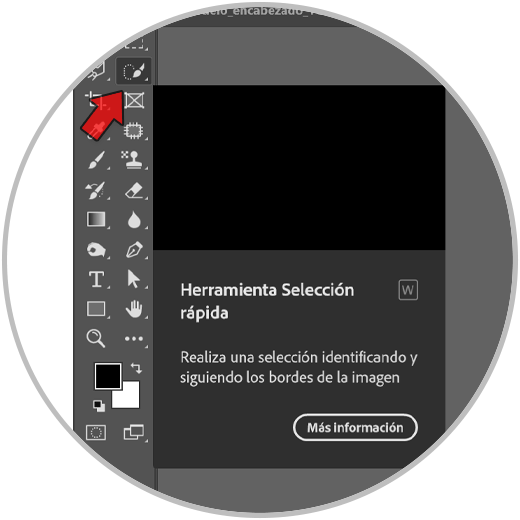
To select it we can use any selection tool although to make it faster we will choose "Quick selection tool"
Step 3
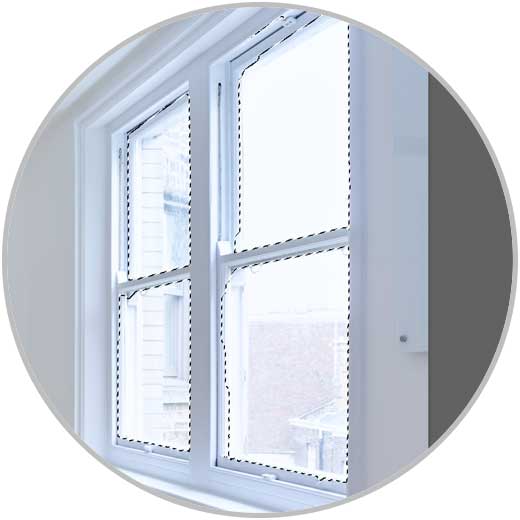
Now to add or remove parts to our selection we will use the Shift keys to select and add more zones and we will keep the Alt key pressed to remove parts where we click.
Step 4
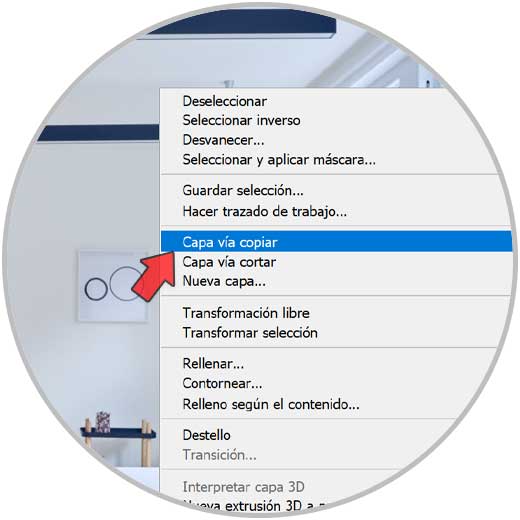
We now right click on the selection made and choose the option that says “Layer via copy”. This will create a layer with our image selection.
step 5
The next thing will be to blur this new layer. To do this, first we are going to convert our new layer into an intelligent object since then we can edit the filter that we are going to put. To do this, click on the created layer and choose “Convert to smart object”.
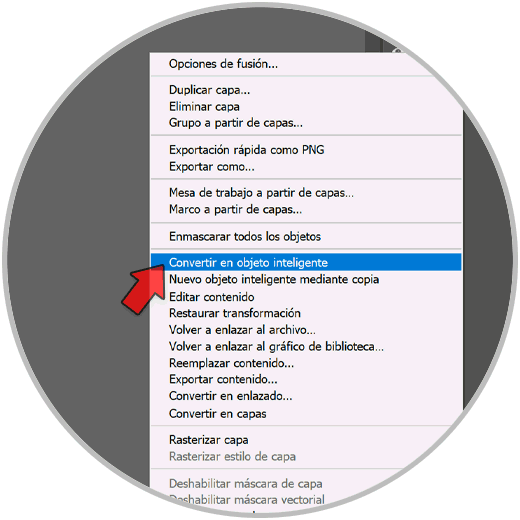
step 6
Once this is done we can apply our filter. To do this we will go to the following route:

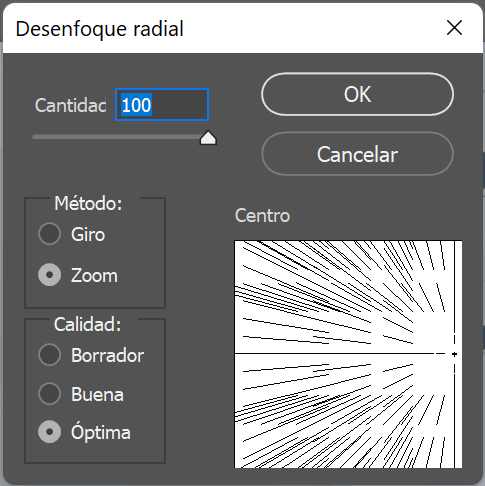
step 7
Here we are going to configure the parameters as we show you in Quantity, Method and Quality.
Move the “Center” point so that the rays take the direction according to the light source.
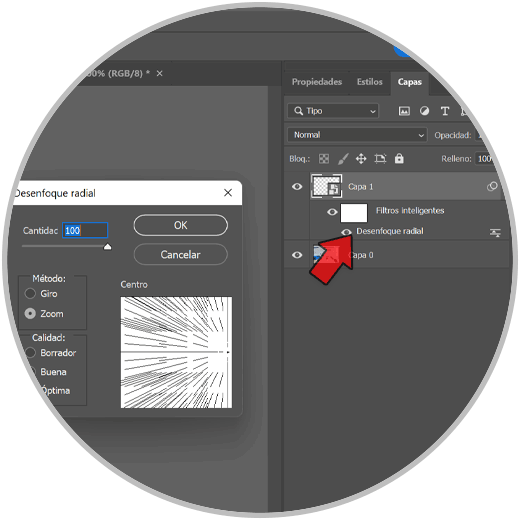
step 8
After a few seconds our effect will be applied and we will see that they have been created:
step 8
The good thing about having converted our layer to a Smart Object is that we can now double-click on the applied effect and edit it:
step 8
Depending on the configuration that we put or even if we enlarge the size of the layer with the selection, we will have one or the other effects:
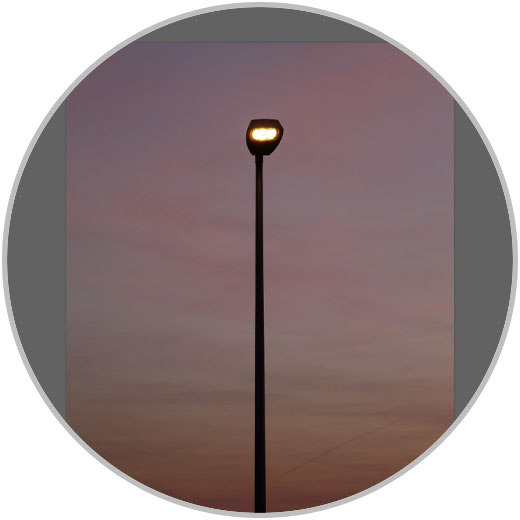
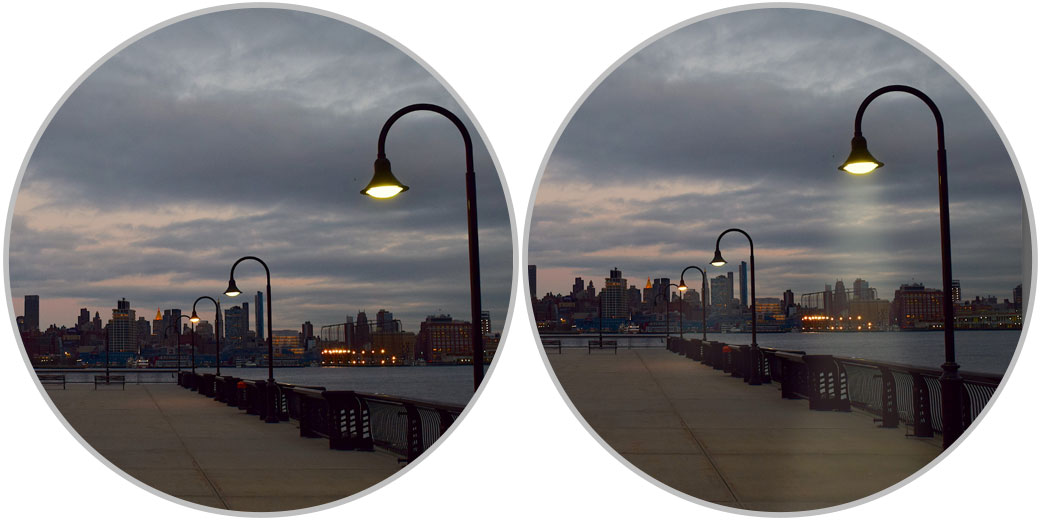
2 How to make rays of light Photoshop lamp or street lamp
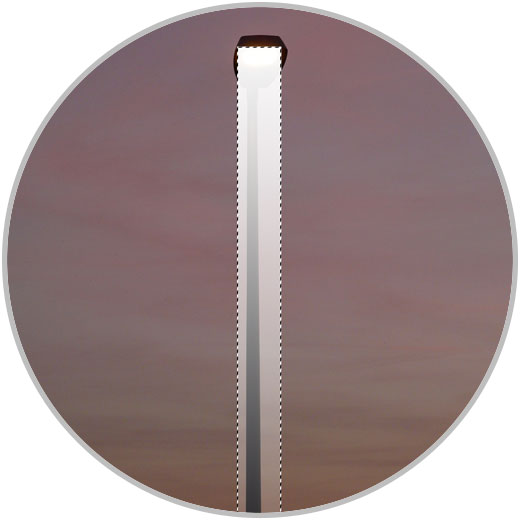
As we have been saying throughout this chapter, depending on the light source we are using, we can apply one role or another within the general composition. Just as we have seen that we can intensify the amount of light that spreads through a window, we can also give more light intensity if we have a source in a lamp, street lamp, or any element that has a light bulb as a source. If we have a lamp and we want to give our image more personality, we can enhance and create rays of light that come from a source such as a lamp or lamppost as we need.

Step 1
In this case we want to create a flash of light whose source is a lamp, street lamp or similar that has a light bulb.
Step 2
The first thing we will do is create a new layer using the following key combination:
Ctrl + Shift + N
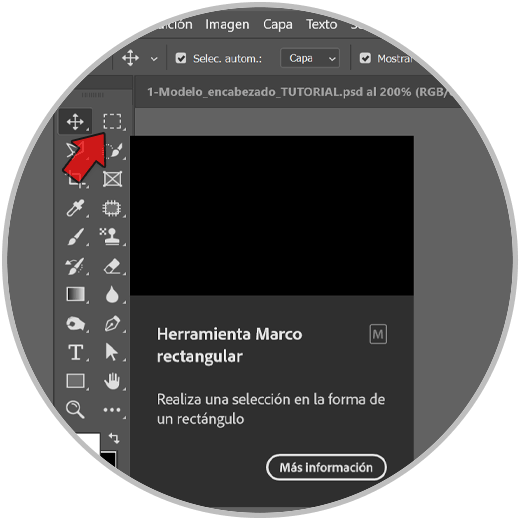
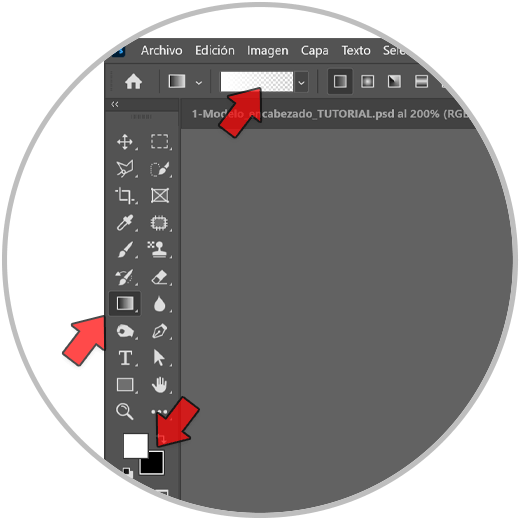
Step 3
The next thing will be to go to the tools panel and choose “Rectangular Marquee Tool”.
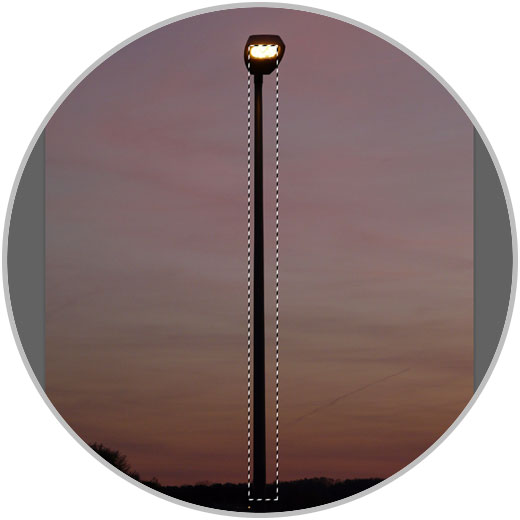
Step 4
Now we are going to make a selection in the part where the rays of light from our light source would go.
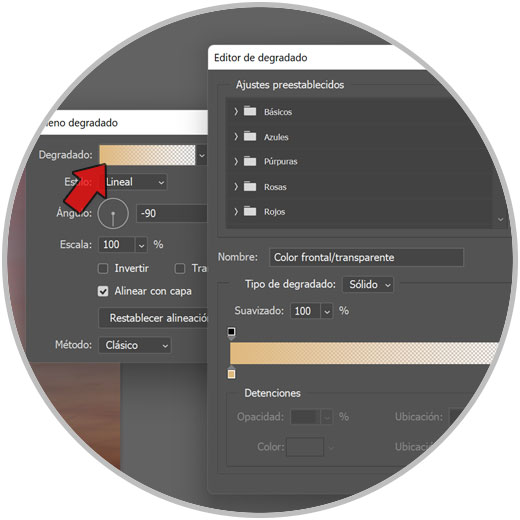
step 5
We are going to apply color now to this light. For this, set the white color as the front color and choose the “Gradient” tool from the tools panel. Select the style that starts with white and then fades out:
step 6
We go over our selection and draw the configured gradient from top to bottom. We will see how the light intensity will go from more to less depending on the distance from the main source.
step 7
Let's better transform this selection and give it a light effect. To do this we are going to enter the Transformation mode by clicking on our new layer and doing this key combination:
Ctrl + T
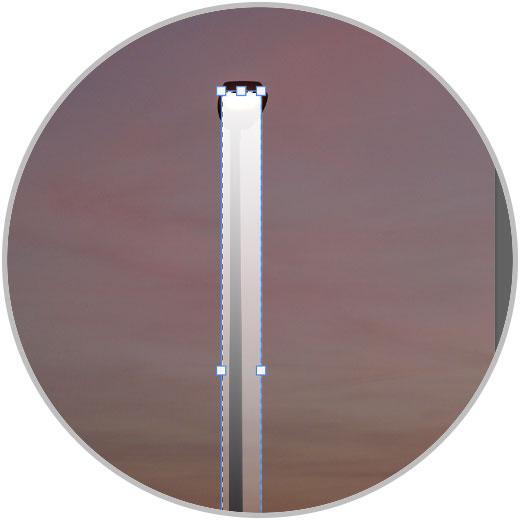
step 8
In order to transform it in a more realistic way, we are going to keep the “Alt” key pressed and clicking on each node of the bounding frame we are going to adjust their position:
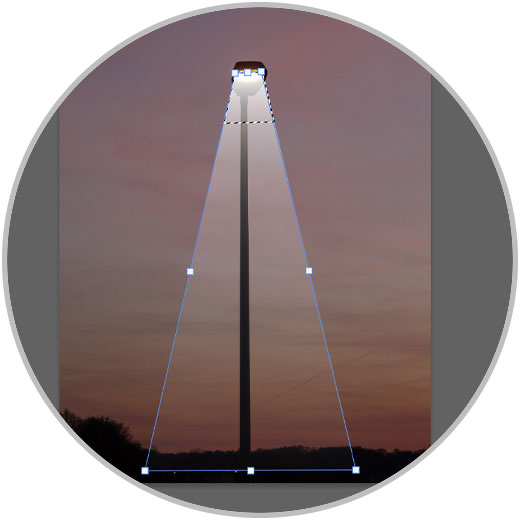
step 7
Press Enter to apply the changes and to deselect completely we do the following key combination:
Ctrl + D
step 8
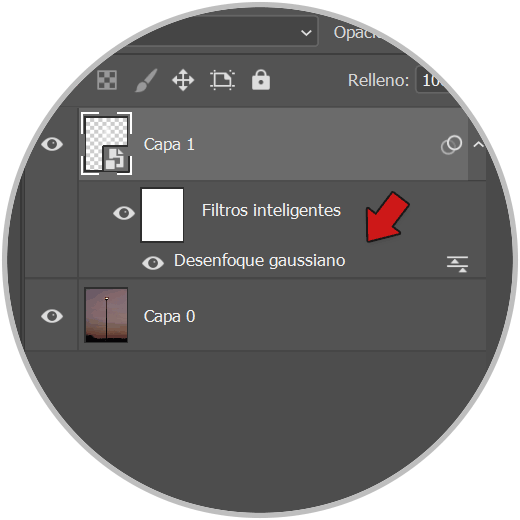
Now we are going to apply a little blur so that the intensity of the light is not so marked. So that we can later modify the applied filter, we are going to convert our lightning layer into a Smart Object. To do this we right click on the layer and choose "Convert to smart object".
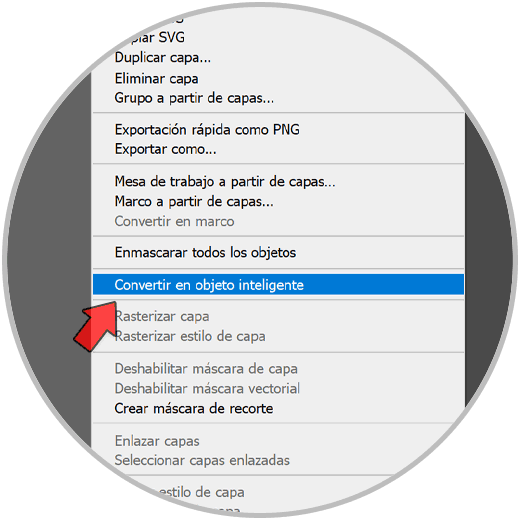
step 9
We can now apply our blur non-destructively. To do this we will go to the following menu:
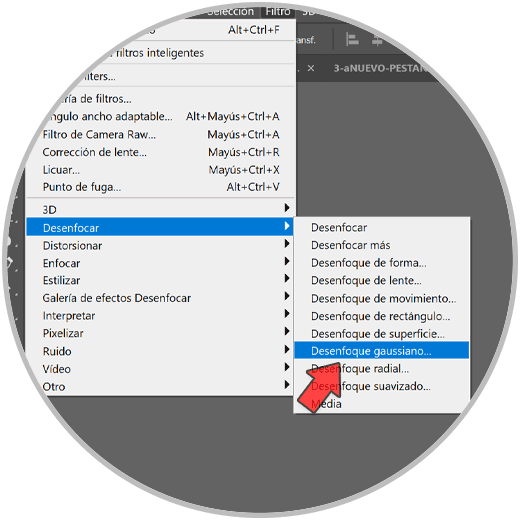
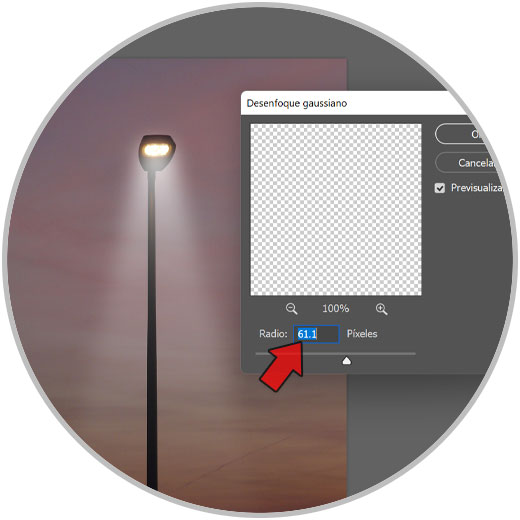
step 10
Here we will apply custom values depending on the source and the effect we want to give. In this case, in Radius we are going to leave values close to 60 – 62 pixels.
We apply changes when we're done.
step 11
We already have our image with the effect of light rays applied according to what we have configured.
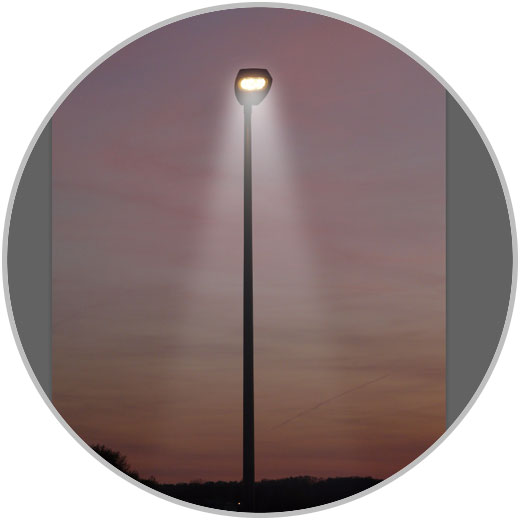
step 12
The nice thing about having the flare on an individual layer that is also a Smart Object is that you can click on this layer and change its position, size, and filter settings at any time.
step 13
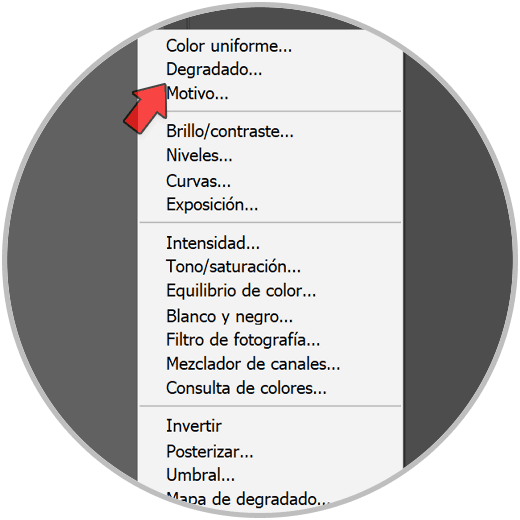
We can add a final effect to it and that is to color it to match the actual color temperature of the source.
You could use different adjustment layers to color our flash of light but in this case we are going to use the “Gradient” layer. To do this we are going to create a new “Gradient” adjustment layer.
step 14
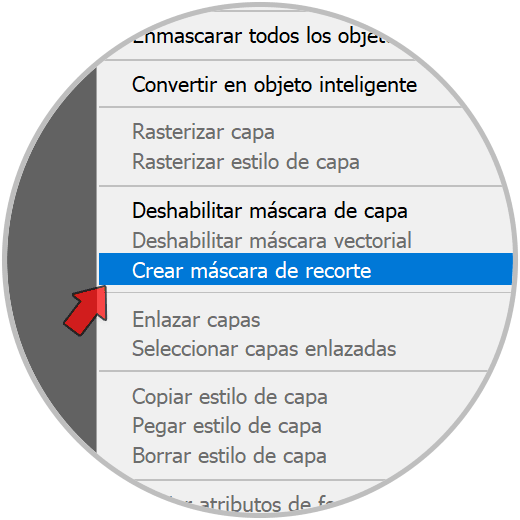
Since we want it to only apply to the bottom layer of the light rays, we right-click on the adjustment layer and choose “Create Clipping Mask”.
step 15
We can now click on this adjustment layer and choose the color settings. Let's choose a Gradient from more to less intensity as before. You can try different configurations depending on your light source.
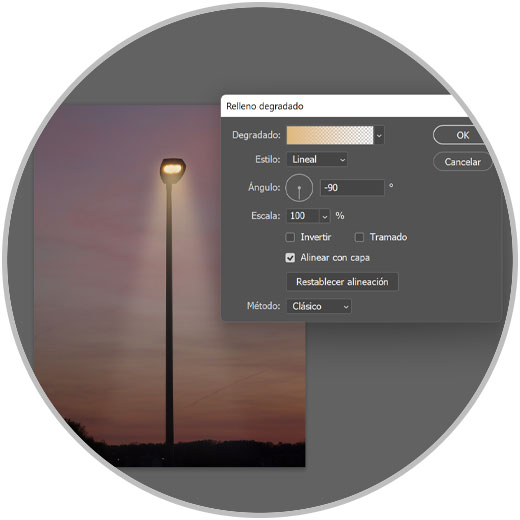
step 16
The color that will take you for the gradient will be the one that you have as the default foreground color at that moment. To edit the color of the gradient, double click on “Gradient” and set the options for that style including color here:
step 17
Once the color is also configured, we will have our lamp, streetlight or similar with the rays of light that we have customized:
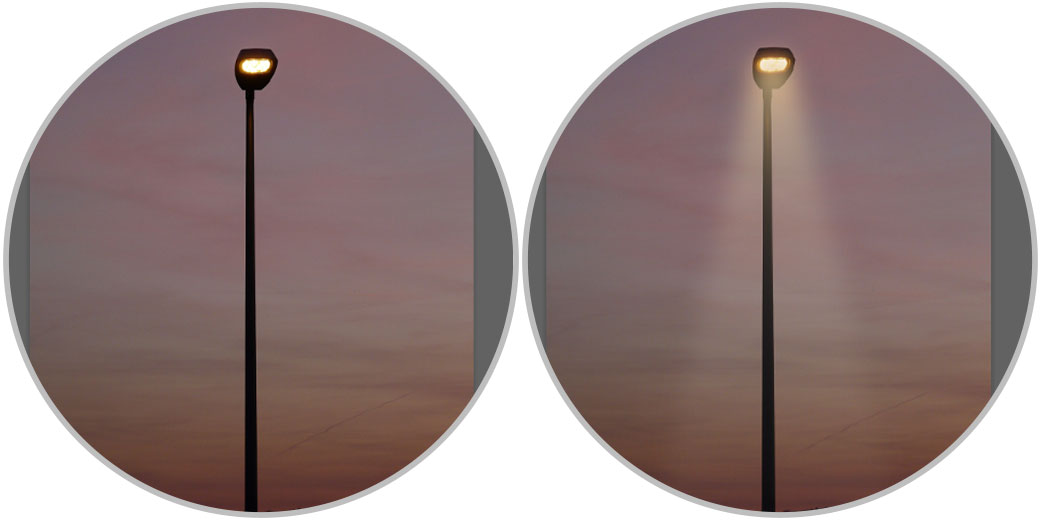
step 18
We can apply it in our different photographs depending on how the necessary light sources are.
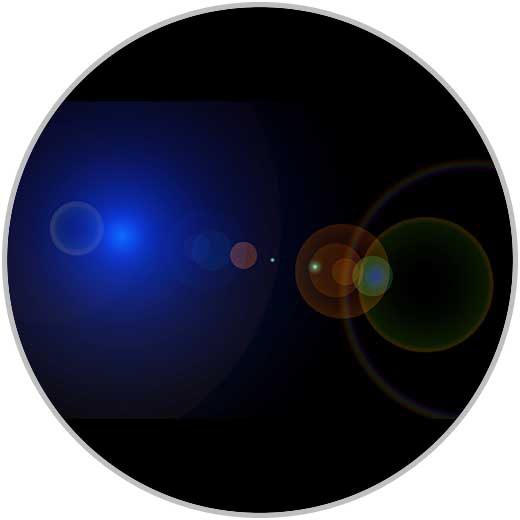
3 How to Do Photoshop Lens Flares
Sometimes we can see that a lens flare is automatically generated when there is strong light in the scene, whether it comes from the sun or from an artificial source. This light will enter the lens and ends up being picked up by the camera sensor. After that bounce of light on the sensor, those light objects or lens flares are generated and that, although a priori they are a kind of "error" can give our image greater aesthetics. Also within these lens flares we will have two types:
- Veil flash. It is a kind of light mist that creates an effect in the image like a mist that is positioned over some area of the image, removing the contrast and even color from that part.
- Phantom flash. It is the type that we will see made today and they are a kind of circles of different sizes drawn by a straight line that goes from the light source throughout the image to our lens. It occurs when the light source and the camera lens coincide.
So now we are going to see how to create that lens flare effect in our photographs when there is a pronounced light source and it seems appropriate to apply this effect to them.
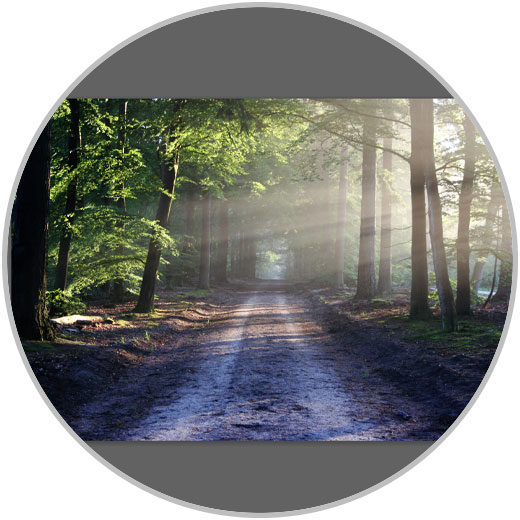
Step 1
We have the image where we want to generate the light flare or lens flare effect in Photoshop.
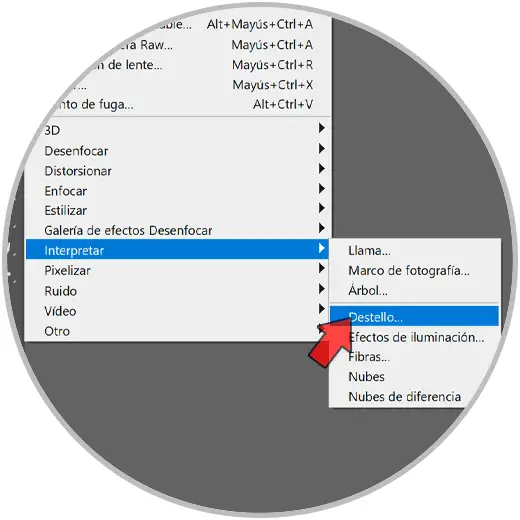
Step 2
To create our flash we are going to go to the following route of our menu:
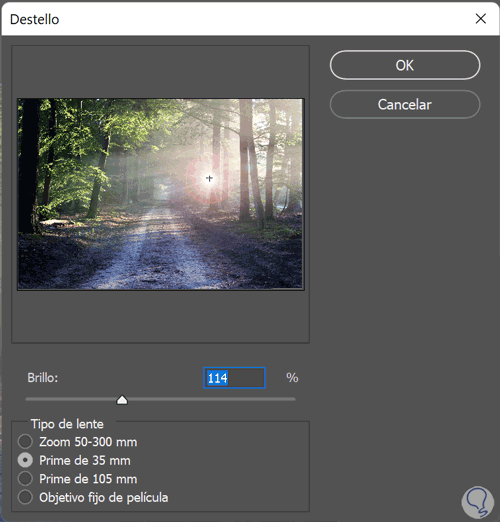
Step 3
Here we will configure the light flare depending on the Brightness and the Type of lens that we want to simulate. Also click on the preview window to move and position the main point of the flare.
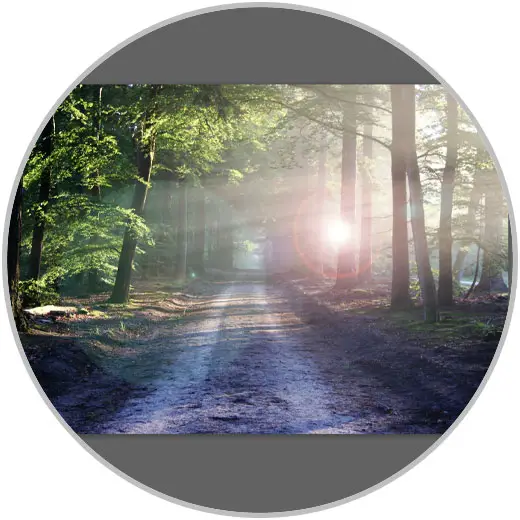
Step 4
Once configured, we apply the changes and we will see our flash of light or flare generated in our image.
In this way we can recreate flashes of light depending on the source in different ways in Photoshop and thus give our photographs a more complete appearance.