When we interact with an application or tool for the first time, we want that first contact to be as satisfactory and effective as possible, since this will lead to positive feedback. When we use complex and poorly structured tools that even have somewhat chaotic menus and commands, it becomes uphill for us to want to use them again. If we also talk about tools that try to adapt to mobile devices, even more emphasis is placed on what to do in finding the most comfortable way for the user when interacting with it. This is a job that Adobe has solved very well in Lightroom Mobile and that is that it has managed to make a program that was originally oriented to PC but with a mobile version that can be used on immobile tablets in a comfortable and attractive way..
It must be borne in mind that when we navigate through an application from the computer we have help peripherals such as the keyboard and mouse that energetically help us to move through the different options and menus of each tool or program. But when we are with our mobile device, only tactile contact will be the way by which we will be able to use it. That is why today we want to show you in this chapter how the Lightroom Mobile interface is organized and what we are going to be able to find in the different windows and options that appear and that have followed a great line of similarity with its computer version.
Throughout this chapter you will be able to see the different sections and menus of Lightroom Mobile and with this you will be able to follow a process of improvement and editing of photography or video that you can use in each of your editions. As help we can leave you a guide manual of steps that you can follow once you interact with the interface that we show you today:
Recommended process for editing in Lightroom Mobile
A process through steps that we can follow when interacting in the Lightroom Mobile interface to edit photos and videos is:
- Import your image or video
- Crop your image if necessary to improve framing with Crop
- Correct imperfections in your image with correction tools and remove or improve spots, wounds or pimples or even textures.
- Light correction from the Light option, improving aspects such as Exposure, Highlights or Shadows.
- Color correction once we have improved the light through the Color option and either by Gradation or Color Mix.
- Apply effects that can give your photo or video personality from Effects.
- Improve the sharpness if you see it necessary with Detail.
- Export your image or video with the finished edition.
We are going to see the different options of the interface in Lightroom mobile so that you know its different parts and you can practice photo and video editing with it..
1 The main interface in Lightroom Mobile
The interface is the essential part of any software since it is the interaction door that allows us to exchange information between the user and the tool. Developing a good complete, intuitive and accessible interface is a complex task, but one that any developer must achieve if they want the user experience to end up being satisfactory. When we enter an interface as users, we want the different menus and options to be easy to find and understand and that we don't have to do too many steps to find tasks that we usually do.
If we talk about Lightroom Mobile and its interface, we can find an application perfectly adapted to mobile devices from which we will be able to edit our photos and videos in a complete and professional way. Although many people think that we cannot expect large structures from a free app, applications like these show that there are complete and adapted software tools. From Lightroom Mobile we are going to see the different main tabs that the application offers us and what we can find in each of them. This first part of the tool's interface will focus on the previous editing step, so we can find options such as importing files, organizing and creating albums, or sharing our material and that of other users.
We are going to see these different windows within Lightroom Mobile and how we can navigate between them to find different options in this powerful editing tool..
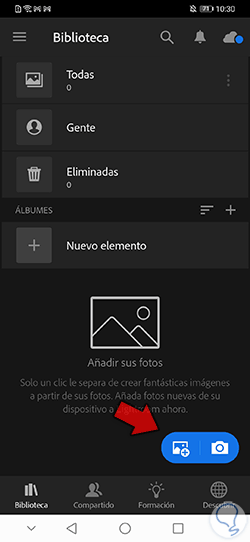
Library
This tab is the main one that we find when we open the Lightroom Mobile app. It will organize the different photo and video files that we have been importing. You can find the files as you see in “All”, “People” or “Deleted” categories. If you prefer, you can directly create Albums and thus place the files in a personalized way.
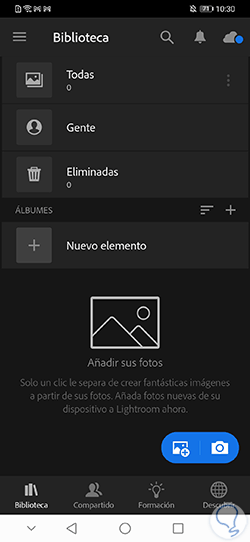
You can import a photo or video file or capture it live with the camera from the icons below
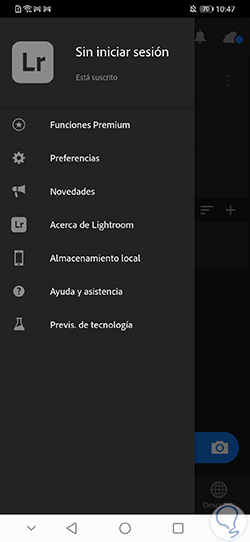
If we click on the 3-line drop-down menu on the left we will find other options such as "Preferences" to be able to adjust the application.
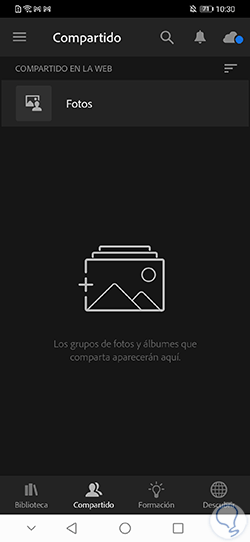
Shared
In this window you will see the photo files or albums that you share on the web with others:
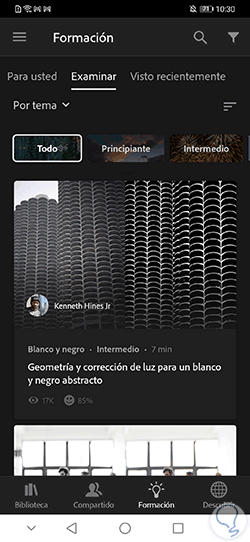
Training
In this window you will find didactic material about editing that can help you in your use with Lightroom Mobile. It is organized by levels and you will find different tutorials. It's free to view and you just need to sign in with your Adobe account to use it.
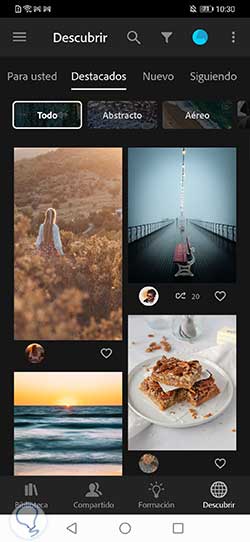
Discover
In this section you can find material by other authors that may serve as inspiration for future compositions. You can interact with these works by liking or sharing them. Here you can also show your own work with others. In addition you can even create new versions of images that appear.
2 The interface in Lightroom Mobile when Editing
We have already seen the general part of the Lightroom mobile interface in which we have known the main tabs of which this tool is made up once we open it on our mobile device. With this, the first time you have contact with this tool, everything that it will show you will no longer seem strange and you will have an idea of what each of these parts is for.
In this section we want to continue completing your knowledge about the Lightroom Mobile interface and that is why we are going to see the interface that is created once we have already imported a photo and video file and options related to the editing task begin to appear. . We are going to see each of these tools within the editing panel and we will explain their function so that you know a little more about everything that is inside Lightroom Mobile and so that we can use it when we want to make improvements to our photo and video files.
From TechnoWikis we recommend that as we talk about each of these tools, you open them within your Lightroom Mobile application and thus interact with them to better understand what they are used for and how each of them works.
Note
Hold down on the image and release to combine before and after view of applying any tool or change.
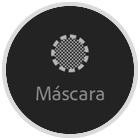
Mask
The mask tool will help us to be able to make local corrections within our editions. With the mask you will be able to edit any part of the photo and can even make quick and automatic selections such as a subject or the sky, allowing you to make modifications in localized areas of the image. In addition, the mask allows the combination of tools in addition to being able to mask by color or by luminance. With masking we will have a very useful technique where we will edit a specific area of the image avoiding changing parts that we do not want.
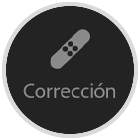
Correction
The correction tools are perfect for making small changes to our images when there are details that we want to correct, such as specks of dust or pimples on the skin. Within the "Correction" tools we can find:
- Put off. This tool allows us to remove objects, imperfections and other elements that we don't want from the image automatically using the technique of automatic filling with content that will be chosen from another area of the image.
- Correct. This option allows you to take a texture from a source area and make it match both in color and tone to the destination area of the image.
- Clone. Allows you to make copies of a source zone to a destination zone by means of pixel reproduction.
Cut
The image or video that we have taken does not always have the desired proportions or framing and that is why the Crop tool will be useful. From this option we can do different tasks with our image such as:
- Flip horizontal and vertical
adj. presets
Presets are a combination of fixes that are rolled into a single preset that when applied will make all the changes at once. These settings remember the position of the different sliders in each modifier, allowing you to apply them all at once. You will have presets by the tool or even your own that you have created.
Auto
If you need a quick modification and prefer to leave everything to artificial intelligence you can use the Auto option and so Lightroom Mobile decides what are the best corrections for your image.
Light
It is one of the most important parts of the edition since light is a fundamental component. For this reason, this adjustment will be one of the first that we will do when editing a photo or video. From this option you can control the options of:

Color
Color is the other fundamental component of our photography, so we will have to do a complete edition of it. From this option we will be able to shell the color variables and adjust it in a very personalized way, something that is appreciated for being a mobile app. We can play with the color from a "Gradation" option or from the "Mix" of colors individually, thus modifying only one component. We can also put a photograph in black and white if we prefer this combination.
Within the color adjustment we can modify:
effects
The effects contain a series of corrections that allow us to make changes to the appearance of our photography and that make us fade out parts and accentuate others. The effects that we can find here are:
Detail
This option will help us to improve the focus and definition of the edges and highlight the details of the image. We can also reduce the noise in the photograph by erasing any imperfection that may have made the photo worse. The image has luminance and chromatic noise causing this noise in the color and light areas that cause certain defects. That is why here we are going to be able to improve it with options such as:
Optics
Many times the lens itself causes some type of defect in the image depending on the focus or focal distances. In order to correct this type of error, we will have these "Optics" options where we can:
- remove chromatic aberration
- Activate lens corrections
Geometry
Sometimes when we have a reduced distance with the subject or we use certain lenses we can find a distortion of the perspectives and we find that the lines of the image look deformed. For this, there is this Geometry option that will try to make a perspective correction automatically.
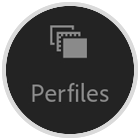
profiles
The profiles will allow us to control the rendering of our files through the color and tonality of the photos. They are a great ally as a base to edit our images.
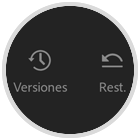
reset or versions
These options are useful when we want to redo or undo a recent edit. We can also do a complete reset of our image to its original state with the Reset option.
We will also have the "Versions" option to create different versions of the same image and then be able to easily compare them.
extra options
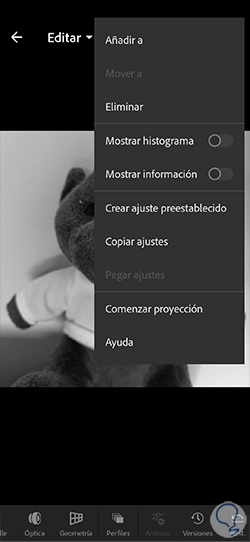
If we click on the 3 upper points of any option we will see a series of extra options that can help us such as "Copy settings", "Create a preset" or "Add to" an album.
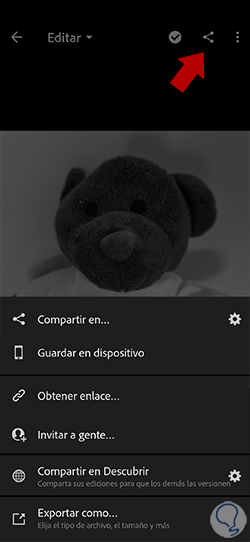
Export
This will be the final option and will consist of storing our finished image or video in some path. You can store it locally or in the cloud and even share it in some way as an app or "Discover".
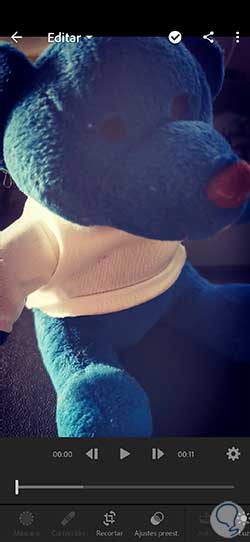
edit on video
We have already seen in broad strokes the different options that we can find in Lightroom Mobile in photo editing but we can see that they are very similar when we are editing video and where playback buttons will also be included to control it.
In this way we will get to know the Adobe Lightroom Mobile interface better to be able to edit our photos and videos in a complete way. We advise you to spend a few minutes navigating through the entire tool again and thus discover each of the possible options within Adobe Lightroom Mobile.