Among the various functions and features offered by the new Windows 10 updates , there is one in particular which is closely related to Android users, only this system for now, through which it is possible to access all mobile messages directly on the computer and perform tasks such as reading and replying to messages or also sending a message to a contact on our phone..
This integration function is available for computers running Windows 10 version 1803 or later; and in addition to this, the Android device must be running version 7.0 (Nougat) or later and connected to a Wi-Fi connection.
Note
If we want to know the version of Windows 10 used we can use the following key combination:
+ R
There execute the command:
winver
The Your phone application will display the messages we receive or send in the last 30 days, and will allow us to see both SMS (Short Message Service) and MMS (Multimedia Message Service) messages and is not compatible with other types of messages, such as Rich Communication Service (RCS). To achieve this action, the Android phone must be linked to the Windows 10 computer and TechnoWikis will explain how to achieve this..
Step 1
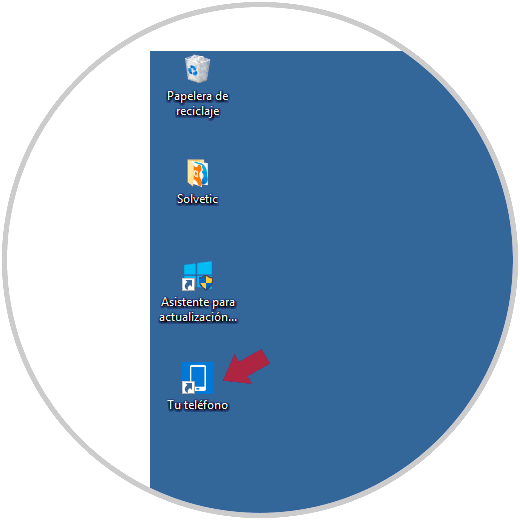
By default the application Your phone is available on the Windows 10 desktop but if not, we can download it from the following link in the official Microsoft store:
Your telephone
Step 2
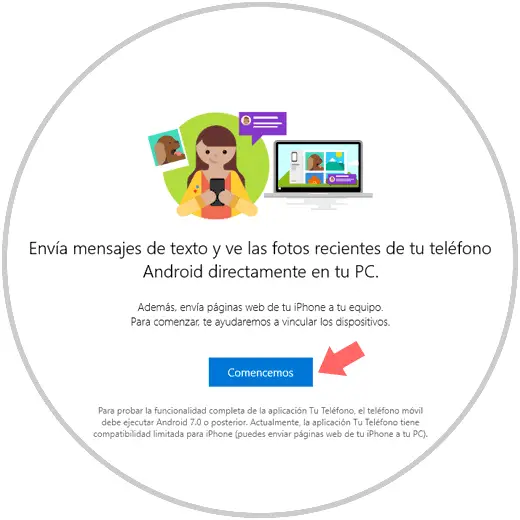
Double clicking on this access will display the following wizard. There we click on the "Let's start" button.
Step 3
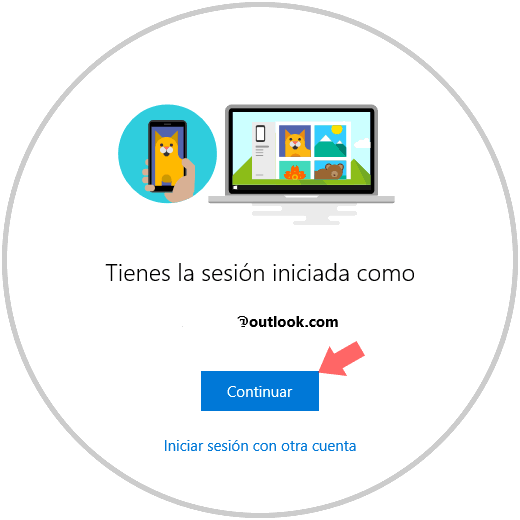
Next we will see the associated Windows 10 account. If this is not the account, we can click on the "Login with another account" line and register the respective credentials. Click on "Continue".
Step 4
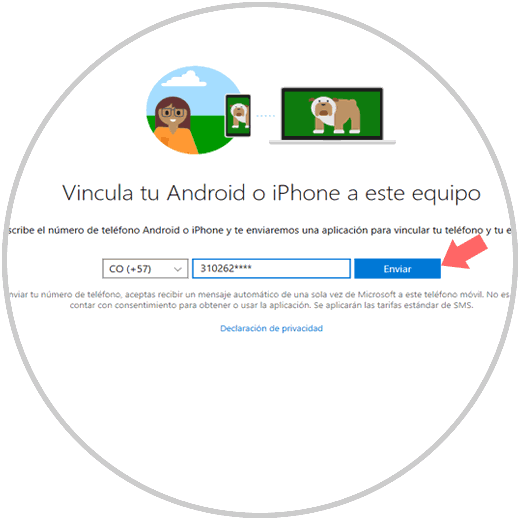
Now we enter the password of the account if necessary, and pressing this button will display the following window where we will enter the country code of our mobile, as well as the respective telephone number. Click on the "Send" button.
Step 5
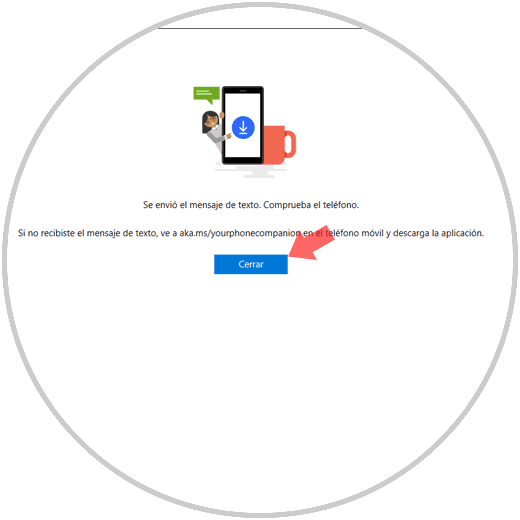
We see the following message, click on the "Close" button.
Step 6
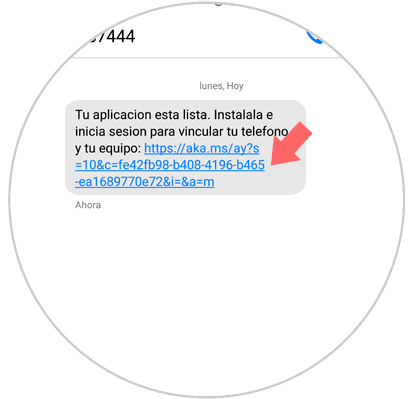
We will receive a text message similar to this on our Android mobile. There we open the URL.
Step 7
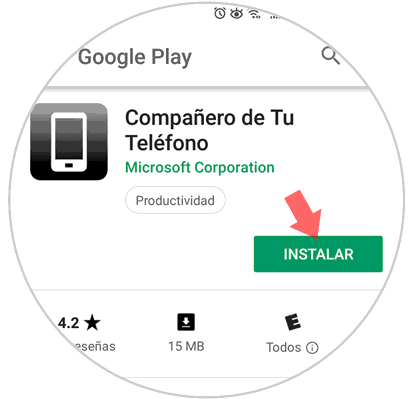
We will be redirected to the Play Store where we will see the download of the Your phone application available. Click on the "Install" button to proceed with the respective installation of the application.
Step 8
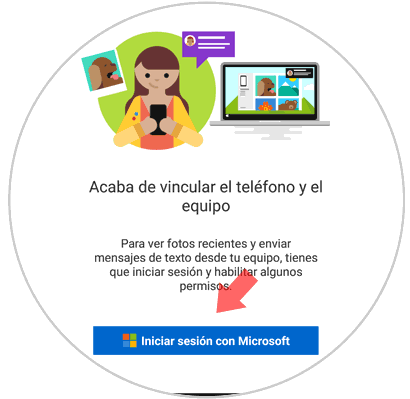
Once installed, we proceed with its execution and see the following. Click on the "Start session with Microsoft" button and then enter the account to use which must be the same registered in Windows 10.
Step 9
The following will be displayed. There we click on "Continue".
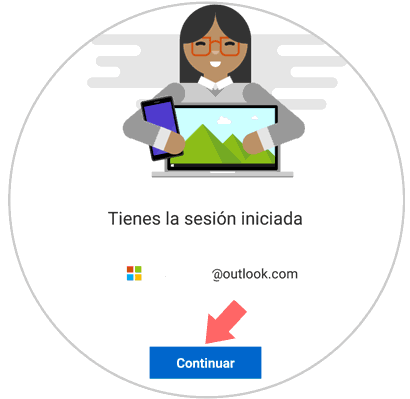
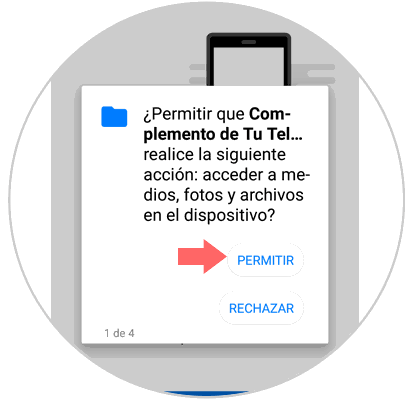
Step 10
We must allow the respective permissions for the optimal operation of the application:
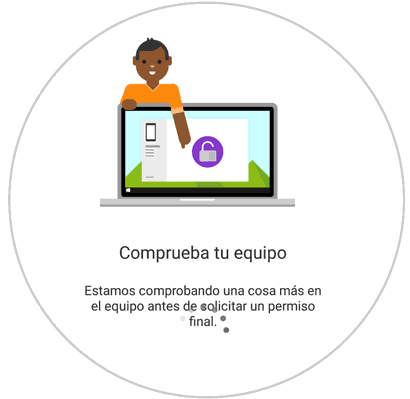
Step 11
After this, the equipment will be checked:
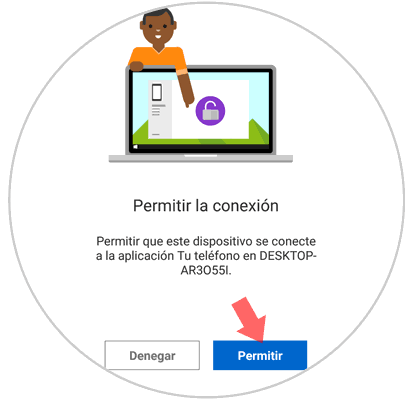
Step 12
When the check has been completed, it will be necessary to approve that the Android phone connects to the Windows 10 computer. Click on the "Allow" button.
Step 13
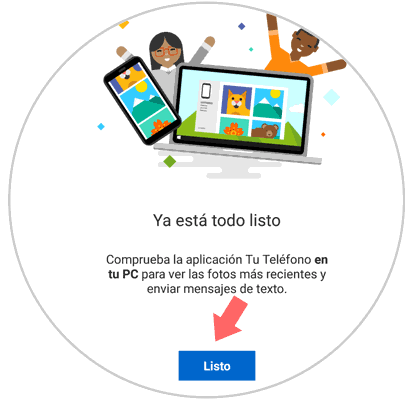
The following will be displayed. Click on the "Ready" button to complete the action.
Step 14
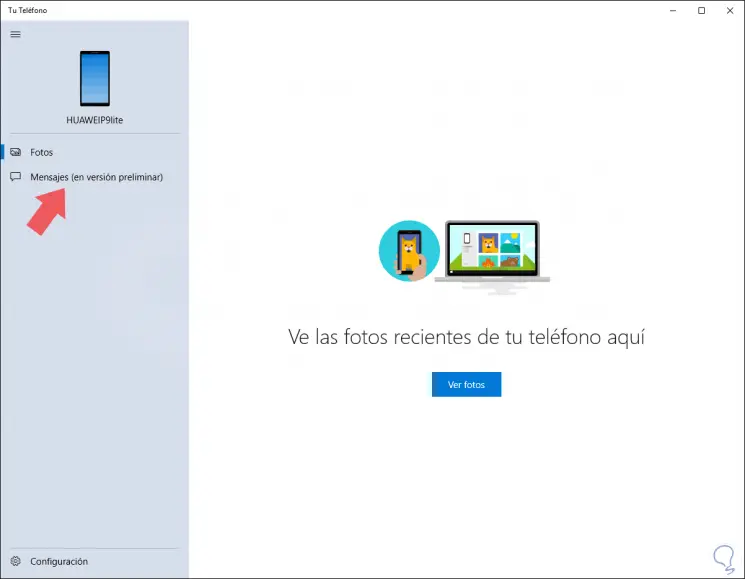
Now we open the Your phone application again in Windows 10 and there we look at the device model, as well as the Photos and Messages options (note that this option is in the testing phase). Select the "Messages" section
Step 15
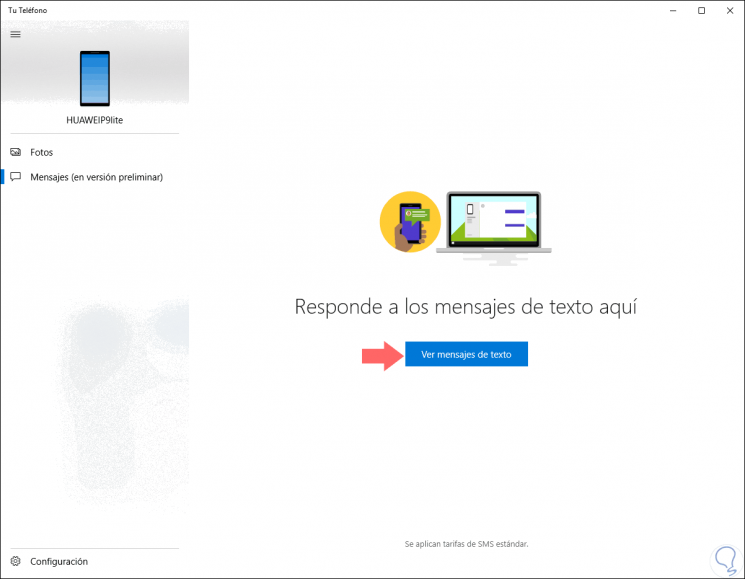
We will see the following. We click on the "view text messages" button.
Step 16
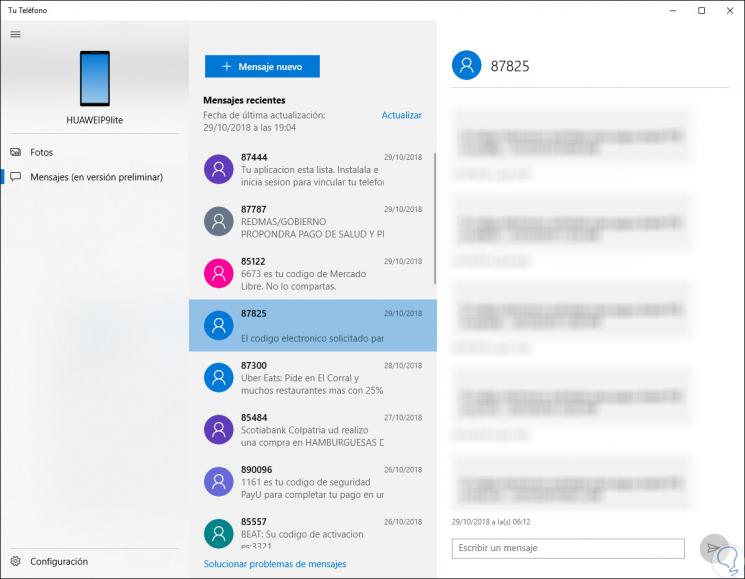
All messages from our mobile will be displayed there:
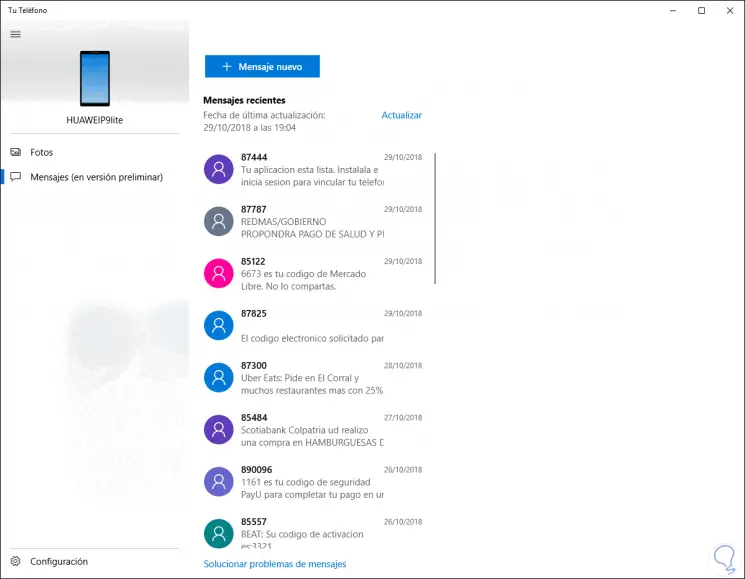
We can select a message to see its content:
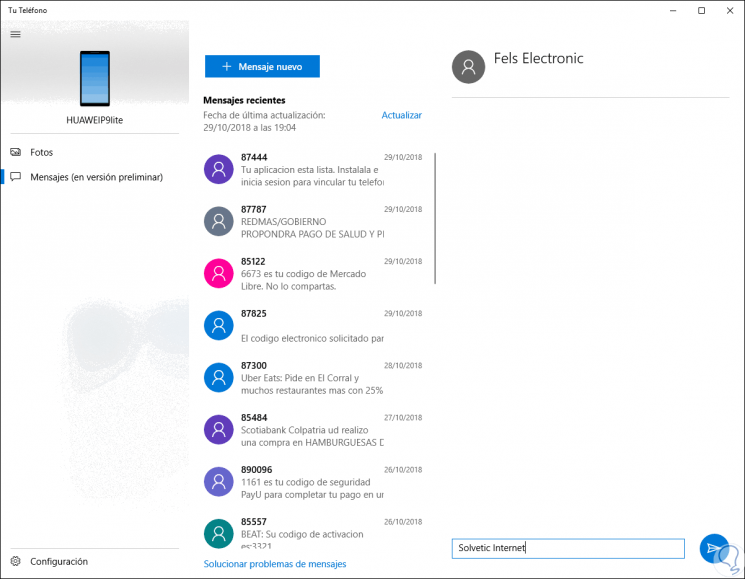
We can also click on the "New message" button and proceed to choose the recipient and write the message body. Click on the send icon to proceed with the sending of the text message.
It's that simple to use this new feature of Your phone in Windows 10 to proceed with sending text messages from Windows 10 in a simple and practical way..