The remote desktop in Windows 11 is one of the most practical functions since with it we allow an administrator or another user to access the system from another location without the need to physically travel to our PC, this function is present in all editions of Windows and is completely ideal for multiple types of support..
By using the Remote Desktop client we will have the ability to connect to Remote Desktop Services using systems such as Windows Server or Windows 11 remotely and once the connection is established, we will be able to use and control available desktops and applications, one advantage is that we can use either a web browser or the app itself developed by Microsoft, some of the advantages of Remote Desktop are:
- Access custom screen resolutions
- Make use of applications installed on the remote computer
- Support for multiple monitors
- Access files and network resources on the remote computer
- Have dynamic and scaled screen resolutions
- Contra with a redirection of devices such as storage devices and printers
TechnoWikis will explain in detail how to configure Remote Desktop in Windows 11 and thus be sure of a secure connection when necessary.
To stay up to date, remember to subscribe to our YouTube channel!
SUBSCRIBE ON YOUTUBE
1 Configure Windows 11 Remote Desktop from Settings
Step 1
This is one of the most used and simple options to enable this, we will go to "Start - Settings - System - Remote Desktop":
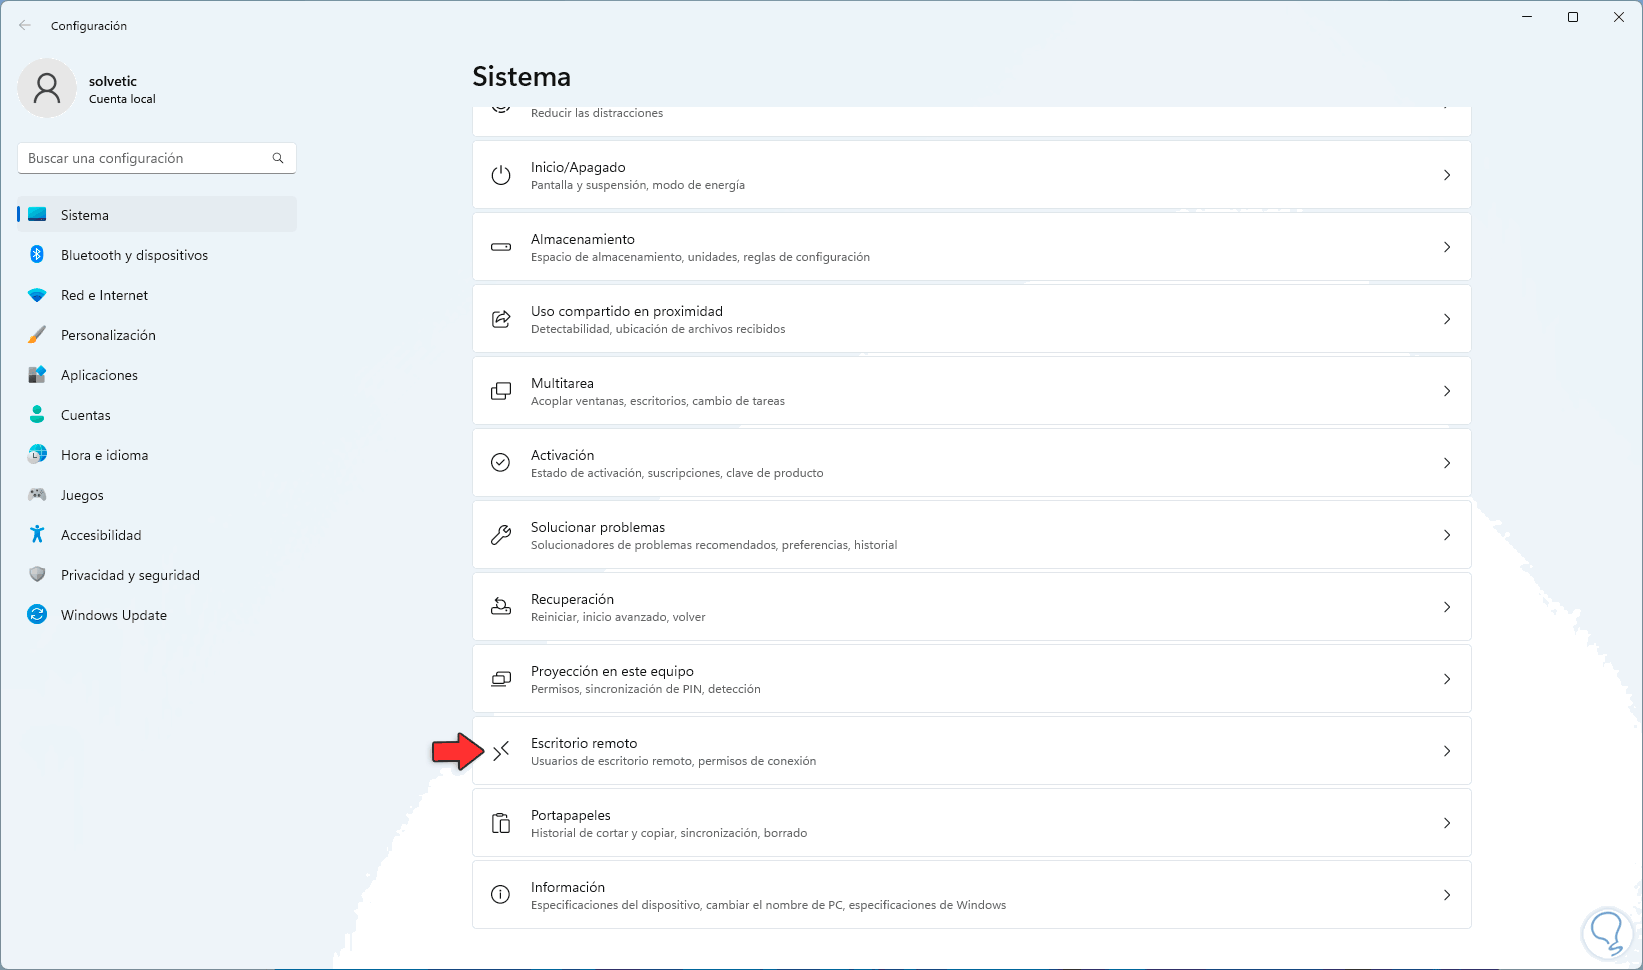
Step 2
By clicking there we will see the following:
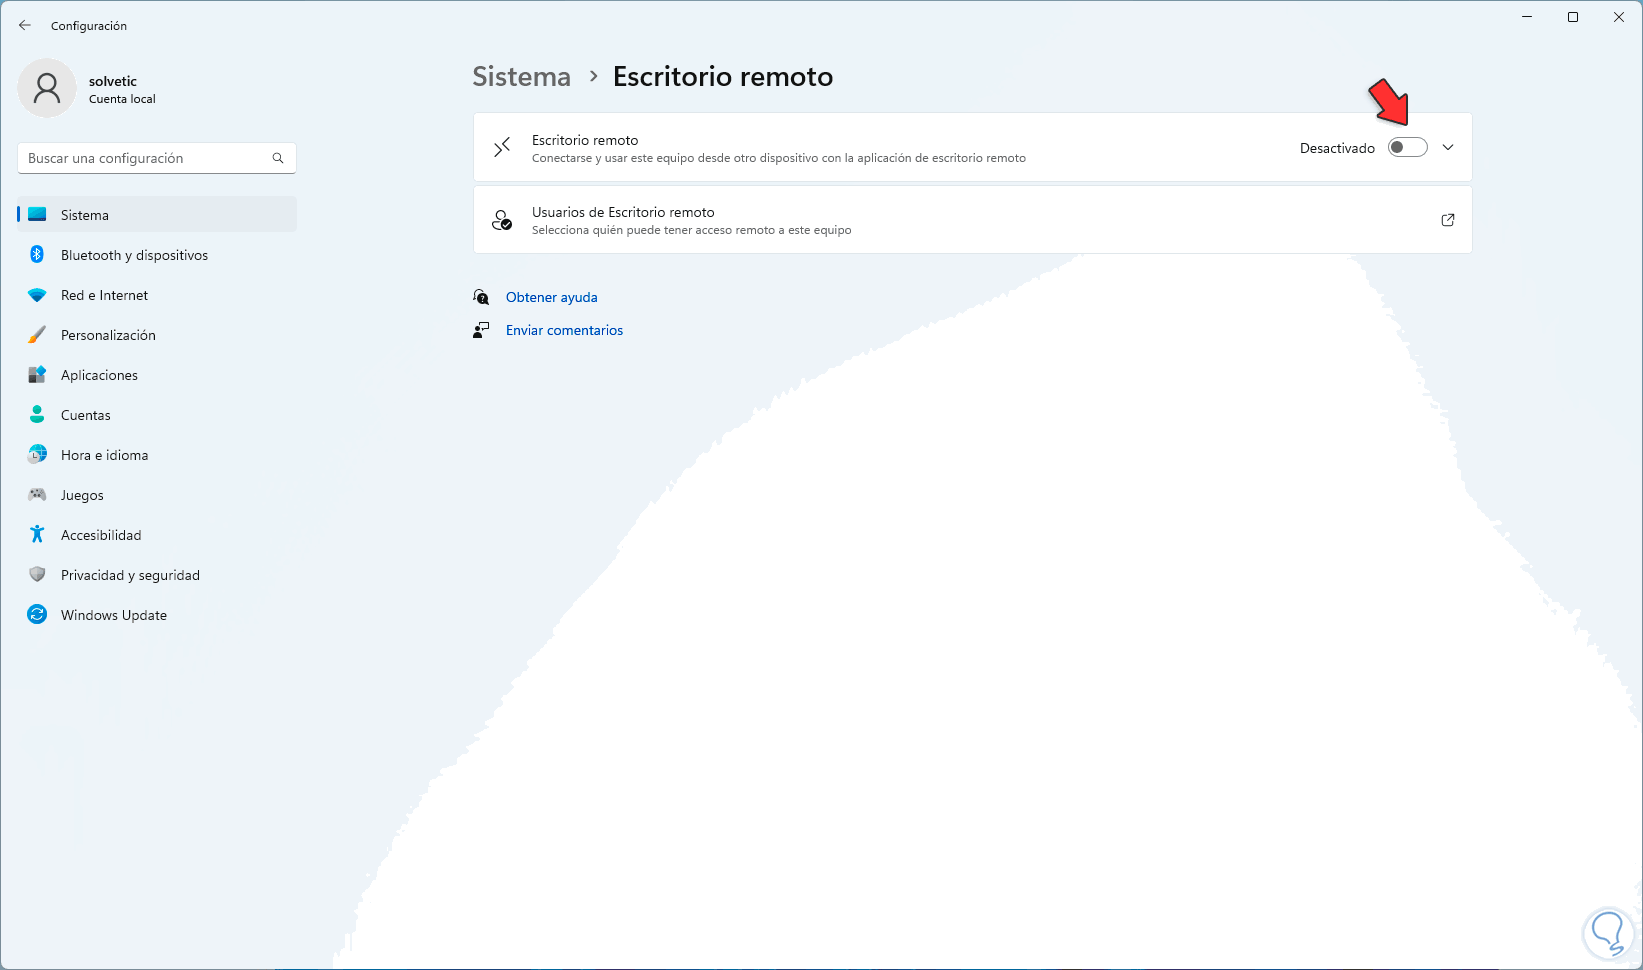
Step 3
We activate the "Remote Desktop" switch and we will see the following message:
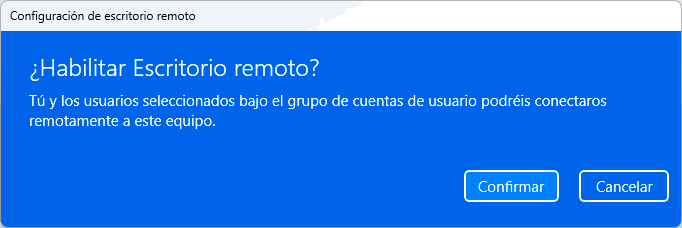
Step 4
We click on "Confirm" to activate Remote Desktop:
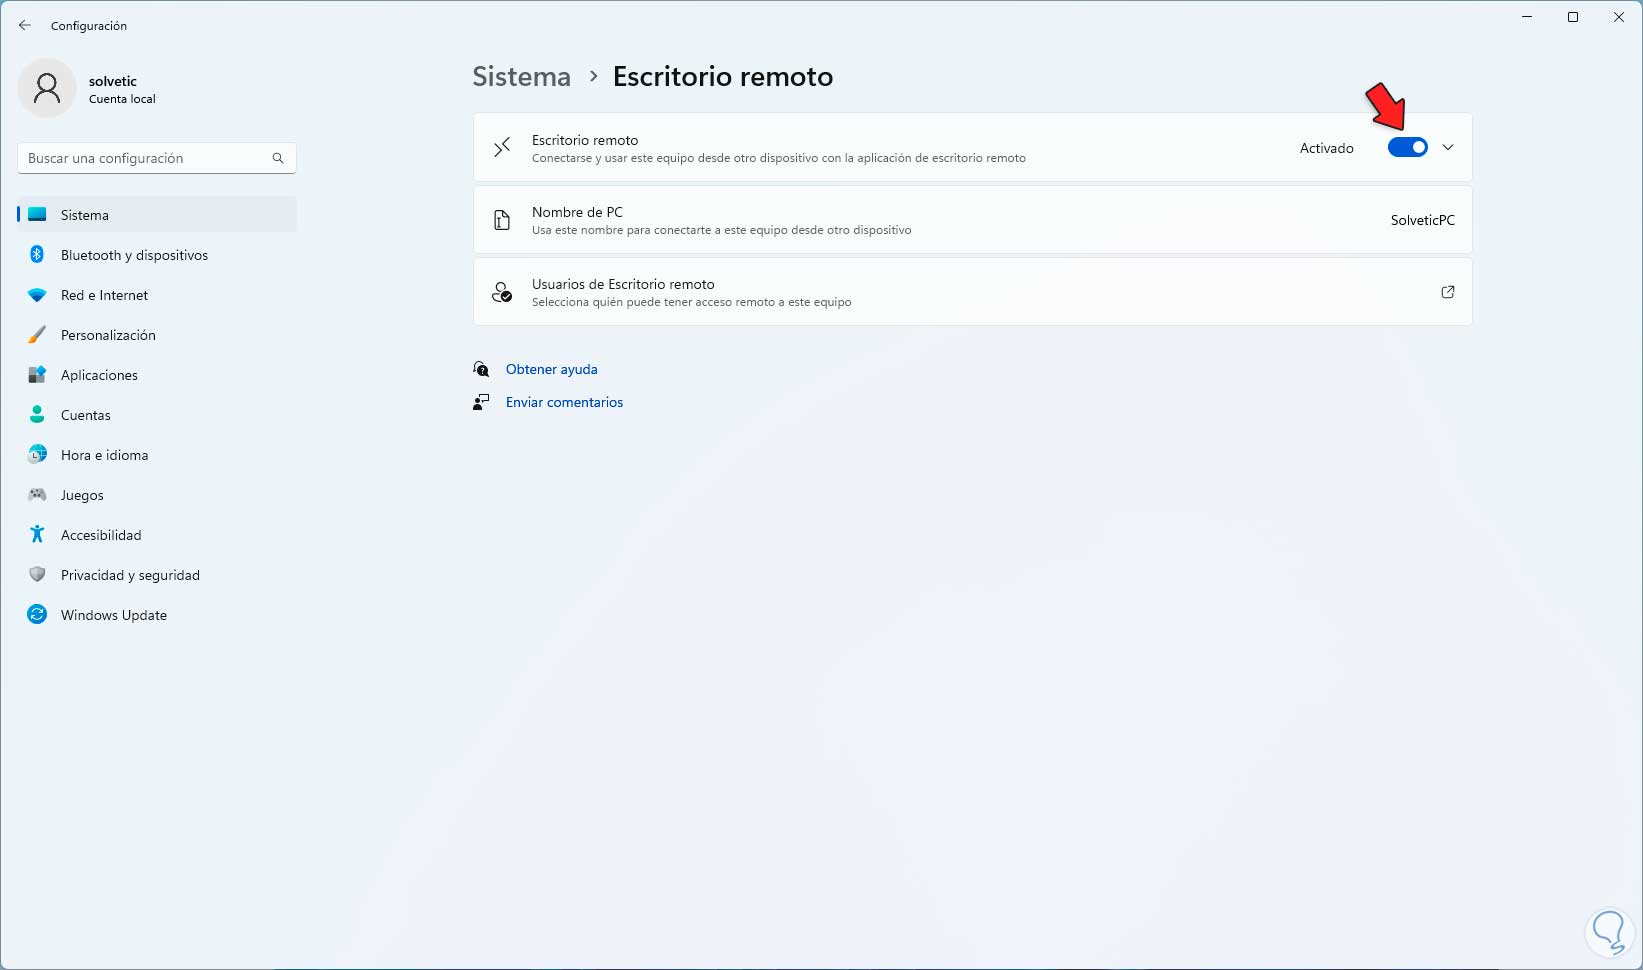
step 5
We will see the name of the PC to be able to establish the connection and click on "Remote Desktop Users" to select what or who will have access, the following window will open:
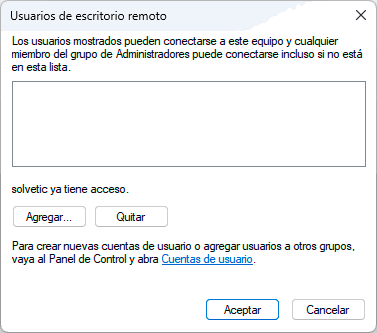
step 6
We click on "Add" to select the type of user:
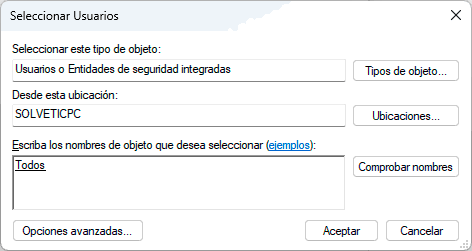
We apply the changes..
2 Configure Remote Desktop Windows 11 from Control Panel
Step 1
This is another of the simple options that Windows 11 offers us to enable Remote Desktop, open the Control Panel:
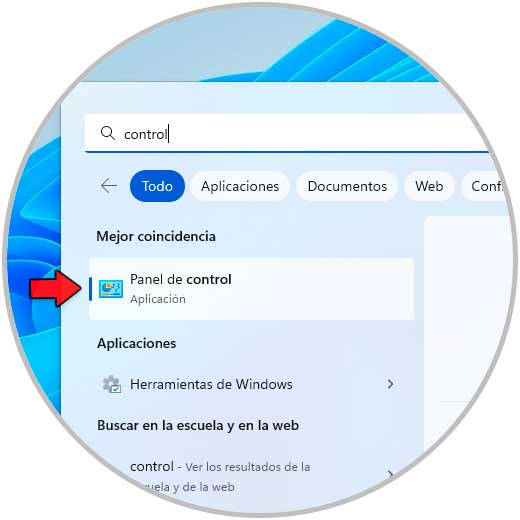
Step 2
We will see the following;

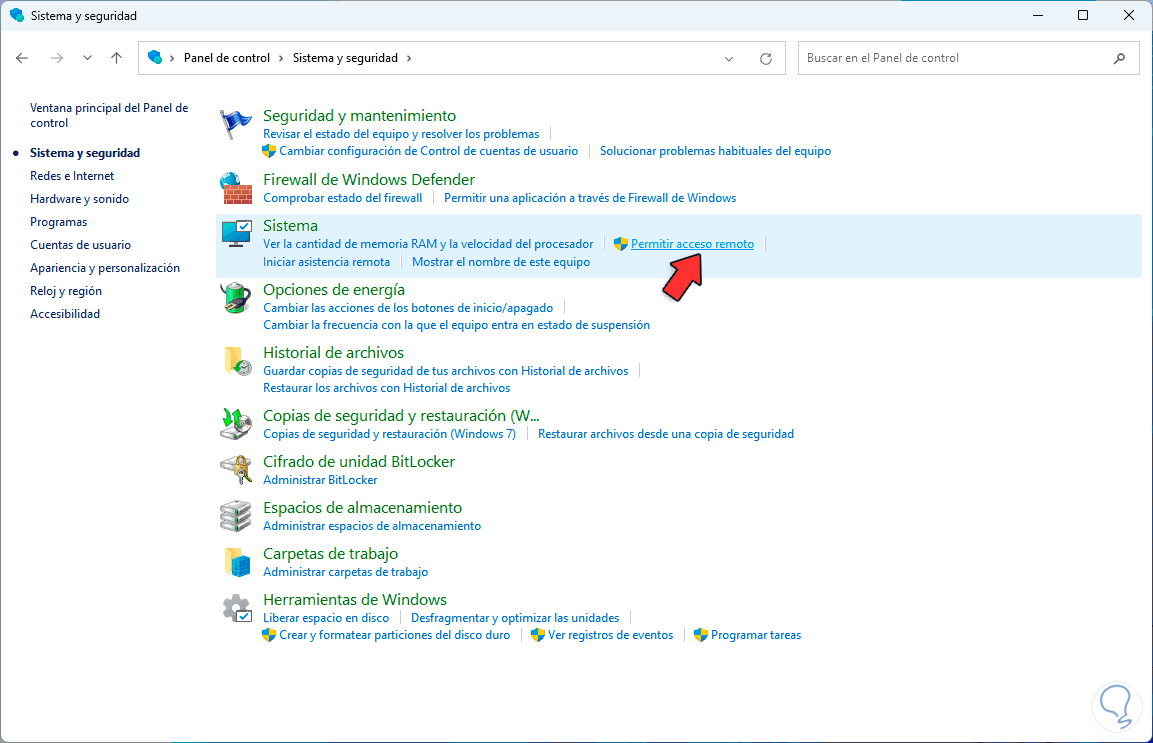
Step 3
We go to "System and security - Allow remote access":
Step 4
The following window will open:
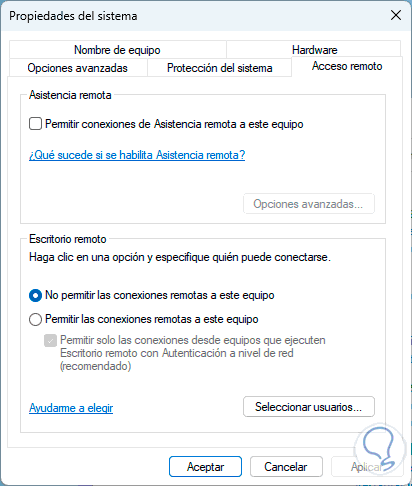
step 5
We activate the option "Allow remote connections to this computer":
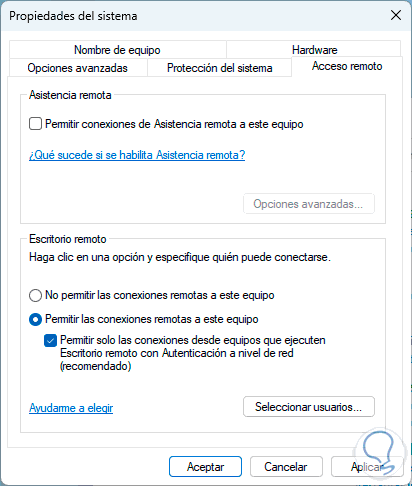
step 6
We click on "Select users" to define the permissions of the users:
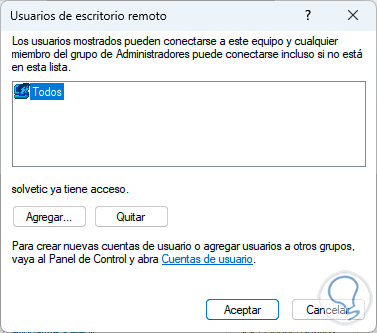
Apply the changes.
3 Configure Remote Desktop Windows 11 configure static IP
The use of the IP address is essential in Remote Desktop since it is through this address that we will communicate with the remote computer, PCs generally make use of dynamic IP addresses which change from time to time, if this is the case , there may be a connection problem in case the remote machine is saved on the Desktop, in this case the most ideal thing is to assign a static IP address to the remote machine, so we will know what it is or can be saved to avoid requiring it in each connection, to assign a static IP.
Step 1
In the Start search engine we enter "network" and click on "View network connections":
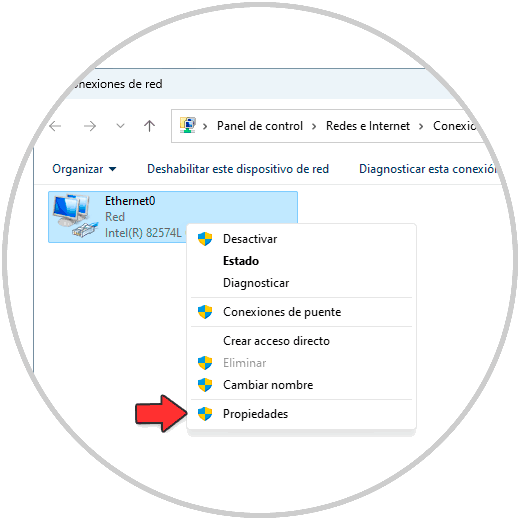
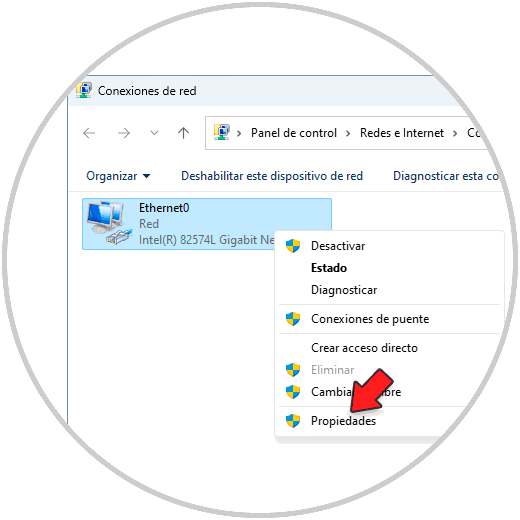
Step 2
We right click on the adapter and select "Properties":
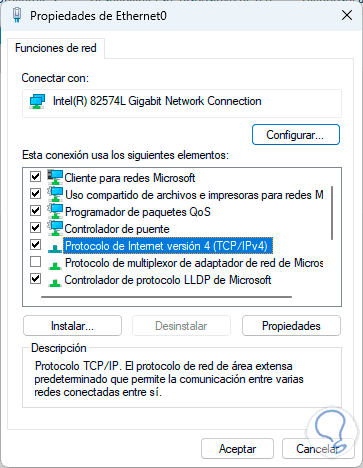
Step 3
In the pop-up window we select "Internet Protocol version 4":
Step 4
We click on "Properties" and then activate the "Use the following IP address" box and assign the desired one and it is possible to adjust the DNS server:
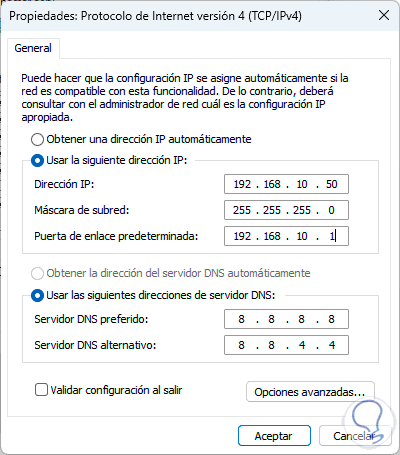
Apply the changes..
step 5
As an additional point, it is possible that you want to make the connection from outside the local network, in this case it will be necessary to know the public IP, for this you can use a browser and enter, for example, Whats m yip:
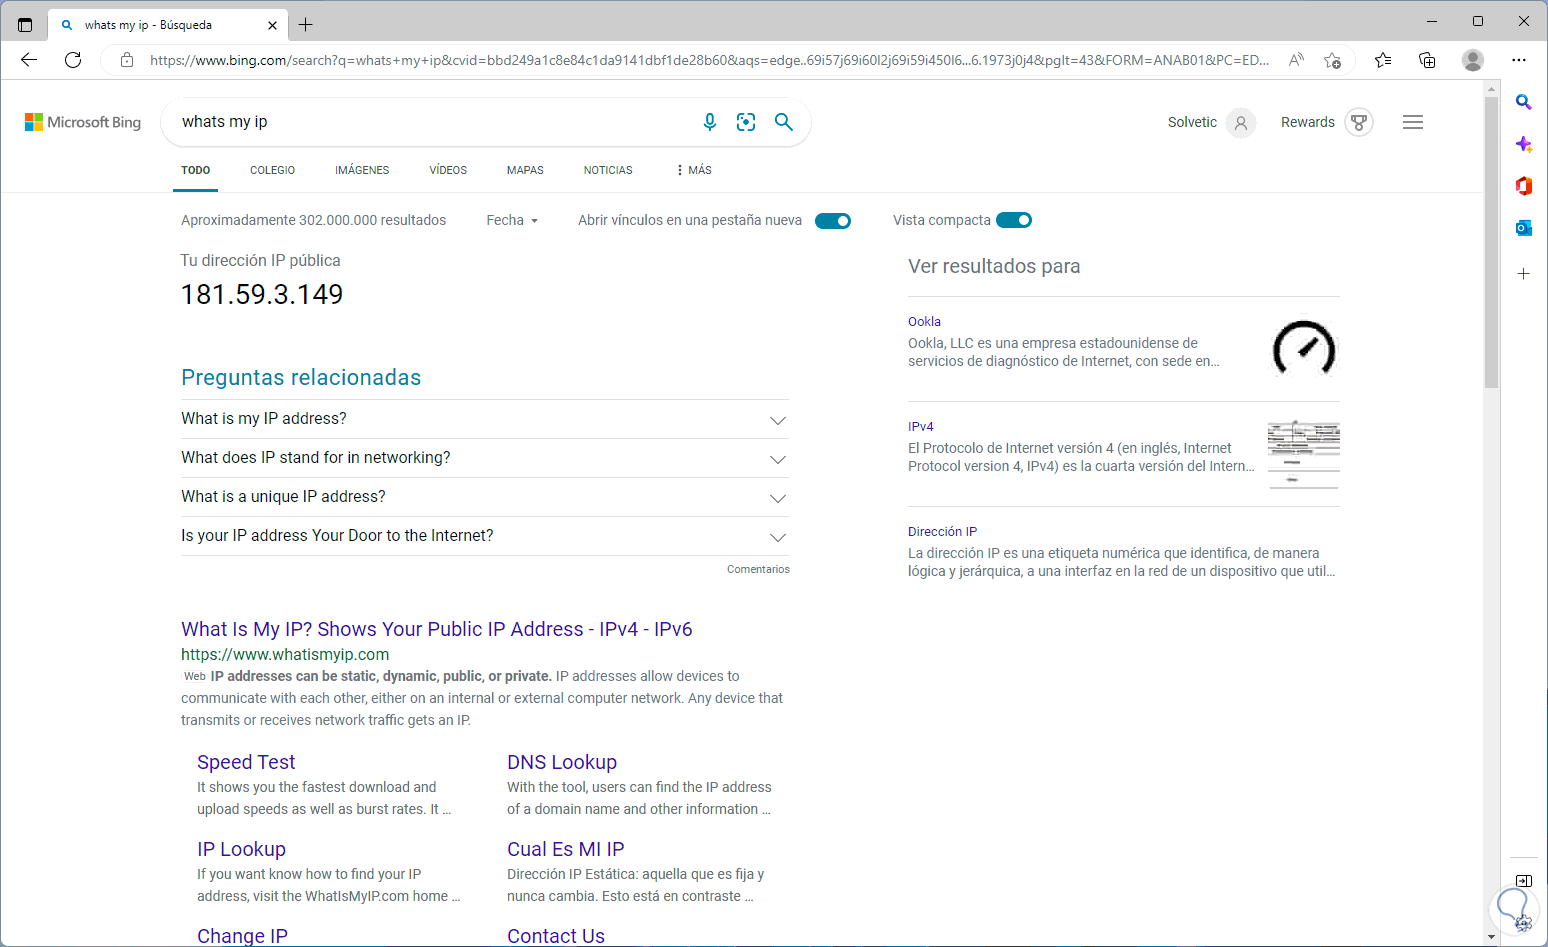
There will be the public IP of the equipment.
4 Configure Remote Desktop Windows 11 | Remote access
Step 1
It is time to access remotely using Remote Desktop, on the computer from where the connection will be established, open the Windows Store and search for "microsoft remote desktop" and install the app if necessary:
Step 2
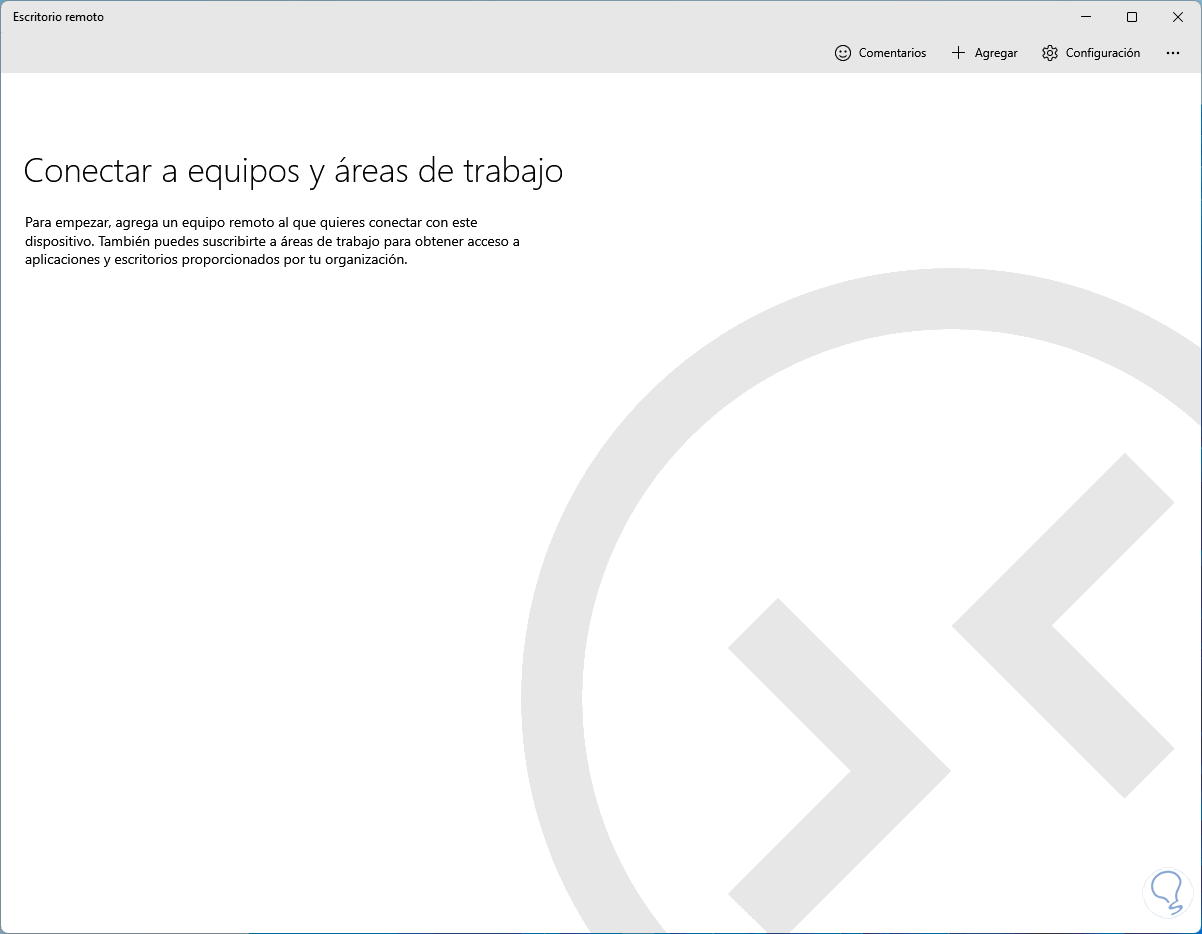
We click on "Open" to see the following:
Step 3
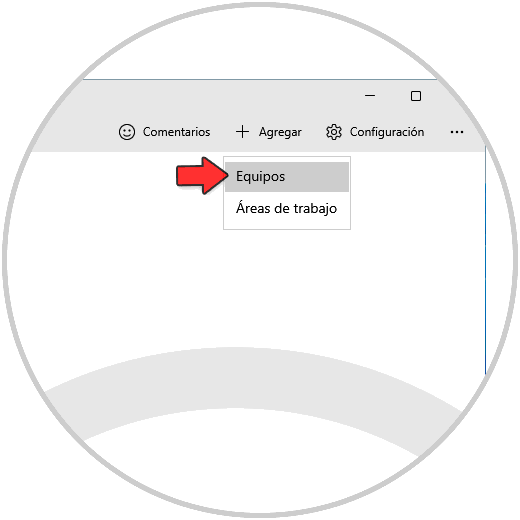
At the top we click on "Add" and select "Equipment":
Step 4
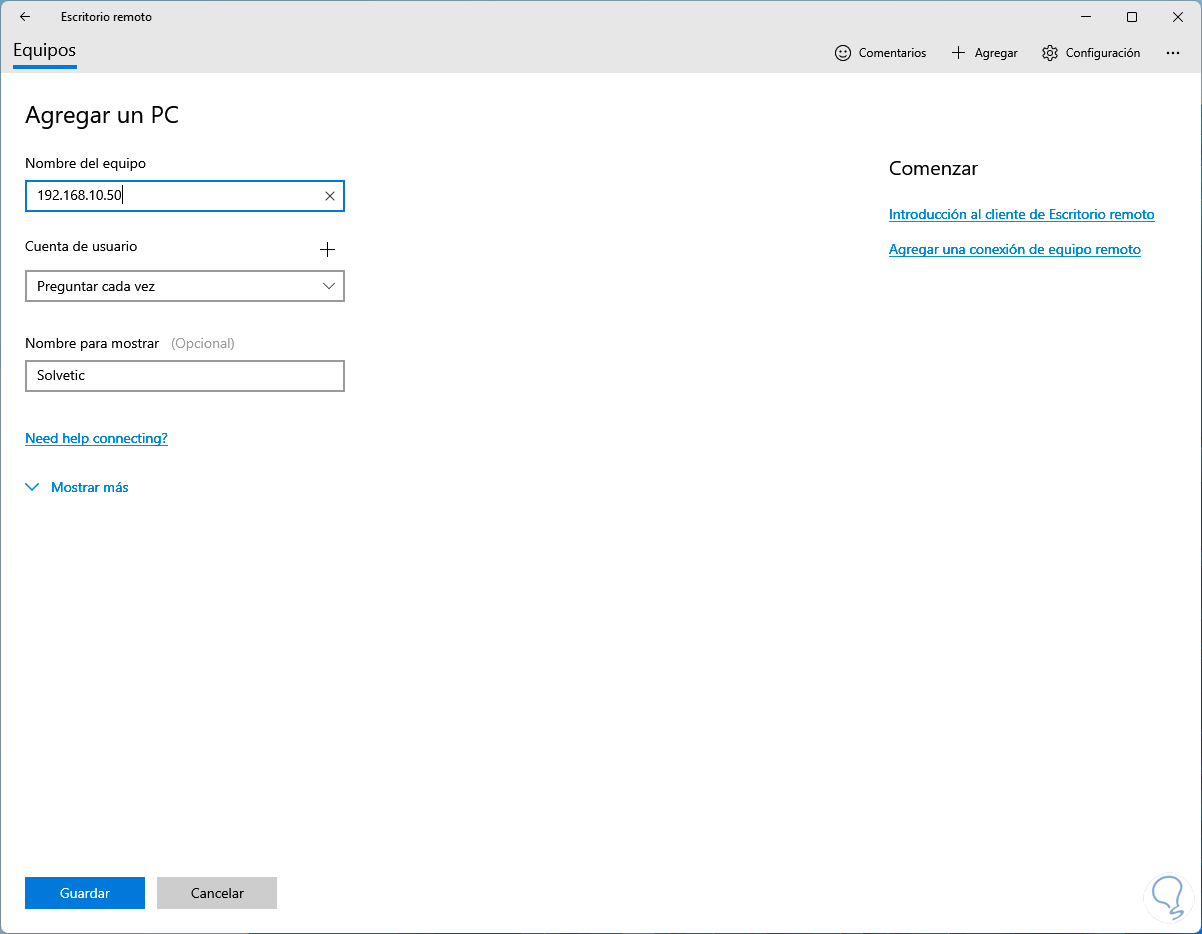
Next we enter the IP of the remote computer:
step 5
It is possible to add the user and define the name to be displayed, we click on "Show more" to have access to other options:
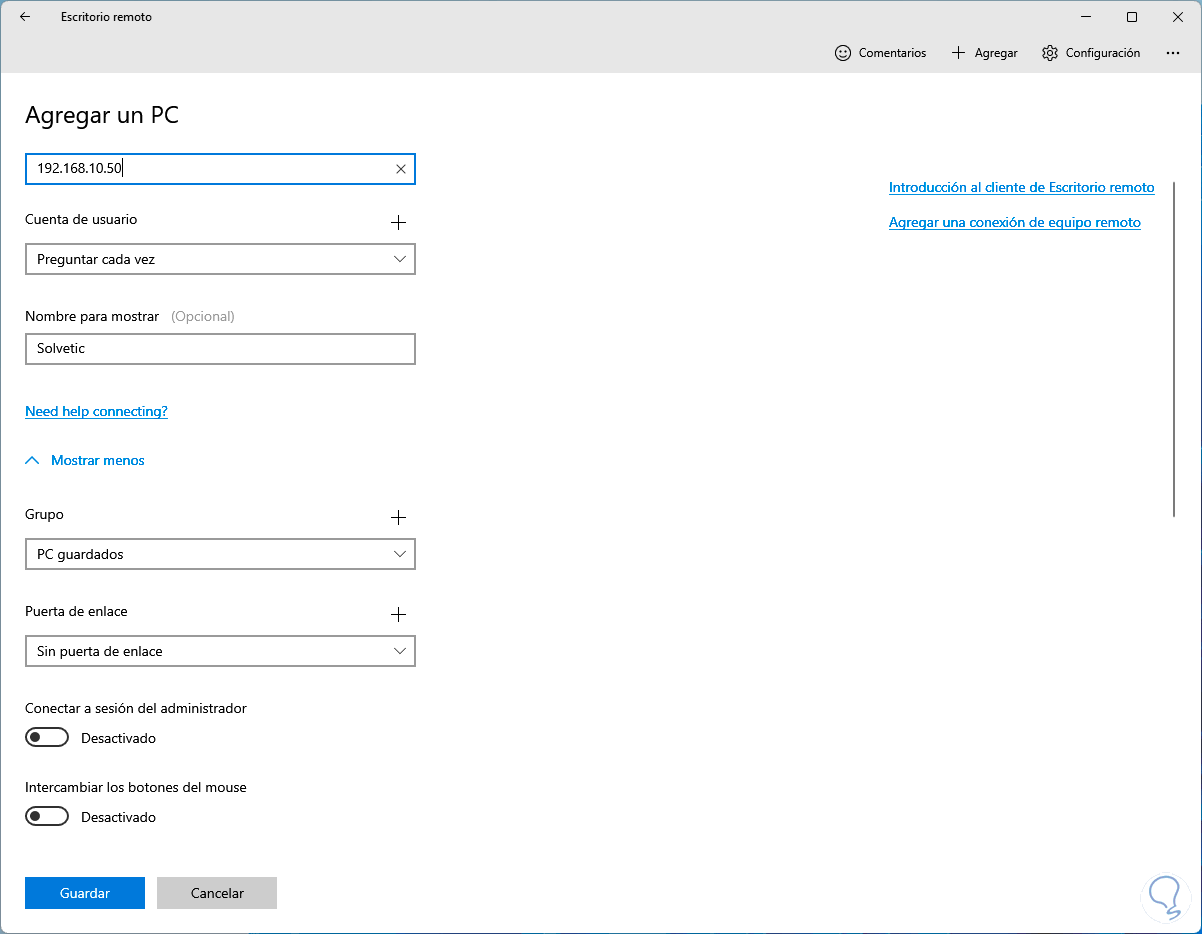
step 6
We click on "Save" to store the remote machine:

step 7
In this case we will connect to a virtual machine to see how it works, for this we click on the remote machine created and the connection process will start:

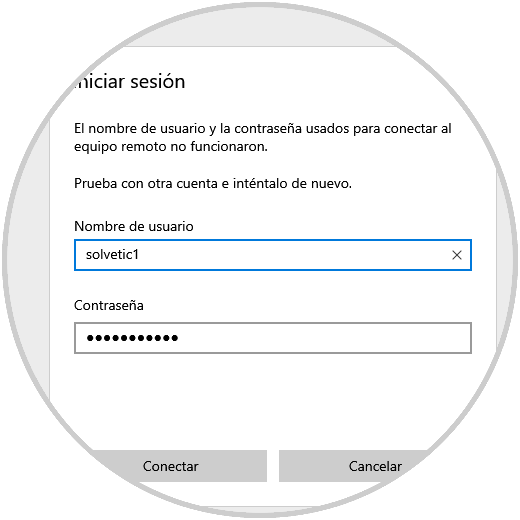
step 8
We enter the user data:
step 9
We wait for the connection to be established:
Note
In case of error it can be updated to have the connection established.
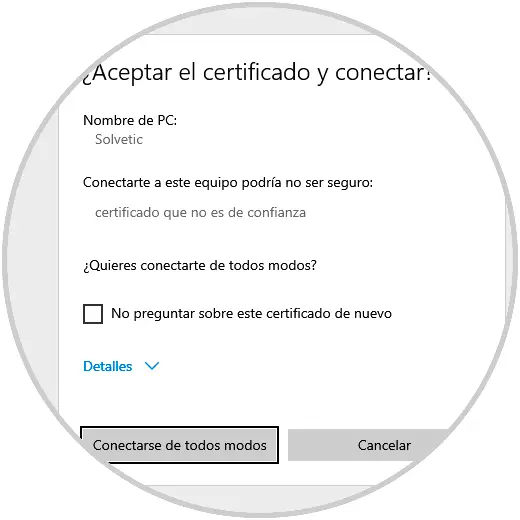
step 10
We accept the certificate to complete the process:
step 11
On the machine we accept the connection and we will see this:

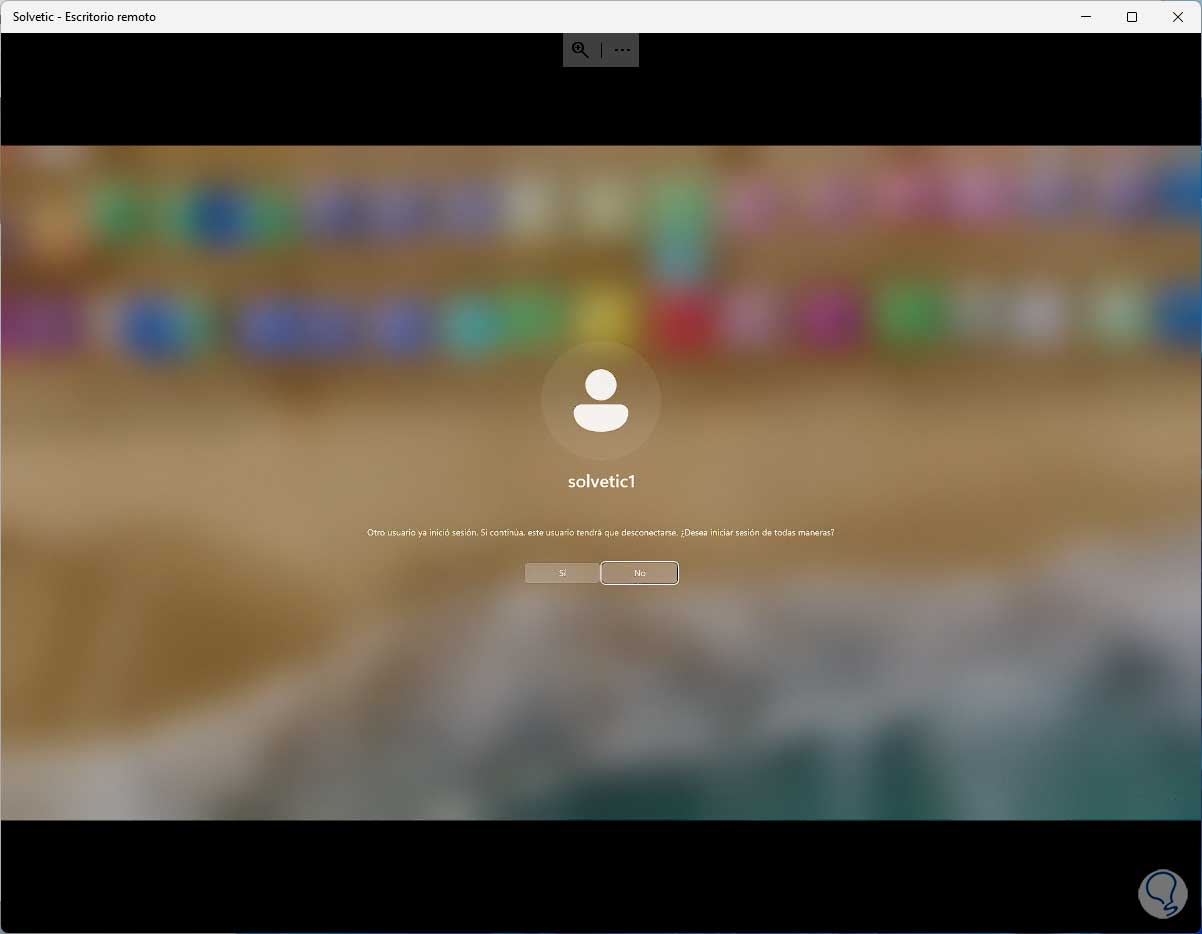
step 12
In the machine where we will connect we must accept the permission to establish the connection:
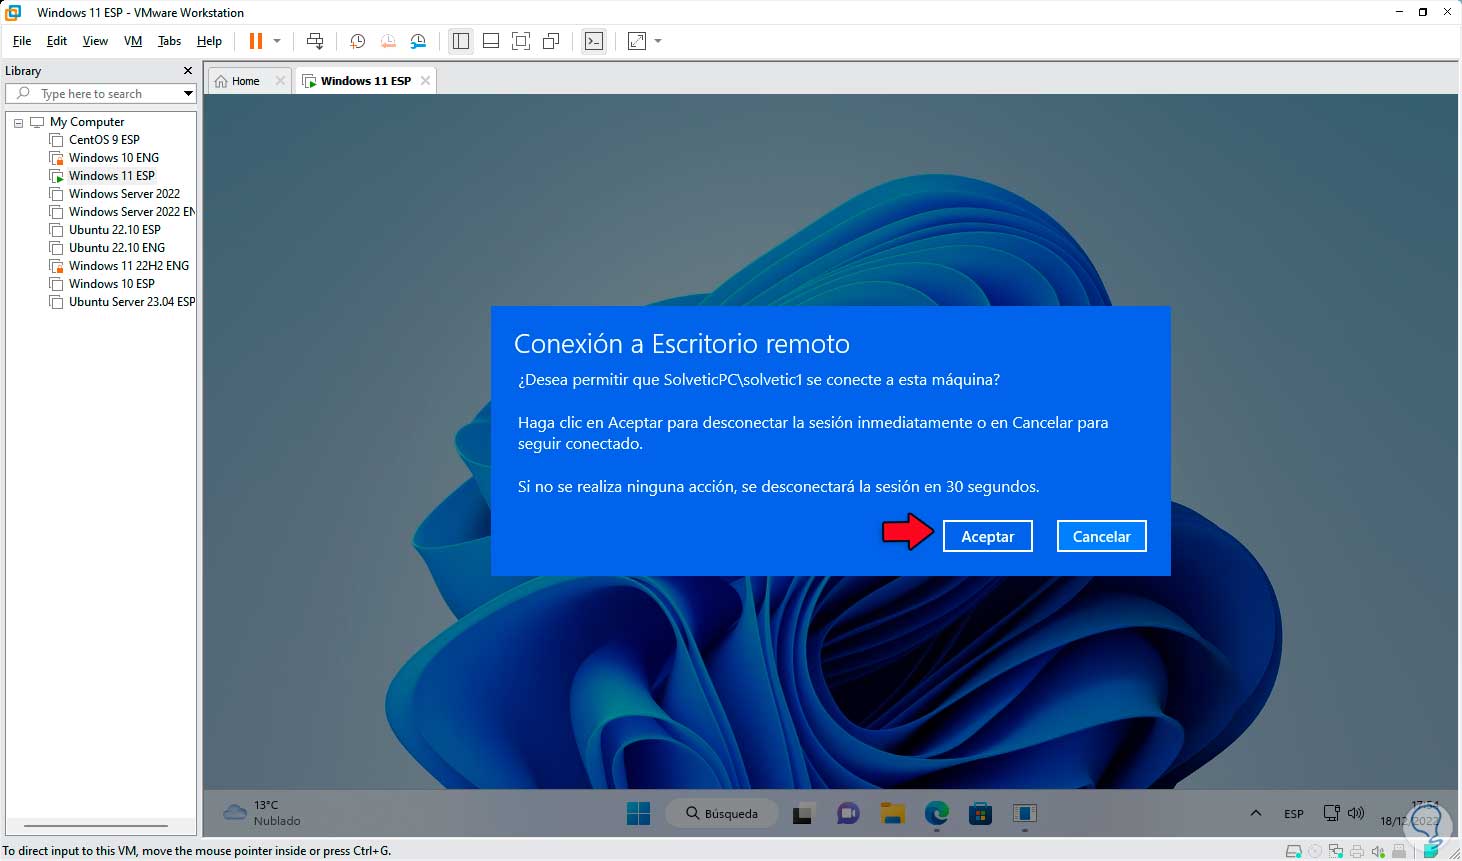
step 13
We click OK and it will have connected to Remote Desktop:

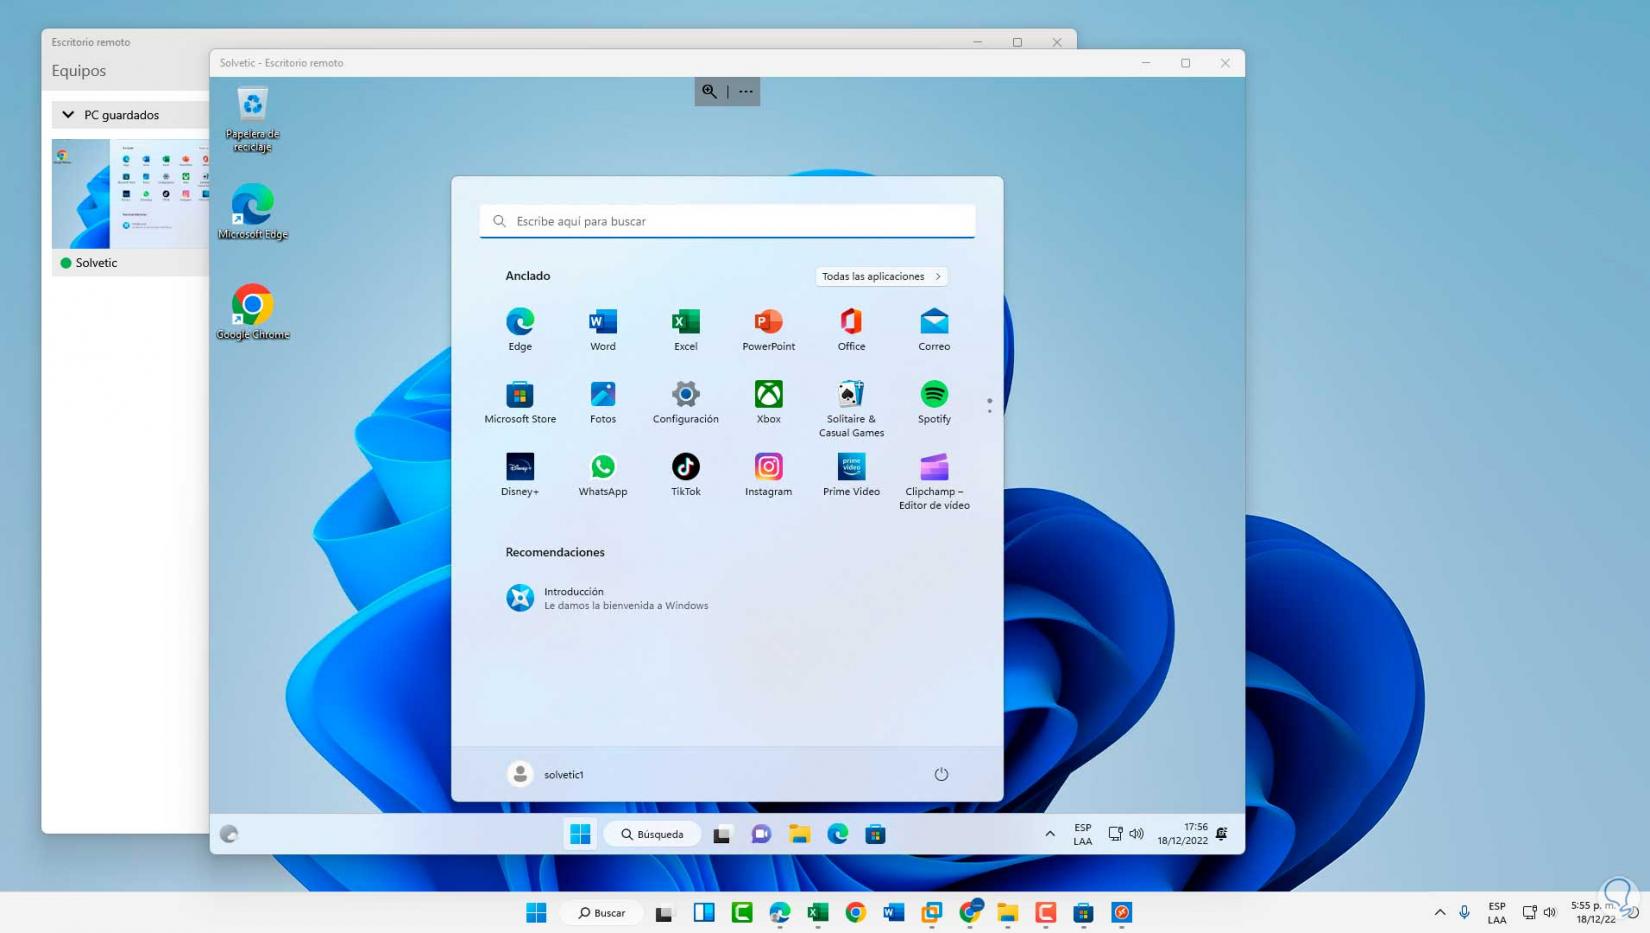
step 14
At the end we will have access to the system and its applications:
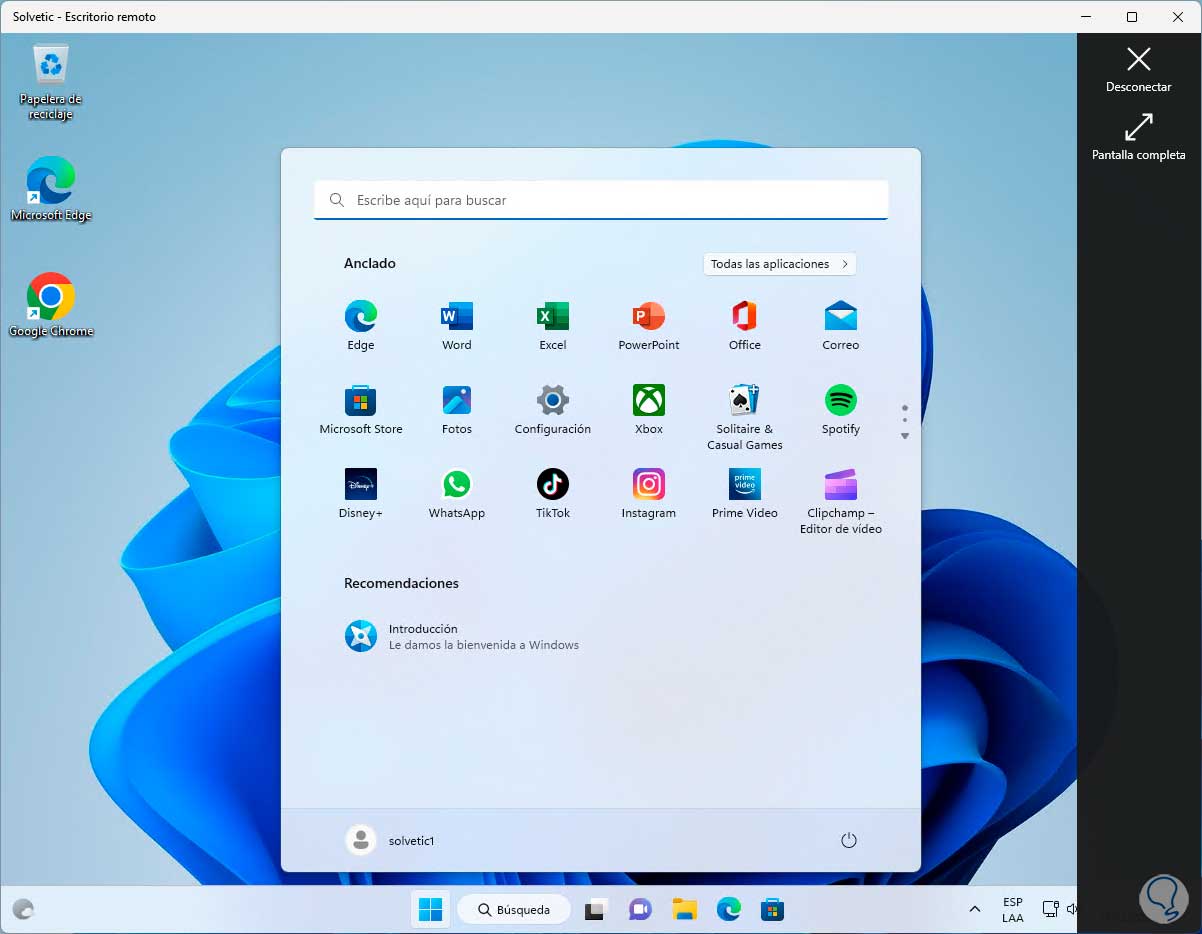
step 15
We click on the context menu of the remote machine to access some options:
5 Configure Remote Desktop Windows 11 application settings
It is possible to carry out a series of settings in the Remote Desktop application in Windows 11.
Step 1
To do this we open the app and we will see the machine or machines to which we connect:
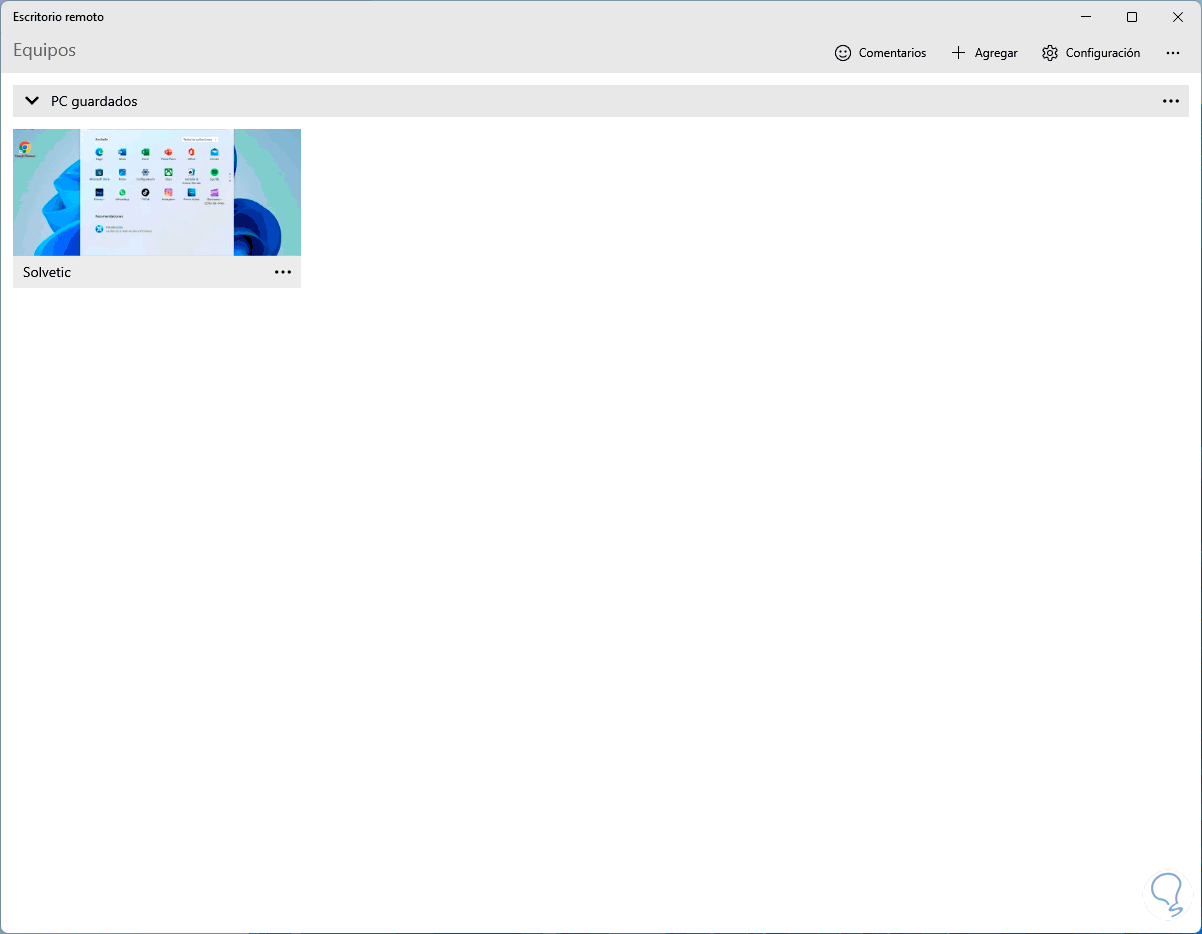
It is possible to click on the context menu of the remote machine to disconnect the session.
Step 2
In the Remote Desktop application we click on "Settings" and it will be possible to edit all the variables of the application and remote machines:
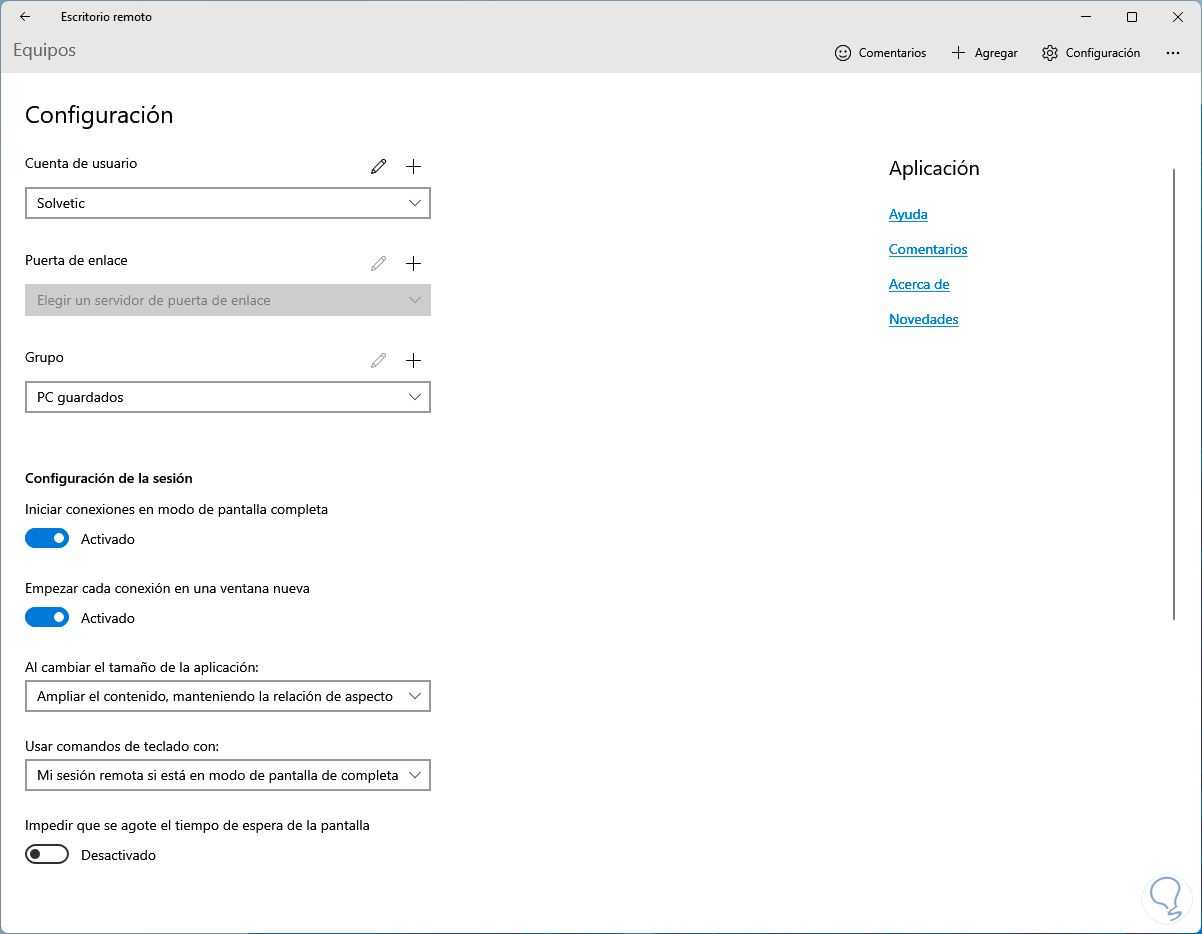
- At the top we can click on the pencil icon to edit the current user or on the + sign to add a new one
- In Gateway it is possible to add a custom gateway
- In Group we can create groups to manage remote machines
- It is possible that when you start the session the full screen is by default
- We can activate or not the switch so that each connection is made in a new window
- We can change the size of the application if necessary
- The use of commands such as Ctrl + C (copy) or Ctrl + V (paste) is allowed
- Additional it is possible to use unlimited time in the session
Step 3
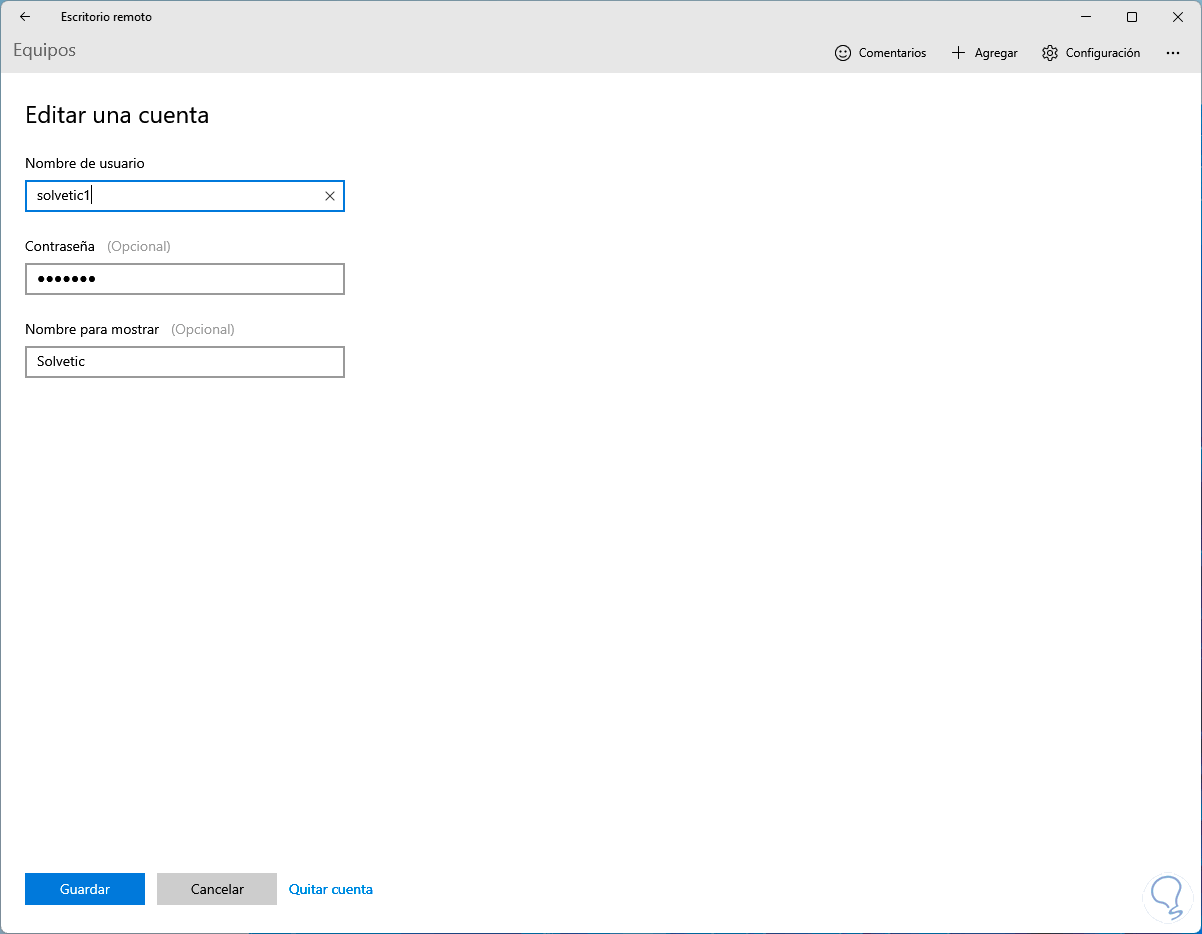
As we can see we can add new accounts:
Step 4
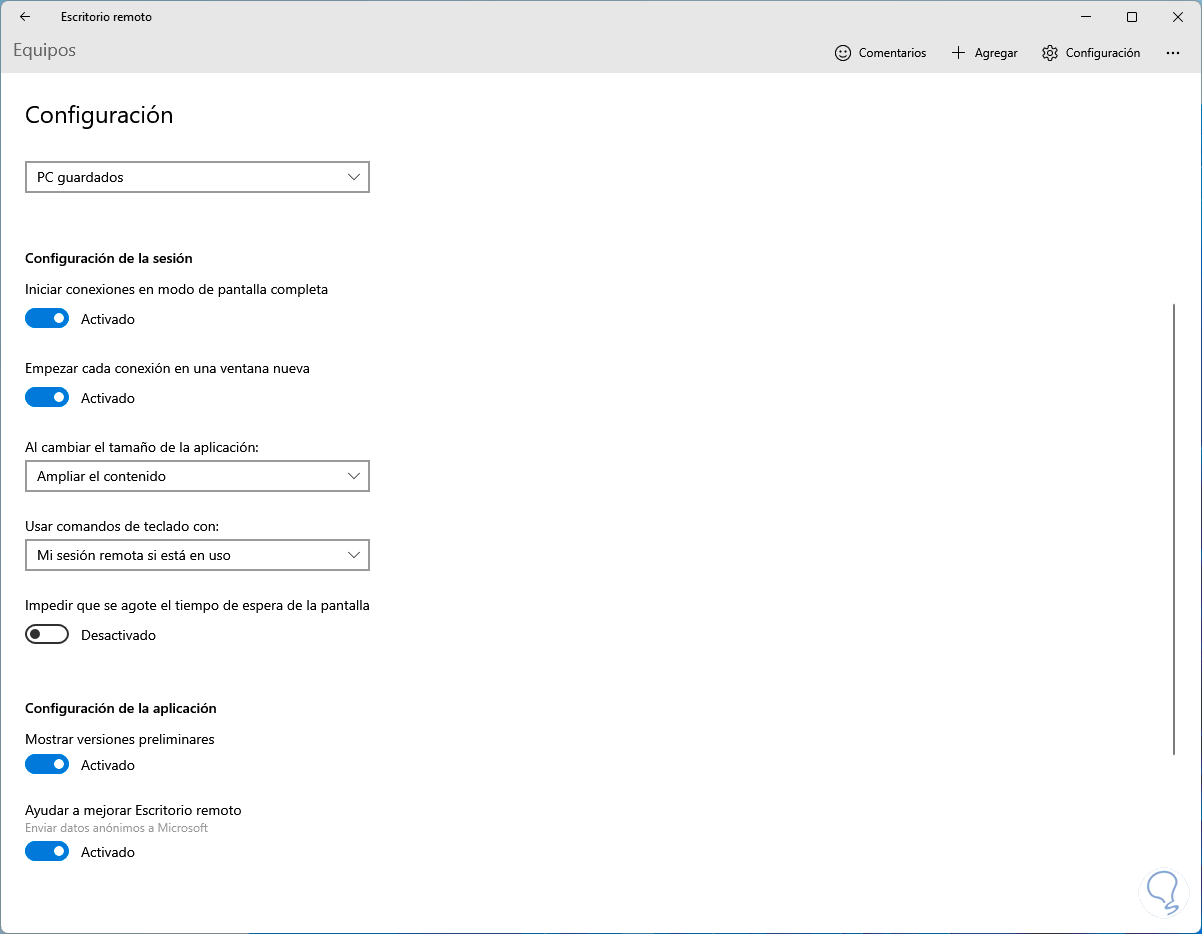
At the bottom it will be possible to use previous versions of the app or send comments:
6 Configure Remote Desktop Windows 11 troubleshooting
There are certain problems that can occur when using Remote Desktop in Windows 11 and TechnoWikis will give you a series of tips to correct them.
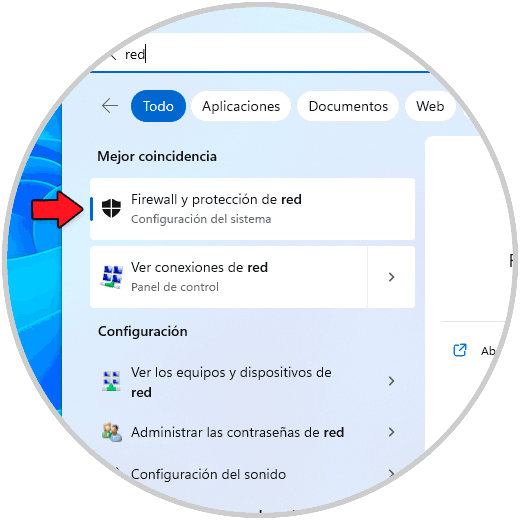
Step 1
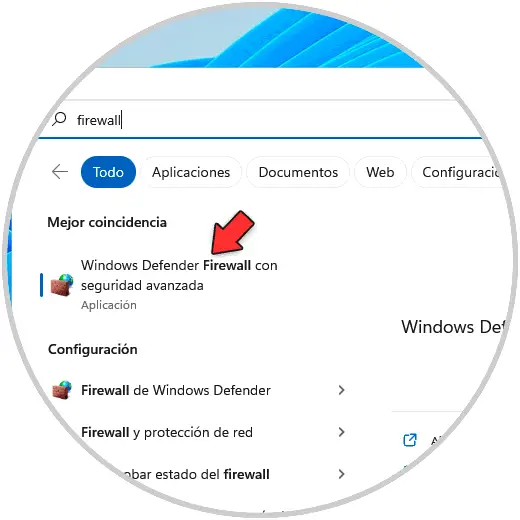
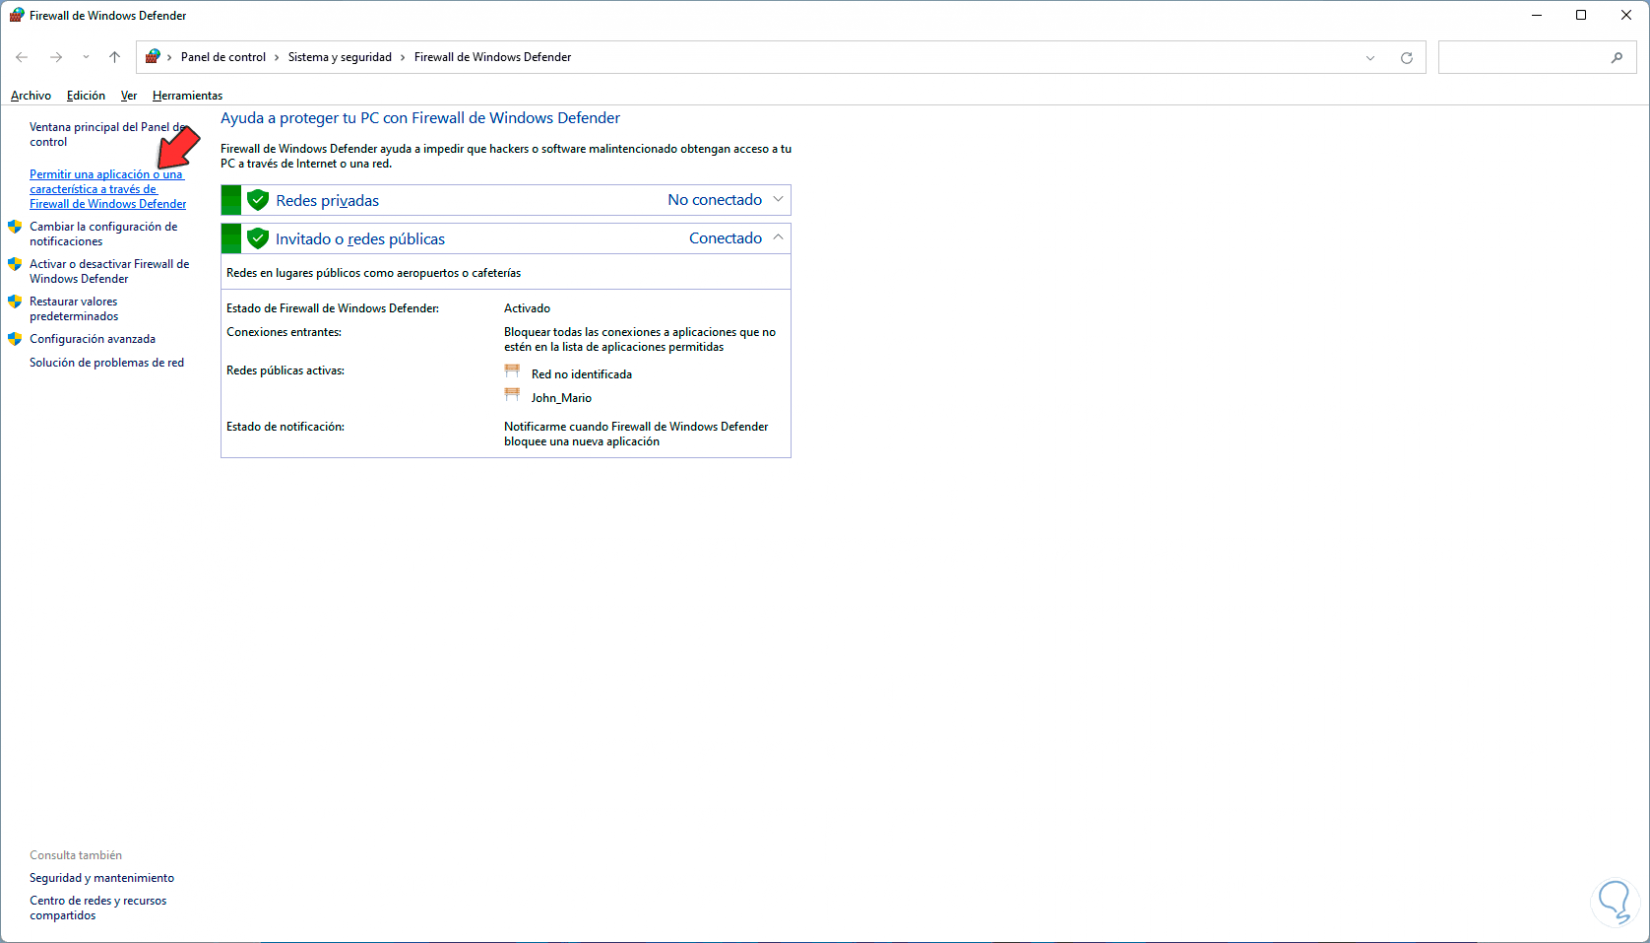
First of all, in the Start search engine, enter "firewall" and click on "Windows Defender Firewall":
Step 2
Then we click on "Allow an application or feature through Windows Defender":
Step 3
By clicking there we will see the following:
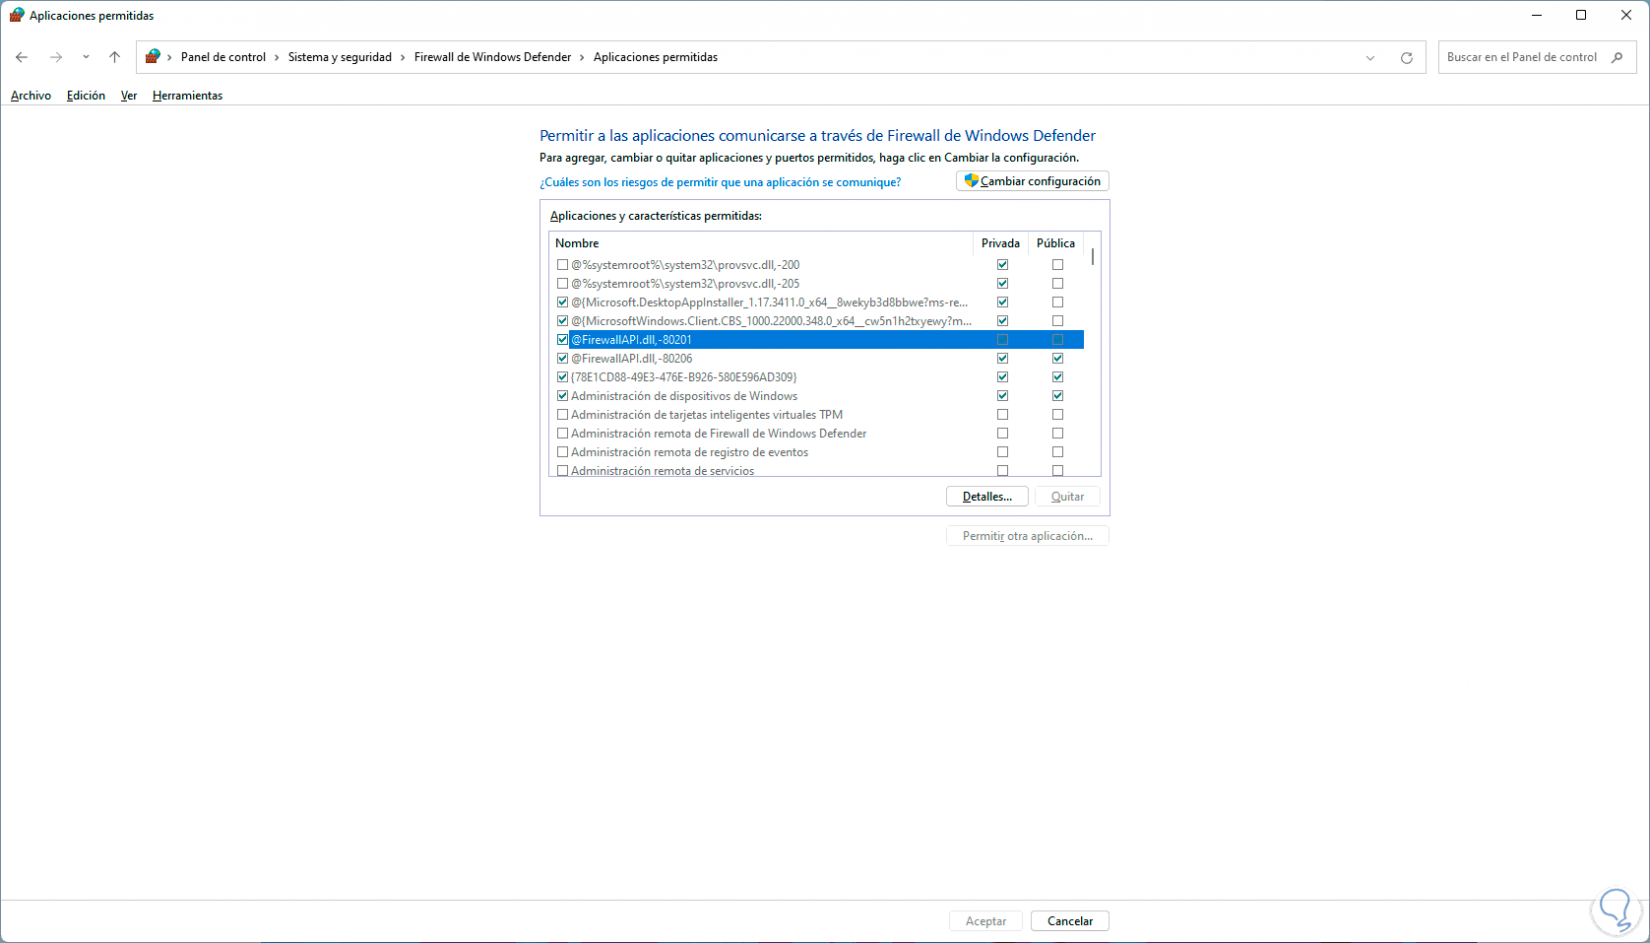
Step 4
We click on "Change settings" and validate that "Remote Desktop" has both boxes active:
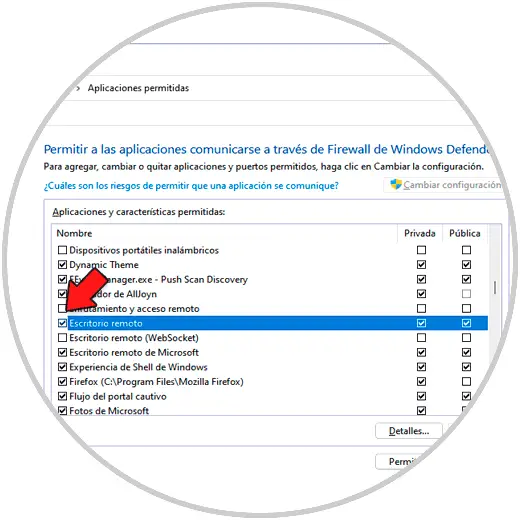
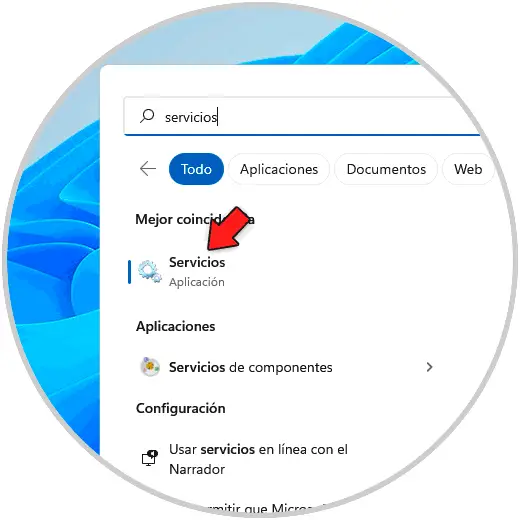
step 5
With this we seek to have the permission of the Firewall in public and private networks, now we must confirm the status of the service, for this we open Services:
step 6
We double click on "Remote Desktop Services":
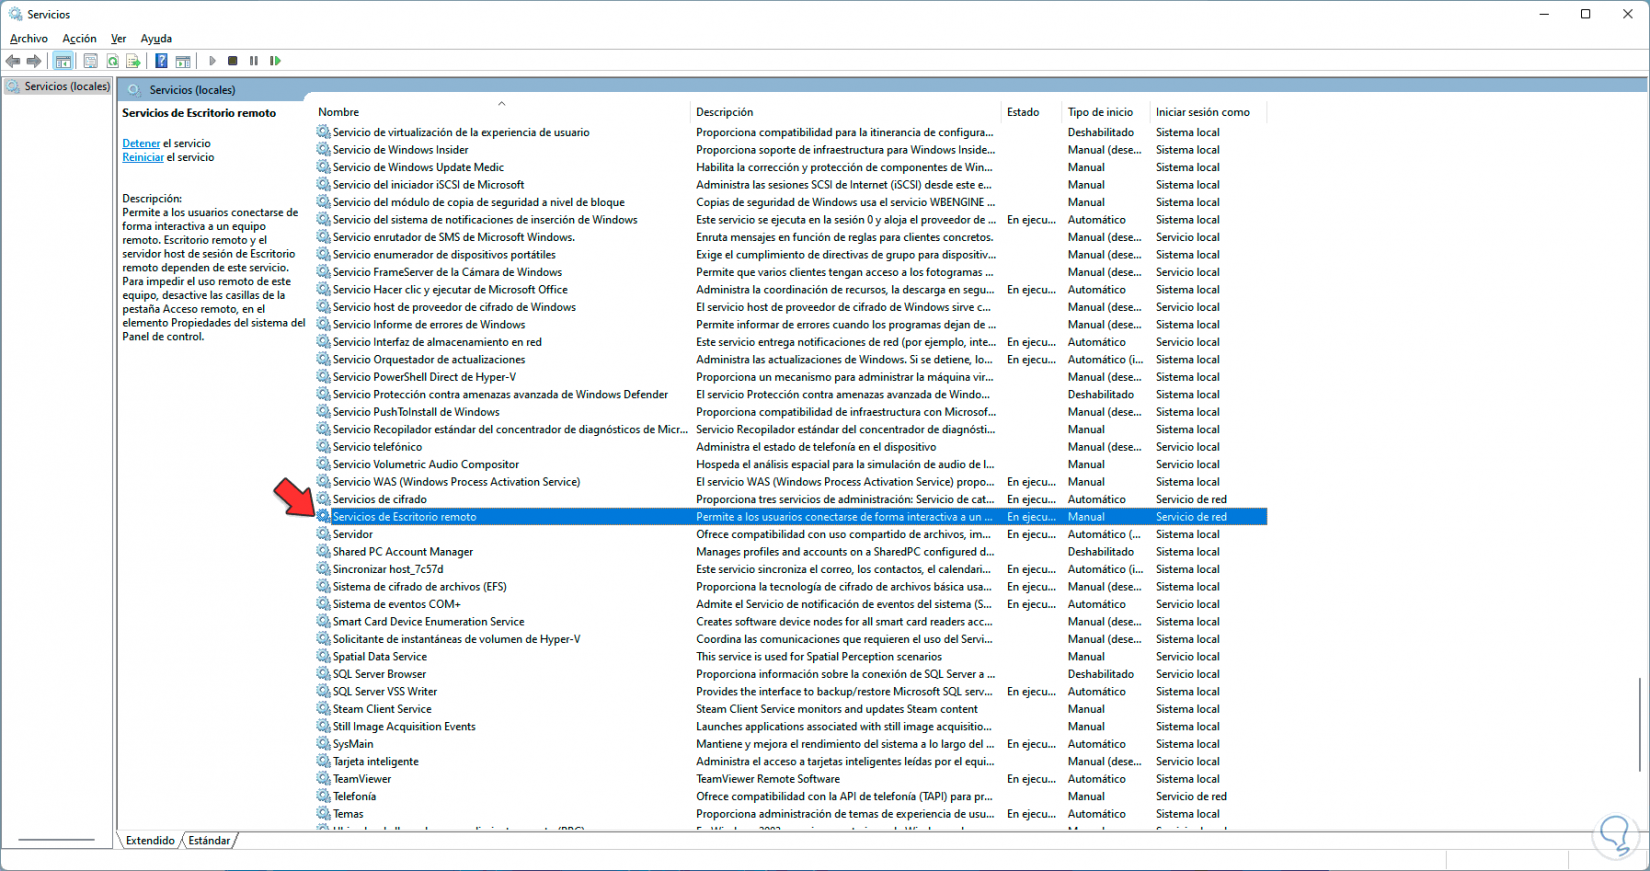
step 7
In "Startup type" we set "Automatic":
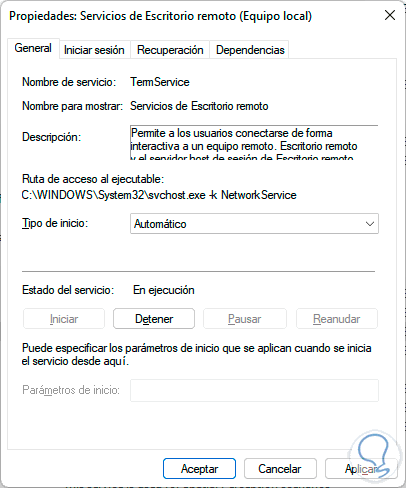
Apply the changes.
step 8
Now in the Start search engine we enter "network" and click on "View network connections", then we right click on the adapter and select "Properties":
step 9
We deactivate the "Internet Protocol version 6" box:
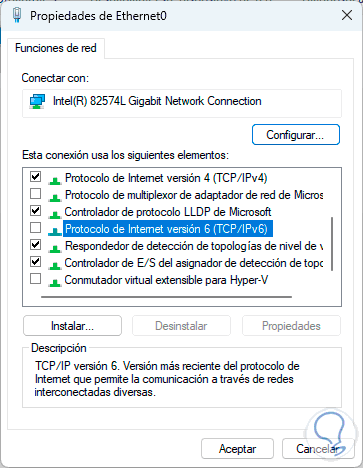
Apply the changes.
step 10
Finally we go to "Start - Settings - Accounts" and there we confirm that a local account is being used:
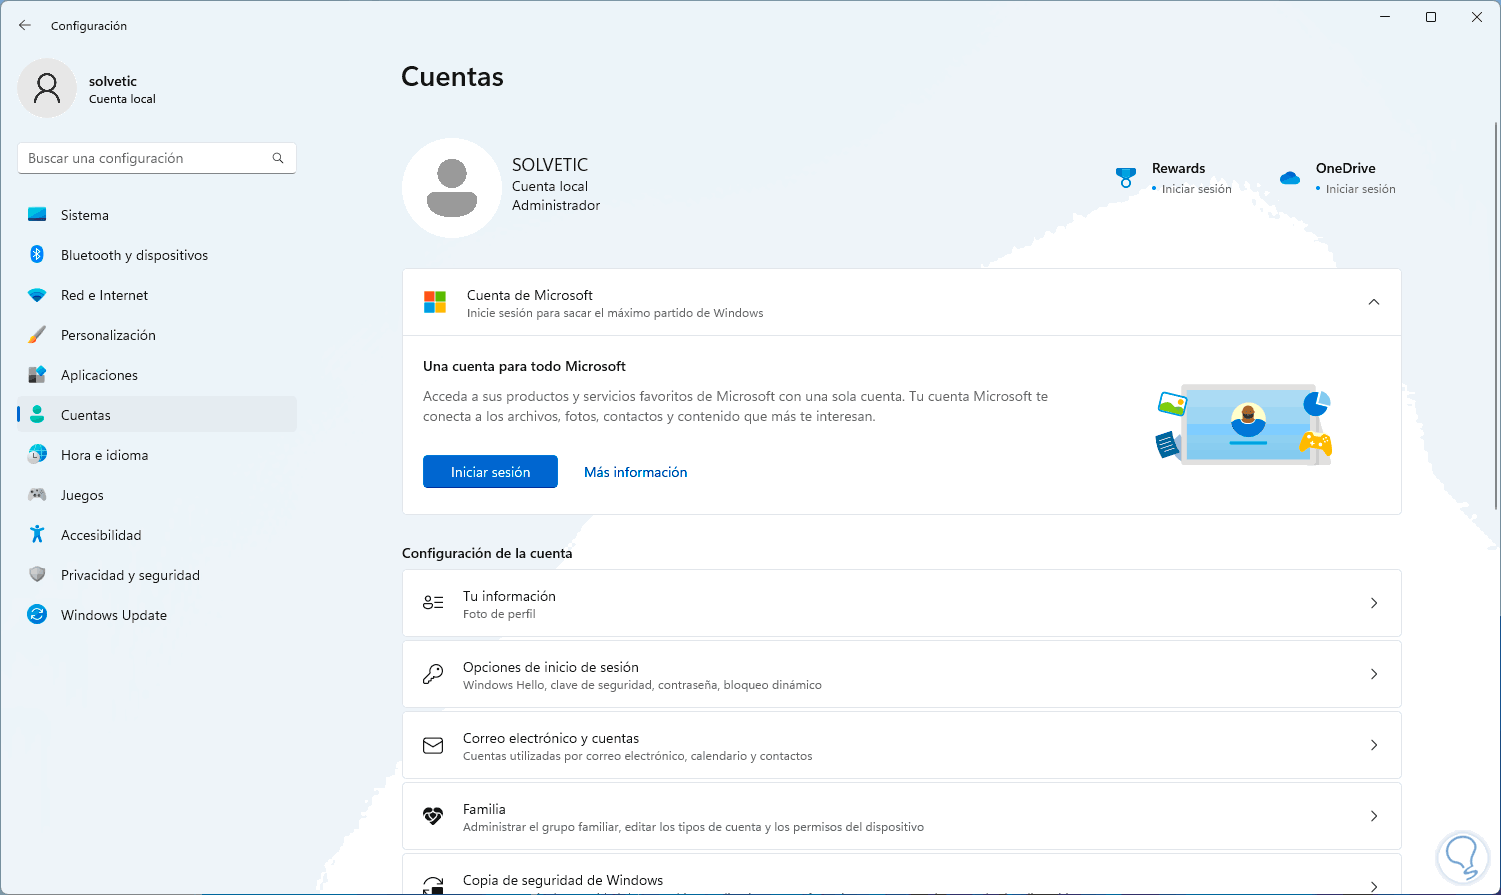
In case of being online we can convert it to local and this is because online accounts can cause a conflict with certain Remote Desktop tasks.
These are the available ways to activate and configure Remote Desktop in Windows 11.