Visual Studio Code has been developed as a lightweight source code editor which runs on the desktop and can be used on Windows, macOS and Linux operating systems, Visual Studio Code has integrated support for JavaScript, TypeScript and Node.js and has a large number of extensions compatible with other languages and runtimes such as C++, C#, Java, Python, PHP, Go, .NET and more..
Visual Studio Code Extensions
Visual Studio Code extensions give us the option of having additional support for aspects and segments such as:
- Languages: C++, C#, Go, Java, Python
- Tools: ESLint, JSHint, PowerShell
- Keymaps: Vim, Sublime Text, IntelliJ, Emacs, Atom, Brackets, Visual Studio, Eclipse
Requirements for Visual
To use Visual Studio Code, the following is required at the system and hardware level:
- RAM memory of at least 1 GB
- Windows 8.0, 8,10, 11 (32-bit and 64-bit)
- Linux (Debian): Ubuntu Desktop 16.04, Debian 9
- Linux (Red Hat): Red Hat Enterprise Linux 7, CentOS 7, Fedora 34
One of the advantages of using Visual Studio Code is that we can implement the Live Server function which allows us to see all the work done in the app reflected in a web browser, this simplifies the processes and allows us to see the final result of the work, it is It is possible that as developers we want to establish our own browser and for this reason TechnoWikis will explain how to carry out this process.
To stay up to date, remember to subscribe to our YouTube channel!
SUBSCRIBE ON YOUTUBE
How to change default browser Visual Studio Code
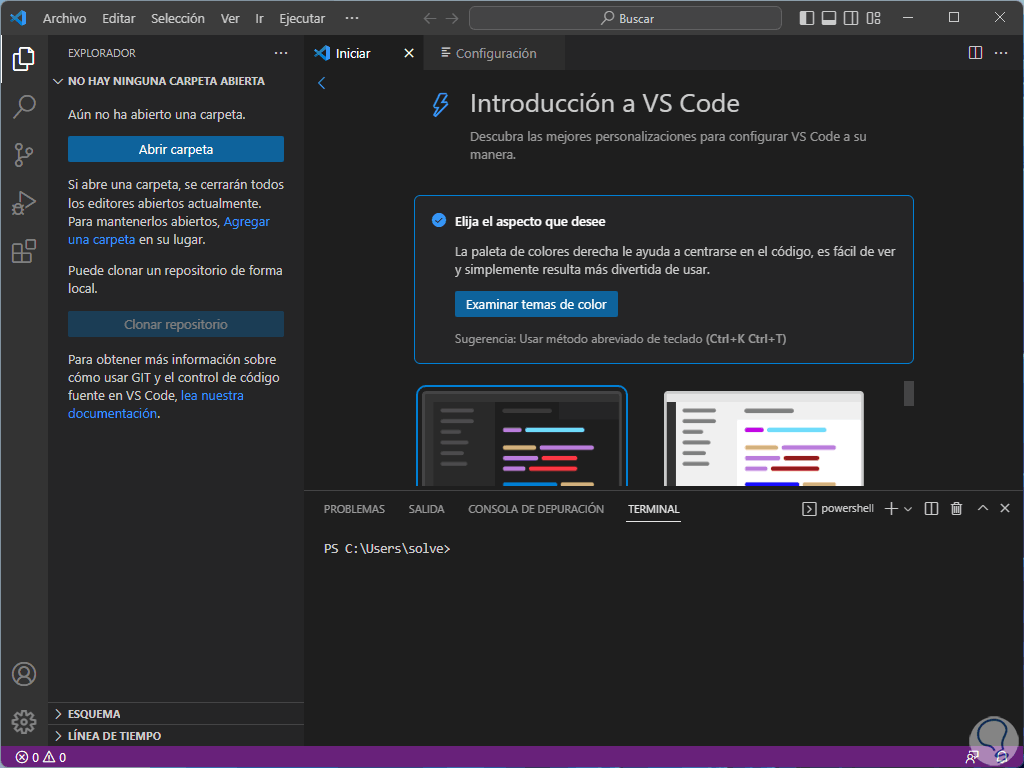
Step 1
Open Visual Studio Code:
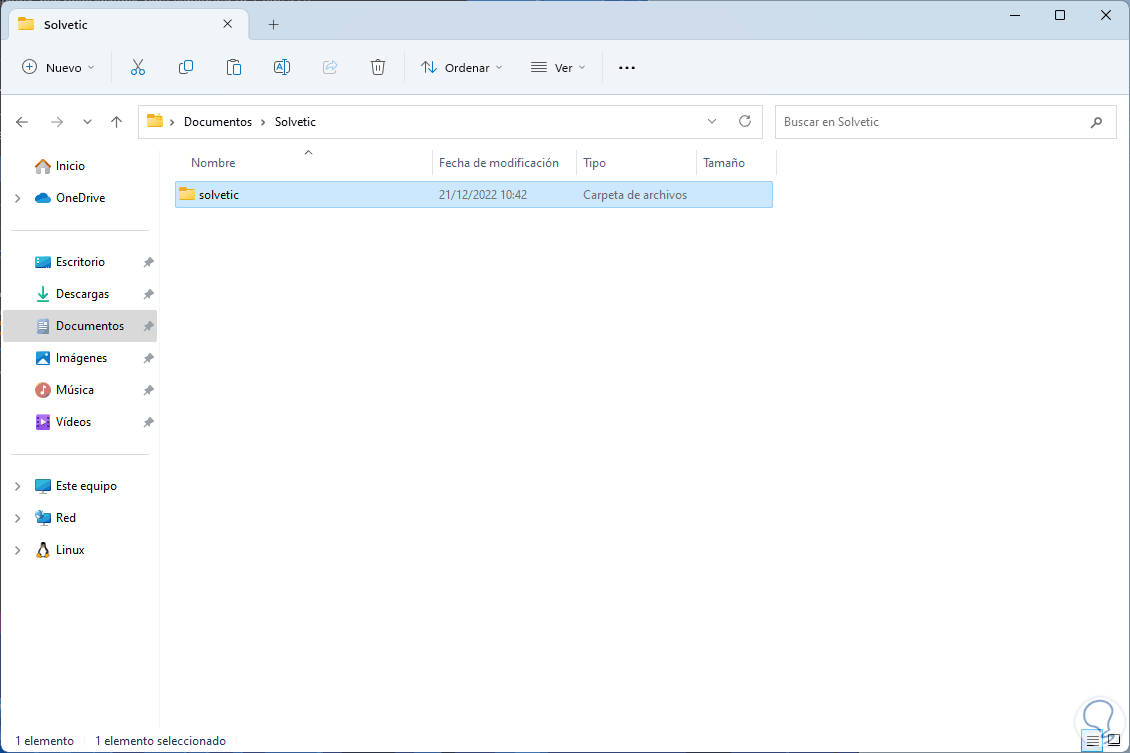
Step 2
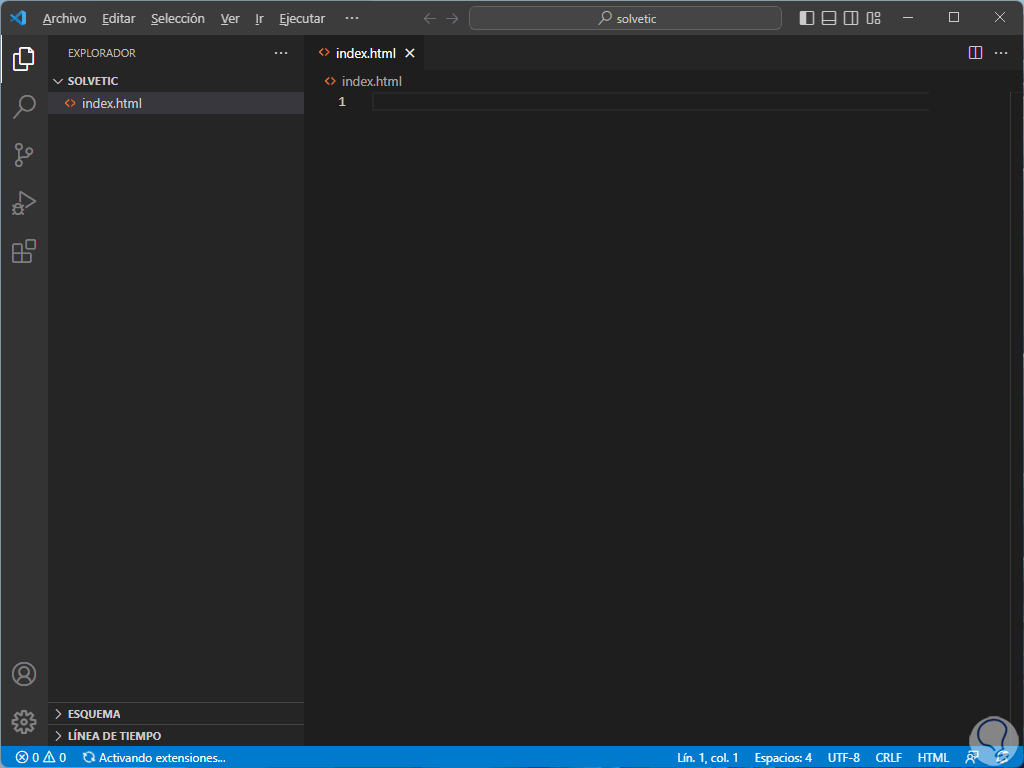
In the File Explorer we are going to create a folder to house the project configuration files there:
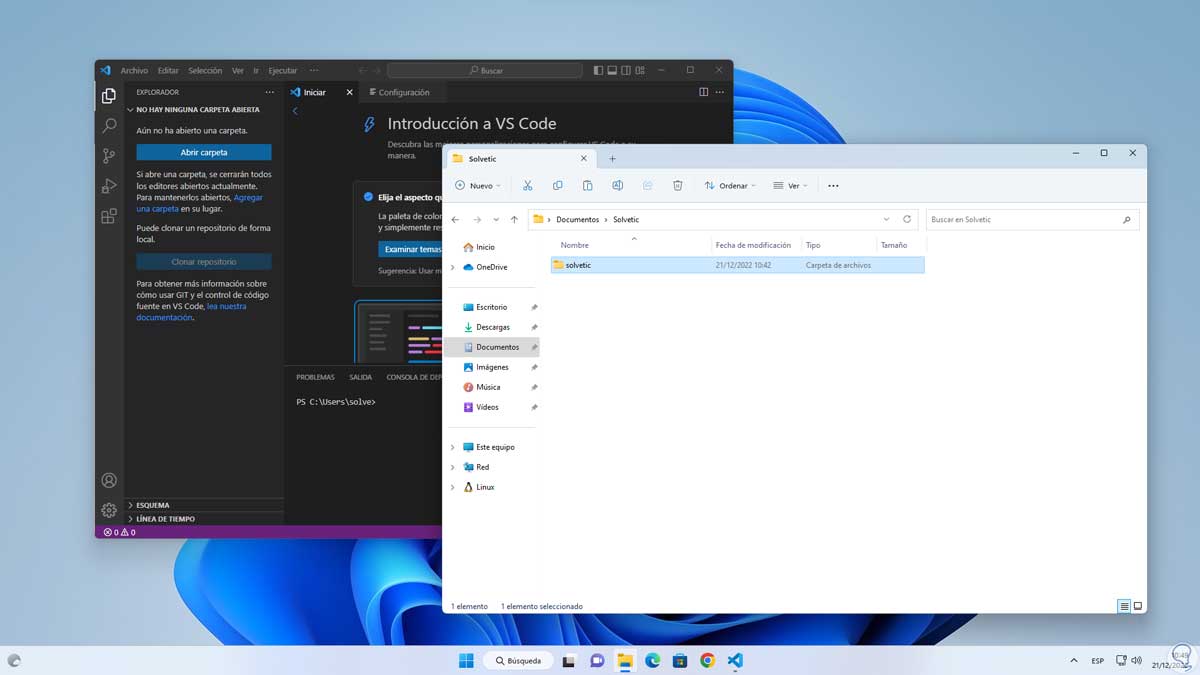
Step 3
We drag to Visual Studio Code the folder where the files will be hosted:
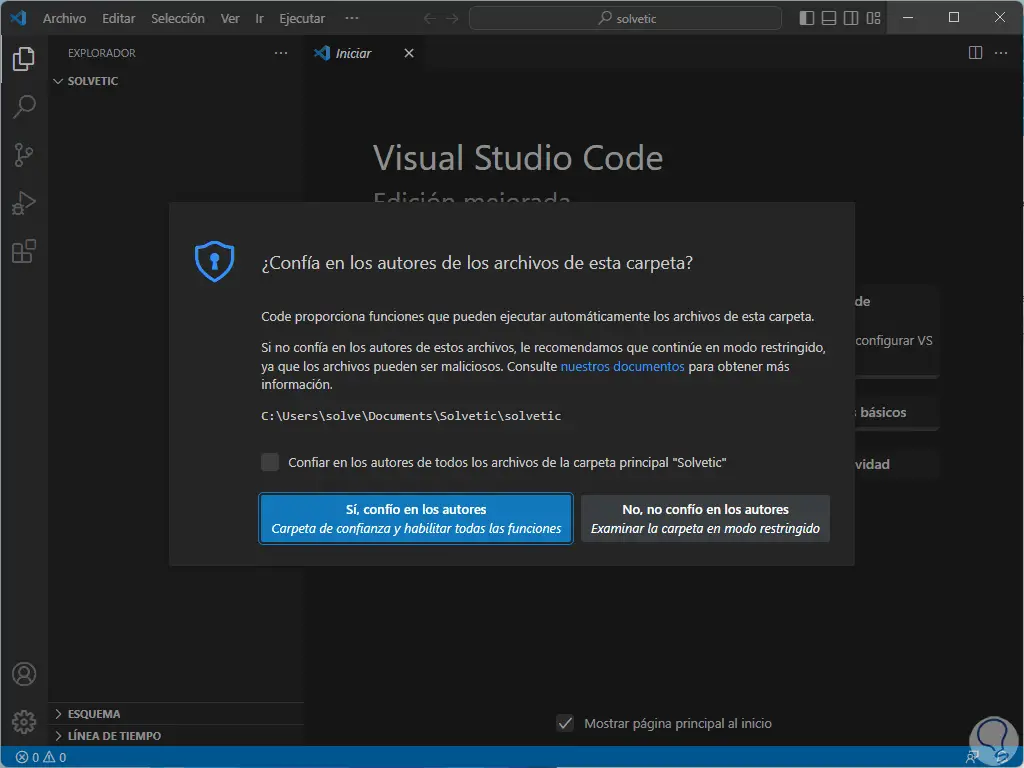
Step 4
We will see the following message. We click on "Yes, I trust the authors" since it is a folder created by ourselves, if it is an unknown folder we click on "No, I do not trust the authors" to create a restricted mode analysis of it and thus validate its integrity
step 5
By clicking there we will see that the folder has been added:

step 6
We click on the folder to access it:
step 7
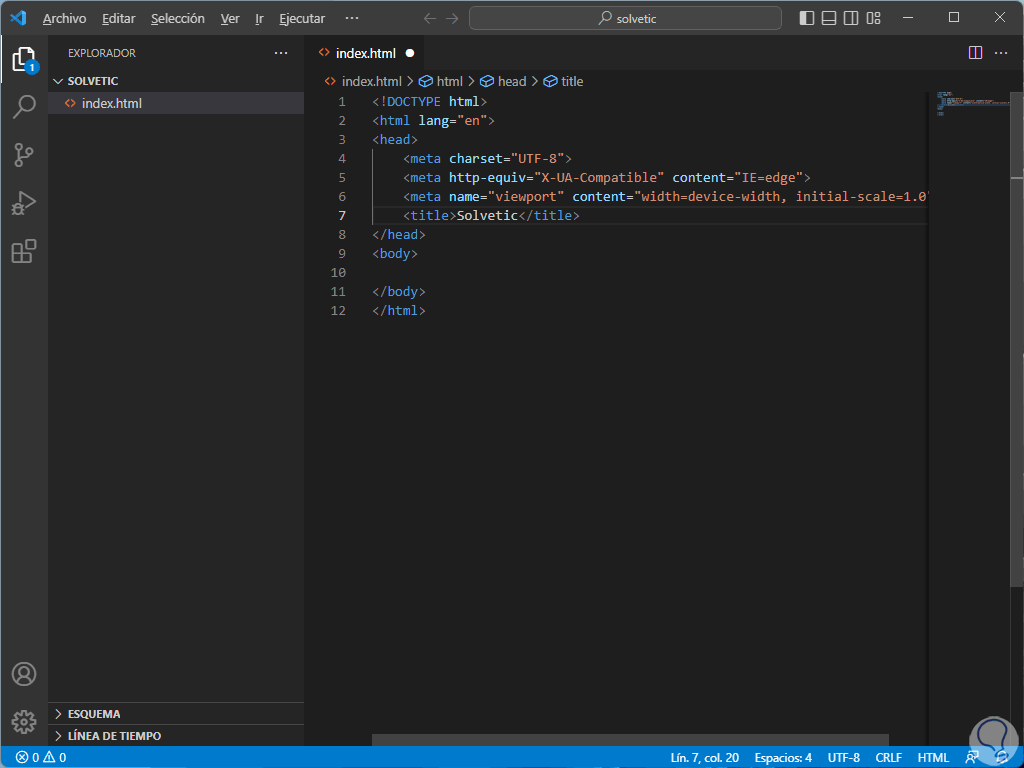
In the folder or project in Visual Studio Code we click on the file icon and assign the desired name:
step 8
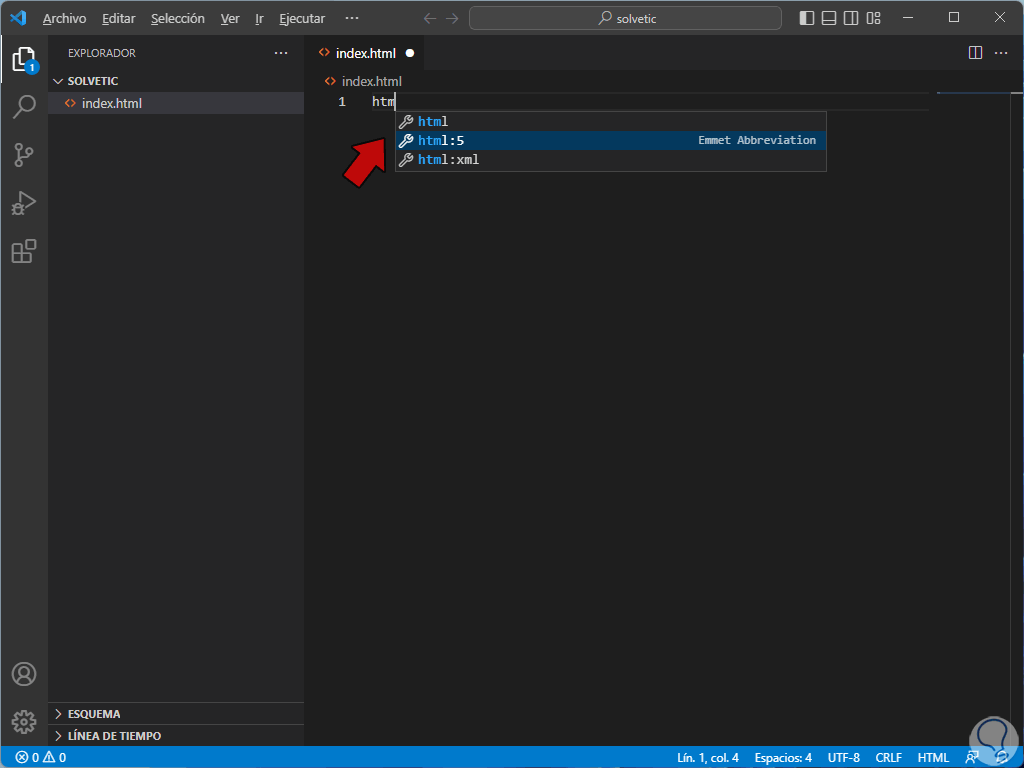
Press Enter to access the work panel, there we enter "HTML" and in the options we select "html:5":
step 9
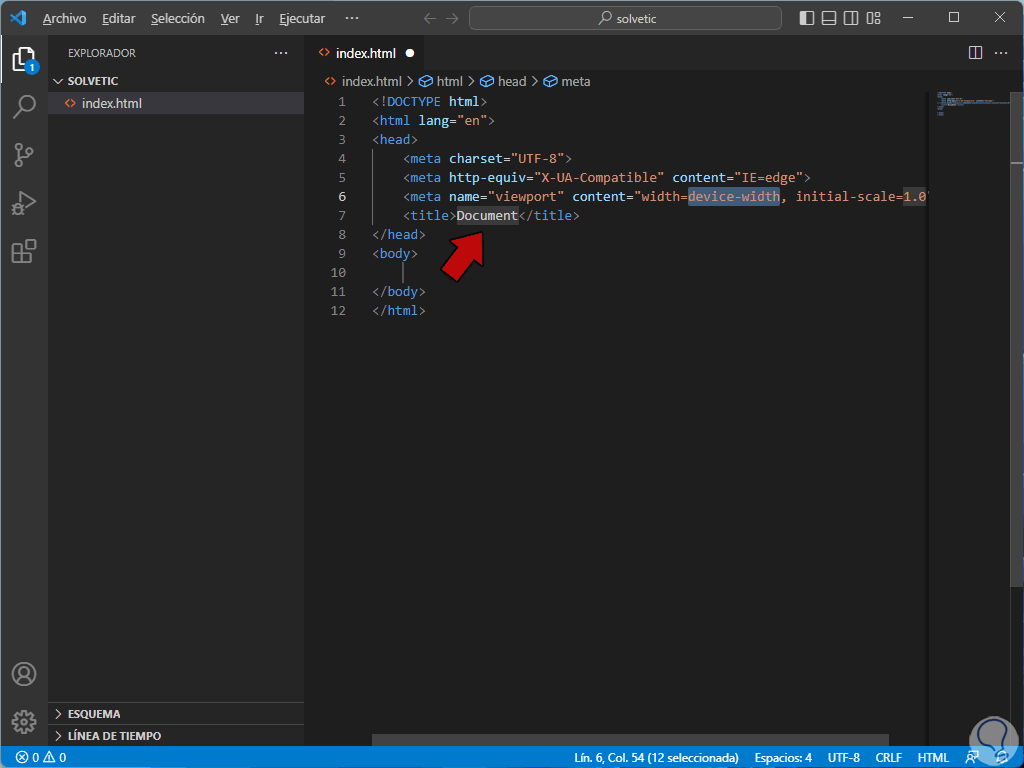
We will see the following structured code:
step 10
We replace "Document" with the desired name:
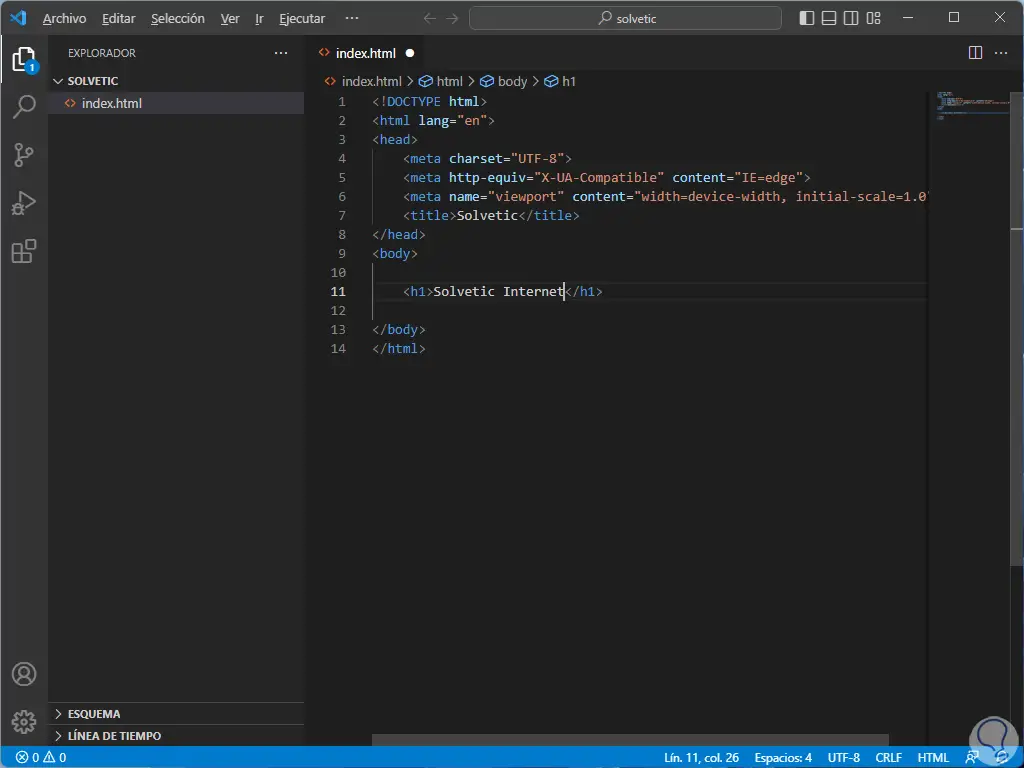
step 11
We go down to "Body" and there we enter "h" and select "h1", then we enter the desired text as the body of the message:
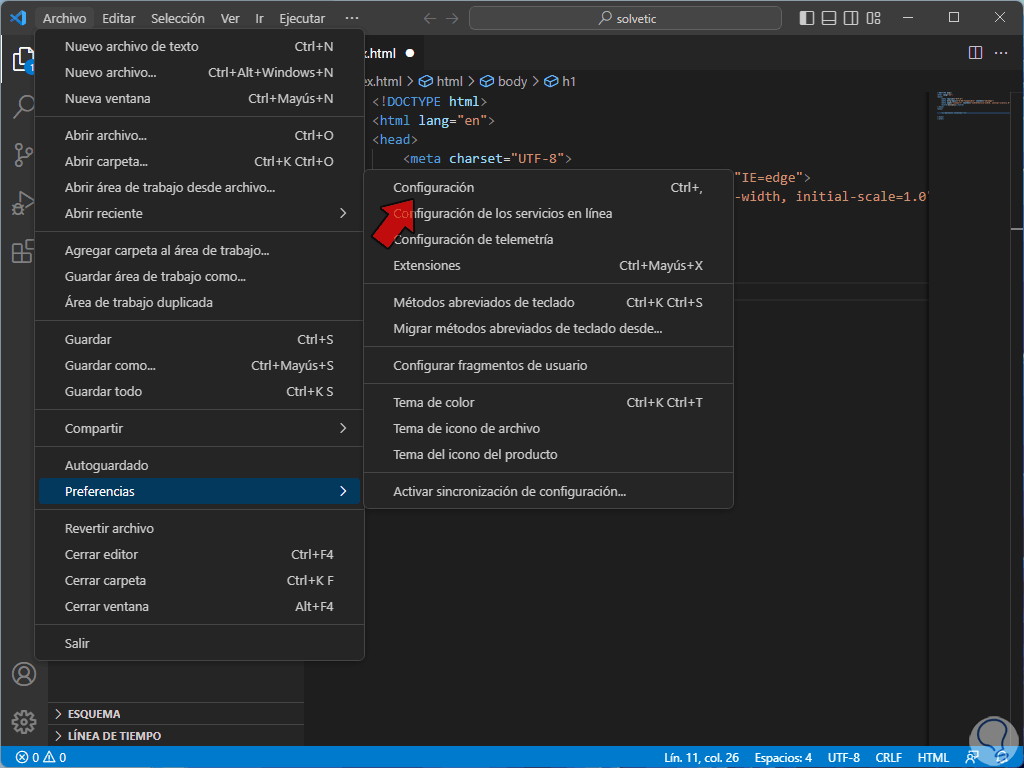
step 12
Now we go to "File - Preferences - Settings":
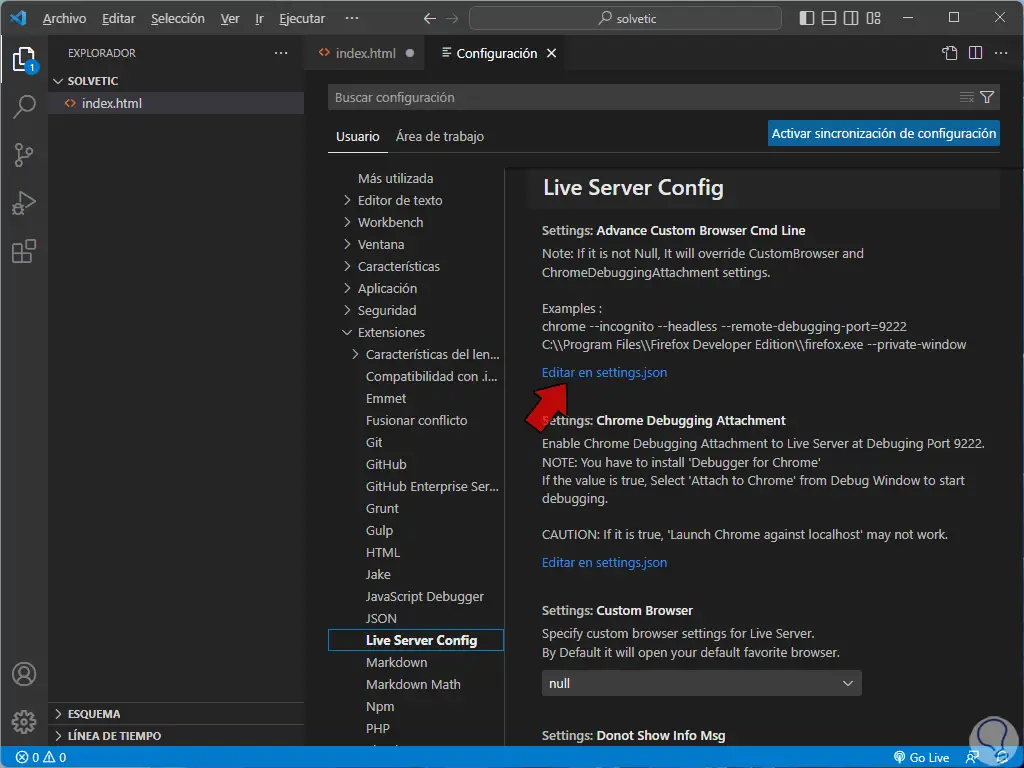
step 13
We click on "Extensions" and then click on "Live Server Config", in case of not having Live Server we must go to "File - Preferences - Extensions" and there look for and install this extension:
step 14
Now if we have Liver Server Config:

step 15
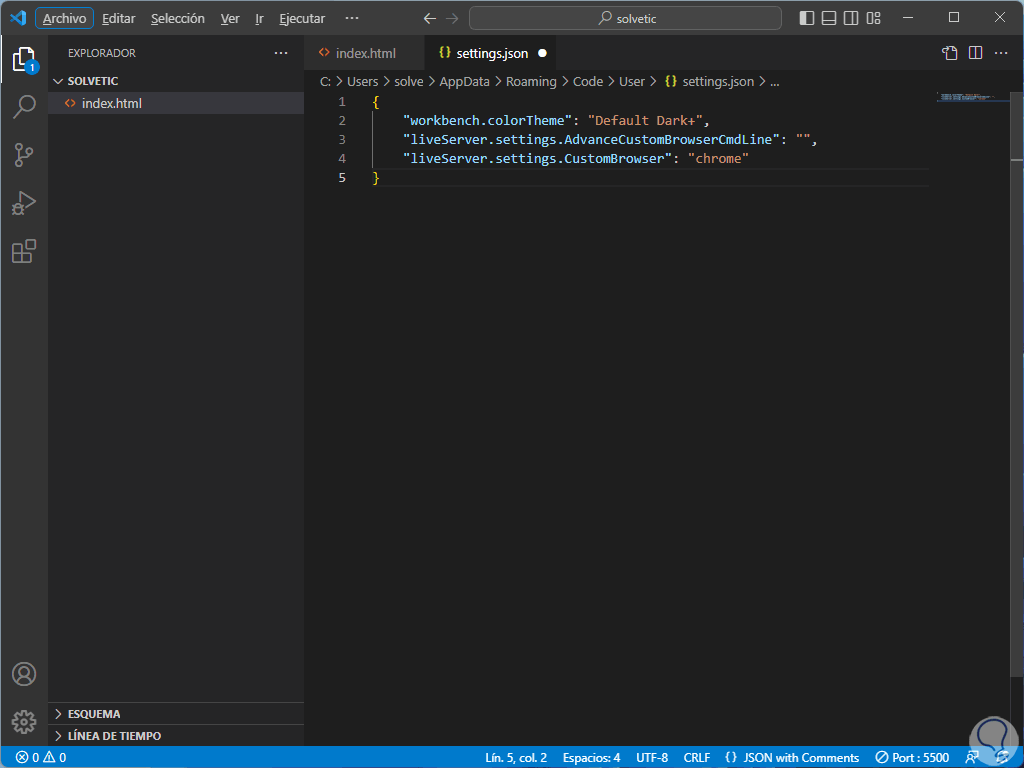
We click on "Edit in "settings.json" to display the following:
step 16
We copy the line "liveServer,settings" and paste it at the bottom, add a , in the original line:
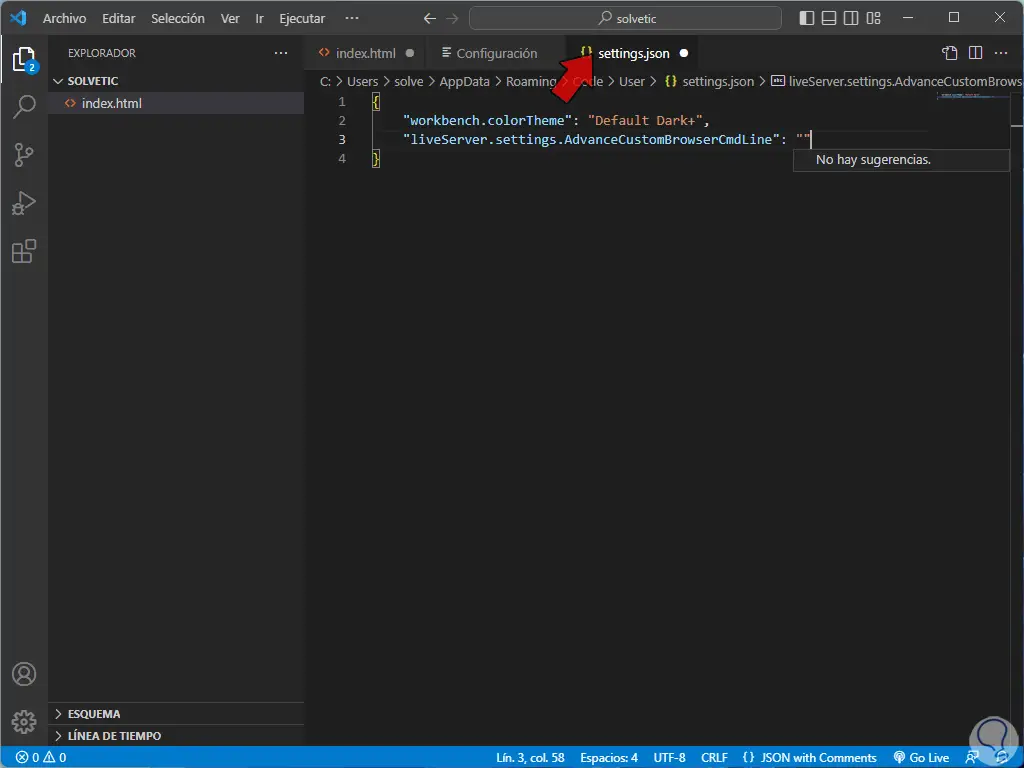
step 17
We delete the text "CmdLine" and "Advance":

step 18
Between the quotes we enter the name of the browser, in this case when entering the text you can select from the displayed options:
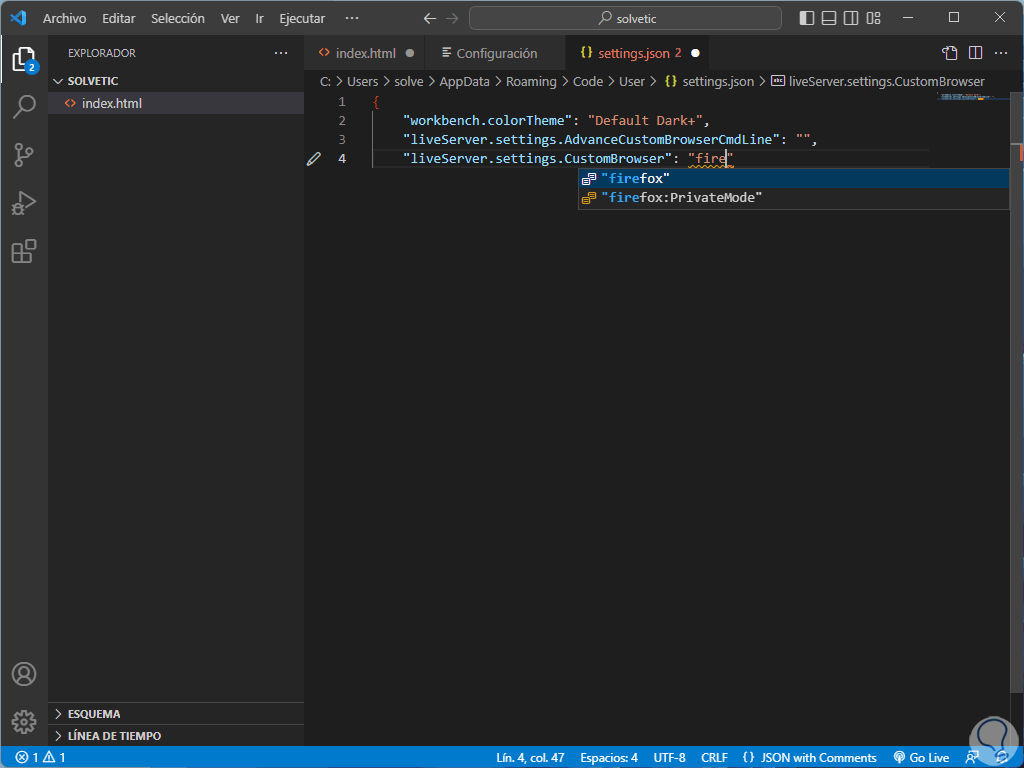
step 19
Press Enter or Tab to choose the available browser:
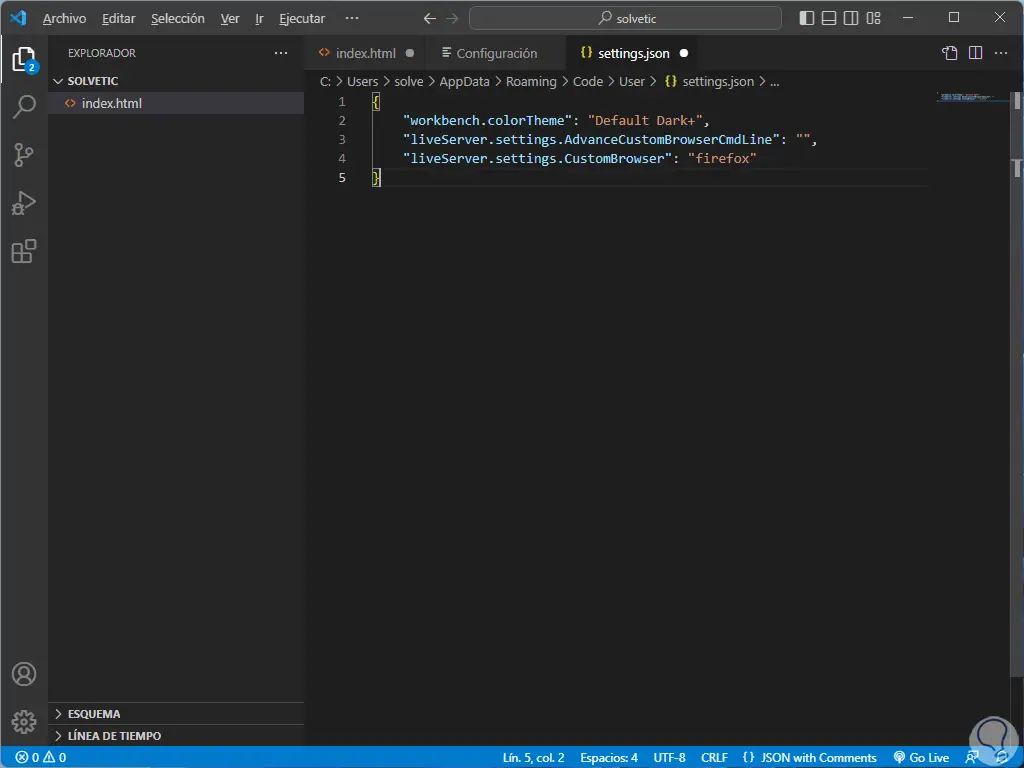
step 20
Save the changes with this combination:
Ctrl + S
step 21
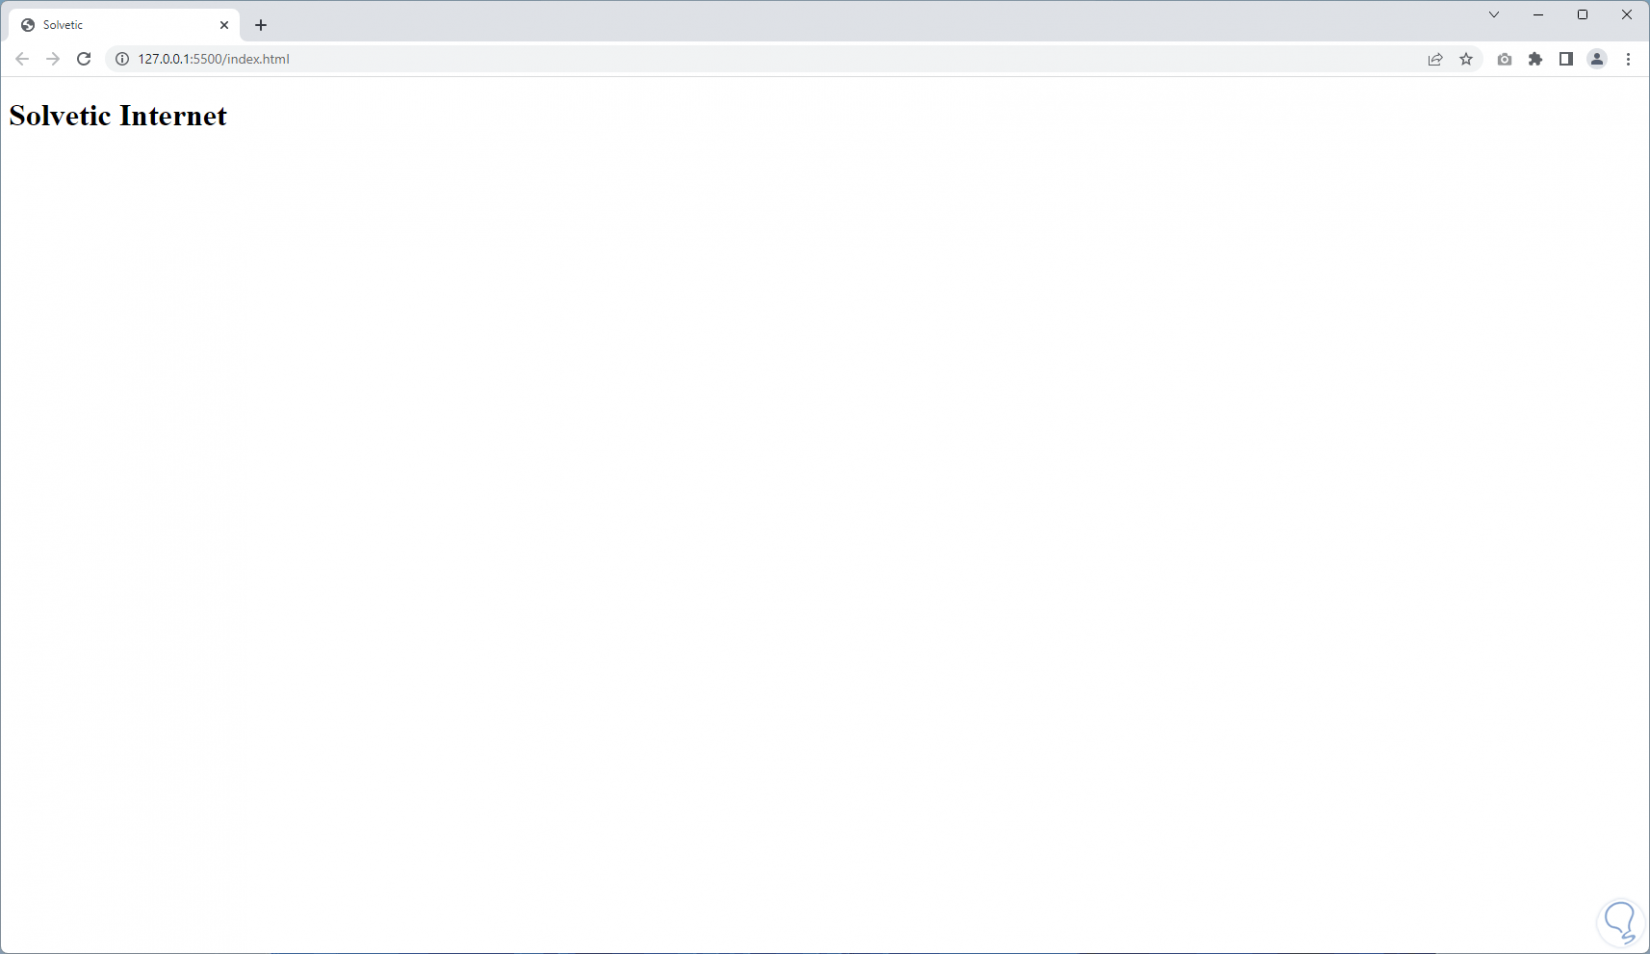
In the created file we right click somewhere and select "Open with Live Server":
19
step 22
The content will be opened in the indicated browser:
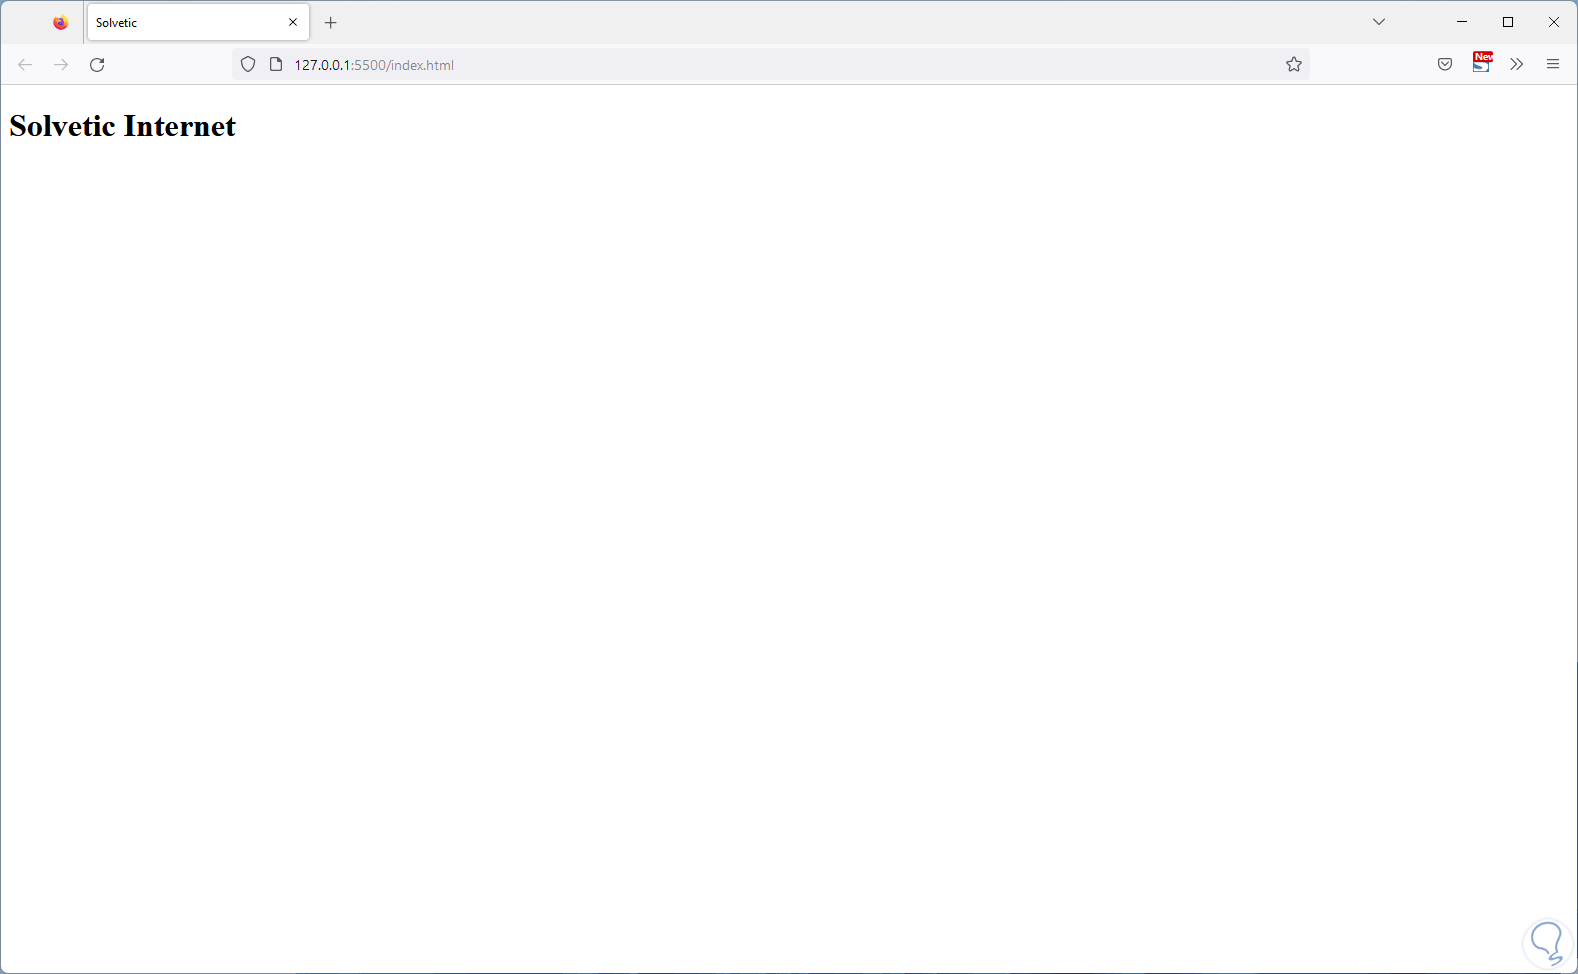
Step 23
You can change the browser by entering the name of the browser in the settings.json file:
step 24
Apply the changes with:
Ctrl + S
step 25
In the created file we right click somewhere and select the "Open with Live Server" option:

Step 26
The content of the created file will open in the new browser:
Note
In case you want to use Microsoft Edge we must enter the name "msedge".
This is the way we can change the default browser in Visual Studio Code and thus have a means to see the executed code..