To stay up to date, remember to subscribe to our YouTube channel!
SUBSCRIBE ON YOUTUBE
For Kali Linux there are several tools that we can use to increase its management capabilities, especially in Kali that offers us hundreds of security tools, and one of these platforms is Visual Code. That is why today we want to show you the complete process with which to get Visual Studio Code fully installed in Kali Linux and be able to use it quickly..
Visual Code is an integrated development environment (IDE) which is open source and highly configurable, supports various programming languages and technologies, and its essential task is to provide the user with a set of features for development and provides users with users the ability to install extensions and plugins to increase management options.
Characteristics
Some of its features are:
- It has support for multiple languages such as JavaScript, HTML, CSS and for extensions such as Python, Java, C++ and more.
- Syntax highlighting and autocompletion
- File and project browser for management
TechnoWikis will teach you how to install Visual Code on Kali Linux..
How to install Visual Code on Kali Linux
Step 1
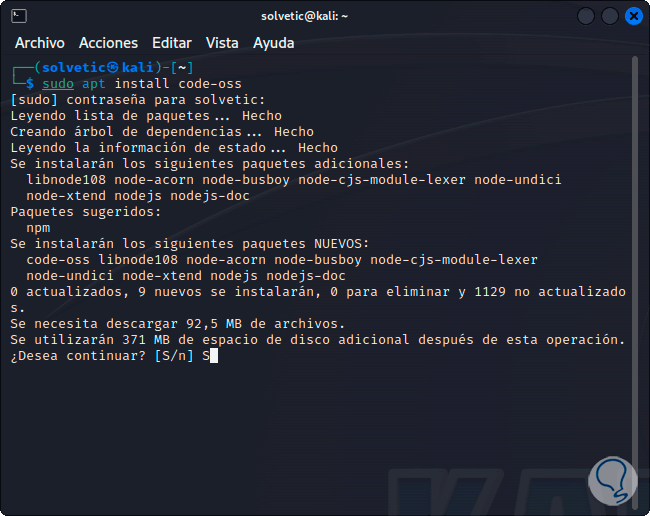
To start we open the terminal and execute the following command:
sudo apt install code-oos
Step 2
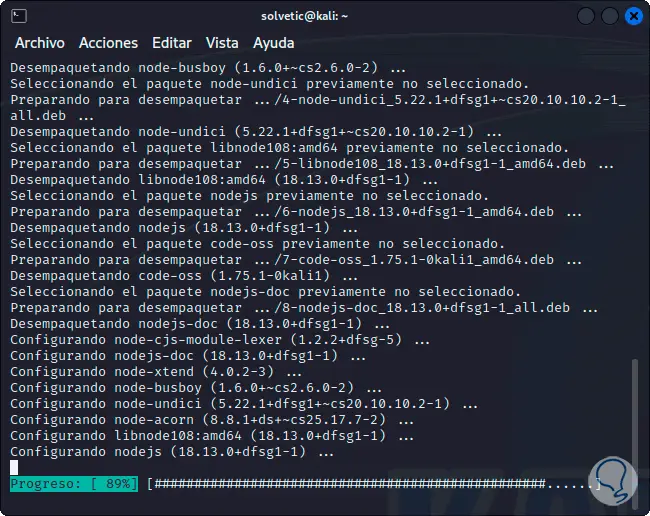
We enter the letter "s" to confirm the download and installation:
Step 3
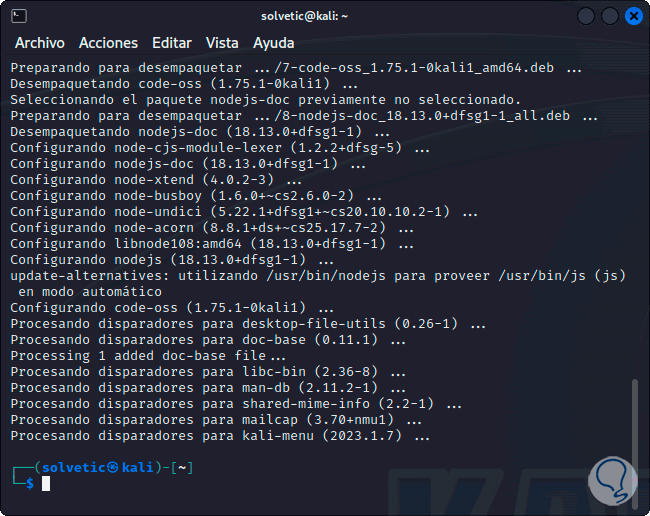
At the end we will see the following:
Step 4
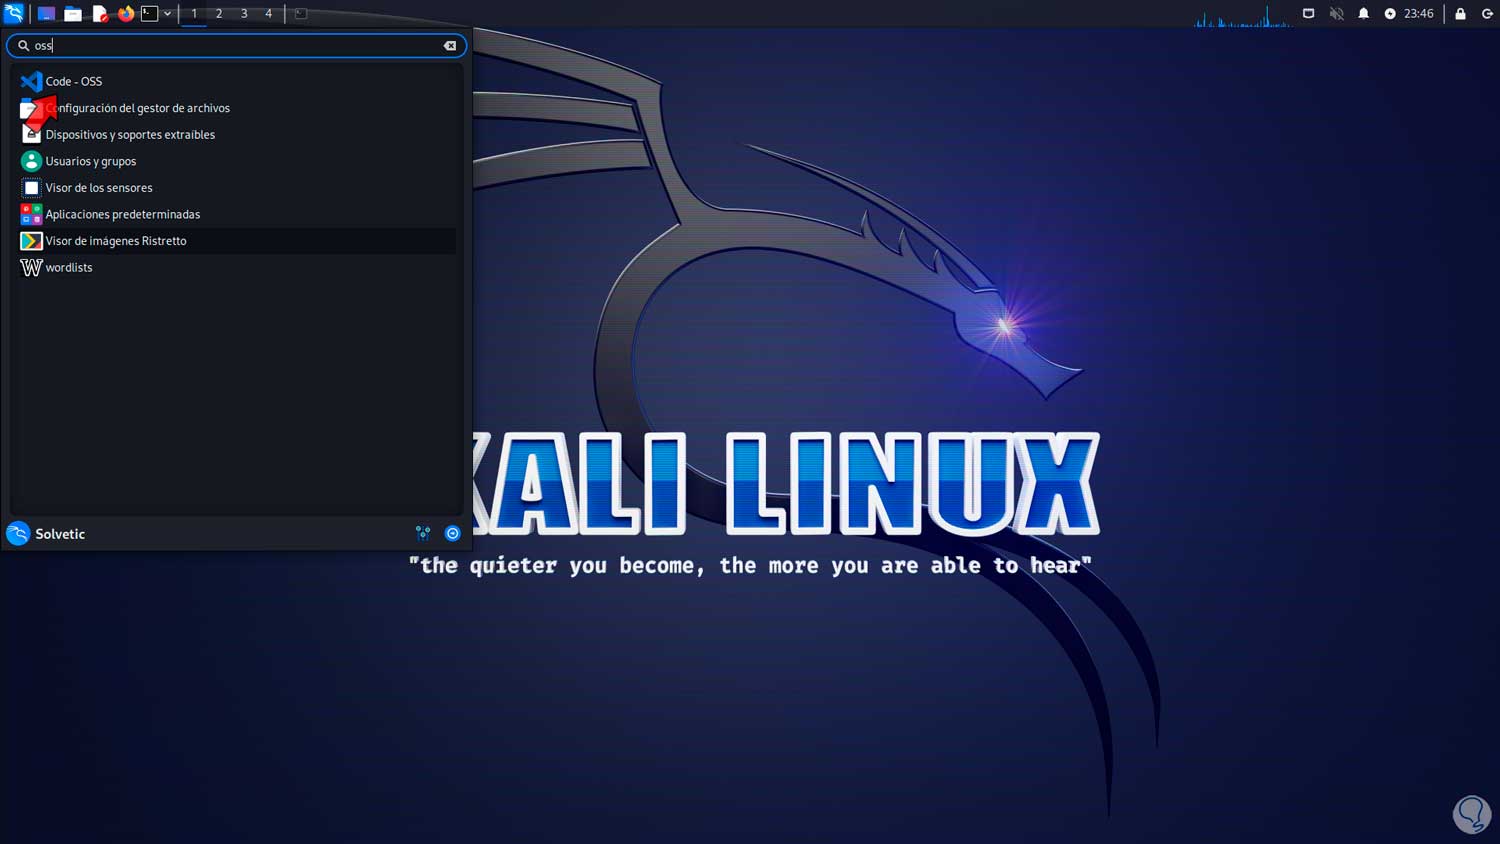
Now click on the Kali menu and there we look for the word “oss” to see the results:
step 5
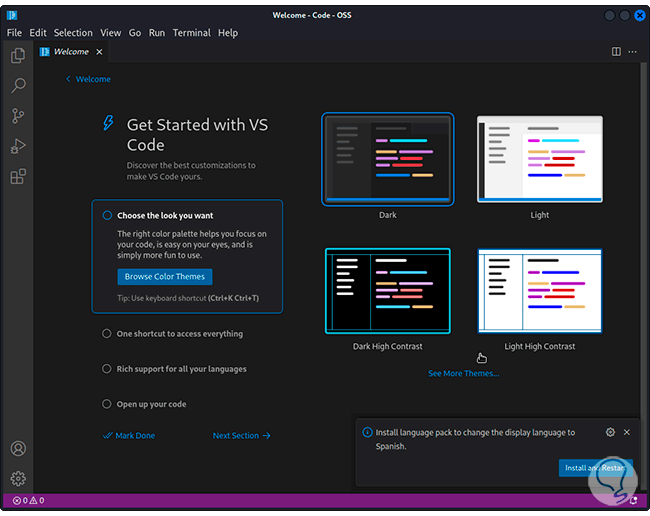
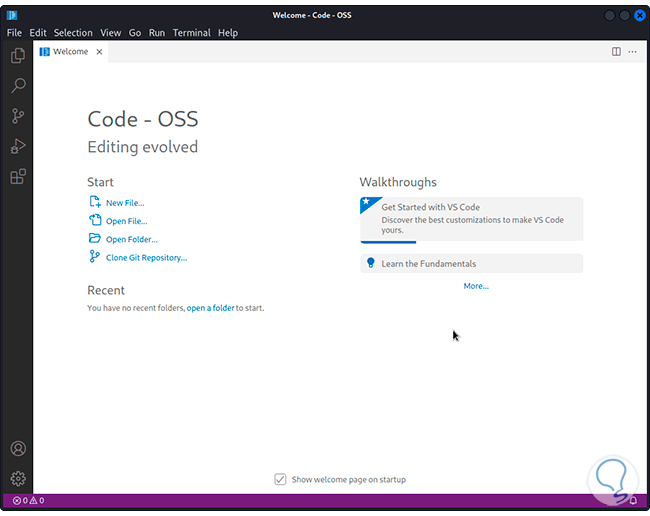
We click on “Code – OOS” and Visual Code will open:
step 6
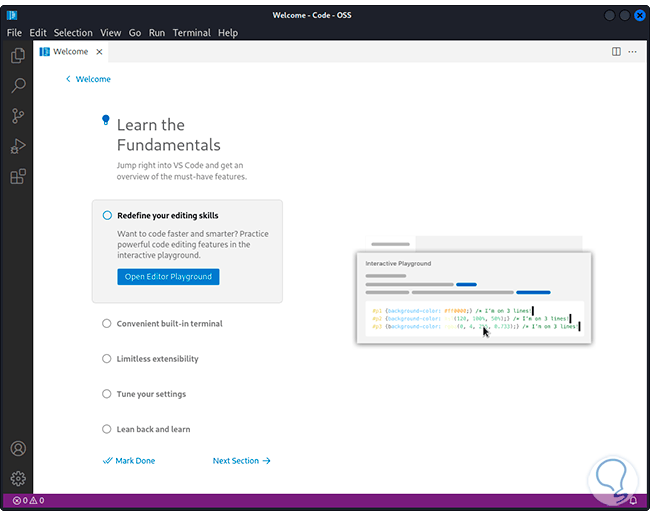
There we find the initial configuration, we can complete these steps:
step 7
We see the alternatives of use in the console:
step 8
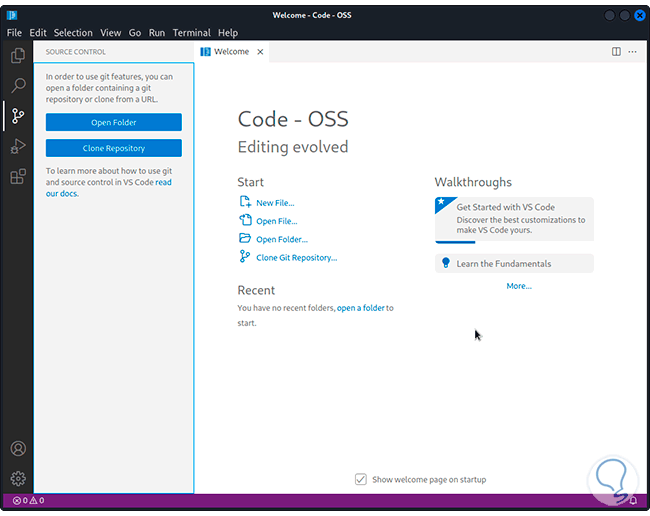
It will be possible to open repositories:
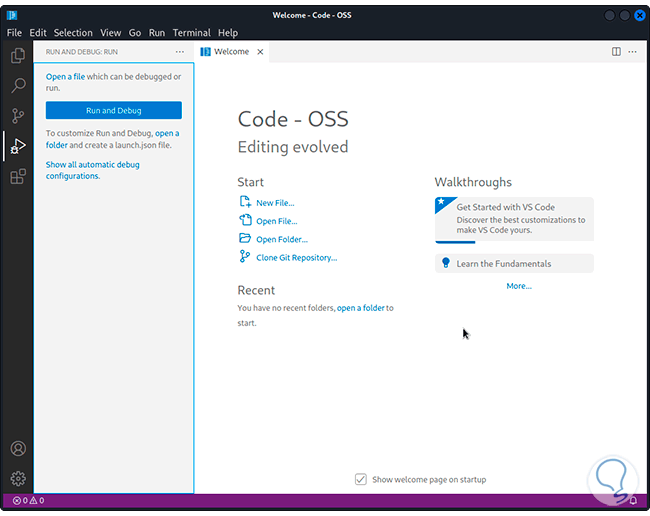
step 9
We can run debuggers:
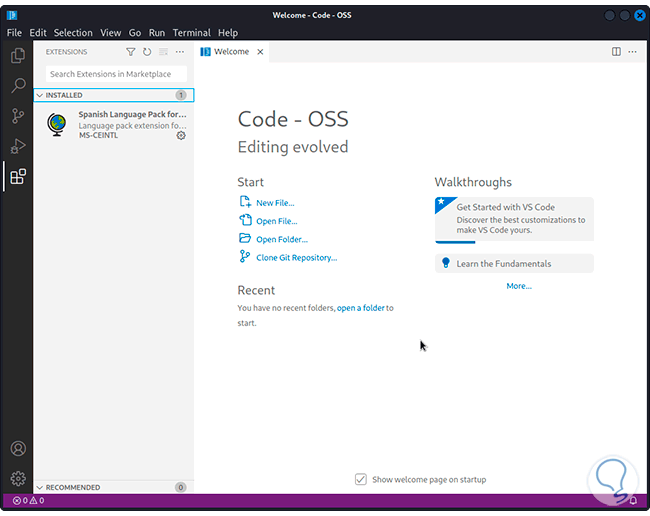
step 10
We will have access to the extensions that we have used:
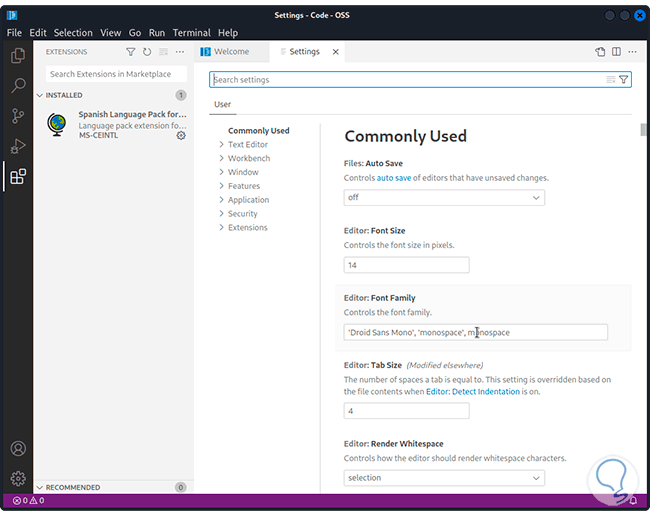
step 11
From the "Settings" option we have extra parameters for use:
This is how we can install and use Visual Code on Kali Linux to work on each of its options.