Visual Studio Code is a code editor available for various platforms (such as Windows, macOS and Linux) in which we find numerous tools for developers such as IntelliSense code completion and debugging, integrated support for JavaScript, TypeScript and Node.js as well as extensions to more popular languages and runtimes like C++, C#, Java, Python, and more..
Visual Studio Code Features
Some of the features of Visual Studio Code are:
- integrates build tools and scripts
- Allows you to open an HTML file in the web browser
- We can start or stop the server with a single click from the status bar
- Compatibility with current browsers
- Customizable port number, server root and other components
- Support to exclude files for change detection
- Integrated source code editor
- It makes use of a tool service architecture with which it will be possible to integrate with utilities from other technologies.
- Enables easy debugging, profiling and diagnostics
- It has comprehensive testing tools
- Support for multiple programming languages
- Hierarchical structure for archive codes
Now, one of the most important utilities with which we can use and extend Visual Studio Code is with Node.js, Node.js is a platform that allows us to create functional and scalable server applications through JavaScript. Node.js works as the runtime and npm is the package manager that manages Node.js modules.
Visual Studio Code is fully compatible with JavaScript and TypeScript languages and incidentally with Node.js debugging, the only requirement is that in order to run a Node.js application it will be necessary to install the Node.js runtime locally on our equipment. TechnoWikis will teach you how to carry out this process and have the maximum potential of node.js and Visual Studio Code..
To stay up to date, remember to subscribe to our YouTube channel!
SUBSCRIBE ON YOUTUBE
1 How to install Node.js in Visual Studio Code
Step 1
We go to the Node.js URL in the following link:
node.js
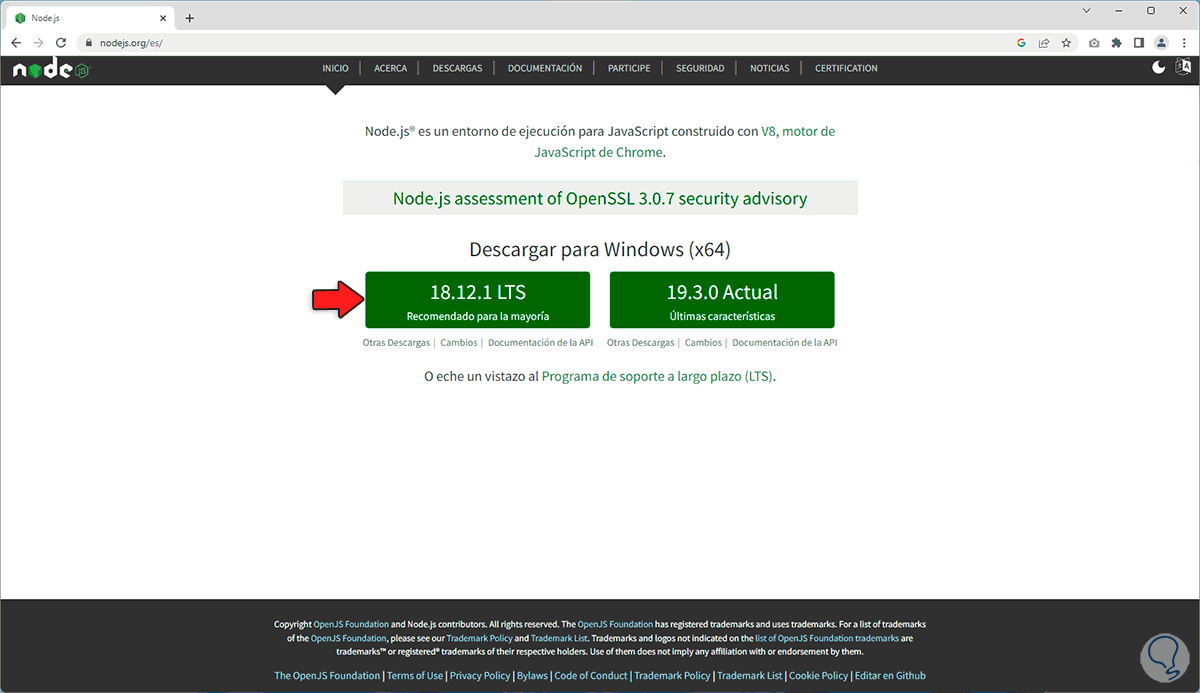
Step 2
Download the recommended version:
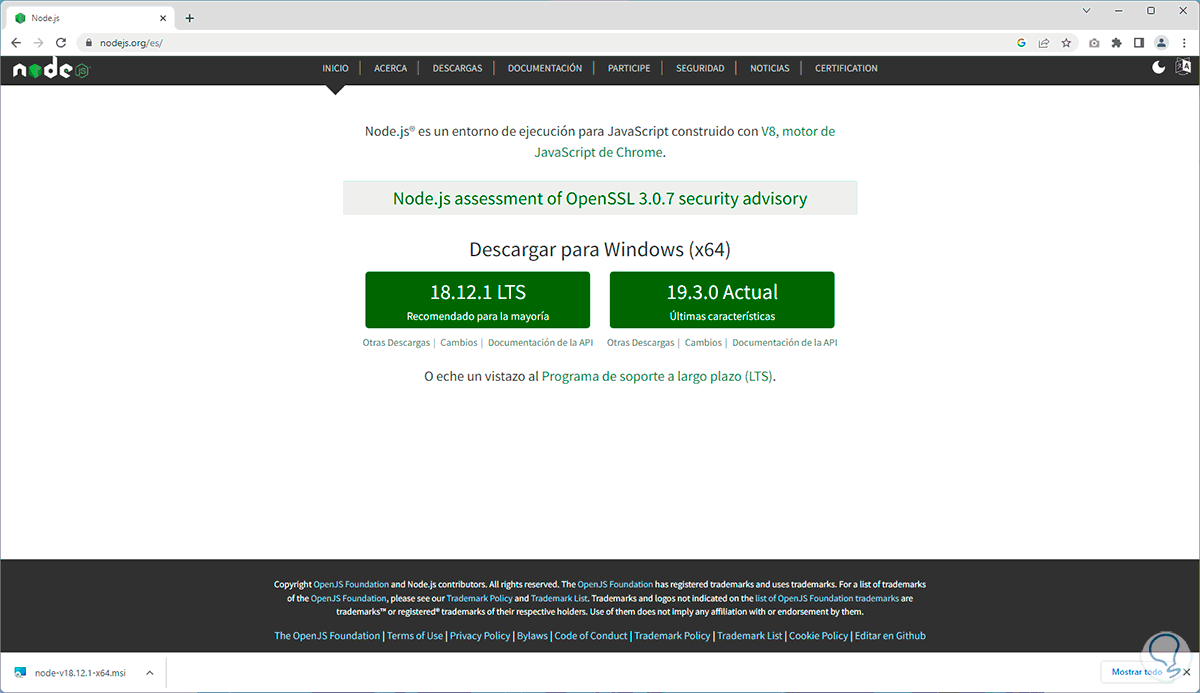
Step 3
We execute the file to see the following window:
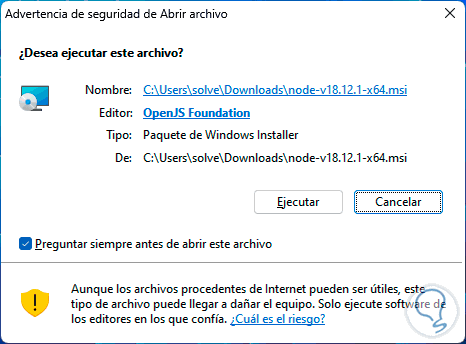
Step 4
We click on "Run" to launch the installation wizard:
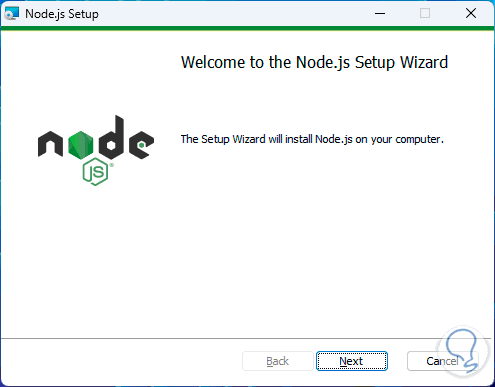
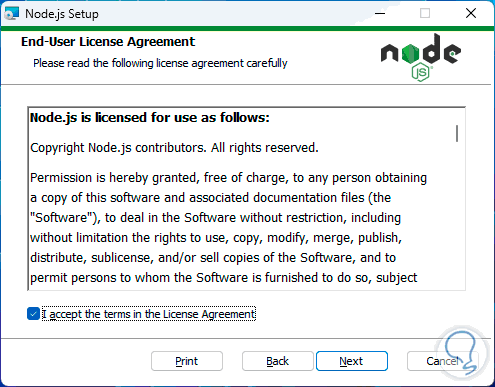
step 5
We click Next and we must accept the license terms:
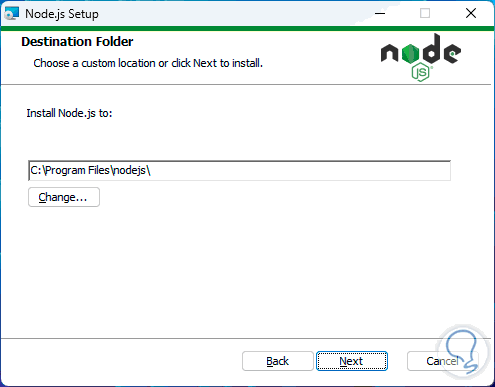
step 6
After this we will see the path where Node.js will be installed:
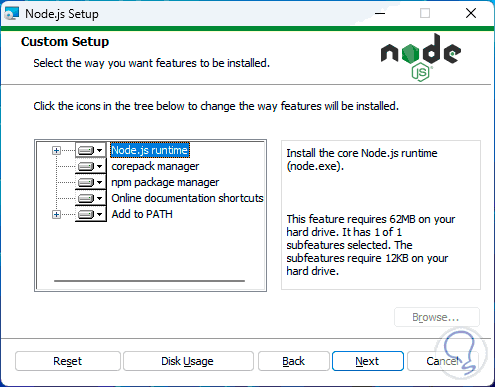
step 7
Below it is possible to section the features that will be installed with Node.js:
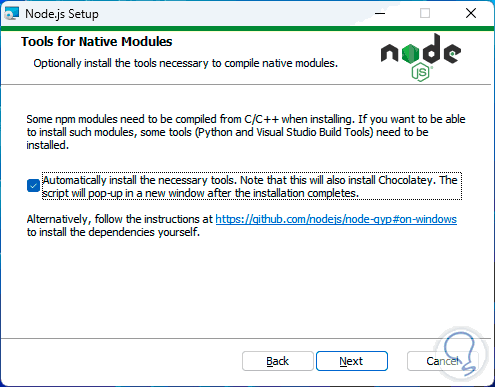
step 8
In the next window it is possible to enable the box to automatically install the extra tools that we will see later:
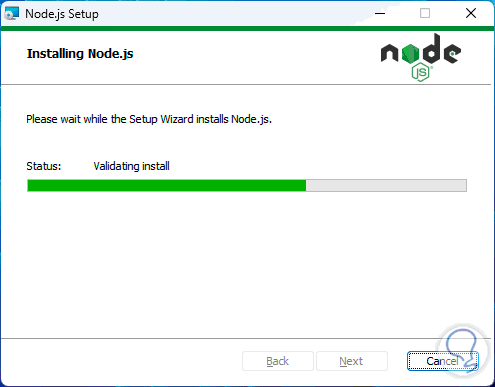
step 9
We will see the following later:
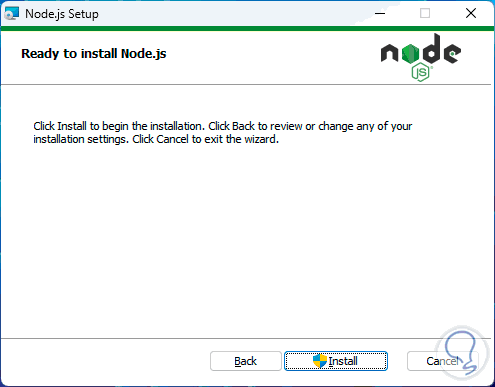
step 10
We click on "Install" to start the installation process of Node.js:
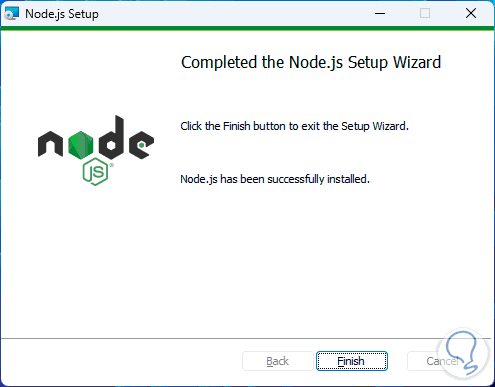
step 11
At the end of this process we will see the following:
step 12
In case of activating the box to install the extra tools after a moment the terminal will open:
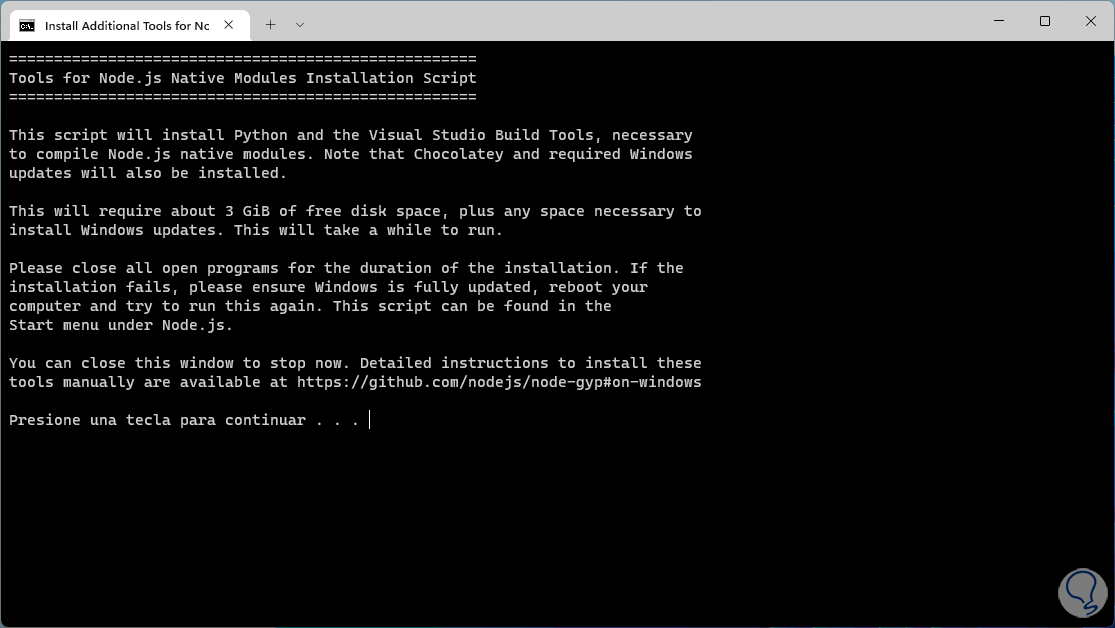
step 13
Press any key and PowerShell will open:
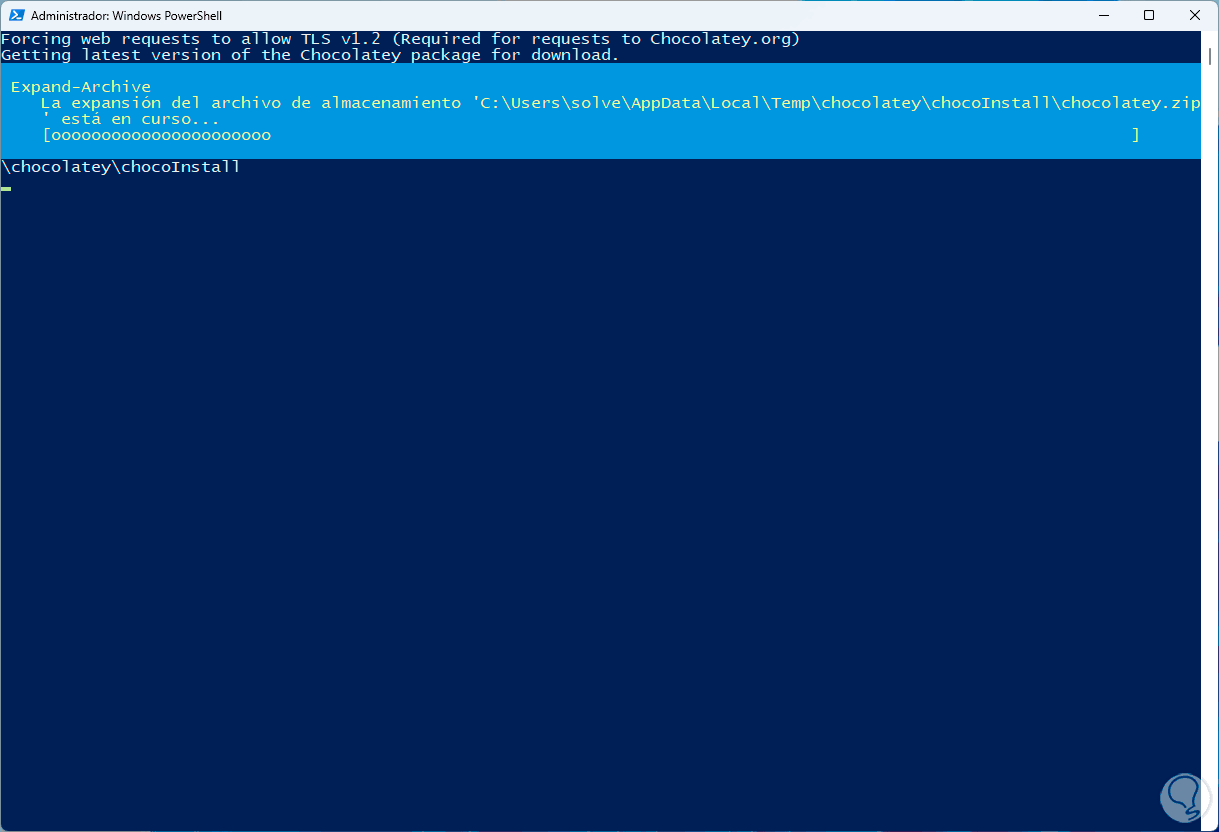
step 14
There the installation process of the utilities will begin:
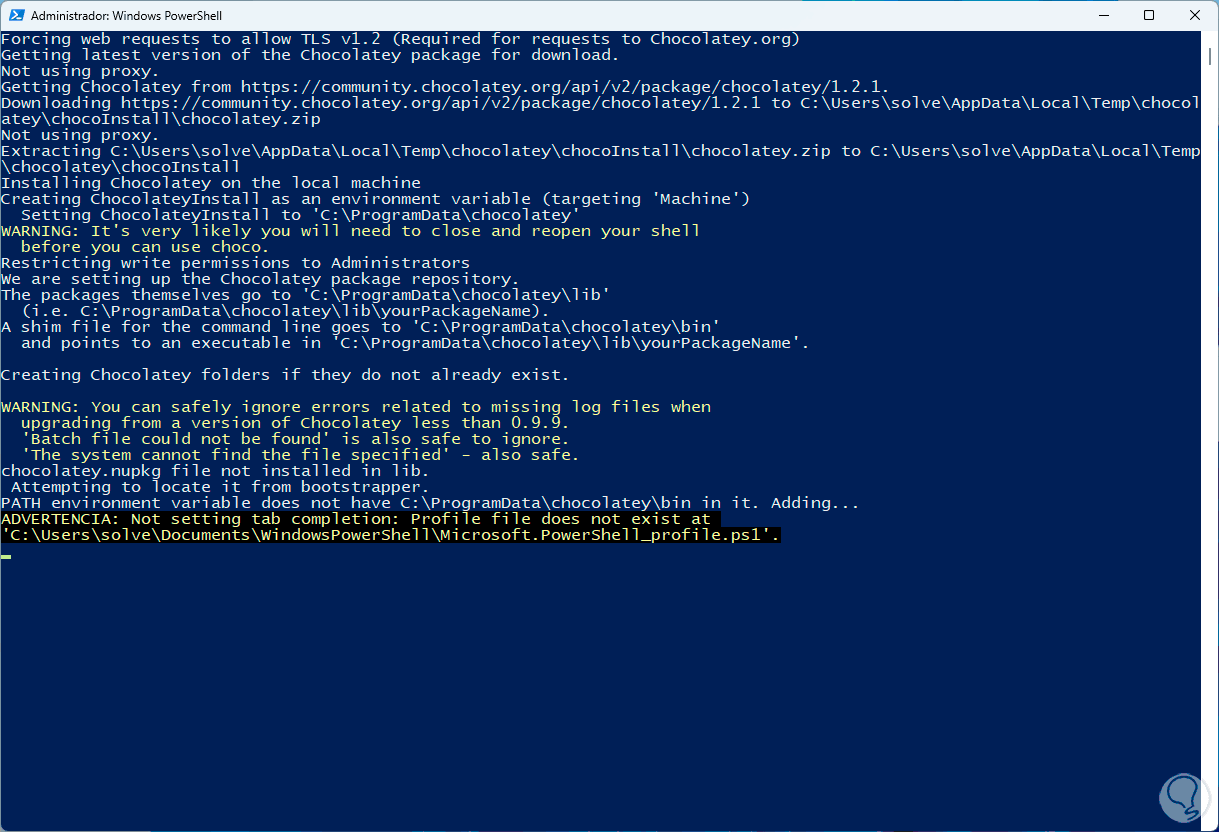
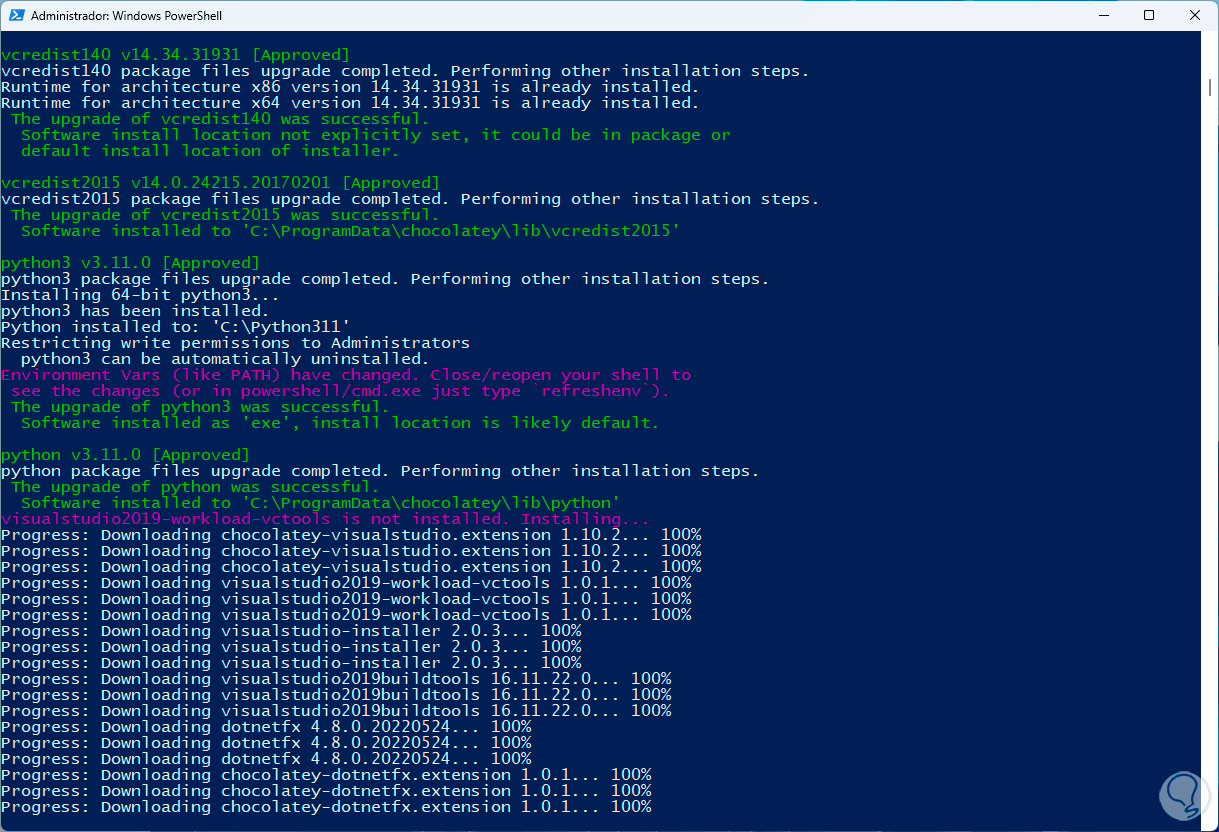
step 15
This takes time to download and install each of them:
step 16
Once this is finished we open Visual Studio Code and drag the working folder there:
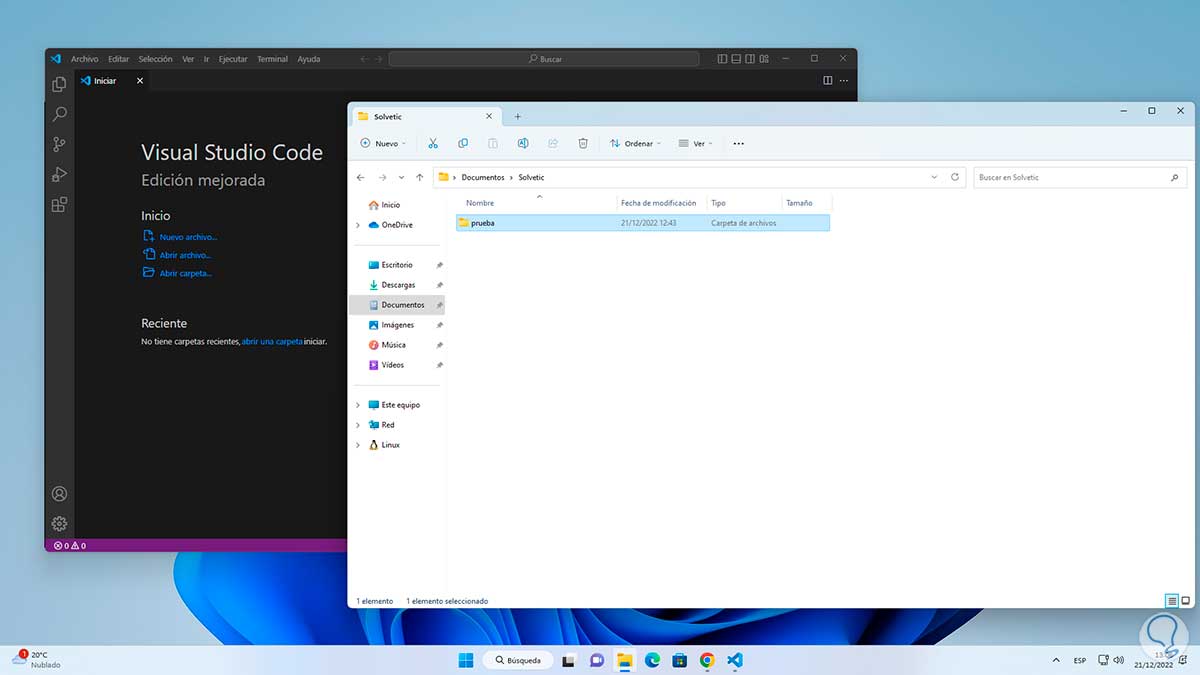
step 17
We will see the following message:

step 18
We click on "Yes, I trust the authors" to add the folder in Visual Studio Code:
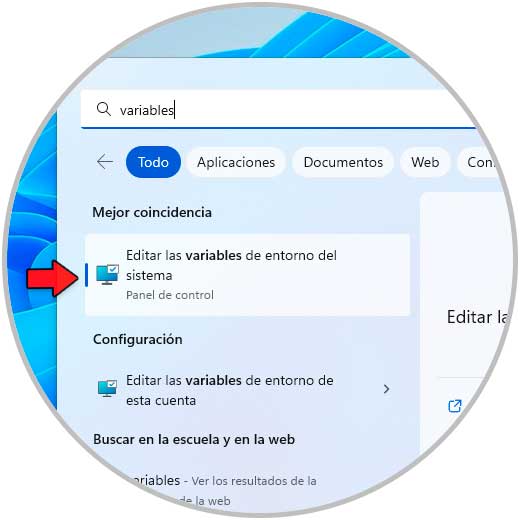
step 19
It is time to add the Node.js variable in the system, for this we enter "variable" in the search engine and click on "Edit system environment variables":
step 20
The following window will open:
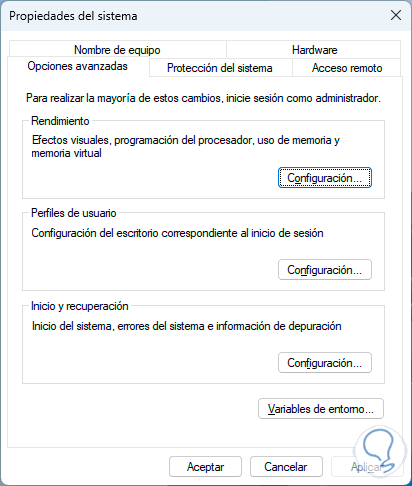
step 21
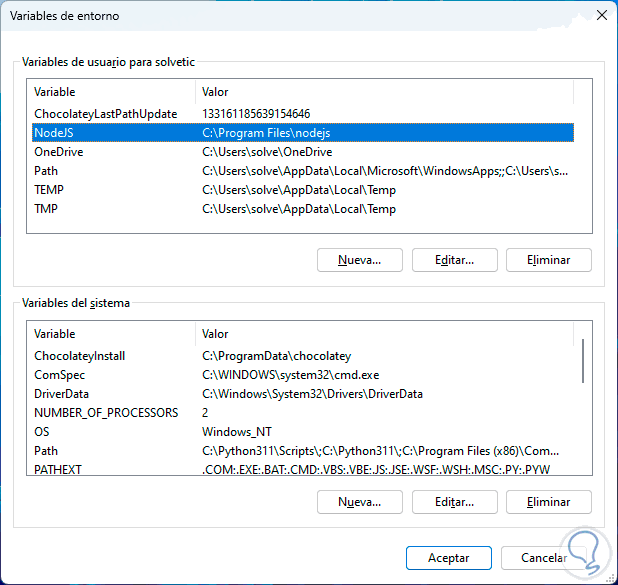
We click on "Environment variables" to access the variables window:
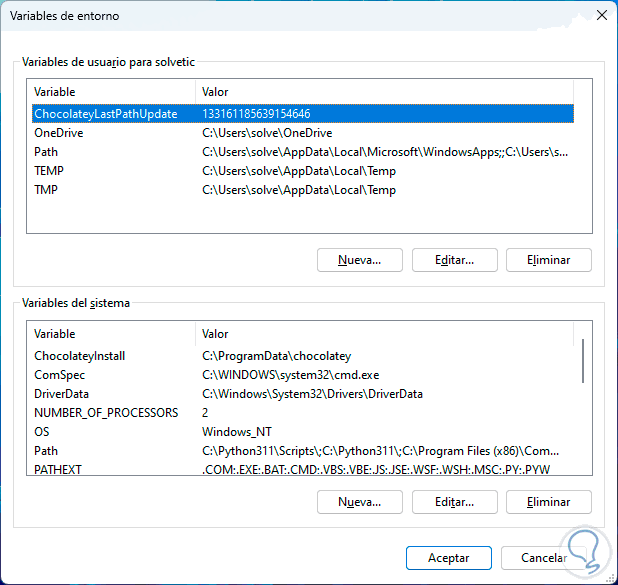
step 22
We open the File Explorer and copy the path of Node.js:
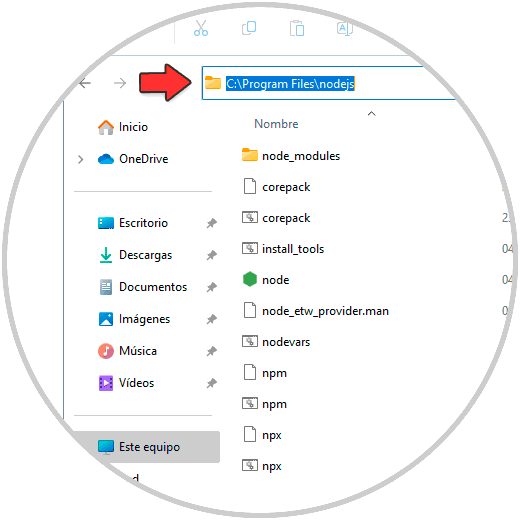
Step 23
In the variables we click on "New" in "User variables" and then we enter a name and paste the Node.js path:
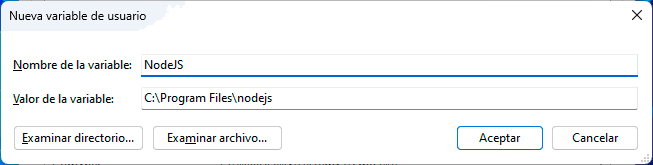
step 24
Apply the changes:
step 25
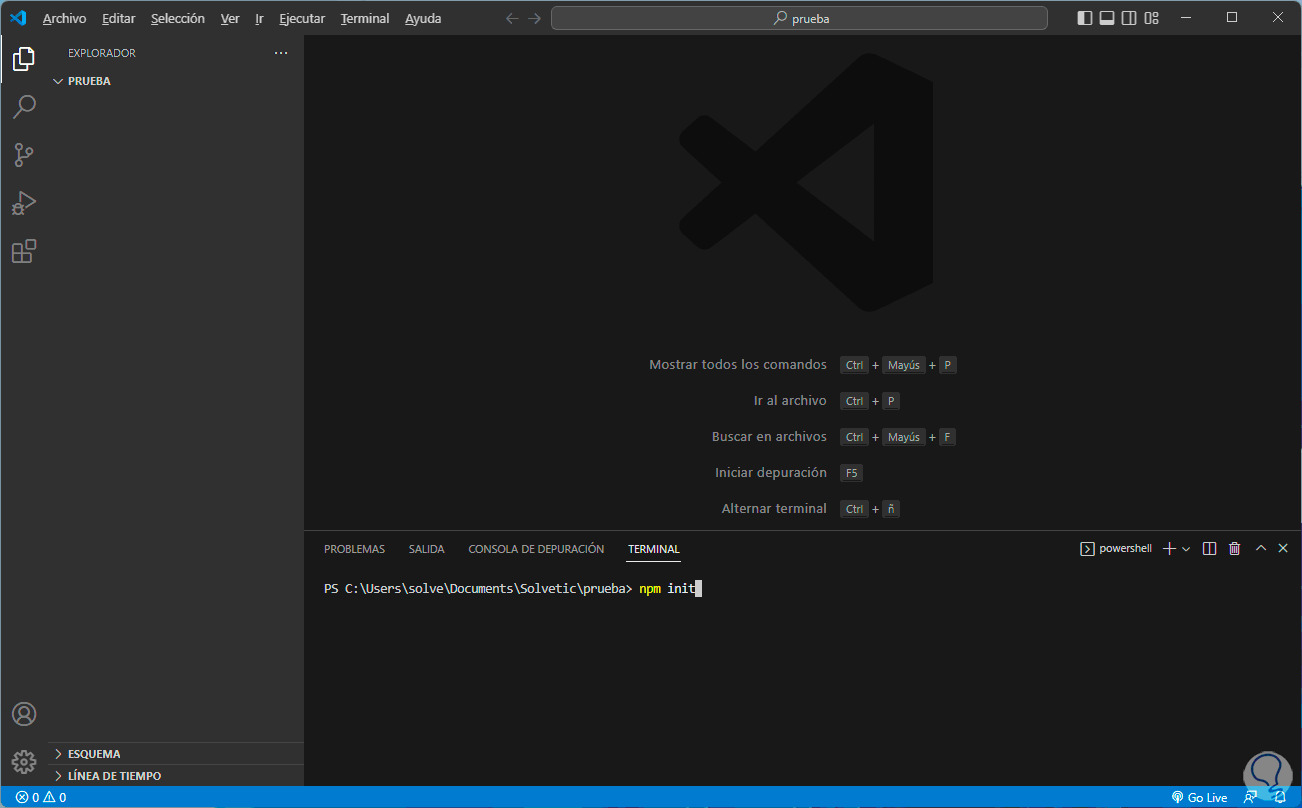
In Visual Studio Code we go to "Terminal - New Terminal":
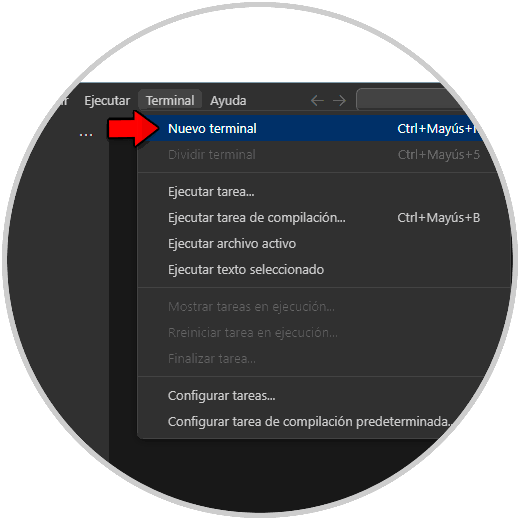
Step 26
We execute the following:
npm init
step 27
You may see the following error:
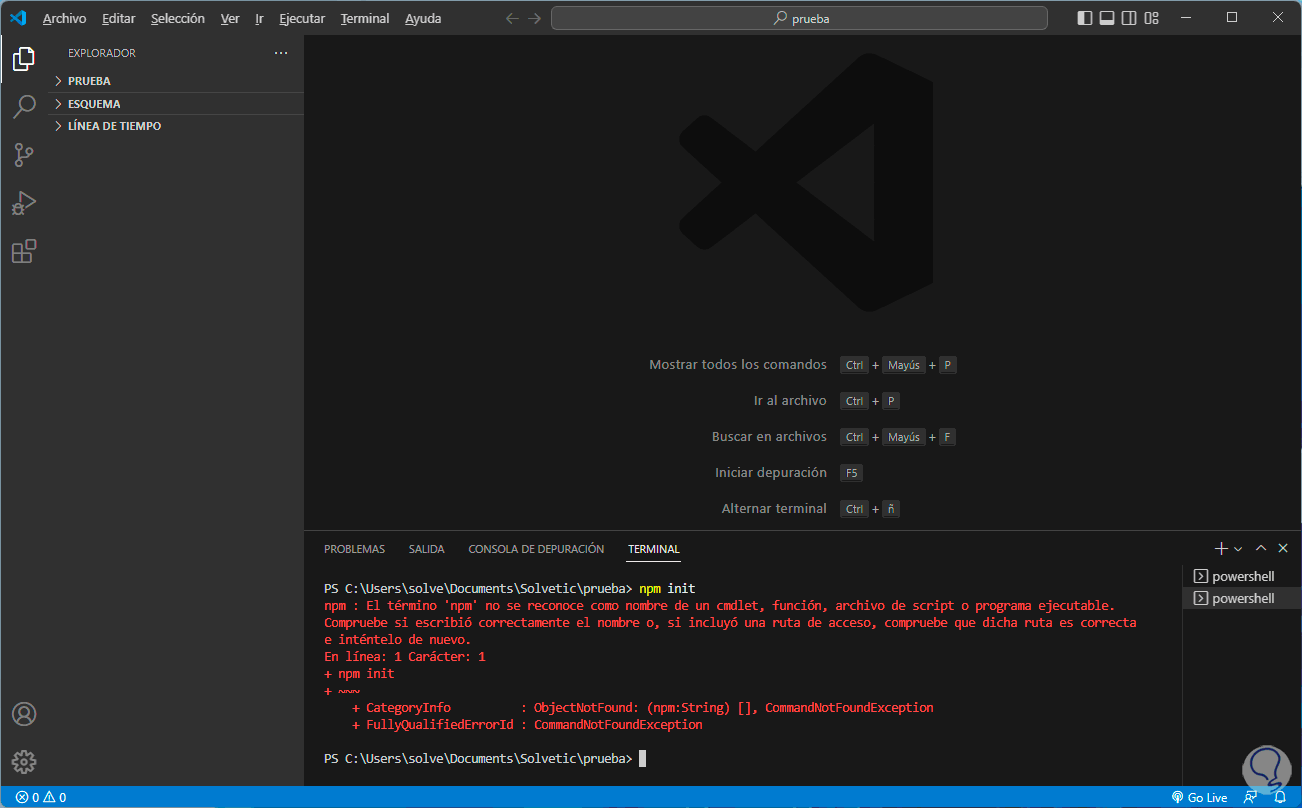
Step 28
If we see this error, using the "cd .." command we go to the root of the C drive and then with "cd" we go to the Node.js path:
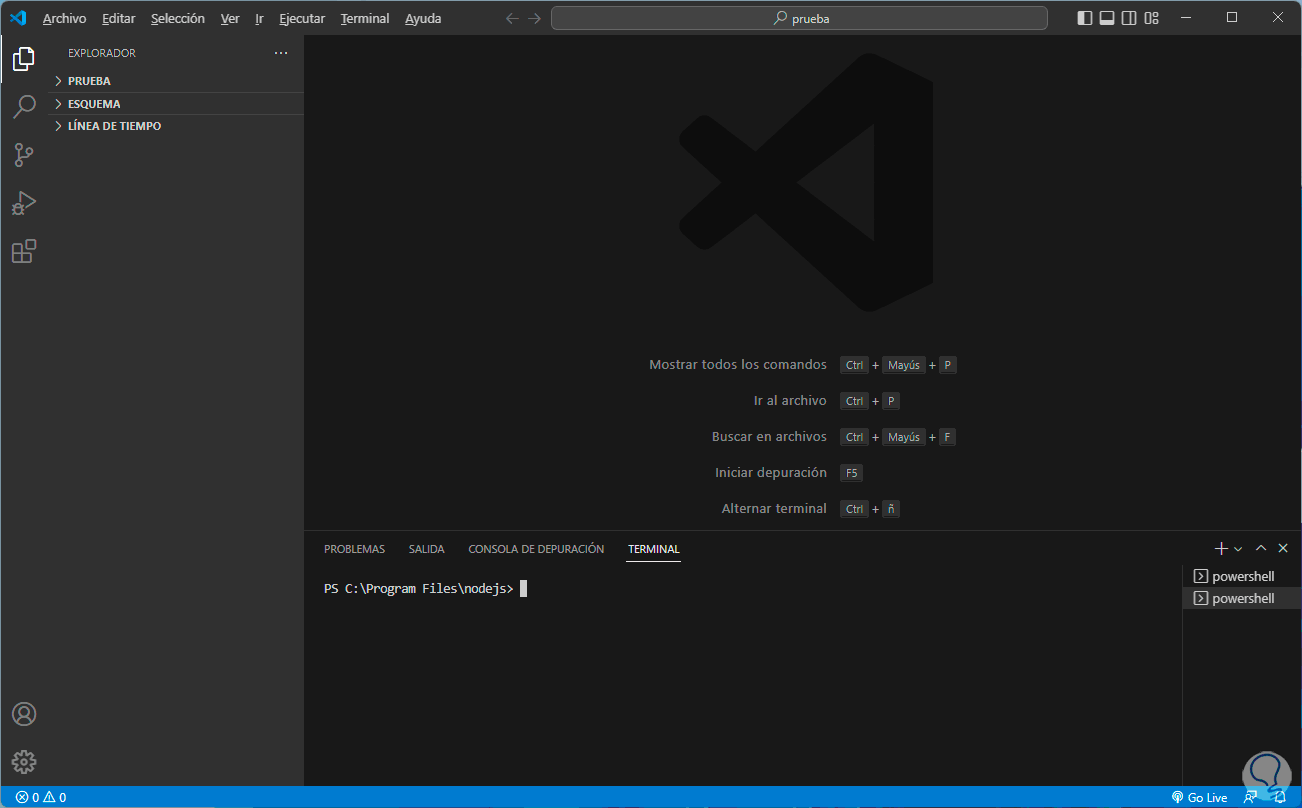
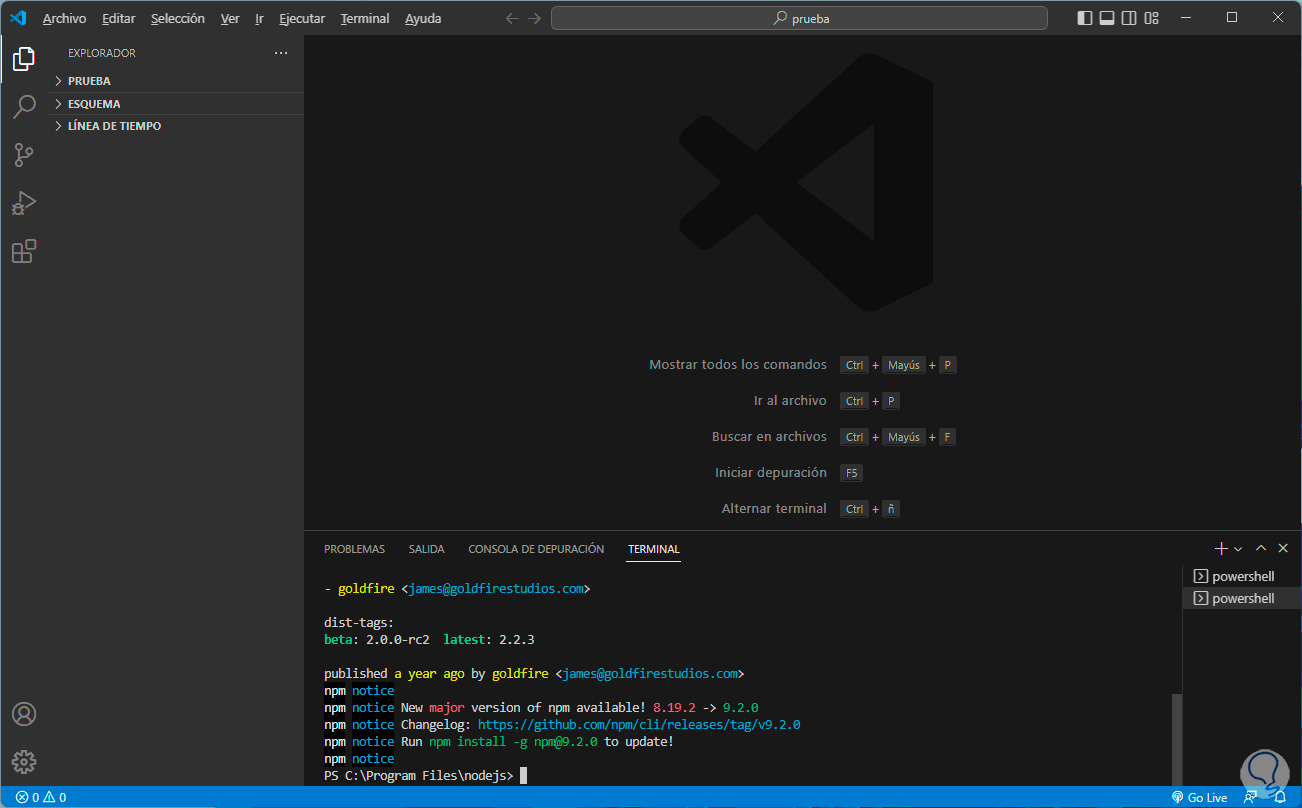
Step 29
There we start Node JS by executing the following:
/nmp init
Press the Enter key to complete the process:

step 30
Note: the Enter key must be pressed since when starting NPM we see this:
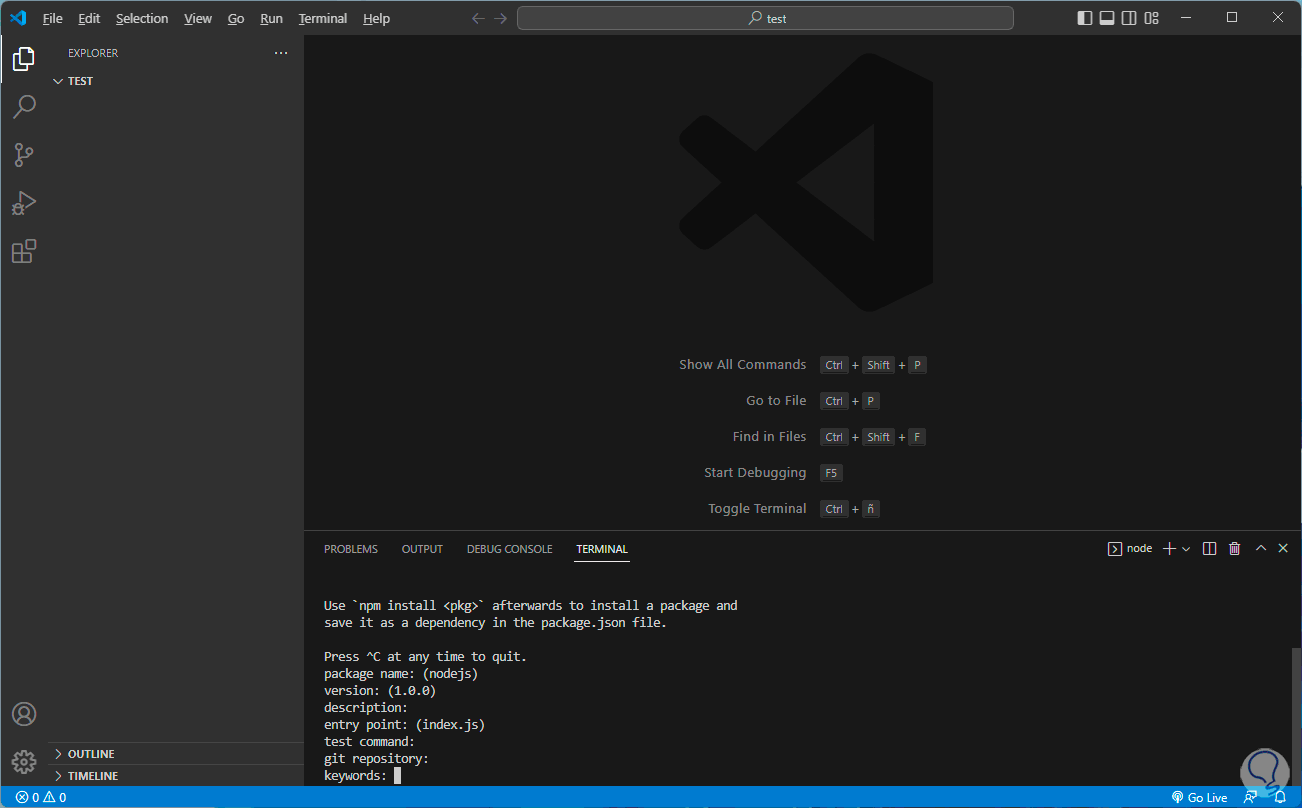
step 31
They are a series of questions that we can leave by default:
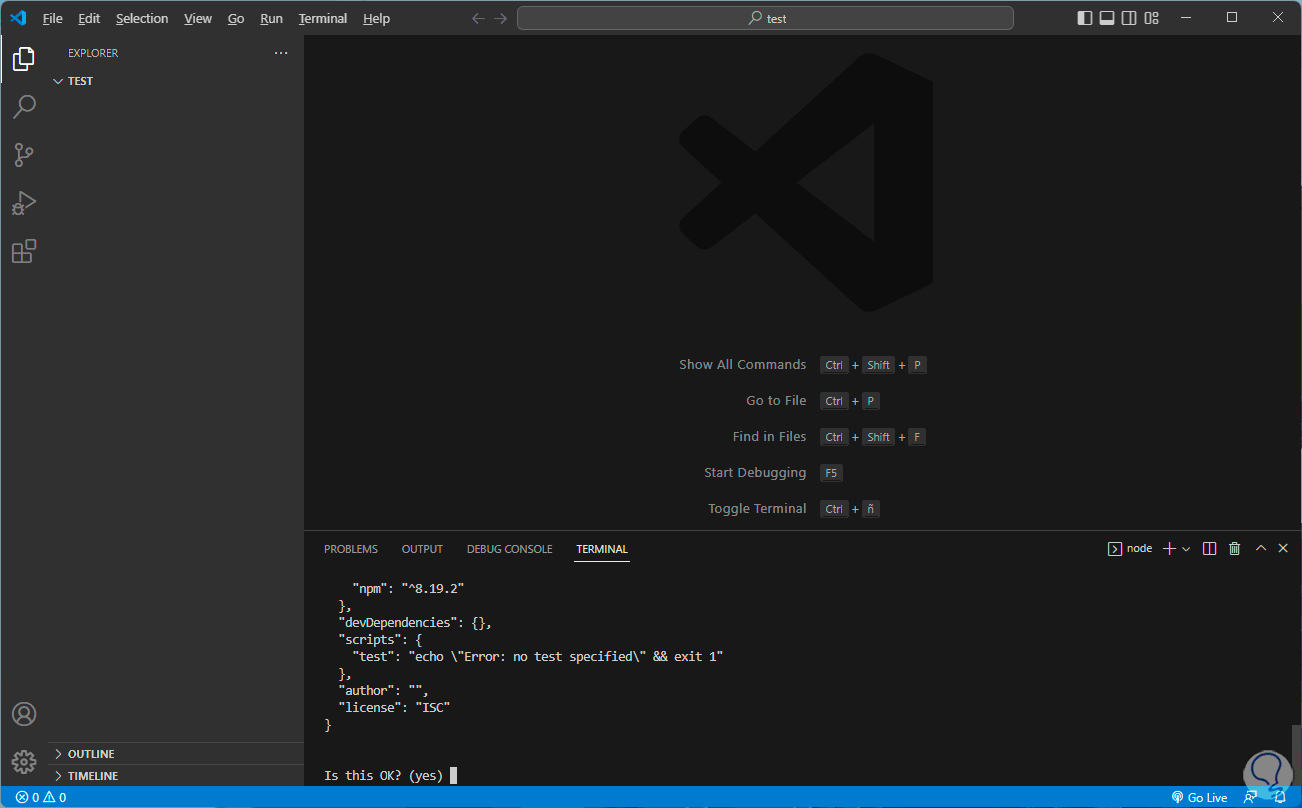
step 32
At the end we will see the following:
Step 33
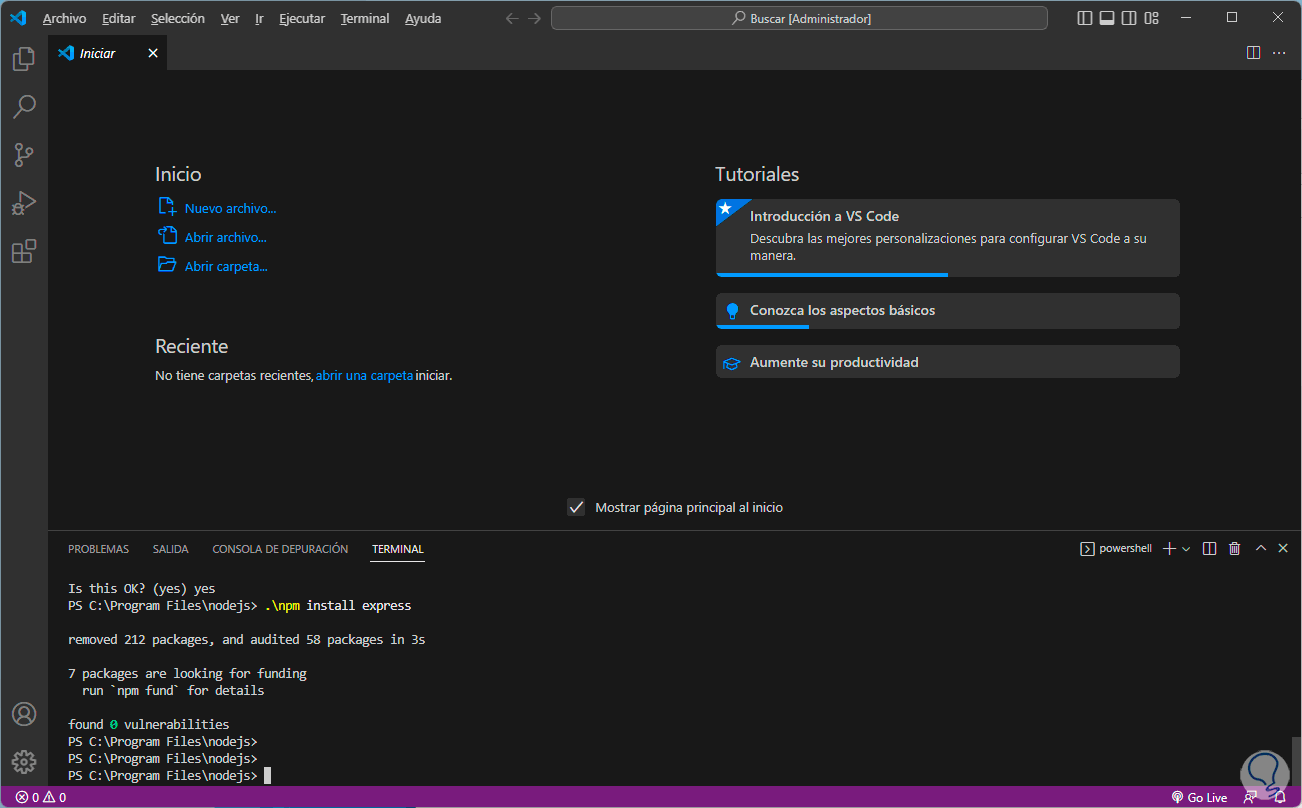
It is possible to install a utility with the syntax:
./nmp install (app)
Some extra commands to use npm are:
- npm install: install all dependencies in the project
- npm test: run the tests of the project
- npm run <script>: run the script in question
- npm -l : display command usage information
Thus it is possible to install Node.js in Visual Studio Code and have a tool at hand for our projects.