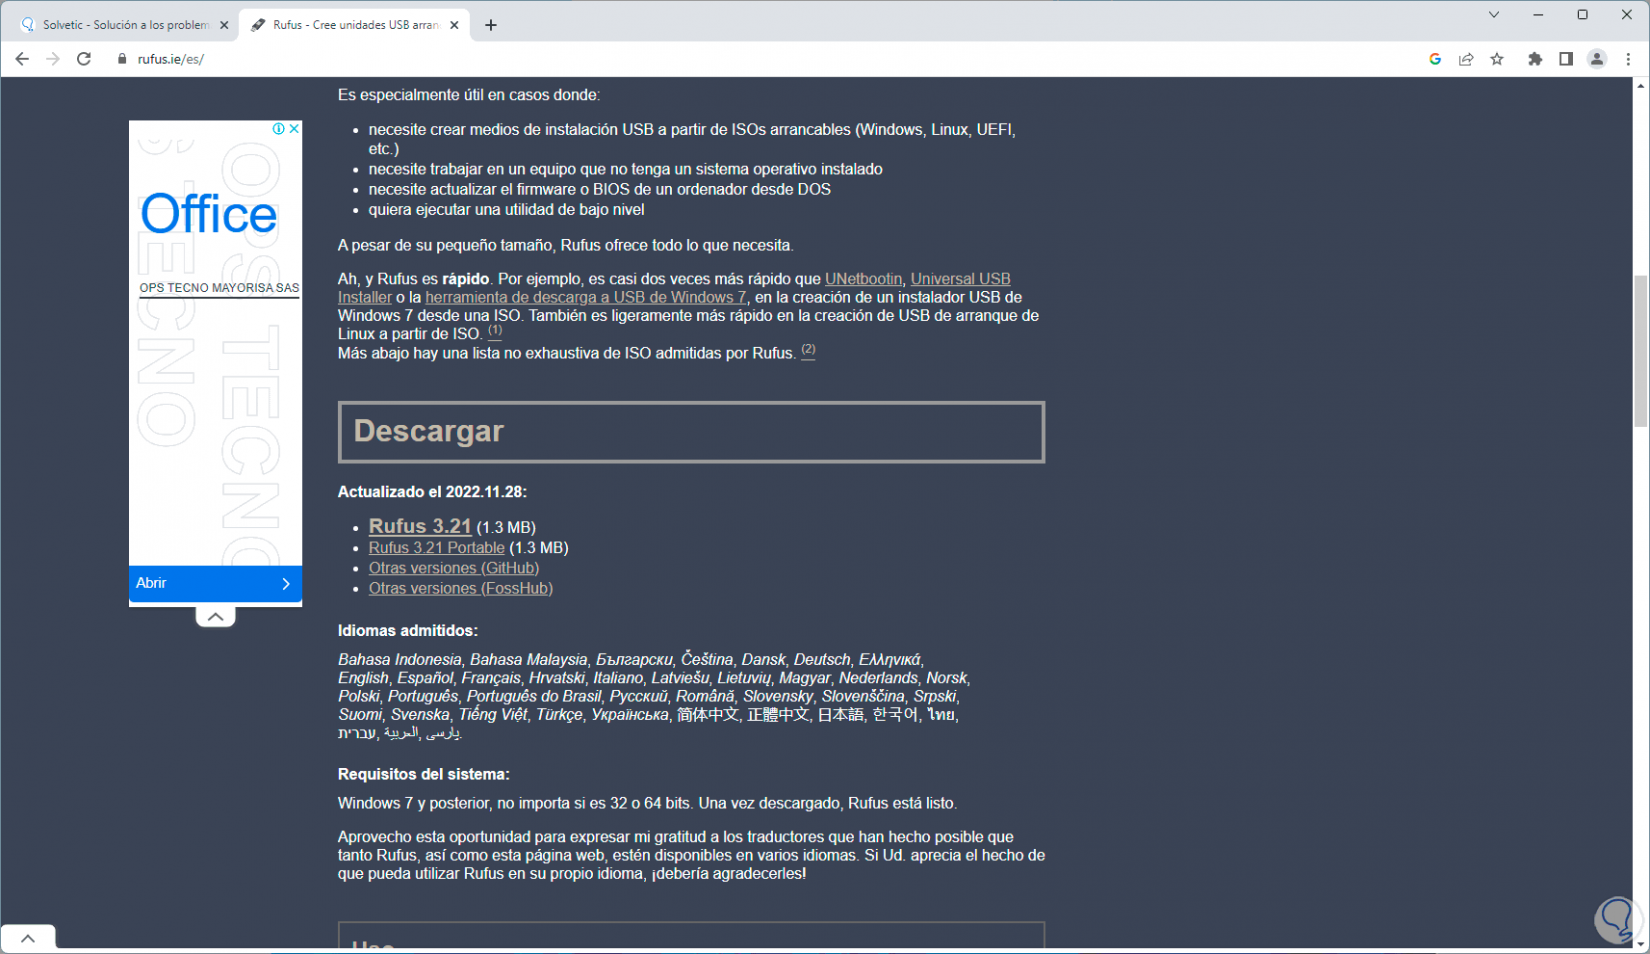
Rufus is a small application with which it is possible to create bootable USB media, that is, with it we can install the operating system on the USB and all we have to do is connect it to the destination computer to install or repair the system without having to load DVDs, Rufus is simple, free and with the necessary tools to create a versatile boot medium, its free download is available at the following link:
Rufus
We will teach you how to use Rufus to create a bootable or bootable USB in a detailed step by step so that you know the entire procedure you must follow to know how to Create Bootable USB with Rufus.
To stay up to date, remember to subscribe to our YouTube channel!
SUBSCRIBE ON YOUTUBE
How to use Rufus to create a bootable USB
Step 1
We download any of the available versions of Rufus from the indicated URL:
Step 2
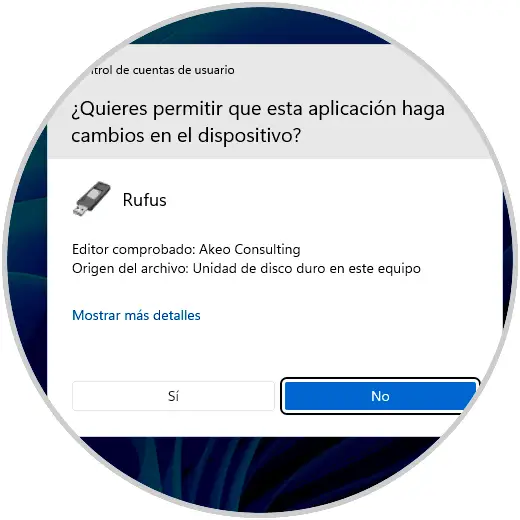
In this case we will use the portable version that does not require local installation, we execute the file and we must accept the UAC terms:
Step 3
In the first use we will see the following:

Step 4
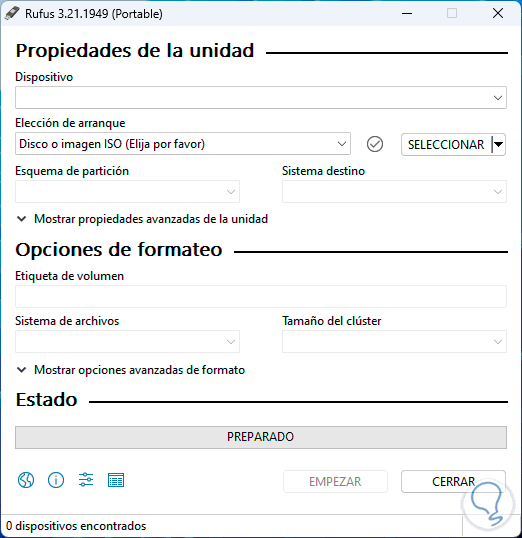
We accept the search for updates online and now we will have access to the utility:
step 5
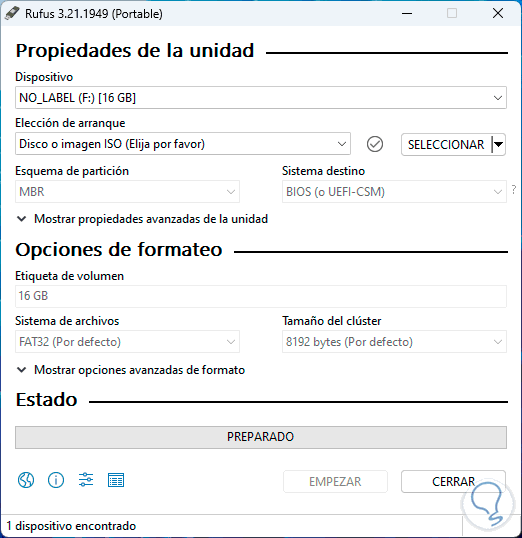
In the "Device" section, the connected USB will be automatically detected:
step 6
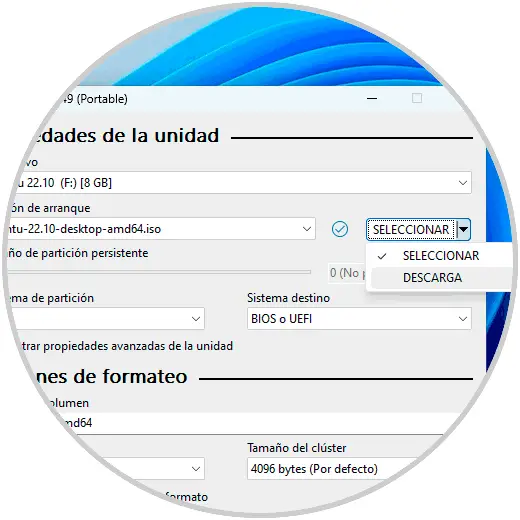
It is possible to select or download the ISO image to use, by clicking on the drop-down arrow it will be possible to choose:
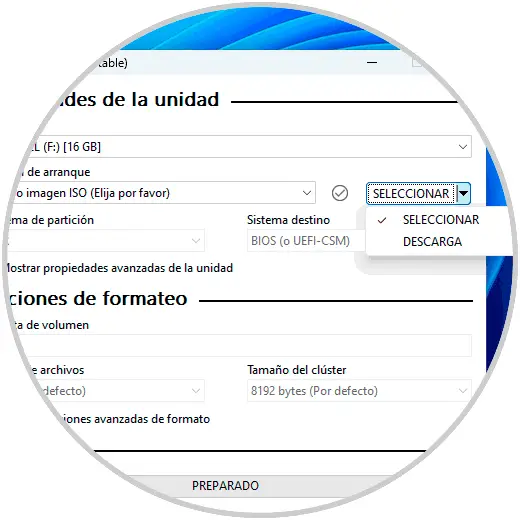
step 7
At this time we leave the default option, Select, and by clicking on it we can locate the ISO to choose it:
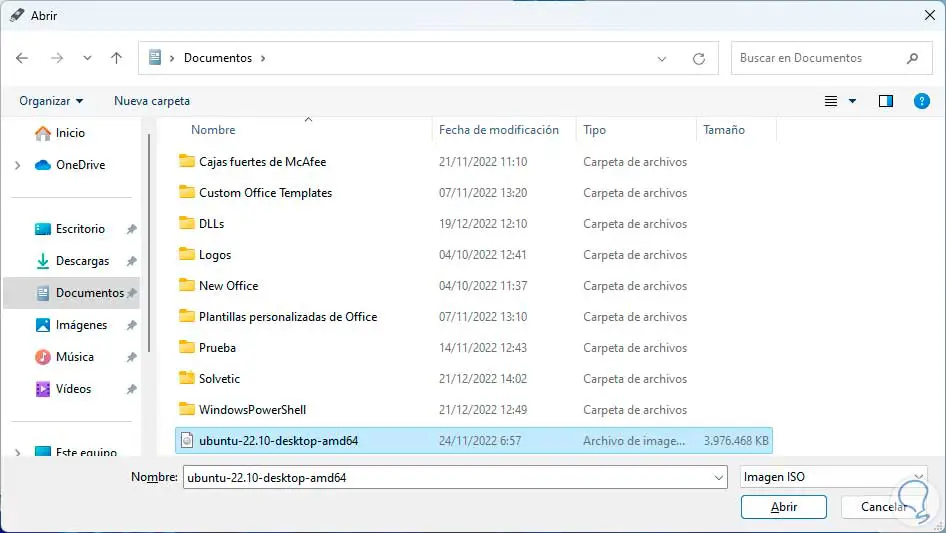
step 8
The properties of this ISO will be adjusted automatically:
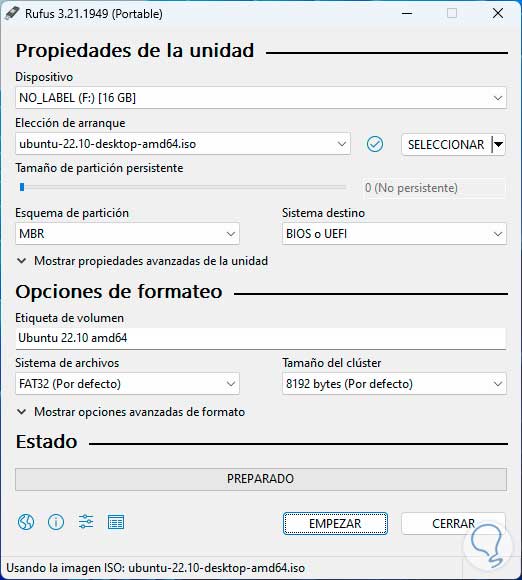
step 9
Some ISOs can prevent unknown developers, so it is ideal to carry out a security analysis, for this we click on "Calculate the checksums" to verify the integrity of the chosen ISO image:
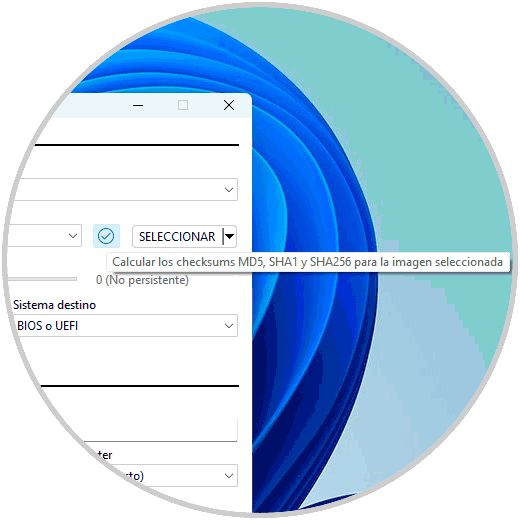
step 10
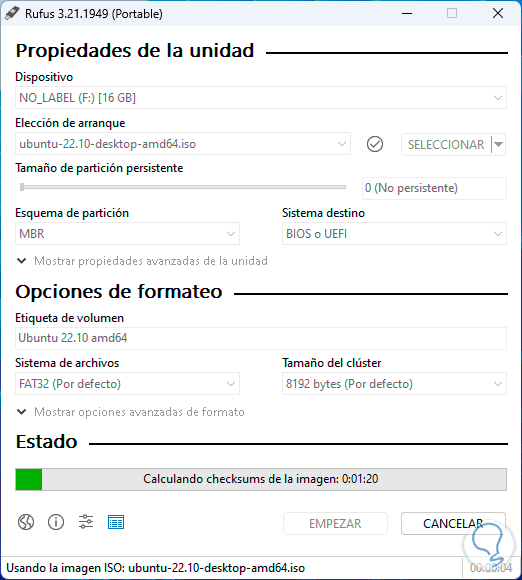
This analysis will start:
step 11
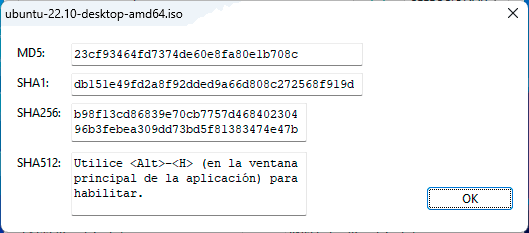
This Checksum process is a mathematical redundancy function where the goal is to detect changes in an image data sequence and thus determine if it has not been manipulated for something outside its initial objective. At the end we will be notified of the result:
step 12
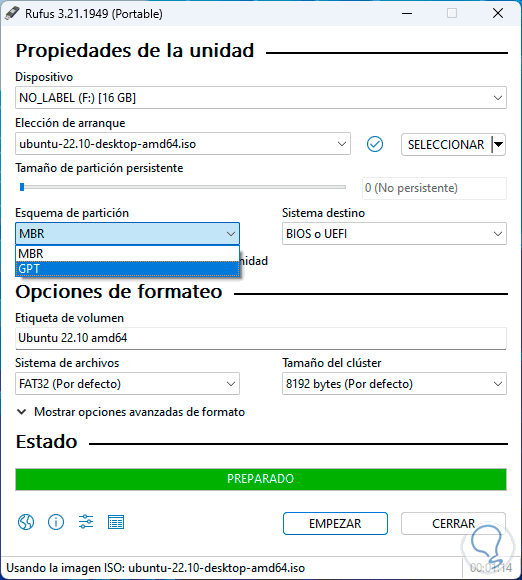
In "Partition scheme" it is possible to choose between MBR or GPT (this is based on the operating system):
step 13
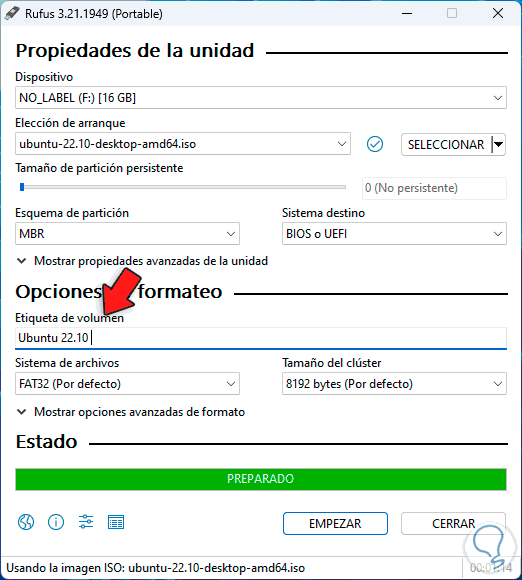
We can change the name of the tag to use for better identification:
step 14
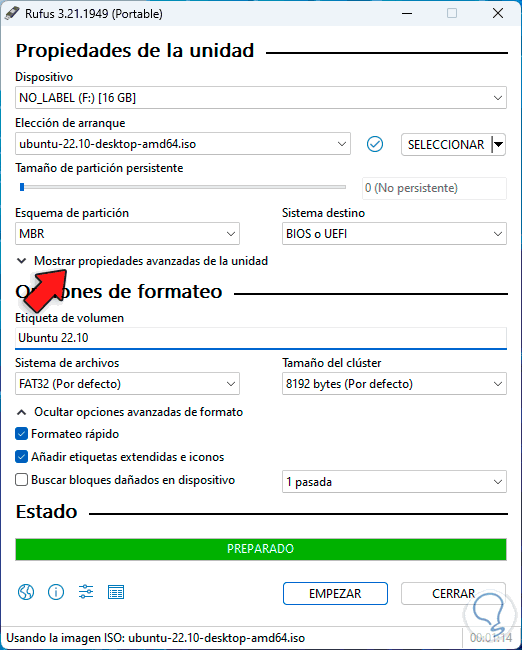
We click on "Show advanced options" to have access to an extra group of options to use:
step 15
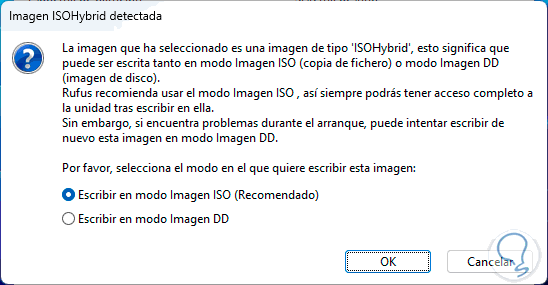
We click on "Start" and depending on the type of ISO it is possible to see a message similar to this:
step 16
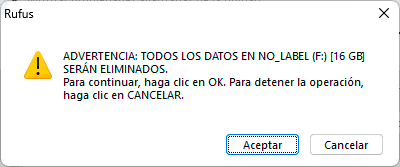
In this case, we follow Rufus's advice and let it be saved as an ISO image, click OK and we will now see the following warning:
step 17
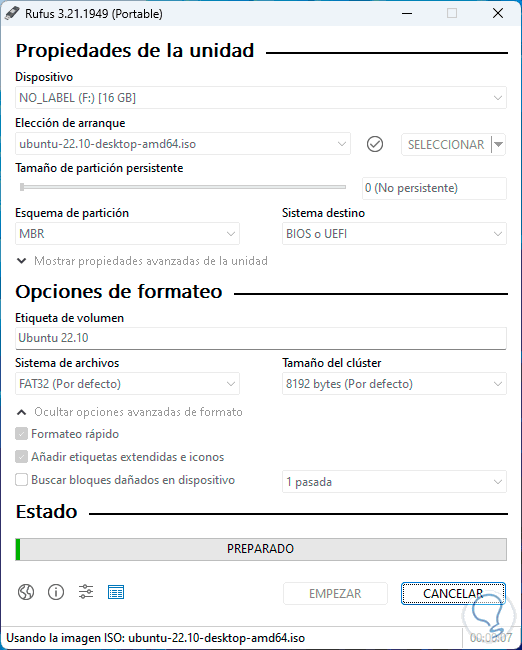
We click on OK to start the creation of the USB medium with Rufus:
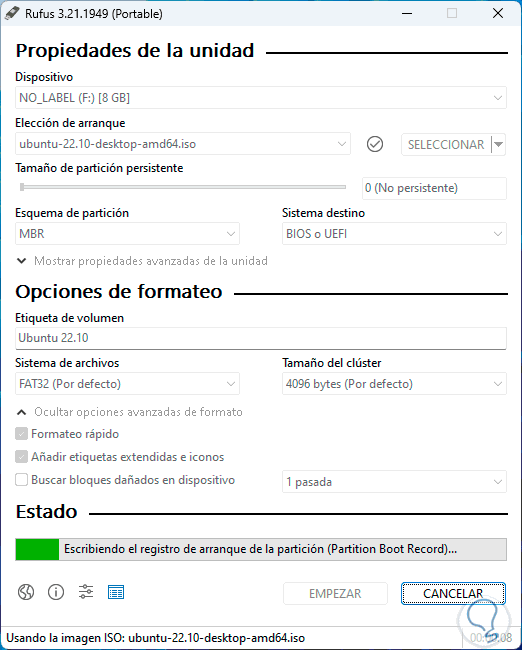
step 18
The boot record will be copied:
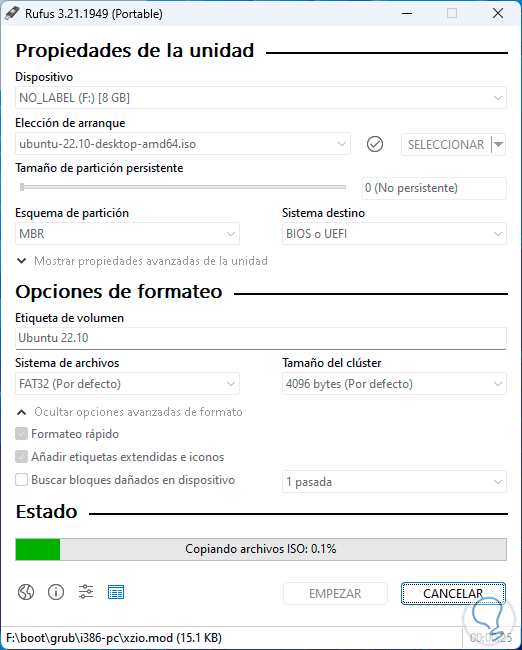
step 19
Then the necessary ISO files will be copied:
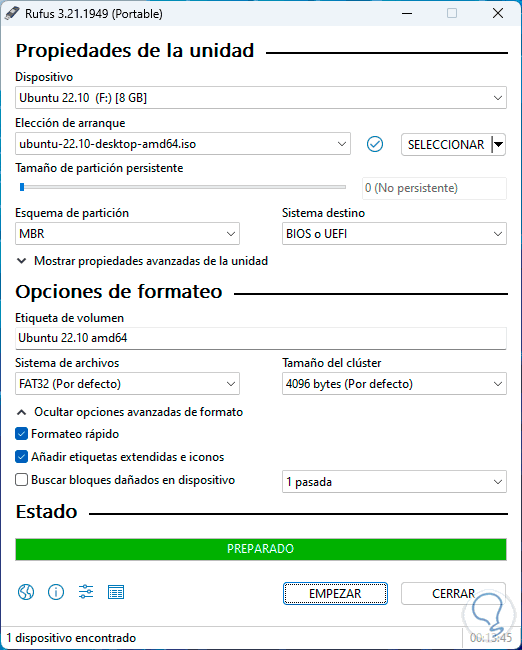
step 20
We hope that the data will be copied to the USB and the creation of the bootable USB will be completed:
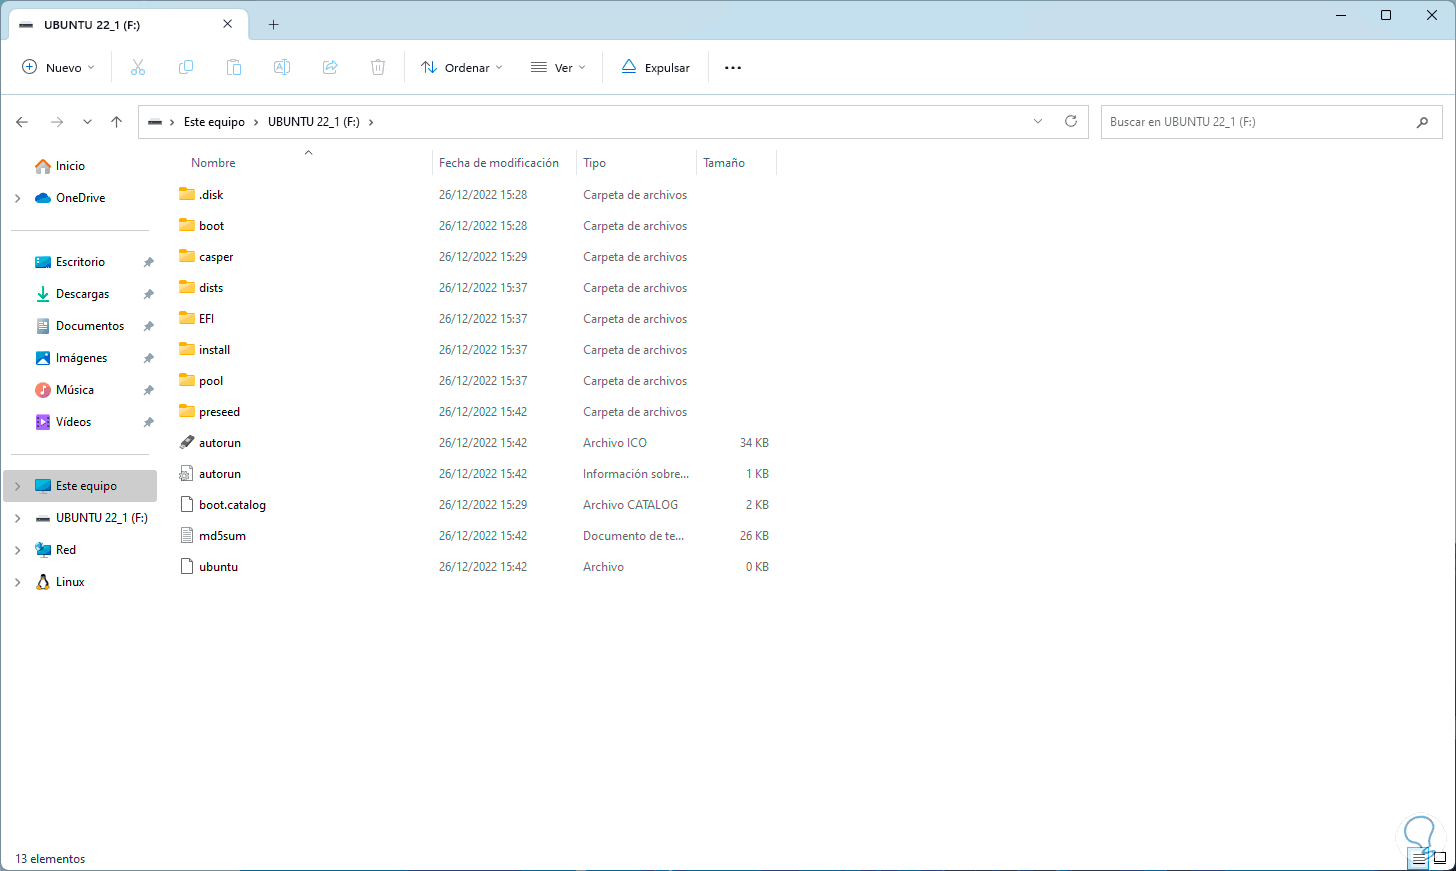
step 21
In the File Explorer you can enter the USB to see its content:
step 22
Remember that Rufus allows us to select the Download option:
Step 23
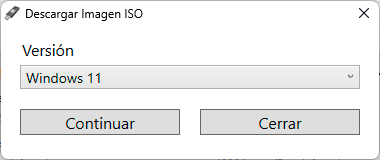
This provides the option to directly download the ISO from the Internet:
step 24
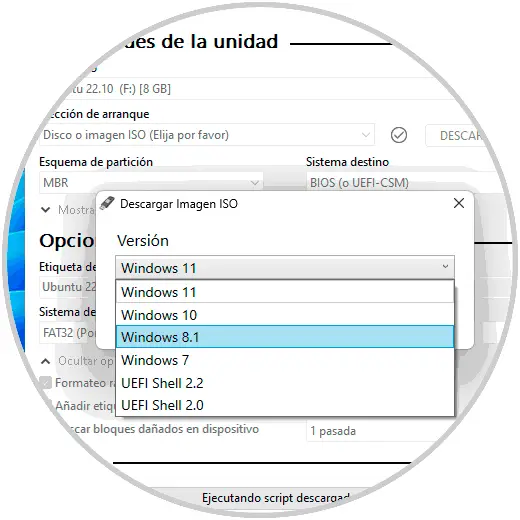
In Version we can see the various options to use:
This is how Rufus is an ideal alternative to create bootable USB..