Windows Server 2022 will be the new edition of this operating system for companies developed by Microsoft with which we will have a wide set of security parameters, roles and services so that the administration of domain objects (users, computers, etc.) is what as complete as possible..
Windows Server 2022 is available in beta version (testing) thanks to the Insider program and in this new edition we will find features such as:
Windows Server 2022 Features
- Supports AES-256-GCM and AES-256-CCM cryptographic suites associated with SMB encryption
- SMB Direct protocol over RMDA networks now supports AES-256 encryption
- It is possible to copy files in SMB with compression using the Robocopy, compress and Xcopy / compress commands
- AFS Tiering Support Preview
- Dynamic Azure integration
- Storage Spaces Direct enhancements
- More functions in the ReFS (Resilient File System) role
- Support and integration of the Honolulu project.
- Improvements to the Windows subsystem in Linux and much more
A key point that as administrators we must take into account is to maintain the availability of the system and this is achieved by having a bootable media with the system image. And what better way to do it than having a USB where we can configure the system boot and repair the equipment from there if it is the case.
TechnoWikis will explain how to create a bootable USB with Windows Server 2022 and thus have a comprehensive support alternative..
To stay up to date, remember to subscribe to our YouTube channel! SUBSCRIBE
How to create bootable USB with Windows Server 2022
Step 1
First of all, we download the ISO image of Windows Server 2022 at the following link:
Windows Server 2022
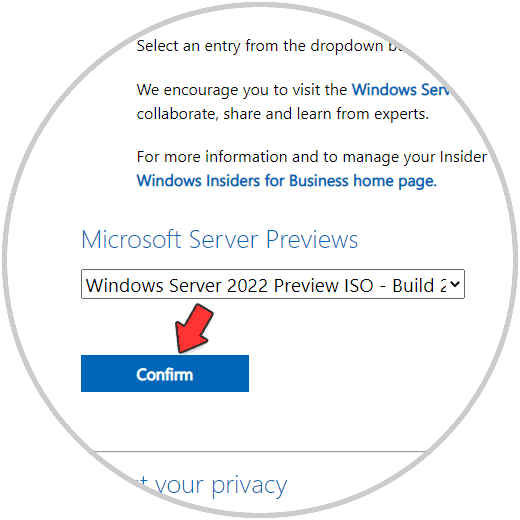
There we must select the type of image to download:
Step 2
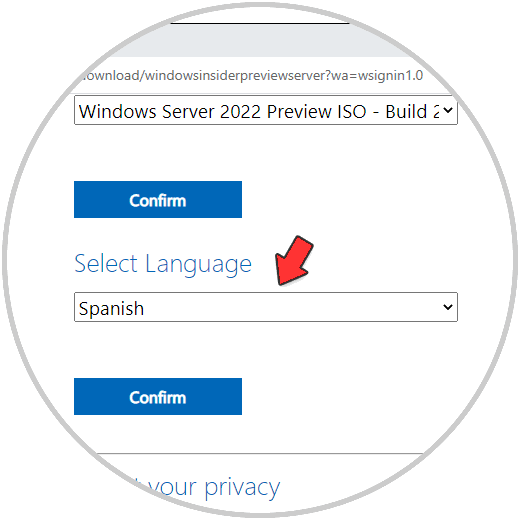
Once we validate this, we select the language to use:
Step 3
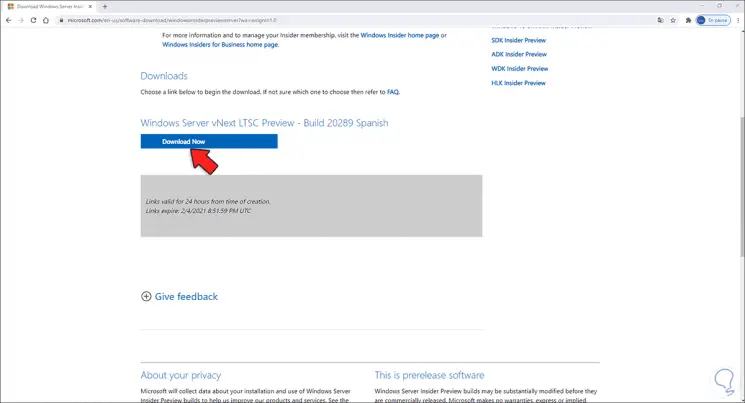
Click Confirm to display the ISO image download link:
Step 4
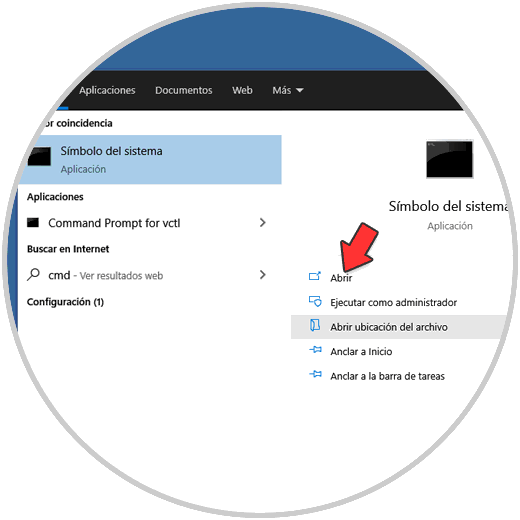
Now we access the command prompt as administrators:
Step 5
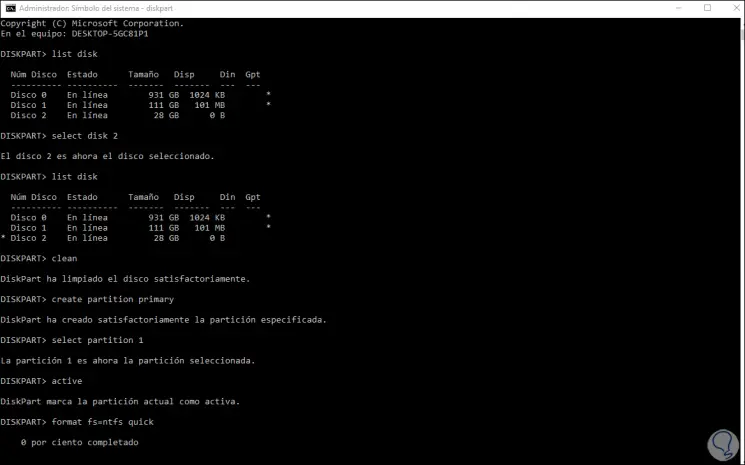
In the console we execute "diskpart":
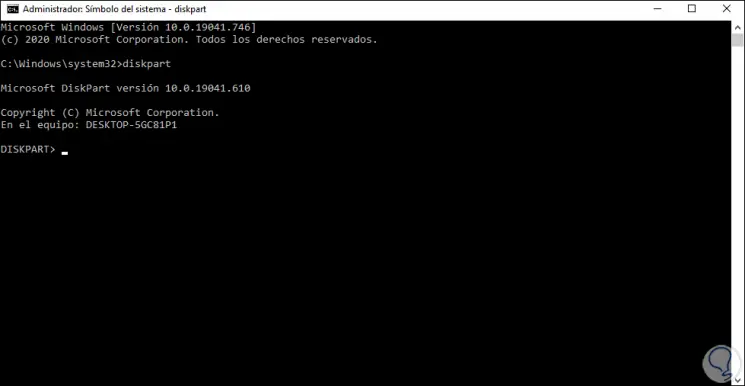
Step 6
We list the disks with "list disk":
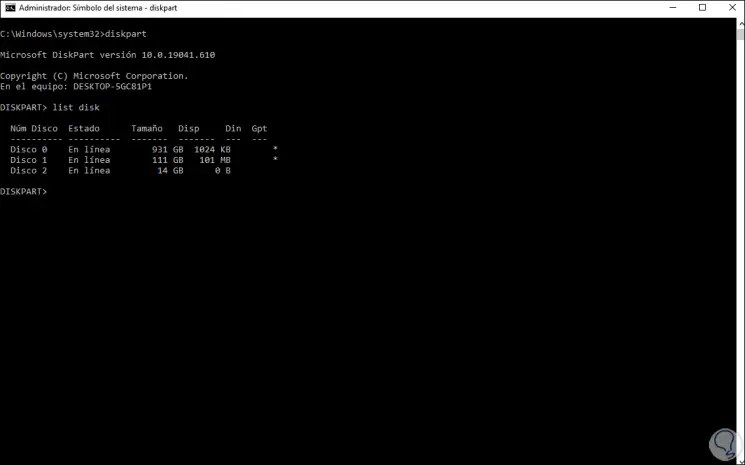
Step 7
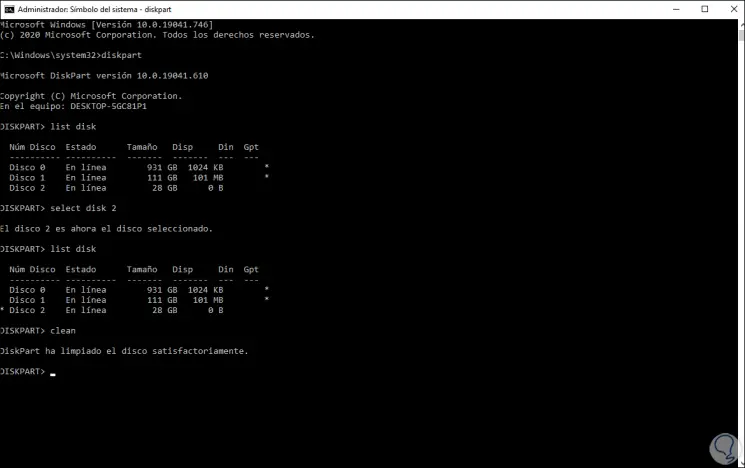
In this case our USB drive is Disk 2, we select the disk with the syntax "select disk #":
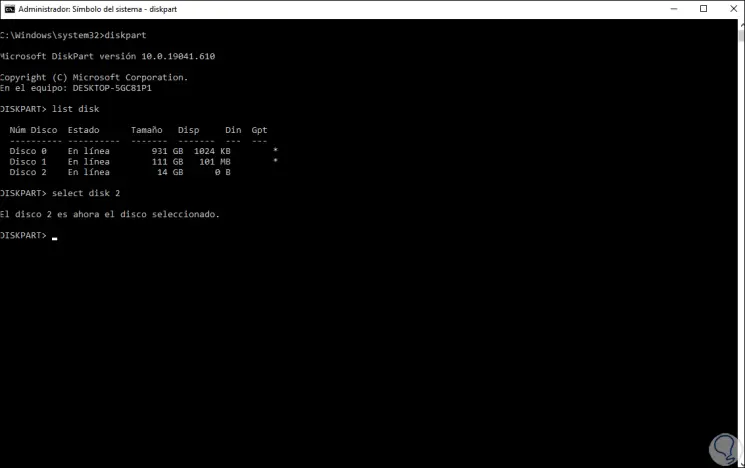
Step 8
We list again with "list disk" to see the disk selection (it will have a * next to it):
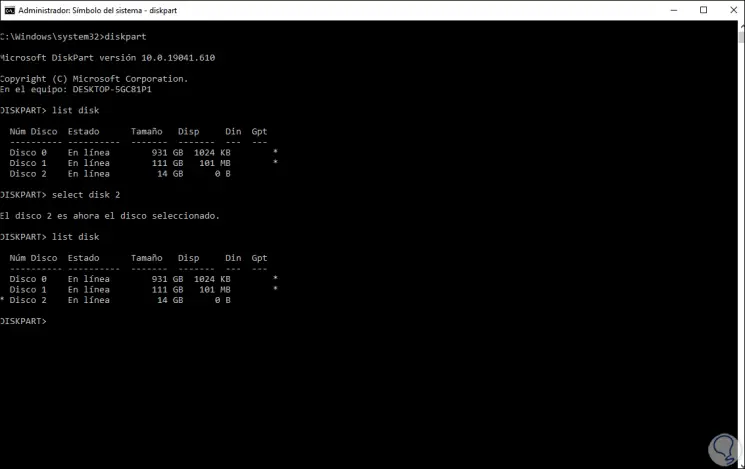
Step 9
We erase the contents of the disk with "clean":
Step 10
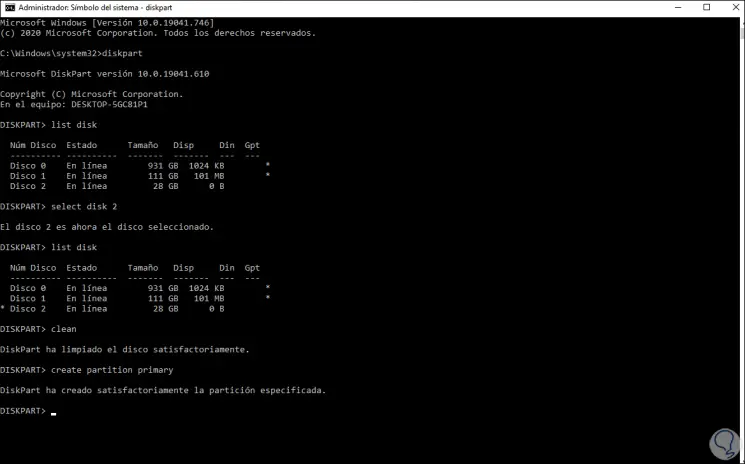
After this we are going to create the partition with the command "create partition primary":
Step 11
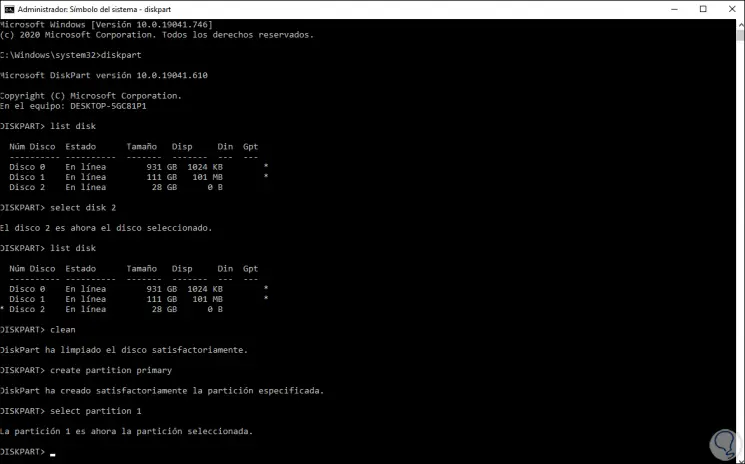
We select the partition created with the command "select part 1":
Step 12
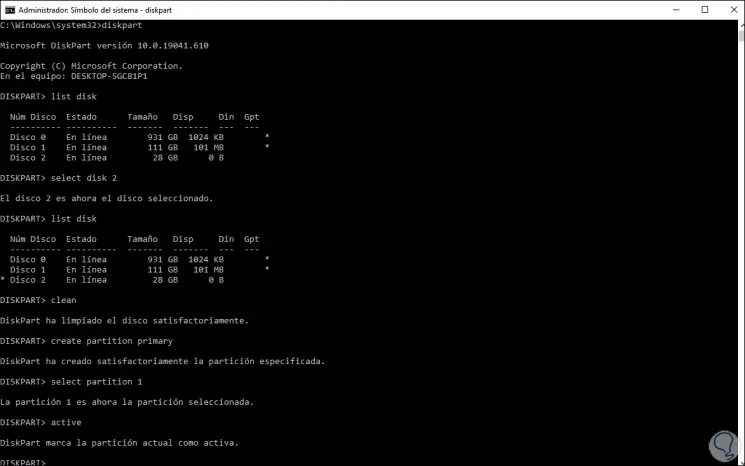
We activate the partition with the "active" command:
Step 13
To complete the process we are going to format the partition with the NFTS file system:
format fs = ntfs quick
Step 14
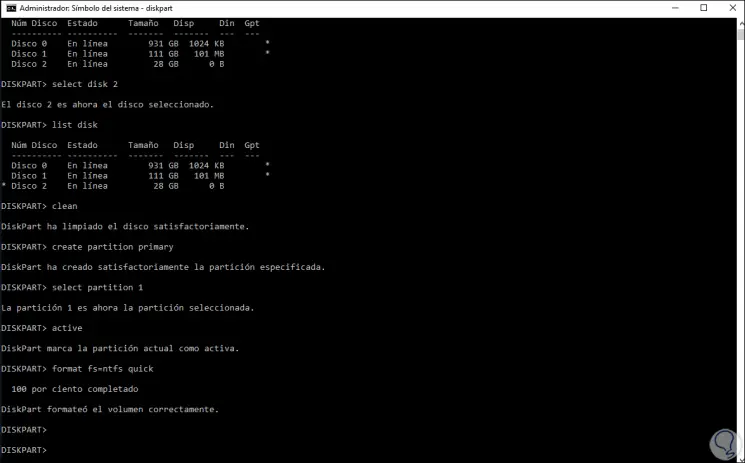
At the end of the formatting process we will see the following:
Step 15
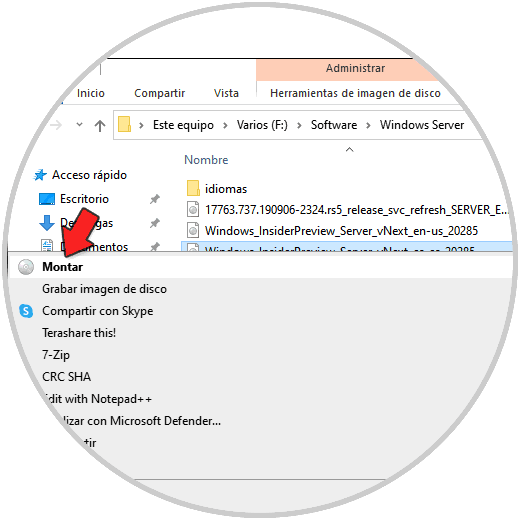
Now we right click on the downloaded ISO image and select "Mount":
Step 16
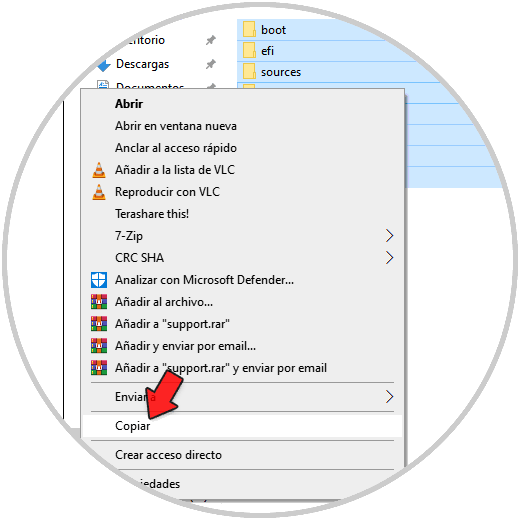
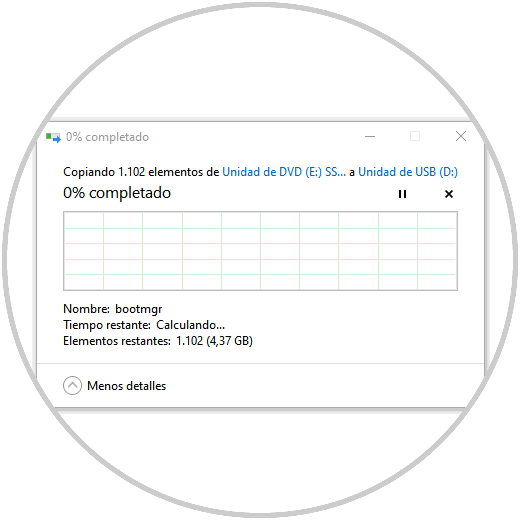
This will open the content of the ISO image, we copy the content and paste it into the configured USB drive:
Step 17
We paste it on the USB:
Step 18
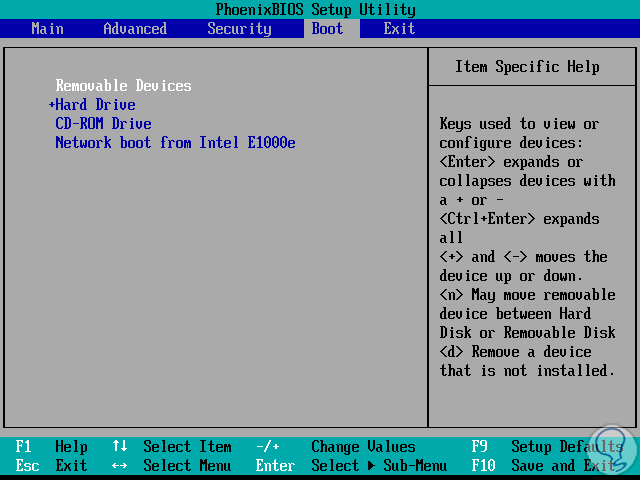
Once this is ready, we go to the computer where we want to install Windows Server 2022 and access the BIOS or UEFI, in the case of BIOS we will see something similar to this:
Step 19
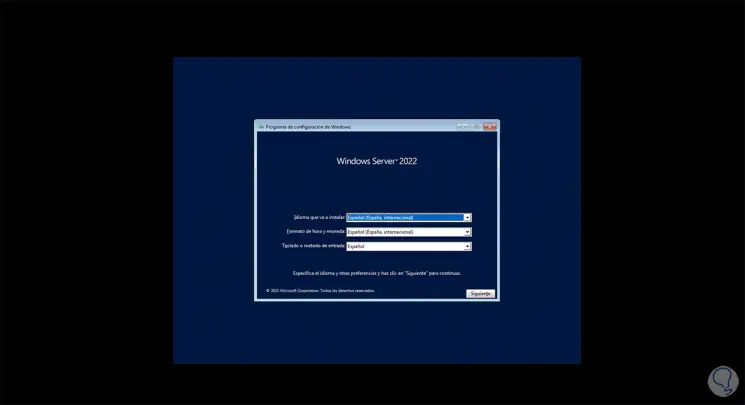
After booting with USB connected and configured, the startup will load to the Windows Server 2022 installation process:
Step 20
We click Next to see the operating system installation window:
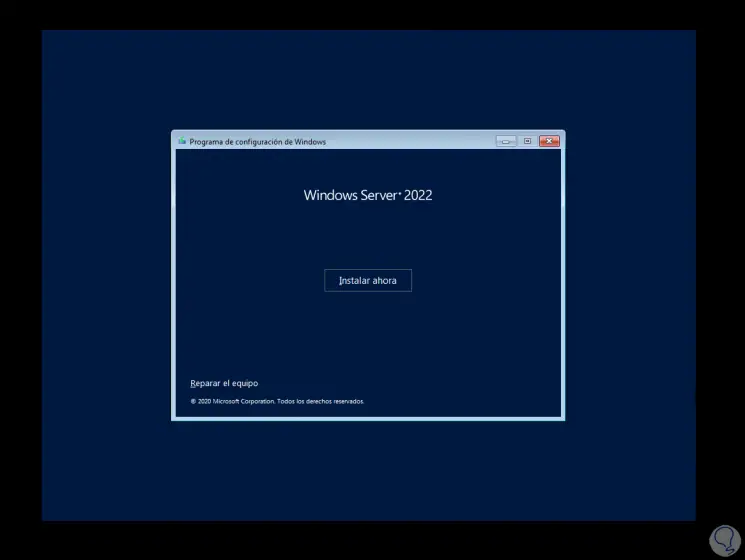
In case the system is already installed, we can perform administrative tasks by clicking on the "Repair the computer" line.
This is the step-by-step process to configure a bootable USB with Windows Server 2022..