The Meta Quest 2 are an update of the well-known Oculus with something new but the same essence. With them we will be able to enter the world of Virtual Reality thanks to its benefits and its great possibilities. Hand in hand with Facebook, these Meta Quest 2 are going to allow you to delve into another reality of various options. Today we will see how we can connect the Meta Quest 2 to the PC and what we will have to take into account to do it..
Meta Quest 2 Minimum Recommendations
The basic hardware requirements to be able to use the meta Quest on your PC are the following:
- Minimum processor Intel i5-4590/AMD Ryzen 5 1500X or better
- Compatible graphics card according to official listing
- Main memory 8 GB of RAM or more
- Operating system with Windows 10 or later version
- USB port with preference to minimum USB 3.0 technology
If you want more detailed information about the minimum requirements for graphics hardware, visit the following official link:
Meta Quest 2
Other options to consider
In addition to the minimum requirements mentioned above, you will have to take into account that you will also need:
- Have updated PC and Meta Quest 2 software
- A high-quality USB cable that supports power and data transmission
Once we have verified that we have the necessary requirements, we are going to see the process of linking Meta Quest 2 to the PC in two different ways.
To stay up to date, remember to subscribe to our YouTube channel!
SUBSCRIBE ON YOUTUBE
1 How to connect Meta Quest 2 to PC with cable
Step 1
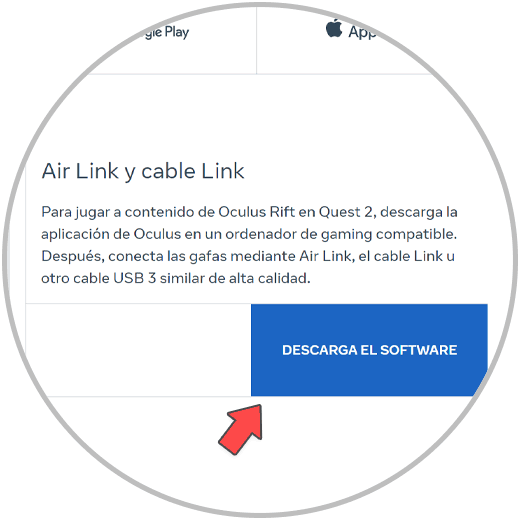
The first thing we will do is go to the official Meta page and download the "Air Link and cable Link" app for PC:
Meta PC App
Step 2
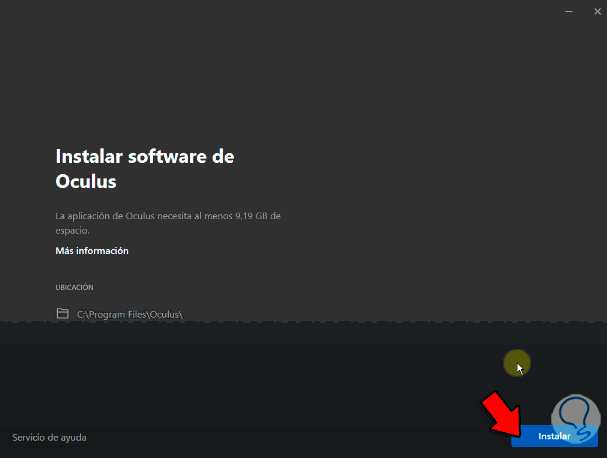
Once the file is downloaded, we execute it and start its installation with "Install":
Step 3
While the installation of the main application takes place, we will take the opportunity to install another one that is necessary later to install PC games. It is Steam VR and is downloaded from the Steam application itself. We will search for Steam VR in the Steam search engine.
You will need to log in to Steam with a previous account or a new one..

Note
If you do not have Steam installed you can get it on its official page below:
Steam
Step 4
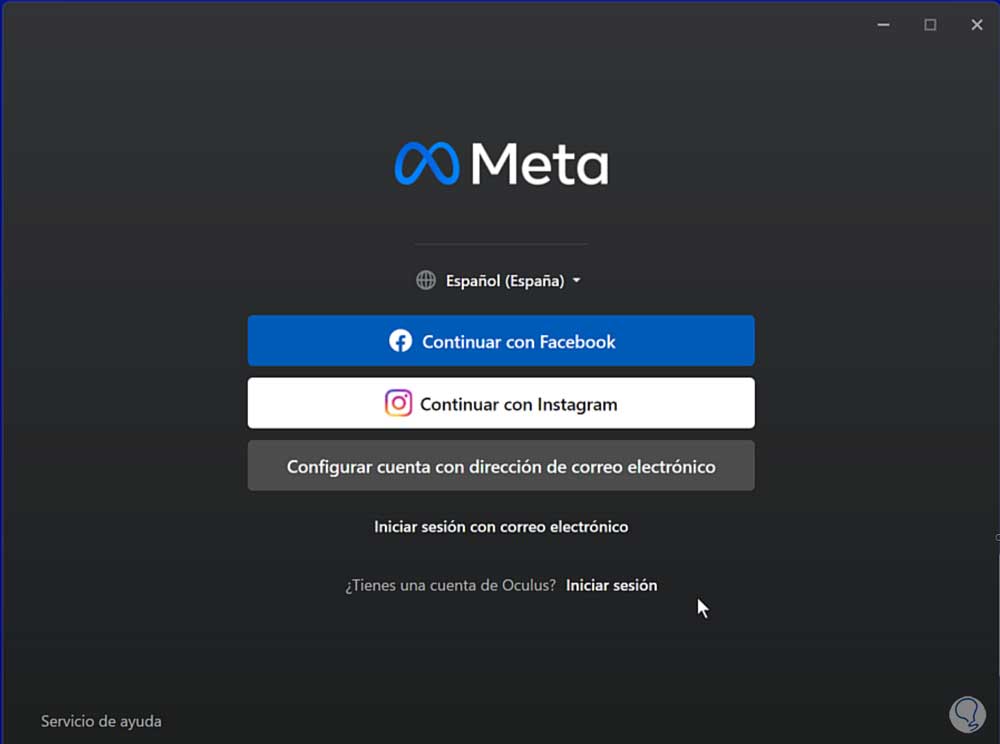
We return to the configuration application of our Meta Quest 2 and follow the steps. We will have to log in with one of the ways indicated in the window.
step 5
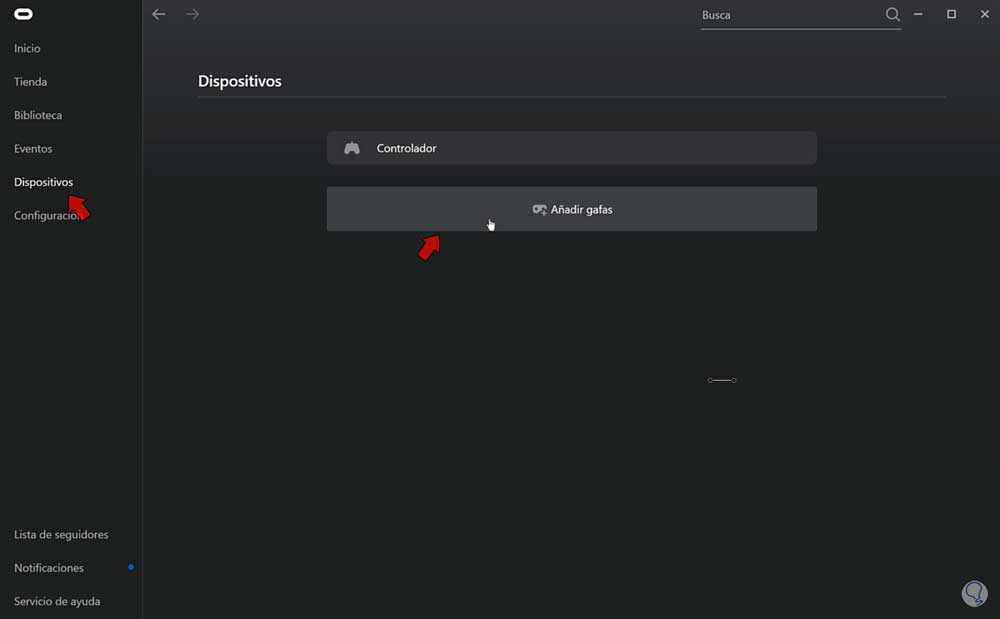
After logging in, the device selection to configure will appear. If this is not the case, within the main panel we will click on "Devices - Add glasses"
step 6
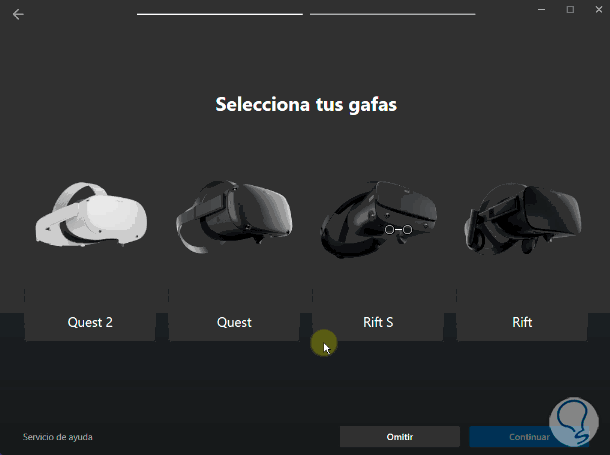
Now we will choose the model of our Meta Quest from the list.
step 7
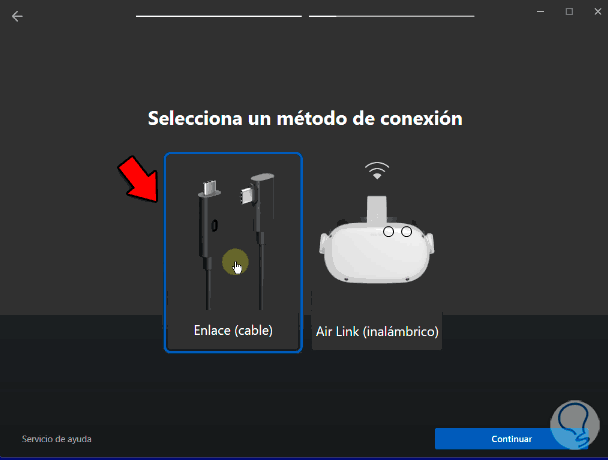
In the next window we are going to select the connection method for our Meta. In this case we will choose the option "Link or cable"
step 8
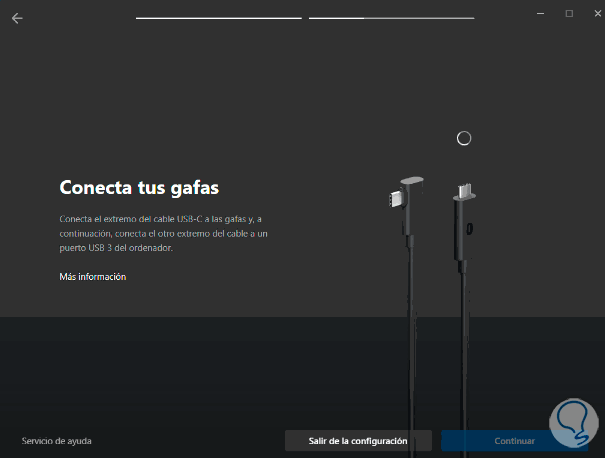
We will see that the connection of our Meta Quest 2 to the PC begins.
step 9
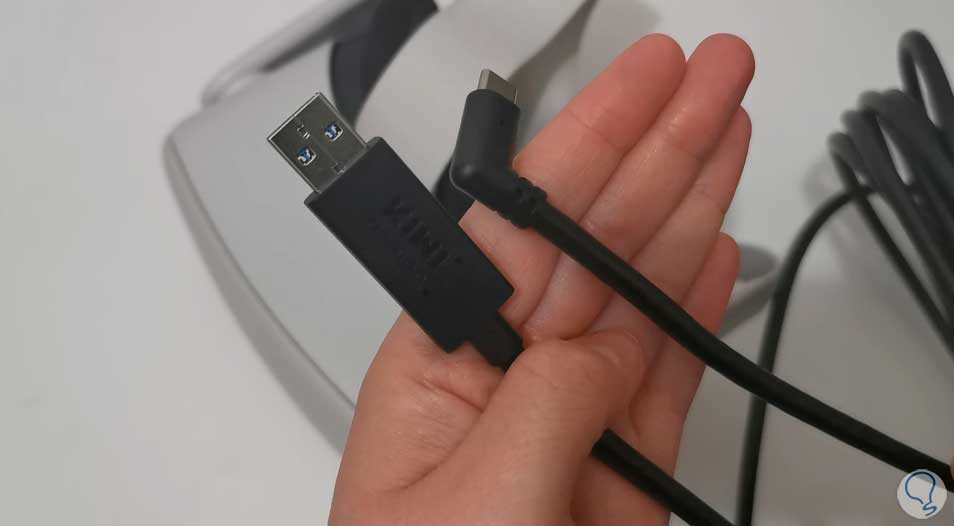
Now we are going to connect our glasses to the PC using a compatible cable and it can be from USB-C to USB-C or from USB-C to USB 3.0. In this case we will use the second option.
step 10
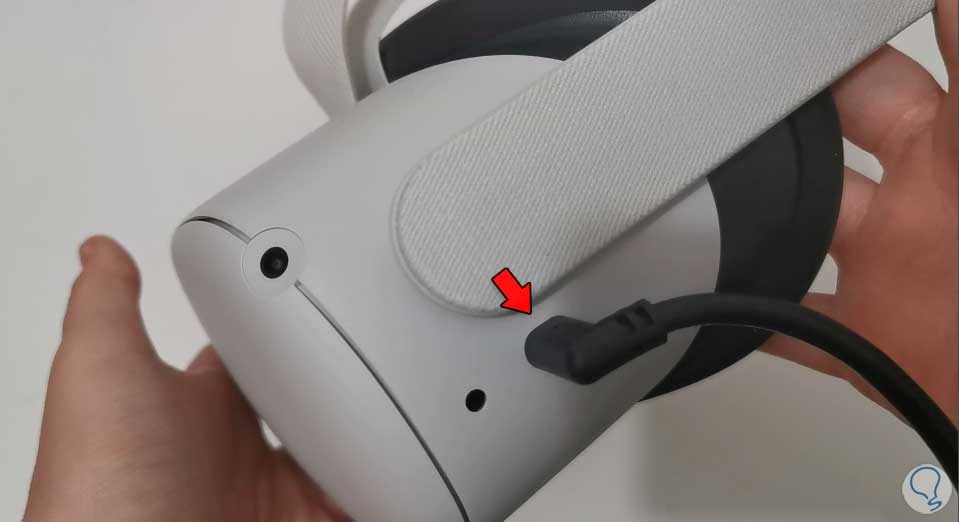
We will connect the part with USB-C to the side of the Meta Quest 2 where they have this input.
step 11
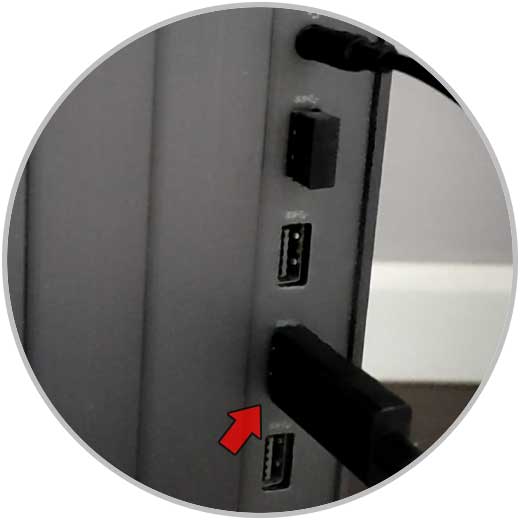
Now the part against either USB-C or USB 3.0 will be connected to a compatible input on our PC.
step 12
We put on our Meta Quest 2 and we will see a notice on the screen where we will click on the "Deny" option.

step 13
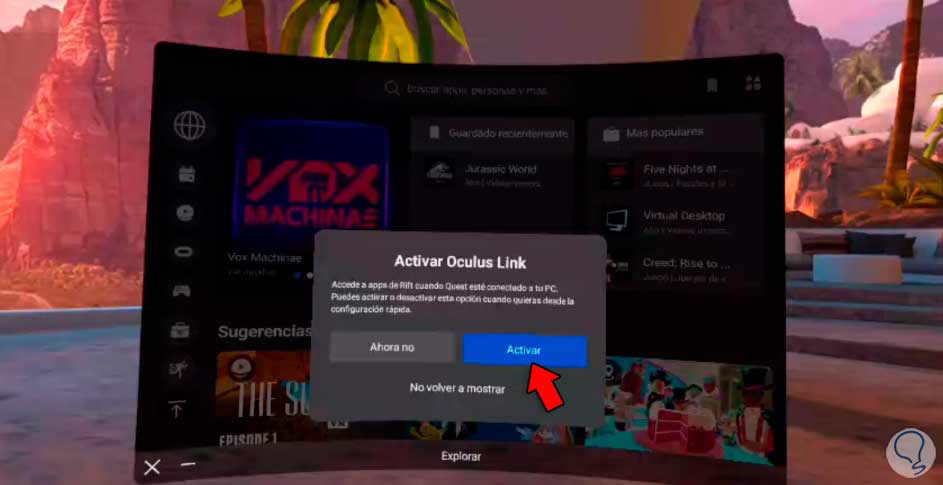
We will see a notice on the screen that tells us to “Activate Oculus Link”. Click on "Activate".
step 14
We will see how the environment of our Meta is changed and we will see PC options through the glasses, being able to play PC games from here.

Note
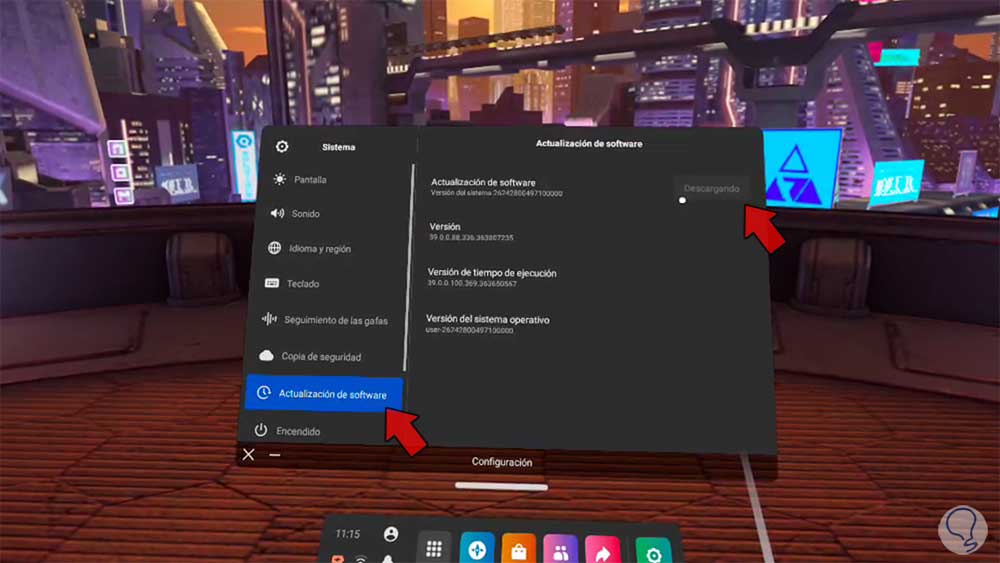
If you have checked the connection requirements and still have problems, verify that you have the latest software version on your Meta Quest 2. To do this, open the quick settings menu, go to "System" and look for "Software update". If there is a new version, install it to solve connection problems.
2 How to connect Meta Quest 2 to PC without cable
Step 1
The first thing we will do is go to the official page for the Meta Quest where we can share the screen. To do this we will go to the following link and log in with our account.
Meta Quest Cast
Step 2
Once we log in we will see an instructions screen.
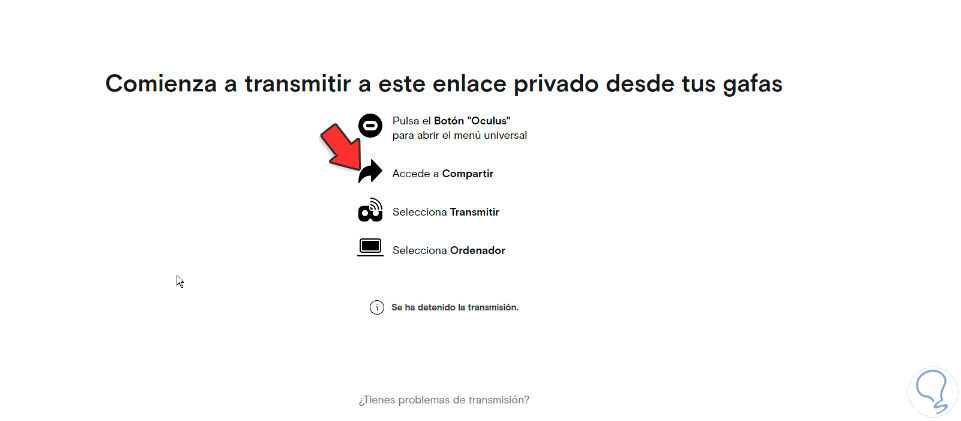
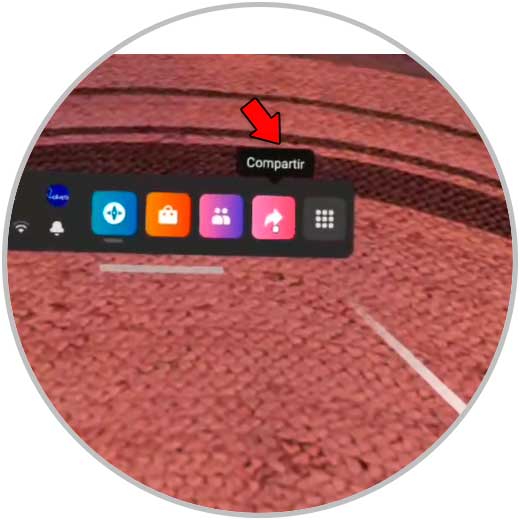
Step 3
Next we will go to our Meta Quest 2 glasses. We will show the lower access menu and click on "Share".
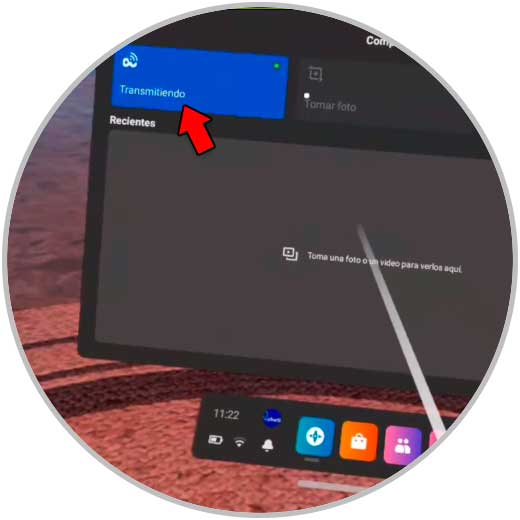
Step 4
Here we will click on the “Transmit” option. Once the process starts, it will change to the “Transmitting” status.
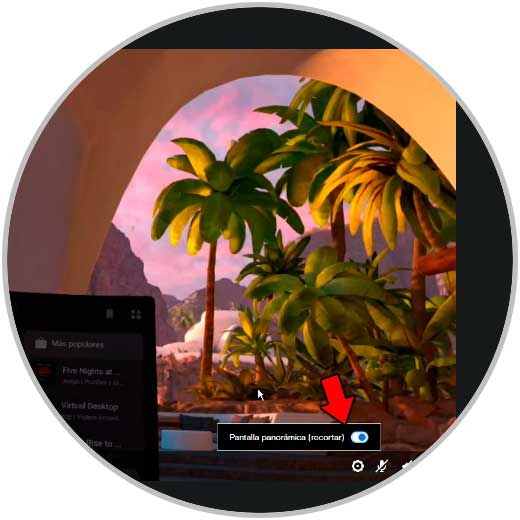
step 5
Once the transmission begins we will see the content of our Meta Quest 2 in the window where we have logged in before. Also, if you want, you have the option to activate "Widescreen" to see it on a more complete screen.
In this way we will be able to How to Connect Meta Quest 2 to PC With or Without Cable or pair Meta Quest 2 using or not using a cable on our PC.