Windows 10 integrates various tools with which the optimal functioning of the system is guaranteed since it can be prone to various errors, one of them is the system boot error which does not allow you to start the session and to help mitigate this error Windows 10 integrates automatic repair which works in a high percentage of the time but it is possible that at some point it does not..
If we cannot start our system, we will not have access to various repair options and that is why using automatic repair at startup can be a good option. For this TechnoWikis will teach how to repair Windows 10 without having to fully format the system, this is because a format will logically delete personal files apart from programs and apps, let's see how to achieve this.
To stay up to date, remember to subscribe to our YouTube channel!
SUBSCRIBE ON YOUTUBE
How to repair Windows 10 without formatting
Step 1
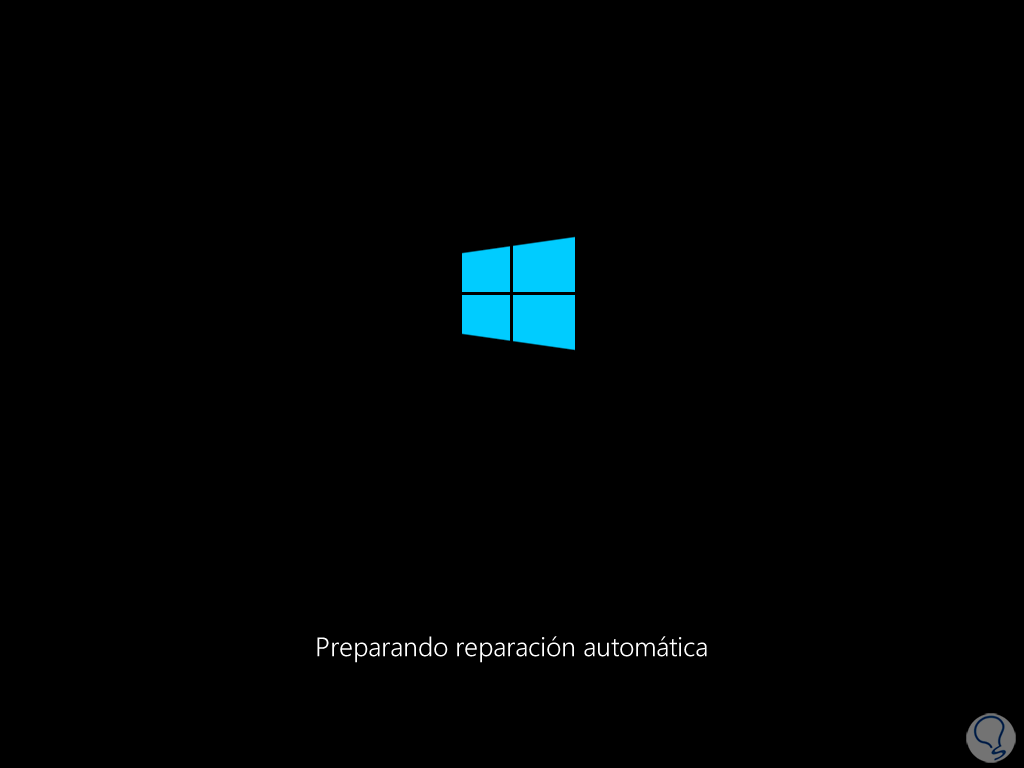
When an error is generated at the start of Windows 10 we will see an attempt to repair the system:
Step 2
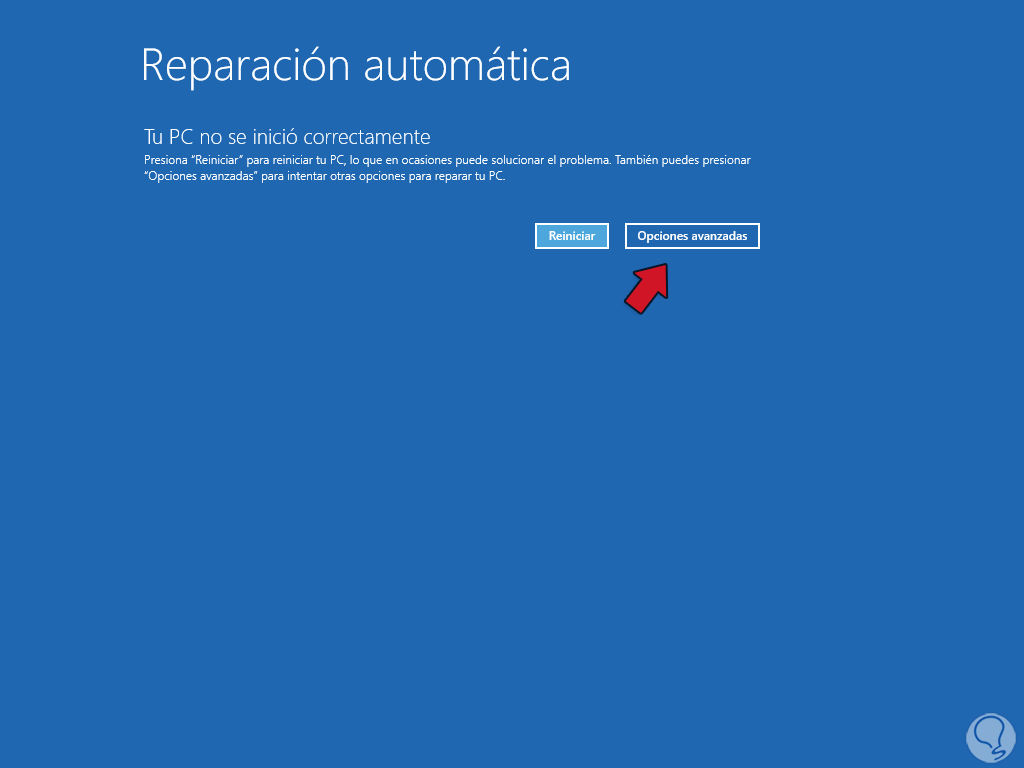
It is normal that we see that it was not possible to repair Windows. We click on "Advanced options"
Step 3
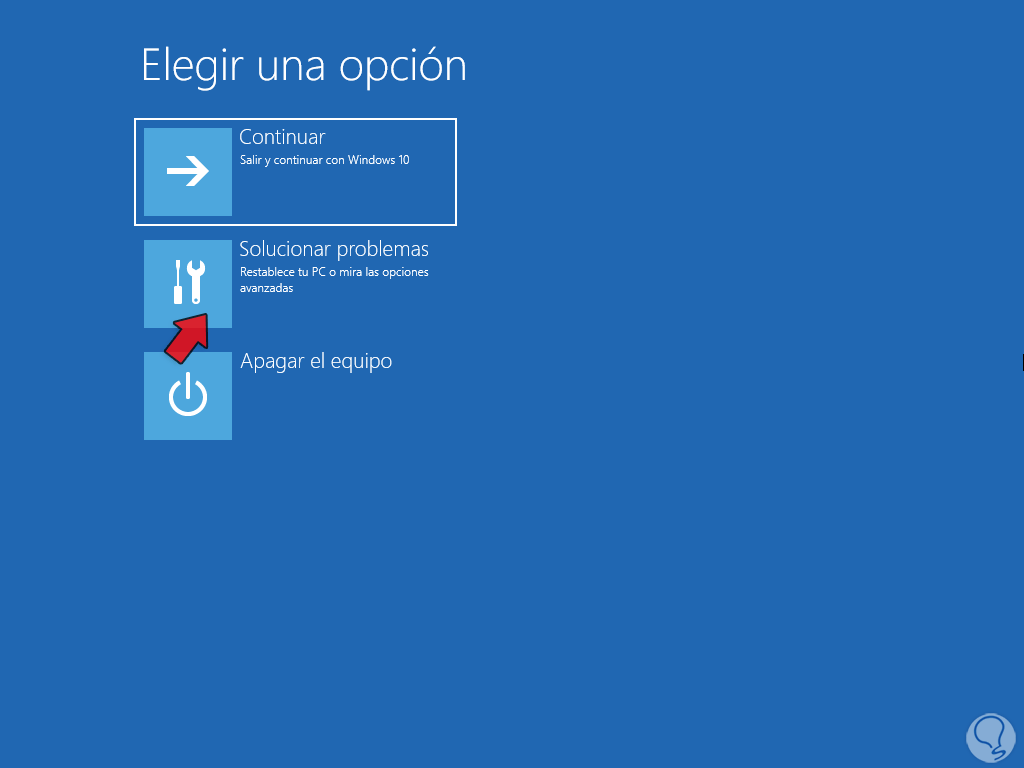
Then we will click on “Solve problems”:
Step 4
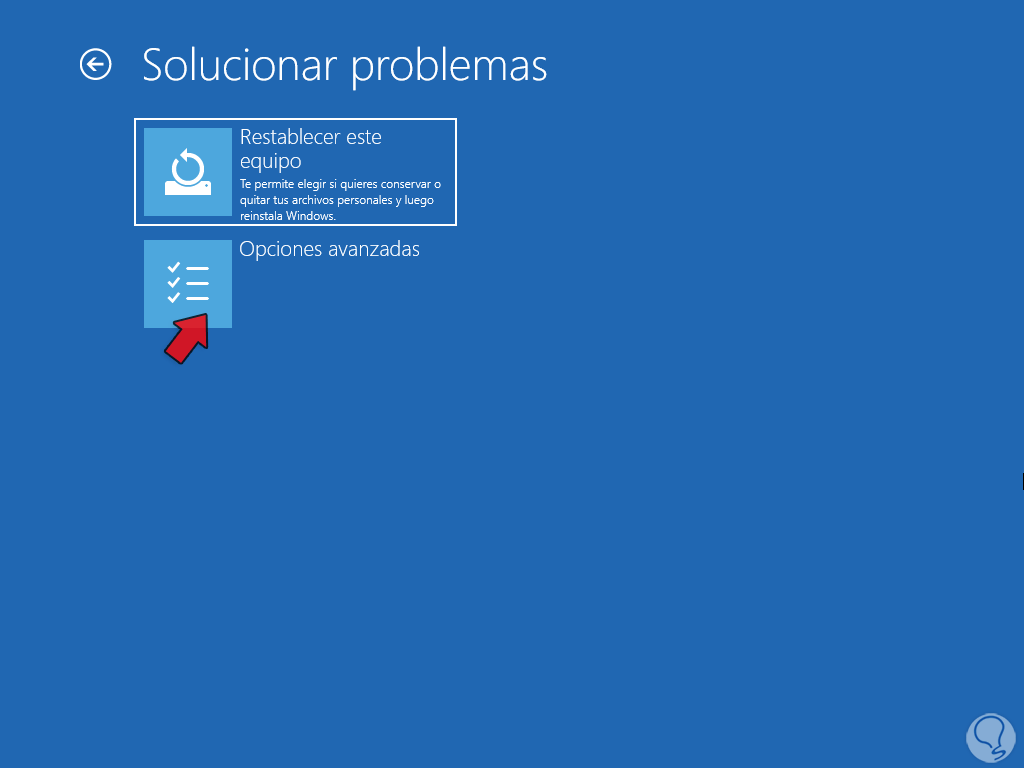
Now we click on "Advanced options":
step 5
We will have access to a set of options to work with:
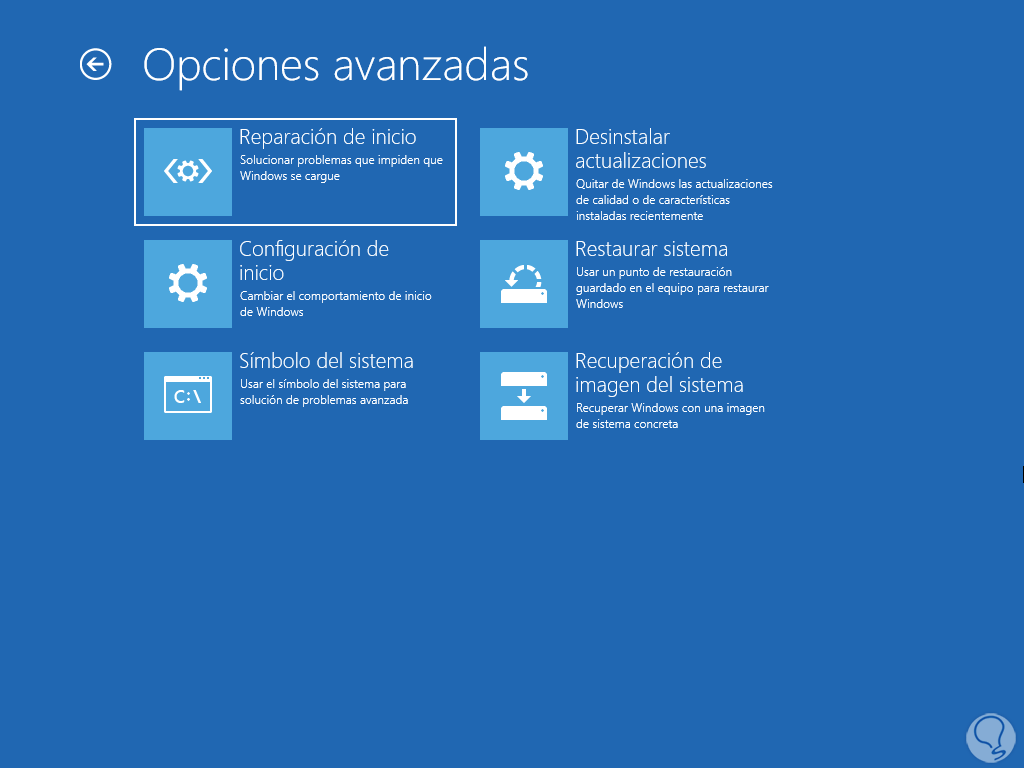
step 6
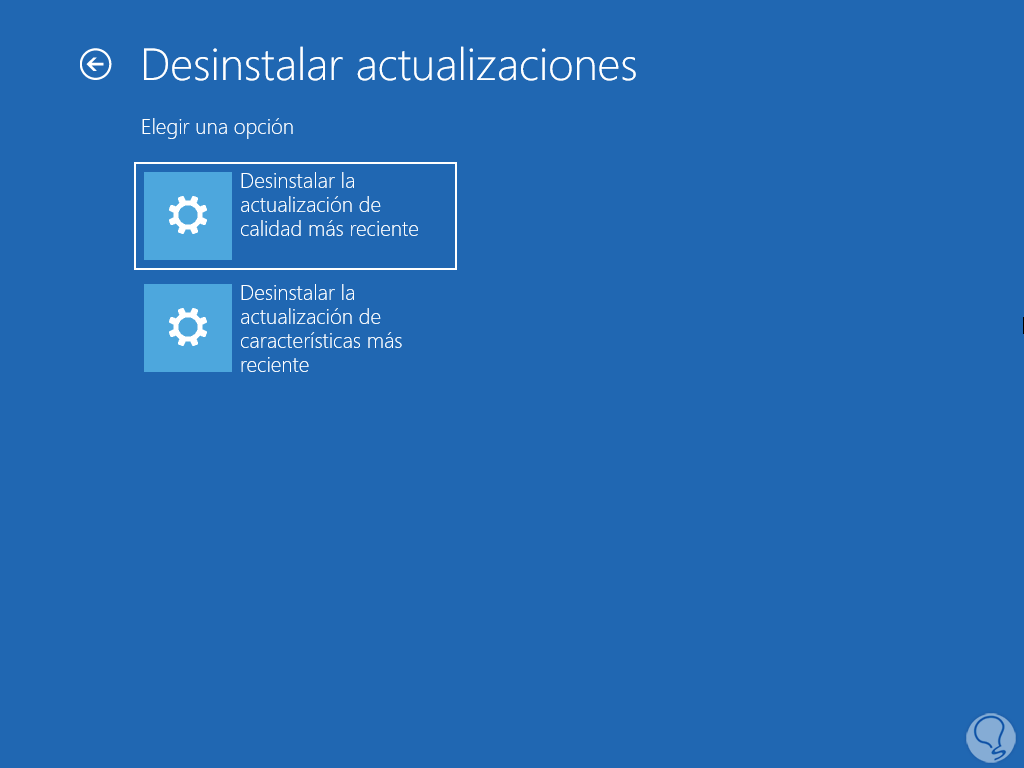
There are several ways to repair Windows 10 without applying the format, one of these is to click on "Uninstall updates" in order to uninstall the latest quality or security updates installed which can negatively affect the system, by clicking there we select the type of update to uninstall:
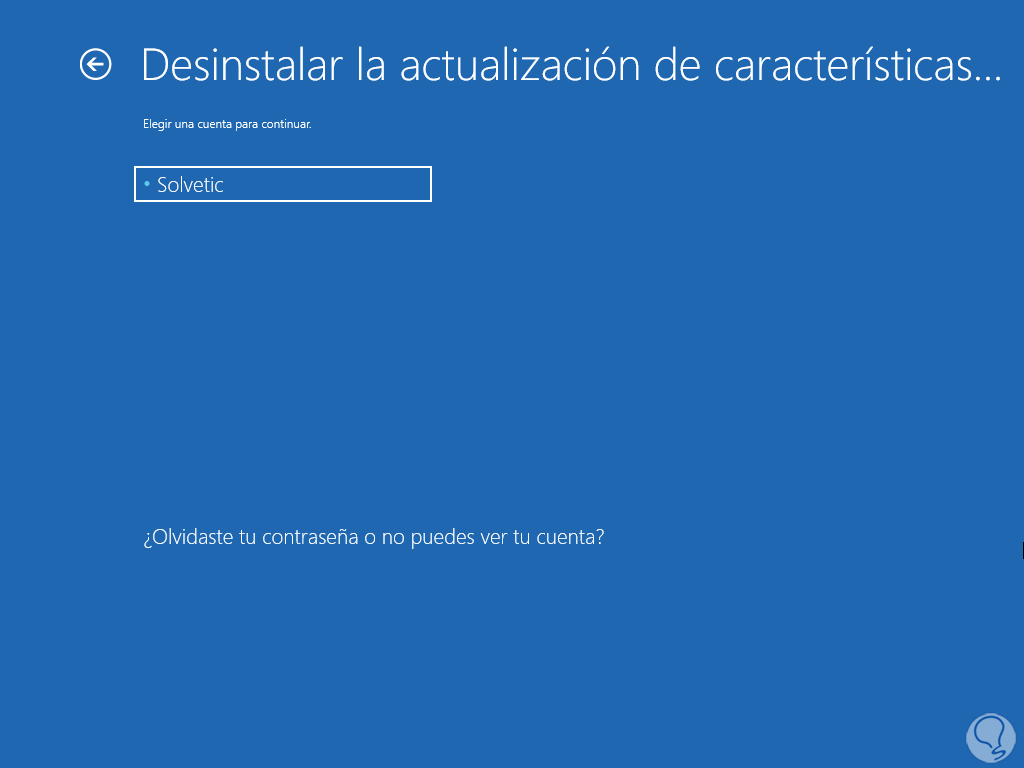
step 7
After this we enter the user:
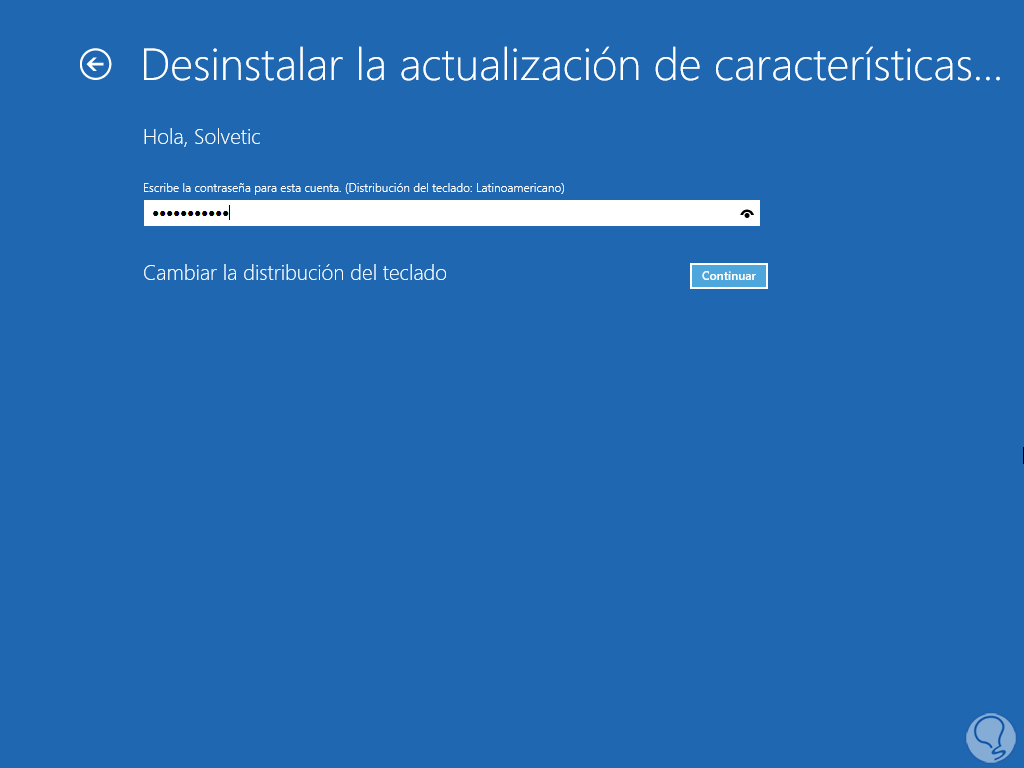
step 8
Now we enter the password of this:
step 9
Now we will see the following window:
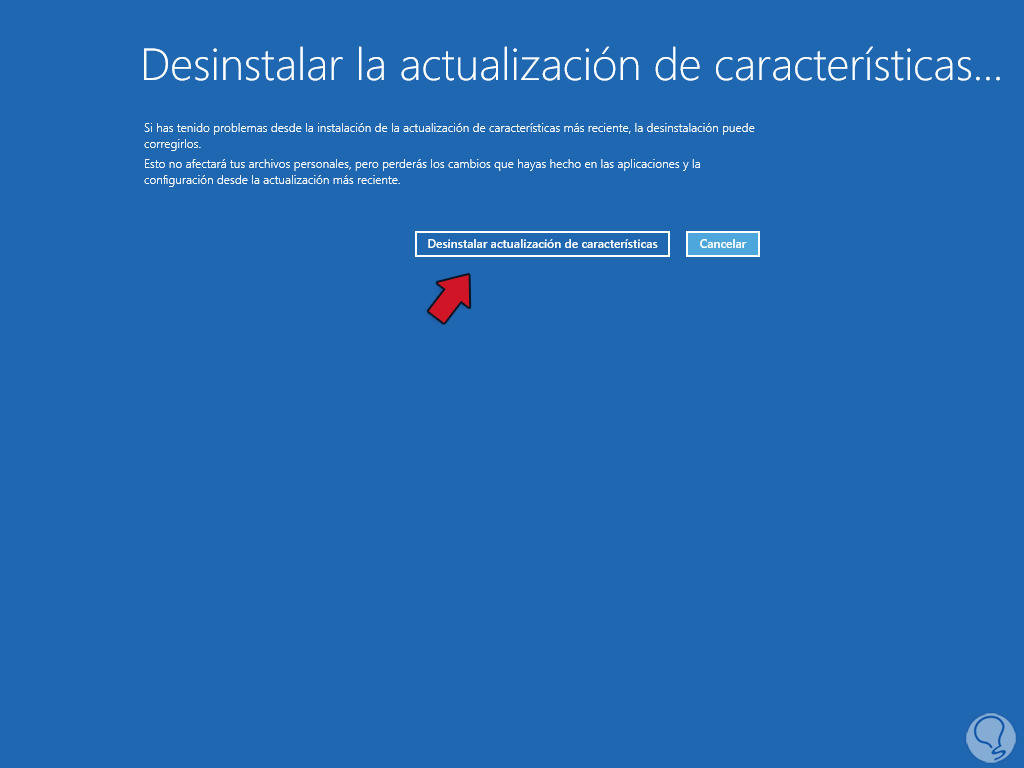
step 10
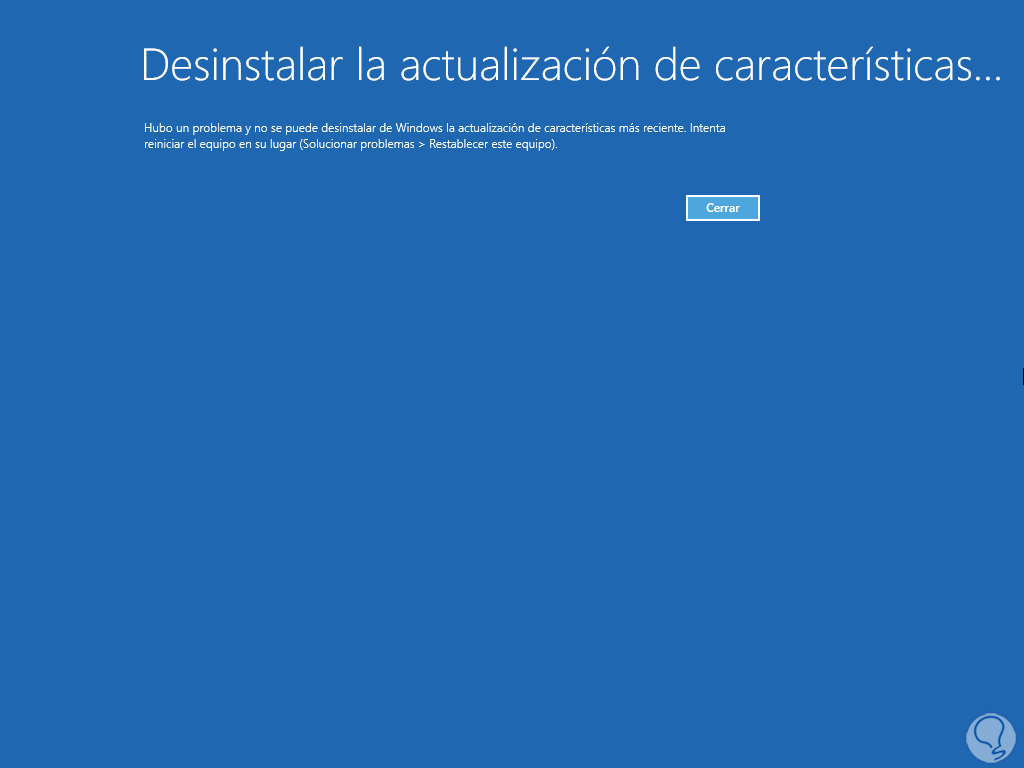
We click on "Uninstall update of (name)" and wait for the process to finish:
step 11
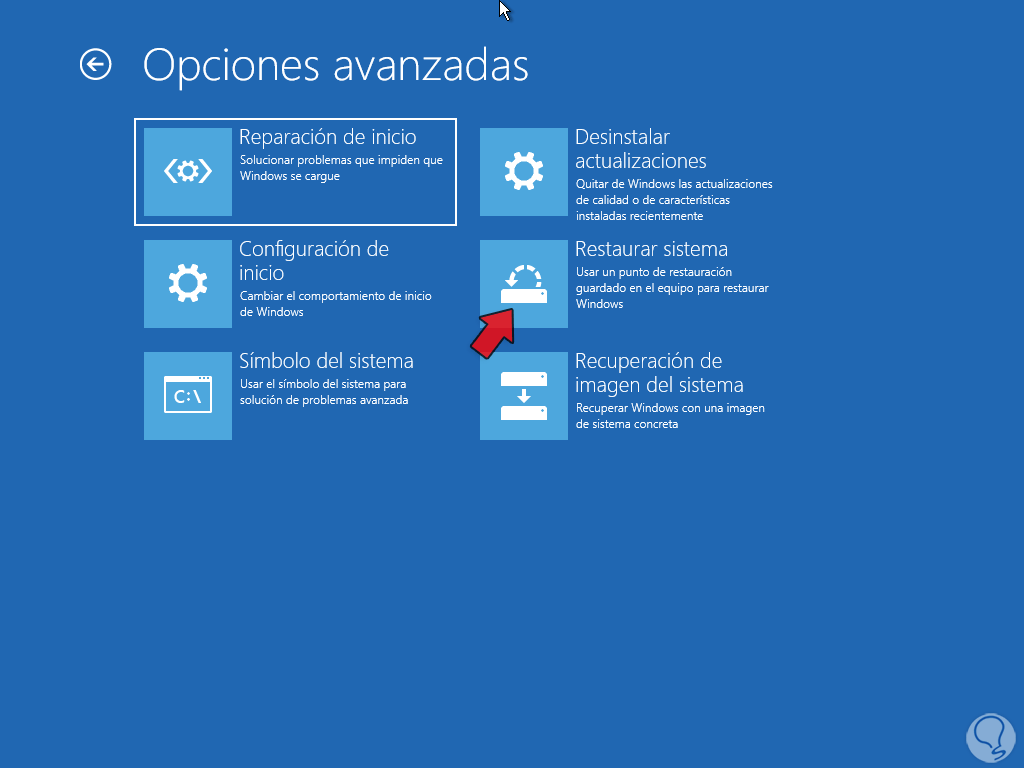
Let's go back to "Advanced options":
Now another of the methods that we can use is to restore the system to a previous point in which the entire system worked correctly, we click on "System Restore"
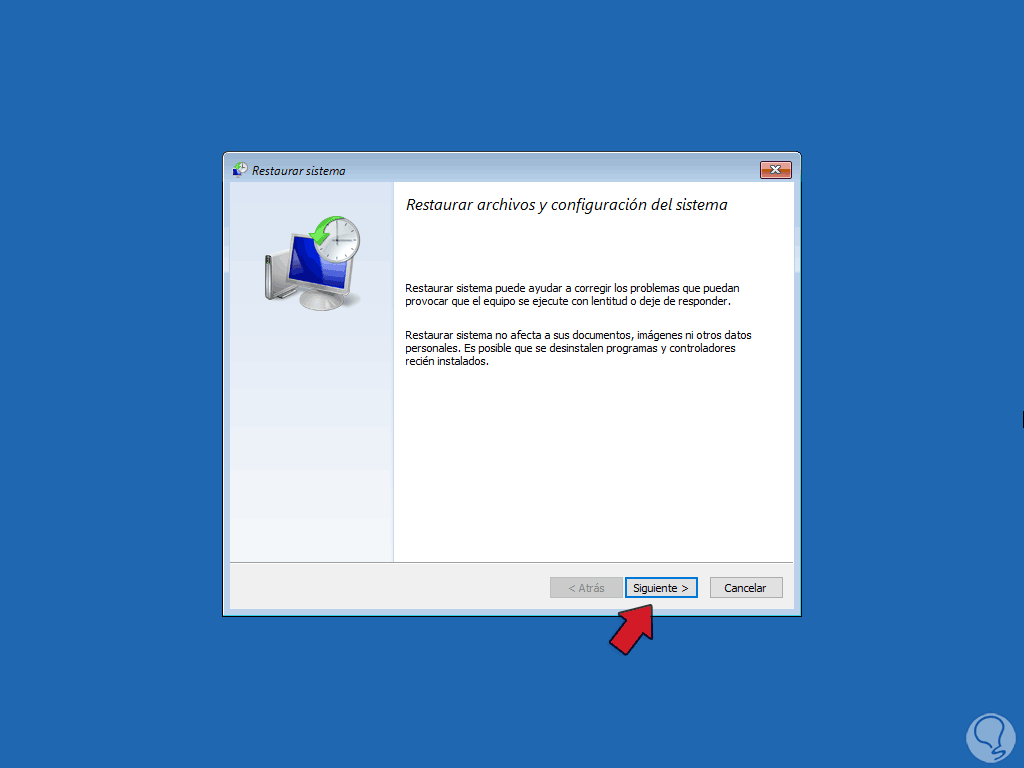
step 12
We will see this, we click Next:
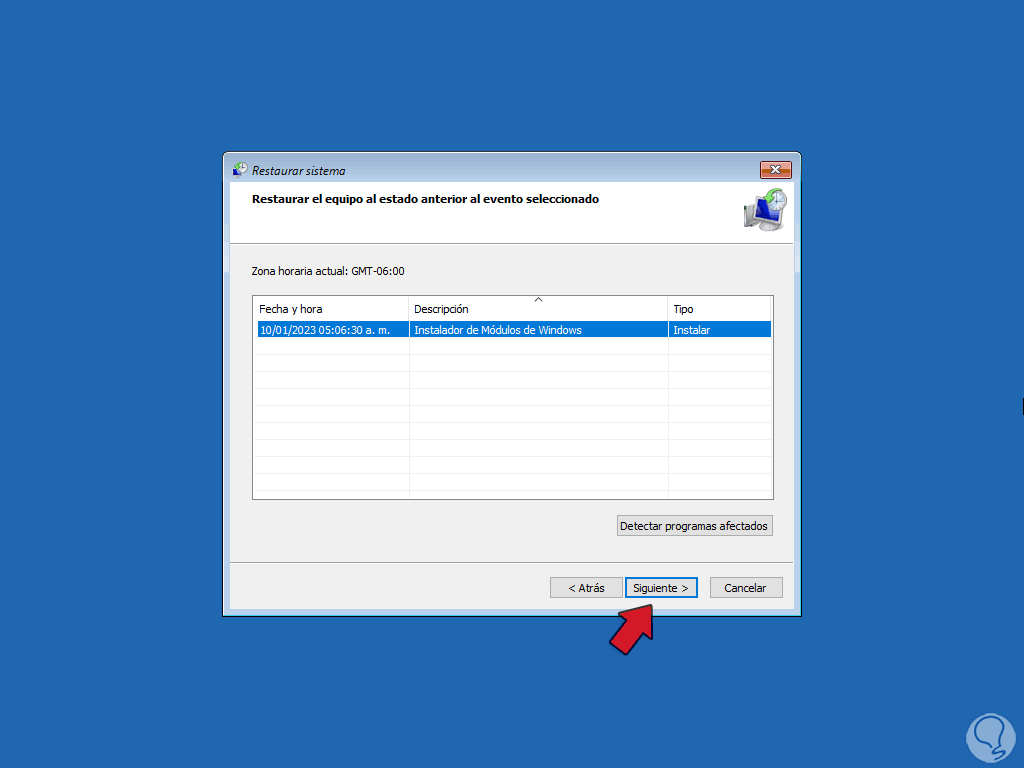
step 13
We select the restore point. We click Next to see a summary of the restoration process to apply:
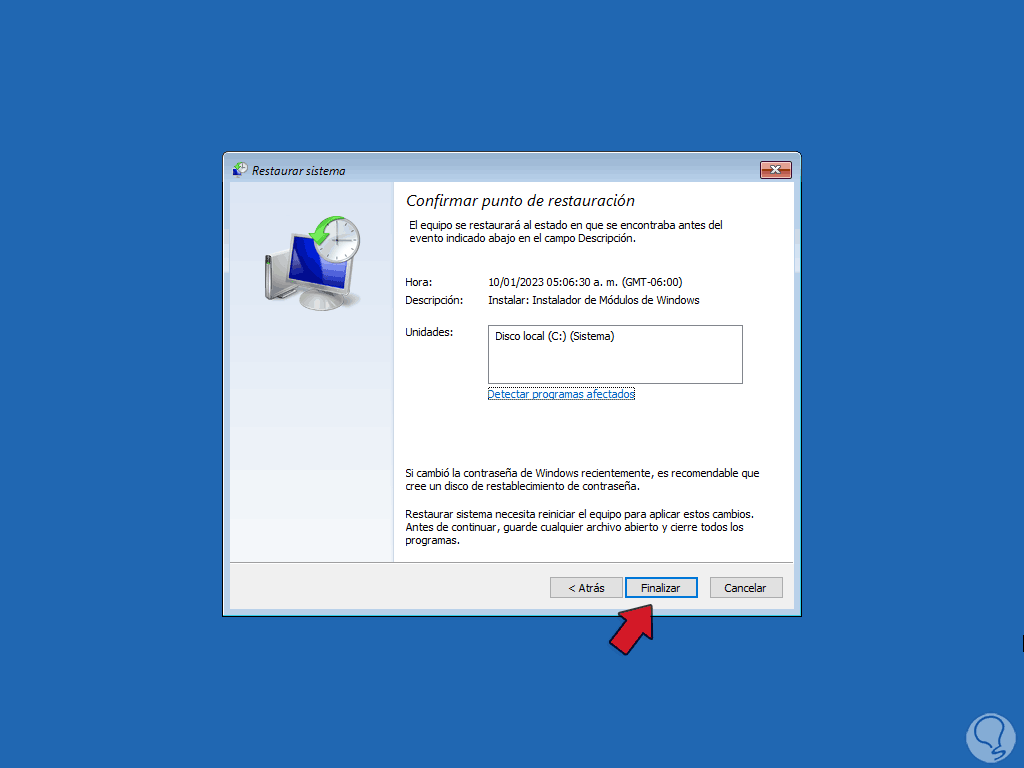
step 14
We click on "Finish" so that the following message is displayed:
step 15
There we click Yes to start the entire system restoration process.

step 16
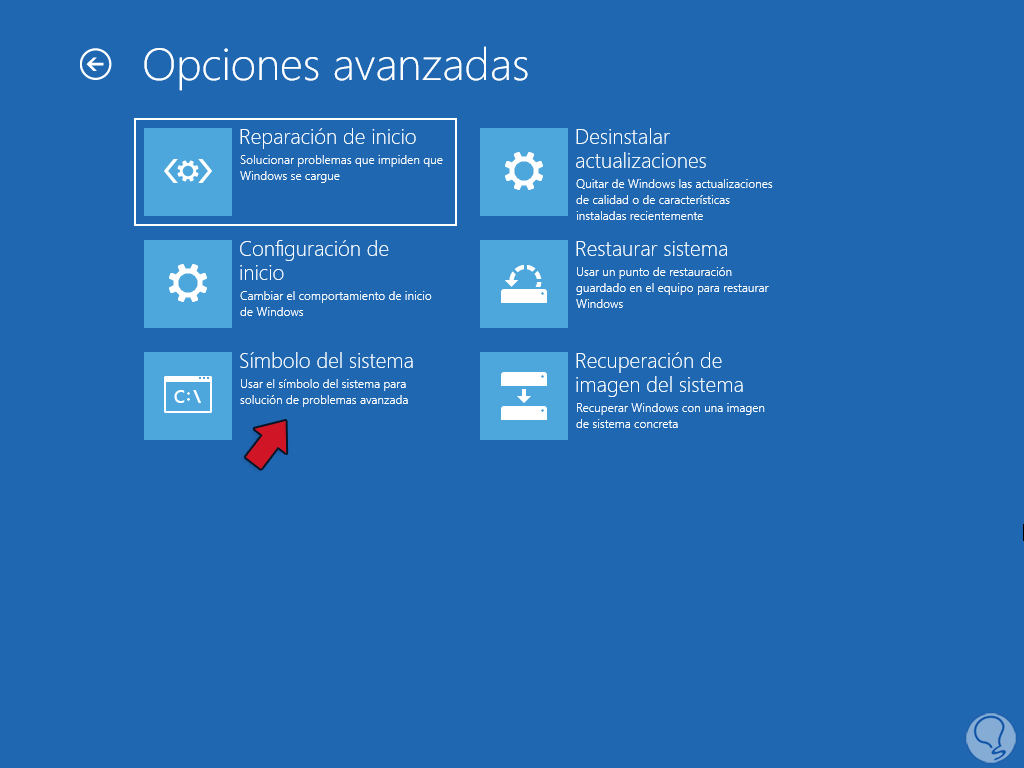
Alternatively in "Advanced options" we click on "Command Prompt":
step 17
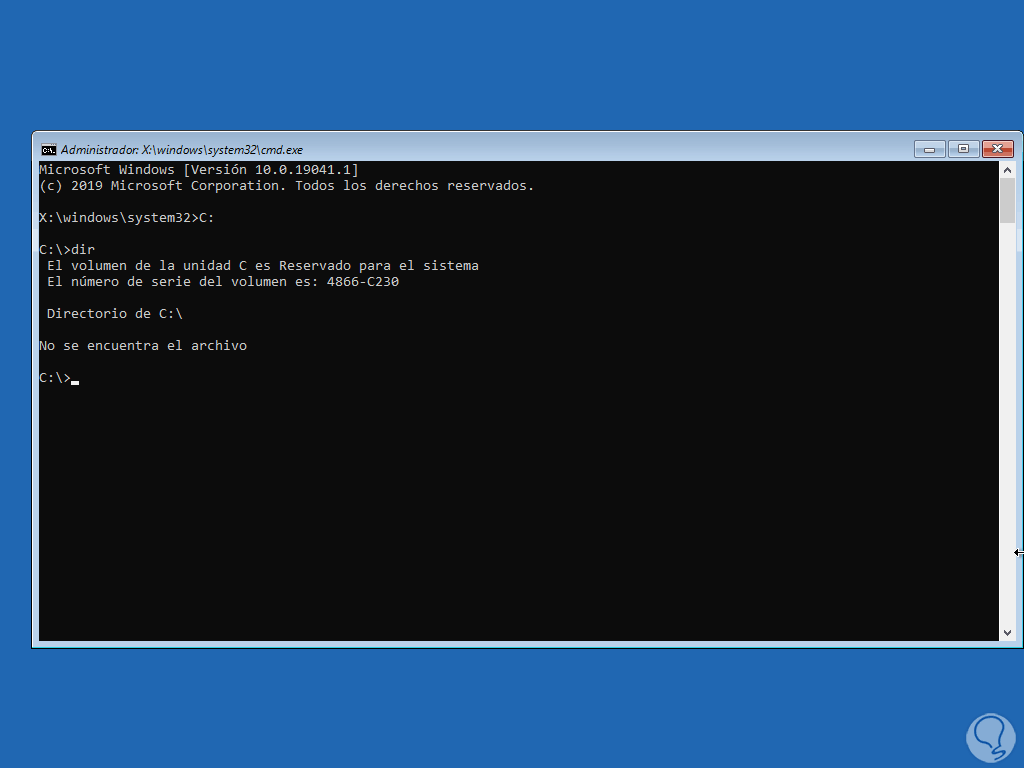
Let's access drive C:
c:
step 18
We list the content:
say
step 19
After this we are going to run a scan of the NTFS file system with the following command:
sfc /scannow

step 20
We hope that this process will come to an end:
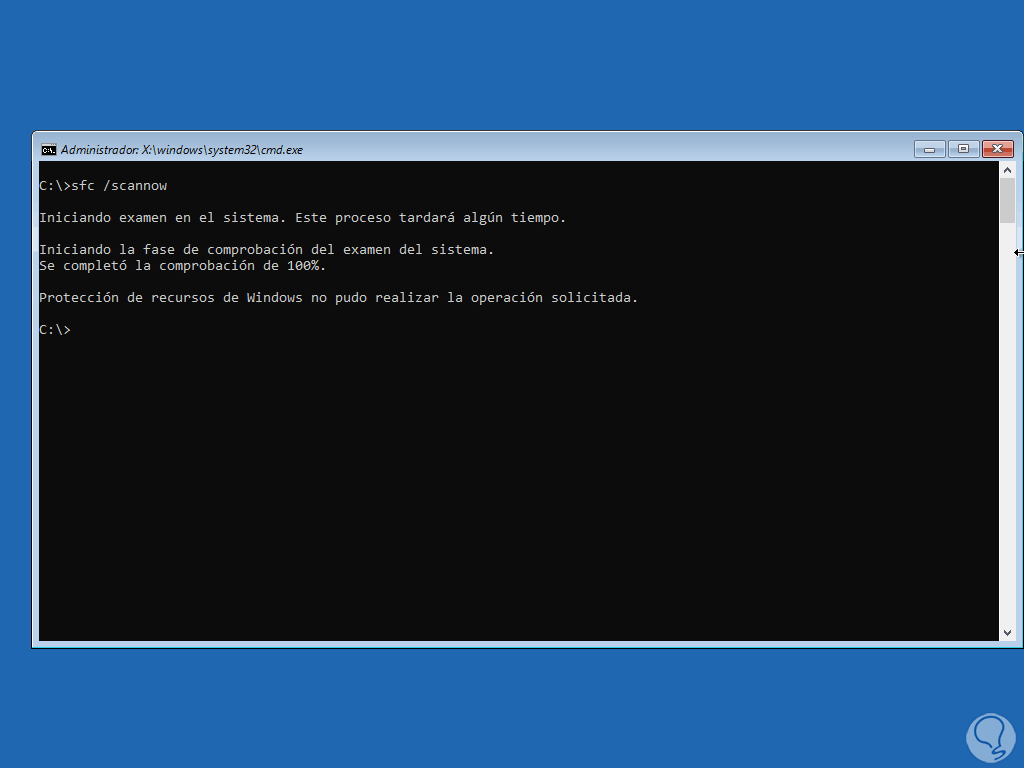
step 21
As we see the operation cannot always be executed, now we execute the command:
chkdsk /r
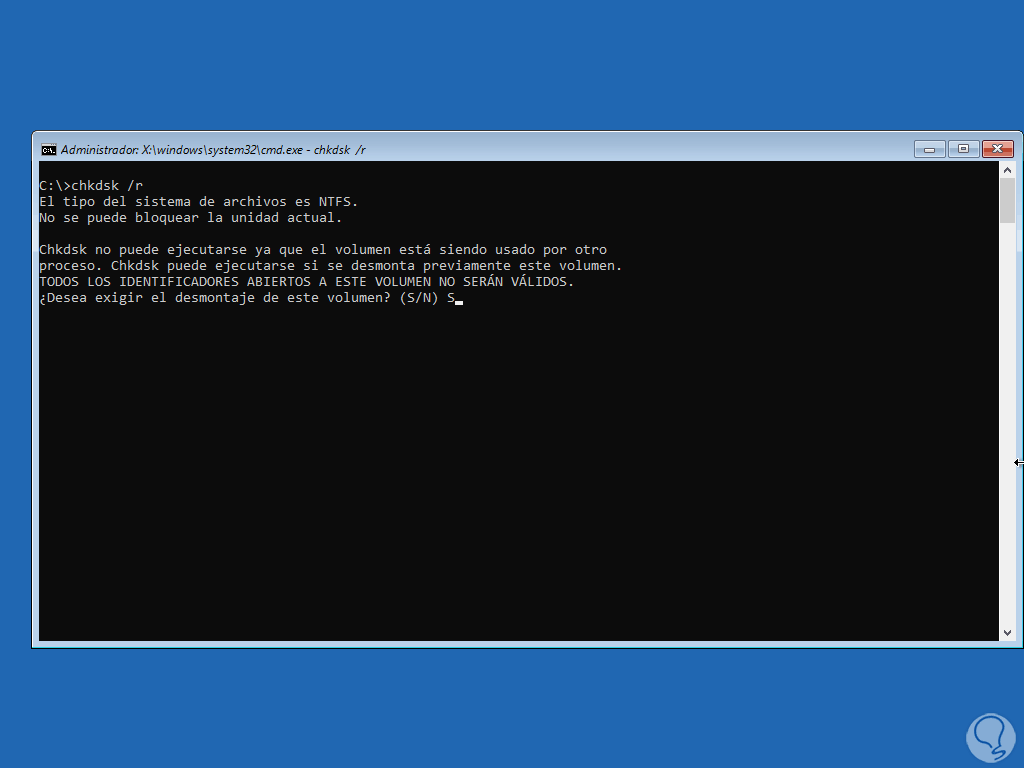
step 22
Confirm the process by entering the letter S and we will see that the analysis process is completed:
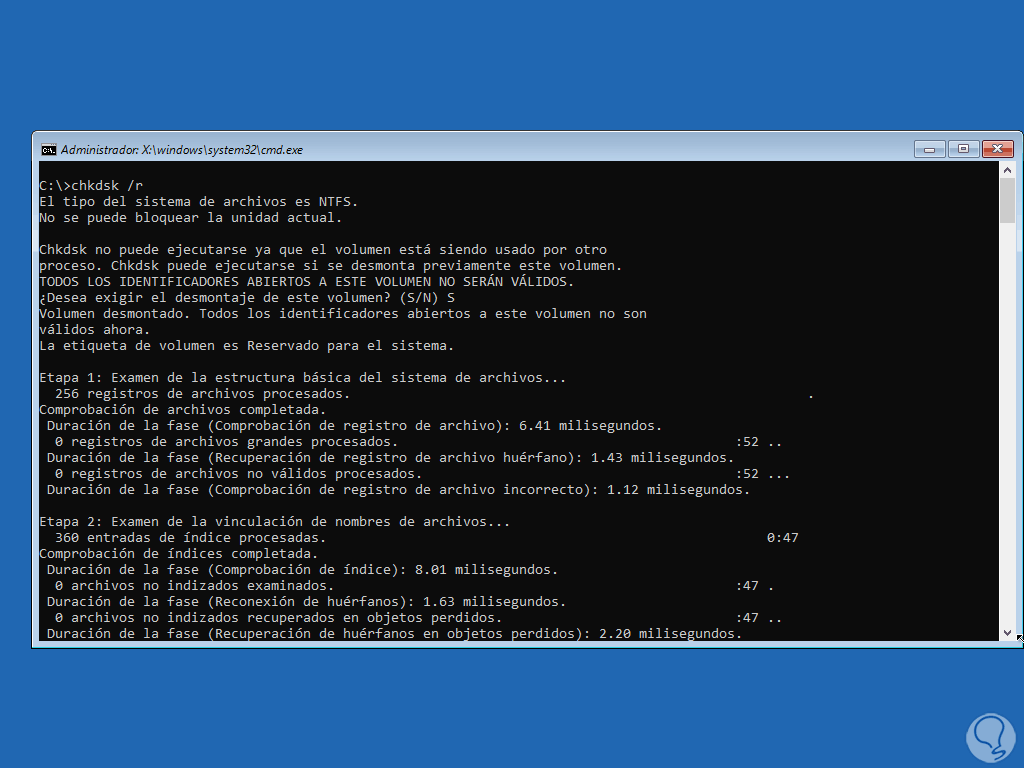
Step 23
We will see the entire process carried out with the command:
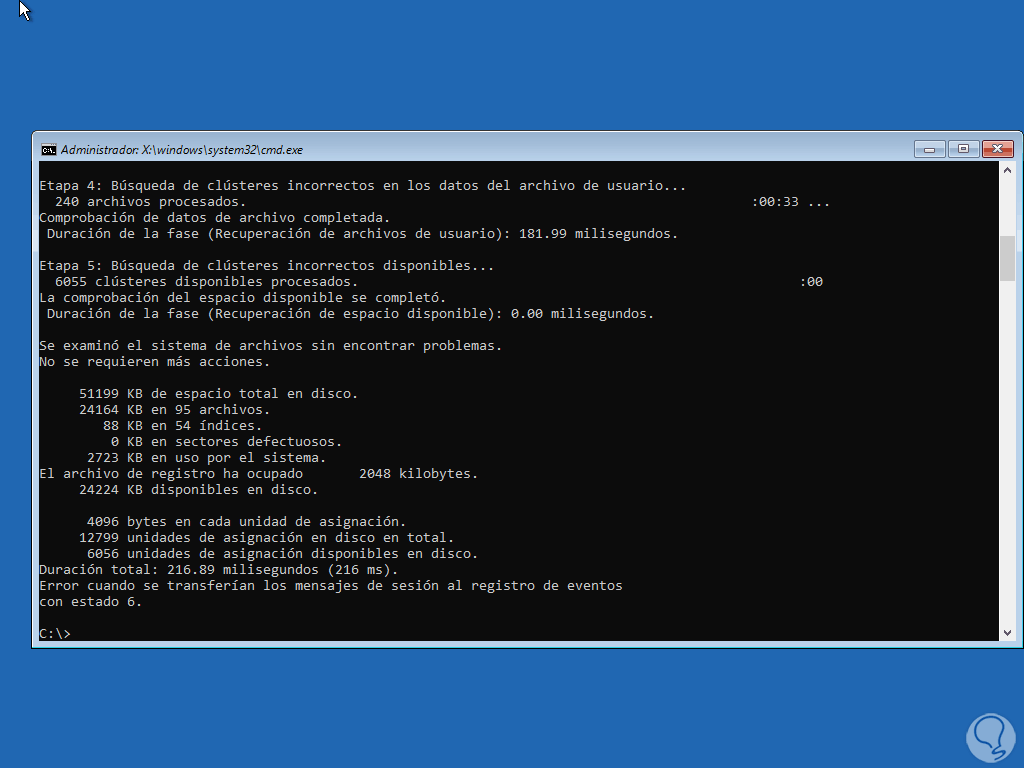
step 24
In case of seeing an error, we exit the terminal and click on "Continue":
step 25
Windows 10 will restart:

step 26
We validate that the access to the system is correct:

step 27
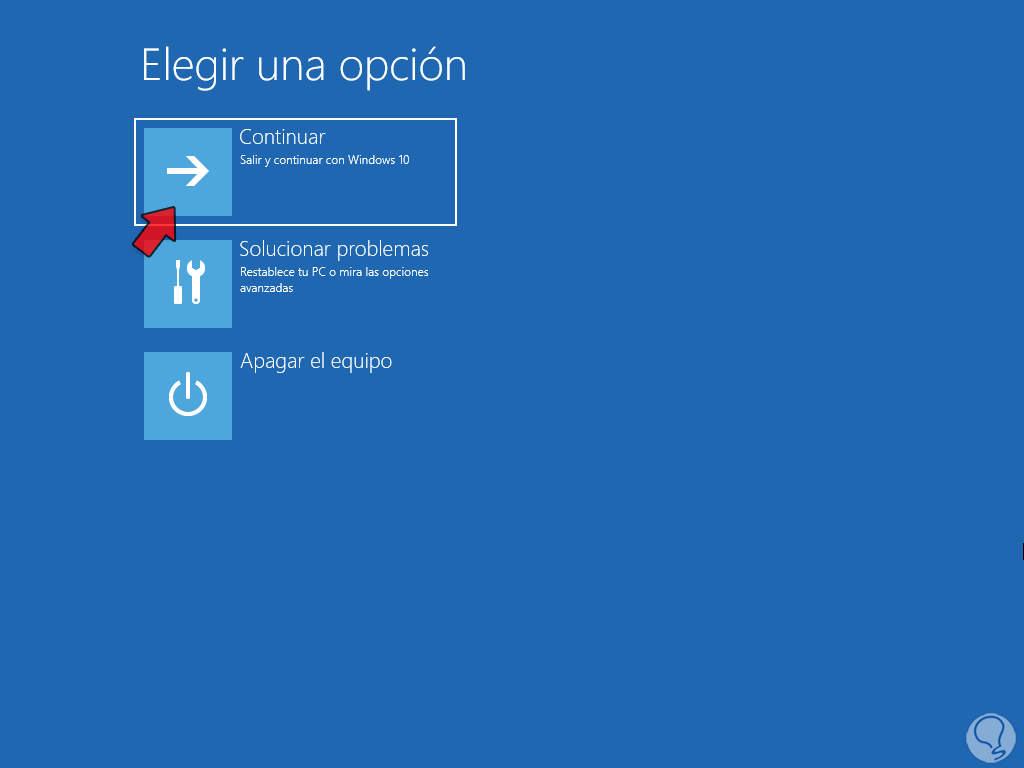
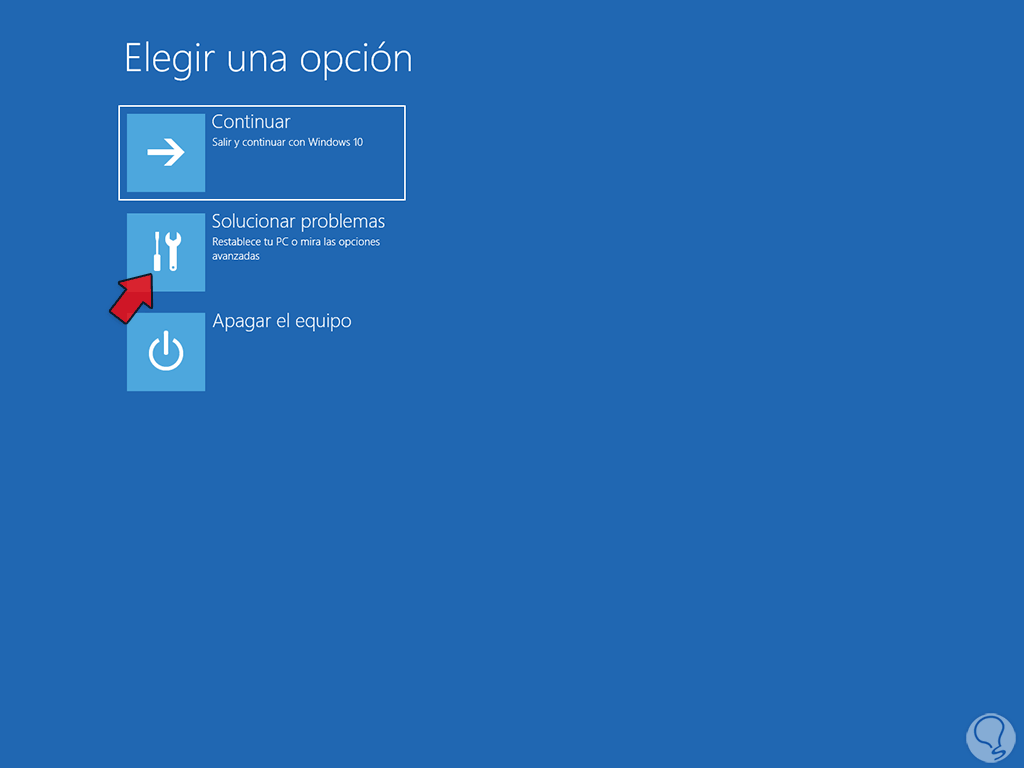
If the error persists, click on "Troubleshoot" after running the system repair:
Step 28
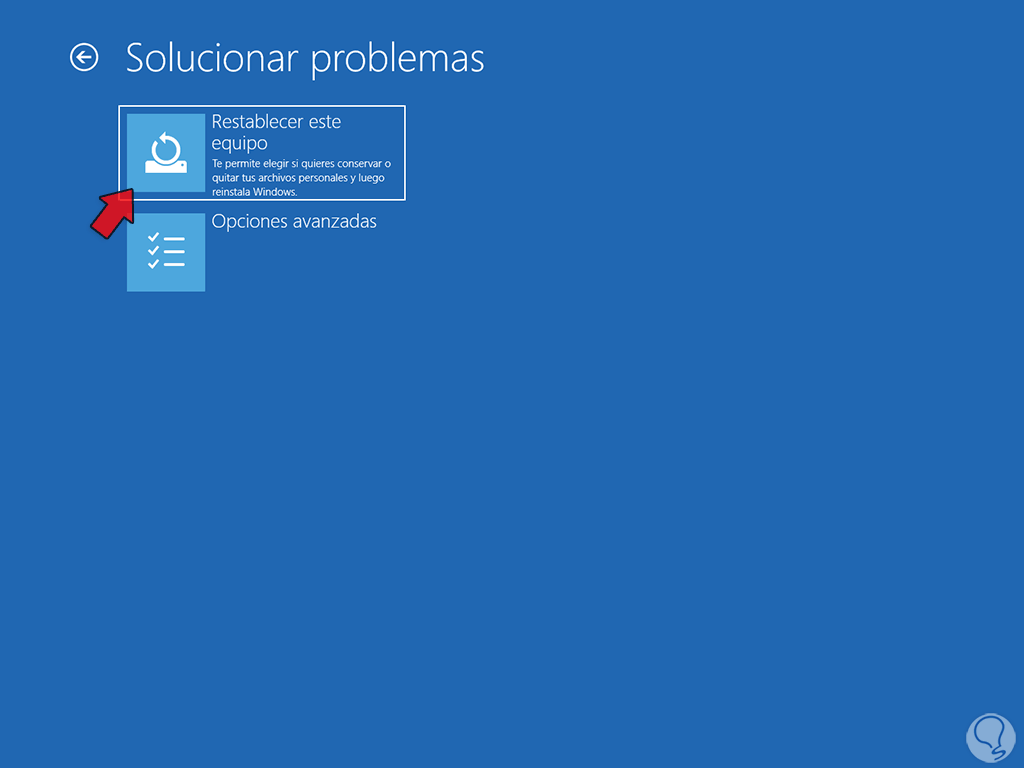
Now we click on "Reset this computer":
Step 29
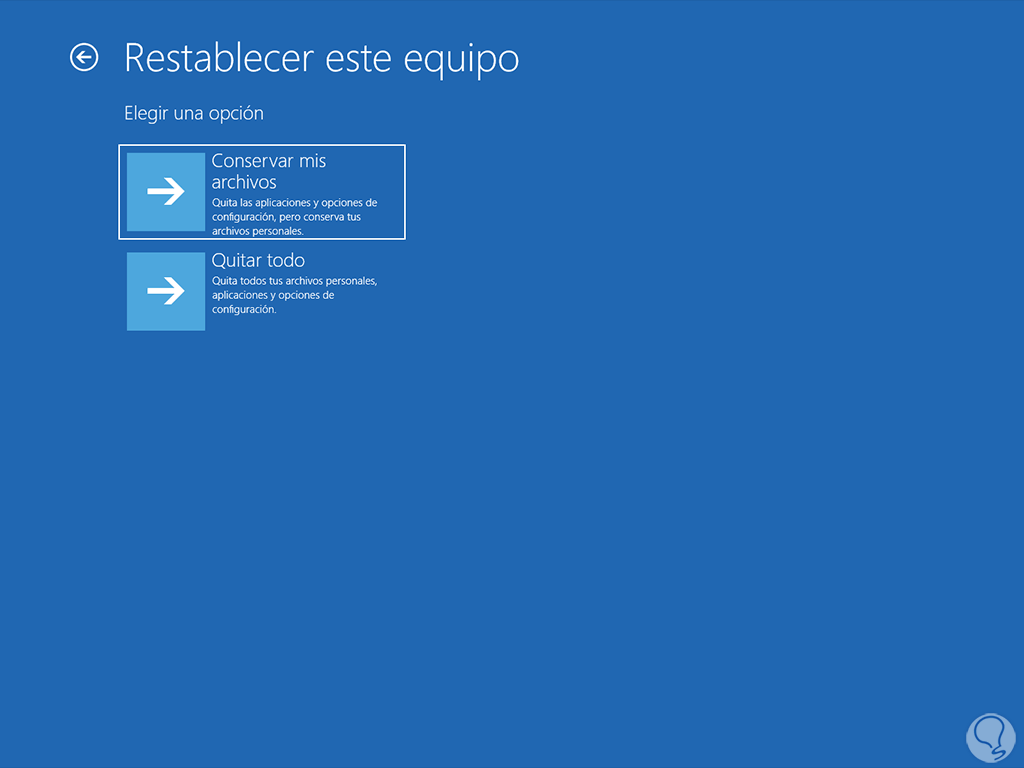
We select whether to keep the files or not which, unlike the direct format, gives us the opportunity to preserve this information:
step 30
It will give way to a brief reboot:

step 31
We define the type of installation to use:
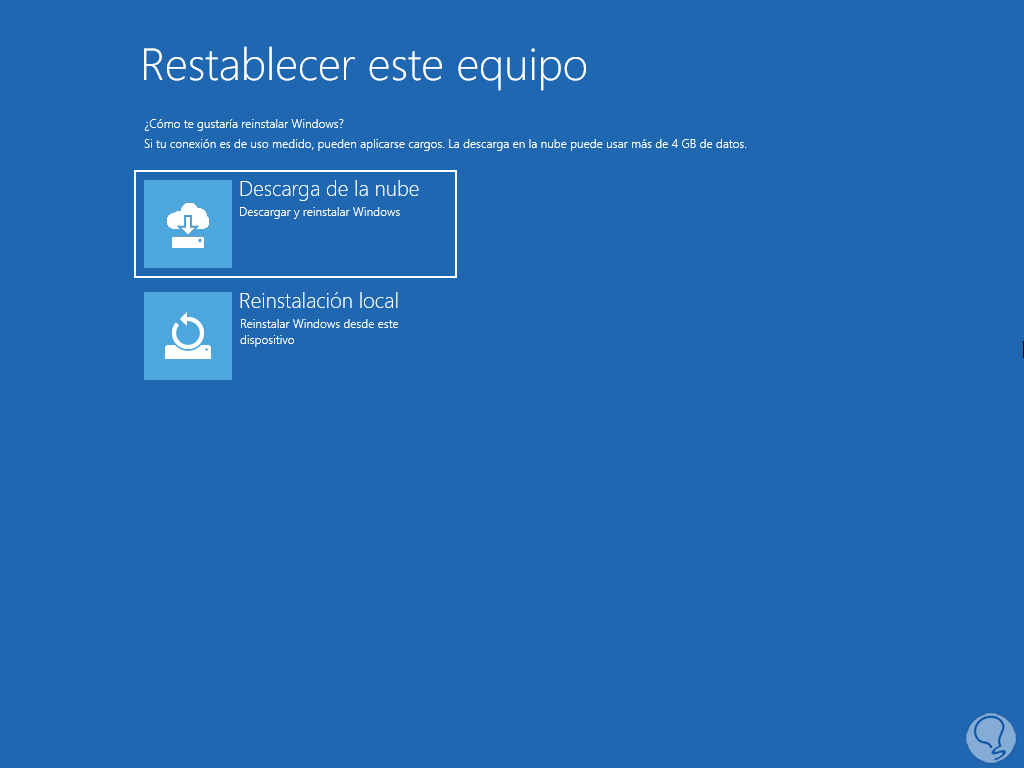
step 32
After this the preparation will take place:
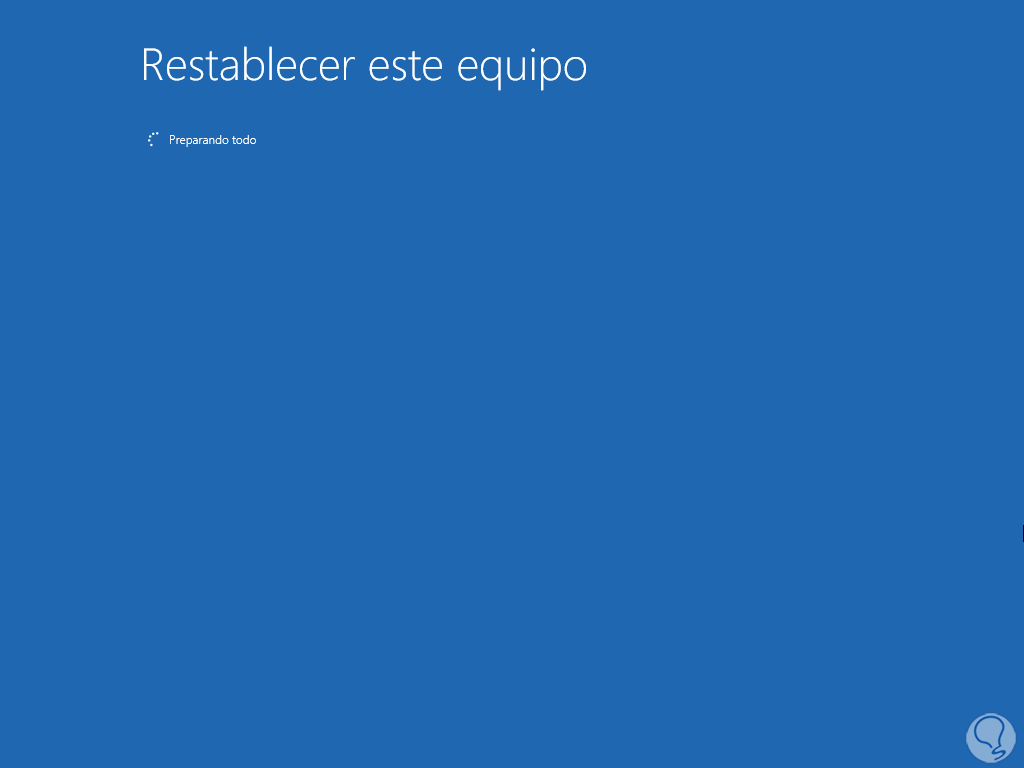
Step 33
After the process we click on "Reset":

Step 34
We hope that the system is rebooted and Windows 10 is restored:
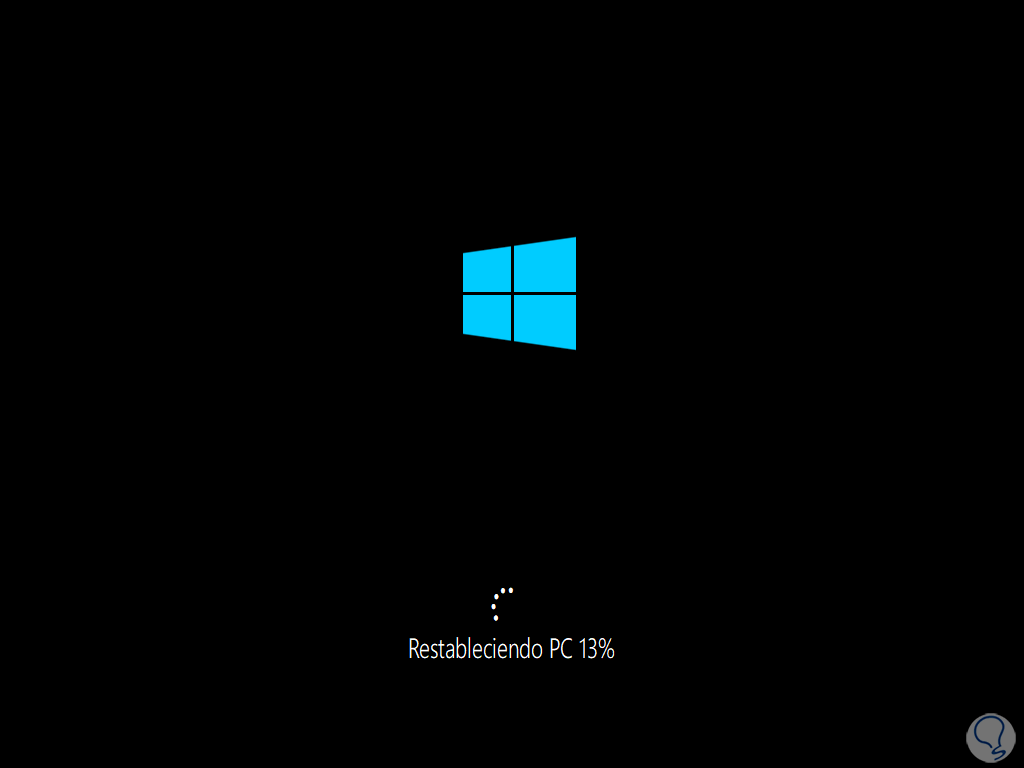
Step 34
The system will reboot several times to complete the installation:

step 35
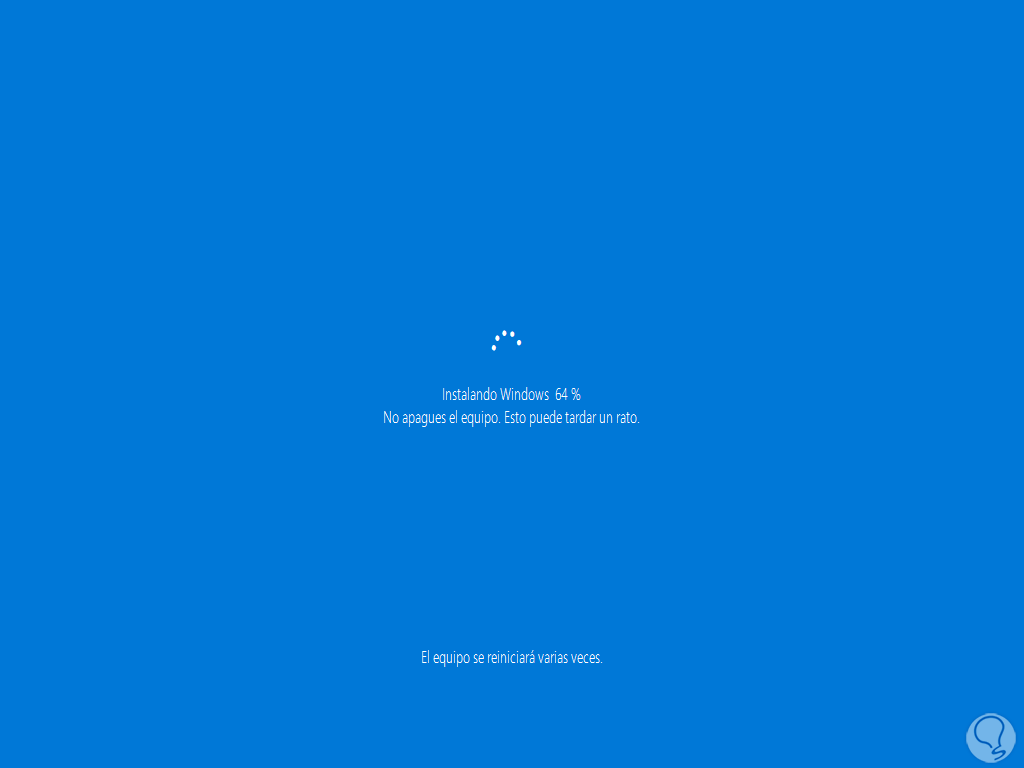
We can see the installation process of the system from scratch:

Step 36
We hope this reaches its final phase:
Step 37
At the end we log in to Windows 10:

Step 38
We can see that you have full access to Windows 10 with the files preserved:
We see how these steps help us to repair the system in various ways where each one of us selects the one that best suits their needs or their type of problem, but each one of them is an effective method to recover the operation of the system without resorting to to the famous formatting..