Choosing our operating system well is important so that we feel comfortable during its use on a day-to-day basis. One of the operating systems best known by users is Linux, which has different distributions. Ubuntu gives us the opportunity to connect to the Ethernet network (cable) or through Wi-Fi, either with an integrated local card or with an external adapter..
The network access is ideal for multiple tasks in Ubuntu such as system updates, installation of applications and programs and many more. For various reasons it is possible that our Ubuntu system does not connect to the Wi-Fi network for multiple reasons.
First of all we must check how the modem or router is located, that it is connected, that the Wi-Fi network is configured correctly and that we have access to it. TechnoWikis will explain how to correct this Wi-Fi access error in Ubuntu and thus connect normally..
To stay up to date, remember to subscribe to our YouTube channel!
SUBSCRIBE ON YOUTUBE
Fix error Ubuntu does not connect to Wi-Fi
Step 1
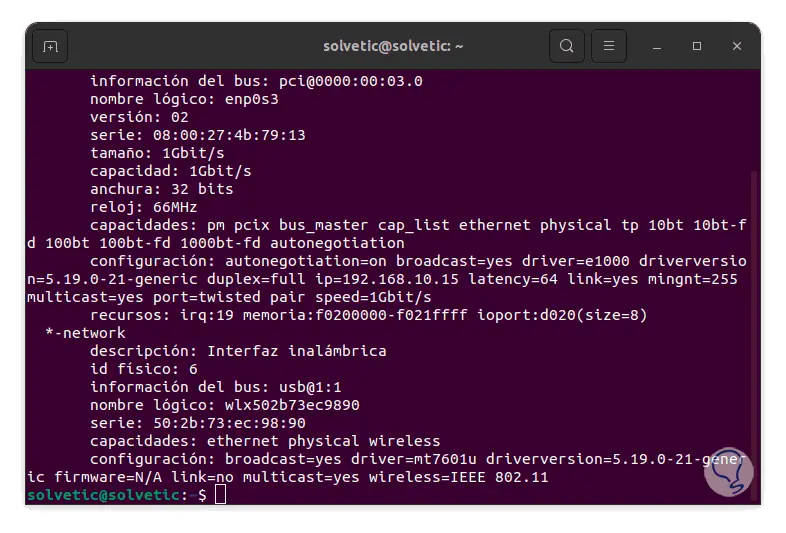
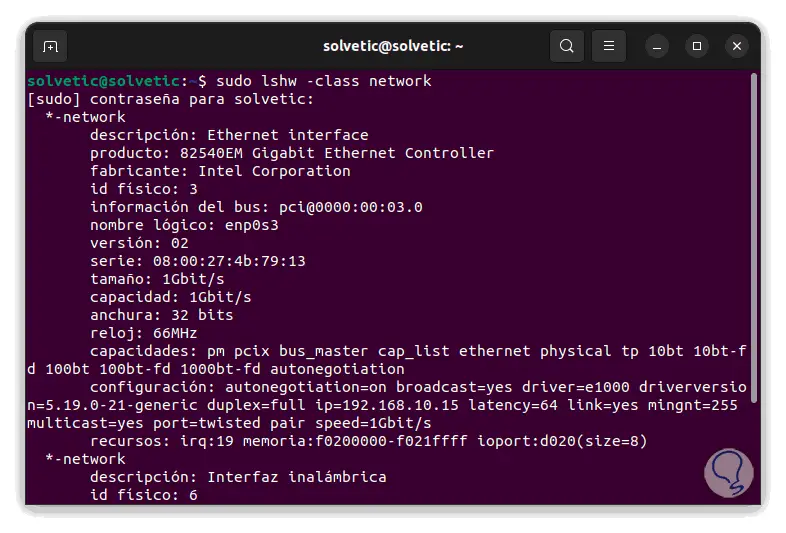
We open the terminal and there we list the properties of the network:
sudo lshw -class network
Step 2
There we find details of the Wi-Fi adapter but we will focus on the main one, we copy the product name located at the top:
Step 3
The lshw command gives us the possibility of accessing detailed information about the computer's hardware, we have used the -class parameter to specify the type of information but it is also possible to use -C, the usage options are:
- lshw -C processor: display processor information
- lshw -C disk: output disk information
- lshw -C memory: display memory information
- lshw -C sound gives us information about the sound card
- lshw -C network generates information about network devices
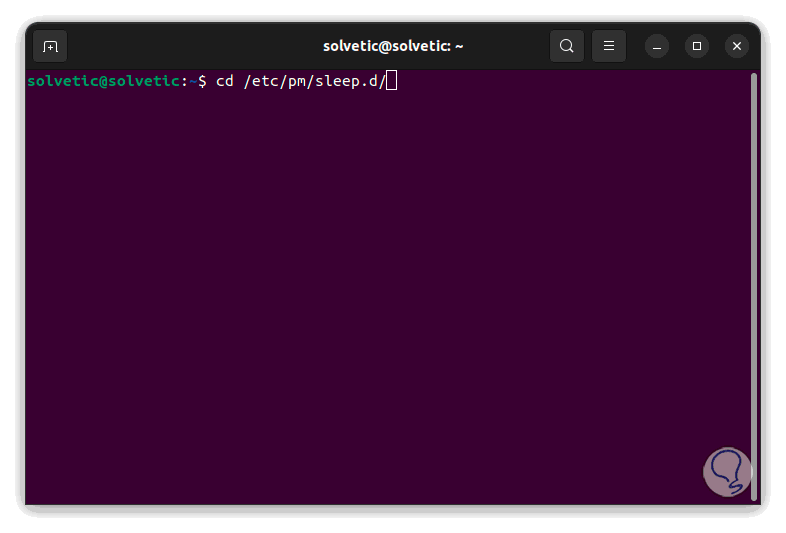
We access the following path:
cd /etc/pm/sleep.d
Step 4
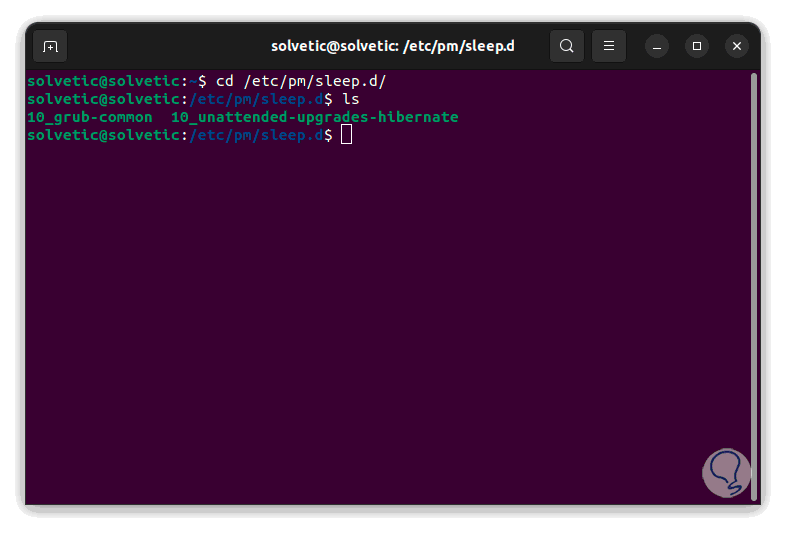
We list the content:
ls
step 5
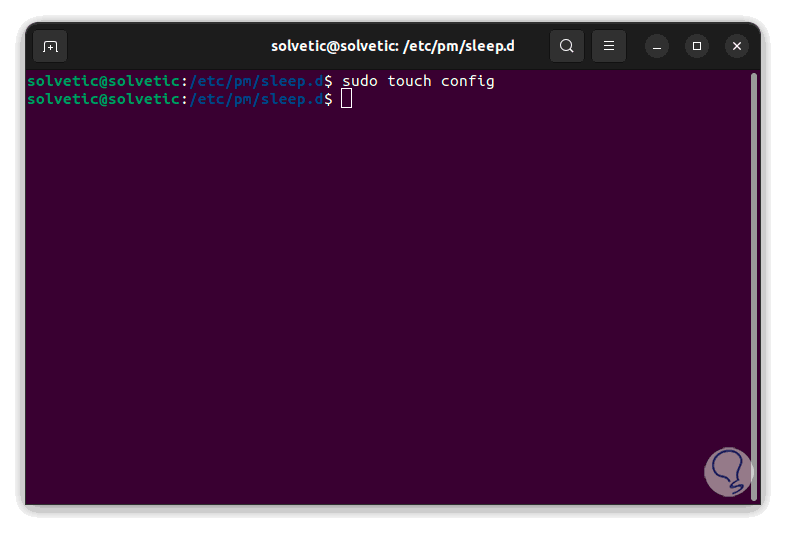
We will create a configuration file with the command:
sudotouch config
step 6
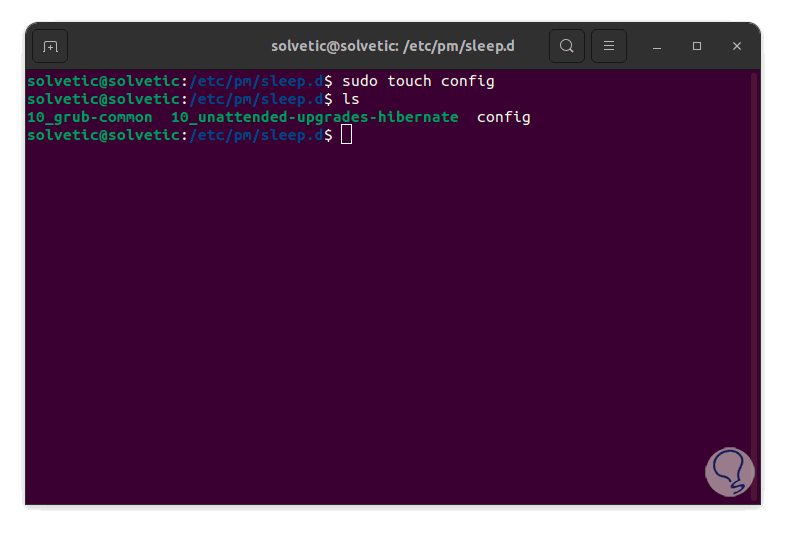
Confirm that it was created using "ls":
step 7
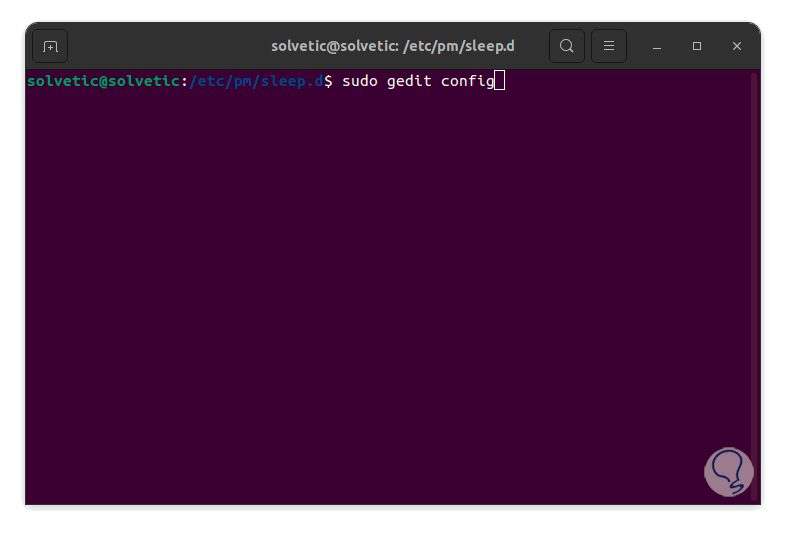
We open the file with the desired editor or by executing:
sudo gedit config
step 8
Note. If you do not have Gedit, you can install it by running:
sudo apt install gedit
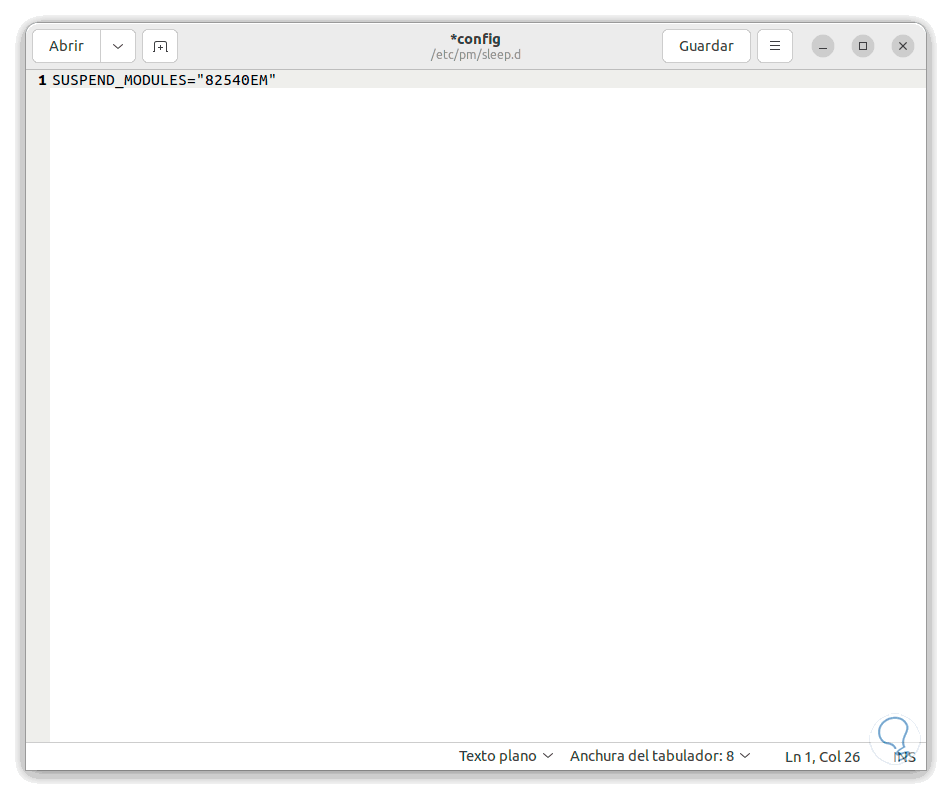
In the deployed file we enter:
SUSPEND_MODULES="#product"
Apply the changes.
step 9
Now we execute the following in the terminal:
sudo echo "options (product) fwlps=N" | sudo tee /etc/modprobe.d/(product).conf
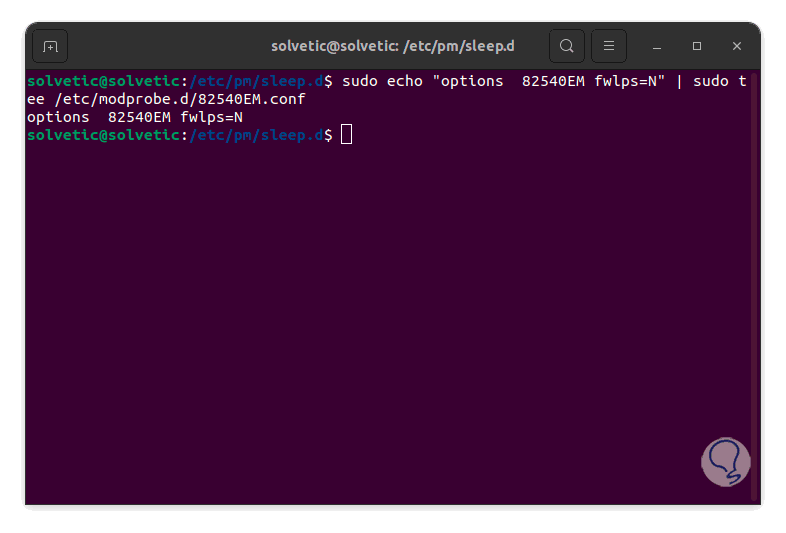
The fwlps (FirmWare Link Power Save) command gives us the option to manage the power for the adapter, it is possible that by using the power saving function the adapter is turned off, to disable it we enter N so that it does not execute the function..
step 10
Note: we must enter the product of the network adapter that we have seen previously in the respective fields.
Restart Ubuntu:
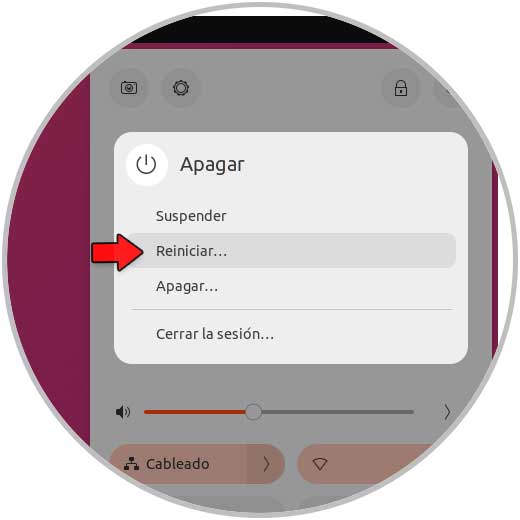
step 11
It will restart Ubuntu:

step 12
Once we log in, we validate that the Wi-Fi works correctly:
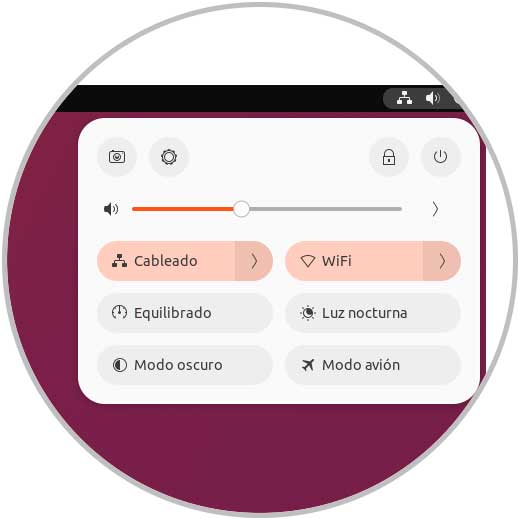
step 13
We will be able to see the networks available in our coverage range:
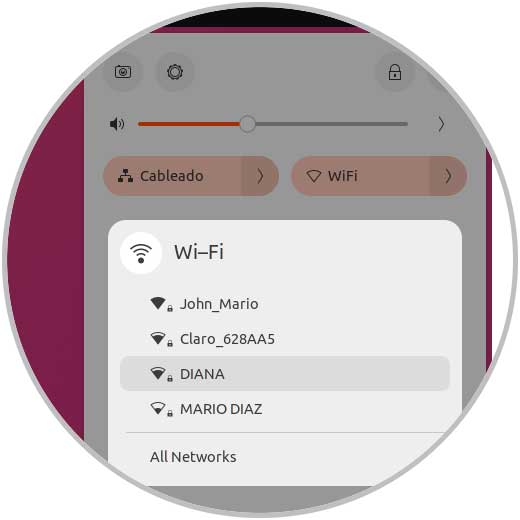
With this method we have managed to make Ubuntu detect the networks and with this we have access to the network where we are authorized to use everything that the network offers us.