One of the common tasks we do in Windows 10 is to take screenshots , either of the current window or of the entire desktop, either to add them to presentations or have them as support..
In the new October 2018 edition of Windows 10 , the "Crop and Annotate" utility has been added, which combines the clipping tool along with the screen sketch, so that the traditional "Crop" tool will soon be removed, from there we see now the following message:
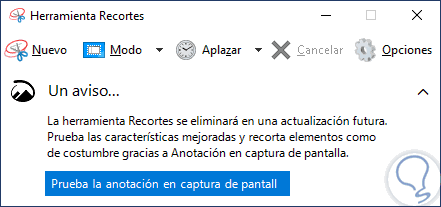
With this new utility, better options are integrated to carry out this type of actions without resorting to third-party software. It is for this reason that today TechnoWikis will explain how to use this new tool in Windows 10 October 2018.
1. How to take screenshots with Crop and Annotate on Windows 10 October 2018
Step 1
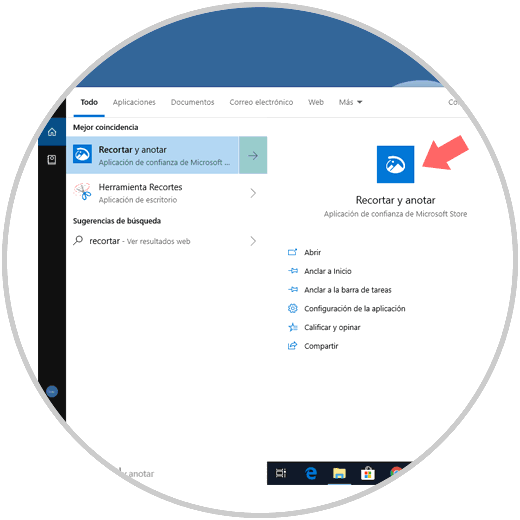
To start, we will go to the Windows 10 search box and there we enter the term trim and the following will be displayed: There we select the new utility "Crop and annotate".
Step 2
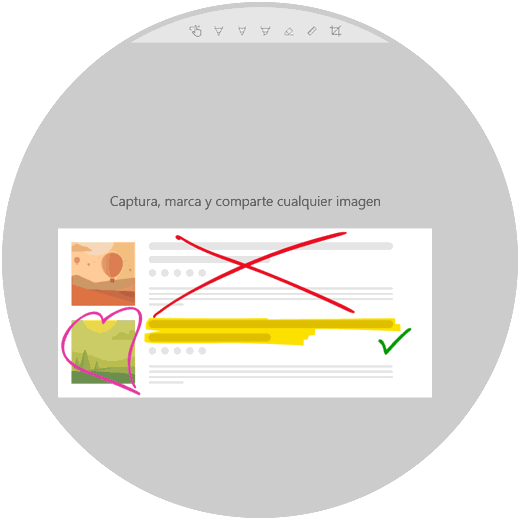
The following window will be displayed:
Step 3
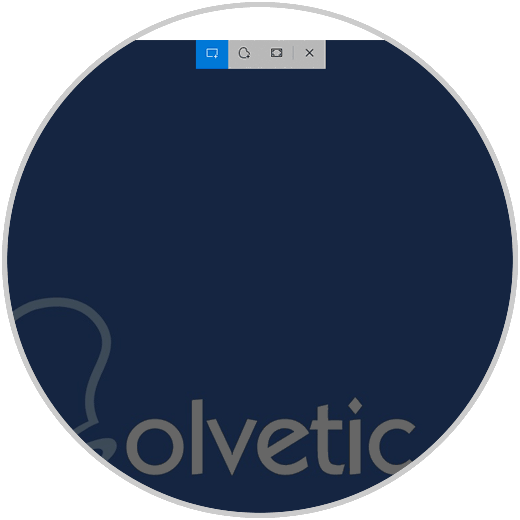
Clicking on this button will display the following options at the top. These are:
Rectangular clip
This takes a rectangular capture as needed.
Free form clip
As the name implies, you have the freestyle to select what you want.
Full screen clip
Take the entire current screen
We select the desired option:
Step 4
The result will be available in the "Crop and annotate" utility with various options as follows.
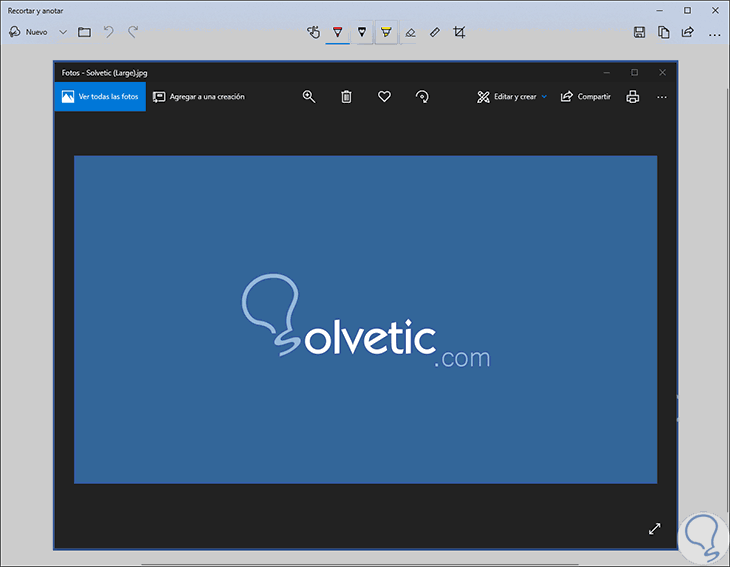
There we can apply elements such as
Note
These images can only be stored in PNG format.
Step 5
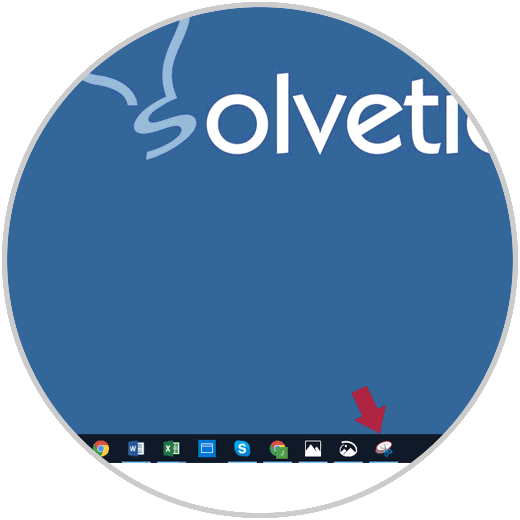
Alternatively, we can run the "Crop and annotate" tool from the Windows 10 action center. There we click on the "Screen Crop" option and the options indicated above will be displayed.
2. How to use "Crop and annotate" with the Print Screen key in Windows 10 October 2018
Another method to access the functions of this new utility of Windows 10 October 2018 is by pressing the Print Screen key on our keyboard.
Step 1
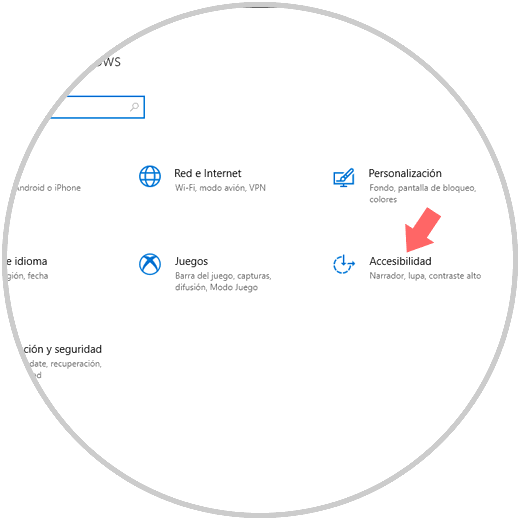
The first step is to enable it, for this we go to the menu:
- There we go to the Accessibility category.
Step 2
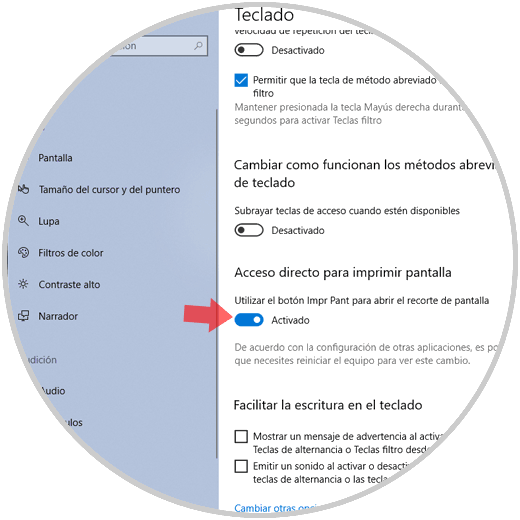
We go to the "Keyboard" section, it will be necessary to locate the "Shortcut" section to print the screen and press the "Use the Print Screen" button to open the screen cutout:
Step 3
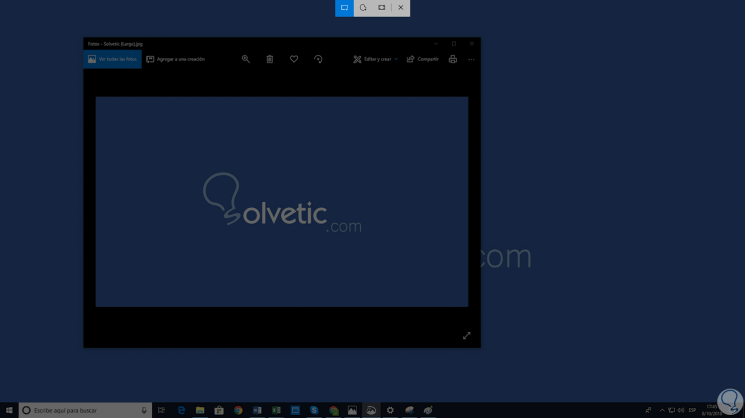
Thus, when we press this key on our keyboard, the options of the "Crop and annotate" tool will be automatically displayed:
3. How to annotate screenshots with "Crop and annotate" in Windows 10 October 2018
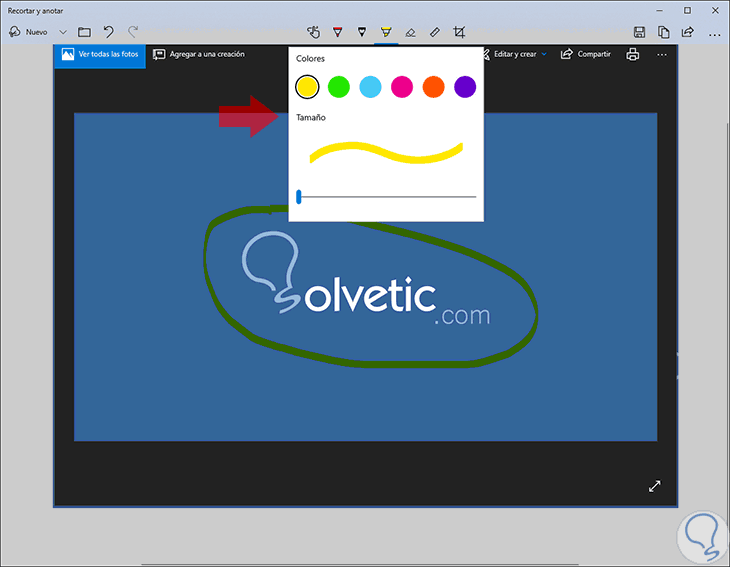
Versatility is one of the advantages of this new utility since when the desired image is captured, we can click on the "Highlighter marker" icon to establish sections to mark on the image.
We can click on the bottom of the icon to select color and size of the marker:
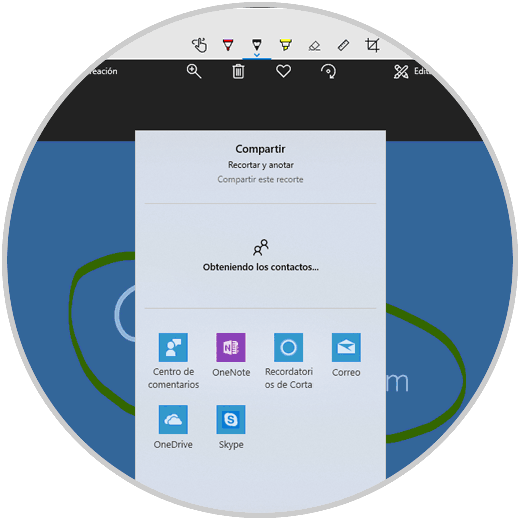
Another advantage of this new tool is that it will be possible to share it with various contacts of OneDrive, Skype, Cortana, Mail, so that your shipment is safe and agile:
We can see how this new screen capture editing tool in Windows 10 October 2018 integrates useful and necessary tools to make the editing and management of captures a simple task, but with the best use features..