In Windows there are various elements that are part of the user's daily activities and one of them is the microphone which we normally use for voice chat actions on some of the most common platforms but with the changing conditions of the world it is now a work and study tool, when the microphone is connected to the USB port of the PC it is automatically recognized but there are times in which it is possible that it is not detected by Windows, affecting the purpose for which we want to use said device..
It is possible that your computer does not recognize Windows headphones or does not recognize microphone and you find that you cannot manage the audio of your system well. That is why in today's tutorial we help you to know how to configure Windows sound and to be able to repair problems with the microphone because Windows does not detect a microphone.
There are some causes of this error such as:
Causes microphone error
- Failures in the USB port for which we can try other USB ports on the computer to detect if the error is this
- Check the plug where the microphone is connected in case the Jack system is used instead of USB
- Check that the microphone is not damaged (connections, structure)
If the error persists TechnoWikis has a series of solutions to correct this error and allow the microphone to be detected in Windows..
To stay up to date, remember to subscribe to our YouTube channel!
SUBSCRIBE ON YOUTUBE
1 Check microphone input Windows
This option allows us to see the status of the microphone such as its volume or that it is the one chosen to be used.
Step 1
To use this method we are going to:
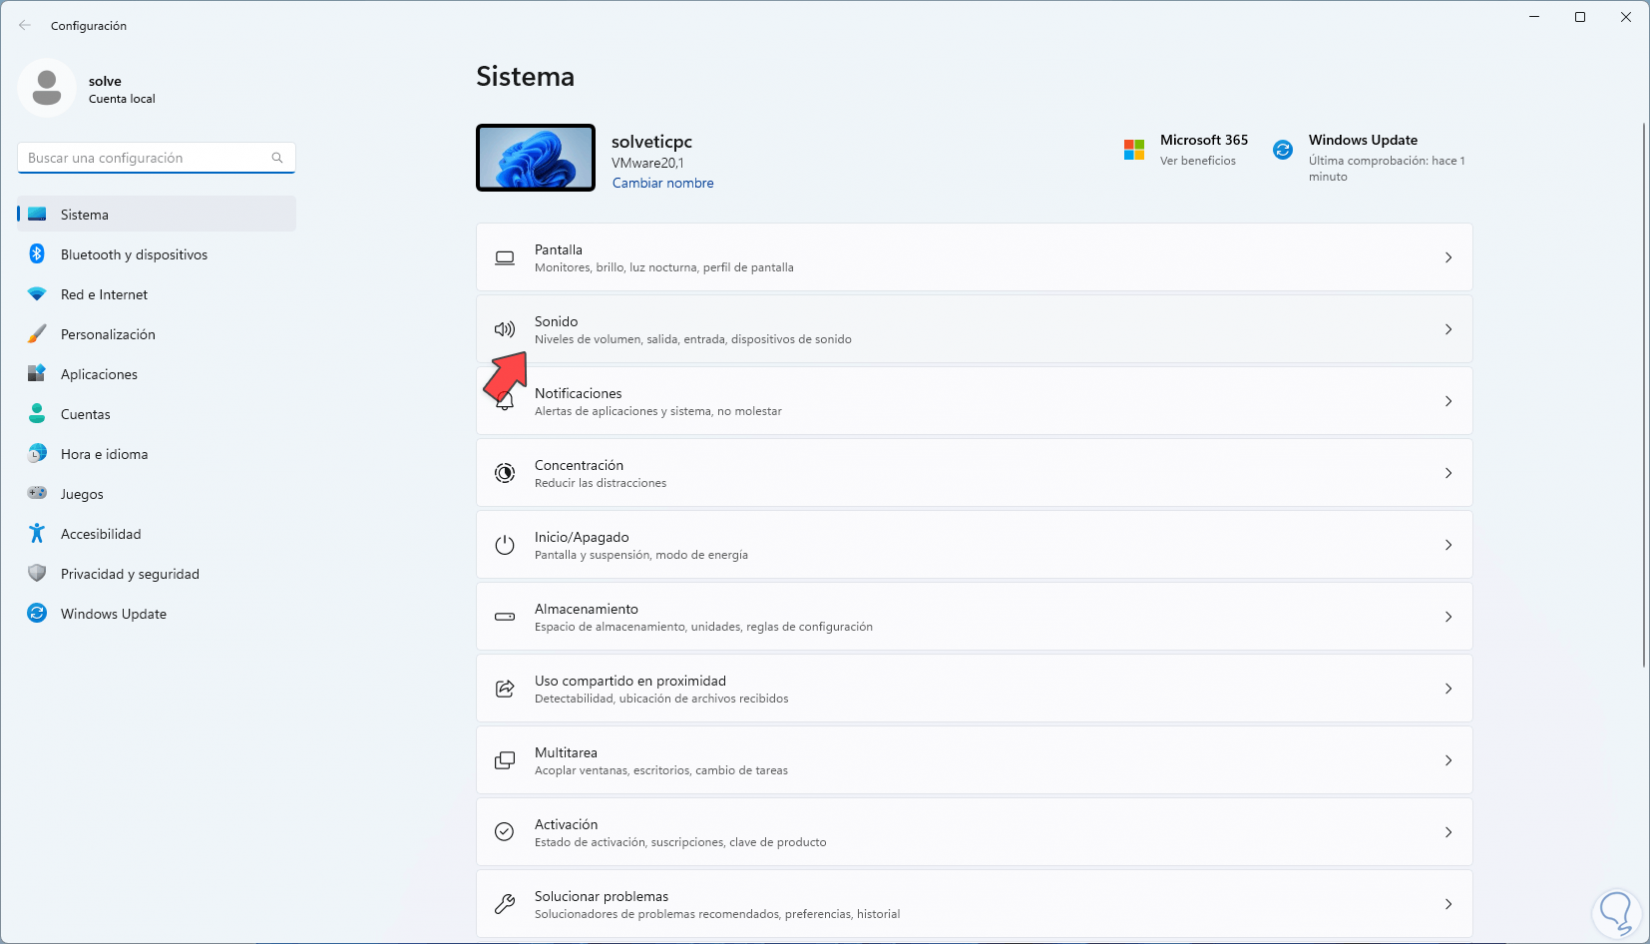
Step 2
When accessing there we will see the following:
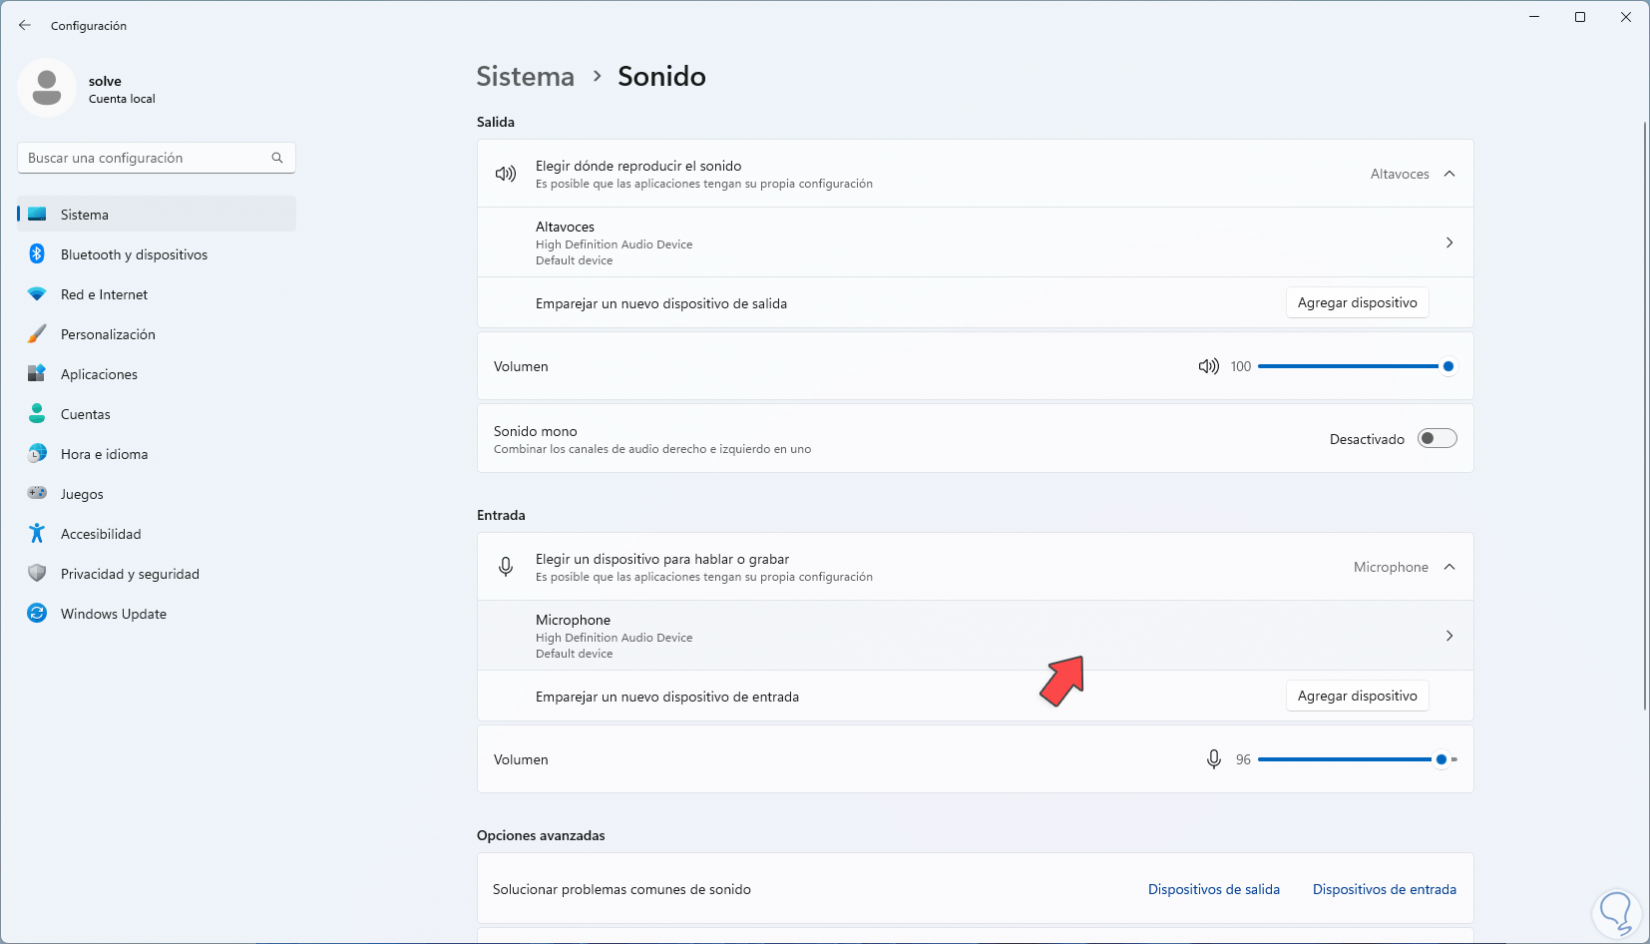
Step 3
In the "Input" section we click on the microphone to see its attributes. We confirm that its properties and volume are correct.
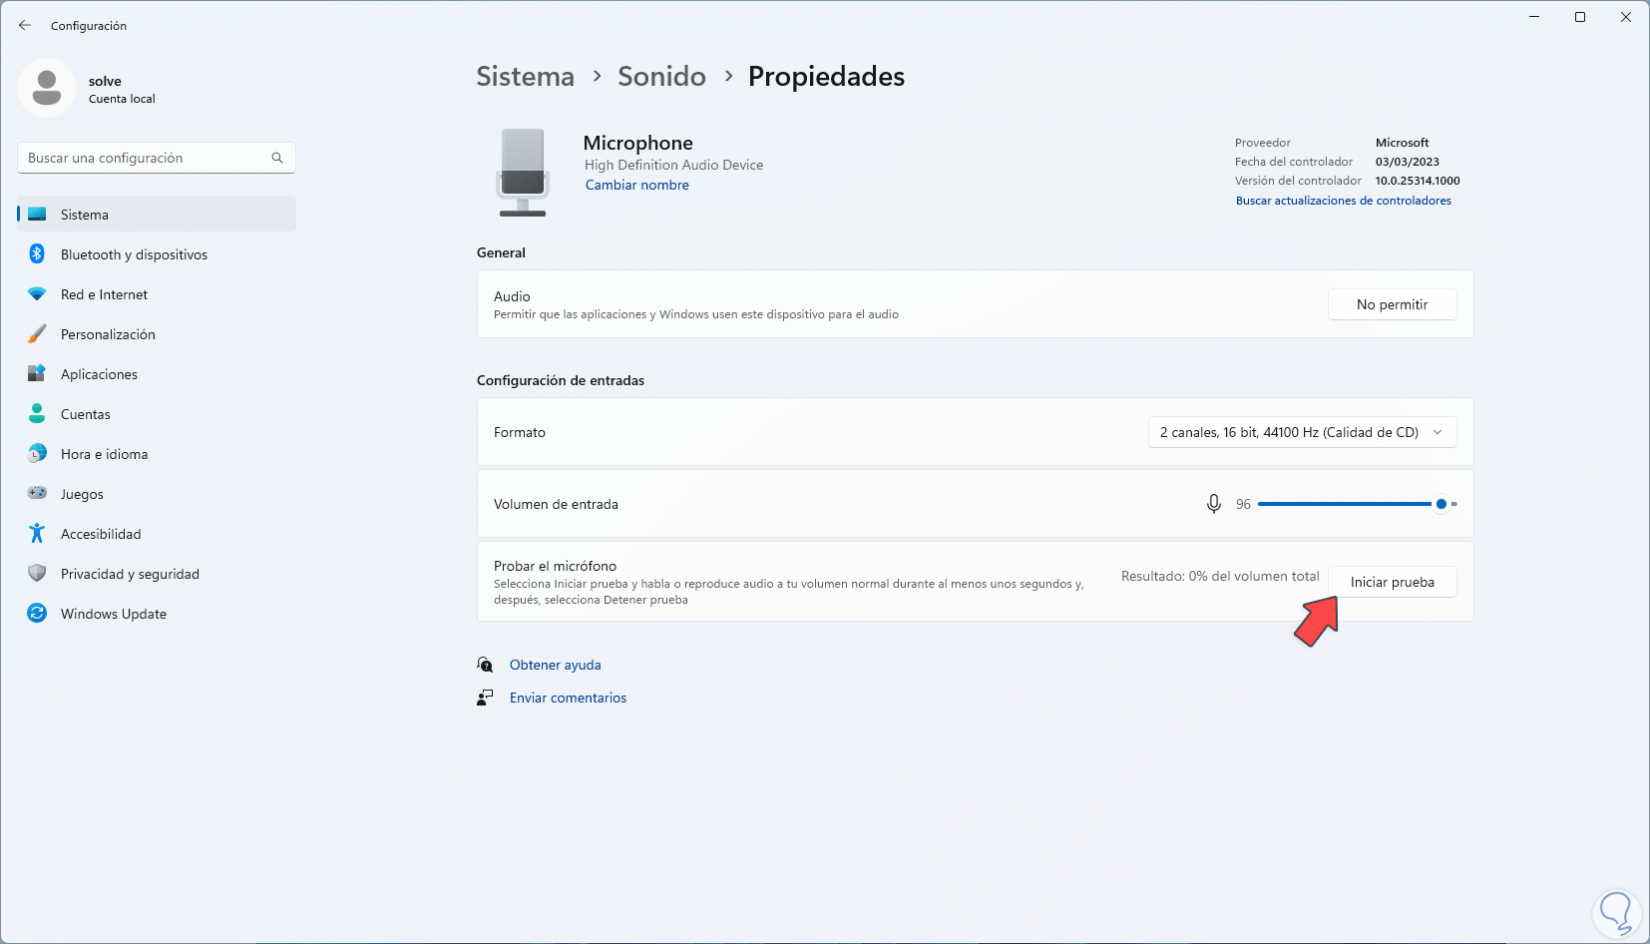
Step 4
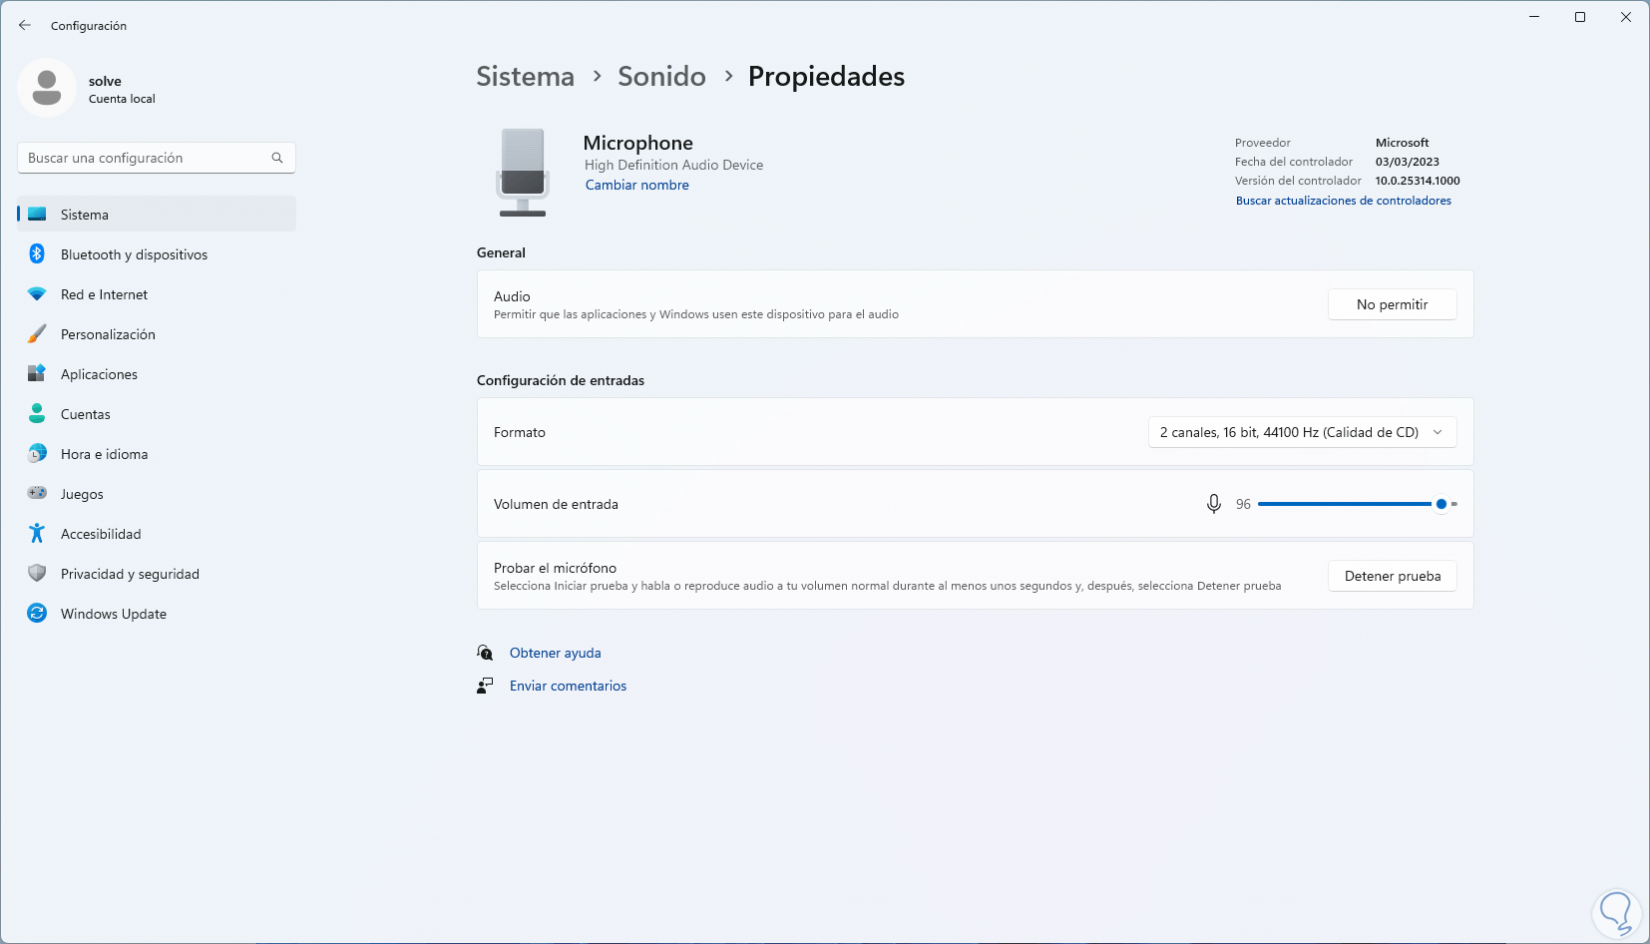
We can also click on "Start test" to validate its operation:
2 Detect microphone Windows with Troubleshooter
Windows 10/11 integrates a utility with which it is possible to carry out a detailed analysis of various aspects of the system and automatically correct them or give a series of advice for their correction.
Step 1
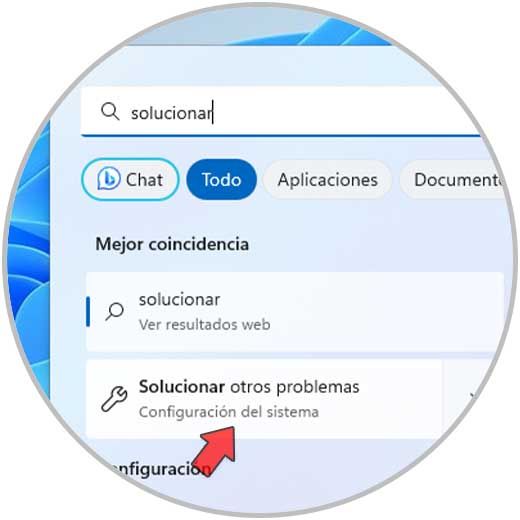
To use it in the Start search engine, we enter "solve" and click on "Solve other problems":
Step 2
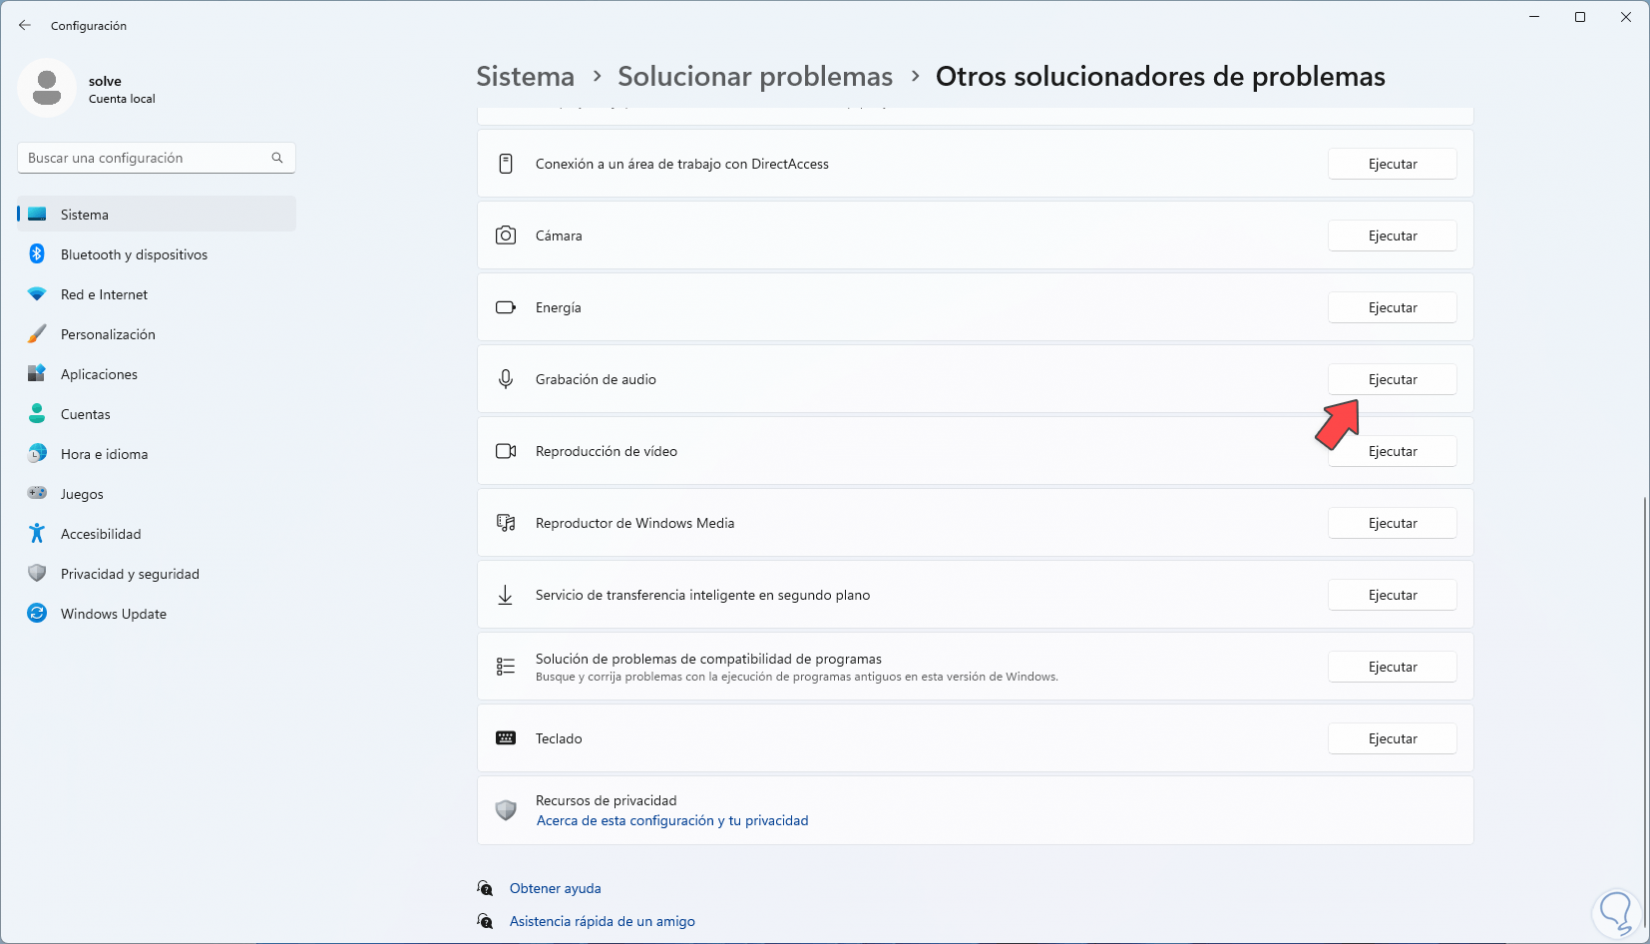
In "Audio recording" we click on "Run":
Step 3
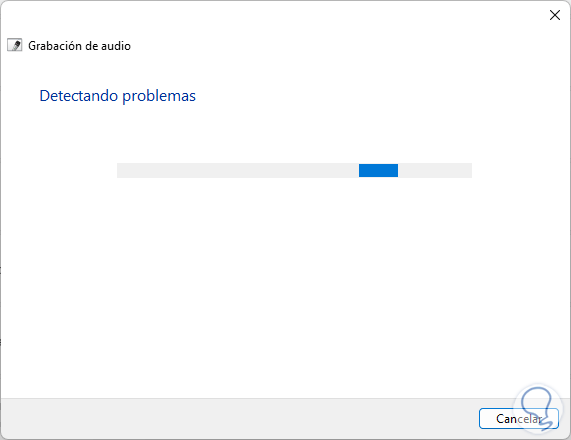
the wizard will open:
Step 4
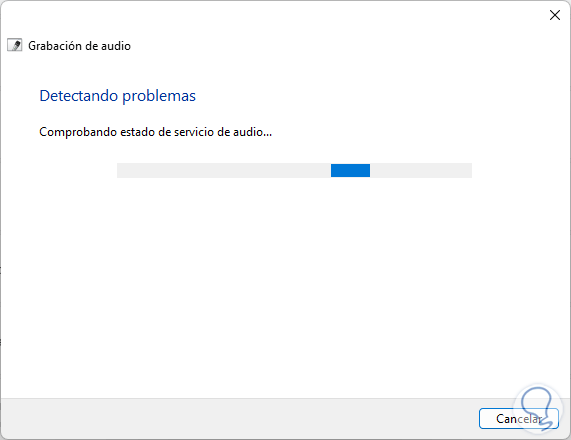
It will be possible to see the service analysis process and related aspects:
step 5
Wait for the wizard process to complete:
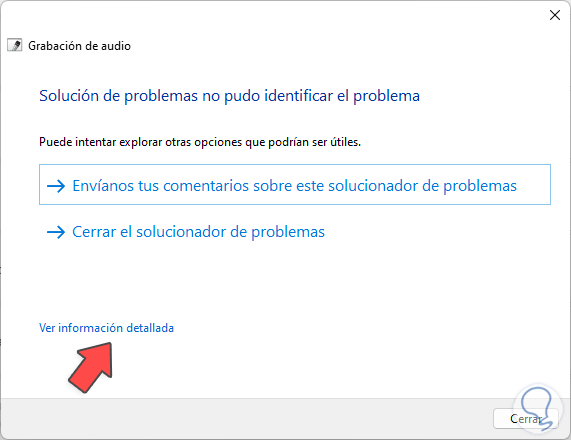
step 6
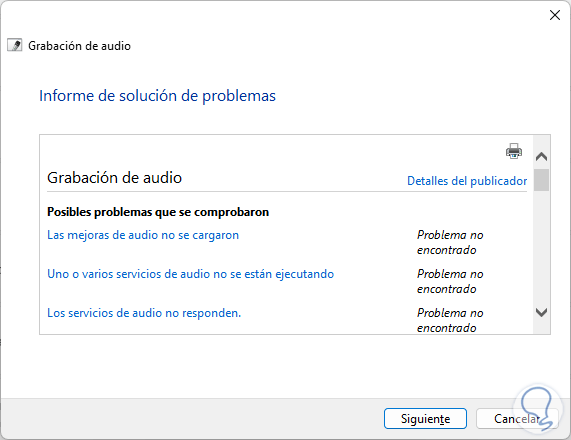
When finished, it is possible to see details of the tasks carried out by clicking on "See detailed information":
Every linked service and process will be detected..
3 Select Microphone from Volume Mixer
Step 1
This volume mixer allows us to control every aspect of volume, be it general or by individual apps.
Step 2
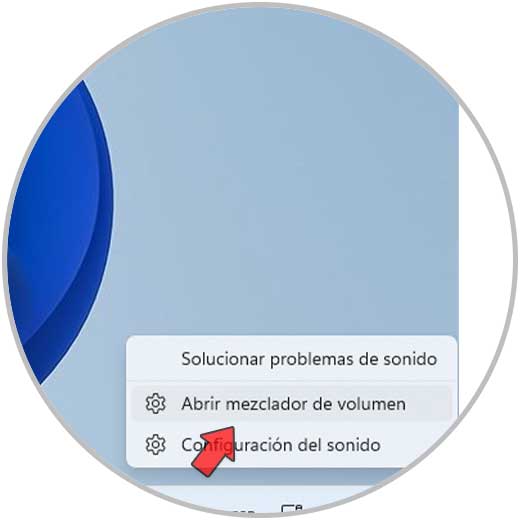
For its use we right click on the volume icon on the taskbar and select "Open volume mixer":
Step 3
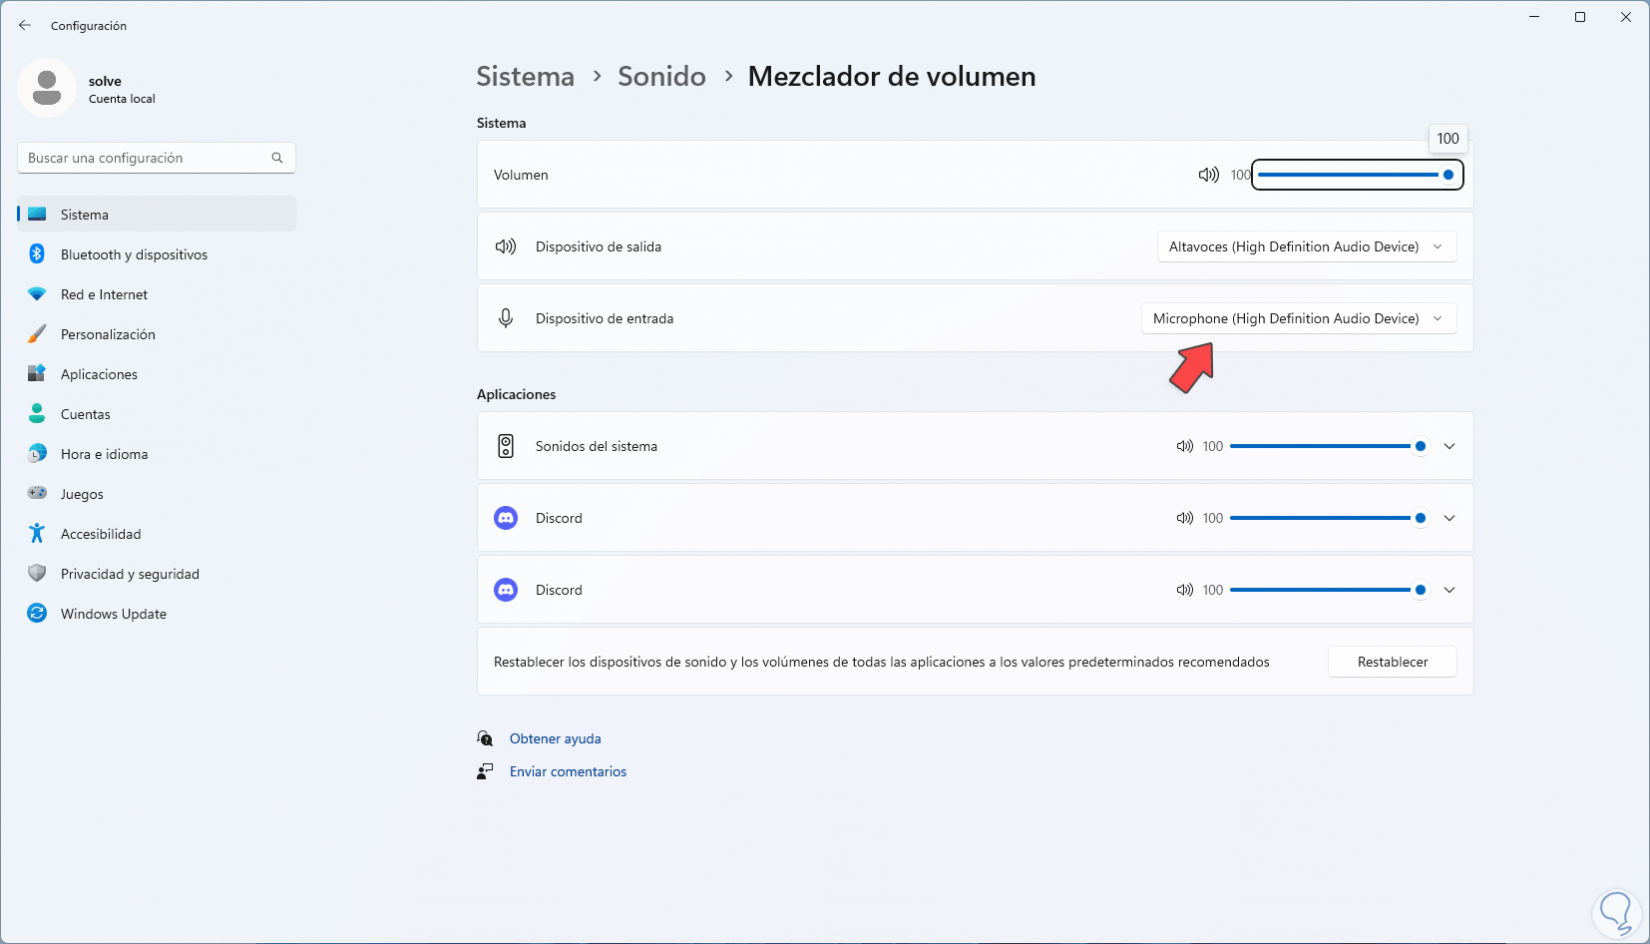
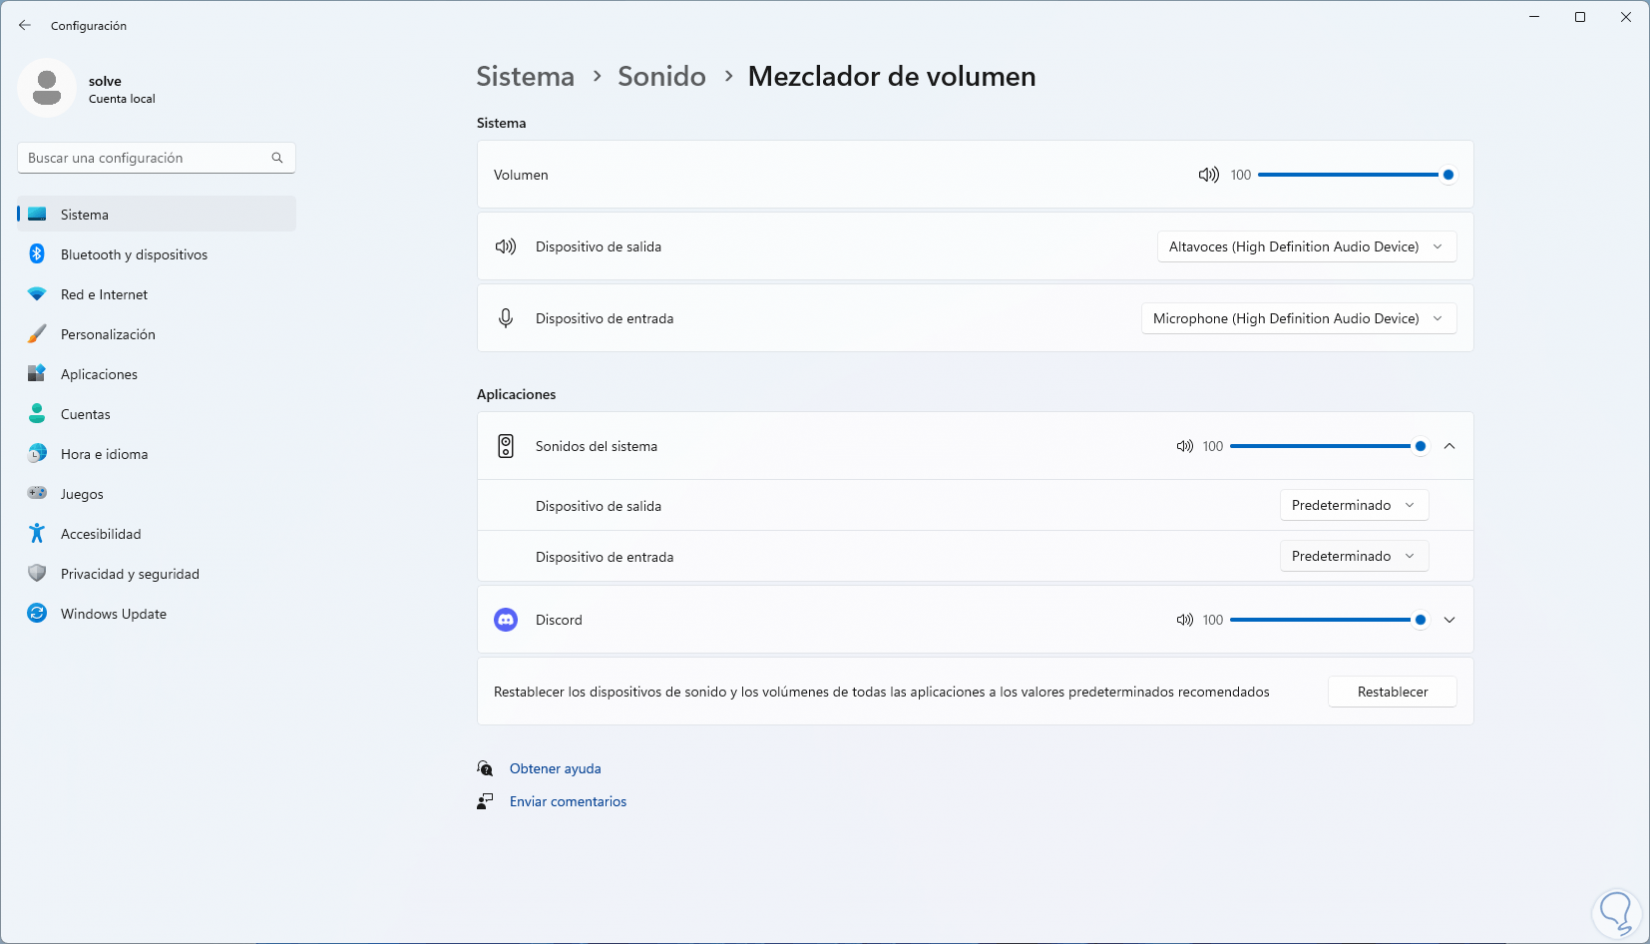
We will see the following. Confirm that the microphone is selected:
Step 4
Now we click on "System sounds" to validate that the microphone has been assigned:
step 5
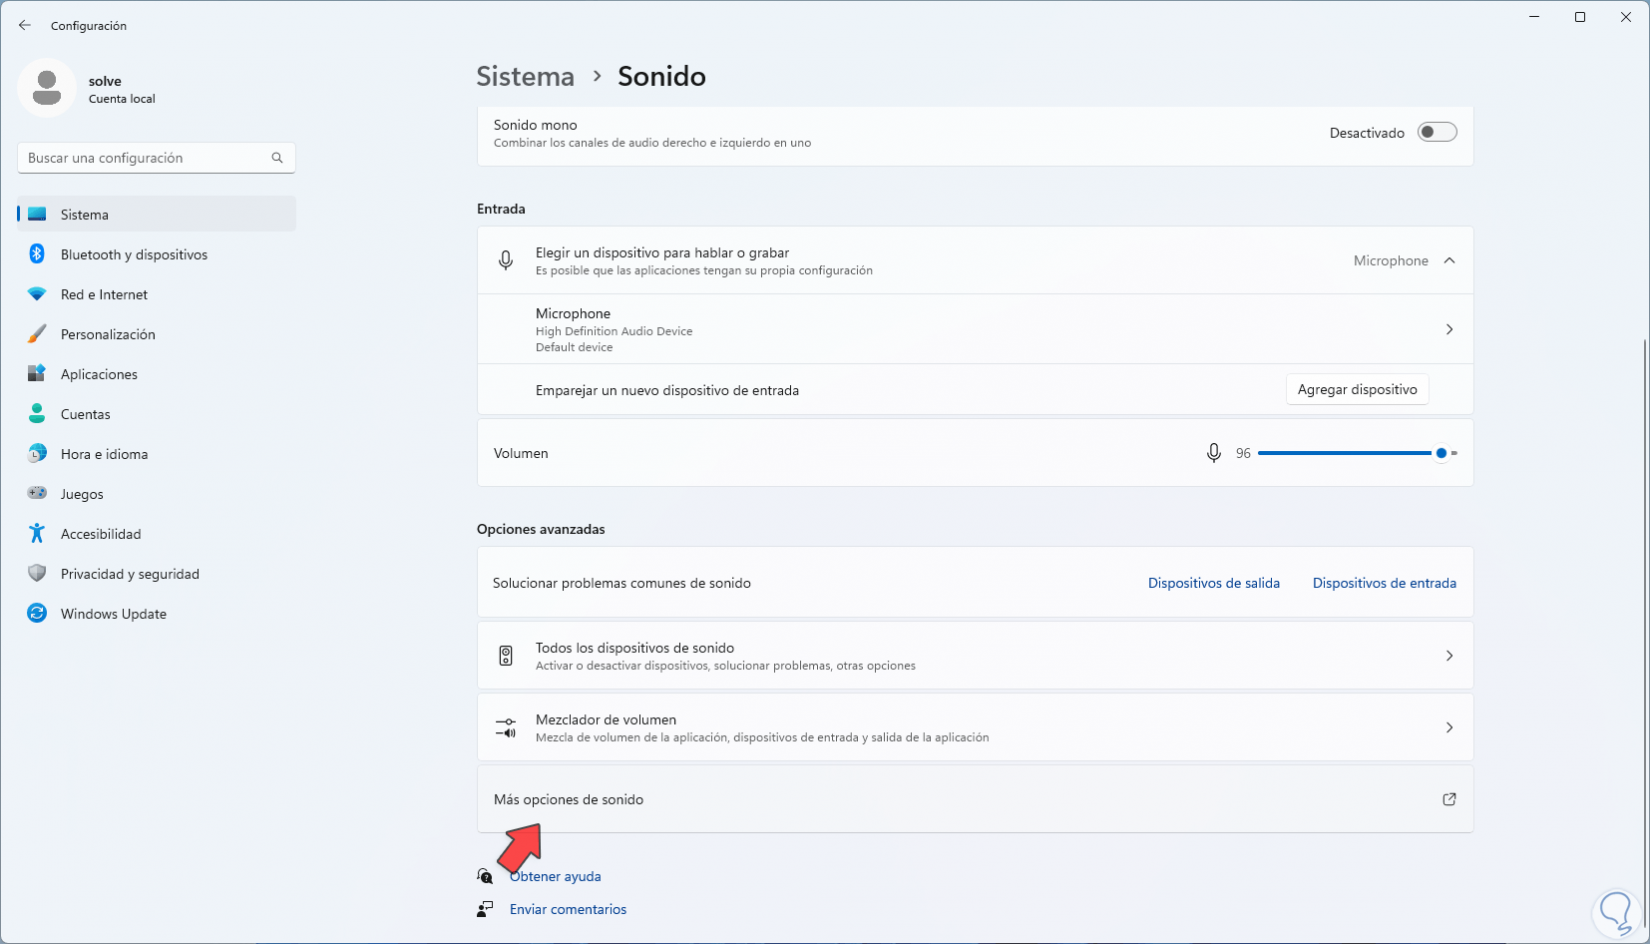
In the "Sound" section we click on "More sound options":
step 6
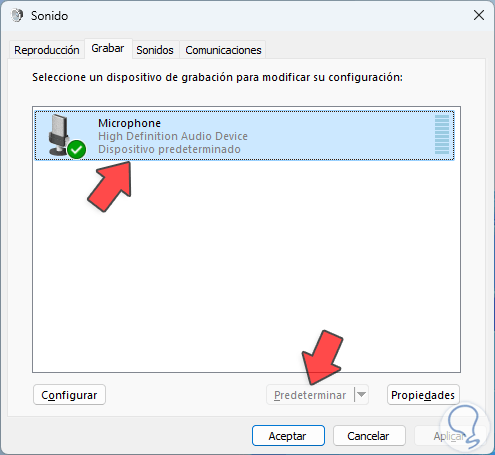
A pop-up window will open, there in the "Record" tab we confirm that the microphone is set as default:
4 Configure Windows Microphone Privacy
The microphone may not work due to permission issues.
Step 1
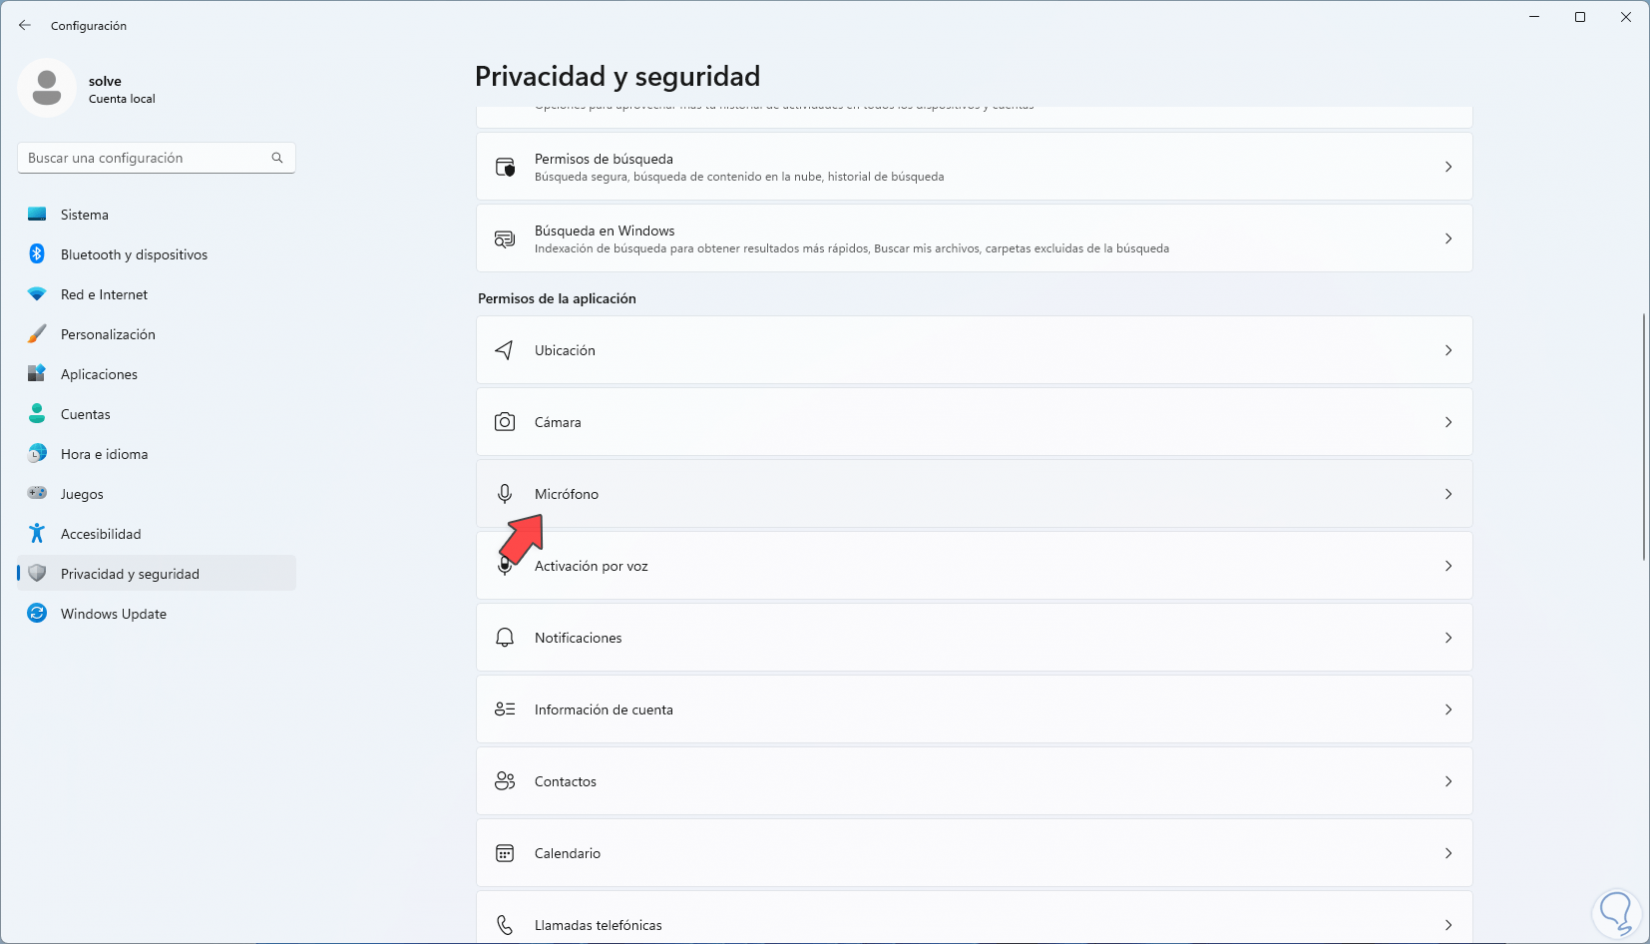
To check this we are going to:
Step 2
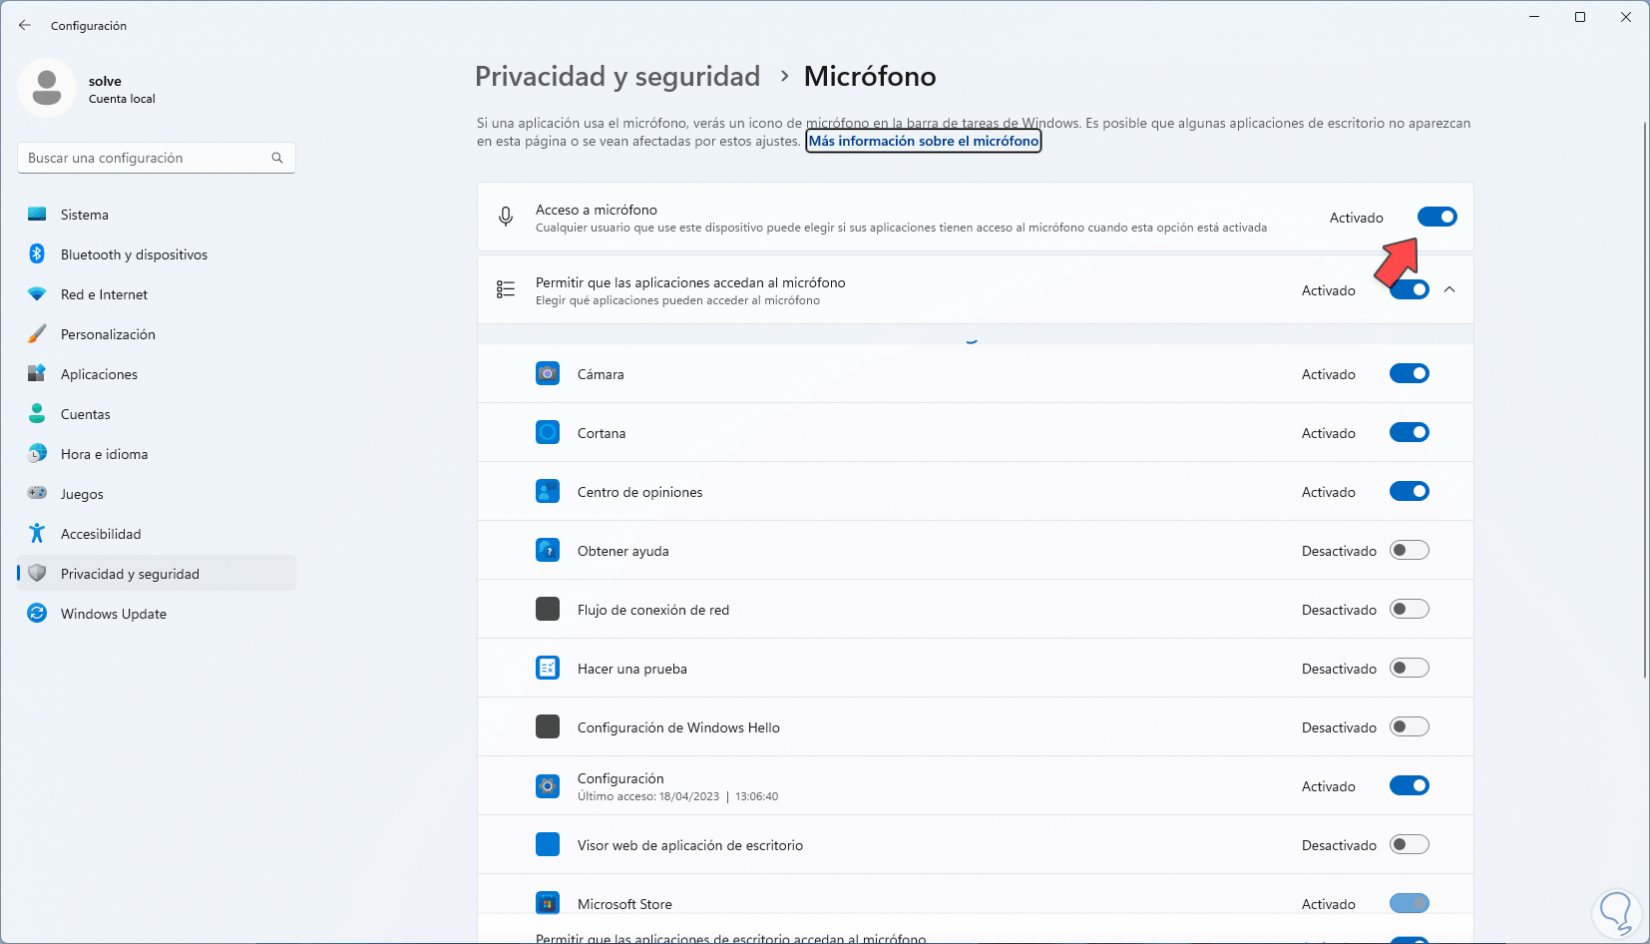
In the "Microphone" section we validate that the "Access to microphone" switch is active:
Step 3
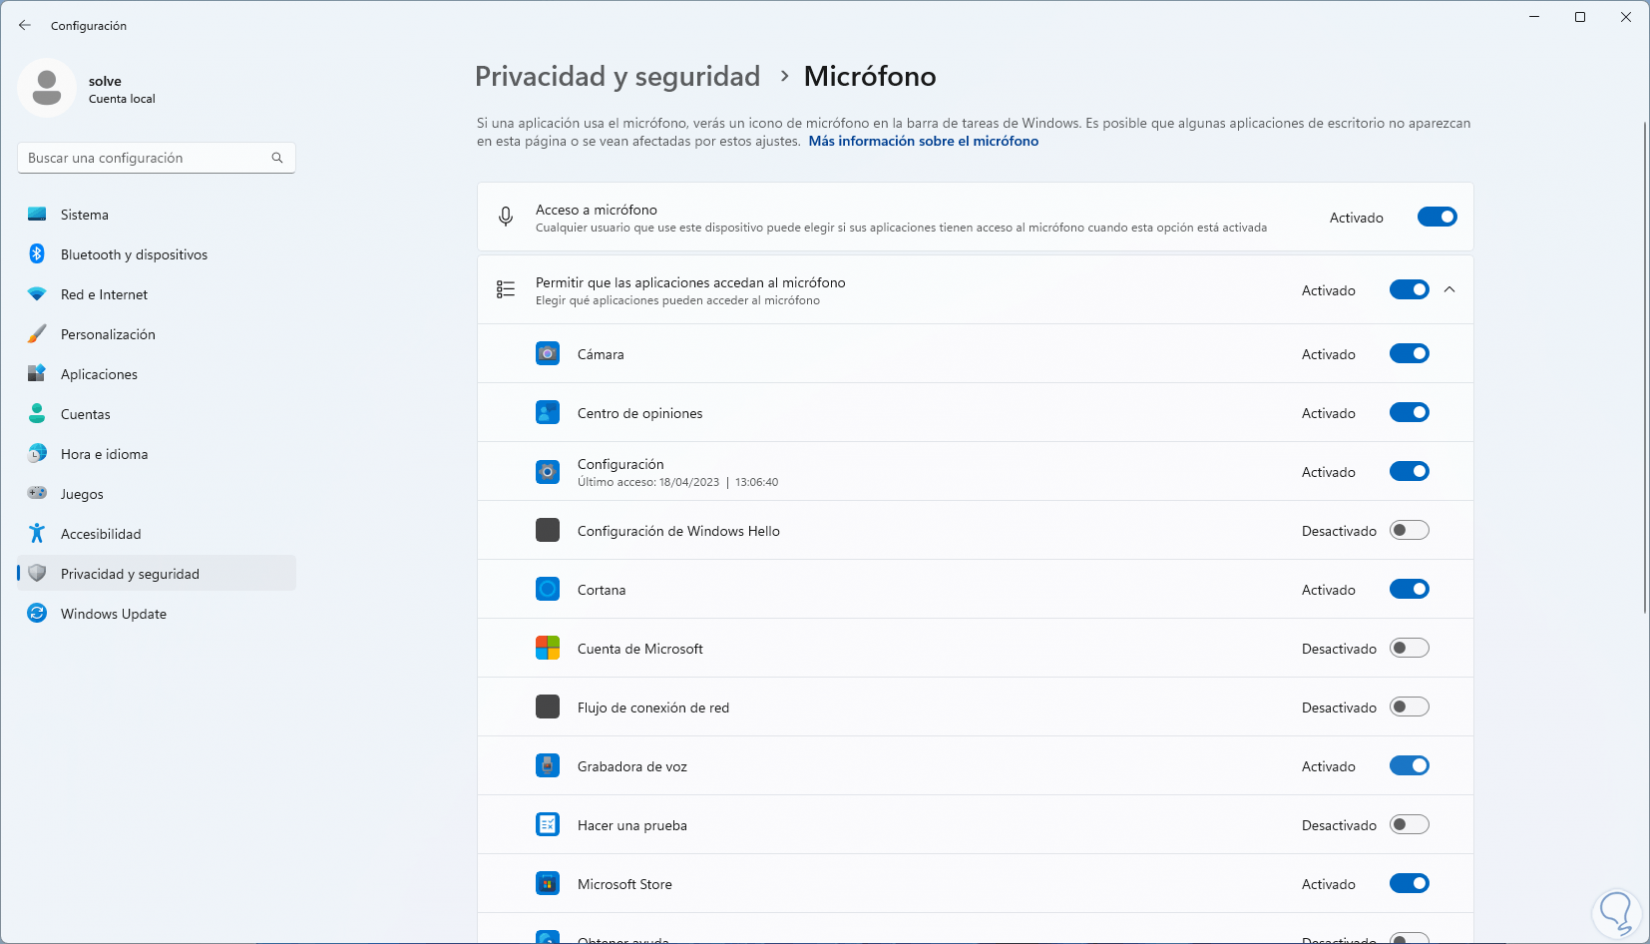
We confirm that the apps have permission to use the microphone with their respective switch:
Thus we will already have the integral operation of the microphone in Windows for everything that is necessary.