When we install Windows 10 or Windows 11 we carry out a process that is already known to all, but what we did not know (until today) is that locally on the hard disk there are certain files that are managed and administered by the operating system globally, these are associated to the system image..
The image of the Windows Operating System is basically a file where a copy of the key Windows files is stored and with which the system works. In the event that this image fails or becomes corrupted, we can face delicate problems such as startup errors (startup loops), driver failures, update errors, and more system errors that, if not paid attention to, can simply run out of system. . That is why it is important to know how to fix Windows 11 and Windows 10 image as with the options that we will show you today.
That is why Windows integrates a utility called 'System Image Repair' with which it is possible to repair the Windows image and correct problems or analyze them before they appear, but we can handle this utility at the console level, it is In other words, through the command line we can carry out an error check on the disk and thereby determine if there are errors in the image to proceed with its correction..
TechnoWikis will teach in a simple but functional way how to use the terminal, CMD or PowerShell to do so and thus repair the image of Windows 11 or Windows 10.
To stay up to date, remember to subscribe to our YouTube channel!
SUBSCRIBE ON YOUTUBE
1 Repair image Windows 11 and Windows 10 from Terminal with DISM
The DISM (Deployment Image Servicing and Management) command has been integrated as a command-line tool that allows you to manage Windows images as well as system components, ideal for troubleshooting system-level issues. operating system and manages settings such as Windows PE, Windows Recovery Environment (Windows RE), and Windows Settings.
DISM allows you to carry out various tasks such as recovering system files, cleaning obsolete files, fixing startup problems, adding update packages, managing drivers and the most important in this tutorial is repairing the system image..
Let's take into account the steps to execute since if any command is carried out carelessly we can affect the operating system and the damage can be worse than the solution.
DISM repairs
DISM is available to mount and repair a Windows image from various scenarios such as:
- A .wim file, .ffu file, .vhd file, or .vhdx file
- Update an active Operating System
Step 1
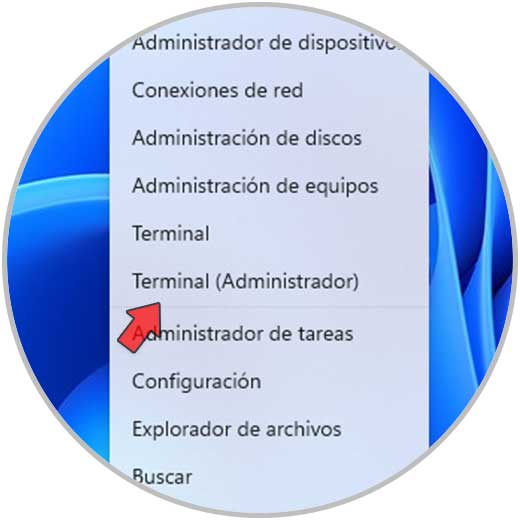
To use DISM and repair the Windows 10/11 image (the process is identical), we open the terminal as administrators:
Step 2
We accept UAC permissions:
Step 3
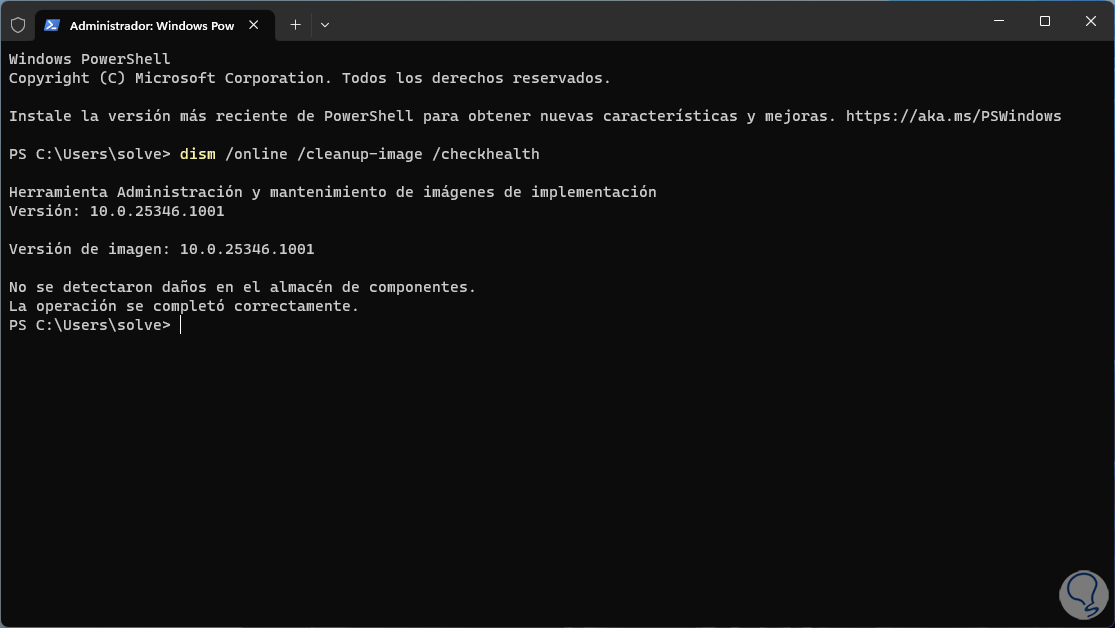
Check the status of the Windows image:
dism /online /cleanup-image /checkhealth
Wait for it to finish:
Step 4
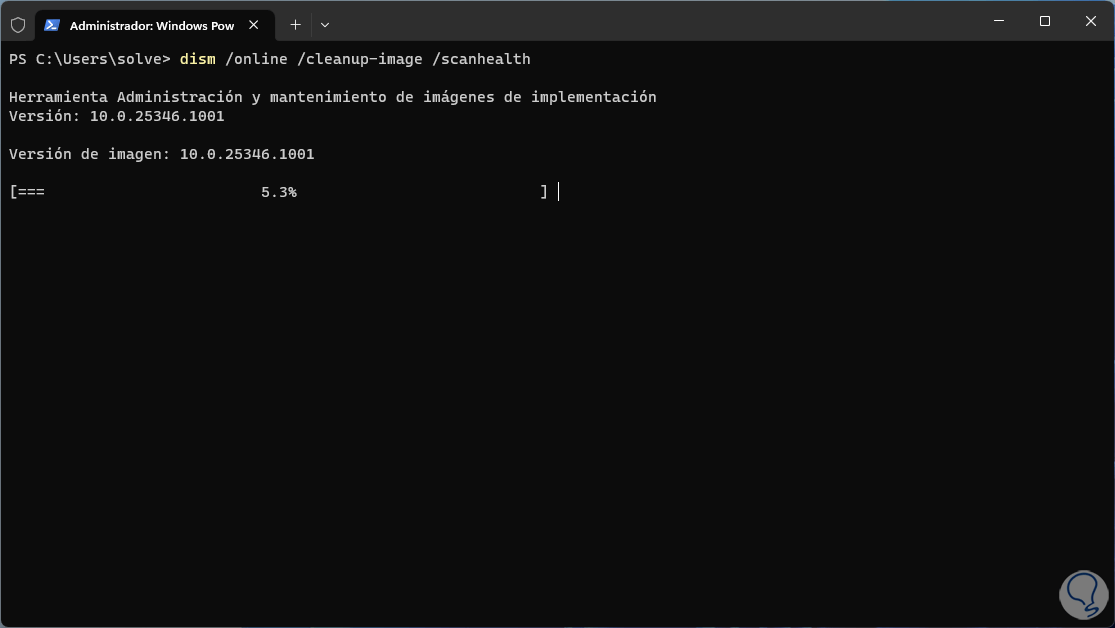
Perform a scan of the image:
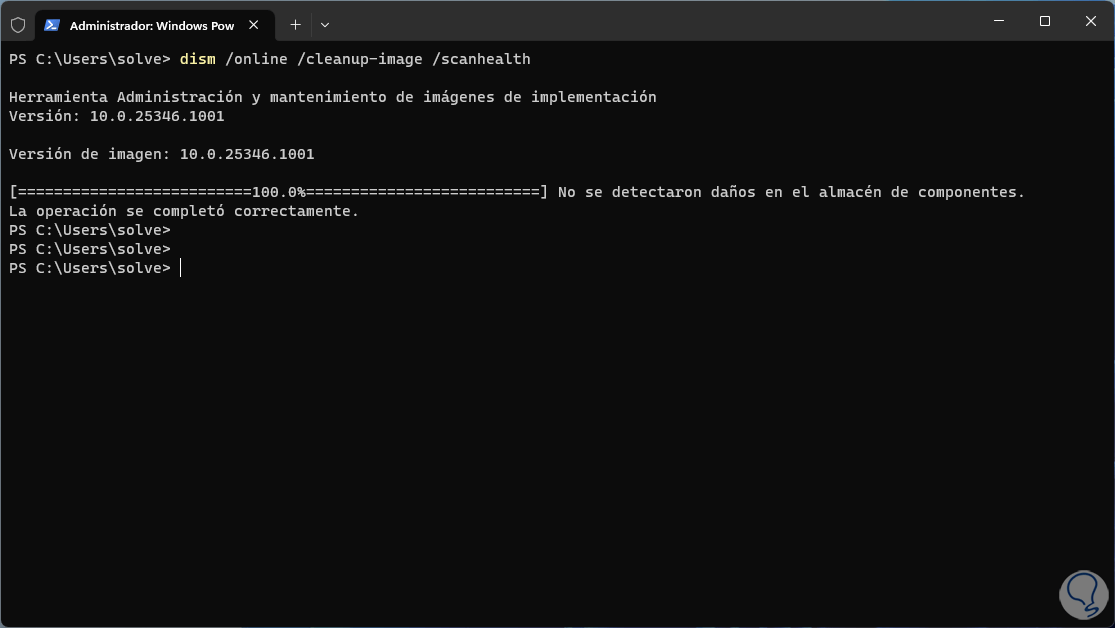
dism /online /cleanup-image /scanhealth
Wait for this process to finish:
step 5
At the end we will see the result of the operation:
step 6
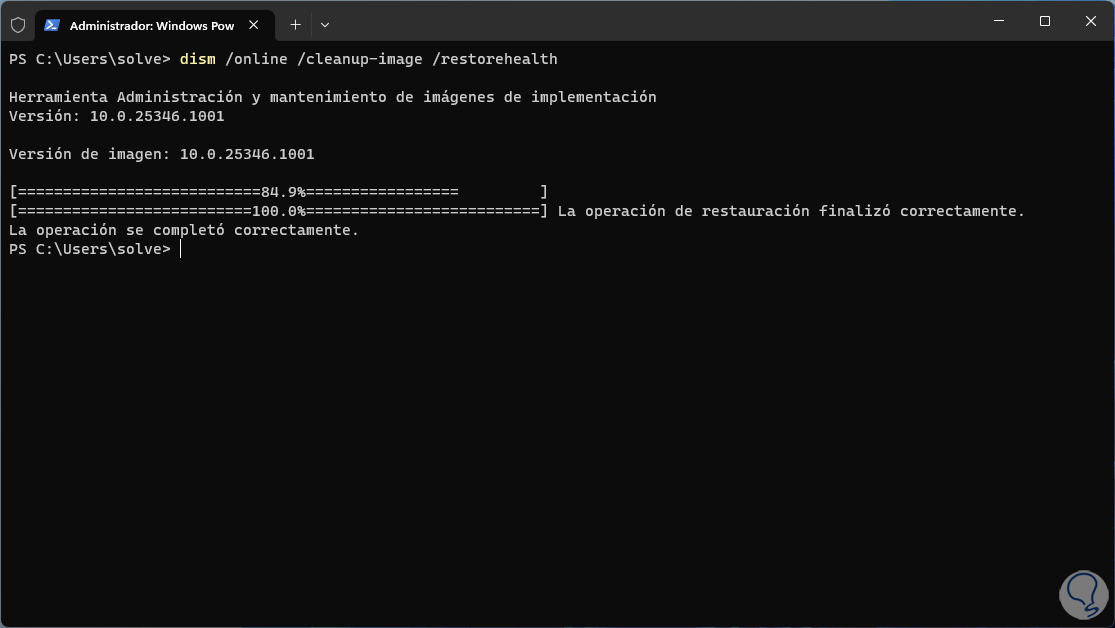
To be sure of the stability of the Windows image we will carry out the restoration of the image with the command:
dism /online /cleanup-image /restorehealth
Wait for it to finish:

step 7
When this process is complete we will see the result of the analysis:
step 8
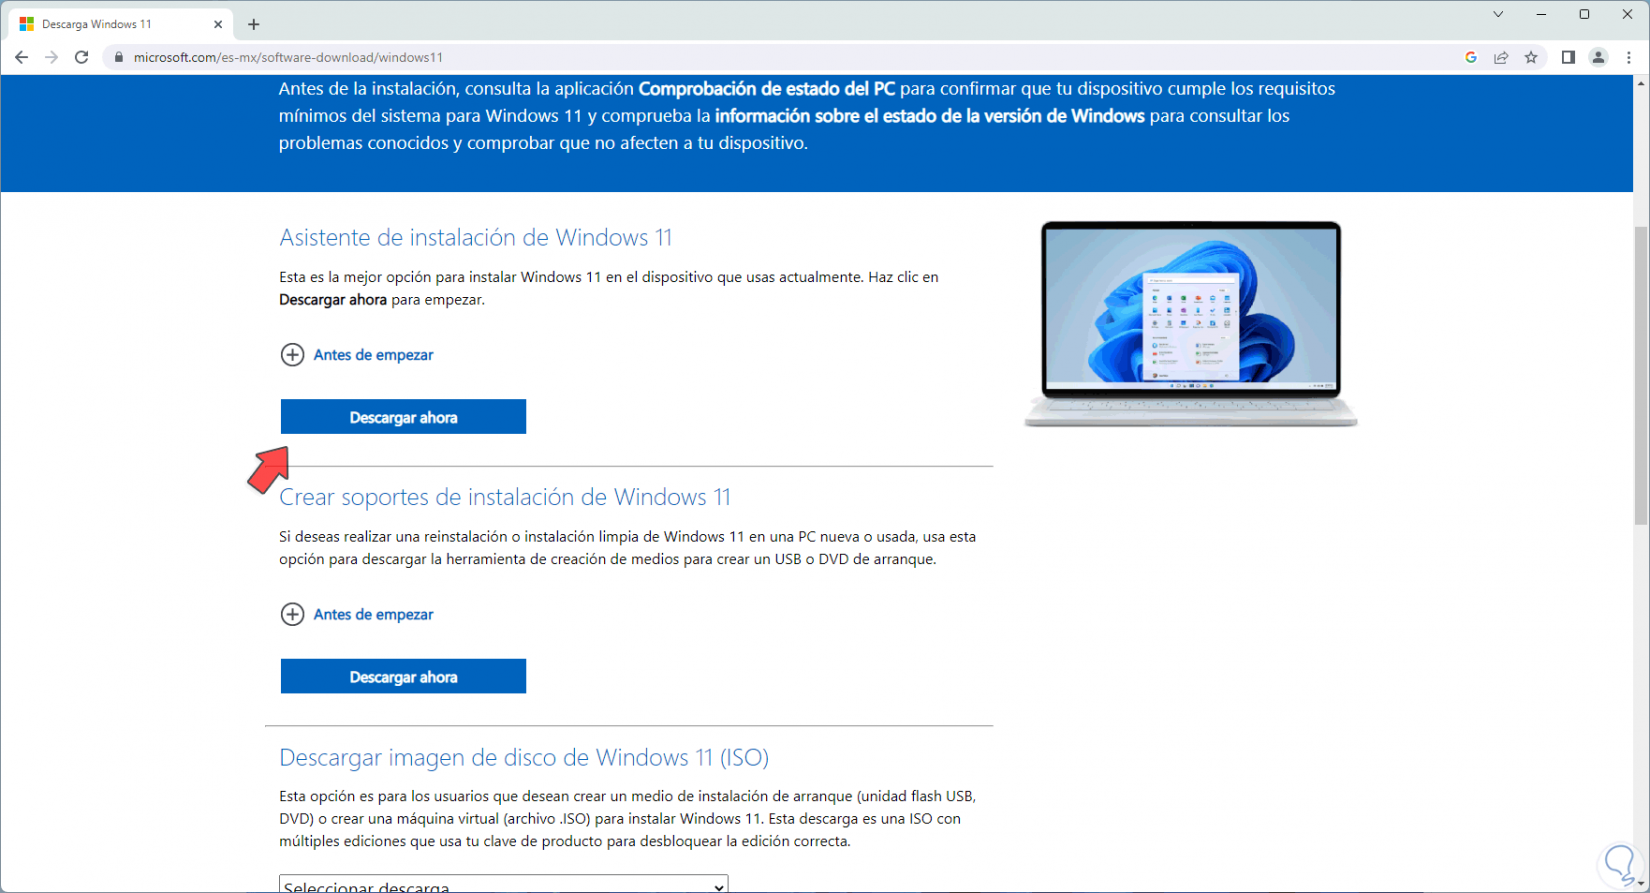
In case the image error persists, we can go directly to the Windows ISO image, in this case we will go to the official Windows URL and download the installation media creator, go to the link:
Windows ISO
In the section "Create Windows 11 (or 10) installation media" we click on "Download now",
step 9
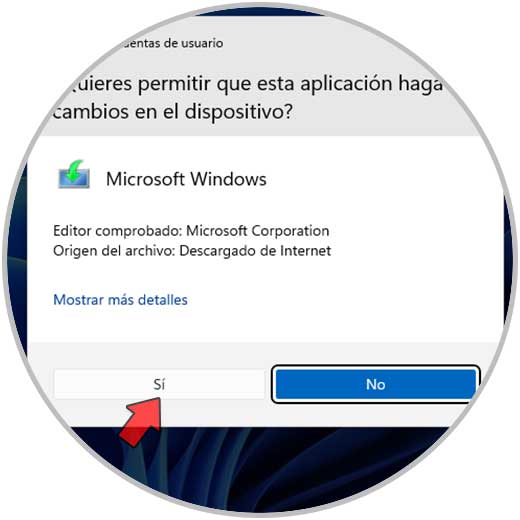
we execute the file and accept the UAC permissions:
step 10
The process will start:
step 11
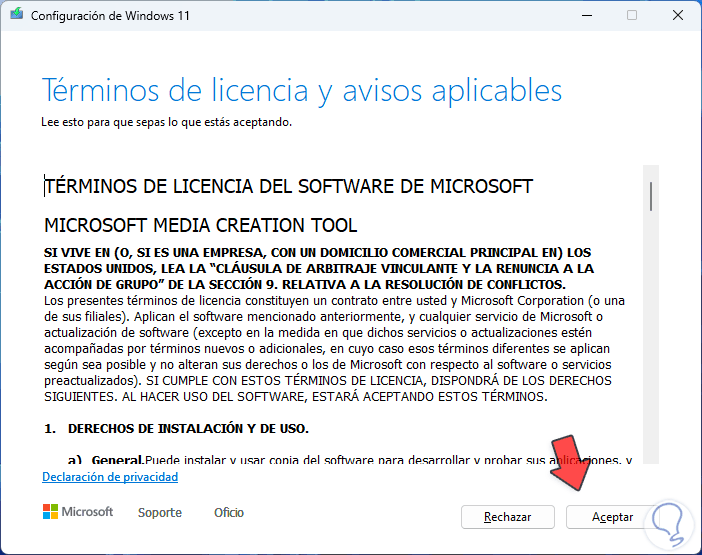
Accept the license:
step 12
Then we will see the following:
step 13
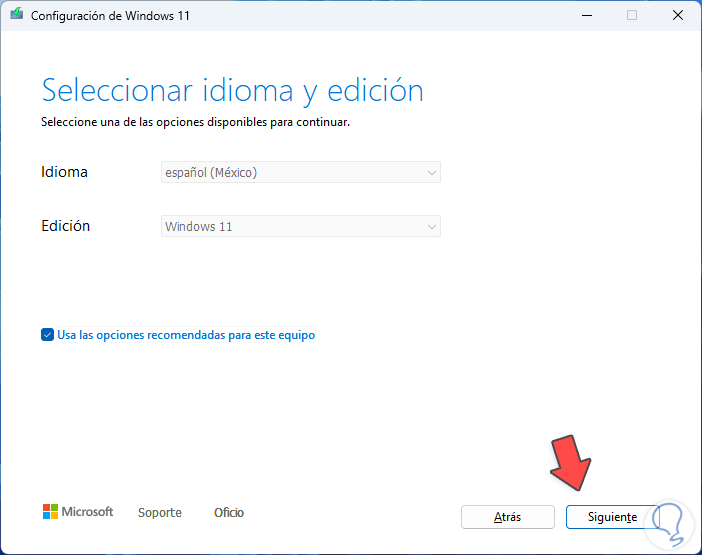
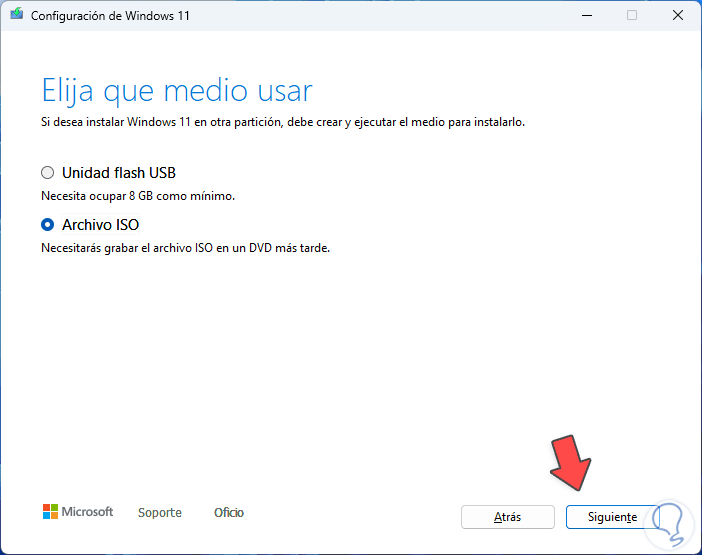
By default, the configuration of the current equipment is taken, but we can uncheck the box "Use the recommended options for this equipment" and modify the parameters. Now in the next window we activate the "ISO file" box to download this Windows image:
step 14
Once the ISO is downloaded, double click on it to mount it in the system:
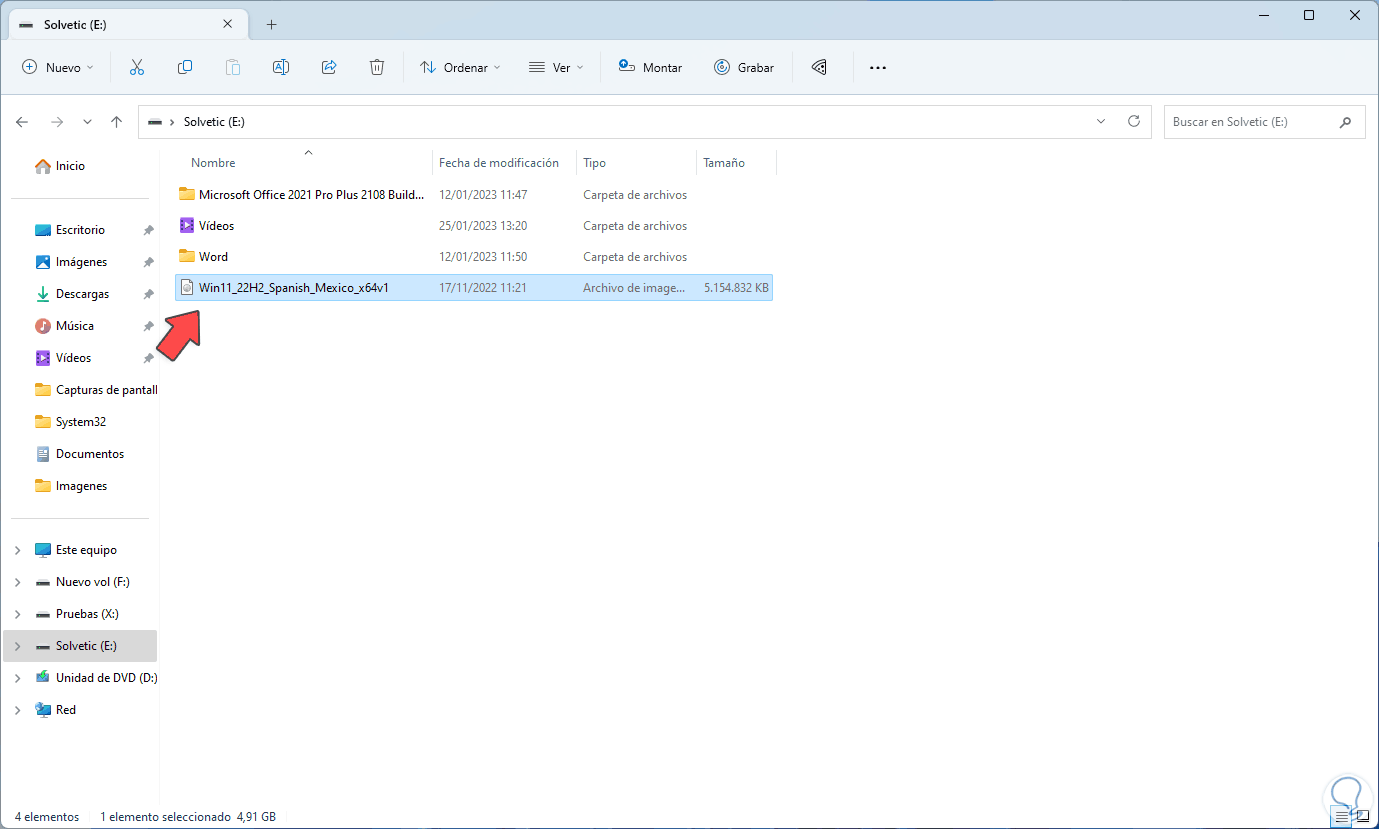
step 15
When mounting we must keep in mind the assigned letter:
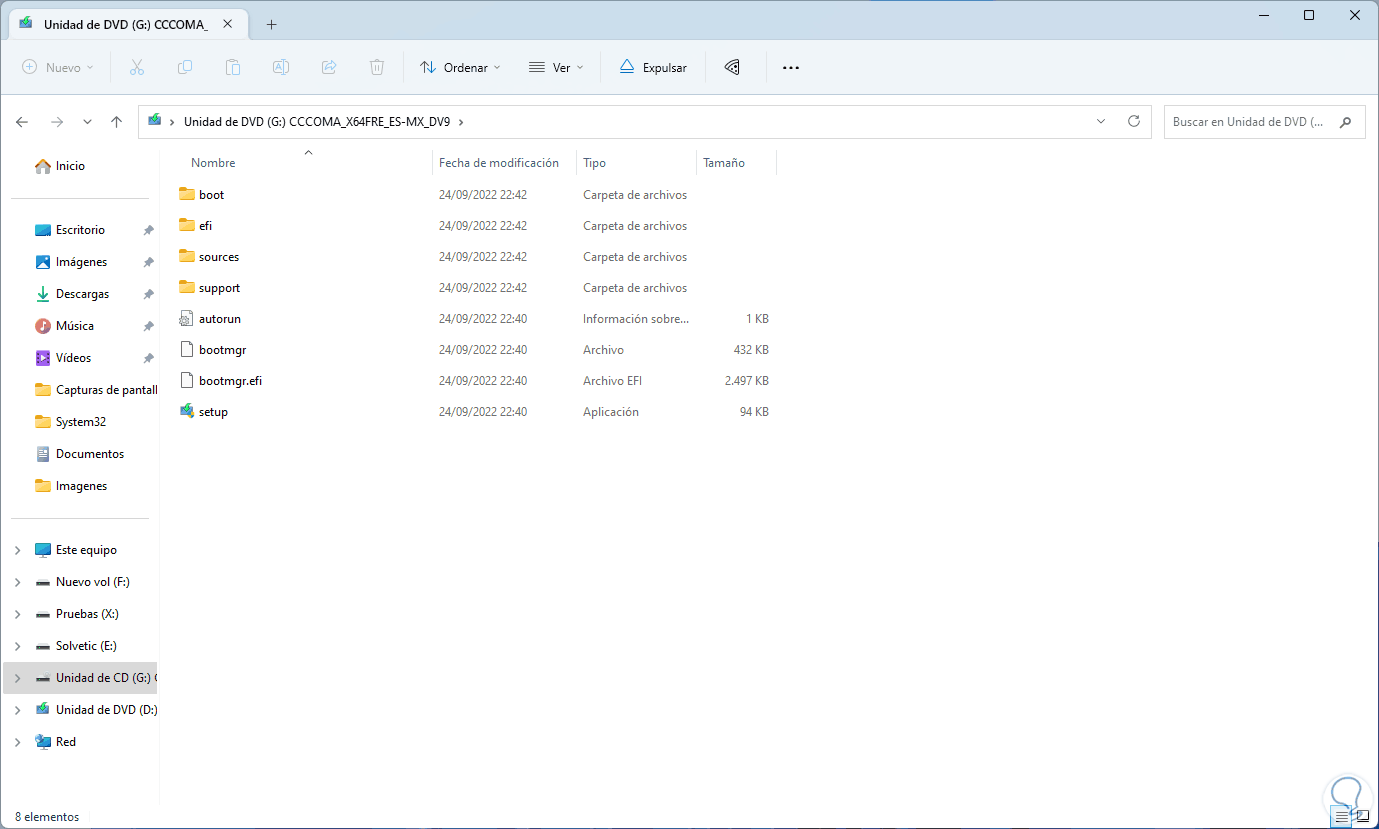
step 16
We open the terminal again and to restore the image from there we execute the syntax:
dism /online /cleanup-image /restorehealth /Source:(letter):\Sources\install.wim
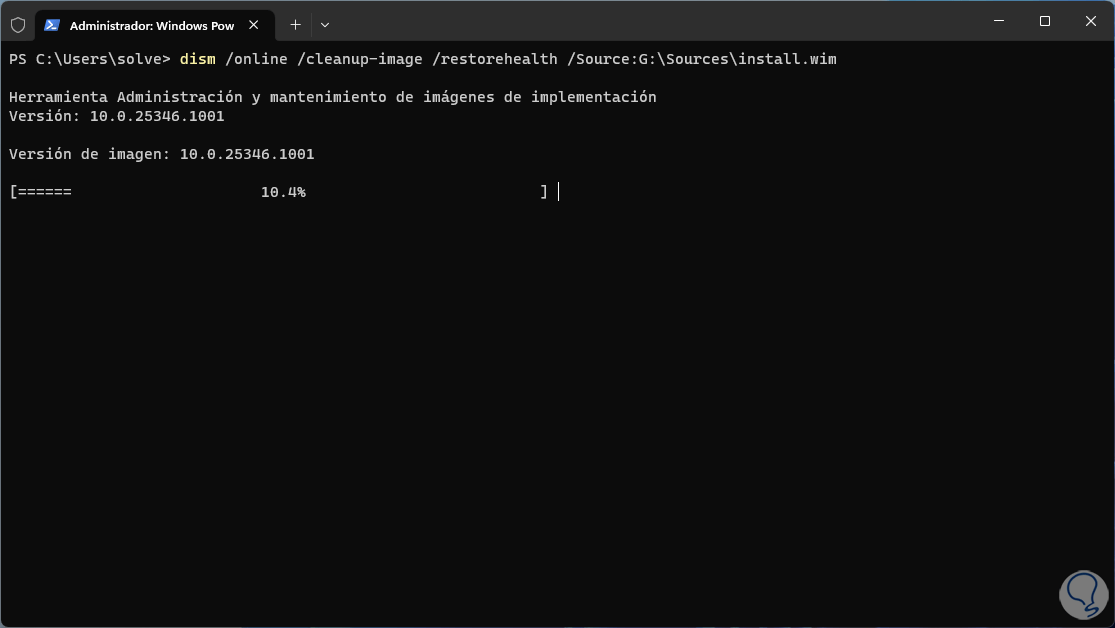
step 17
Wait for the process to finish:
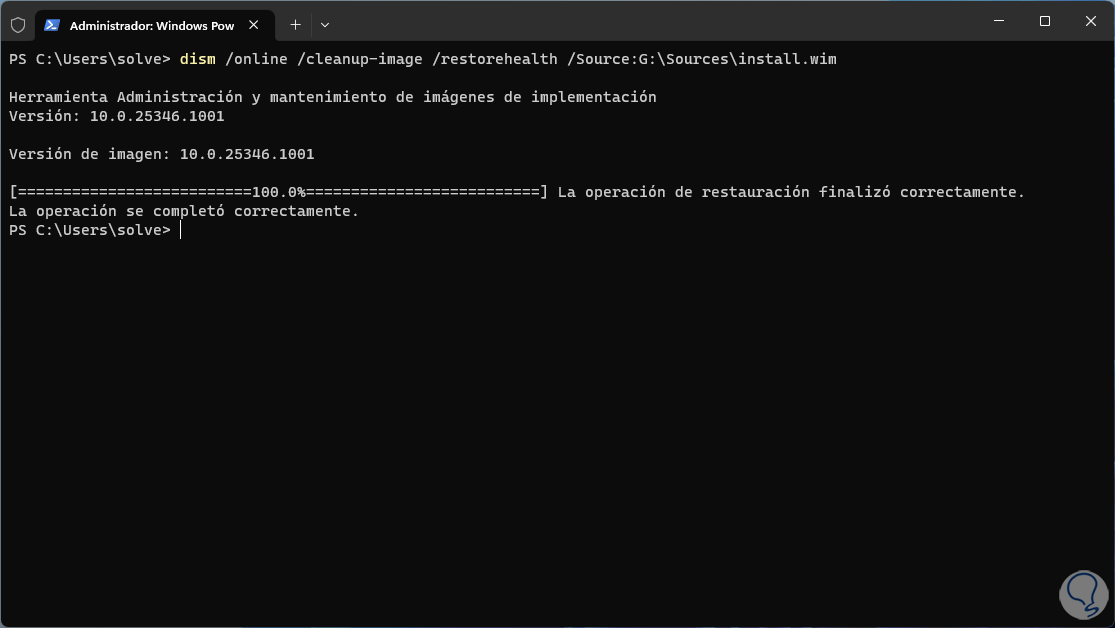
step 18
As an extra point, it is possible that on some computers we do not have the install.wim file but install.esd, in this case we execute the syntax:
dism /online /cleanup-image /restorehealth /Source:C:\ESD\Windows\sources\install.esd
step 19
If you want to limit the use of Windows Update we must execute:
dism /online /cleanup-image /restorehealth /Source:C:\ESD\Windows\sources\install.esd /LimitAccess
2 Repair Windows 11 and Windows 10 image from Terminal with SFC
The SFC command (System File Checker - System File Checker) is a command that allows us to find and replace damaged or missing system files that are linked to NTFS, since they are part of the file system they have a direct incidence with the system Image,
SFC parameters
Some parameters to use with SFC are:
- /scannow – scans all system files and replaces damaged or incorrect files for proper operation
- /scanonce: is responsible for scanning all system files once
- /scanboot: its task is to scan all system files during boot every time the system is rebooted, this may take time to start the session
- /cancel – cancels all pending scans
- /enable: allows you to enable the Windows File Protection (WFP) function, this prevents programs from modifying Windows system files
Step 1
To use it we open the terminal as administrator:

Step 2
We accept the permissions:
Step 3
We execute:
sfc /scannow
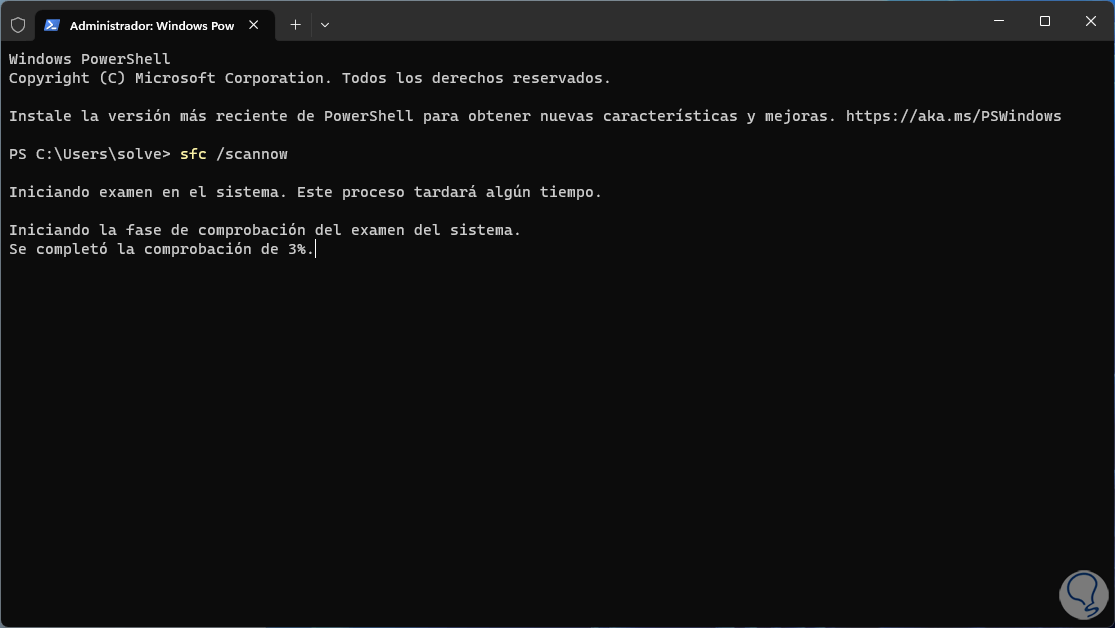
Step 4
Wait for the analysis to complete:
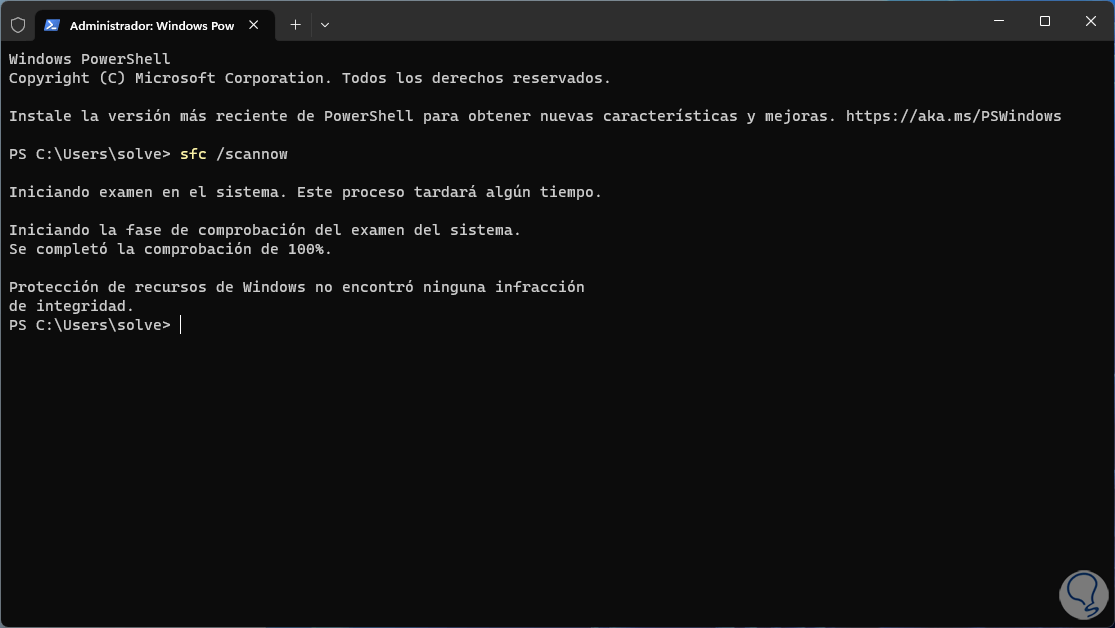
step 5
The results we can see are:
- Windows resource protection did not find any integrity violations
- Windows Resource Protection found damaged files and successfully repaired them. Details are in CBS.log: %WinDir%\logs\cbs\cbs.log
- Windows Resource Protection found corrupted files, but was unable to fix some. Details are in CBS.log: %Windir%\logs\cbs\cbs.log
- Windows Resource Protection could not perform the requested operation
step 6
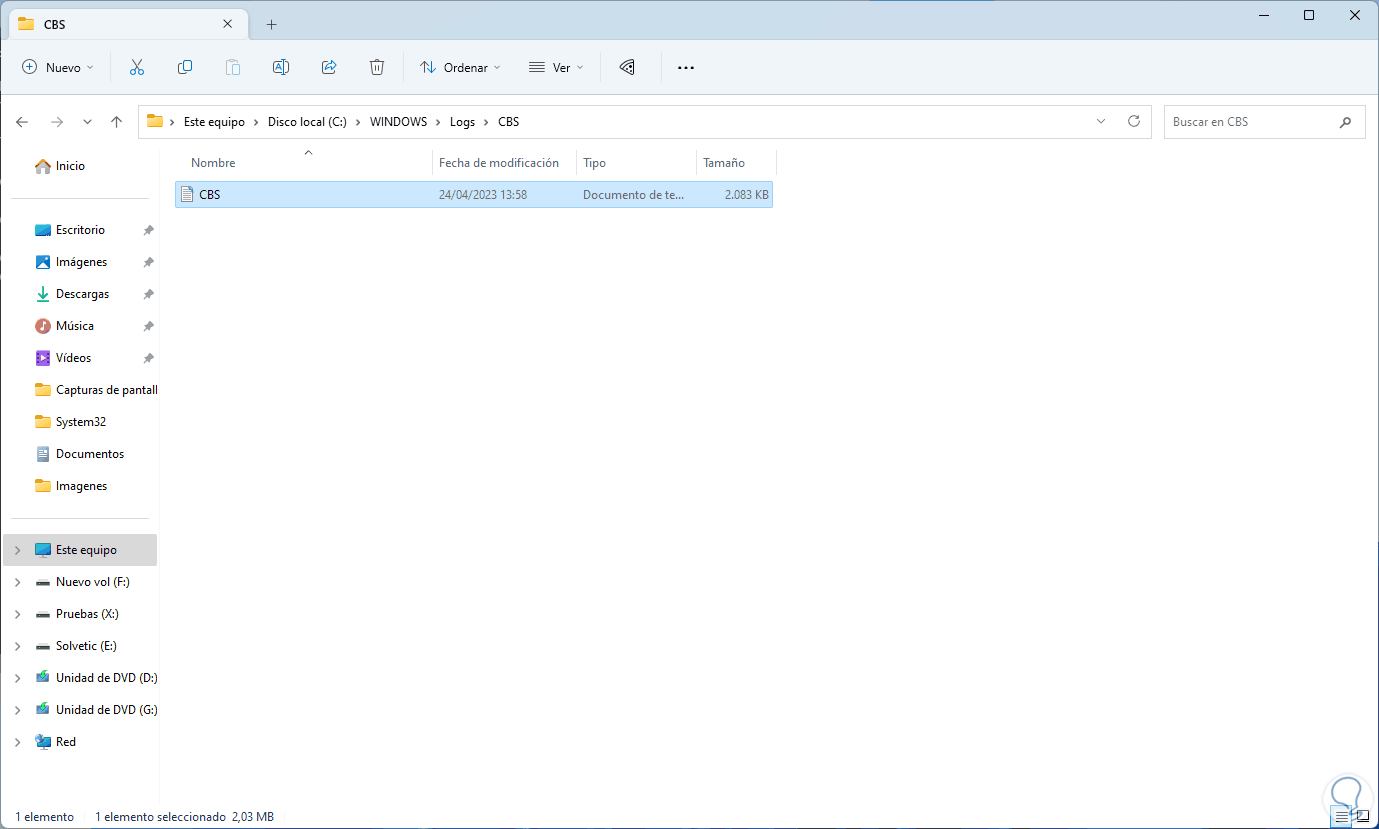
In case of seeing any error we can carry out the use of other parameters of use of this command, if we want to see the process that was executed we will go to the route:
%windir%/Logs/CBS
step 6
Or we can go to the route:
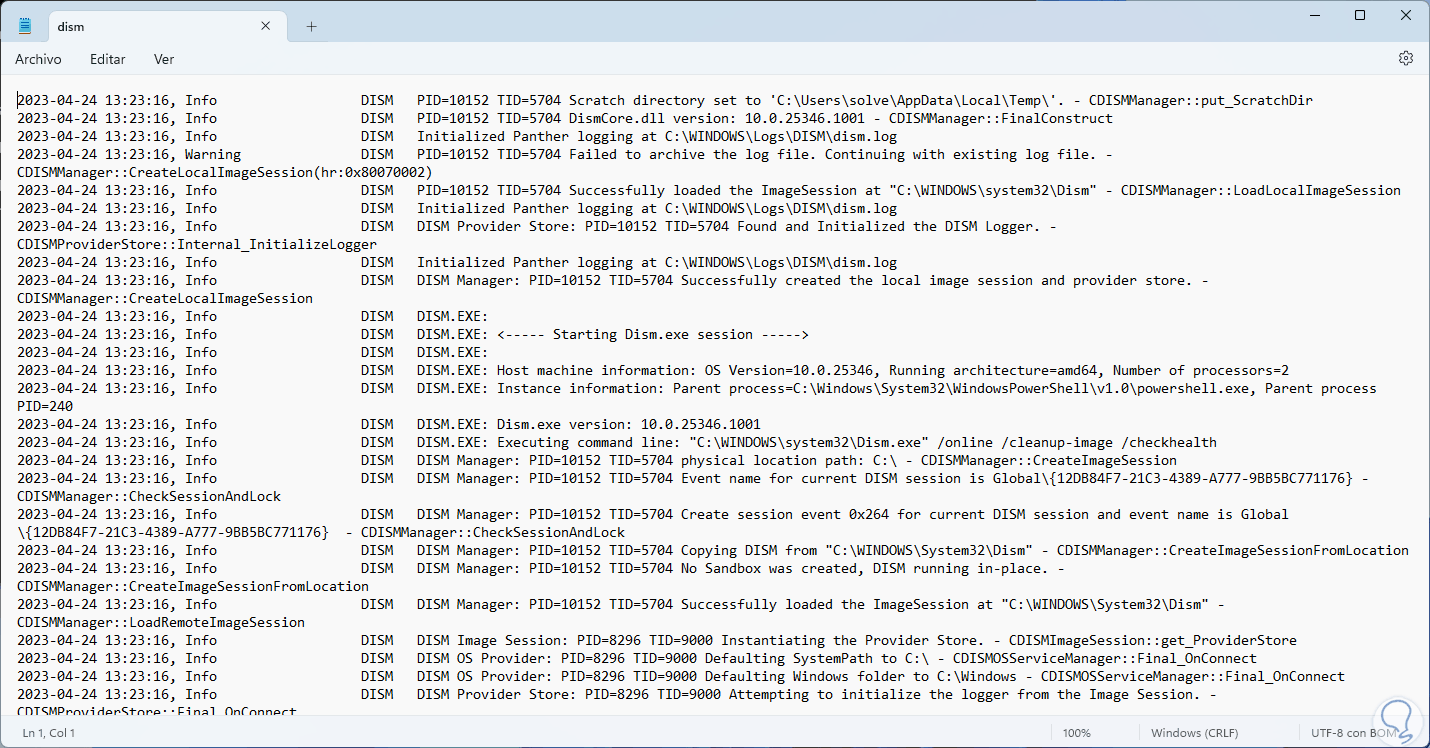
%windir%\Logs\DISM

step 7
We open the file to see details of this analysis:
Both with the DISM command and with SFC it will be possible to resort to protection and management mechanisms so that the operating system image works correctly since everything will work in a synchronized way.