Having a WiFi connection on our computers and devices is a useful option if we want to avoid having to place cables in any area. The options to connect via WiFi are quite advanced and close to the Ethernet network, so we would have to lose too much quality. Wi-Fi connections are one of the most used methods today to connect to a local network that is available within the range of said wireless network, these ranges are divided into three that are:
Wi-Fi ranges
- 2.4 GHz which is the range that takes the longest but has an advantage which is that it has a much wider range and can better penetrate walls
- 5 GHz which has higher speed and less interference but has a more limited range for connections
- 6 GHz and is the newest Wi-Fi providing higher transmission speed and less interference
For the Wi-Fi network to work correctly in Windows 10, the drivers are required, which the system itself installs by default and these allow each interaction process between the operating system and, in this case, the network card to be complete both in compatibility as in delivery and sending of packets and signals, so that if the driver of the Wi-Fi network card is outdated or not present, we will have many problems when connecting to any available network in the range. If you have this error, TechnoWikis will explain the way to install these drivers in Windows 10 since it is recommended to update Windows 10 drivers..
To stay up to date, remember to subscribe to our YouTube channel!
SUBSCRIBE ON YOUTUBE
How to install WiFi drivers in Windows 10
Step 1
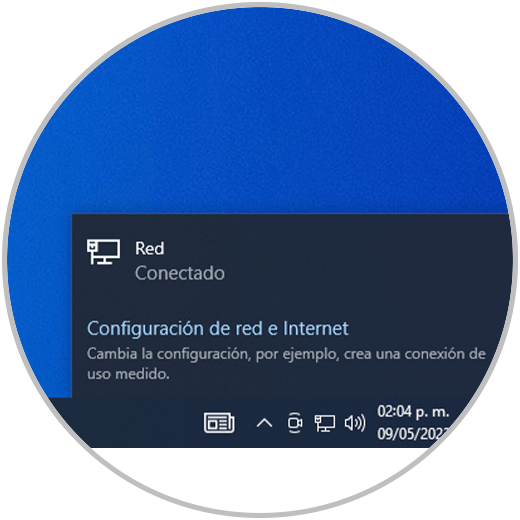
We click on the network icon in the taskbar and it will be possible to only see the cable connection (if applicable) or not have a network:
Step 2
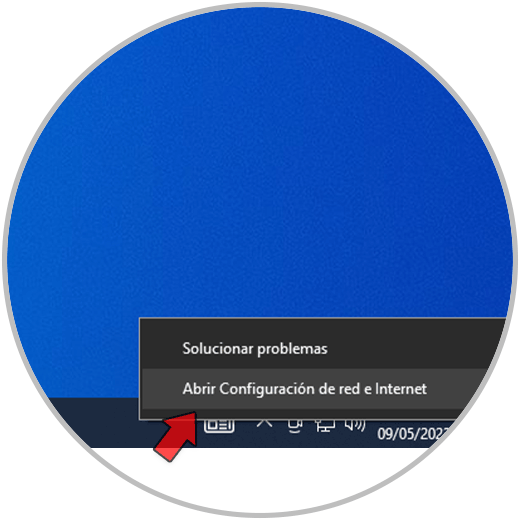
We see that the Wi-Fi network is not present, now we click on the network icon in the taskbar and select the option "Open network and Internet settings":
Step 3
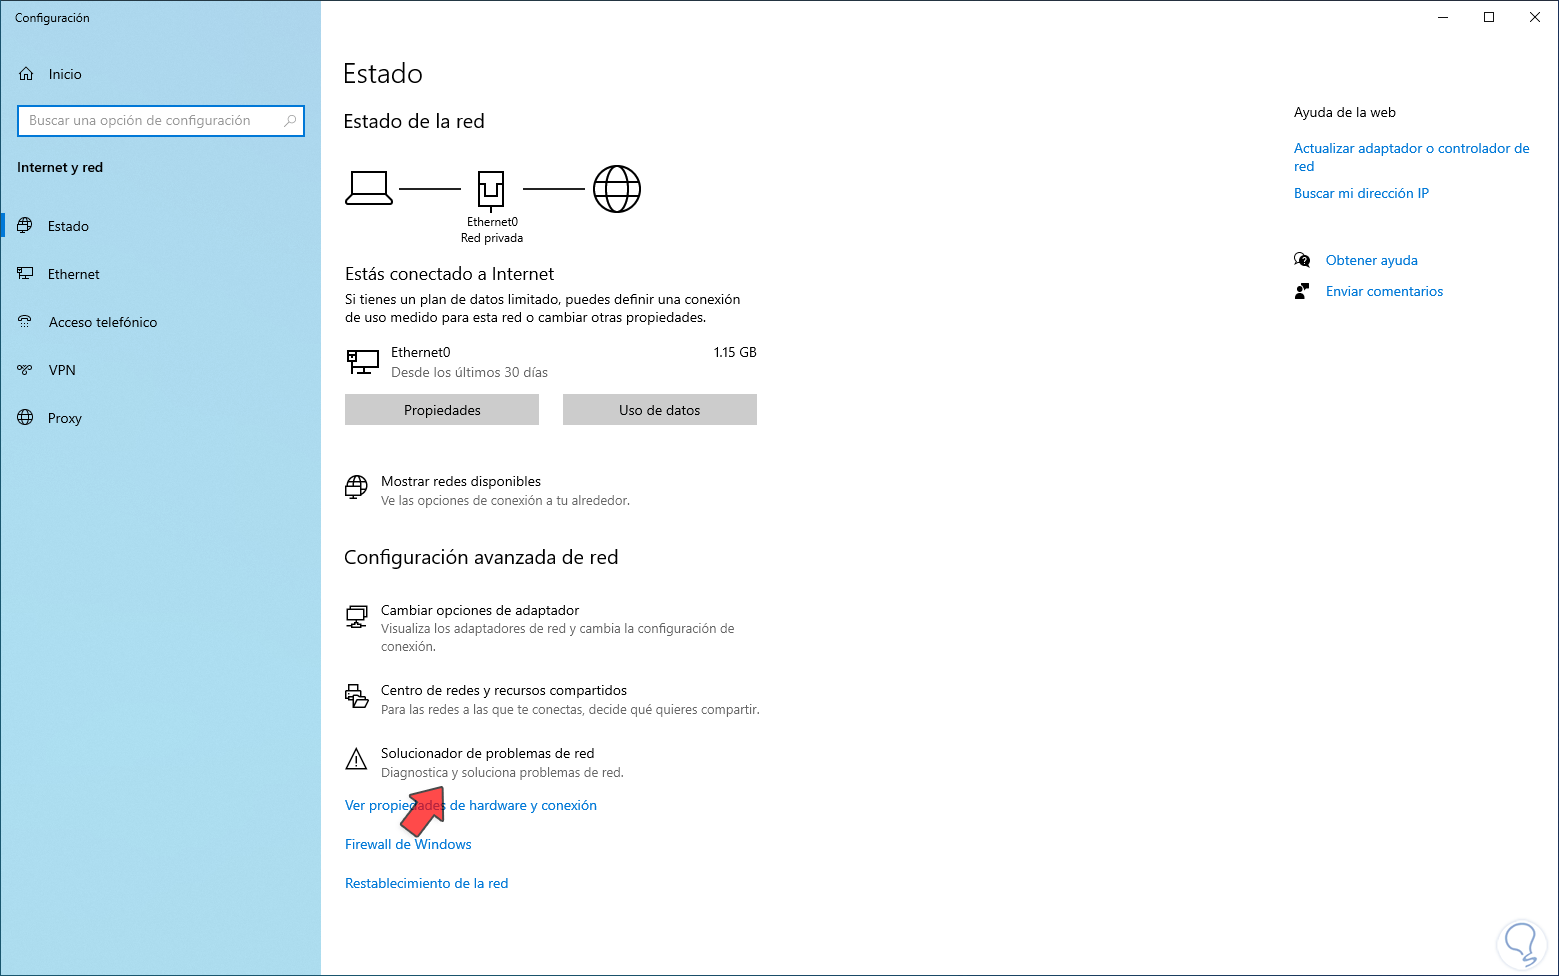
The following will open. We click on "Network troubleshooter":
Step 4
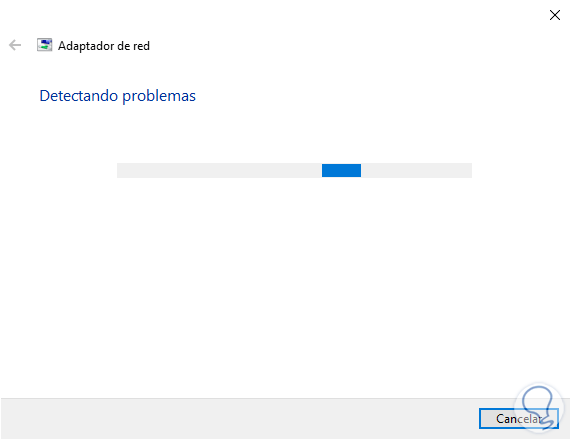
With this we will try to correct the problem of our Wi-Fi network, the analysis will start:
step 5
Check the Wi-Fi box:
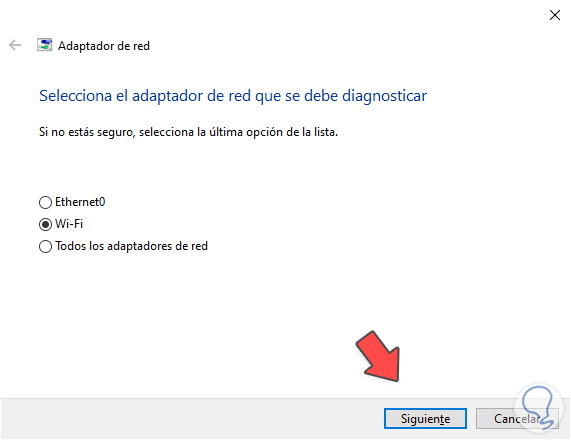
step 6
We click Next to continue with the analysis:
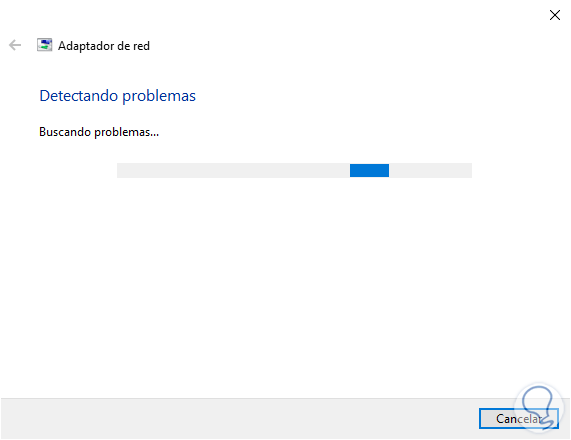
step 7
We hope this one comes to an end:
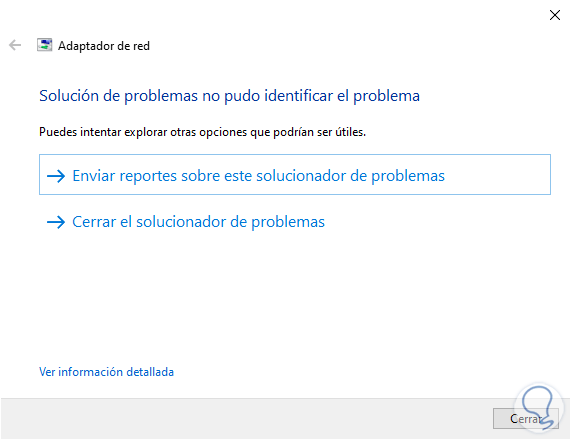
step 8
After this we open the Device Manager:
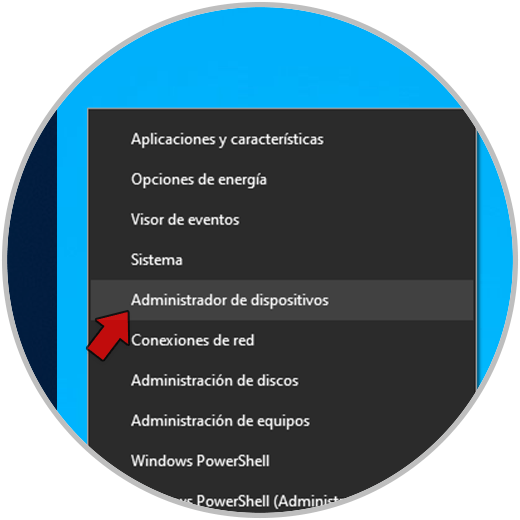
step 9
In "Network adapters" check that the Wi-Fi adapter is not available:
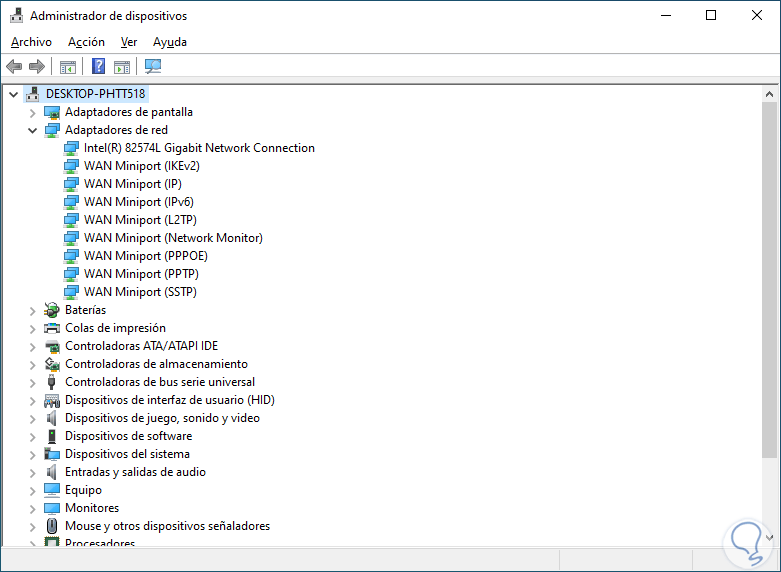
step 10
We go to the "Action - Search for hardware changes" menu:
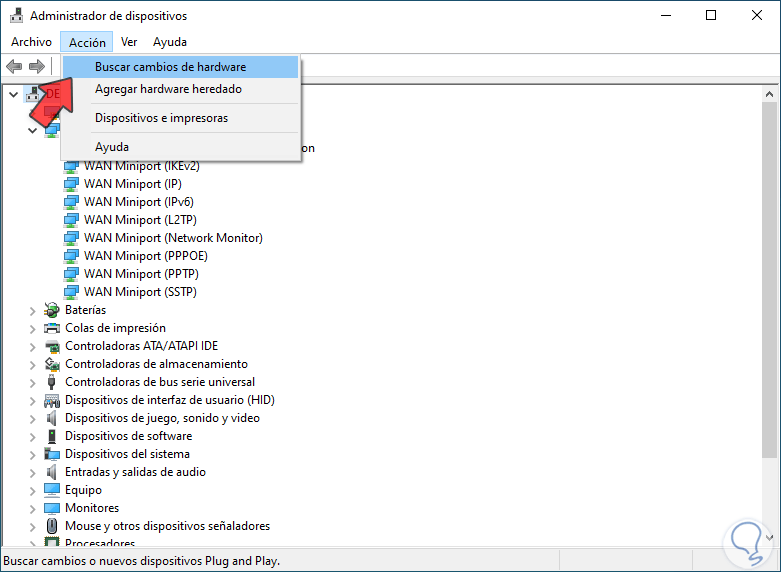
step 11
After the analysis the Wi-Fi adapter will be visible:
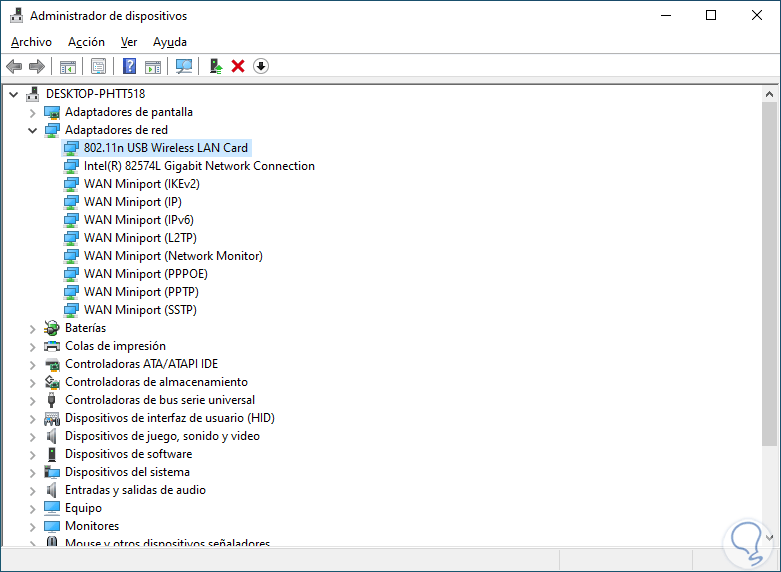
step 12
We open Network and Internet Settings again and there we click on "Change adapter options":
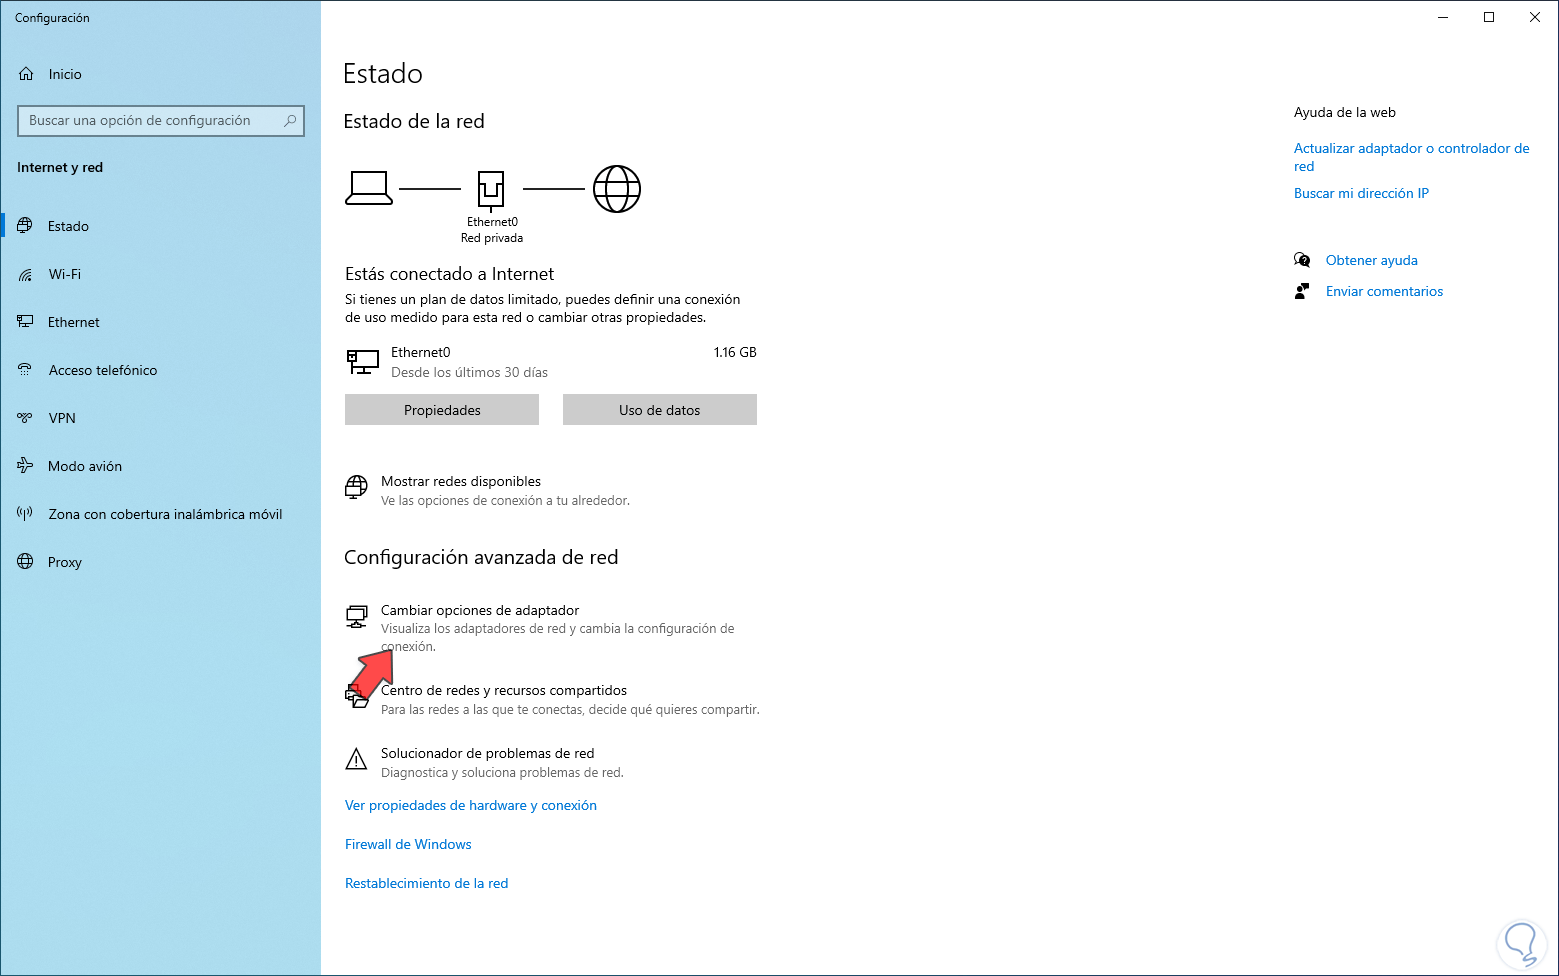
step 13
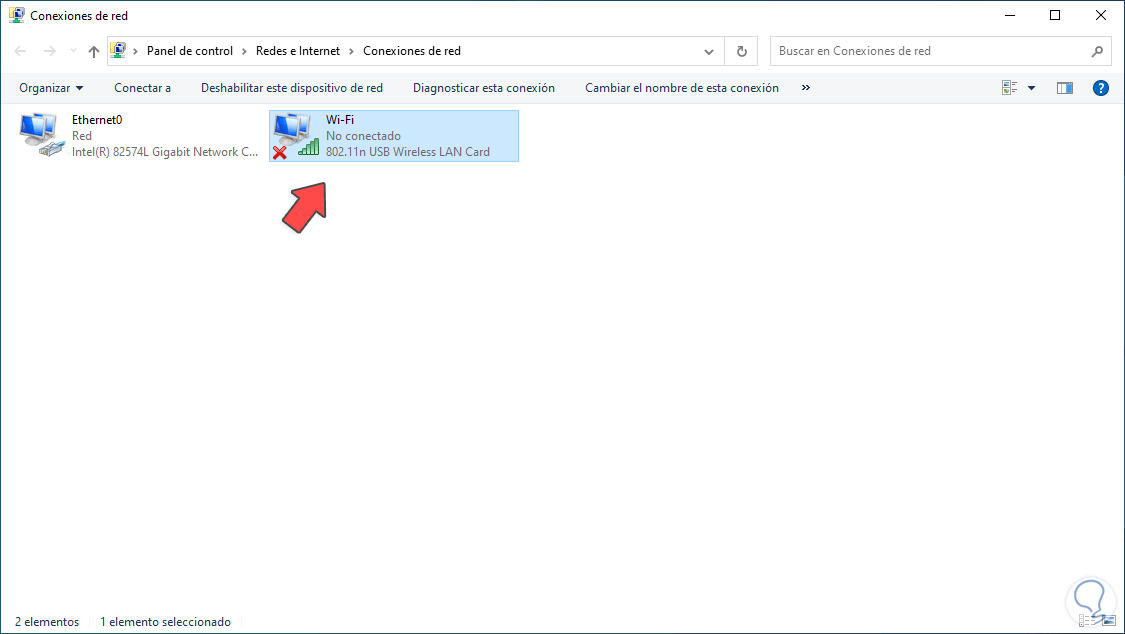
We will see the Wi-Fi adapter active but without network access:
step 14
In this case we must make use of the drivers to update our Wi-Fi adapter and thus enjoy a comprehensive connection, in case of not having access to the network, we must download the driver to another computer with a network there according to the brand installed and then copy it to the faulty computer in its Wi-Fi network, the various URLs from where we can download the Wi-Fi network drivers are (in the video we will leave the official links anyway):
Asus
TP-Link
Netgear
D-Link
Linksys
Intel
Broadcom
Belkin
Qualcomm
Realtek
HP
Ralink
step 15
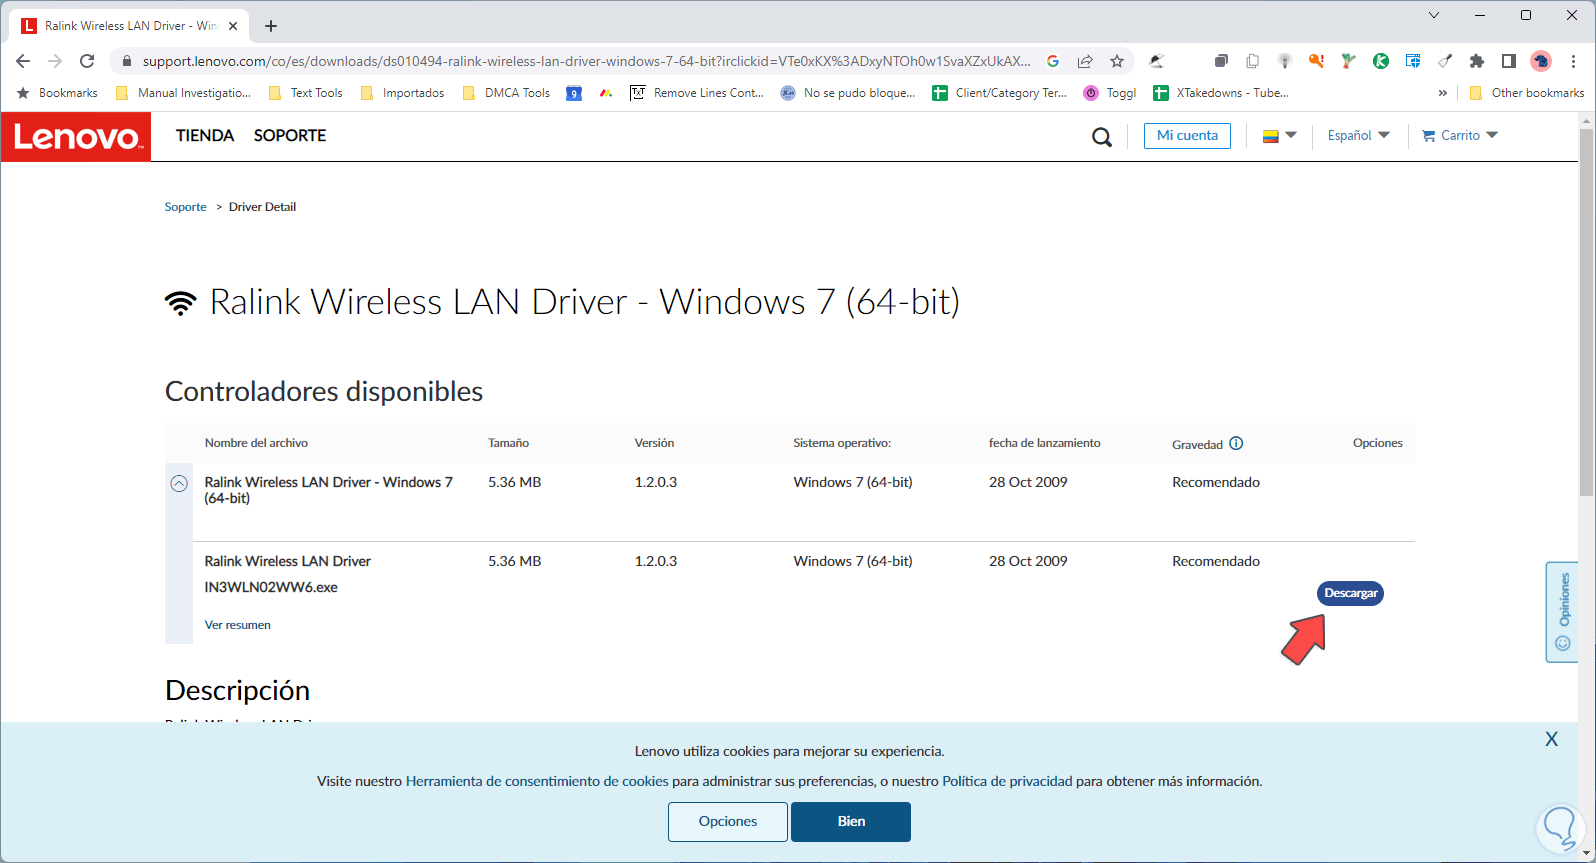
In our case it will be Ralink:
step 16
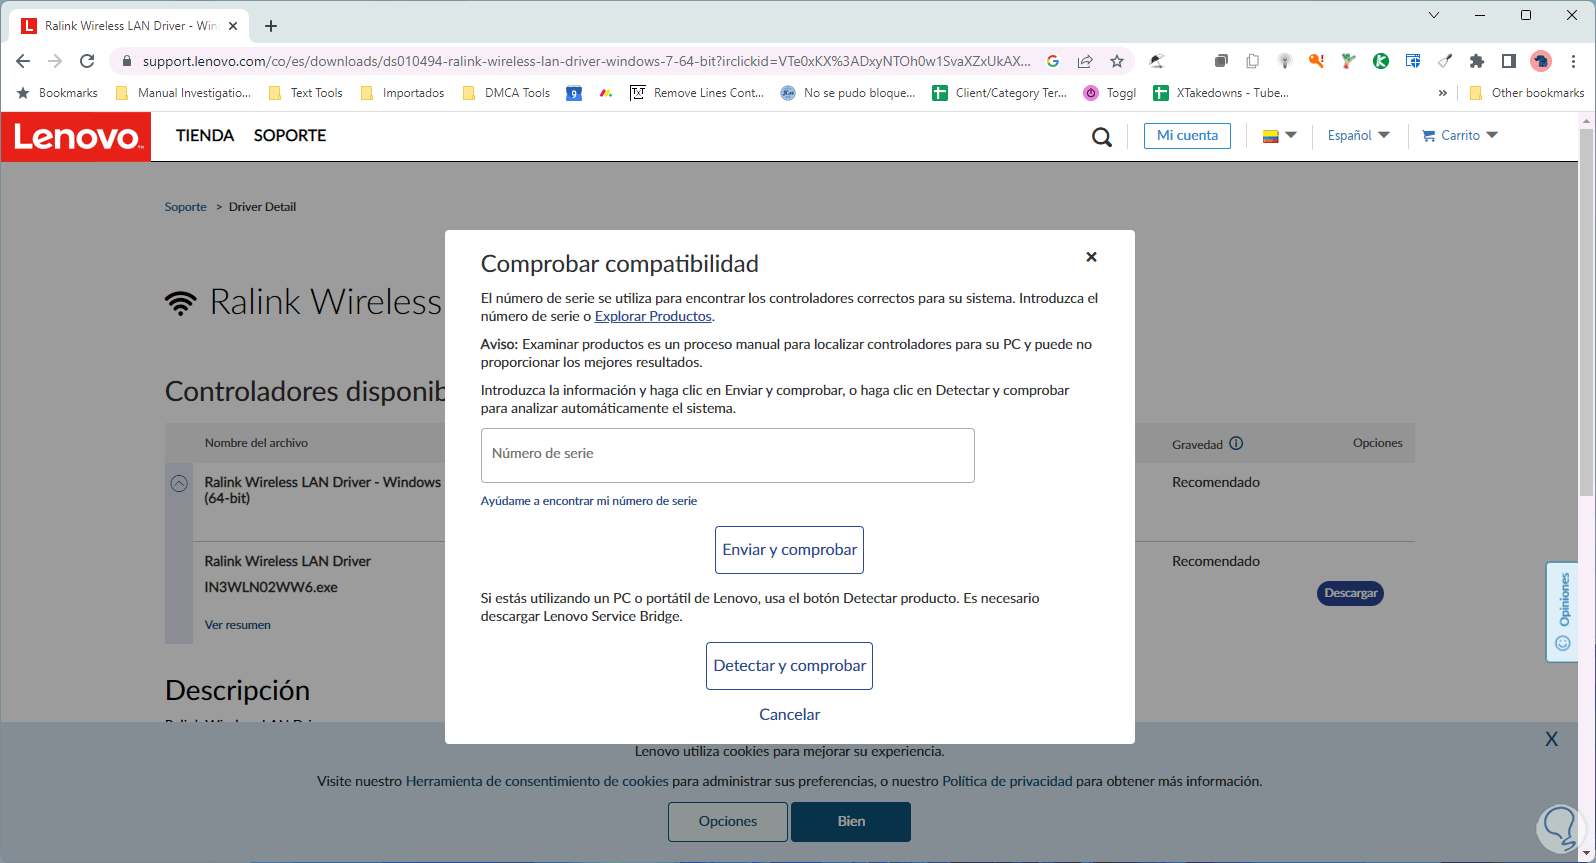
We download our controller:
step 17
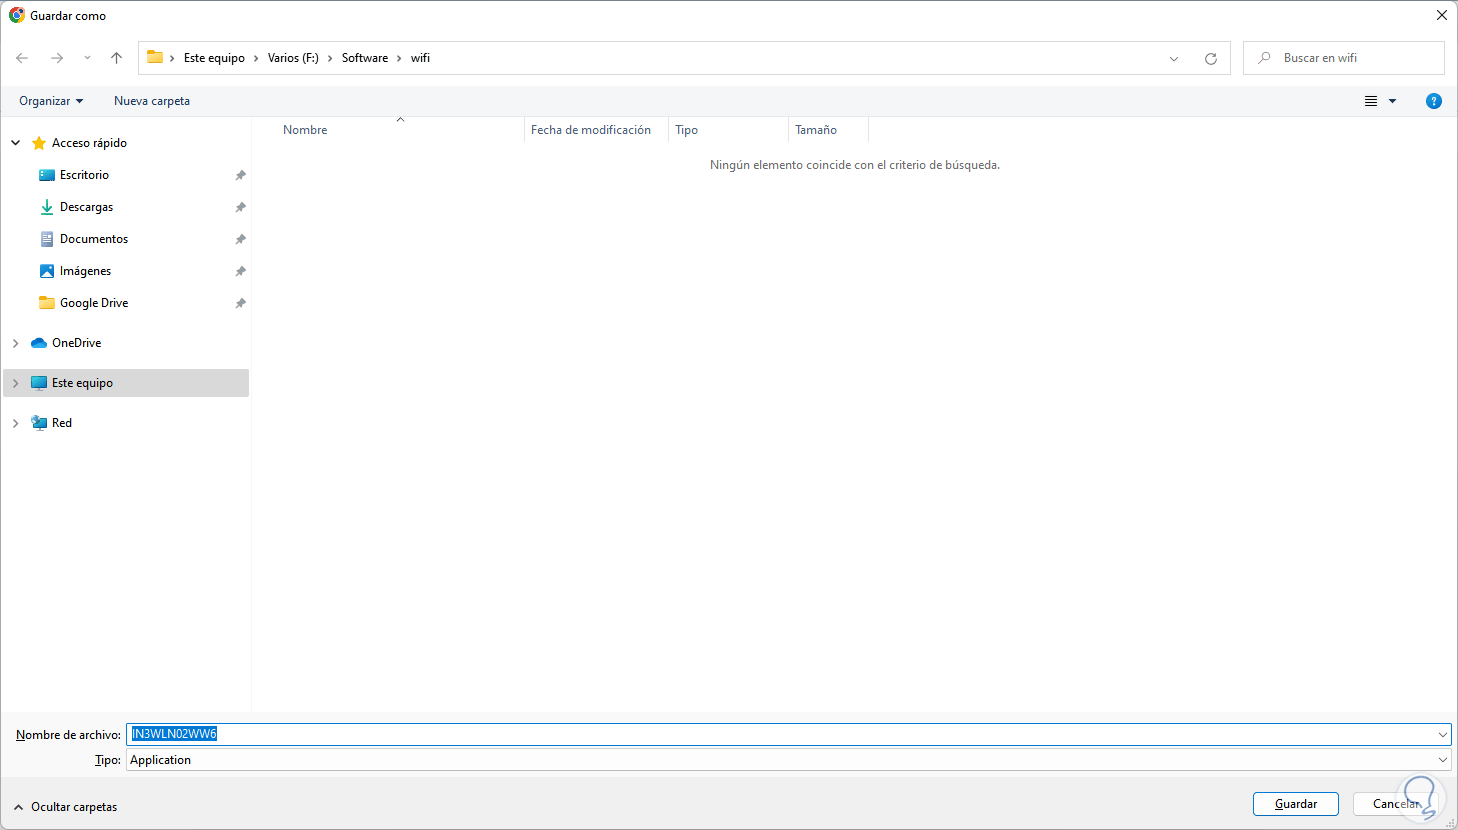
We save the driver locally:
step 18
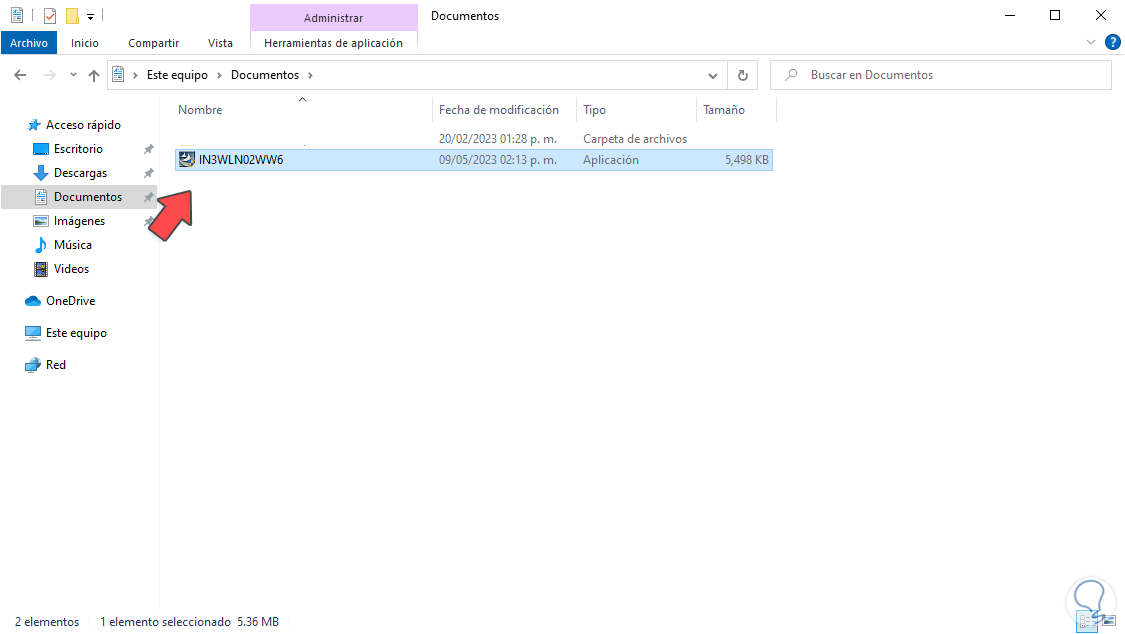
We copy and paste this executable on the PC with Wi-Fi failure:
step 19
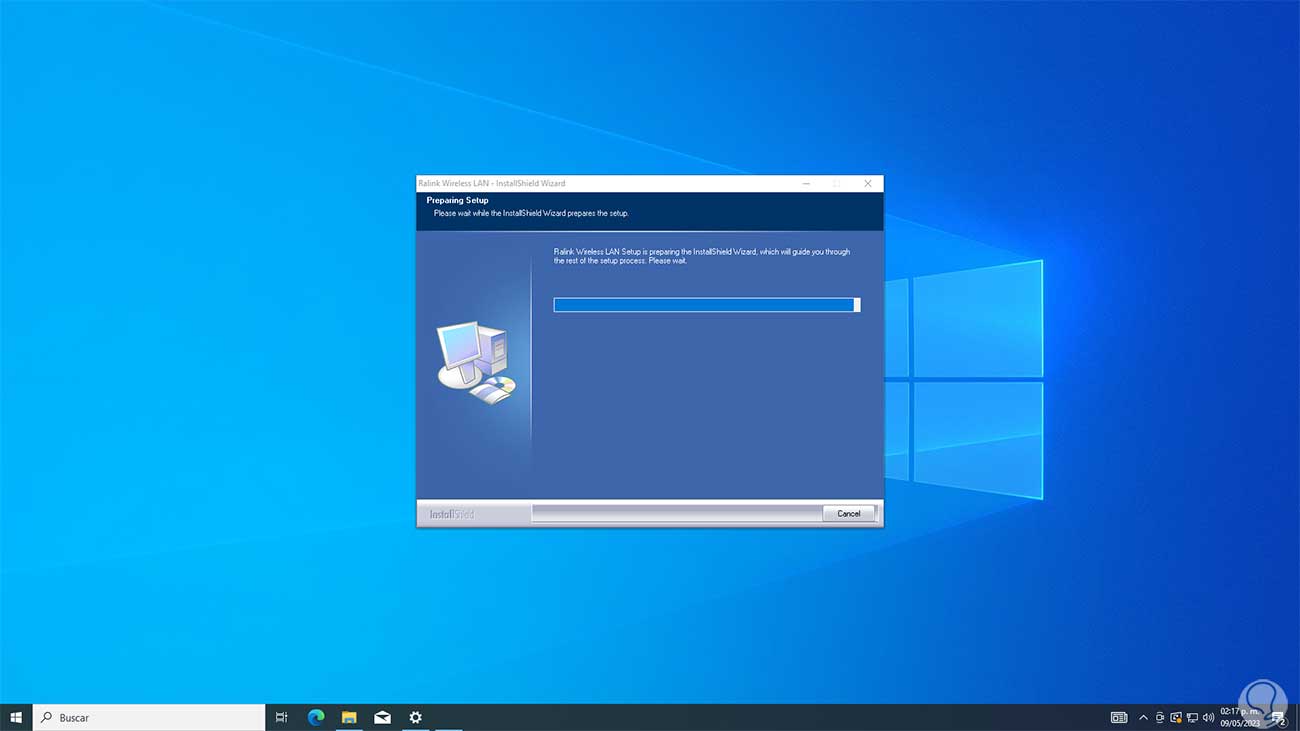
We execute it and we must accept the UAC permissions:

step 20
The driver will be installed:
step 21
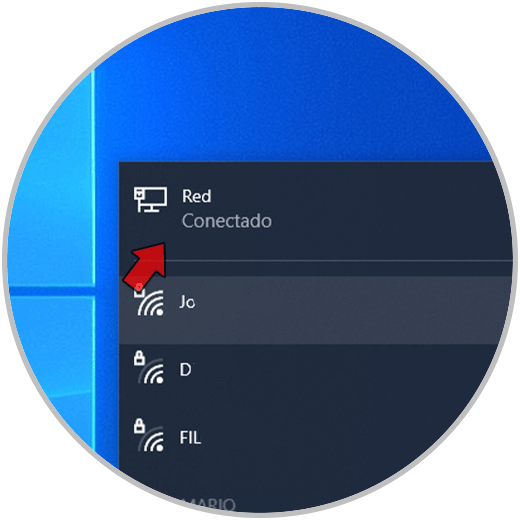
You will now have access to Wi-Fi in Windows 10:
This is the way to install the Wi-Fi driver in Windows 10 and thus recover all the advantages of the Wi-Fi connection.