Currently, one of the most current issues and that will undoubtedly impact the world and our lives in one way or another is artificial intelligence (AI), which will seek to replace the tasks of many human beings in traditional activities, but for many other sectors it will be of great importance. helps thanks to its engines and neural networks to achieve precise results.
ChatGPT is one of the most versatile Artificial Intelligence options since it has been developed as a language model that is based on the GPT-3 (Generative Pre-trained Transformer 3) architecture and has been developed by OpenAI. When we talk about a language model, we are talking about how it is able to process text in our natural language as well as create coherent responses, this is achieved with machine learning and language processing. ChatGPT will be able to interact with users using online conversation methods, carrying out numerous tasks, some of its features are:
ChatGPT Features
- You can develop custom responses based on the topic we enter
- Use natural language and in different languages
- It has machine learning functions
ChatGPT Activities
In the case of Linux, we have ShellGPT which is the command line tool that is created based on the OpenAI GPT models, OpenAI is the developer of ChatGPT, with ShellGPT it will be possible to carry out activities such as:
- Have answers to questions of all kinds and more
ShellGPT is cross-platform compatible and can be used on Linux, macOS and Windows operating systems and making use of all major shells such as PowerShell, CMD, Bash, Zsh, Fish and more.
TechnoWikis will teach you how to use ChatGPT through ShellGPT in Linux, for this case we will use Kali Linux which is based on Ubuntu.
To stay up to date, remember to subscribe to our YouTube channel!
SUBSCRIBE ON YOUTUBE
How to use ChatGPT with ShellGPT on Linux
The first thing will be to validate the version of Python and PIP, Python is a high-level programming language with which we can create both desktop and web applications while PIP is basically the package management system for Python thanks to which we can install , update or uninstall software packages that have been developed in Python.
Step 1
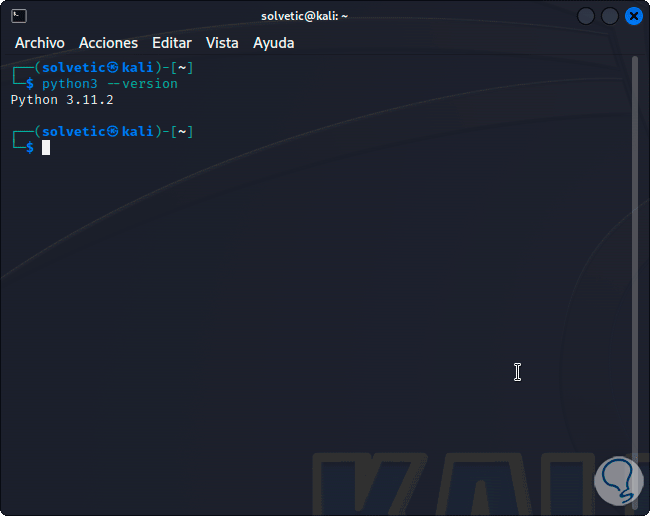
We open the terminal and validate the Python version:
python3 --version
Step 2
If you do not have Python, you can install it by running:
sudo apt install python3.8
Step 3
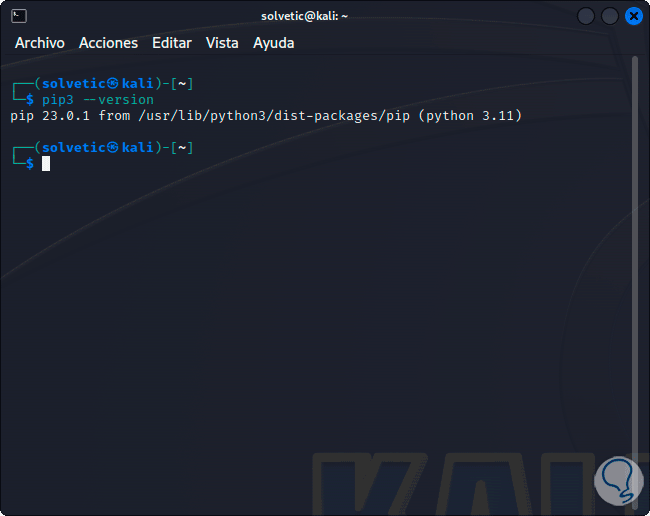
Now check the pip version:
pip3 –version
Step 4
If you don't have Python you can install it with the command:
sudo apt install python3-pip
step 5
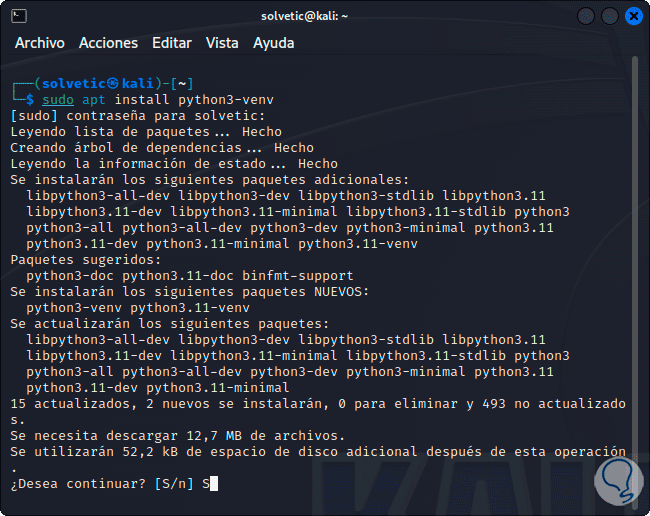
After this we are going to install a virtual environment, this allows the Python packages to be installed in an isolated environment in order to preserve the integrity of the local system files, to do this we will use the following command.
sudo apt install python3-venv
step 6
Enter the password:
step 7
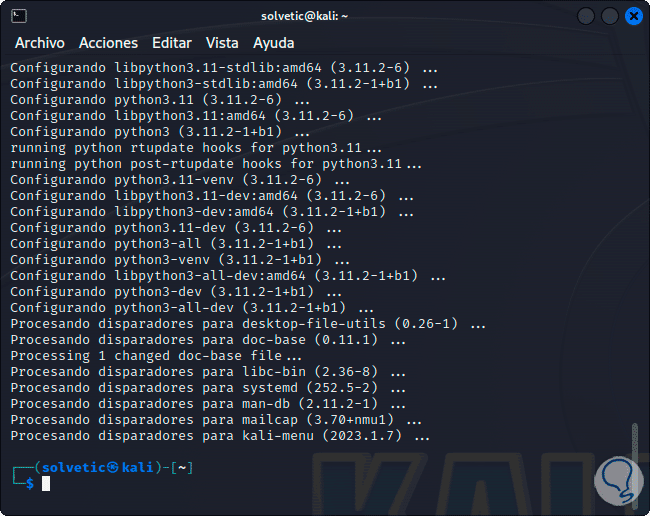
Confirm the operation and wait for the process to finish:
step 8
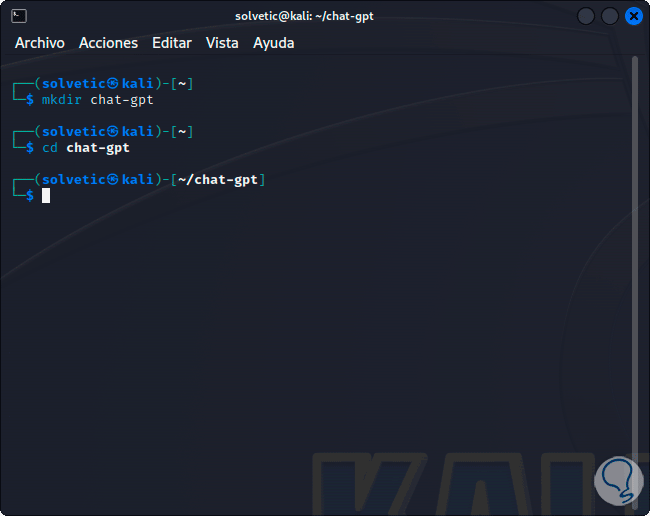
Once this is done we are going to create the directory and access it:
mkdir (name) cd (directory)
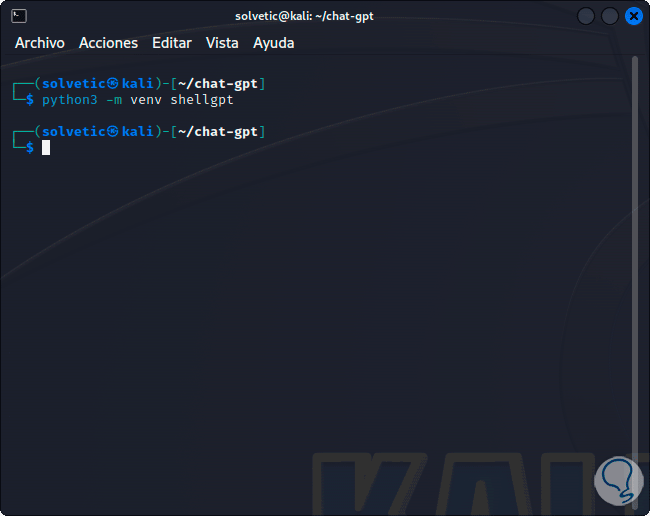
step 9
We create the virtual environment:
python3 -m venv(name)
step 10
It will be necessary to activate the virtual environment:
source(name)/bin/activate
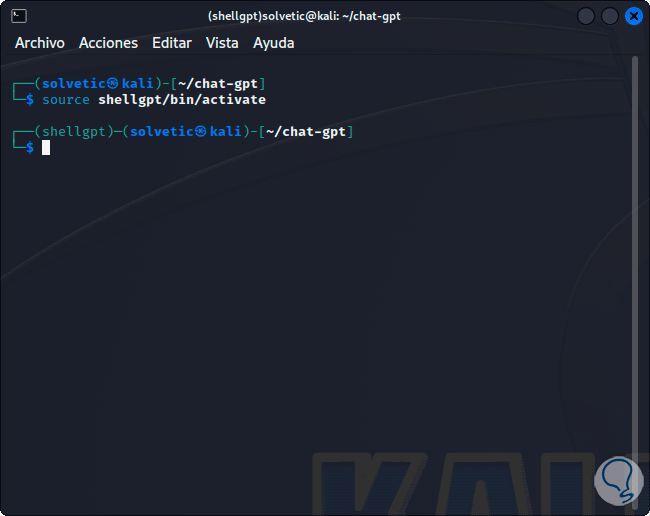
step 11
We can see that the console will automatically be inside the virtual environment, the next step is essential for security issues since it implies having access (free of charge) to the registry key to guarantee that we are the users that will use ChatGPT, for this we will go to the following OpenAI URL:
Open AI
Note
We can create an account using Google, Apple or Microsoft accounts.
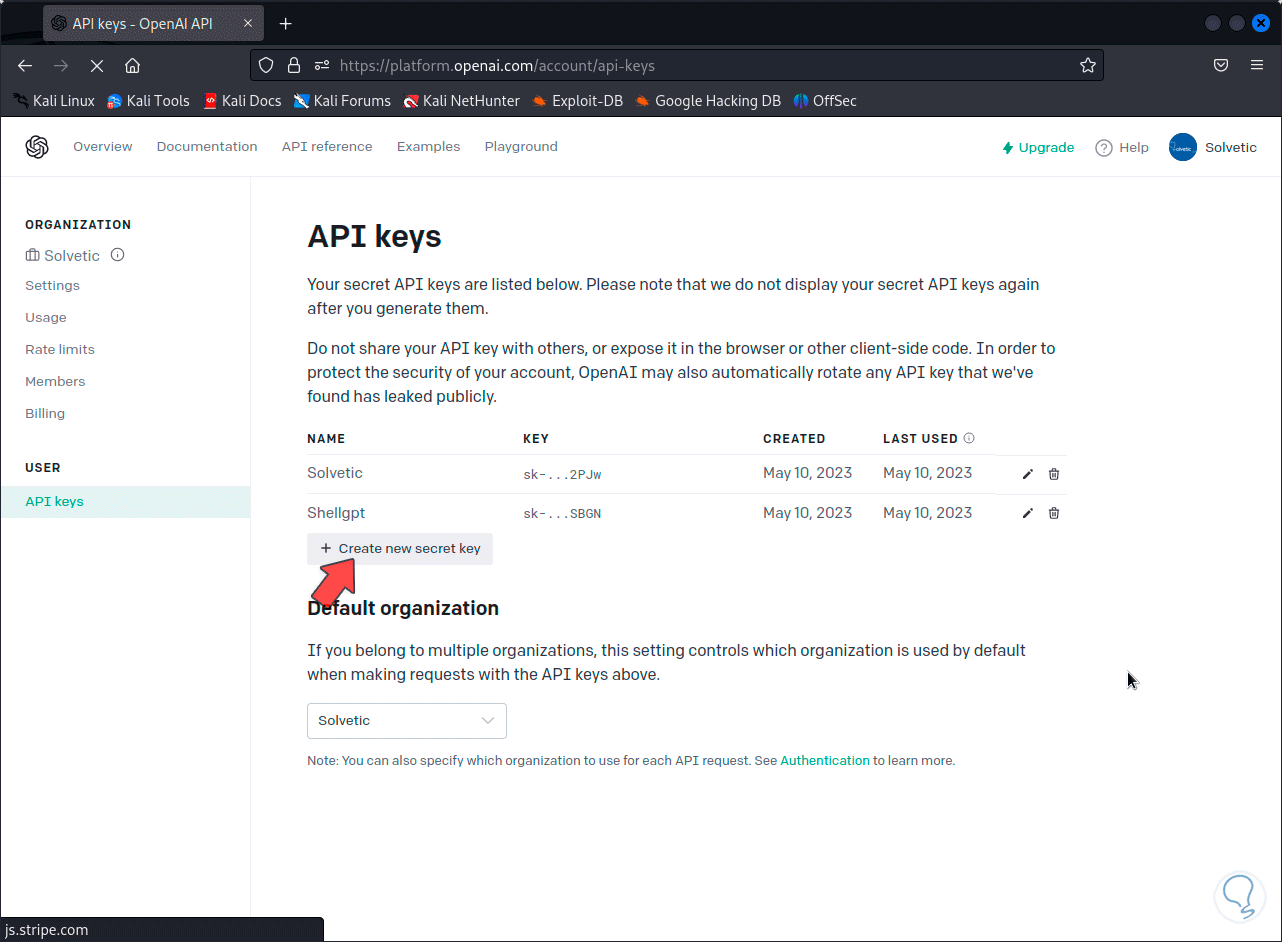
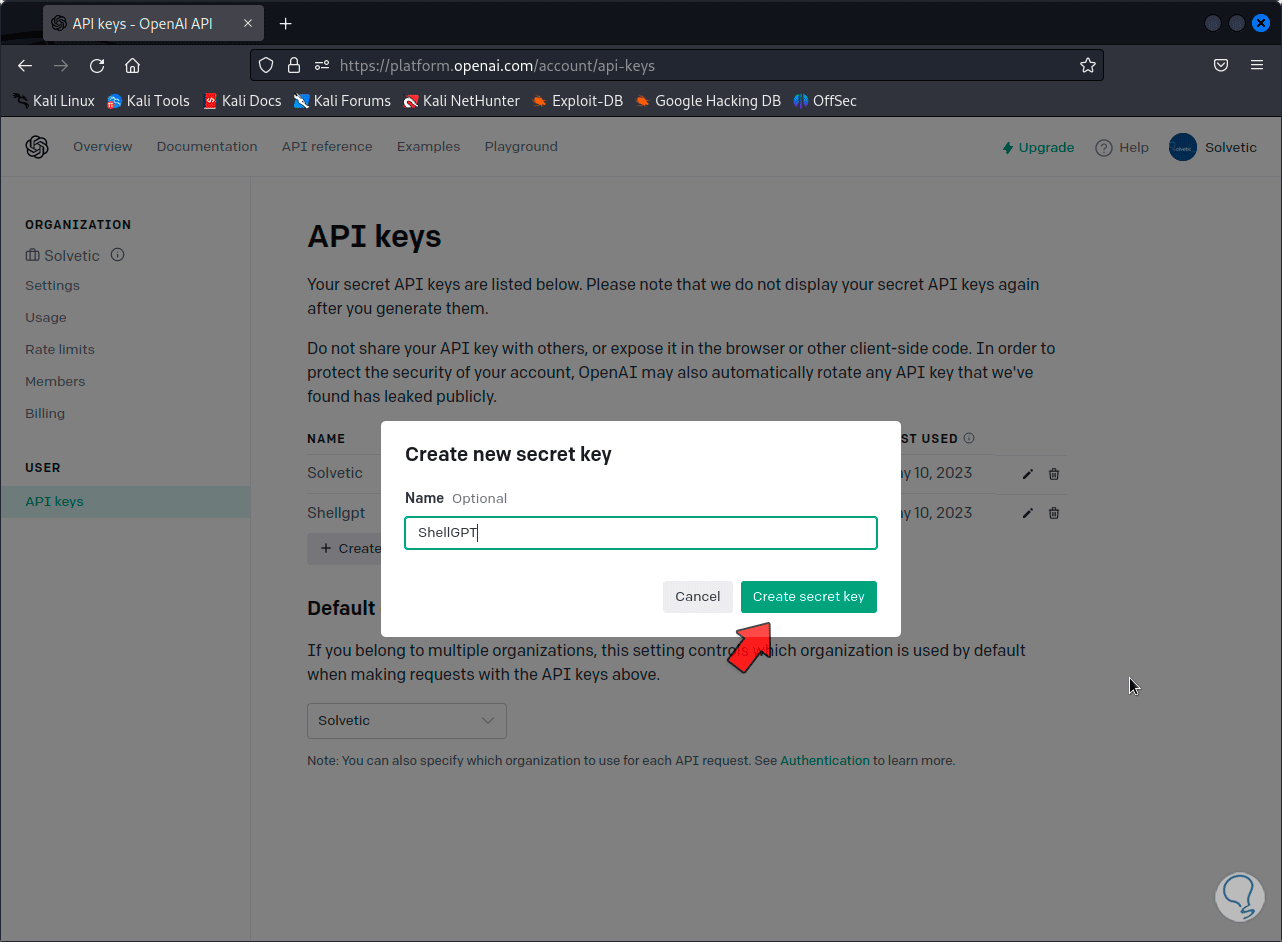
step 12
We create a new key by clicking on “Create new secret key” and assign a name:
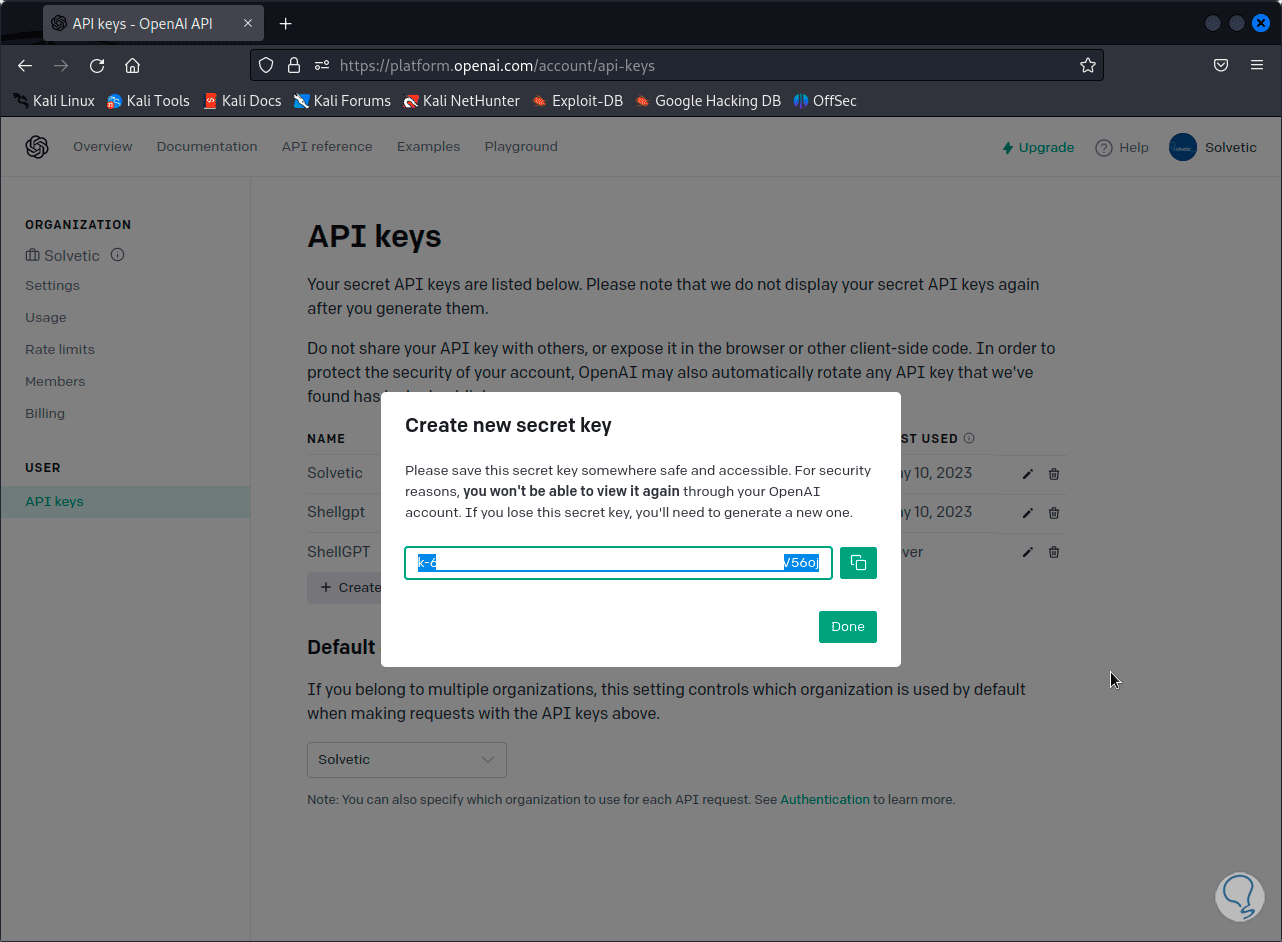
step 13
We click on “Create secret key” to have access to our key: We copy and keep this key.
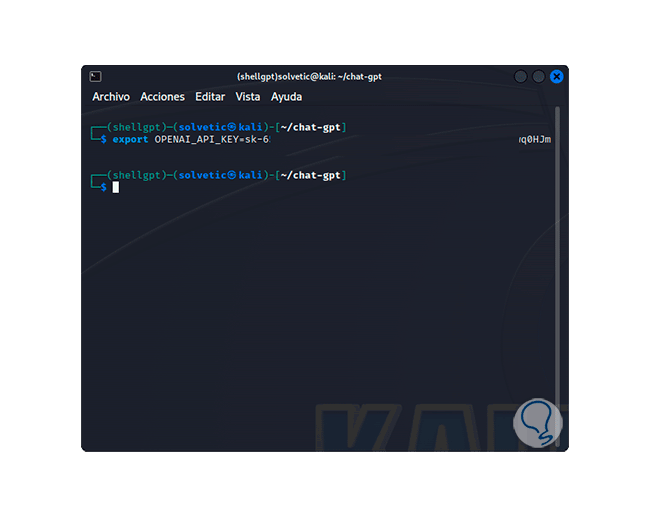
step 14
In the terminal we export the key by executing:
export OPENAI_API_KEY=(Key ID)
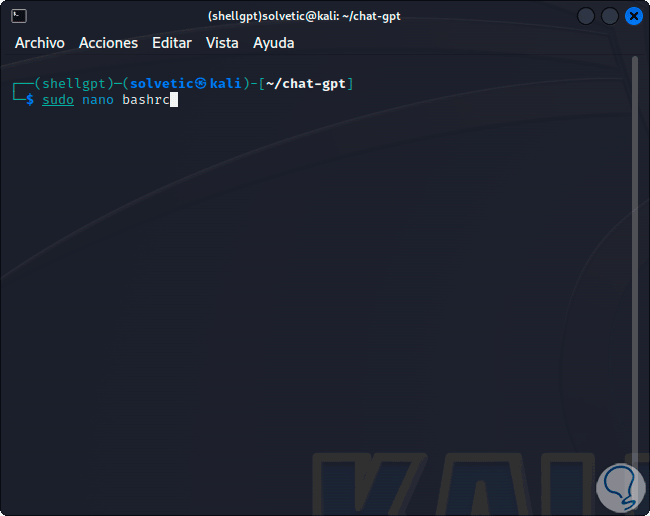
step 15
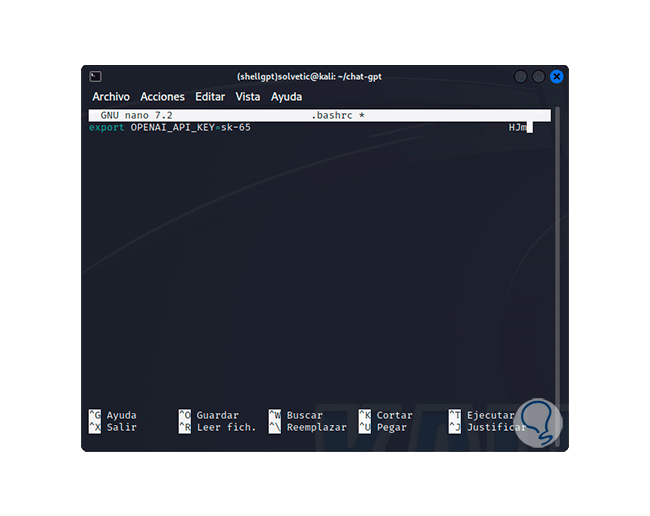
We add this key to the system file to keep it and not require a new one in each session, if we do not do it every time we access the virtual environment it will be necessary to create a new key, we execute:
sudo nano .bashrc
step 16
We enter the following:
export OPENAI_API_KEY=(Key ID)
step 17
We save the changes using the following key combination:
Ctrl + O
We exit the editor using:
Ctrl + X
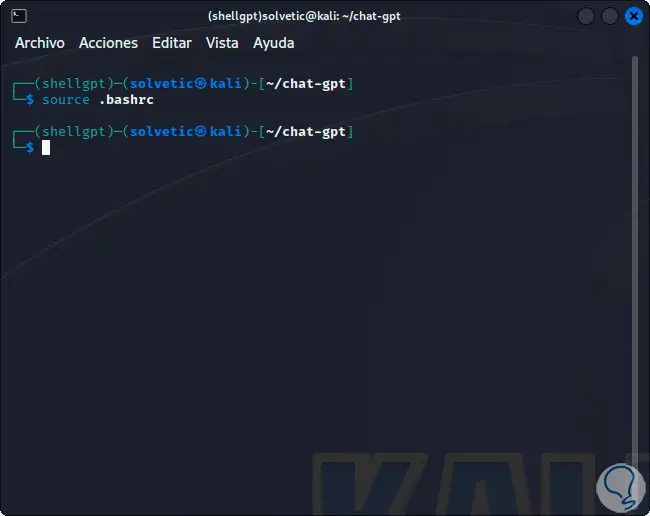
step 18
Apply the changes to the resource:
source .bashrc
step 19
We install Shell-GPT:
pip3 install shell-gpt
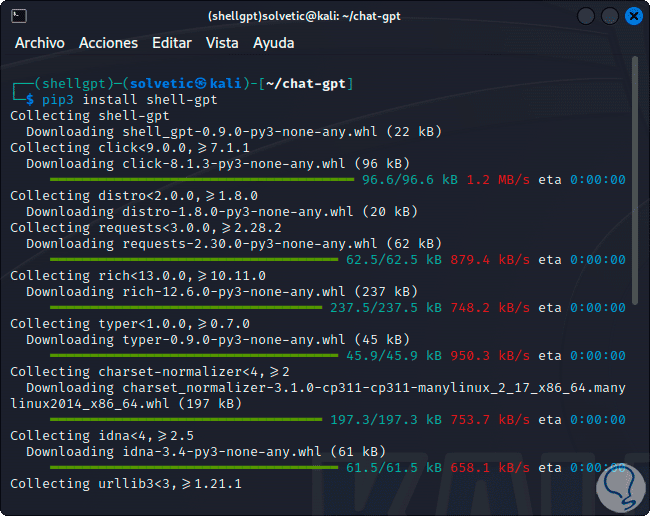
step 20
We wait for the process to finish:
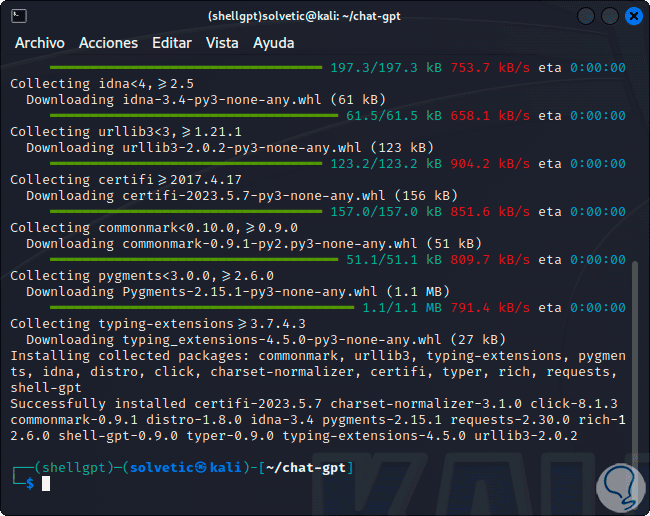
step 21
We are ready to enjoy its advantages, from this moment it is possible to use the "sgpt" command together with the desired questions between "":
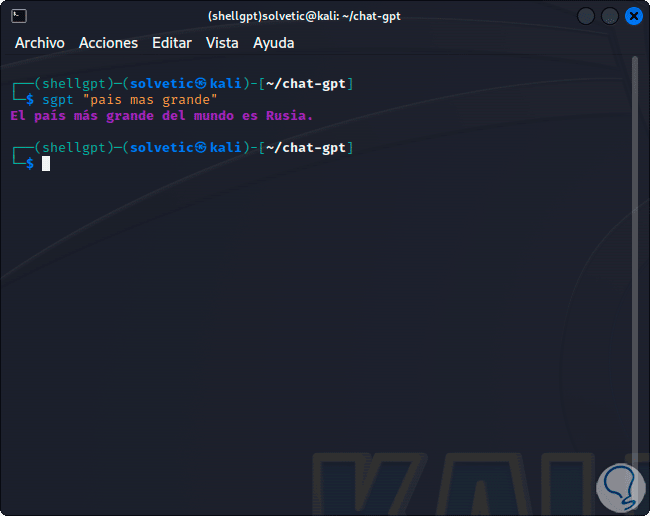
step 22
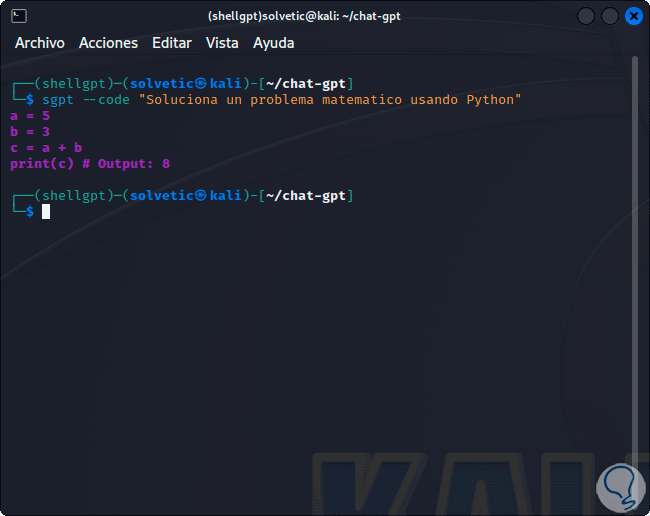
It is possible to generate code using the --code option:
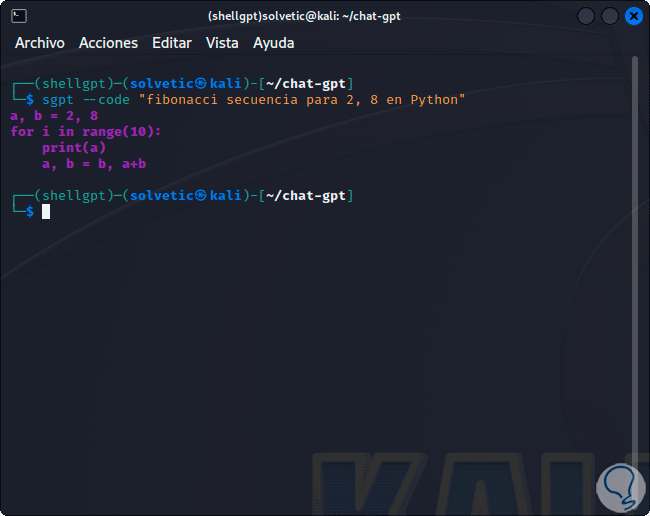
Step 23
With the --shell option it is possible to detect and execute commands directly in the terminal:
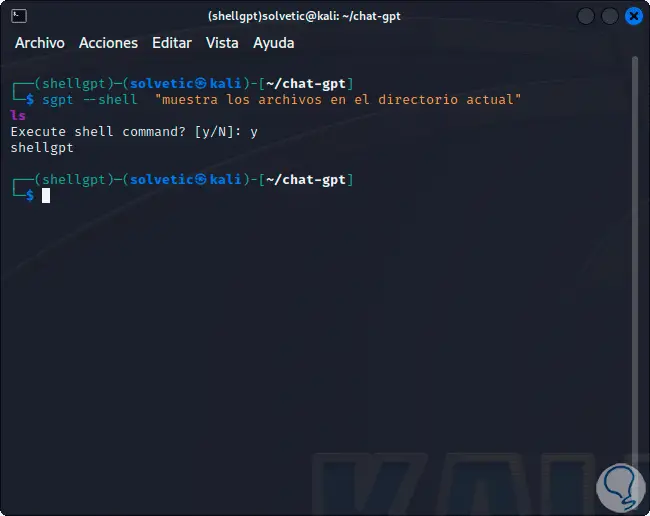
step 24
In the case of using Shell we must confirm the process with the letter "y". We can see the mostly valid results from ShellGPT:
step 25
It is even possible to access details of the local team itself:

Note
To start a chat session, we must use the --chat option followed by a unique session name and a prompt to display.
Step 26
ShellGPT gives us the possibility to create custom roles ideal for generating code, shell commands or for specific tasks, in this case we must use the --create-role parameter.
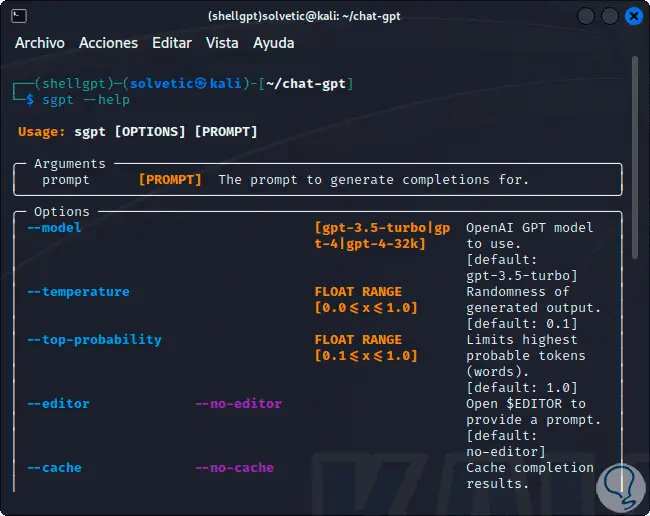
To see the help of ShellGPT run:
sgpt –help
In this way we have learned to install ChatGPT through ShellGPT in Linux and have a valuable information tool with the necessary care.