The hard drive is an essential and fundamental part of any computer and operating system since the hard drive is where the base system is installed, the applications and additional we can perform other types of tasks such as backup copies, data backups, increase capacity and more..
For organization and backup reasons, it is ideal to use disk partitioning to distribute the system and applications in one part and user data or items to be backed up in another part. Linux distributions, in our case Ubuntu, have utilities graphs for this process but in TechnoWikis today we will teach you how to use parted for this task.
what is parted
Parted is a utility developed to create and manipulate disk partitions through various usage options, it accepts various partition table formats, this includes MS-DOS and GPT.
Options
The options available to use with parted are:
- -l, --list: create a list of partitions on all block devices
- -m, --machine: generate output that can be parsed on the machine
- -j, --json: output the result in JSON format
- -s, --script: do not use actions by the user
- -f, --fix: fix exceptions in script mode
- -v, --version: display the version of parted used
- -a alignment-type, --align alignment-type: defines the alignment for partitions that have been created as new, options are none, minimal, cylinder and optimal
commands
Now the commands that we can use are the following:
- [device]: is the block device that we are going to use
- mklabel: create a new hard disk label, we can use the options "aix", "bsd", "dvh", "gpt", "loop", "mac", "msdos", "pc98" or "sol"
- mkpart: allows you to create a new partition, the options to use are "primary", "logical", or "extended", we will also use the fs-type value we can use options such as "btrfs", "ext2", "ext3", " ext4", "fat16", "fat32", "hfs", "hfs+", "linux-swap", "ntfs", "reiserfs", "udf", or "xfs"
- name (partition name): allows assigning the name to the partition
- print: shows the partition table of the disk
- quit (q): allows us to exit the parted console
- rescue: allows us to rescue a lost partition located somewhere between the beginning and end segment that we define
- resizepart: change the final size of the selected partition
- rm: allows you to delete a partition
- select device): Allows you to choose the device to edit
- set partition flag state: allows to change the state of the flag in the used partition, the available options are "boot", "root", "swap", "hidden", "raid", "lvm", "lba", " legacy_boot", "irst", "msftres", "esp", "chromeos_kernel", "bls_boot", "linux-home", "no_automount", or "bios_grub"
- unit: allows you to adjust the unit in terms of locations and sizes, we can use values such as "B" (bytes), "kB", "MB", "KiB", "MiB", "GB", "GiB", "TB ", "TiB", "%", etc.
- toggle (flag): Allows you to toggle the state of the flag on the selected partition
- type: allows us to identify the type of partition
- disk_set flag state: allows us to change a flag on the disk to a new state
Now we are going to see how to get the most out of this utility in Linux..
How to partition hard drive in linux
Step 1
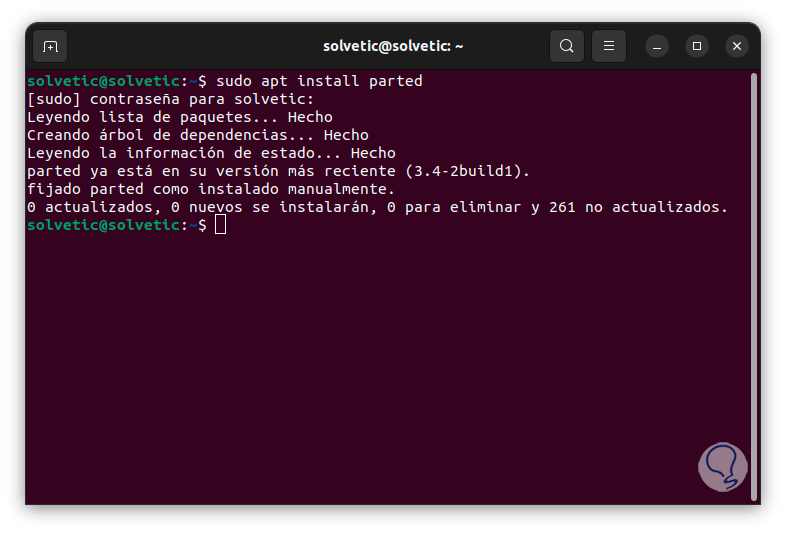
We are going to open the terminal and install the utility with the following command:
sudo apt install parted
Step 2
We enter the password:
Step 3
For other distributions we can execute:
- RHEL/CentOS/Fedora and Rocky/AlmaLinux:
sudo yum install parted
sudo pacman -S parted
sudo zypper install parted
Step 4
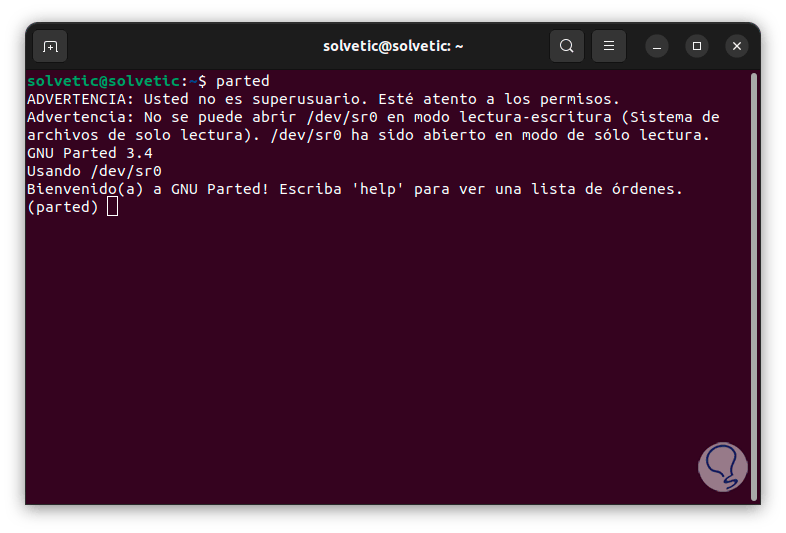
Now we are going to check the current version used with the following command:
departed
step 5
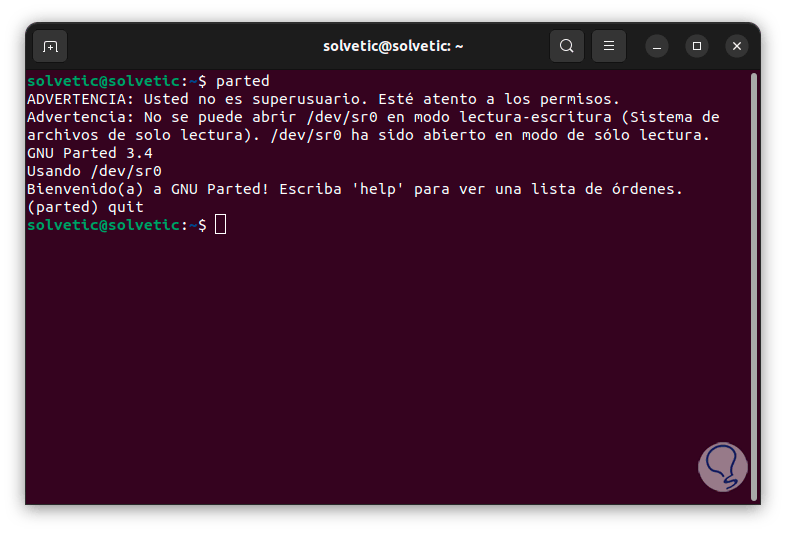
To exit the session, press the “q” key or enter the word “quit”:
step 6
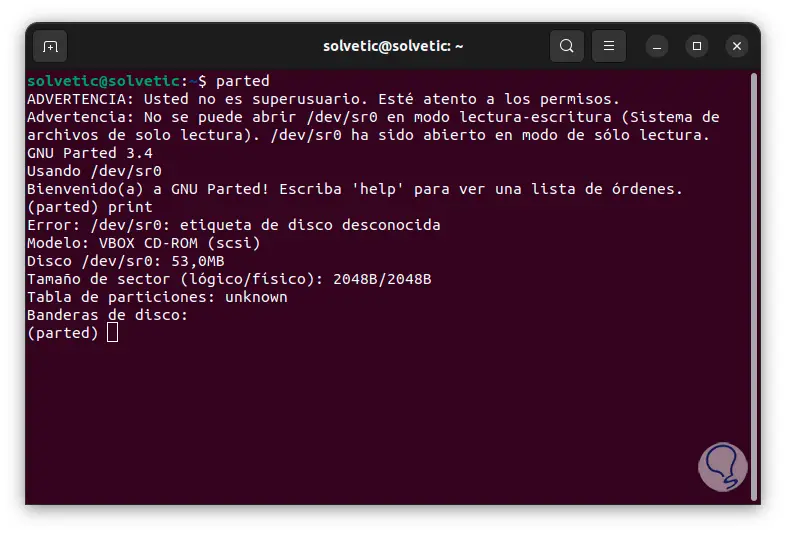
We directly execute the "parted" command to access the console, there we will list the disk partitions using the following command:
prints
step 7
For complete results we must execute the command with sudo to have administrative permissions:
sudo parted
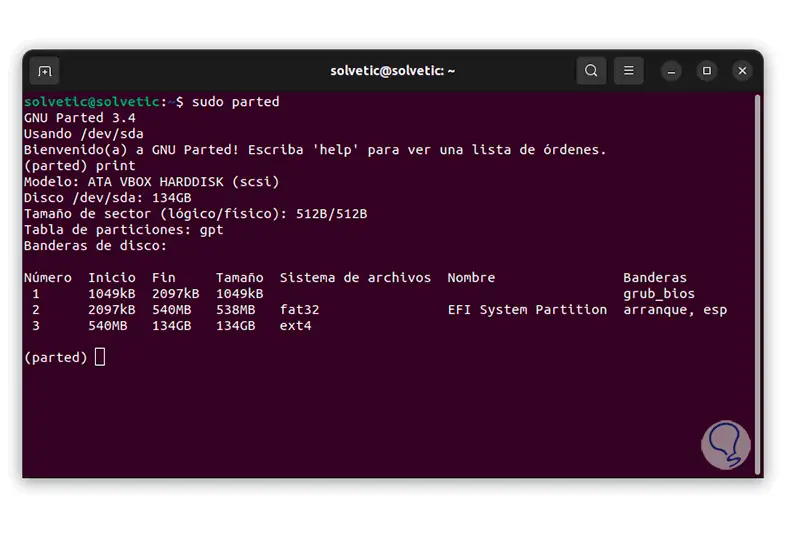
step 8
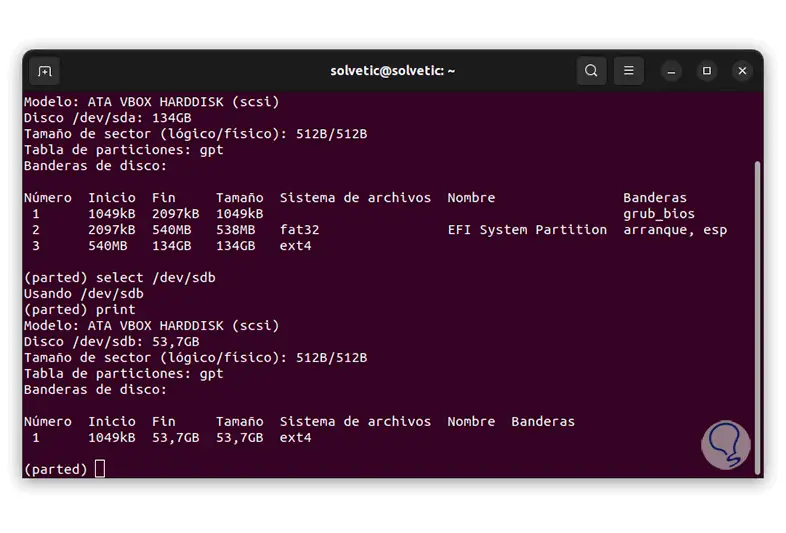
There we will see the various current partitions of the hard drive, if the objective is to see another disk or a particular path, we will use the following command indicating the syntax of the unit:
select /dev/sd(letter)
step 9
Then we run “print” to see the partitions of this drive:
Note
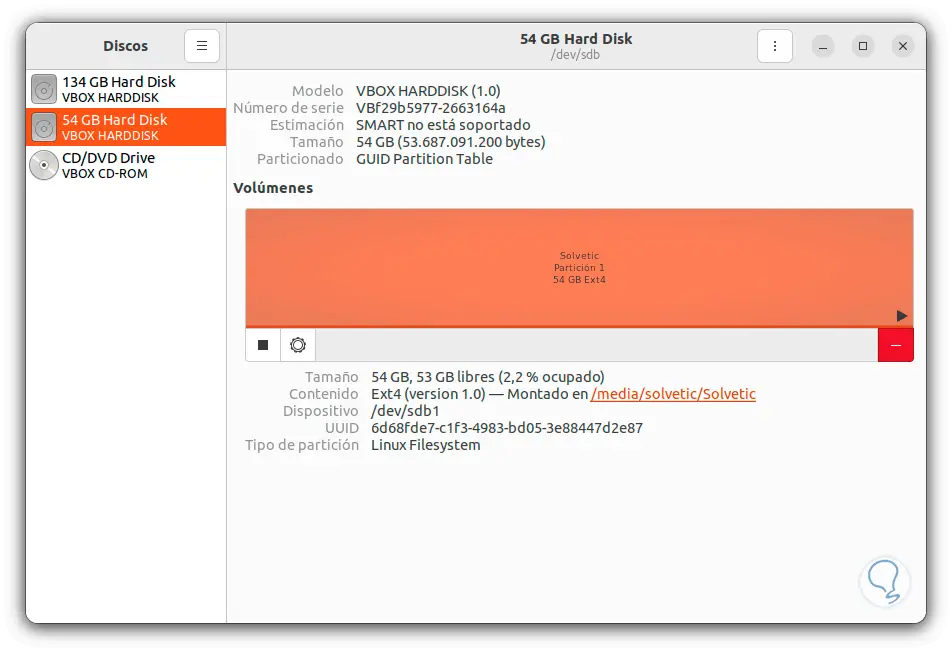
TechnoWikis advises you to disassemble the unit in which we are working so that its administration is possible due to permission issues.
step 10
For this we will access Disks where we will see the following:
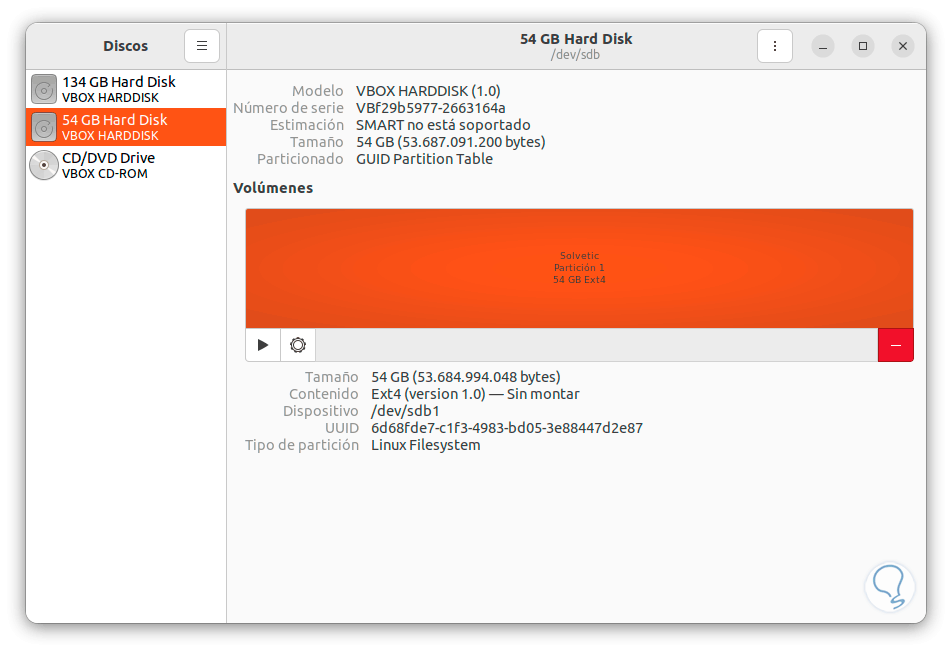
step 11
There we select the disk and click on the button to stop its activity:
step 12
Now we are going to execute the following syntax to create a label for the unit:
mklabel “label”
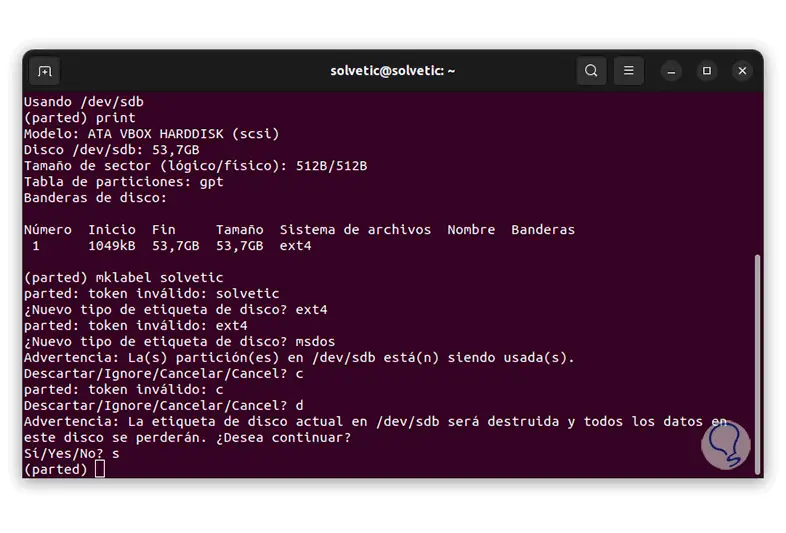
step 13
We confirm the operation with “print”:

step 14
Now to create a partition we will use the "mkpart" command as follows:
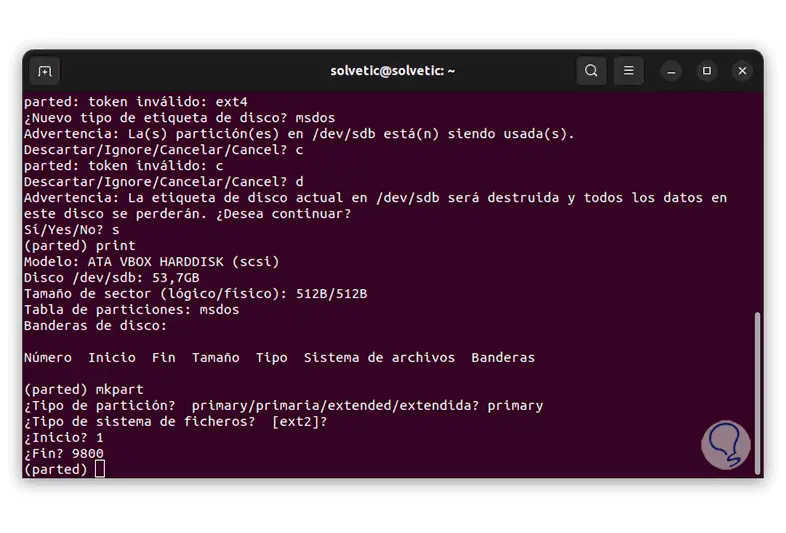
step 15
We must assign the necessary parameters for the creation, we use "print" to validate this process:
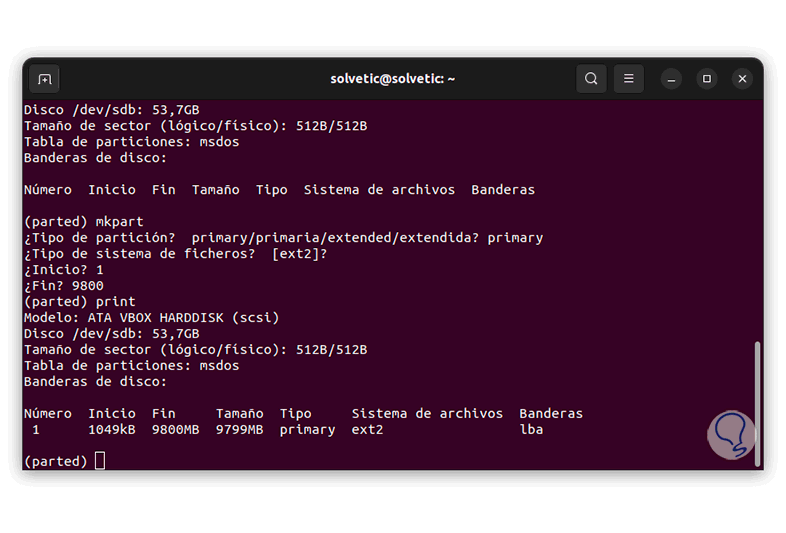
step 16
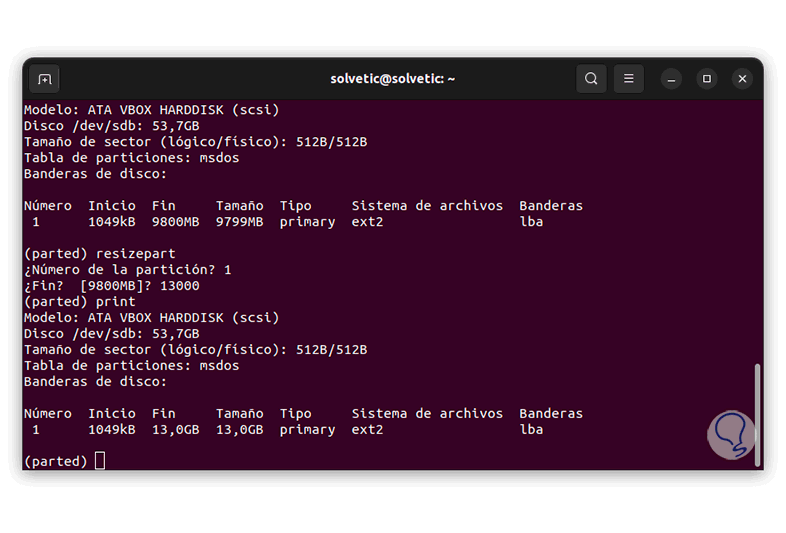
It is possible to change the size of the partition, we will use the following command indicating the partition number to modify:
resize
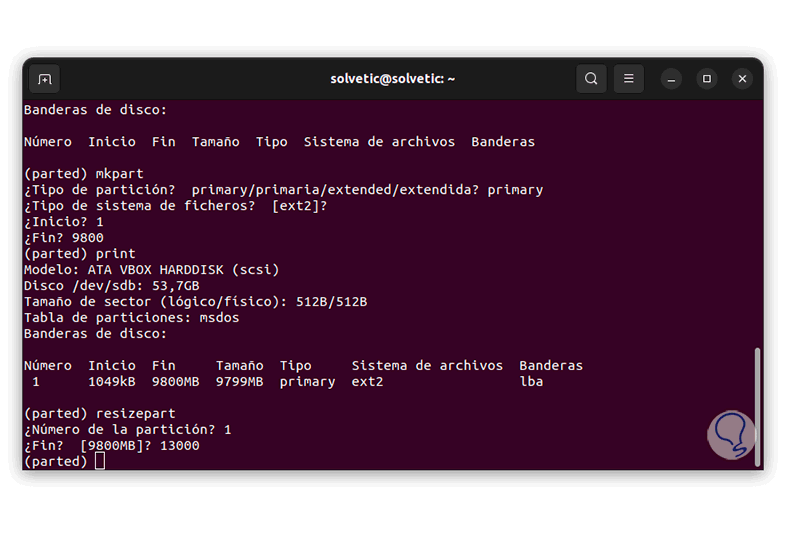
step 17
When entering the partition number we must indicate the size to resize this partition.
We validate the change with "print":
step 18
It is possible that we want to delete a partition, if so with the "rm" command and indicating the partition number we can do it:
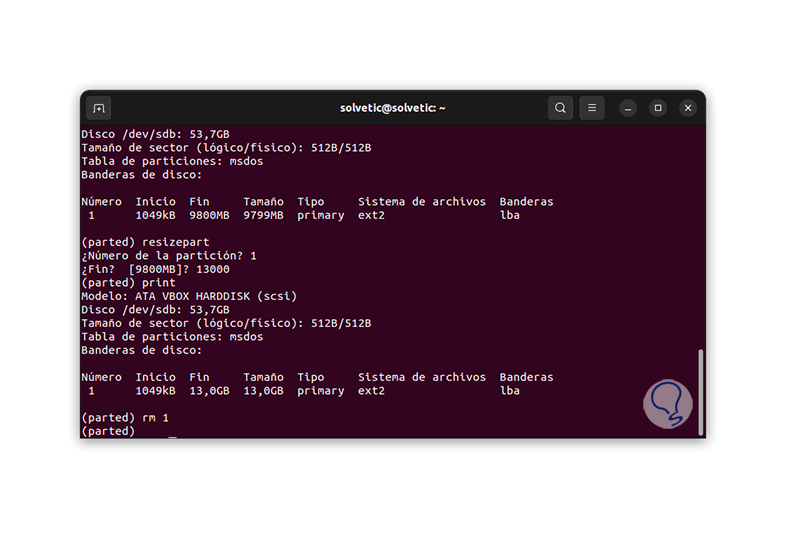
step 19
With "print" we confirm that the partition has been deleted:
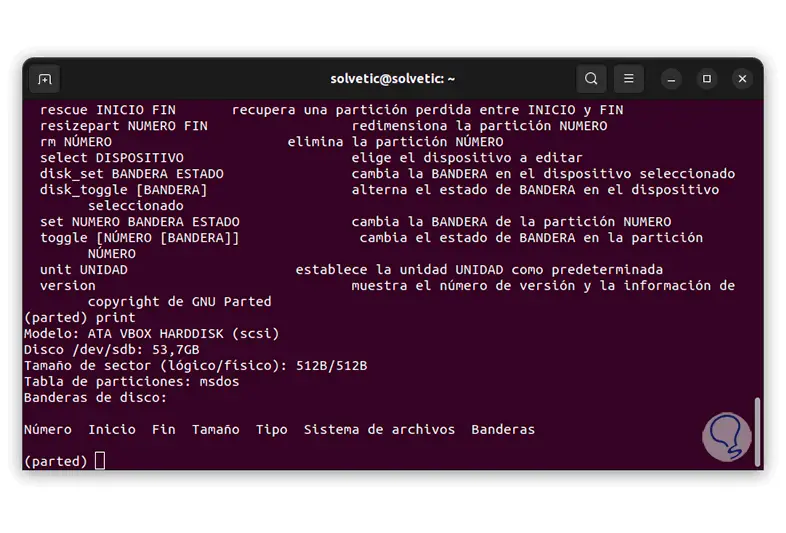
step 20
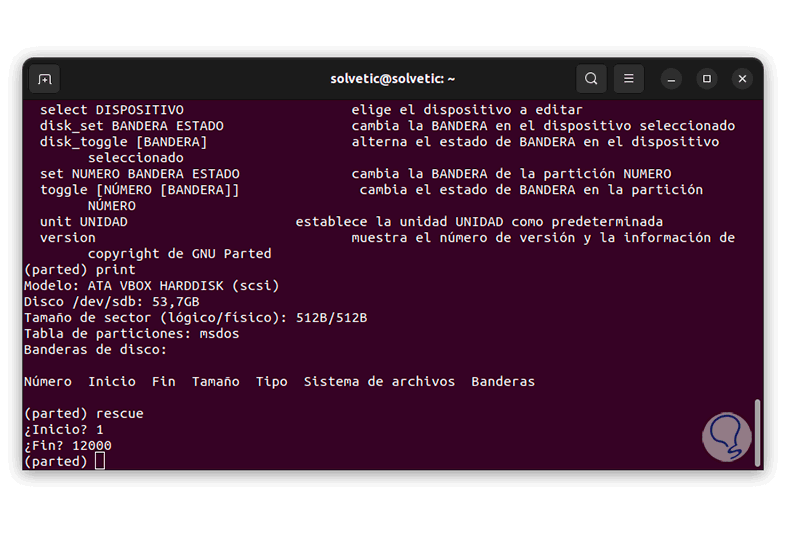
Another of the options that we can use is to create a rescue partition as we saw in the parted options, for this we will use the command:
Rescue
step 21
Then we indicate the necessary values for said unit:
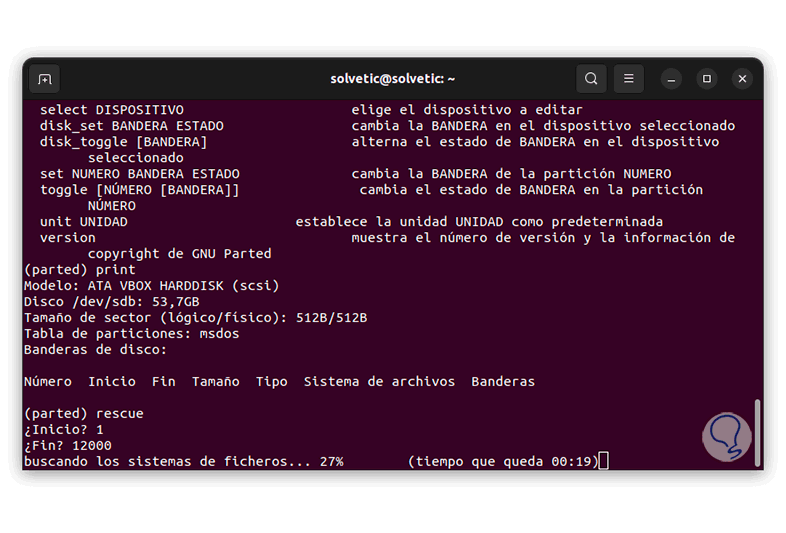
step 22
At the end of the process we will see the following:
Step 23
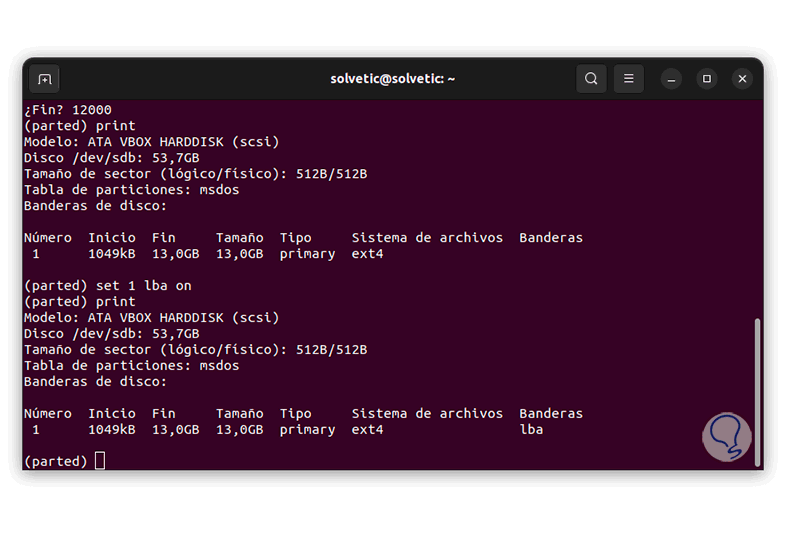
Finally it is possible to change the flag column of a partition using the following command and one of the available options that we have already mentioned at the top:
set # “label” on
step 24
After this use "print" to commit the change:
We can see how this part utility is ideal for complete administration of disk partitions or connected hard drives in our Linux system and thus manage this key aspect of data.