Millions of users who use Windows require the best options for both platforms and languages so that their projects are the most dynamic, versatile, secure and scalable for each session. One of the best options to use is Python..
Python is a high-level interpreted programming language and one of its greatest attributes is its code readability and wide range of applications with which developers will have a wide portfolio of tools to work on the code, another advantage is that Python is a multipurpose language, that is to say that it is functional and practical to create web and scientific development applications or be used for task automation and scripting, it has a wide set of libraries and frameworks so that the scope is much more complete .
Python Features
The general features of Python are:
- Python integrates a standard library with various functionality and modules available for use.
- Functions and code that are easy to use and learn.
- Python is compatible with most of the current operating systems.
- Python can be fully integrated with other programming languages such as C or C++.
- GUI programming support using modules like PyQt5, PyQt4, wxPython or Tk.
- Dynamically written language so that when executing a type (int, double, long, and so on), the variable will be decided at runtime.
- Dynamic memory allocation.
- It is Portable, that is, the same code can be used on different machines without affecting its execution.
- Python has been developed object-oriented and procedure-oriented.
TechnoWikis will explain how to install Python in its latest version on Windows 11 and have this valuable tool on our computers..
To stay up to date, remember to subscribe to our YouTube channel!
SUBSCRIBE ON YOUTUBE
How to install python on windows
Step 1
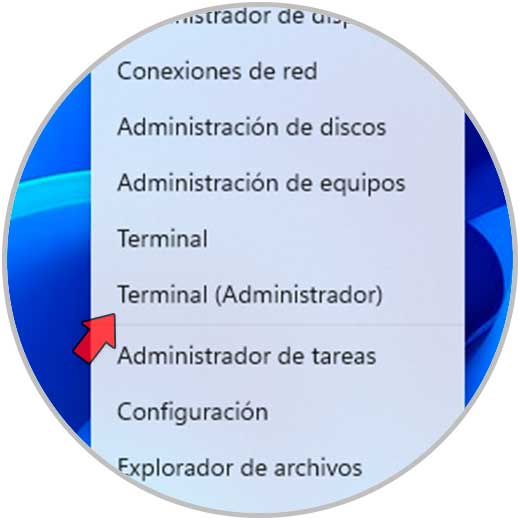
For this example we will use Windows 11 but the process applies equally to Windows 10. We open the terminal:
Step 2
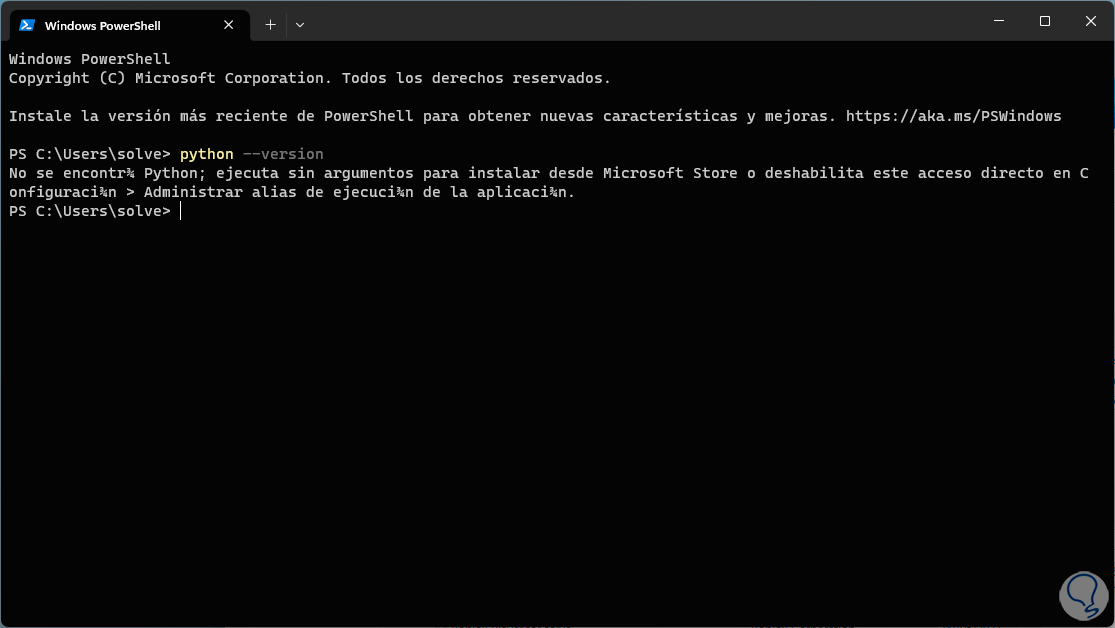
Check the Python version:
python --version
Step 3
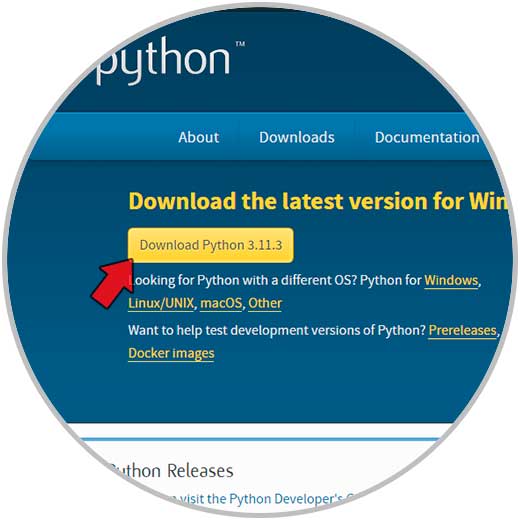
As we can see, Python is not currently installed on the computer, to install it, we will go to the official Python URL at the following link:
python
Step 4
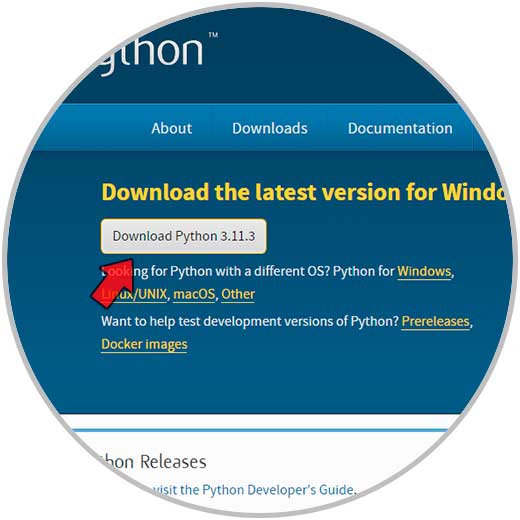
Download the latest version:
step 5
This latest version of Python offers new features and improvements such as:
- Detailed error locations in traces.
- Improvements to the Windows launcher py.exe.
- TypeVar has been introduced, with this it will be possible to create parameterized generics of a single type.
- It will be possible to mark individual elements of the TypedDict as required or not required.
- Improved data class transformations.
- siphash13 has been added as a new internal hash algorithm.
step 6
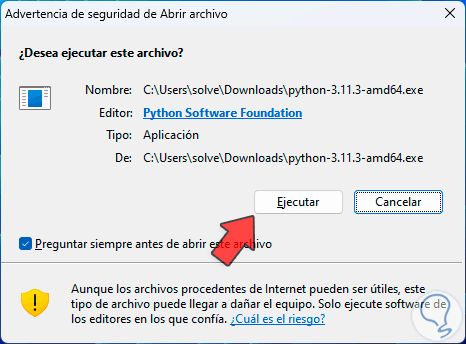
We execute the installation file and we must confirm the permissions:
step 7
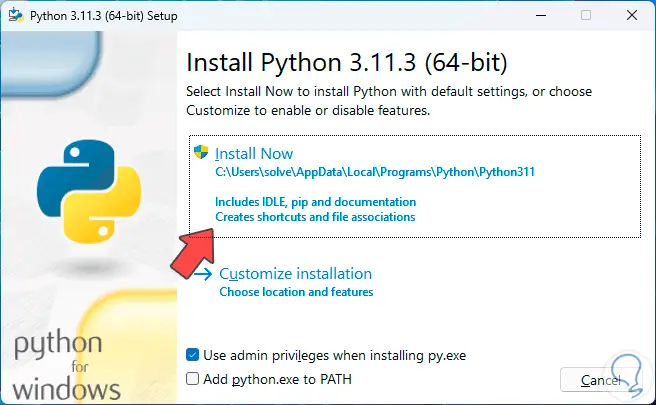
The installation wizard will open:
step 8
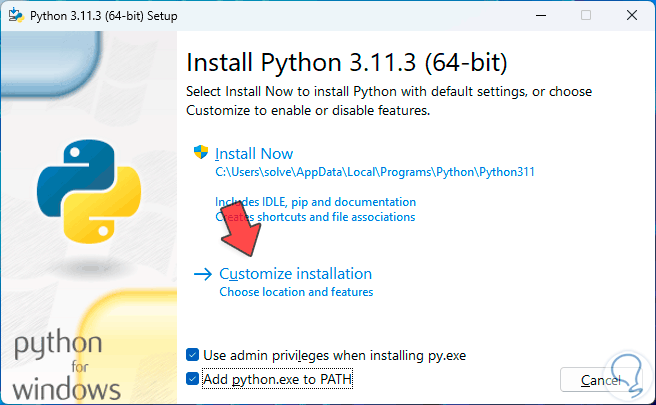
There it will be possible to install with the default values or customize this process, first we activate the "Add python.exe to PATH" box so that the Python executable is redirected in the Windows 11 environment variables:
step 9
We click on "Customize installation" to see the following:
step 10
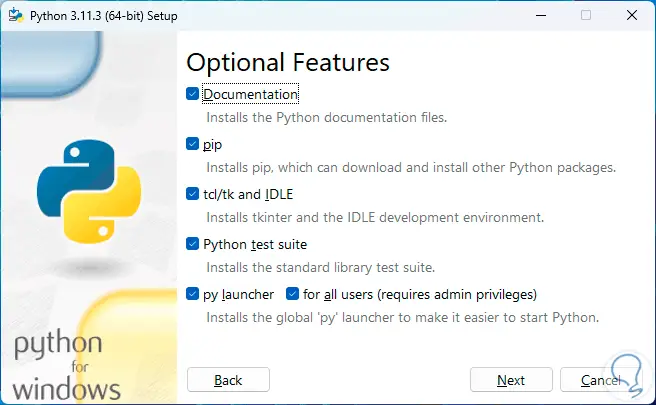
You can activate or not some of the optional features taking into account some that are essential to be active such as:
- pip – This is the environment that allows us to install and run Python applications (.py) in the terminal
- td/tk and IDLE: are functions for creating development environments
- Python test suite – is a Python learning database
- Py launcher: allows us to run different versions of Python on the system, it is ideal when there are multiple versions installed, additionally it allows us to associate different versions of Python to specific file extensions
step 11
We deactivate what is not essential:
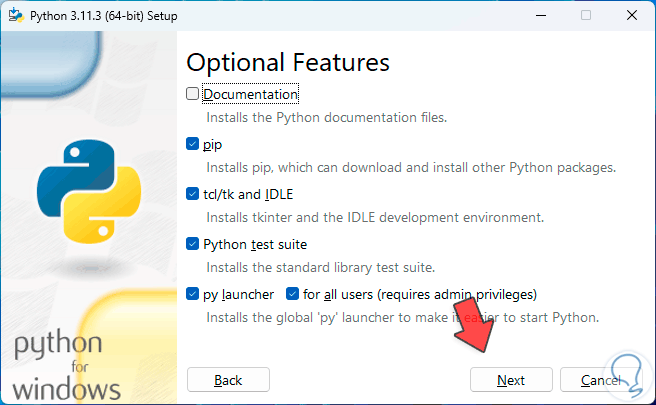
step 12
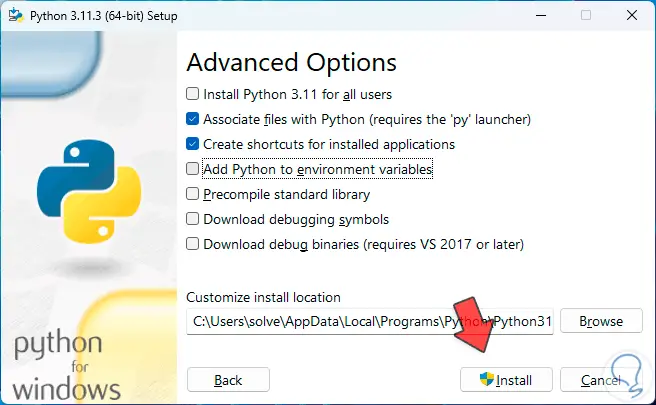
We click Next and it will be possible to activate the special functions as the case may be:
step 13
There it is possible:
- Make Python available to all system users
- Change the installation path
- Download debugging symbols
- Add Python to environment variables (when enabled for all users)
- Compile the standard library
step 14
We click on "Install" and confirm the UAC permission:
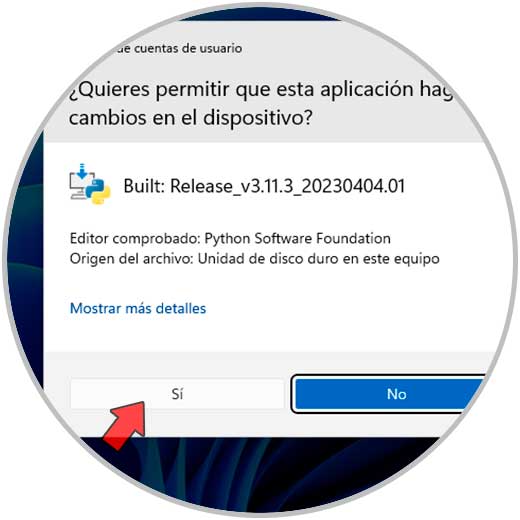
step 15
The installation will take place:
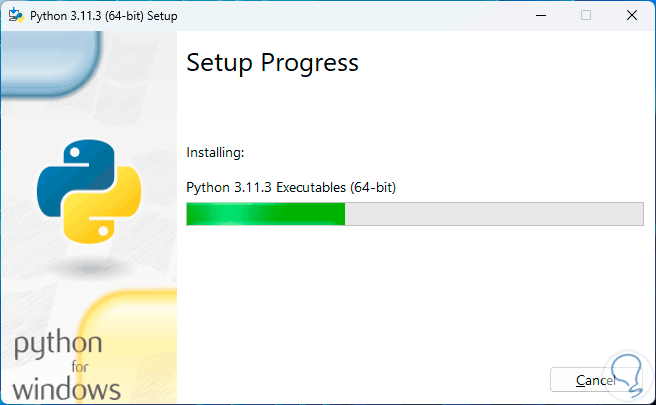
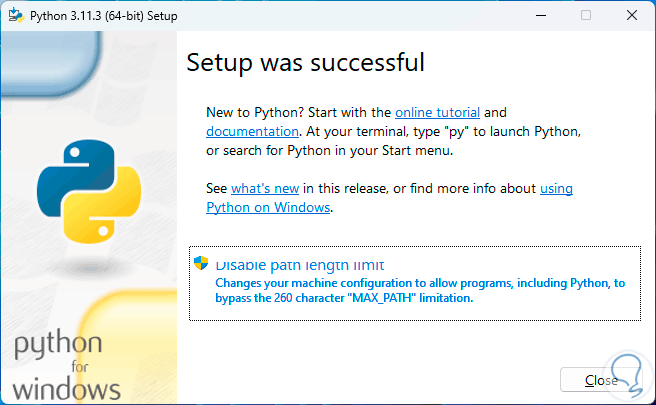
step 16
Wait for the process to finish:
step 17
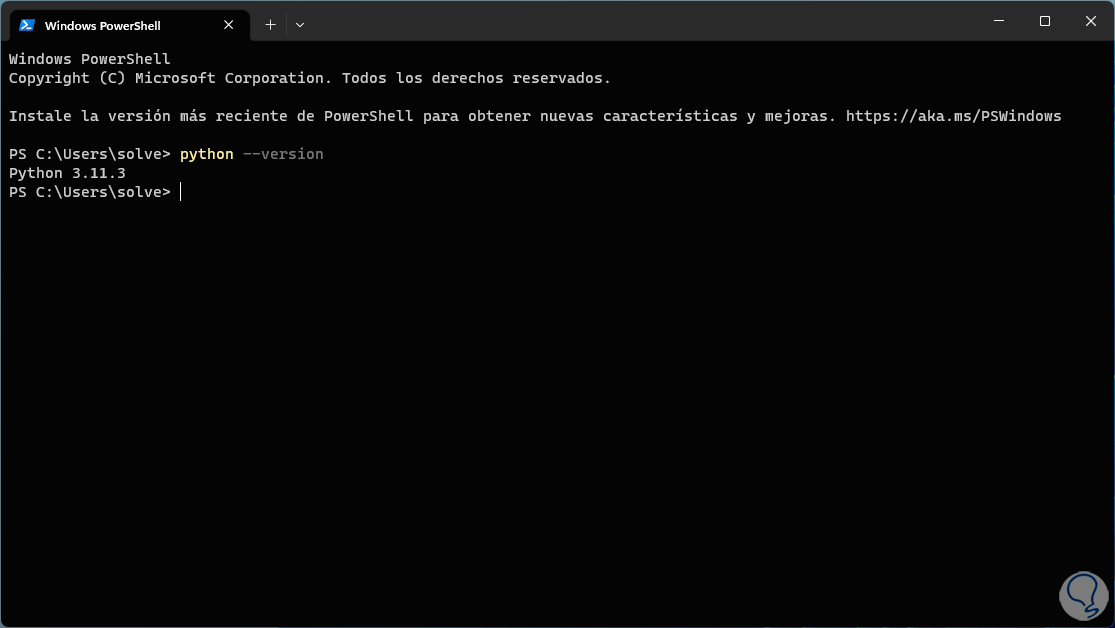
We exit the wizard, open the terminal and check the Python version:
python --version
step 18
Now it is time to validate the operation of Python and for this we will use Visual Studio Code which can be downloaded at the following link:
Visual Studio Code
step 19
Visual Studio Code is a code editor available as a desktop app and available for Windows, macOS and Linux, offers integrated support for JavaScript, TypeScript and Node.j, In addition to this, it has a large group of extensions for other languages and runtimes being compatible with C++, C#, Java, Python, PHP, Go, .NET and more.
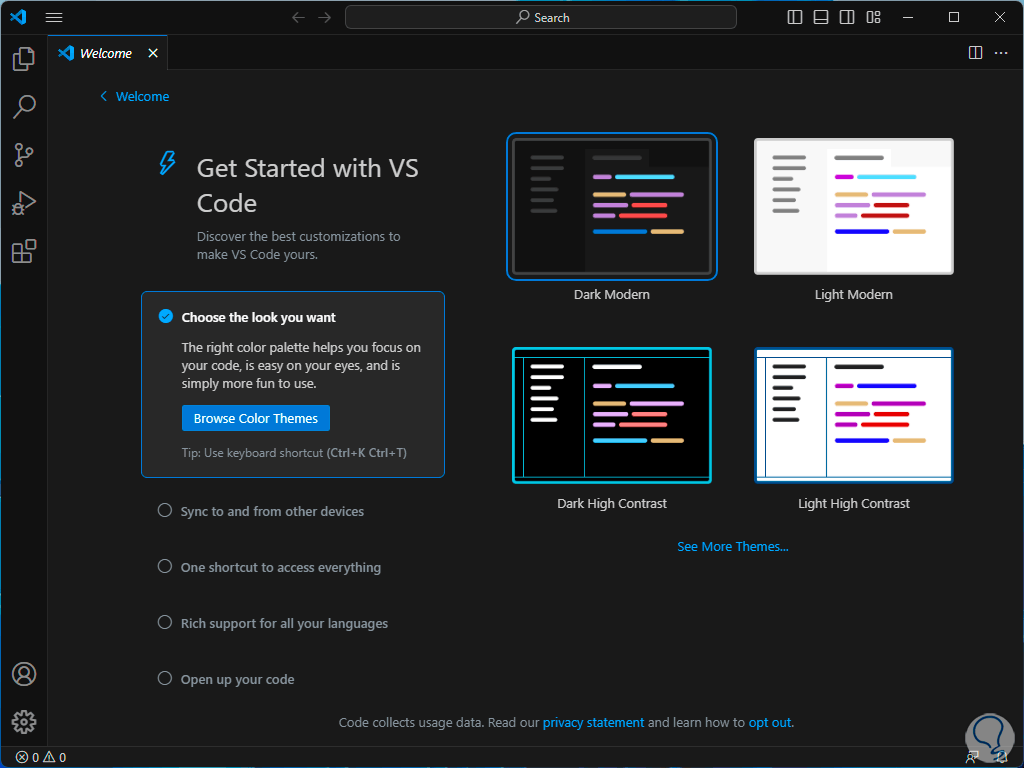
To use Python we open Visual Studio Code:
step 20
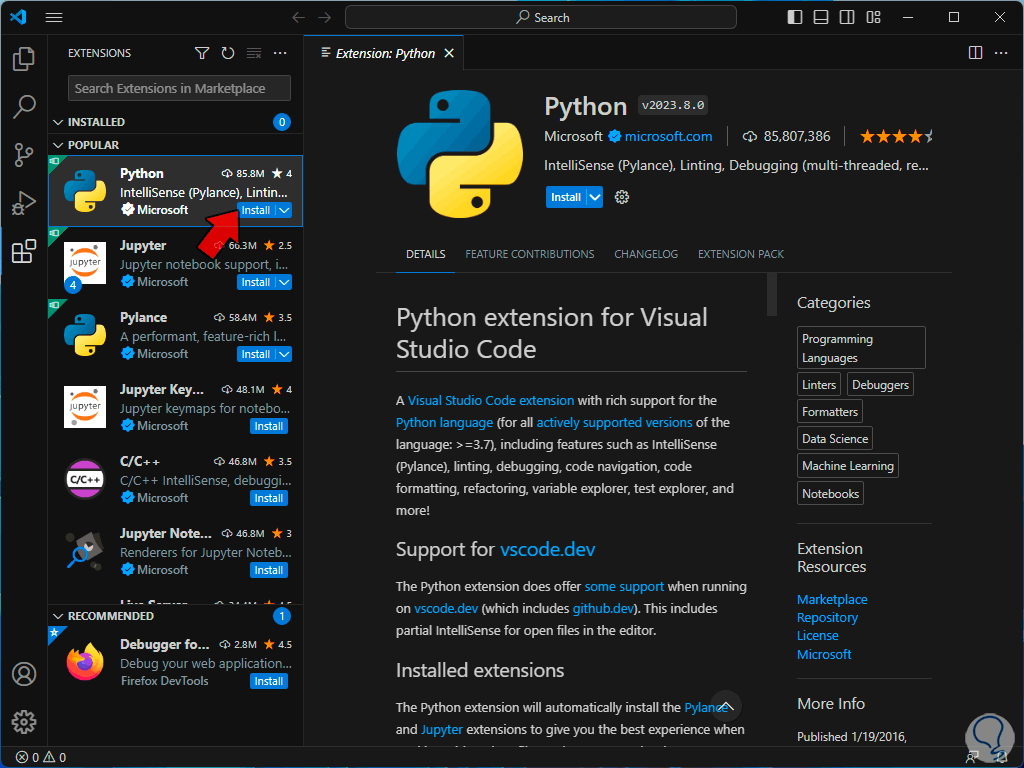
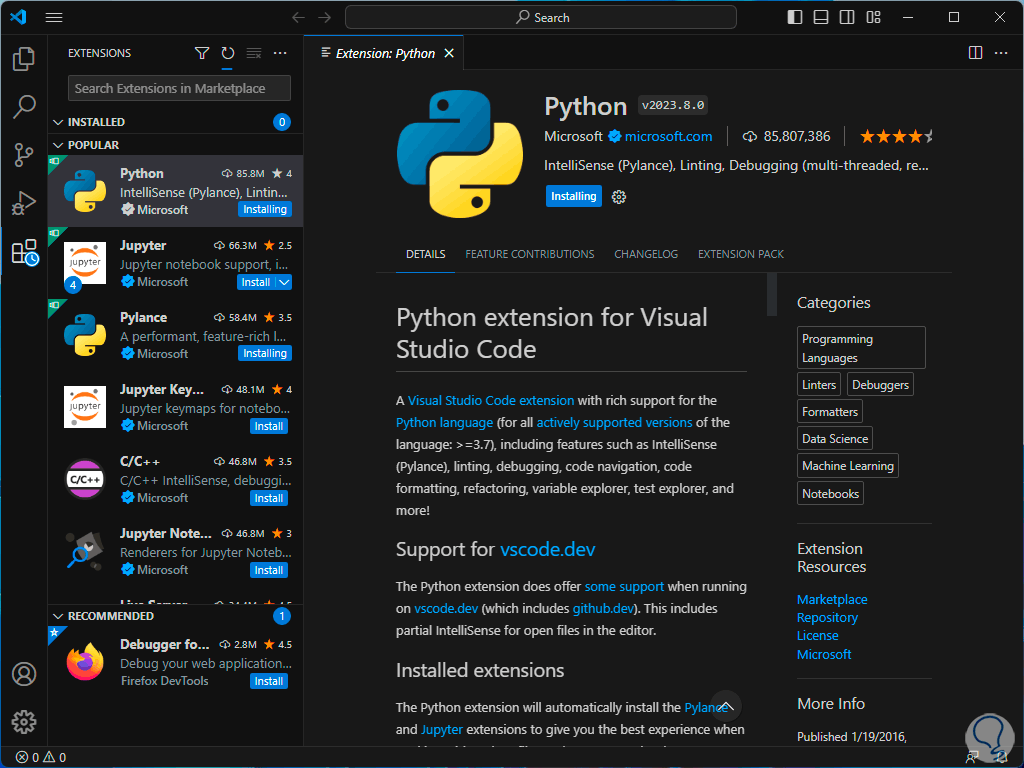
In "Extensions" click on "Python":
step 21
Install that extension by clicking “Install”:
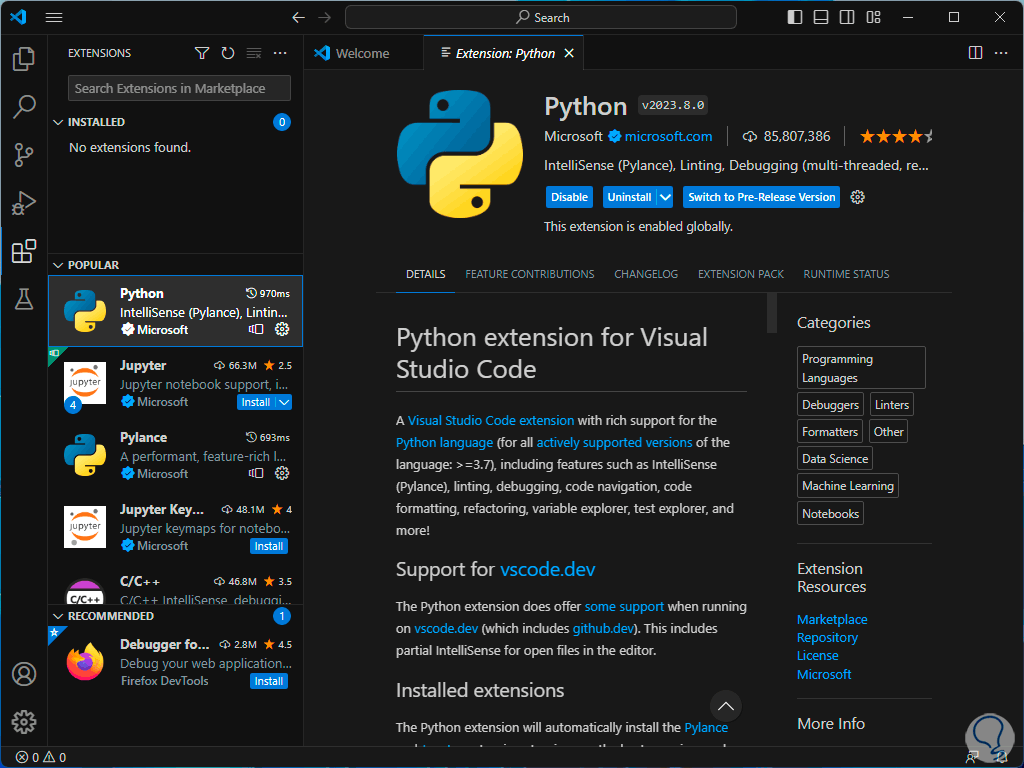
step 22
We expect it to be installed:
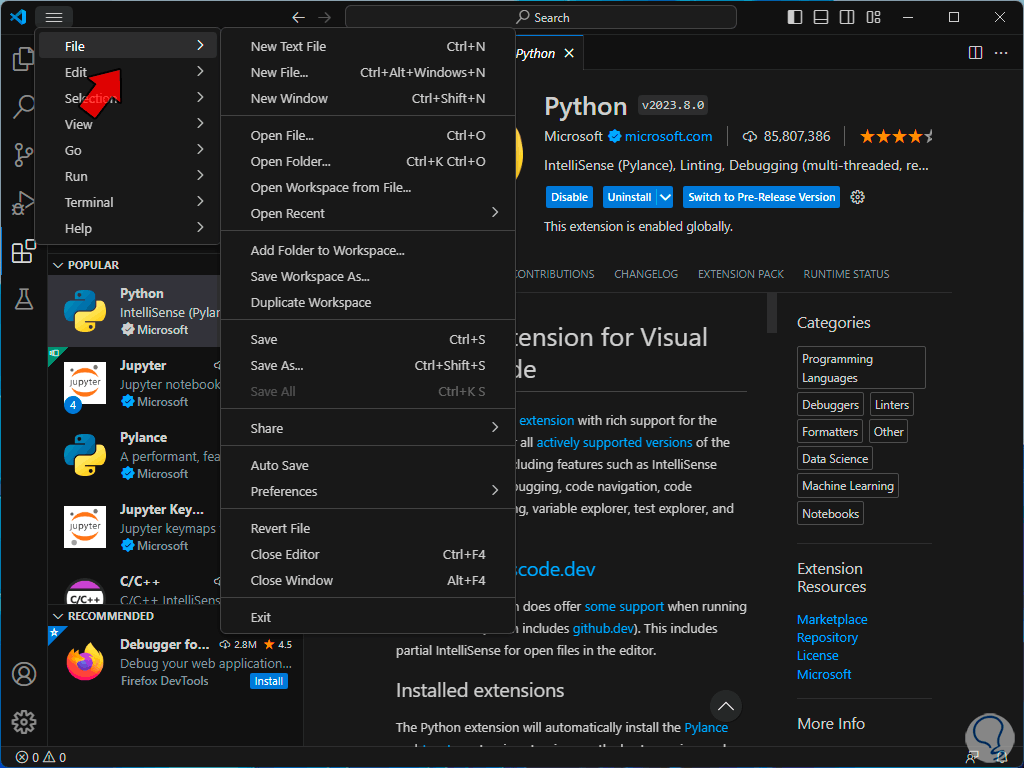
Step 23
From File (File) select the folder where the project will be hosted:
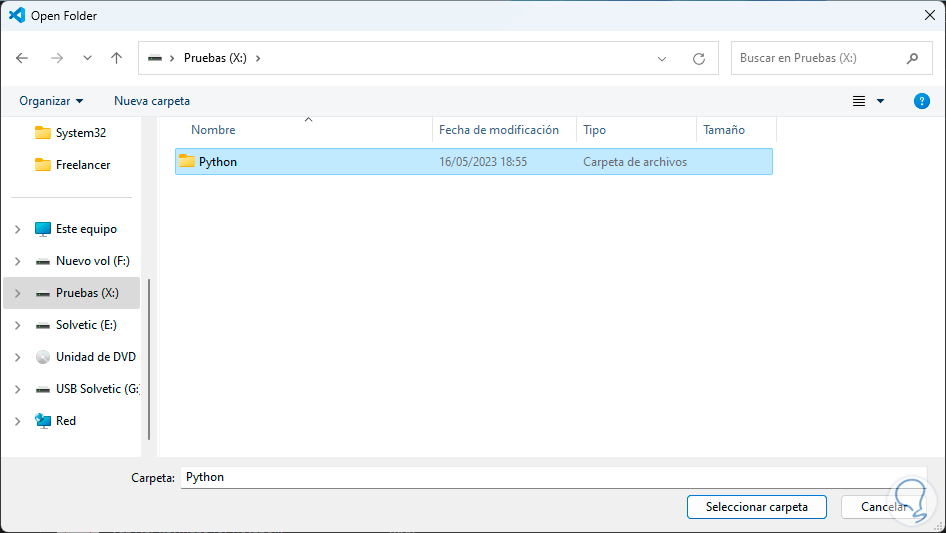
step 24
Select the folder:
step 25
Add the name using the syntax:
name.py
Step 26
With Tab we access the Panel and there we enter the following:
print("text") step 27
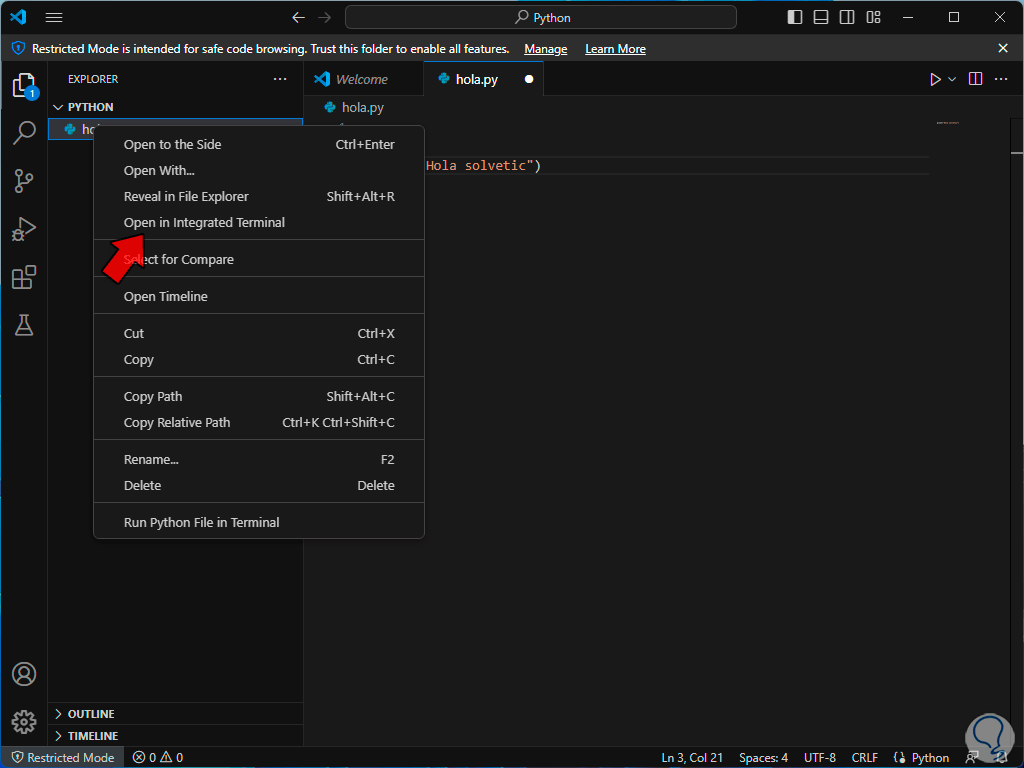
We right click on the project name and select the option "Run Python File in Terminal":
Step 28
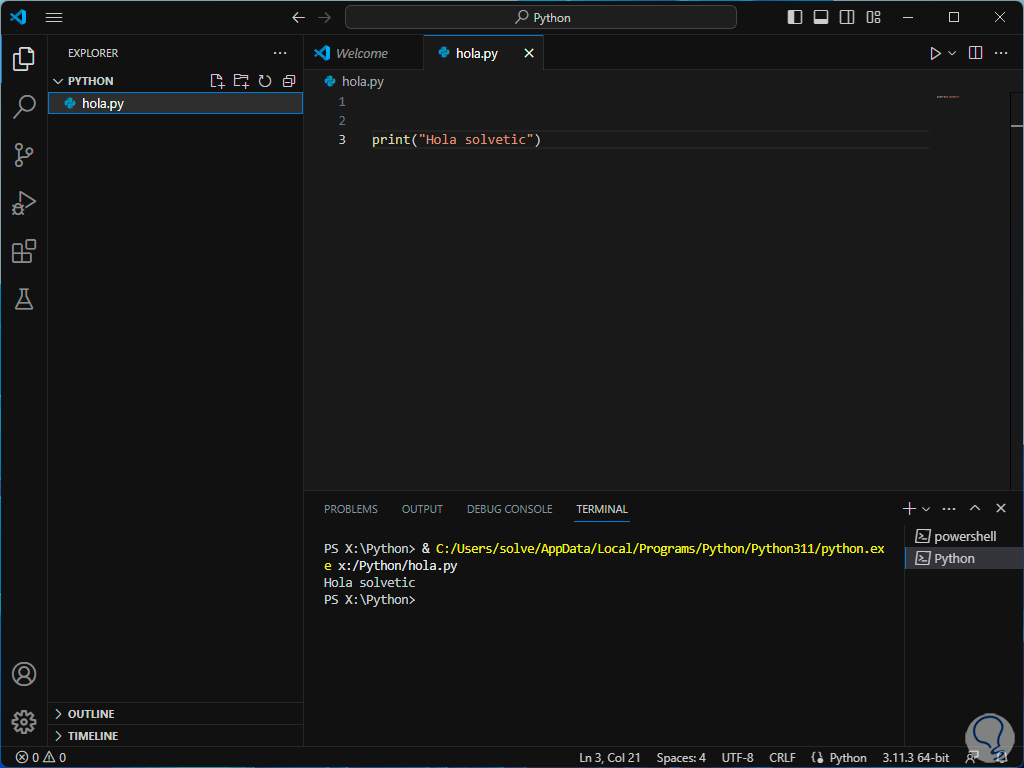
In a moment the terminal will open with the text that has been created:
It is that simple to install Python on Windows and be able to have a great utility to create and manage codes and everything related to programming.