There are several solutions that we can take to increase the possibilities of scaling our servers and the applications that are hosted there, focusing on improving the alternatives of each user of the organization.
Within this whole world of applications, we have a segment that stands out and are the databases , although today it is normal to make use of a database management system like MariaDB , many users and programmers are not totally at ease with Its interface and therefore choose to use another of the best known applications such as phpMyAdmin ..
Through this tutorial, TechnoWikis will explain how to install and secure the installation of phpMyAdmin on Debian 9 and thus make the most of its features while protecting its integrity from unauthorized access.
What is phpMyAdmin
phpMyAdmin has been developed as a free software tool which has been written in PHP and whose purpose is to help improve the administration of MySQL through the Web.
phpMyAdmin is compatible with various operations in MySQL and MariaDB, in this area, all frequently used operations such as administration of databases, tables, columns, relationships, indexes, users, permissions, we can perform them through the interface of user and at the same time it will be possible to directly use any SQL statement.
Features
Some of the features we find when we use phpMyAdmin are
- It has support for many of MySQL's features such as exploring and deleting databases, tables, views, fields and indexes, creating, copying, renaming and altering databases, tables, fields and indexes, performing maintenance server tasks , databases, tables and more.
- We can execute, edit and mark any SQL statement including batch queries
- Facilitates the administration of user accounts and MySQL privileges
- Manage stored procedures and triggers
- Run global searches in a database or a subset of these
- You can create database charts in various formats
- You are able to create complex queries using Query-by-example (QBE)
- You can transform data stored in any format using as a base a set of predefined functions
- You can manage multiple servers
- phpMyAdmin can export data to various formats such as CSV, SQL, XML, PDF, ISO / IEC 26300 - Text and spreadsheet of OpenDocument, Word, LATEX and more
- You can import CSV and SQL data
Previous requirements
Before knowing how to install and secure phpMyAdmin we must meet the following requirements:
Having the LAMP installation (Linux, Apache, MariaDB and PHP) on the Debian 9 server, to guide us in this process we can visit the following link:
Additionally, we must have a firewall configured with ufw.
How to update the system
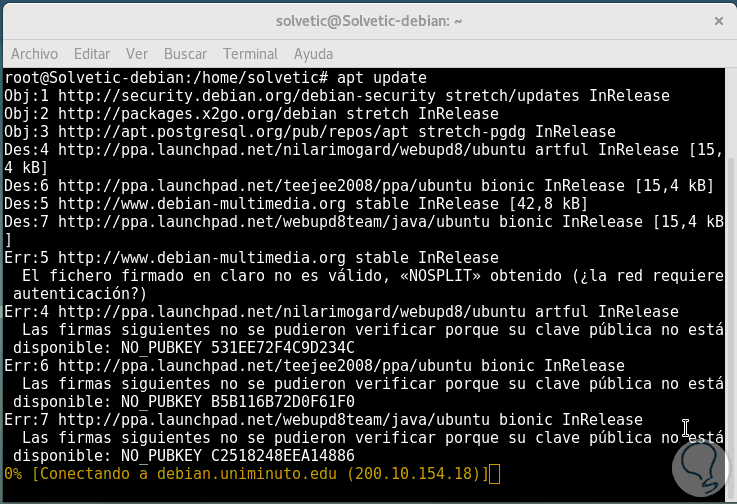
The first step to take is to update the Debian 9 packages, for this we execute the following command:
apt update
1. How to install phpMyAdmin Debian 9
Step 1
Once the system is updated, we proceed to install PHP together with some dependencies by executing the following command:
apt install phpmyadmin php-mbstring php-gettext
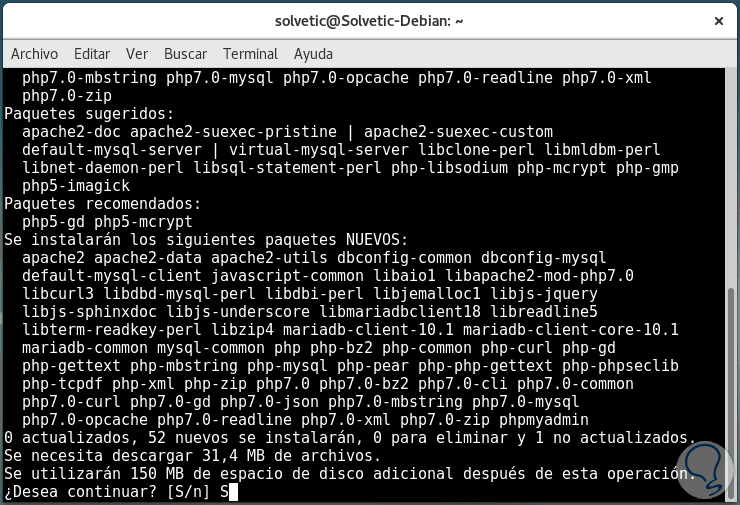
Step 2
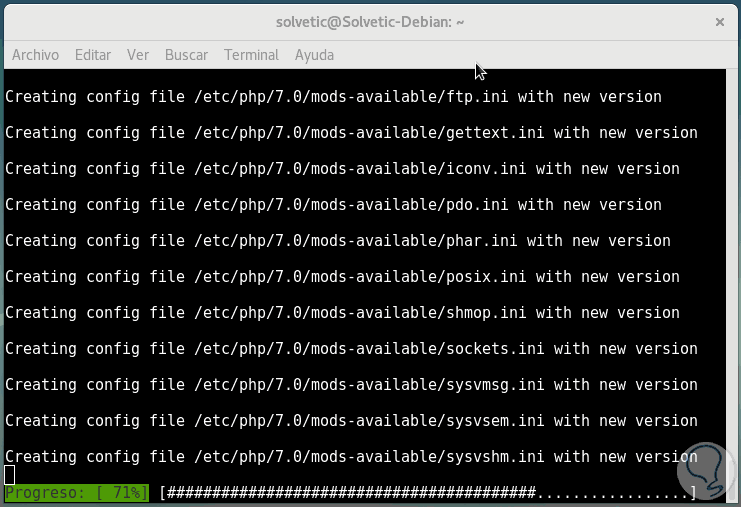
There we will enter the letter S to confirm the download and installation of PHP and during this process the following will be displayed:

Step 3
There we select apache2 as the web server, for this selection we press the Space key and with the Tab key we select Accept, press Enter to continue with the installation process:
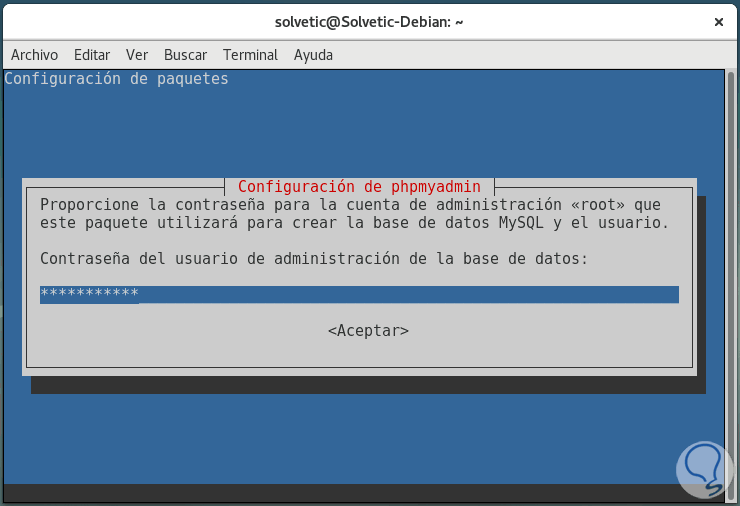
Step 4
Subsequently we must define the MySQL application password:
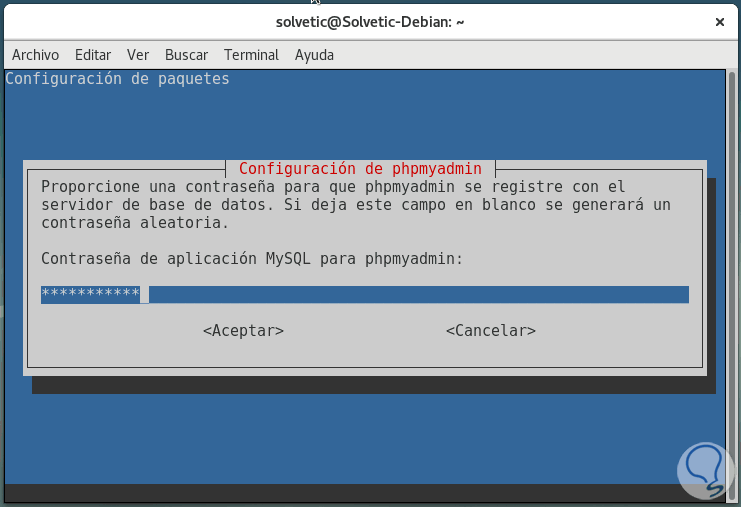
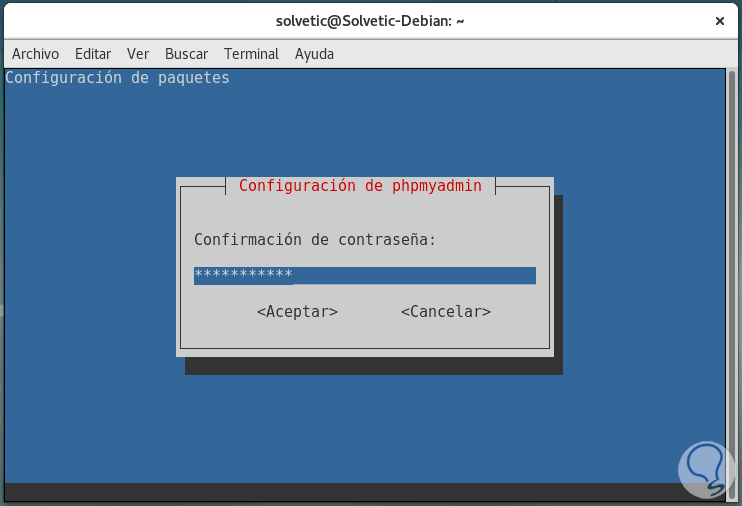
Step 5
Press Enter and we must confirm it:
Step 6
Then we will confirm the password of the root user for the database. This culminates the installation process of phpMyAdmin.
The installation process is responsible for adding the phpMyAdmin Apache configuration file to the / etc / apache2 / conf-enabled / directory, which is automatically read..
Step 7
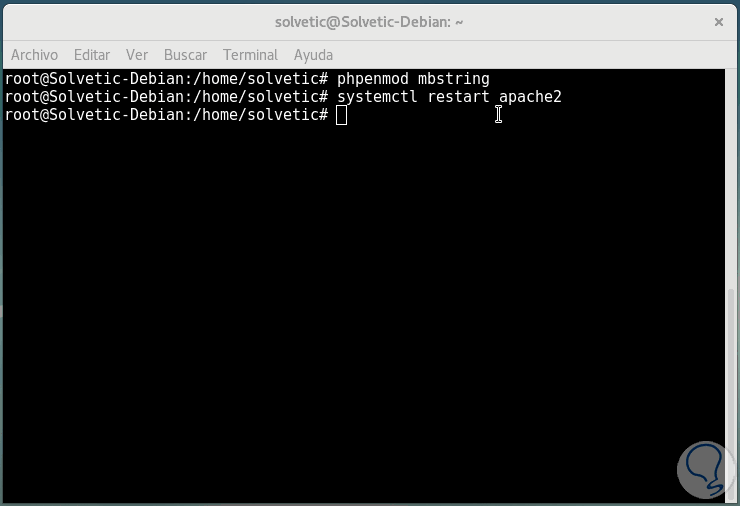
Now we must explicitly enable the PHP mbstring extension which is used to manage non-ASCII strings and convert strings to different encodings. This is achieved by executing the following:
phpenmod mbstring
Finally, we restart the service to apply the changes:
systemctl restart apache2
2. How to configure phpMyAdmin Debian 9 users and privileges
When installing phpMyAdmin on the server, a database user named phpmyadmin was created automatically which can perform certain underlying processes for the program, for security reasons it is ideal, instead of logging in with this user and the administrative password which was established during installation, log in with a different account.
In new installations on Debian 9 systems, the MariaDB root user is configured to authenticate using the unix_socket plugin by default instead of with a password, since phpMyAdmin requires users to authenticate with a password, it will be necessary to create a new account MariaDB to access the web interface of the application.
Step 1
We can check the access to phpMyAdmin by running the following syntax in a web browser:
https: // IP_Server / phpmyadmin
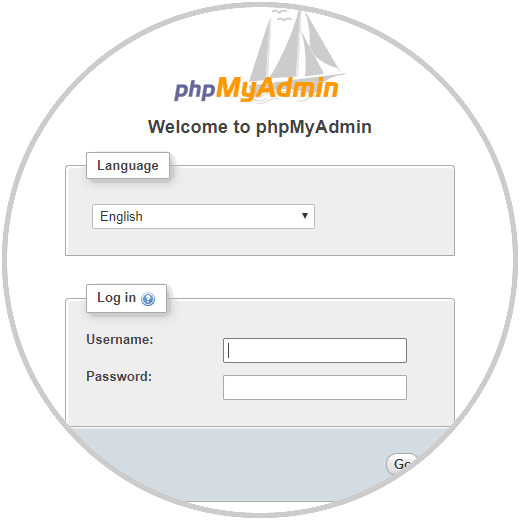
Step 2
There we enter with the standard user and we will have access to the phpMyAdmin platform. We can create a new user for phpMyAdmin by entering the following line in the Debian 9 terminal:
mariadb
Step 3
In case of having password authentication active, we will execute the following command to obtain administrator privileges within the database:
mariadb -u user -p
In the database console we will enter the following:
Step 4
We will create the user and assign the desired password:
CREATE USER 'user @' localhost 'IDENTIFIED BY' password ';
Now, we grant the new user the correct privileges:
GRANT ALL PRIVILEGES ON *. * TO 'user' @ 'localhost' WITH GRANT OPTION;
We leave the database:
exit

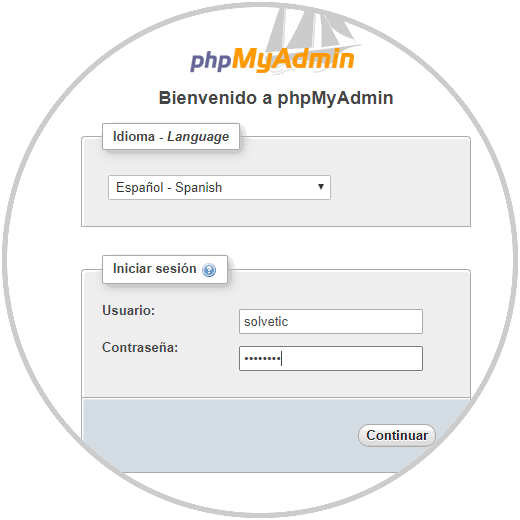
Step 5
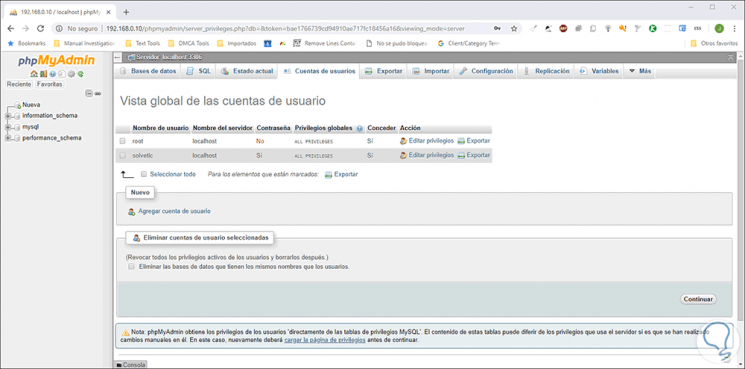
Now we can access phpMyAdmin with the new user created:
Step 6
Click on Continue and this will be the phpMyAdmin environment:
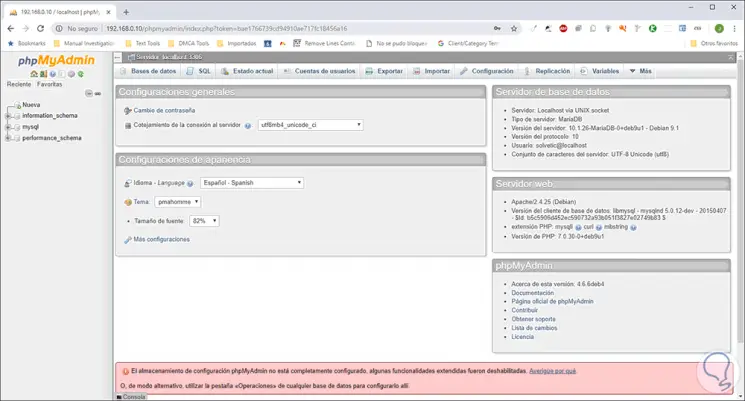
Up to this point we will have access to the phpMyAdmin platform and its worst environment is still insecure..
3. How to secure the phpMyAdmin instance
phpMyAdmin has become a traditional and frequent target for attackers due to its ease of access, to avoid this, we can implement a Gateway for the application which will make use of the integrated authentication and authorization functions of Apache .htaccess
Step 1
To accomplish this, we will enable the use of .htaccess file overrides by editing the Apache configuration file through the following line:
sudo nano /etc/apache2/conf-available/phpmyadmin.conf
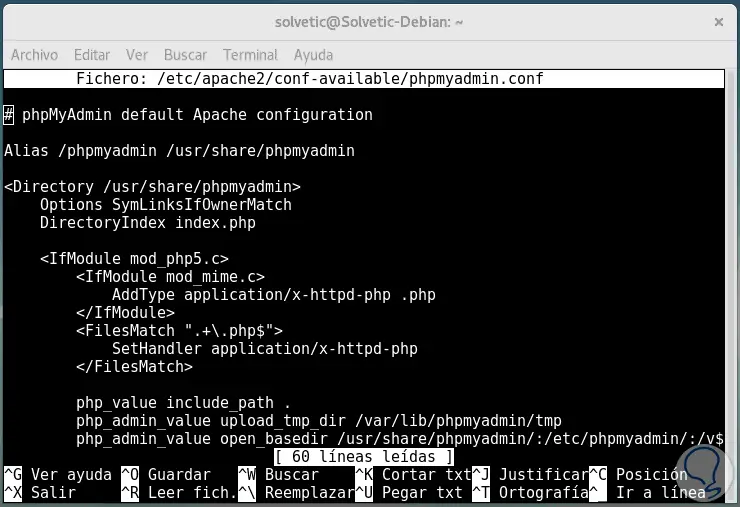
Step 2
There we will enter the following line in the <Directory / usr / share / phpmyadmin> section:
AllowOverride All
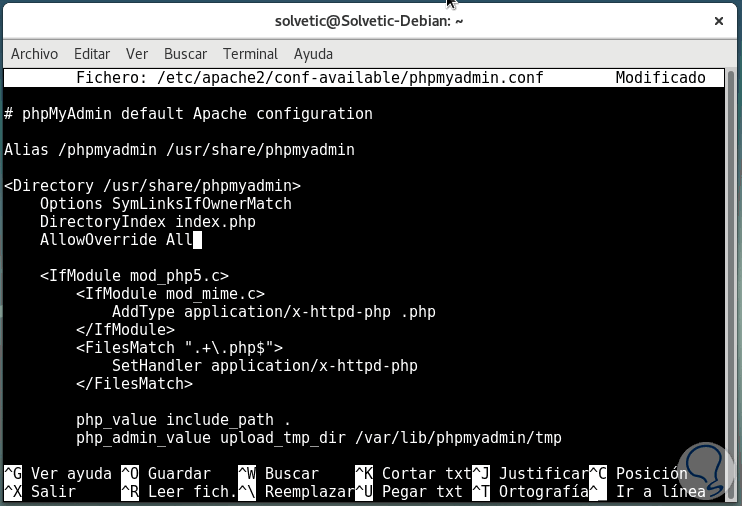
Step 3
We save the changes using the key combination Ctrl + O and exit the editor using the Ctrl + X keys.
After this, we restart the Apache server by executing the command:
systemctl restart apache2
Step 4
We have enabled the use of .htaccess for the phpMyAdmin application, now we are going to create a user to implement the general security of the environment, this file must be created within the application directory, for this we will create the file and open it with the Desired editor as follows:
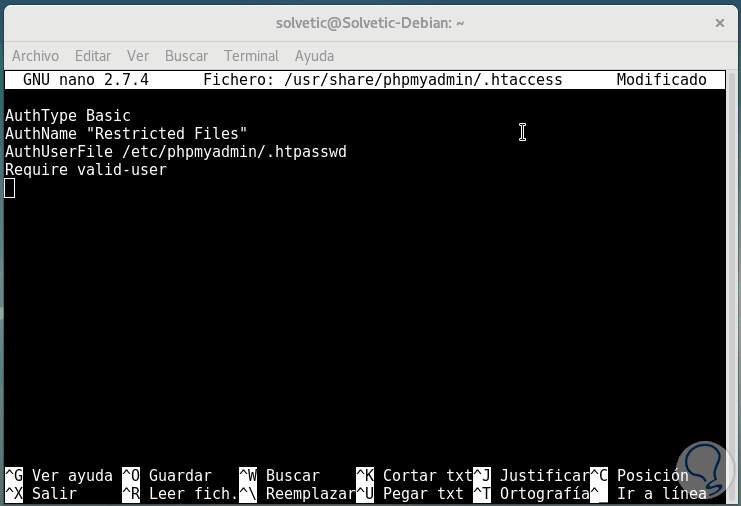
sudo nano /usr/share/phpmyadmin/.htaccess
In the new file we will paste the following:
AuthType Basic AuthName "Restricted Files" AuthUserFile /etc/phpmyadmin/.htpasswd Require valid-user
Step 5
We save the changes with the key combination Ctrl + O and exit the editor using the Ctrl + X keys.
The lines we have entered represent:
AuthType Basic
Specify the type of authentication we are implementing, this type of parameter will implement password authentication using a password file.
AuthName
This line sets the message for the authentication dialog box that will be displayed, it is ideal to keep this generic form so that unauthorized users do not have access to any protected data information.
AuthUserFile
This line sets the location of the password file that will be used for authentication.
Require valid-user
This option specifies that only authenticated users can access this resource, thus preventing unauthorized access.
The location that we have selected for the password file is /etc/phpmyadmin/.htpasswd, we will create this file and assign it to an initial user using the htpasswd utility:
htpasswd -c /etc/phpmyadmin/.htpasswd "user"
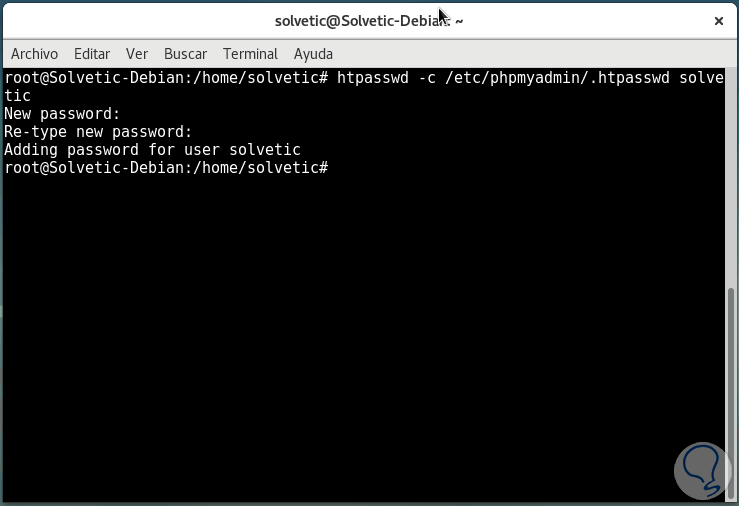
Step 6
Enter the desired password and in this way this new user will have secure access to phpMyAdmin. Now, when we try to access phpMyAdmin again through the browser, the following pop-up window will appear:

Step 7
There we enter the credentials of the user that we have created and by clicking on the Access button we will be in the phpMyAdmin environment:
In this way, we have learned to install and secure phpMyAdmin in Debian 9.