To stay up to date, remember to subscribe to our YouTube channel!
SUBSCRIBE ON YOUTUBE
When using any operating system, there is something essential that allows files and applications to be executed and it is the file system, thanks to this the reading and writing tasks that are compatible with the system can be carried out, which is why We cannot run a Windows application on Linux or macOS and vice versa, Windows 11 has the NTFS (New Technology File System) file system by default, which is an advanced file system that offers us functions such as:
functions
- Record of transactions which allow NTFS to maintain the coherence of the file system if the system presents some type of error or unavailability.
- Allows you to manage permissions and access rights at the file and folder level, with this you can grant different levels of access to one or more users to those folders, guaranteeing better privacy and integrity of the files.
- NTFS supports file compression to save hard drive space.
- The NTFS file system has a file size limit of 16 exabytes and a partition size limit of 256 terabytes.
- NTFS makes use of a file indexing system with which search tasks are much faster and more efficient.
- NTFS supports long file names of up to 255 characters including spaces and special characters.
Characteristics
Even with all these special features, it is possible that we will see the NTFS FILE SYSTEM ERROR error, which is a direct file system error and can occur for reasons such as:
TechnoWikis brings you a series of solutions to correct this error if you present it in your Windows 11 system..
1 Enter Safe Mode Windows 11
Accessing Safe Mode in Windows is accessing with the minimum of drivers to have a much more complete administrative and support work by not having all the drivers, processes and services active.
Step 1
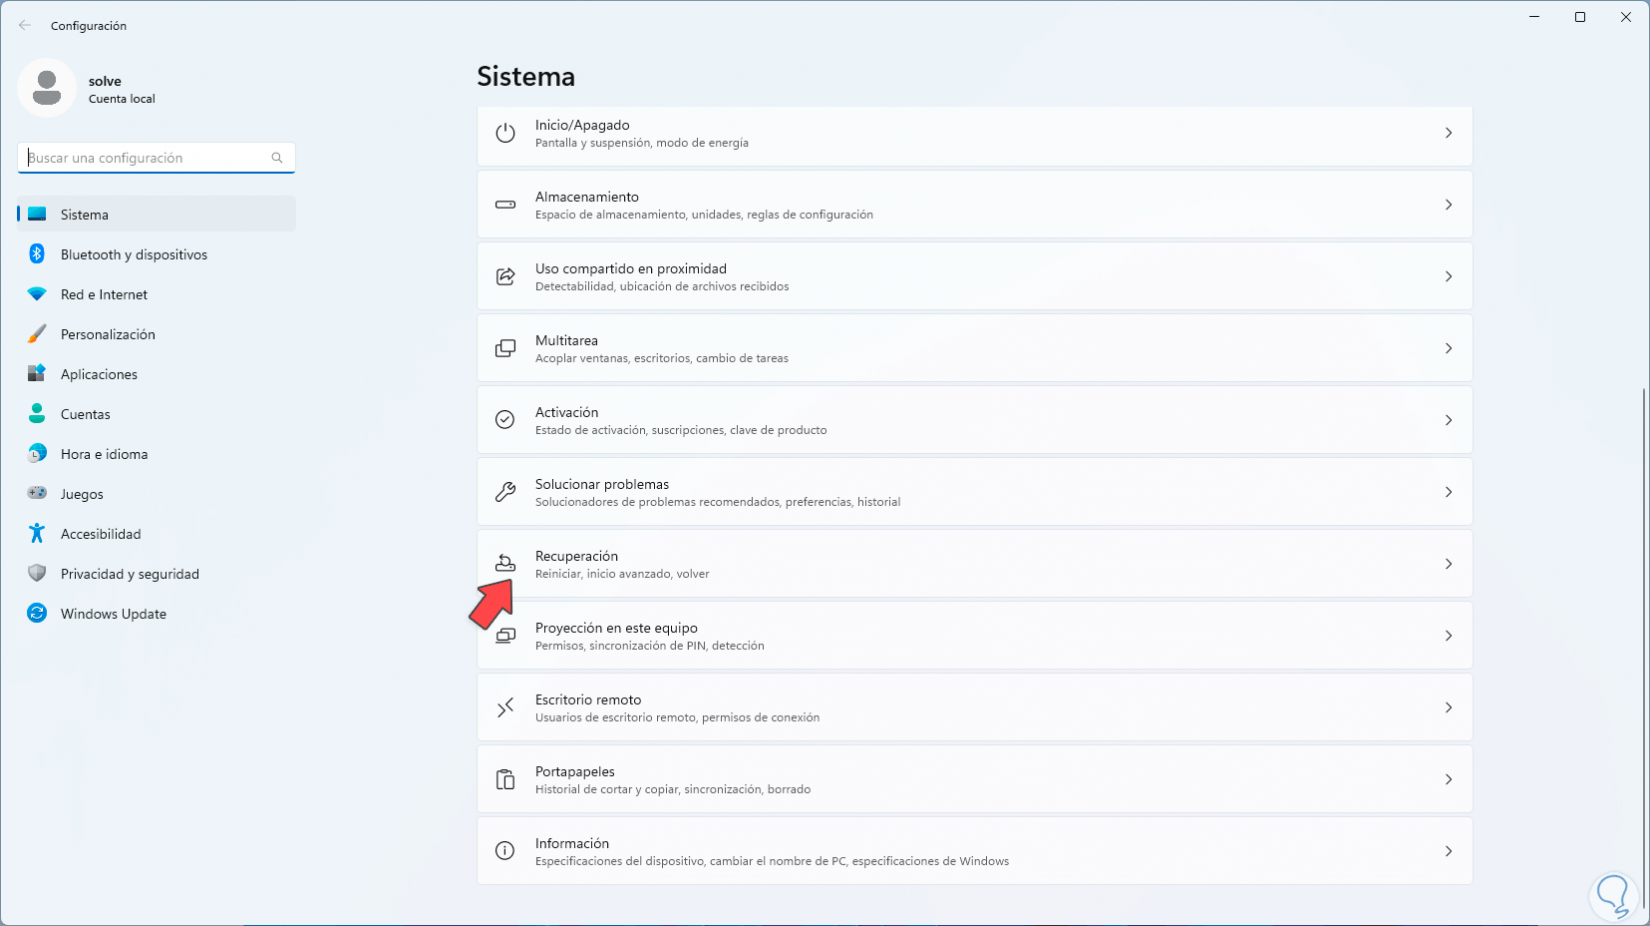
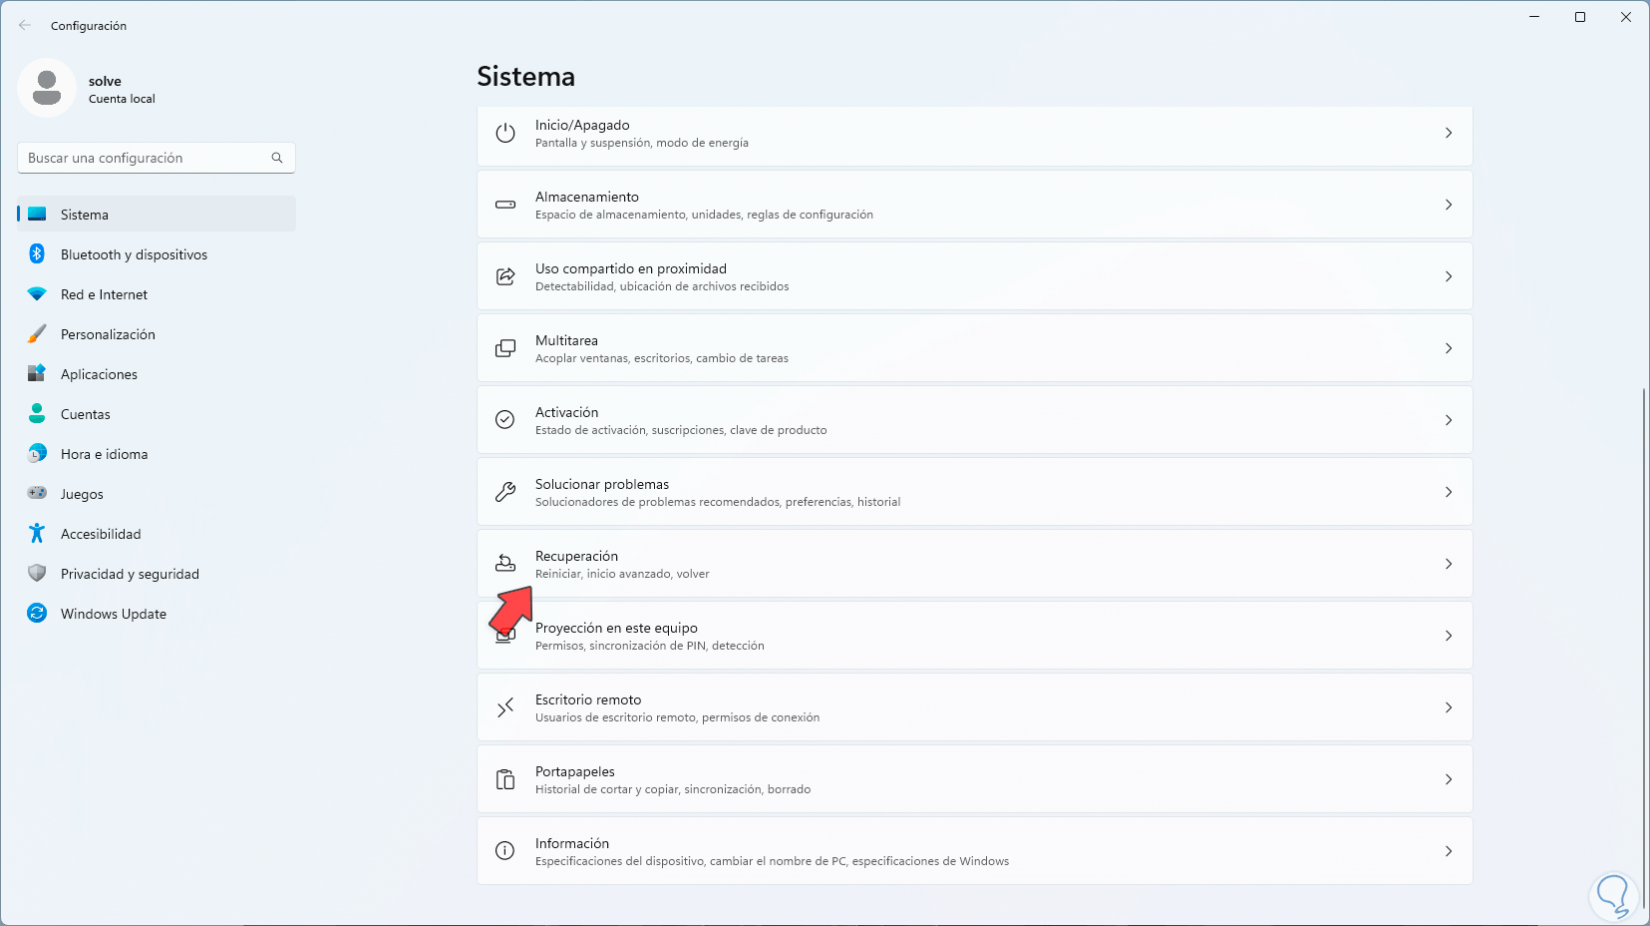
To access this mode, we open the Start menu and we are going to go to "Settings" in the "System" section we are going to click on "Recovery":
Step 2
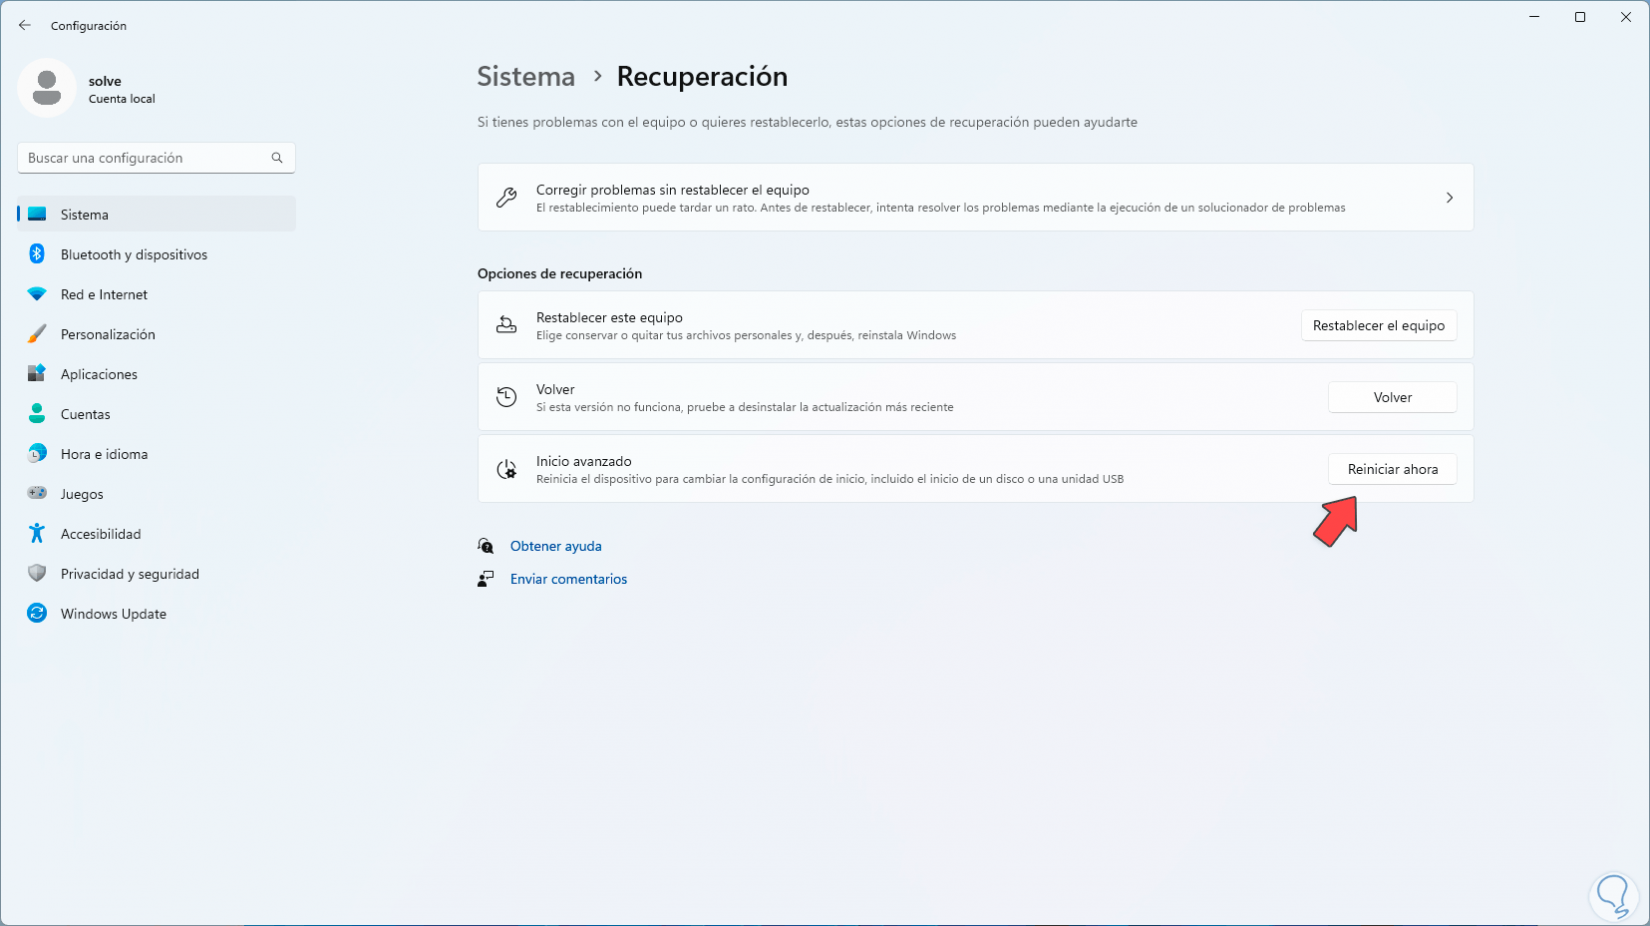
We will see the following. There we will click on the "Restart now" button:
Step 3
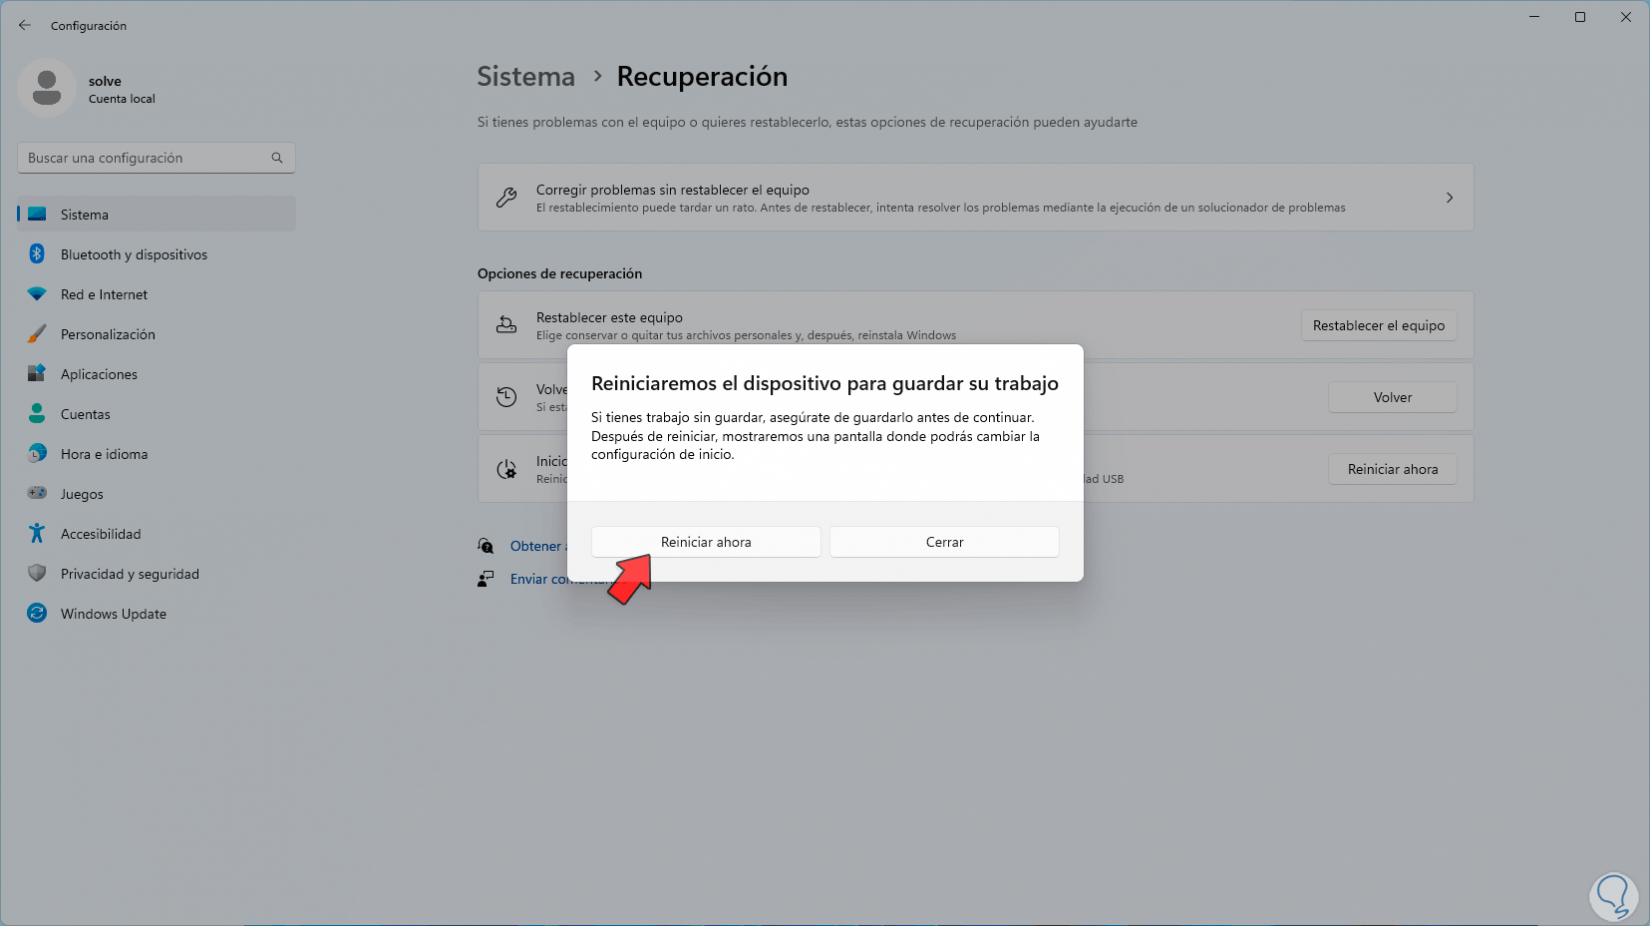
and the following popup window will open:
Step 4
We confirm this process so that Windows 11 restarts in advanced mode:

step 5
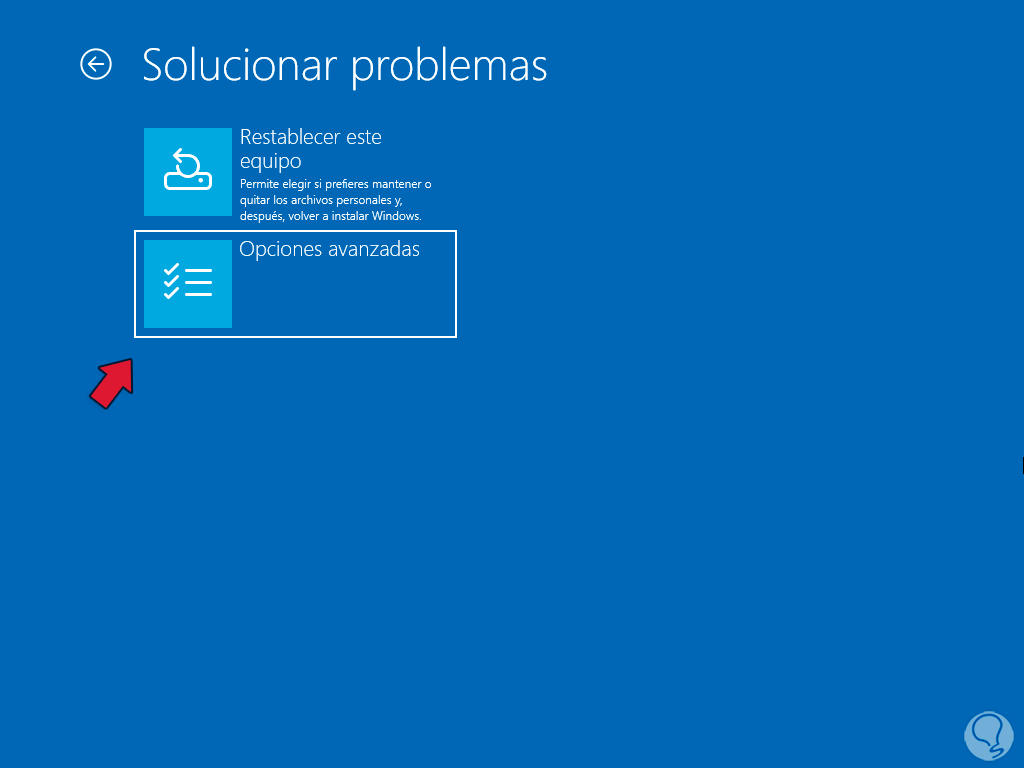
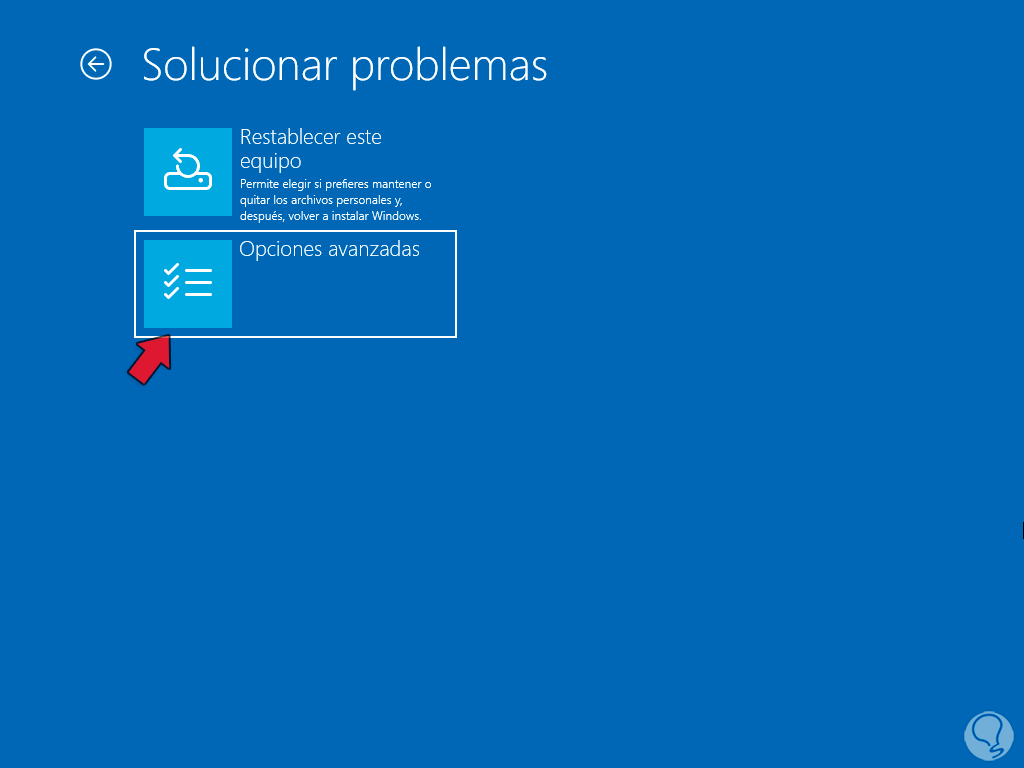
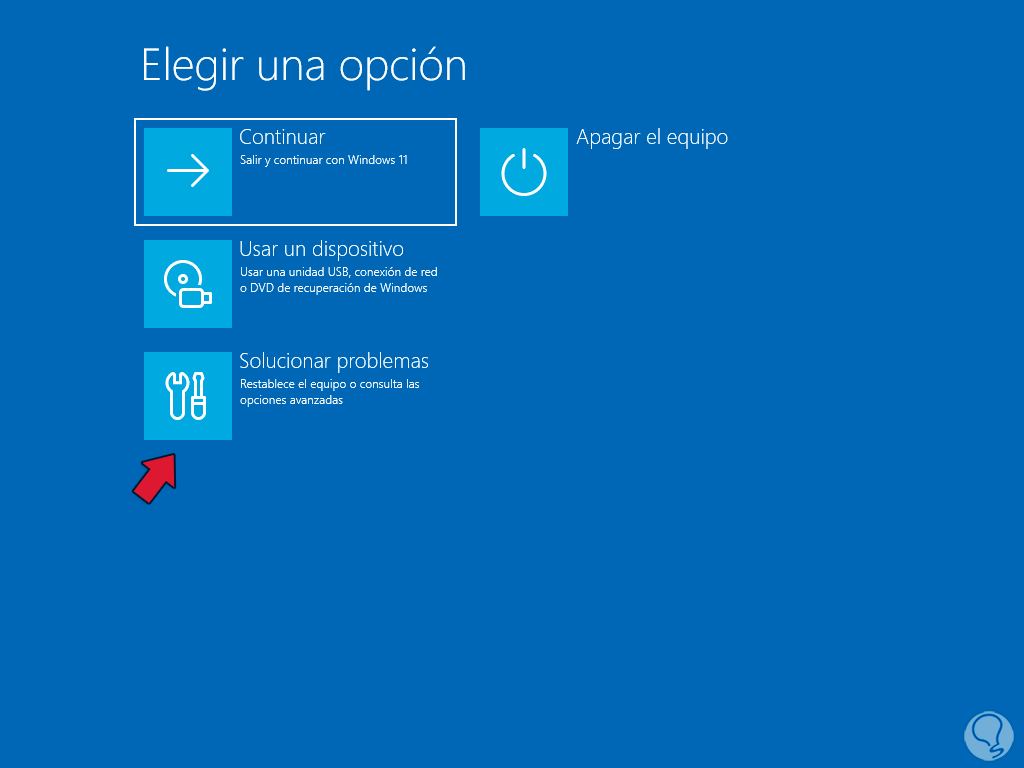
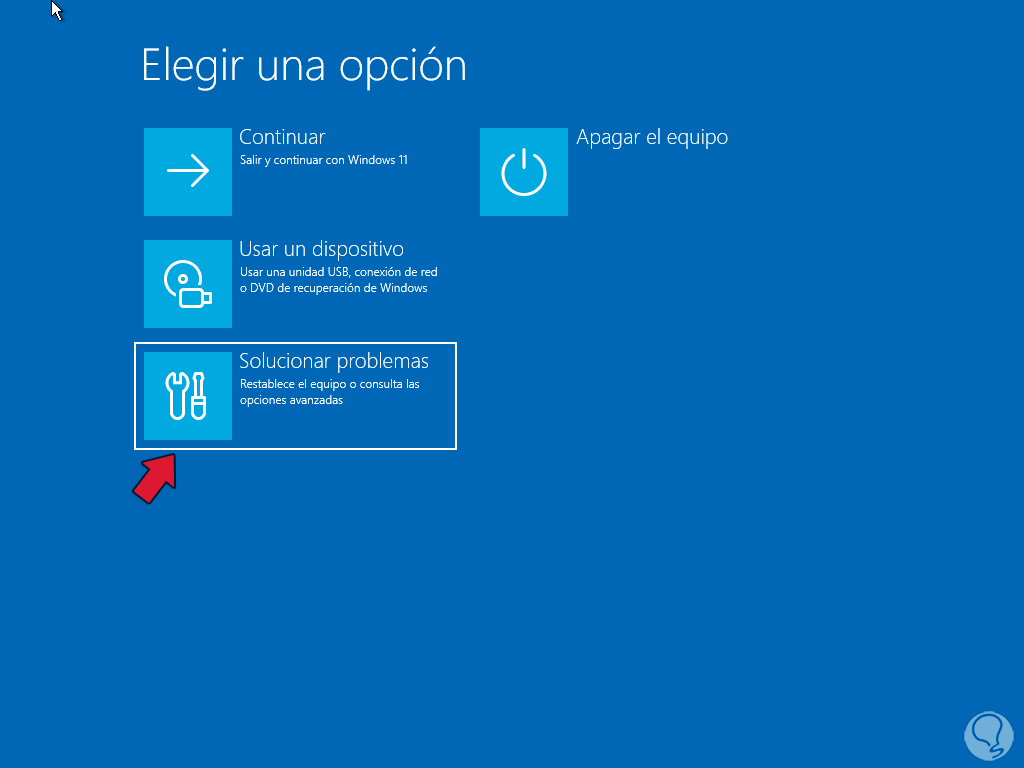
After a moment we will see the following. We click on "Solve problems"

step 6
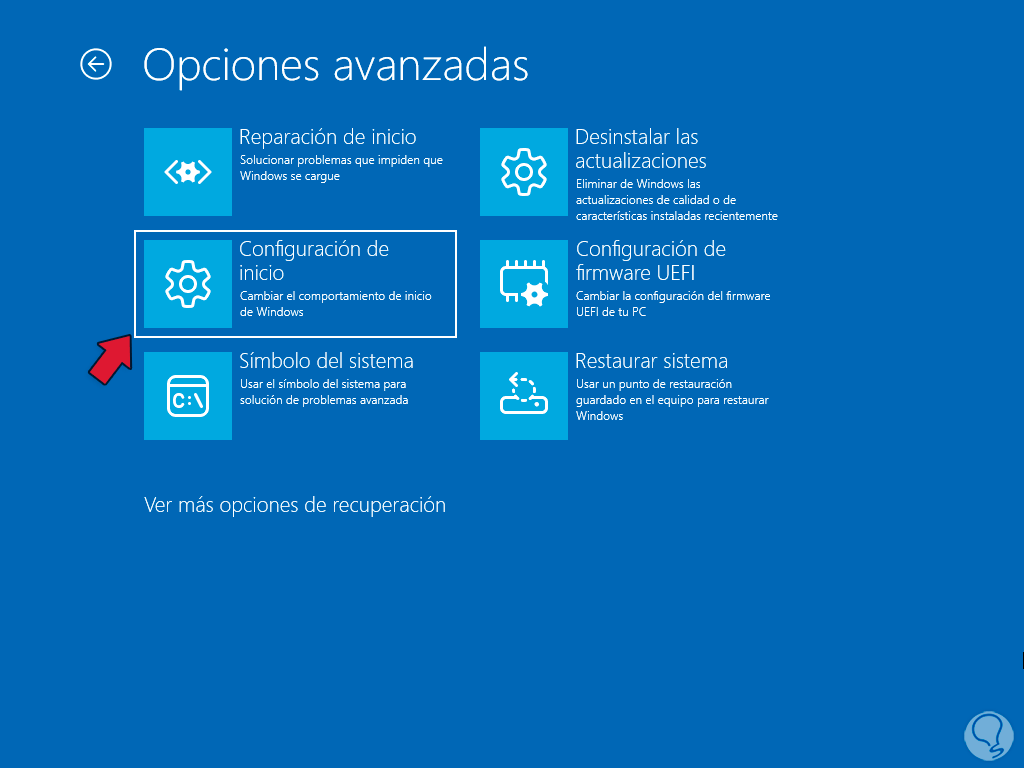
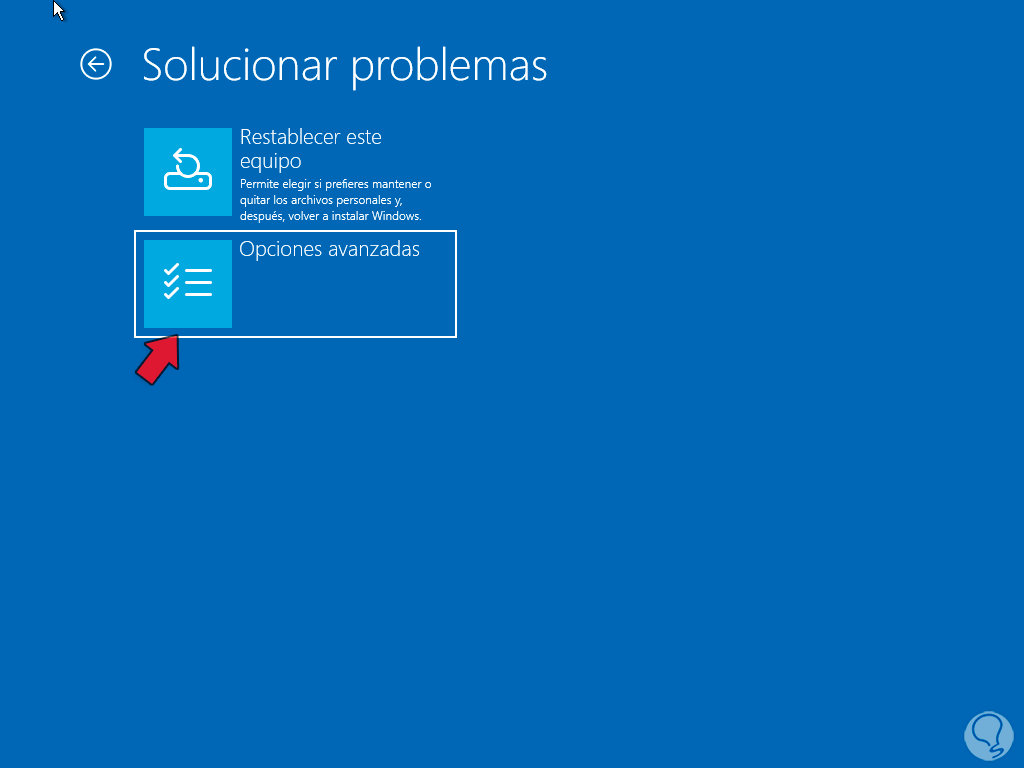
and then we click on "Advanced options":
step 7
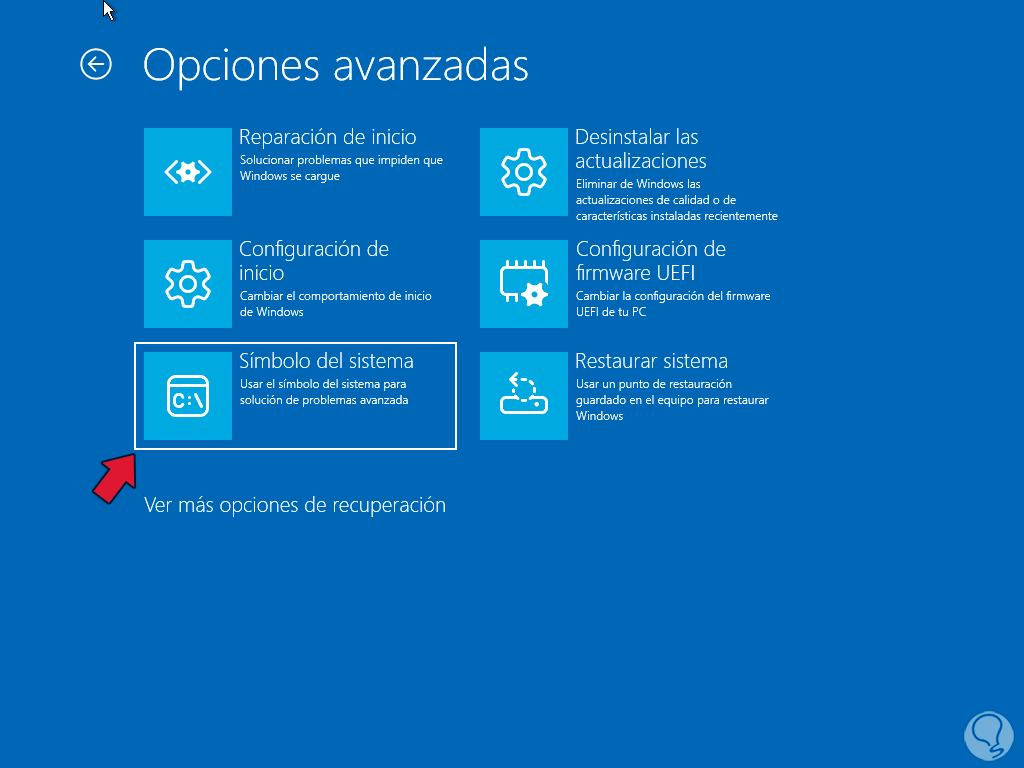
After this we access the main menu. Here we will click on "Startup Settings" to see the following window
step 8
Now we are going to click on “Restart”:
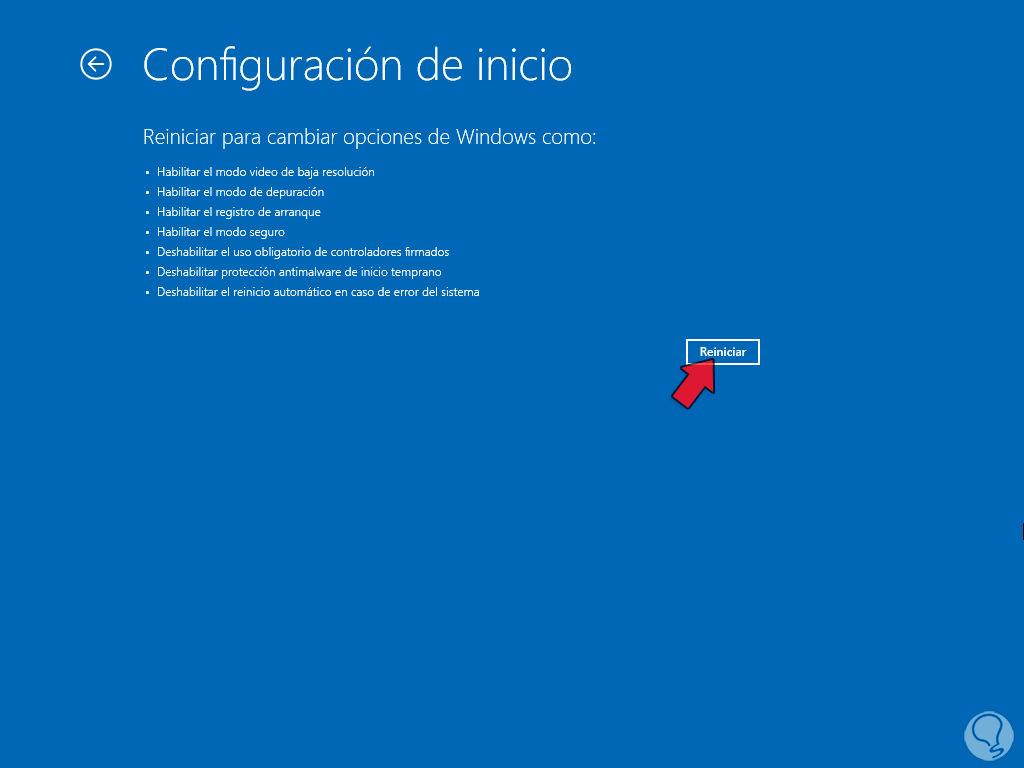
step 9
and after the restart we will see the different boot options of Windows 11:
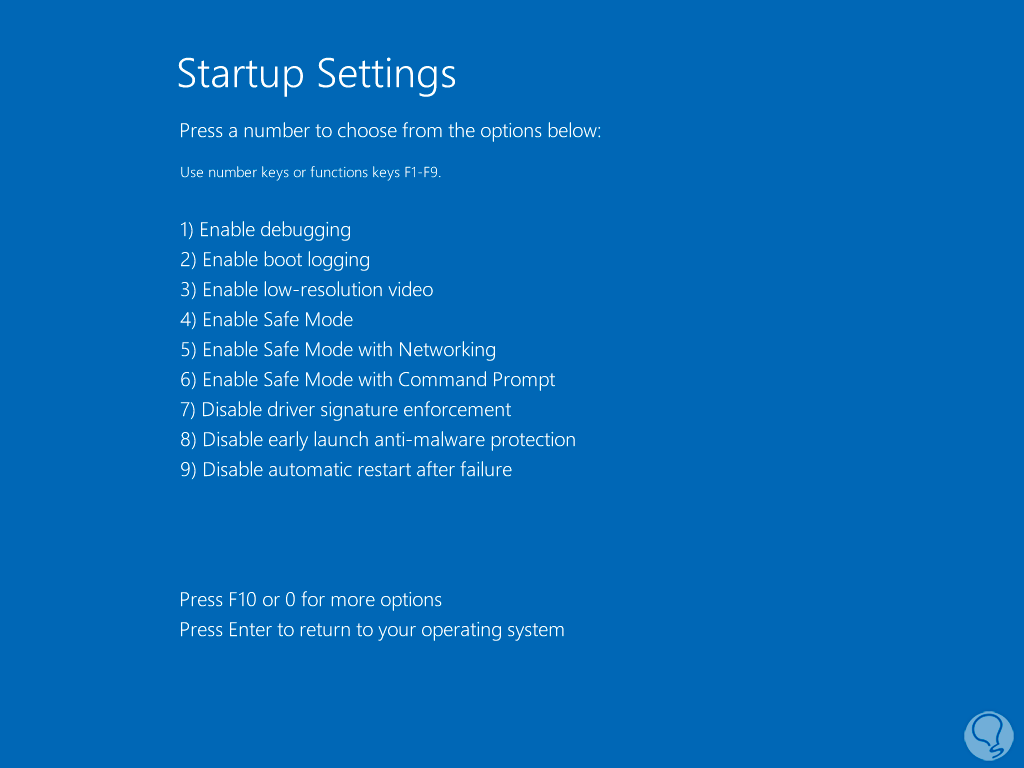
step 10
There we press the F4 or F5 key to access Safe Mode or Safe Mode with network functions, the system will restart:

step 11
We log in in Safe Mode:

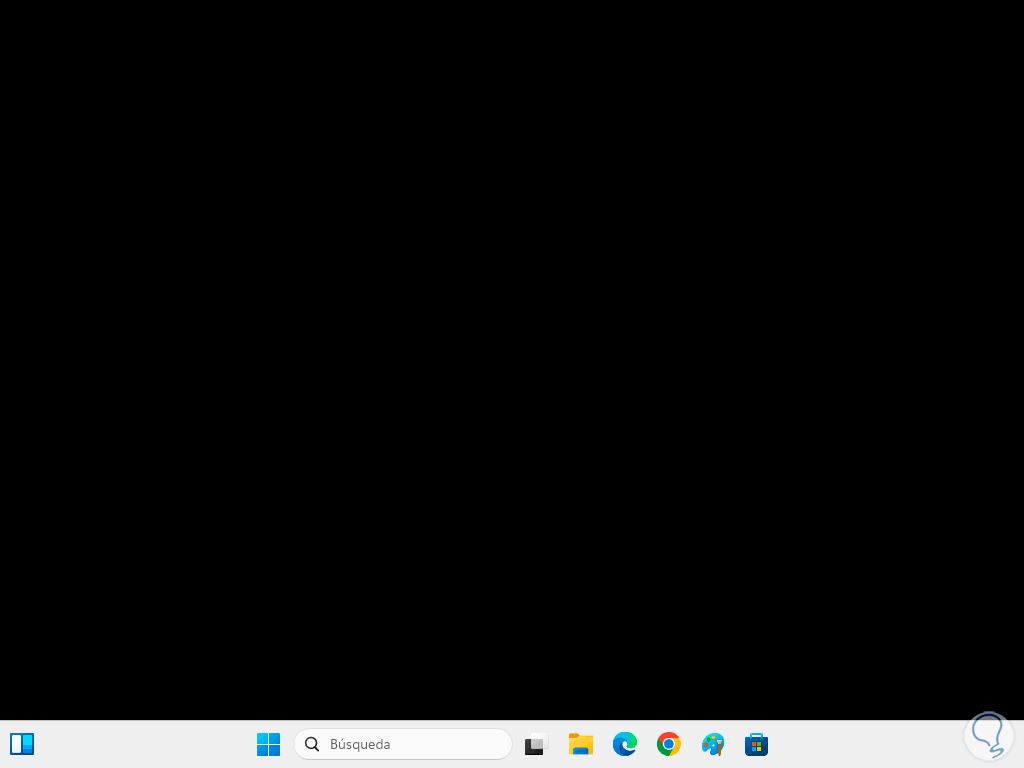
step 12
We will have access to this mode in Windows 11. We check that everything works correctly
Note
If necessary, you can execute the processes that we explain to you in this mode.
step 13
If everything works we can reboot the system:
step 14
Windows will restart:

step 15
We will access the normal mode of use:
2 Configure Event Viewer Windows 11
Through the Event Viewer we can have a clear concept of when the error occurred, which session was active and the code generated, this will help administrative tasks to be much more efficient and timely to correct the error.
Step 1
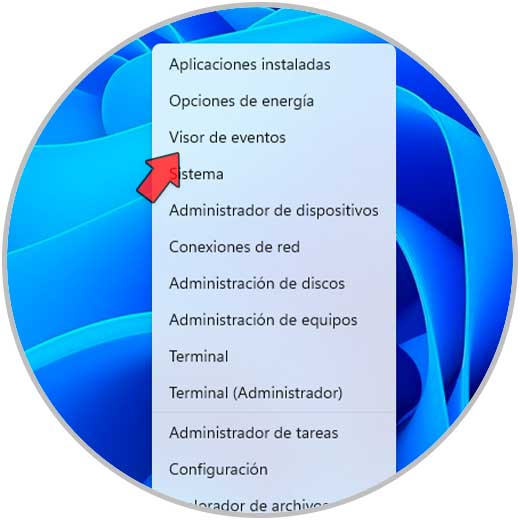
To start we open the Event Viewer:
Step 2
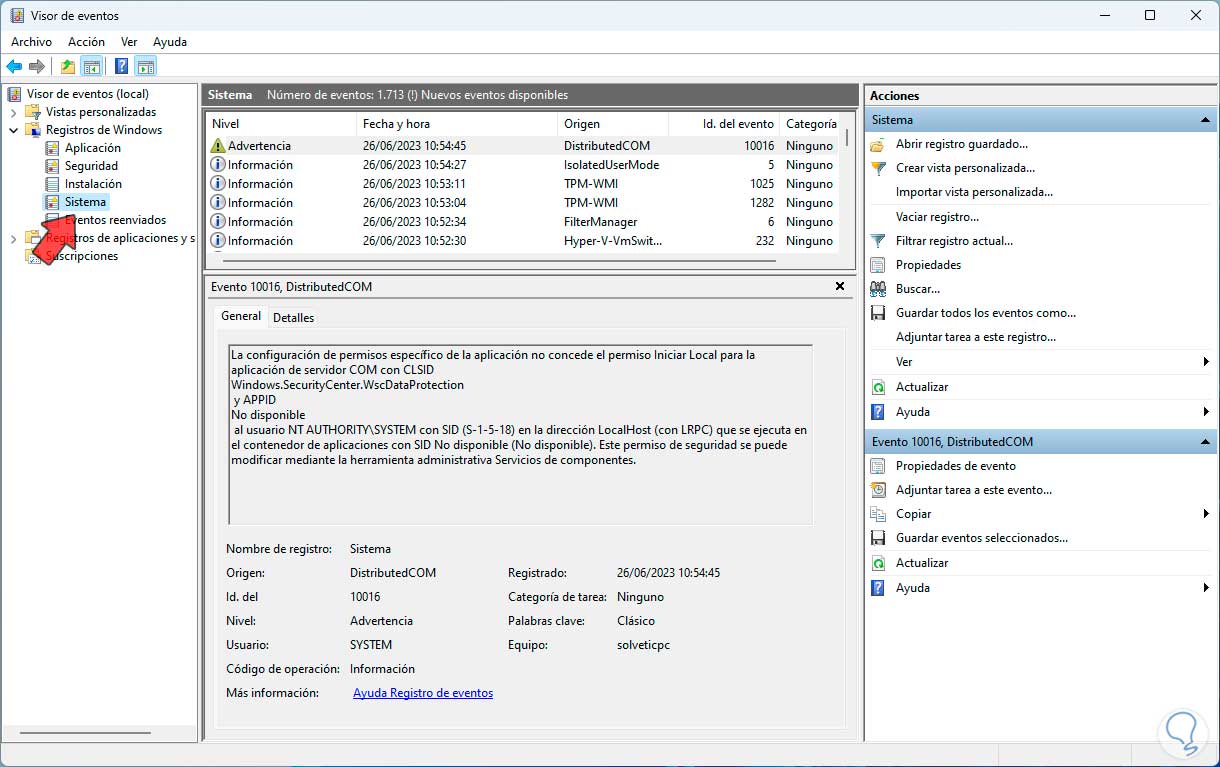
In the Event Viewer we will go to "Windows Logs - System":
Step 3
When the events are loaded it will be possible to order the events to detect those that have errors and check if they are associated with NTFS.
If this is the case, when selecting an event we will be able to see all the details of this error to have a clearer concept of the solution to be taken.

3 Use memory diagnostic Windows 11
One cause of the NTFS error may be related to an error in RAM memory which processes a high percentage of user, system and component activities, to detect and correct errors in RAM memory Windows integrates a specialized utility to it.
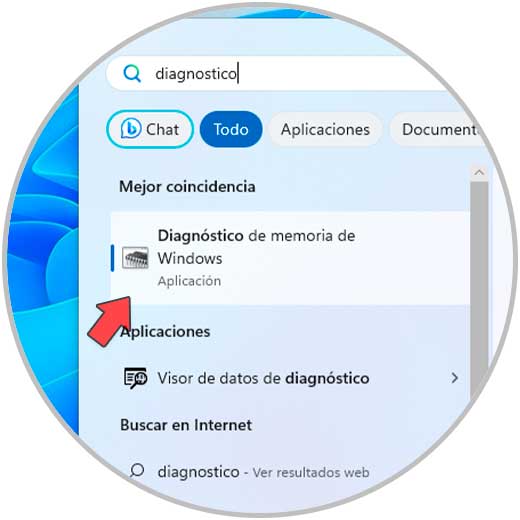
Step 1
For its use, in the search engine we enter the word "diagnosis" and in the displayed results we click on "Windows memory diagnosis":
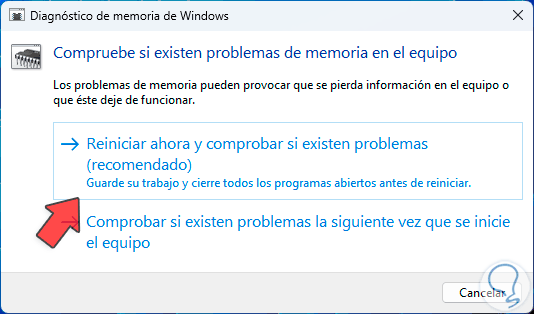
Step 2
The following message will open. We click on "Restart now and check for problems":
Step 3
Windows 11 will be restarted:

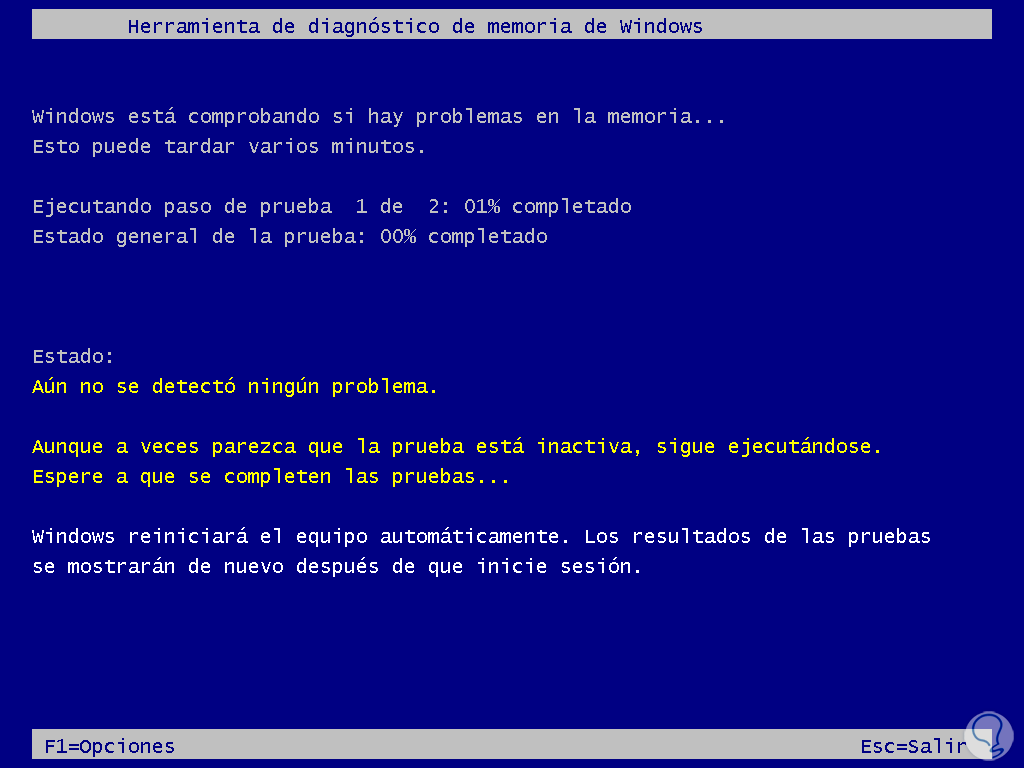
Step 4
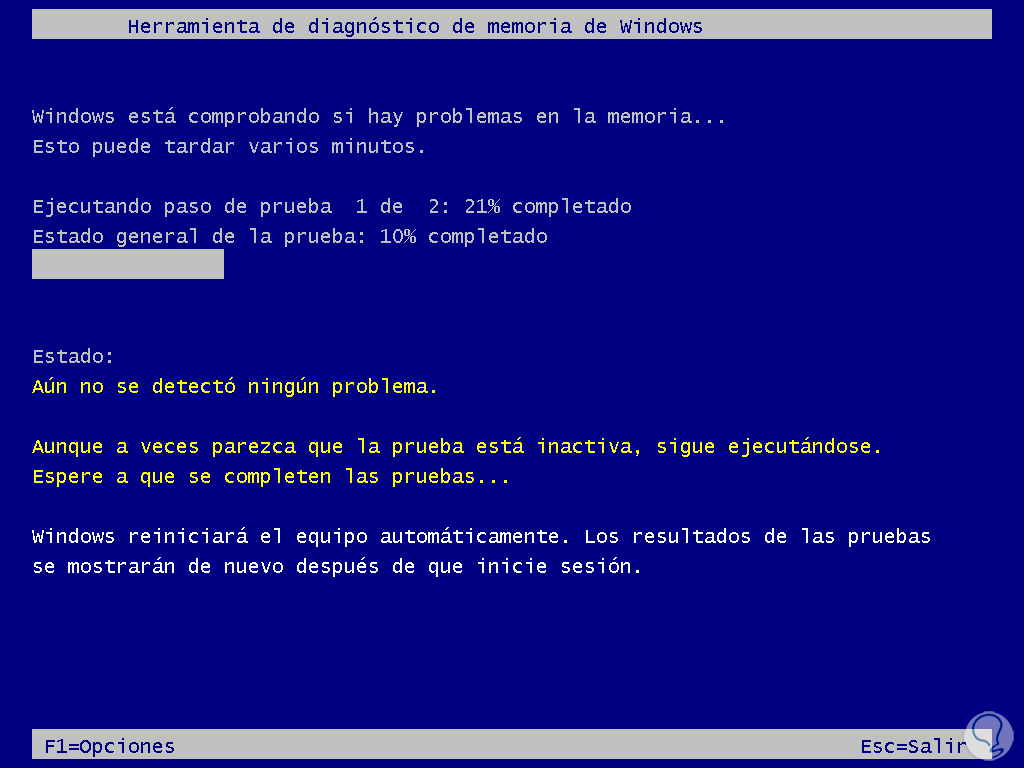
Then the analysis of the RAM memory will take place:
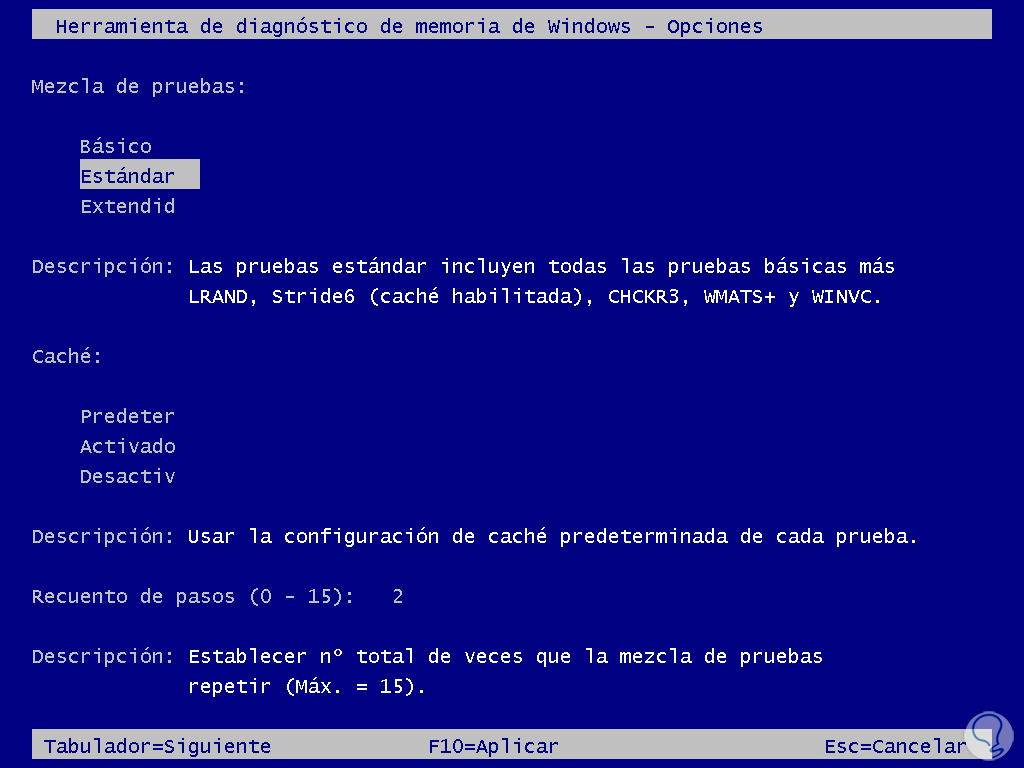
step 5
We can press the F1 key to access options such as the type of analysis or the number of repetitions to use:
step 6
We expect the memory to be analysed:
step 7
We must wait for the number of steps to complete:

step 8
Upon completion of the scan the system will be rebooted. We wait for the session to start.

4 Free up space Windows 11
Another common cause of this error is a full hard drive, this has a negative impact on NTFS reading tasks resulting in the mentioned error, we can free up space on our hard drive..
Step 1
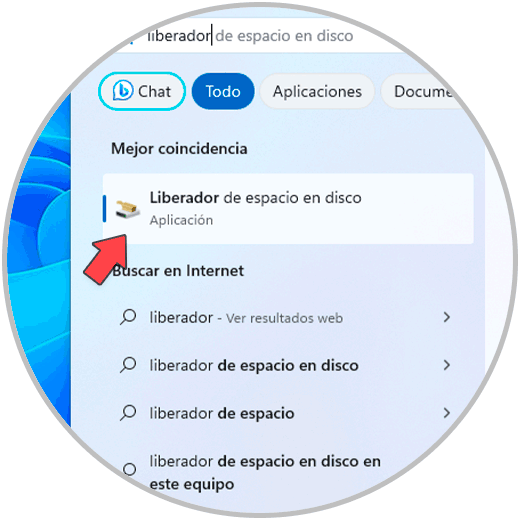
To achieve this, we are going to search for the word "disk" in the search engine and then click on "Disk Cleanup":
Step 2
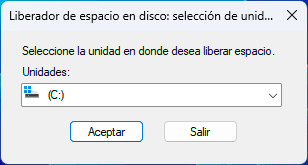
In the small window we are going to select drive C:
Step 3
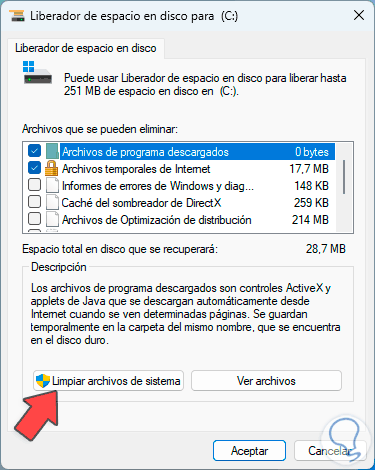
We wait for all the elements to load to see the following:
We click on the "Clean system files" button
Step 4
and again select drive C:

step 5
Now we will see some extra elements to delete and free up space:
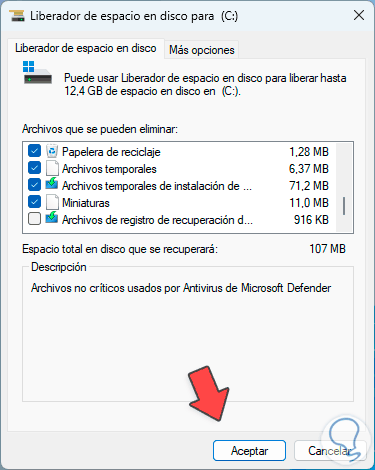
step 6
We select the boxes that we consider take up more space and when we click OK we will see the following:
step 7
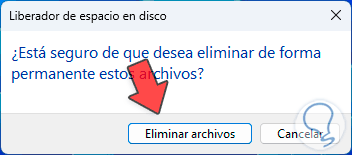
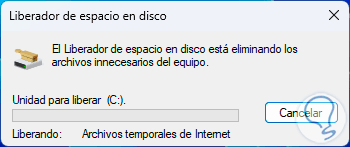
We click on "Delete files" and wait for the process to finish.
5 Validate Windows 11 drivers
Another common cause of the NTFS error is associated with drivers but far beyond their updates, in this case the issue of signatures and developers, to check this a utility is integrated into Windows 11 called Driver Verifier Manager which is a Tool to manage and configure Driver Verifier Driver Verifier is a Windows feature for detecting and fixing problems associated with device drivers.
There we have options such as:
- Create custom configurations to create configuration profiles to check specific drivers or to enable multiple types of checks.
- Verify new drivers that are installed on the system in order to validate that they meet compatibility standards.
- Verify Existing Drivers that allows you to validate if the current drivers are good or have errors.
- Verify digital signatures of the drivers to make sure that the drivers are authentic and have not been modified.
- It will be possible to generate reports with the status of the controllers.
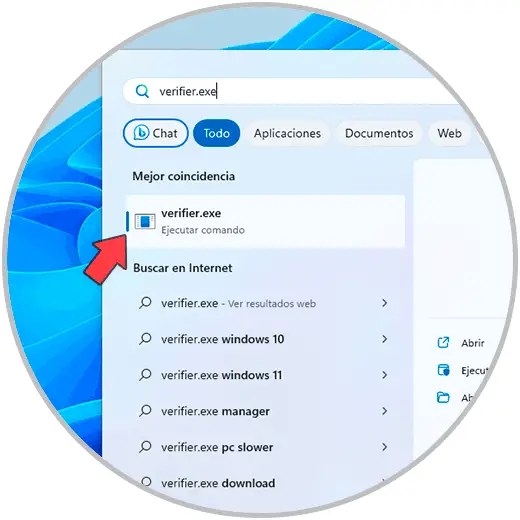
Step 1
For its use, in the start search engine we enter the word "verifier.exe" and click on the command:
Step 2
We accept system permissions:
Step 3
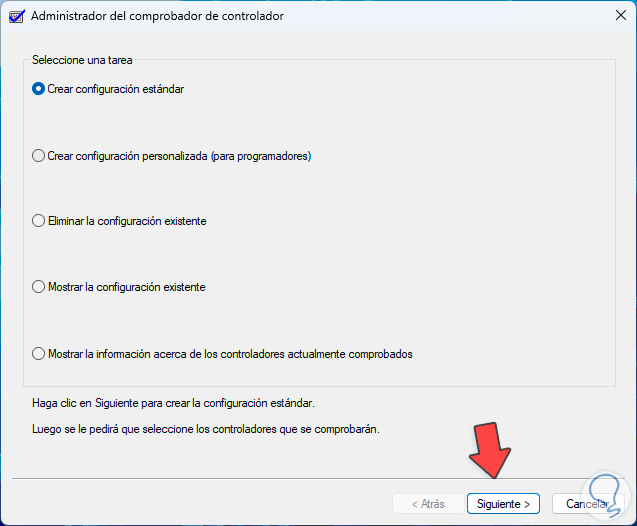
We will see the following window. In the pop-up window we activate the "Create standard configuration" box
Step 4
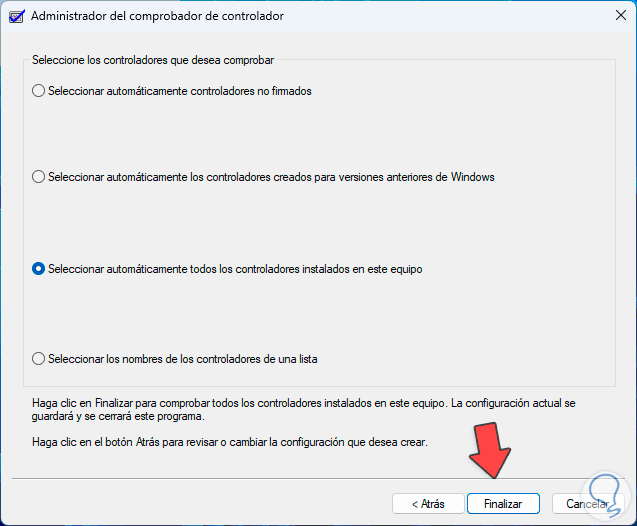
and in the next window we will activate the "Automatically select all drivers installed on this computer" box:
step 5
We click on "Finish" and the following will open:
step 6
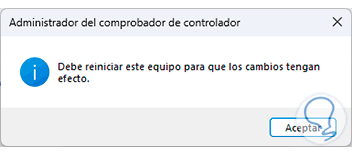
We close the wizard and we are going to restart Windows eleven to apply these changes:

6 Reset Windows 11
This is a somewhat extreme method, but the cause may be at system levels and there we have no choice but to restore the computer to its original state and thus recover the proper functioning of NTFS.
Step 1
To achieve this we are going to go to the route "Start - Settings - System - Recovery":
Step 2
In Recovery we click on the "Reset the device" button and now we can define if we keep or delete our files:

Step 3
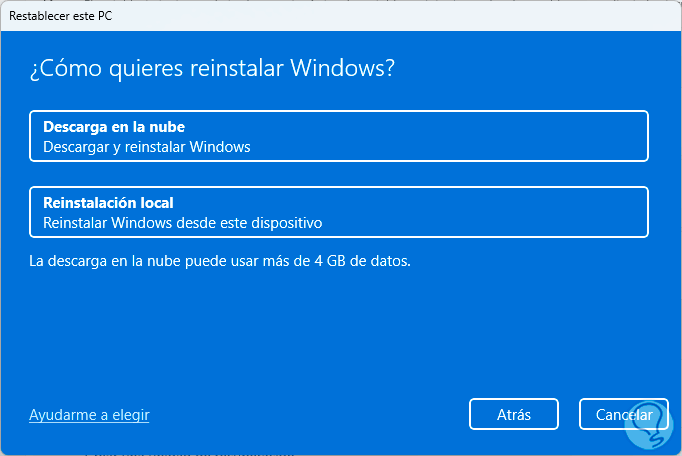
Then we select the type of installation to use (local or in the cloud):
Step 4
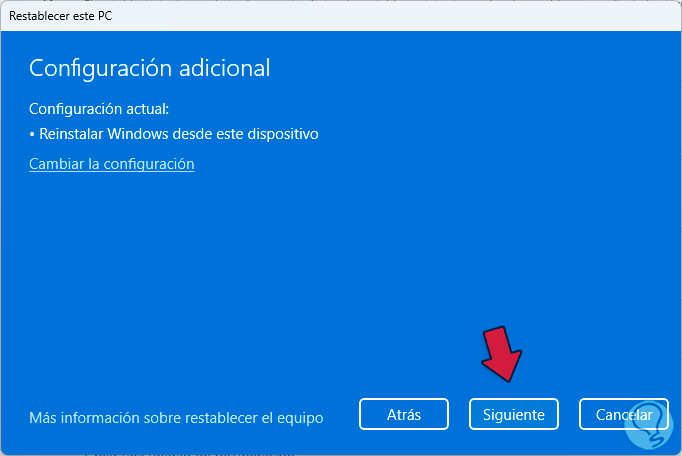
By selecting this option we will see a summary of the task: Click on "Next"
step 5
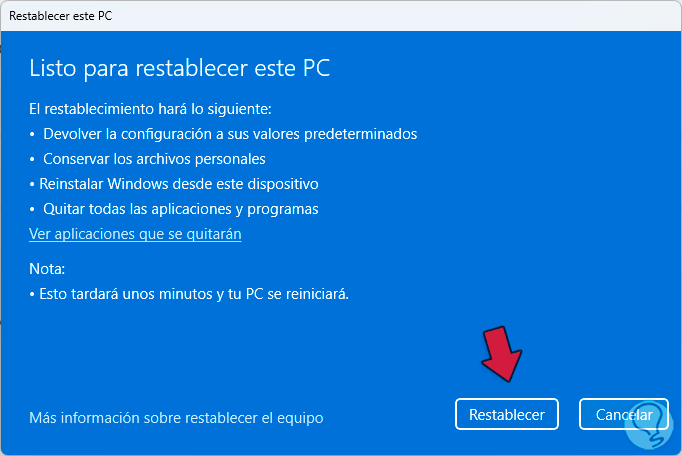
and after this we are going to wait for everything to be ready to click on "Reset":
7 Fix file system error Windows 11
Through the CMD or Terminal console it is possible to execute some commands to analyze and correct errors both in the file system and in the system image itself.
Step 1
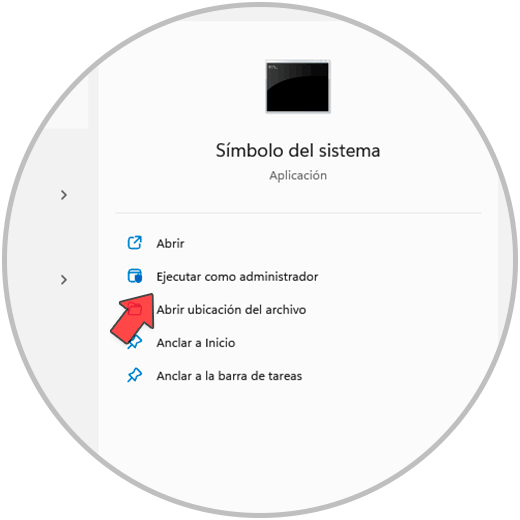
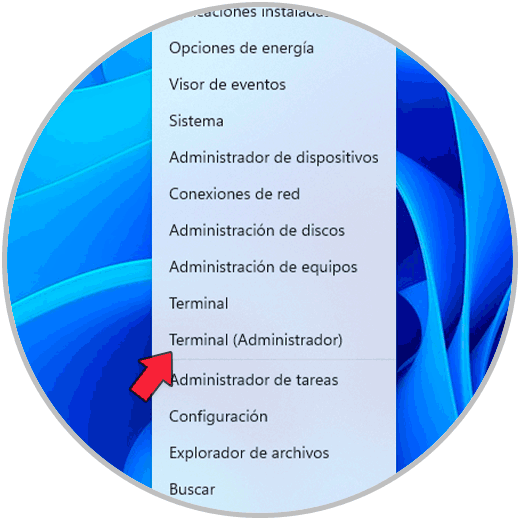
For this it is possible to use the Command Prompt or the terminal as administrator:
Step 2
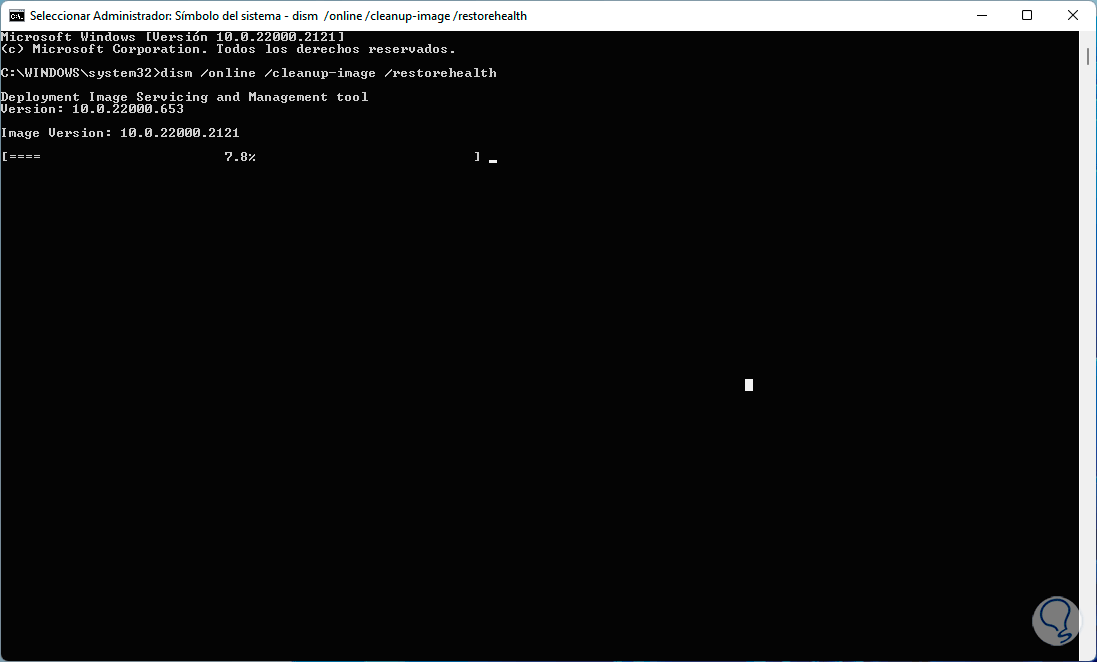
First of all we are going to restore the local image of Windows 11, for this we execute the command:
dism /online /cleanup-image /restorehealth
Step 3
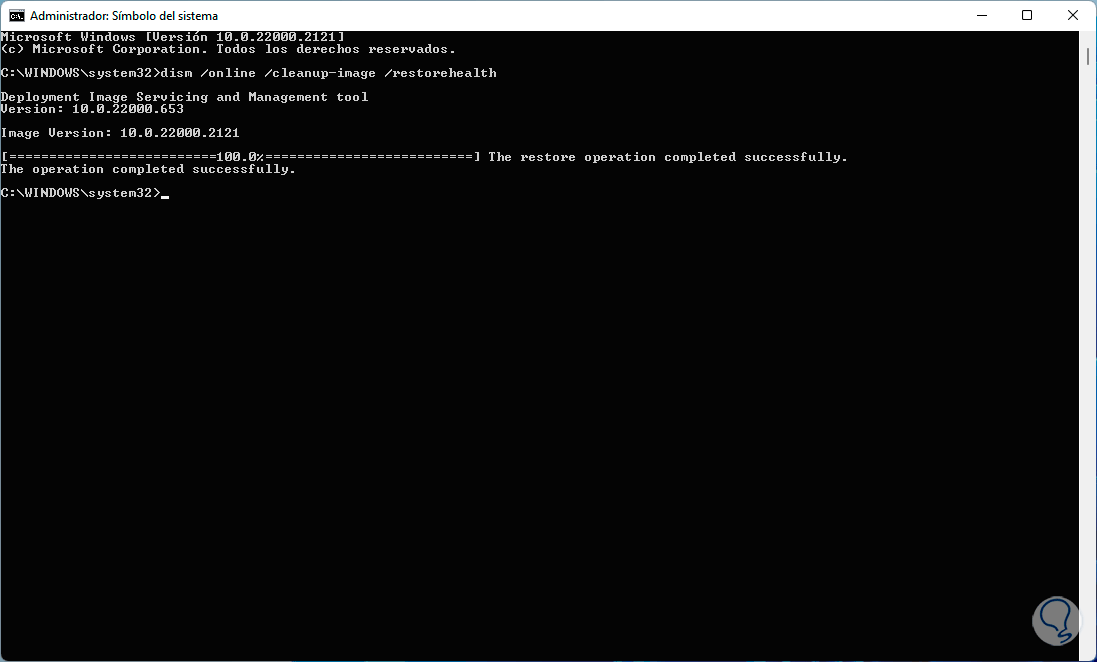
We wait for the process to finish and check whether or not errors were detected in the system image:
Step 4
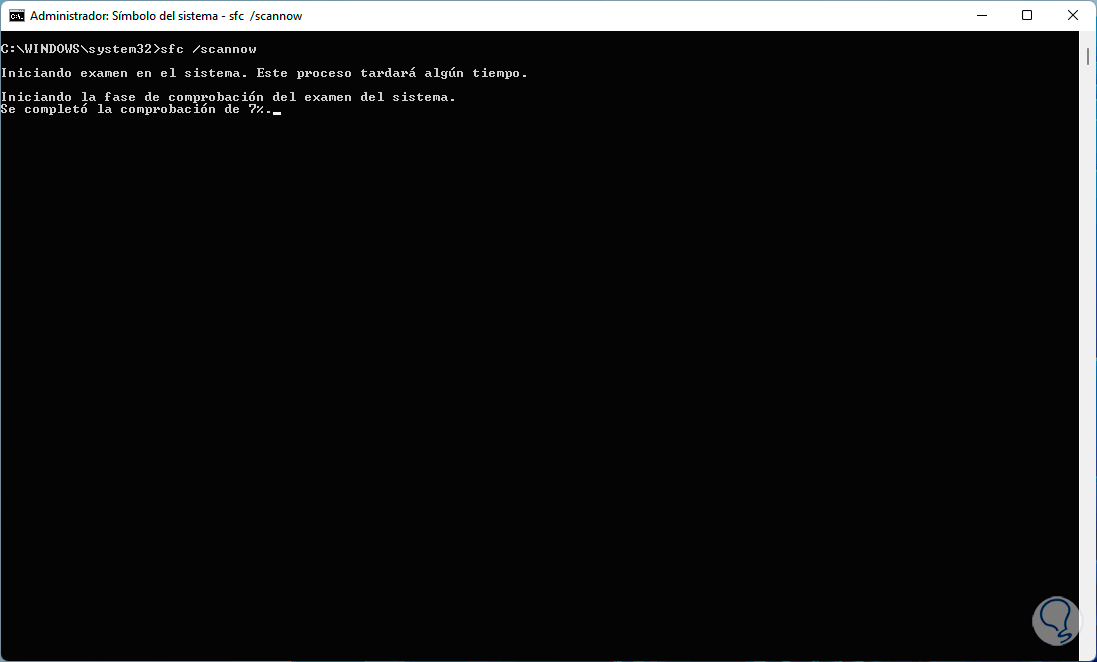
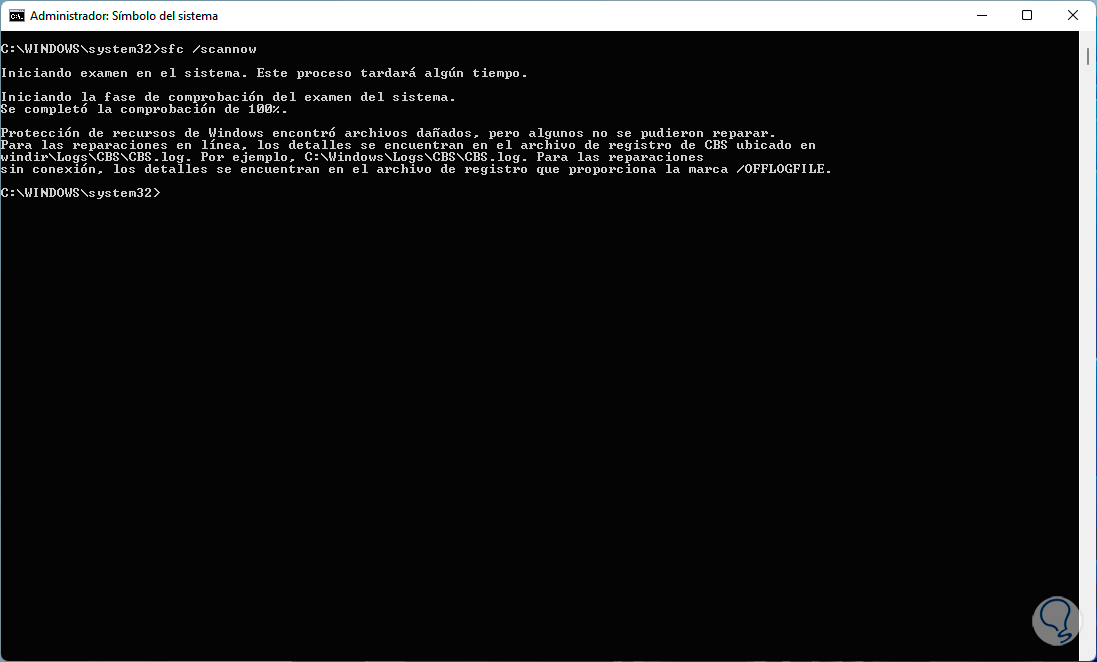
Now we are going to analyze the NTFS system file system, for this in the console we execute:
sfc /scannow
step 5
At the end we check the status of the SFC analysis:
8 Analyze hard drive Windows 11
Another cause of the error is the presence of errors on the hard drive, but thanks to the commands integrated in Windows we can analyze and correct any error on the drive.
Step 1
For this we open the terminal or CMD as administrator:
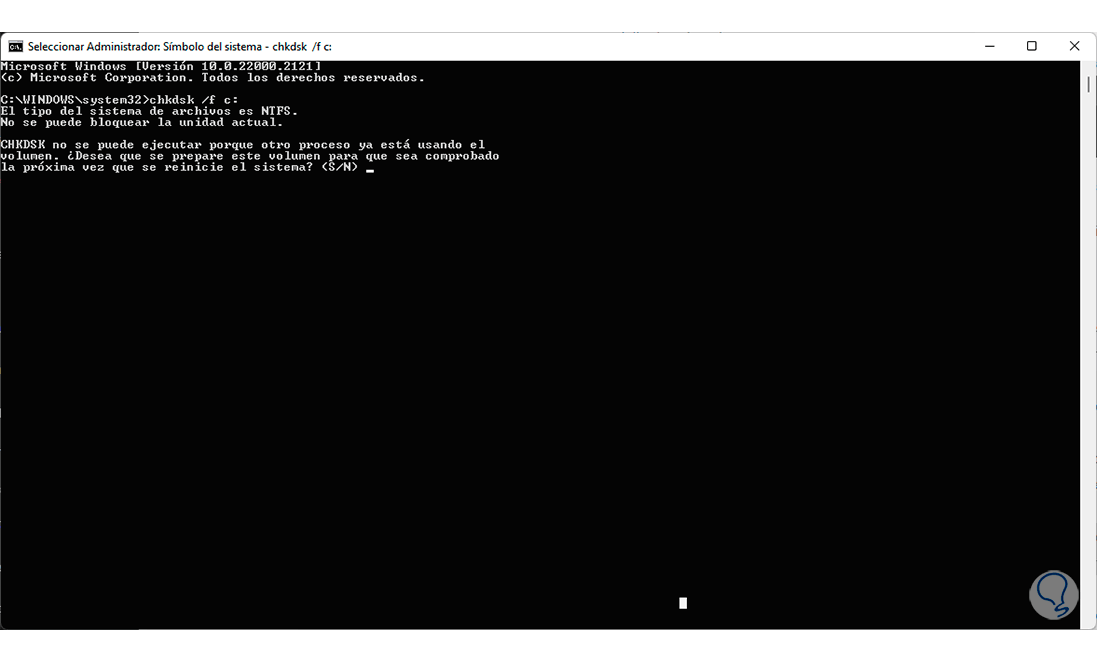
Step 2
Then we execute the following. It will be necessary to enter the letter S to confirm the process.
chkdsk /fc:
Step 3
Now we are going to restart Windows so that the diagnosis of the equipment is executed:
Step 4
The system will reboot:

step 5
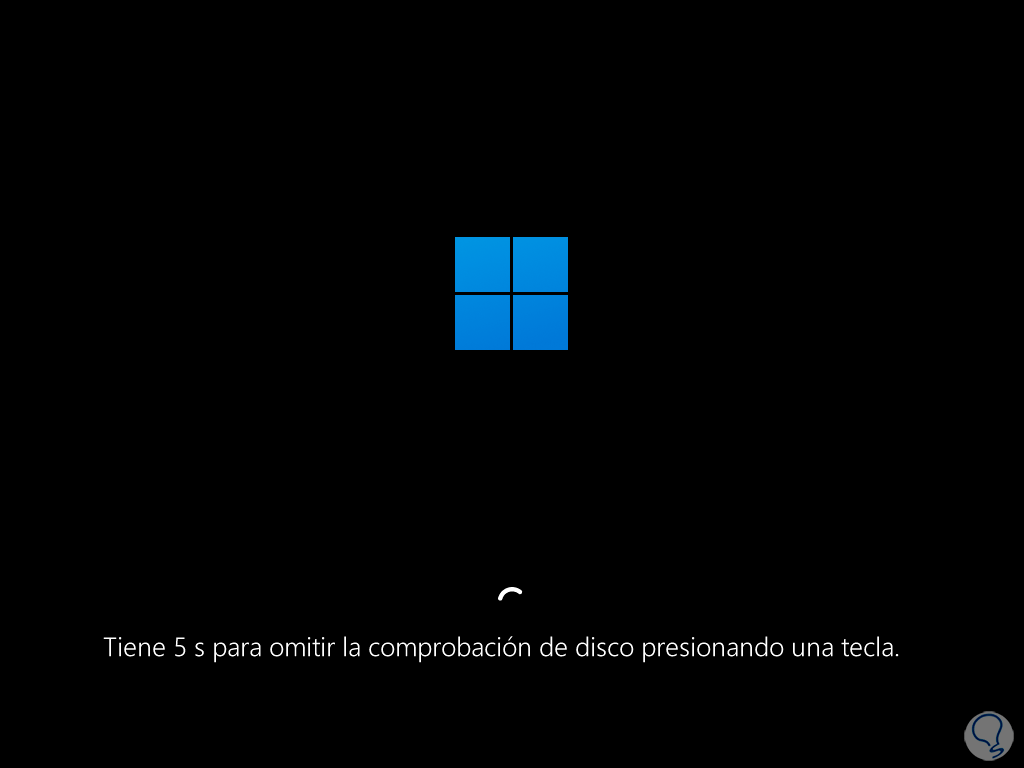
We will see the following, we do not press any key:
step 6
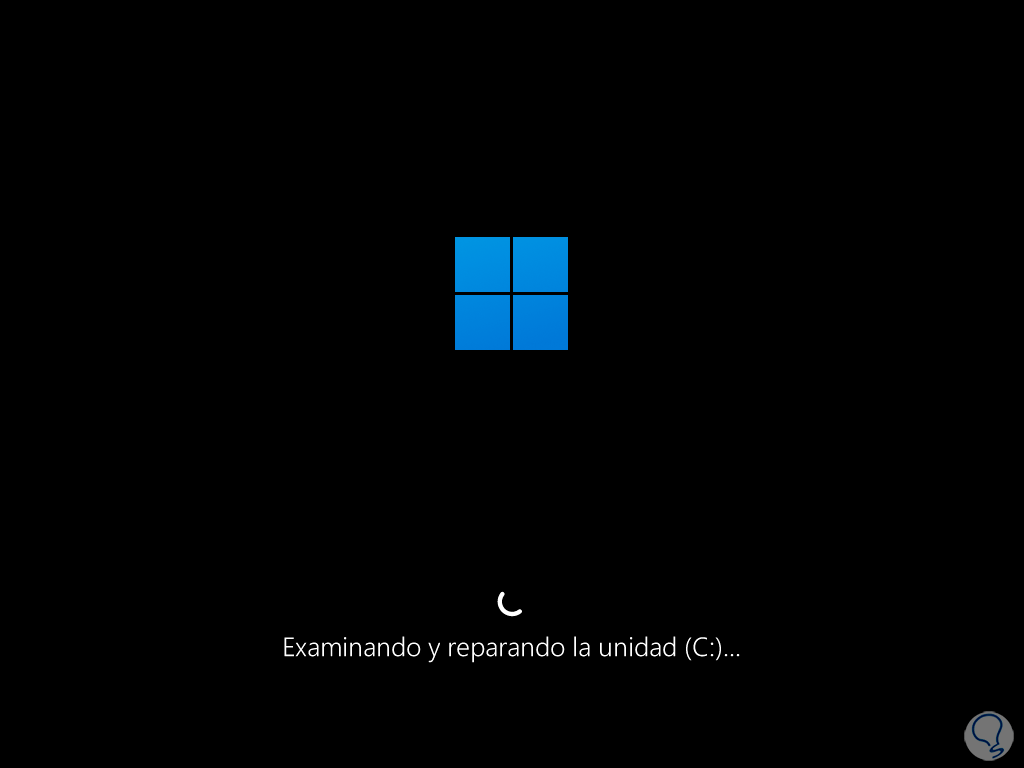
The diagnostic process will begin:
step 7
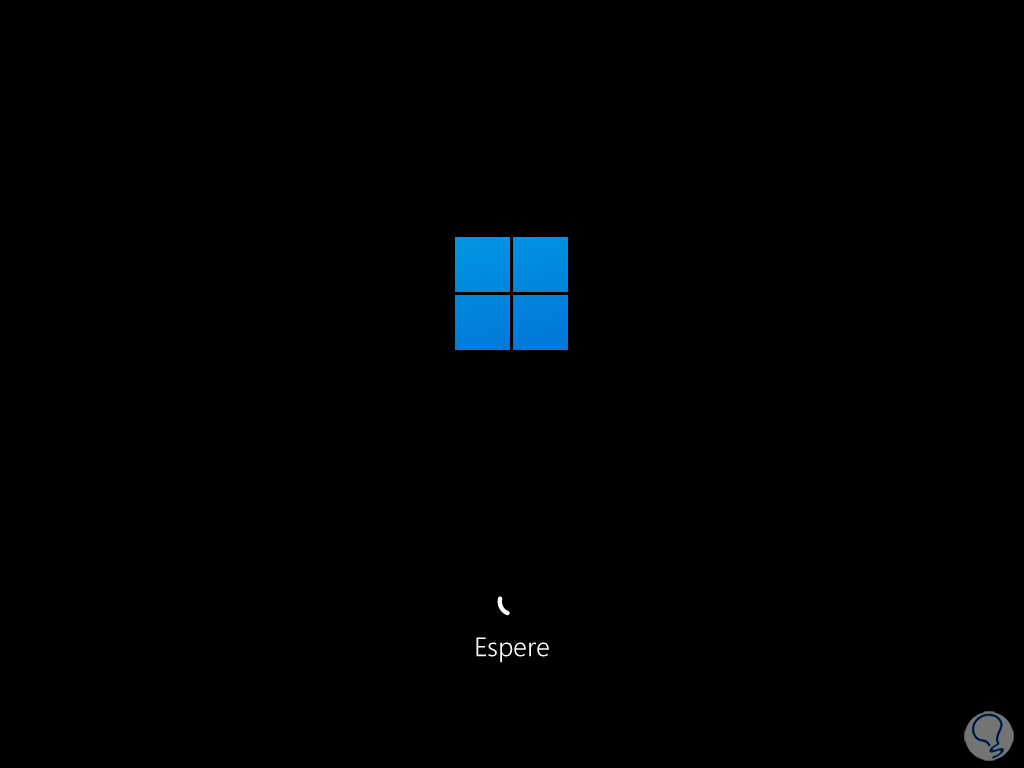
The system will reboot automatically:
9 Repair startup Windows 11
We can make use of the integrated Startup repair function which analyzes each process that influences Windows startup in order to determine the presence of failures.
Step 1
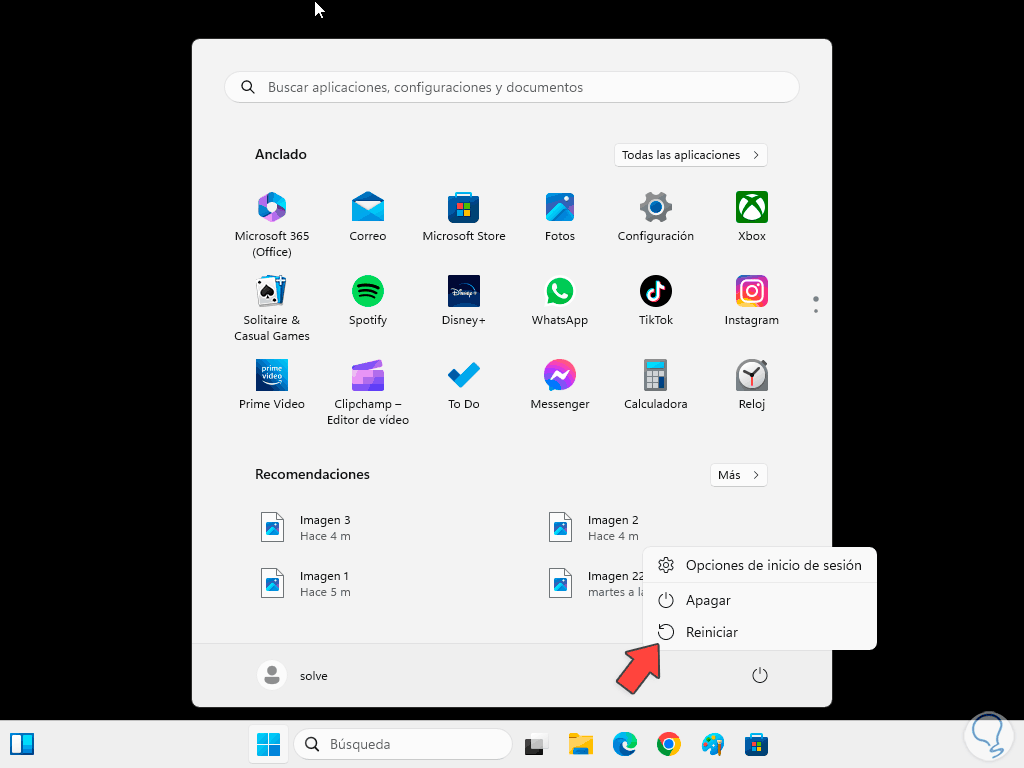
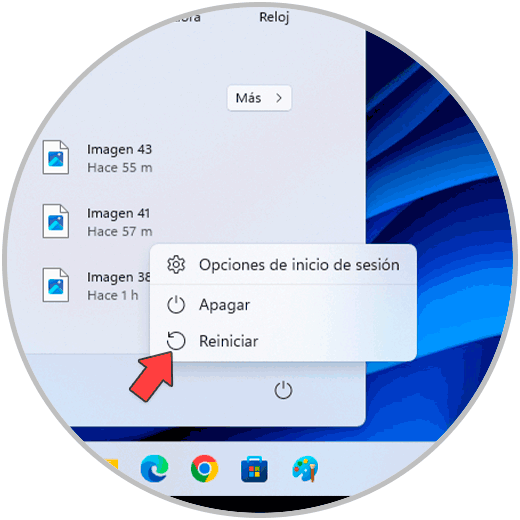
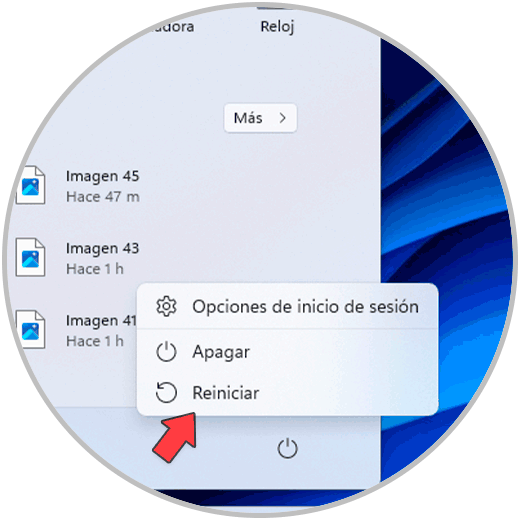
For its use we are going to click on the Start menu and then on the Windows shutdown button, now we press the Shift key on the keyboard and then click on "Restart":
Step 2
This will cause Windows to be rebooted into advanced mode:
Step 3
In the displayed window we click on "Solve problems":

Step 4
Then we click on "Advanced options":
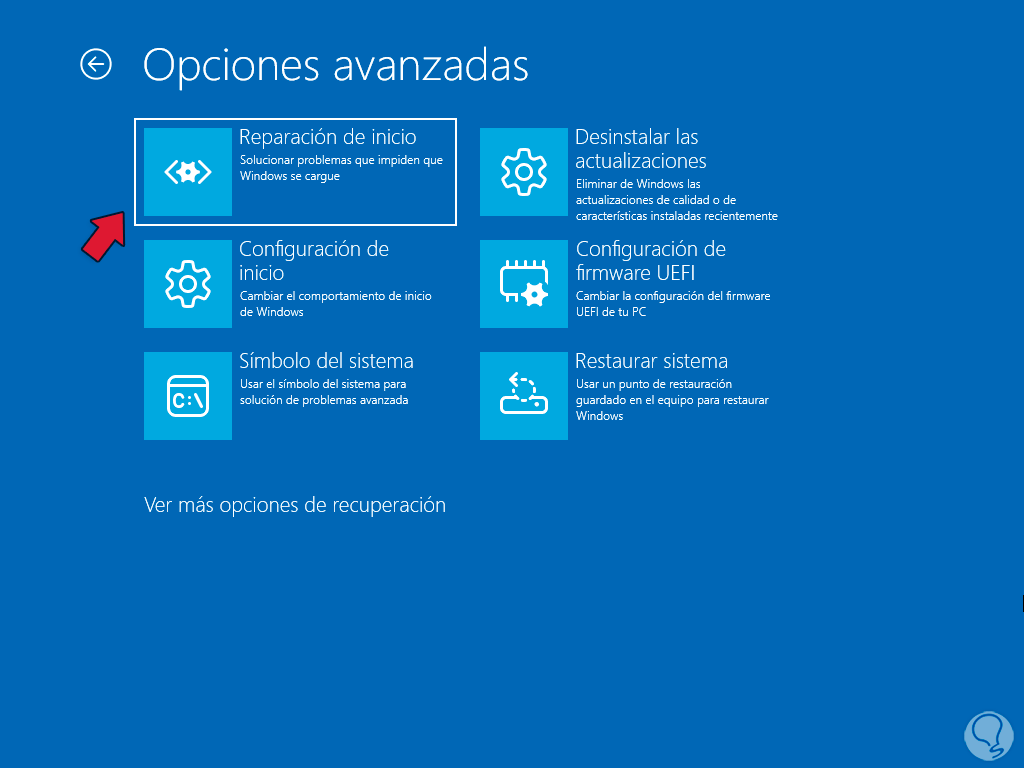
step 5
In the main menu we are going to click on "Startup Repair":
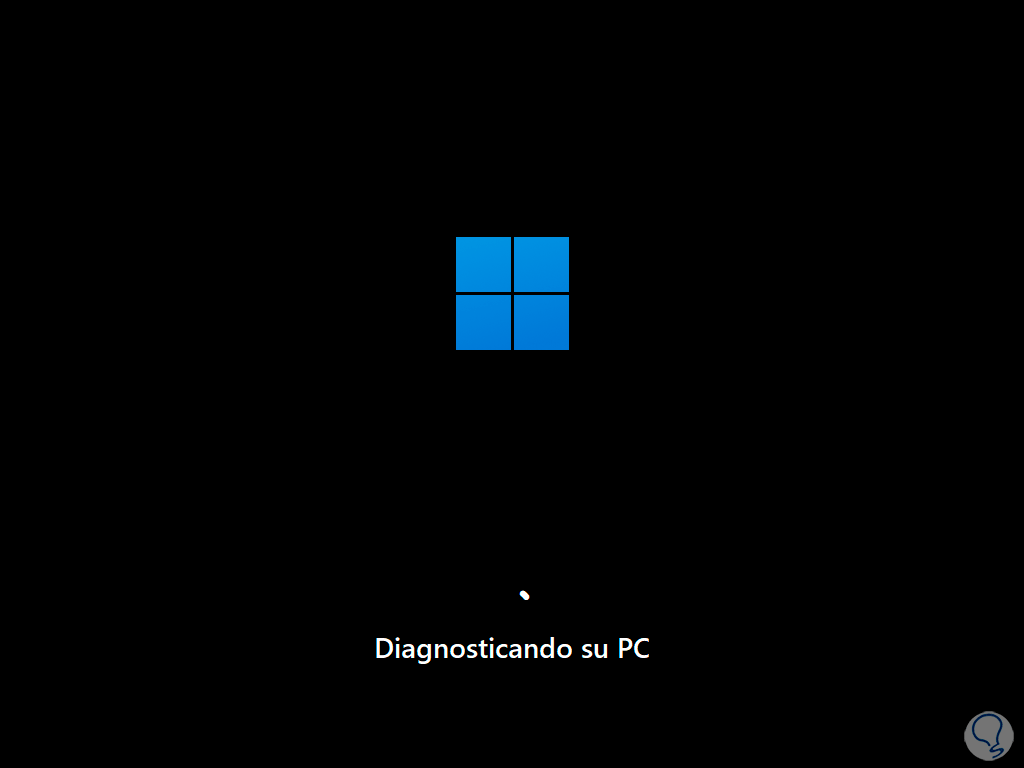
step 6
The system will be analyzed. As a general rule we will see the following when no errors are detected:
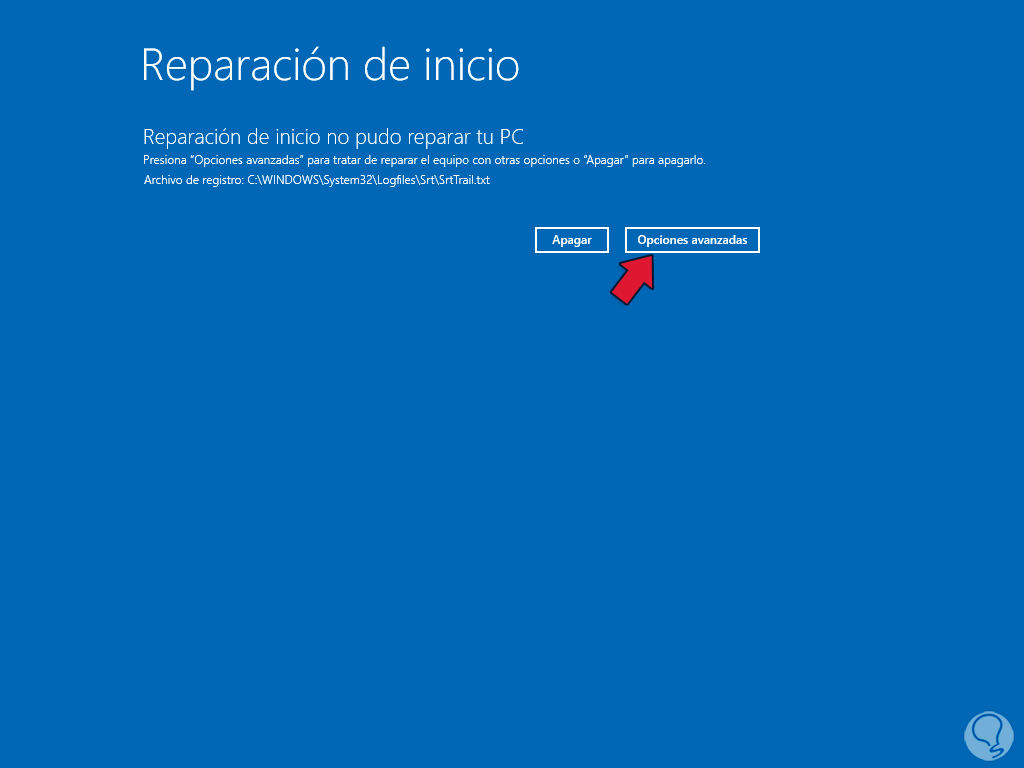
step 7
We click on "Advanced options" to see the following:
step 8
There we click "Continue" to restart Windows 11.
10 Reset boot Windows 11
Step 1
For this method we are going to access the advanced mode as we have seen:
Step 2
We click on "Troubleshoot" and then click on "Advanced options":
Step 3
Then we will see the following: We click on the "Command Prompt" option
Step 4
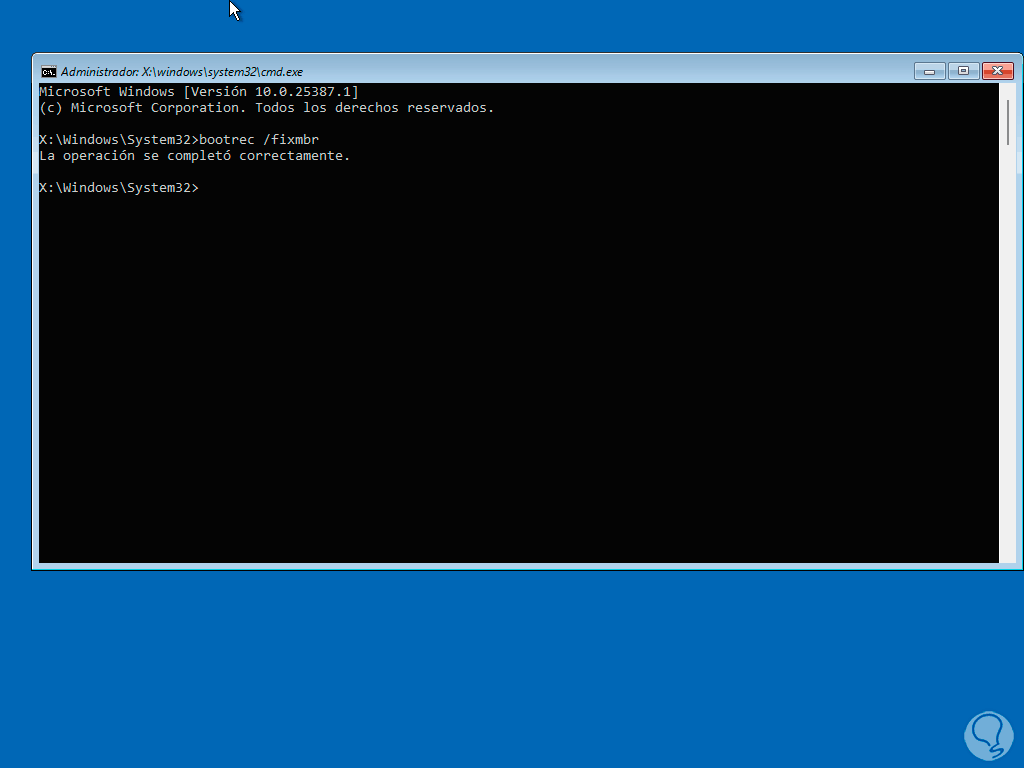
and in the console we execute the following command to reset MBR:
bootrec /fixmbr
step 5
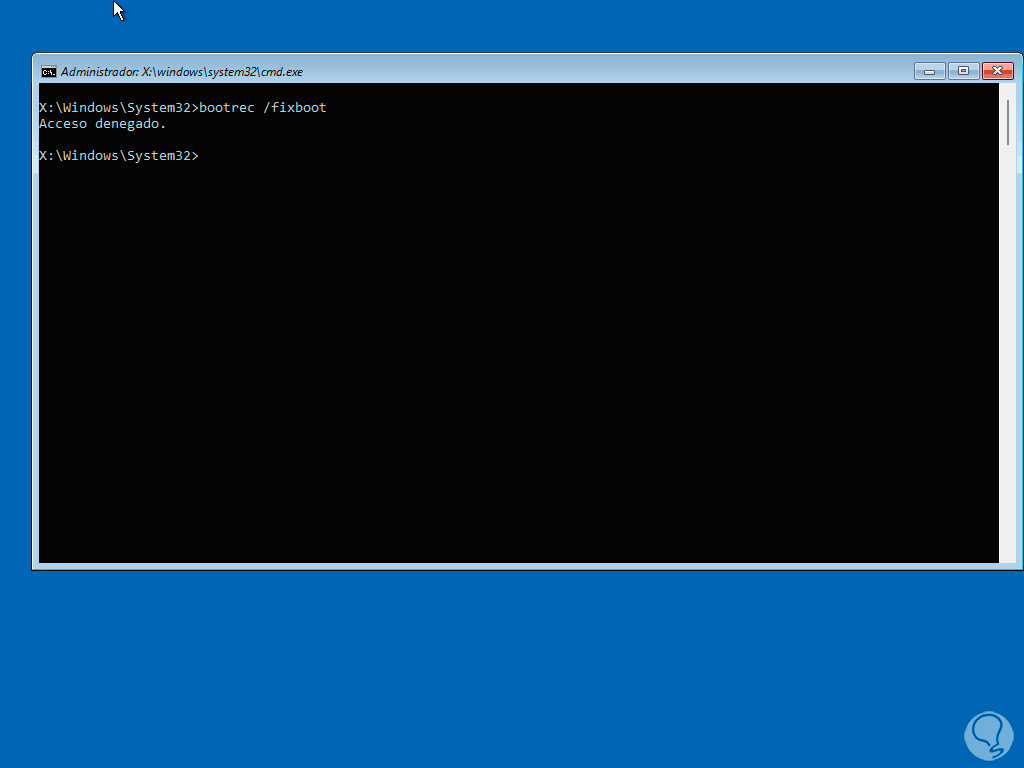
Now let's try to repair the boot:
bootrec /fixboot
step 6
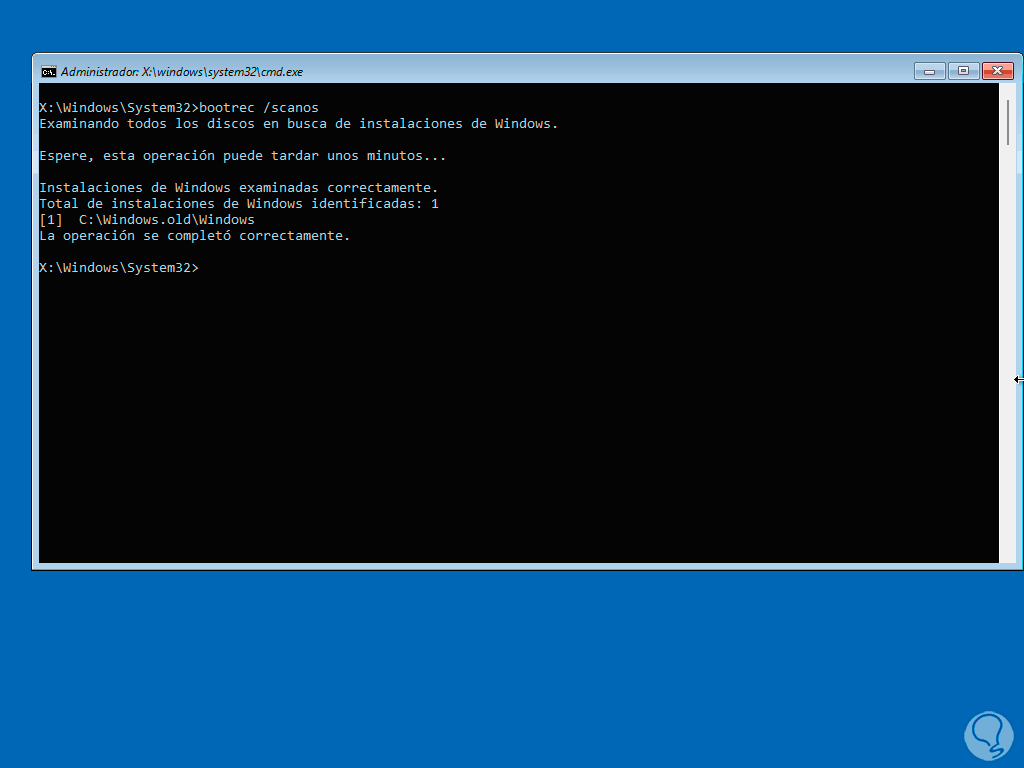
Finally we reset the system analysis:
bootrec /scanos
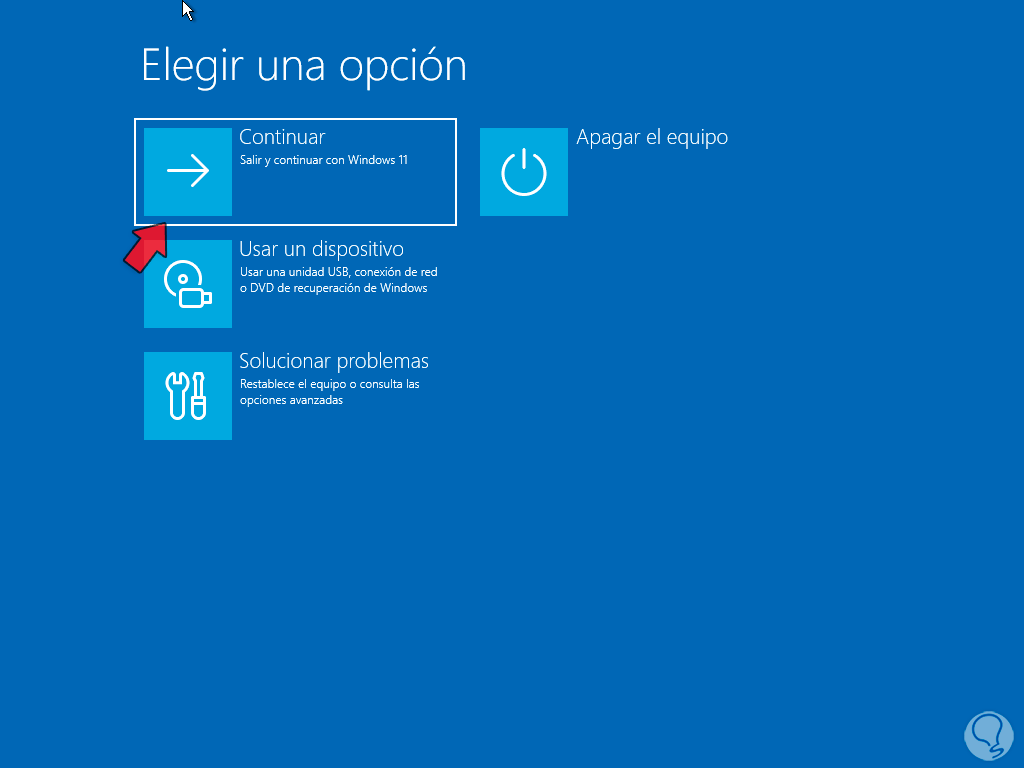
step 7
We exit the console with the "exit" command and then click "Continue" to restart Windows:
11 Manually reinstall Windows 11
Step 1
Finally it is possible to reinstall Windows 11 manually, to achieve this we are going to go to the following official Microsoft URL:
Windows 11
Step 2
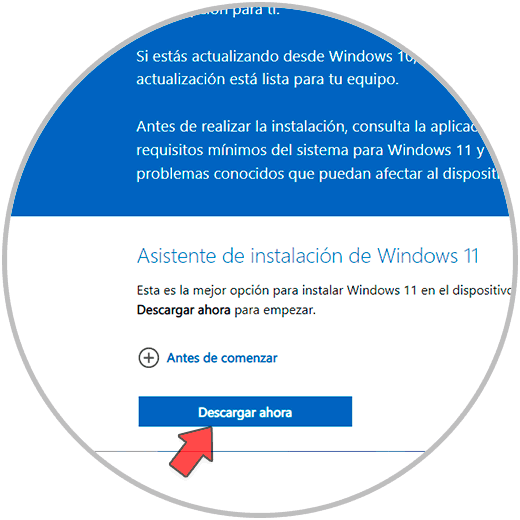
We download the Media Creation tool and once downloaded we run it to see this:
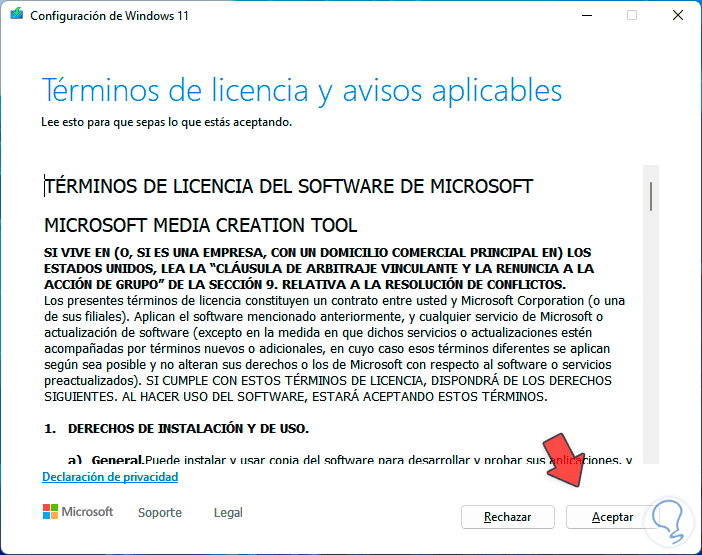
Step 3
We accept the license and it is time to select the system to use:
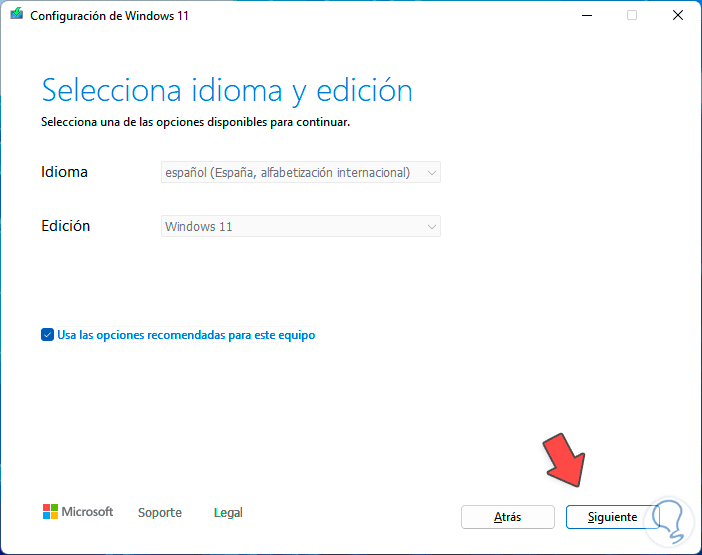
Step 4
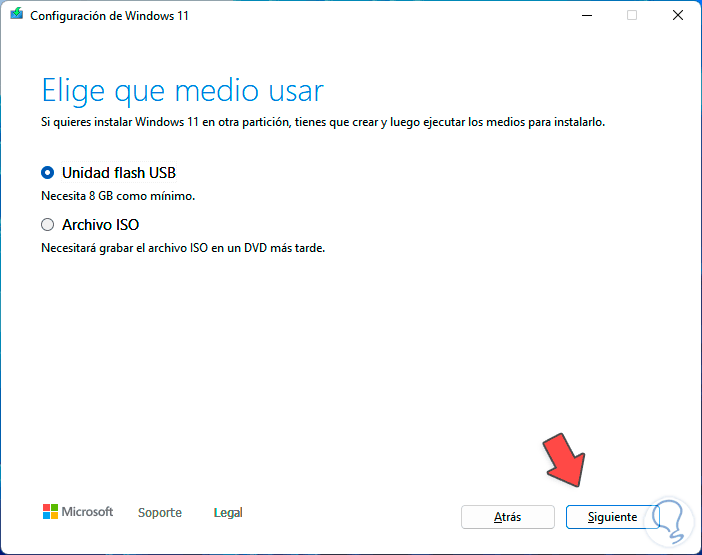
By default it takes the configuration of our PC but we can uncheck the box "Use the recommended options for this computer" and select version and language. In the following window we can download the ISO or save it to a USB:
After this we start the computer with this medium and install Windows 11 from scratch.
These options that TechnoWikis has given you are functional so that the NTFS error is no longer present and we can use the system at 100% of its capacity..