To stay up to date, remember to subscribe to our YouTube channel!
SUBSCRIBE ON YOUTUBE
USB devices are useful for numerous tasks ranging from data storage to backup support, but USB devices are also a source of danger since when connected in public places or unsafe computers they can transmit numerous viruses or malware that put at risk the integrity of the equipment and user information..
In these cases or simply as a routine method, it is possible to format the USB, that is, to erase all its information so that all the space is available for other tasks, it is a simple task and at an ideal security level, some options where to apply the format are:
Application
- Change the file system for compatibility issues
- Completely delete the data
TechnoWikis will explain some methods to achieve formatting a USB in Windows 11 and thus add a touch of security.
1 Format USB Windows 11 from File Explorer
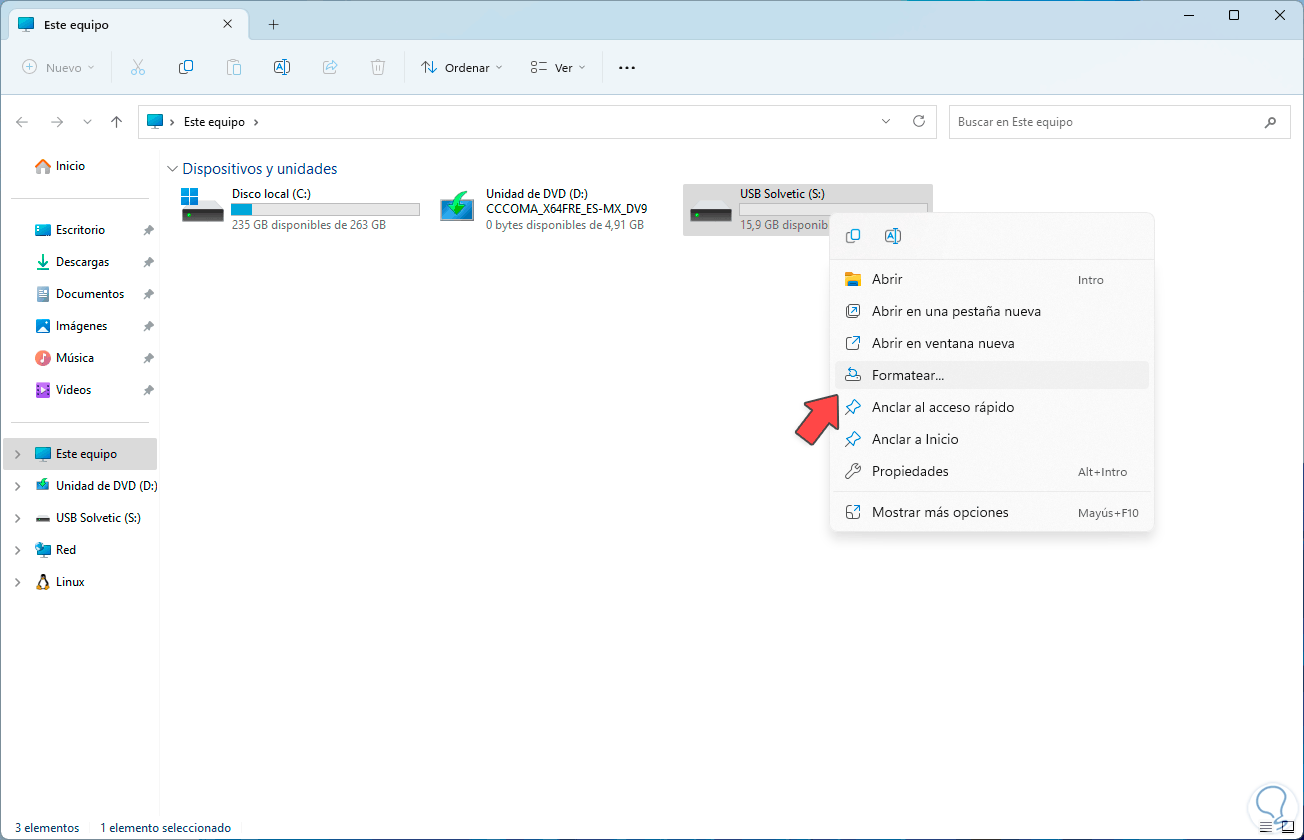
This is perhaps the most used method by all of us since apart from being simple we have it just a few clicks away, to carry out this method we are going to open the File Explorer.
Step 1
There we right click on the USB device and then select the "Format" option:
Step 2
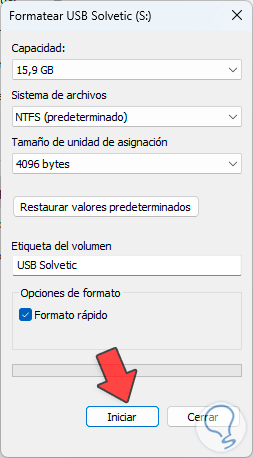
The following pop-up window will open:
Step 3
There it is possible:
Step 4
We make the necessary settings and then click "Start", we will see the following message:

step 5
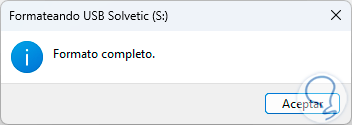
We must confirm the process by clicking "OK" and wait for the format to be executed, which will show us the following message:
2 Format USB Windows 11 from Disk Manager
Step 1
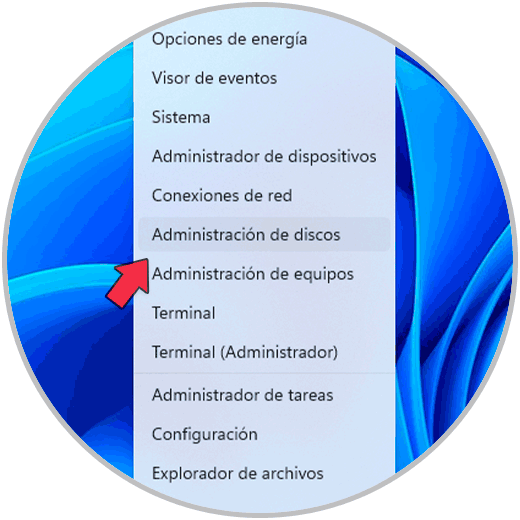
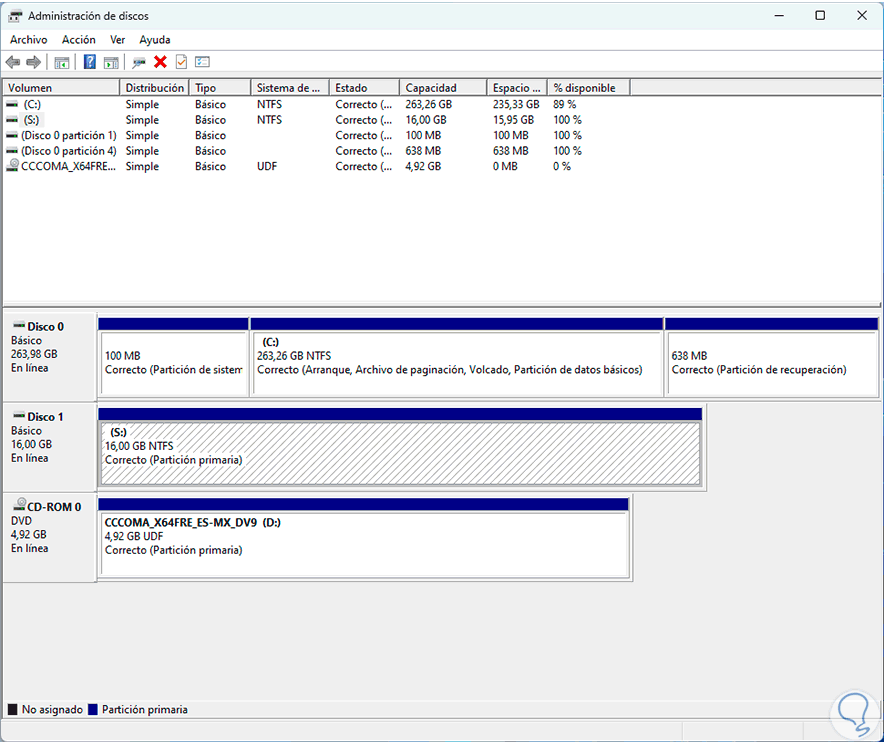
This is another of the simple methods that Windows 11 gives us to format our USBs, in this case we open the Disk Manager from the start context menu:
Step 2
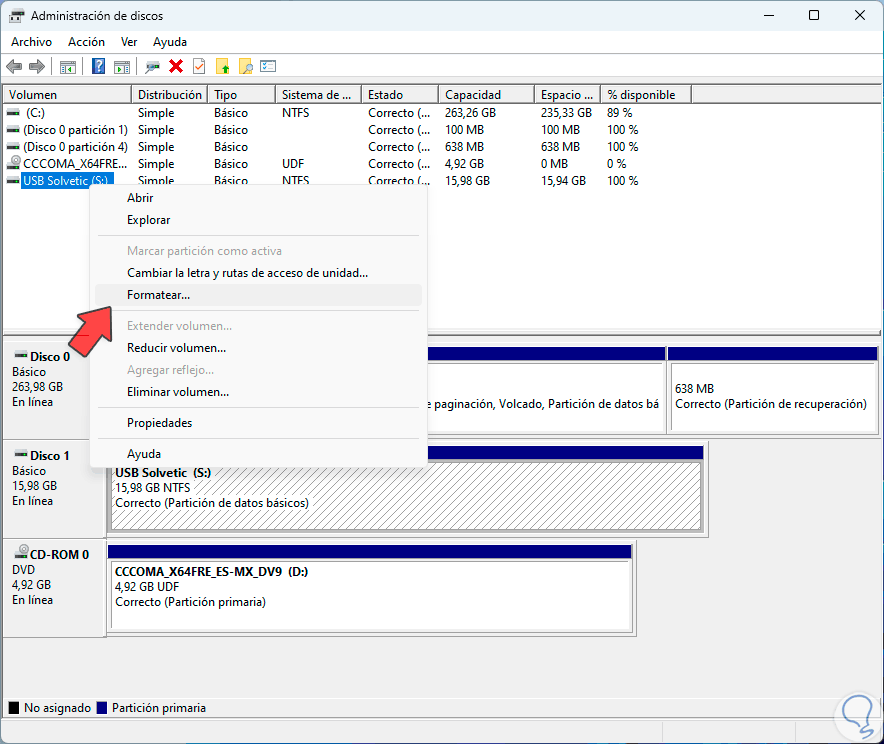
At the top of the disk manager we locate the USB device, right click on it and select the "Format" option:
Step 3
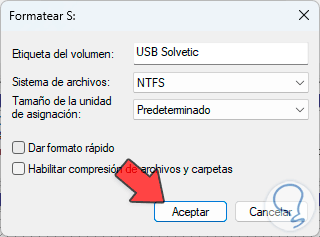
By clicking there we will see the following:
Step 4
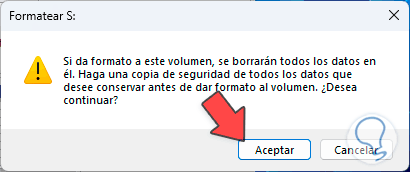
We adjust the necessary values and click "OK" to confirm this process:
step 5
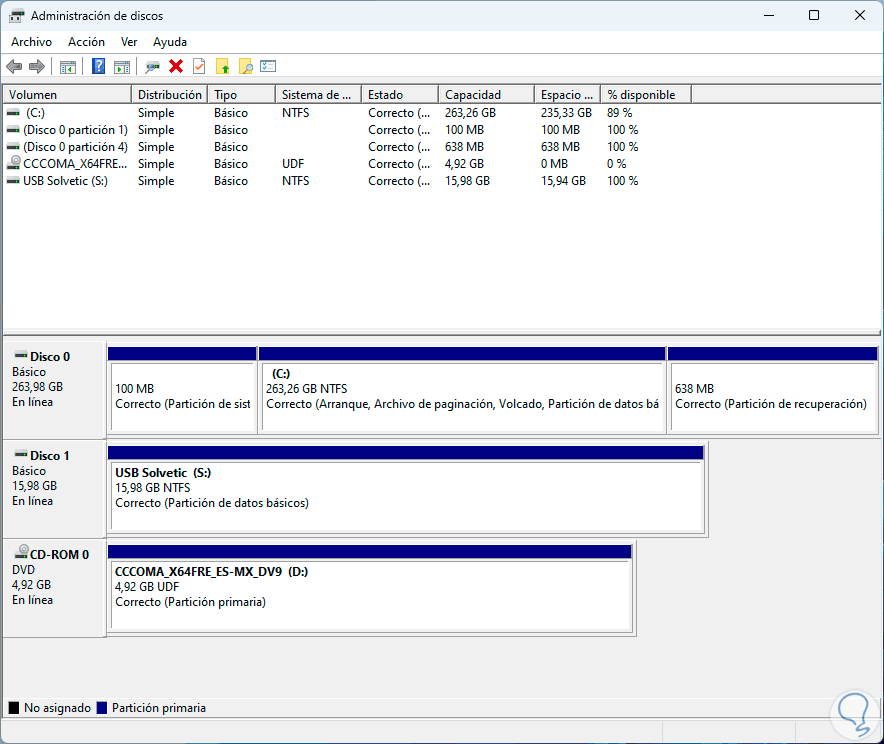
The format will be done automatically:
3 Format USB Windows 11 from Terminal
Step 1
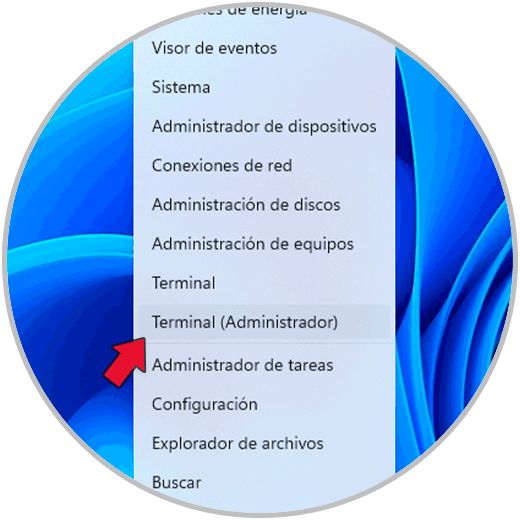
This is a somewhat more technical but not complicated method for the format, we are going to open the terminal or CMD as administrators:
Step 2
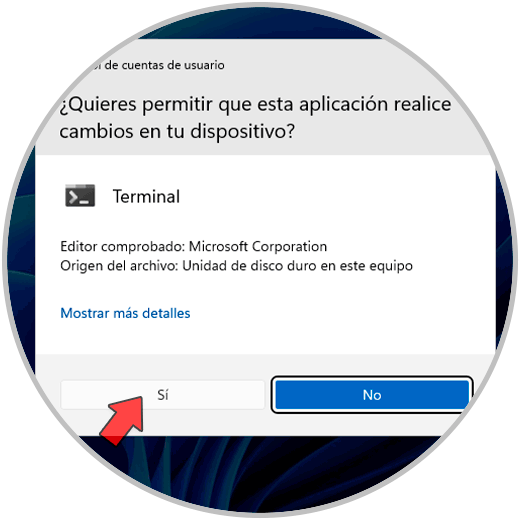
We confirm the permission of the system:
Step 3
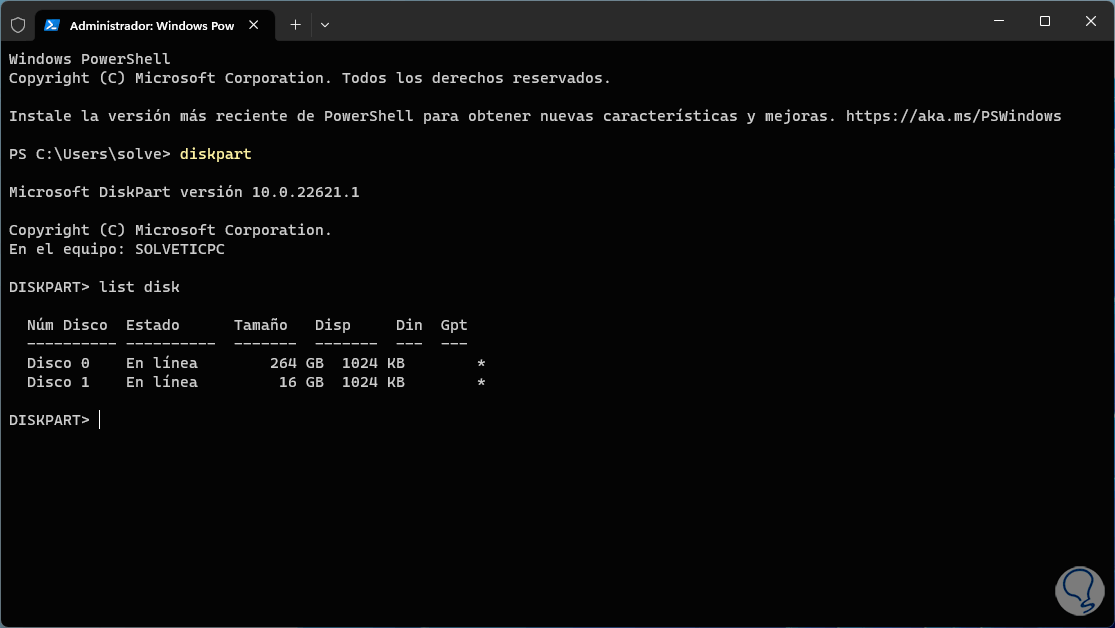
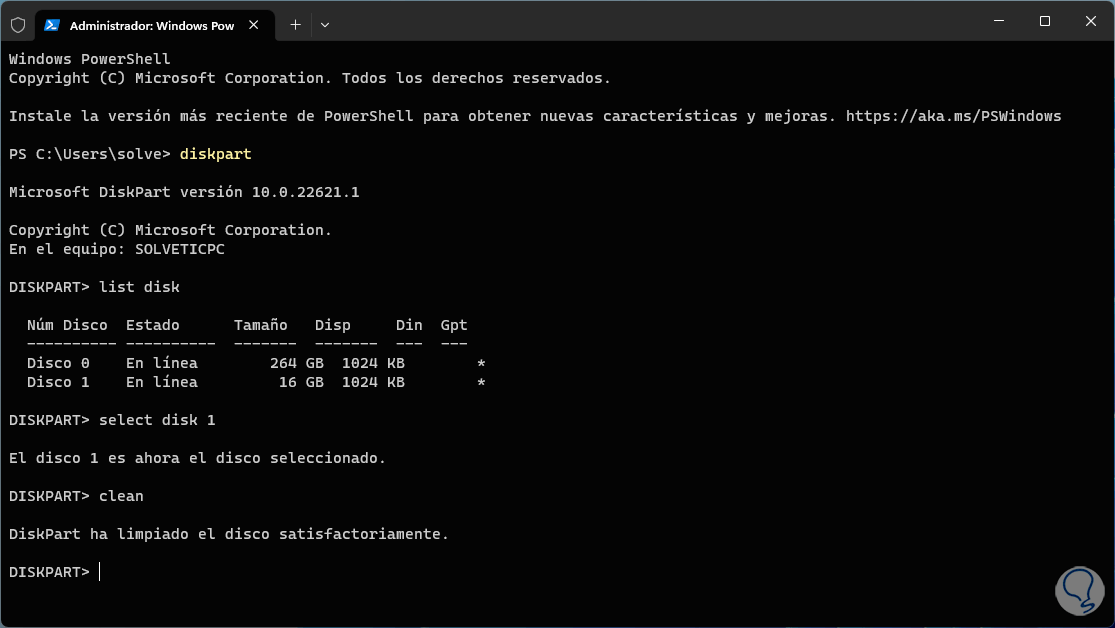
In the terminal we access the utility with the "diskpart" command and list the disks with "list disk":
Step 4
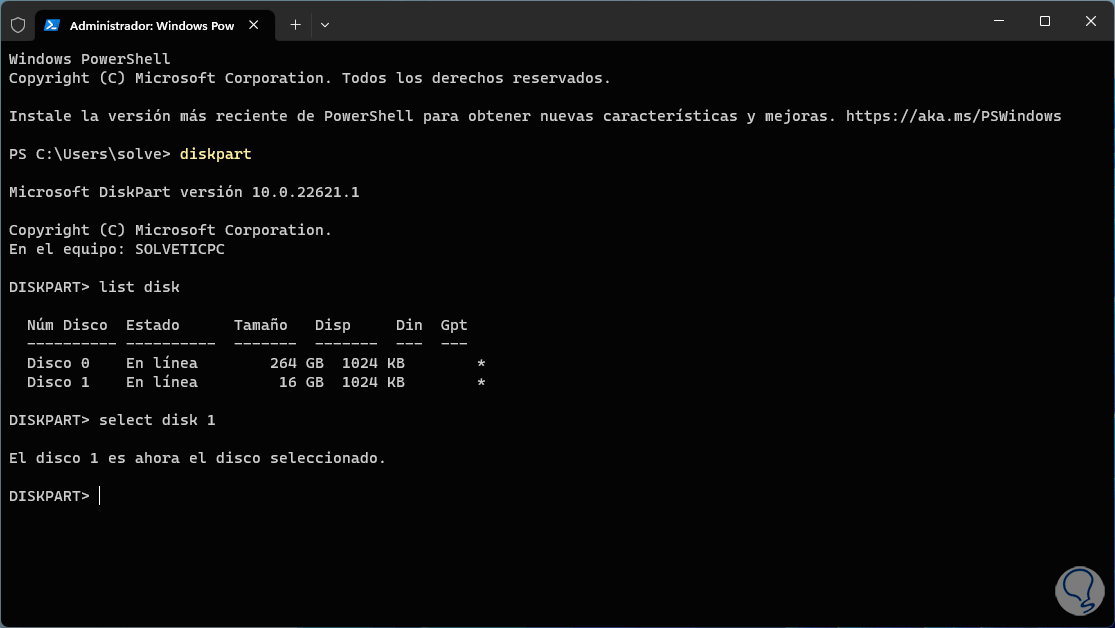
Now we select the USB medium with the “select disk #” command:
step 5
We clean the disk with the “clean” command:
step 6
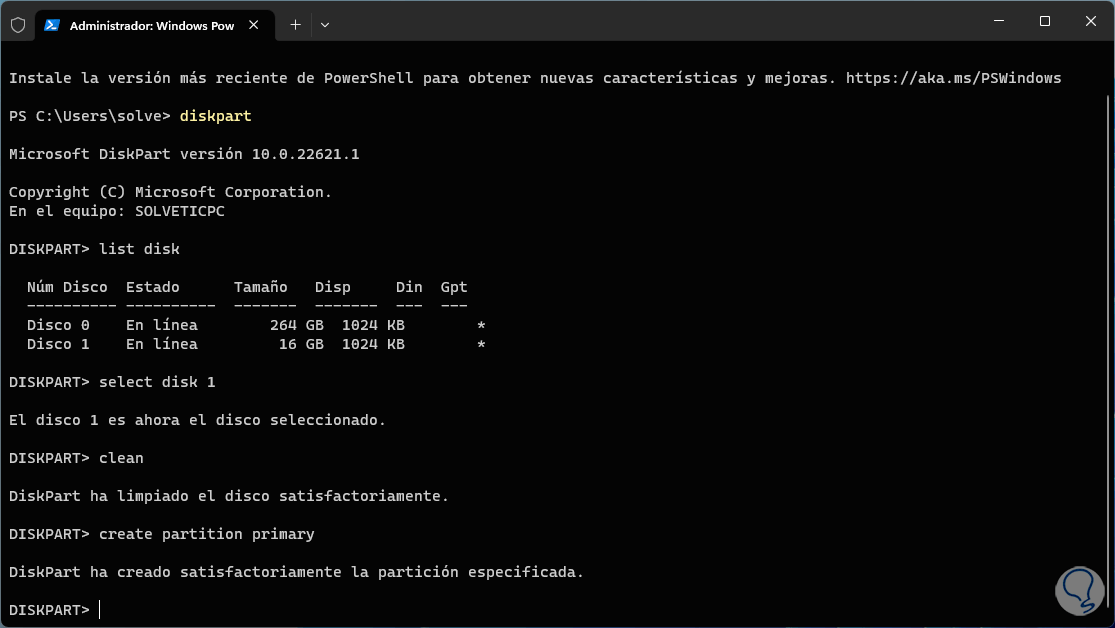
We create the partition with the “create partition primary” command:
step 7
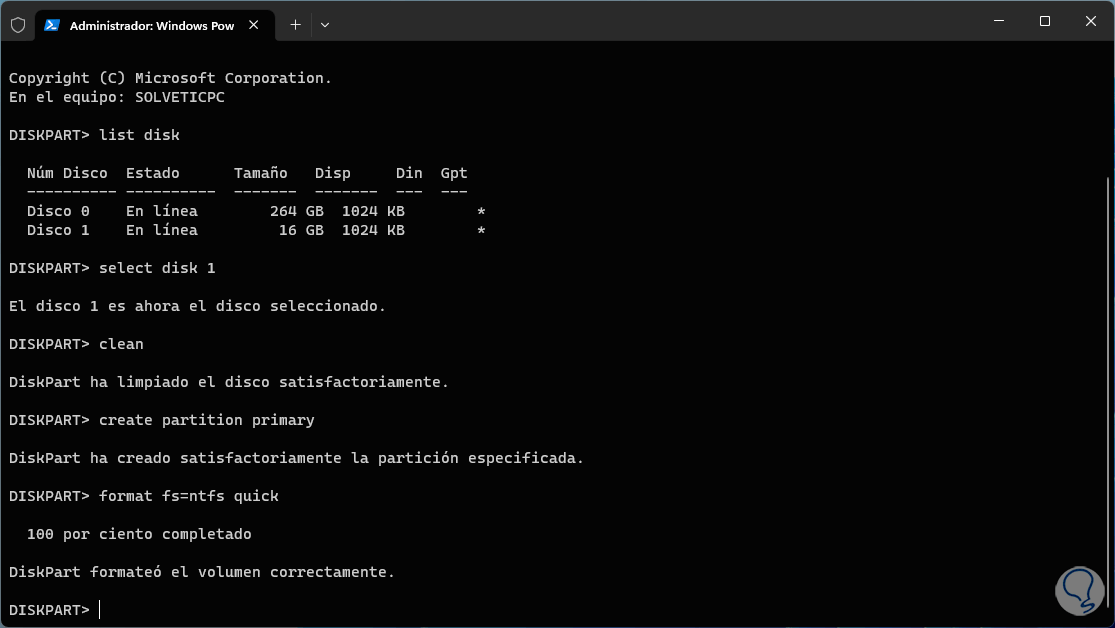
Now we apply the format using the “fs” parameter next to the desired file system. The parameter "quick" indicates that a quick format of the USB is done.
format fs=ntfs quick
step 8
The format options (fs) are:
- FAT32 (File Allocation Table 32)
- exFAT (Extended File Allocation Table)
- NTFS (New Technology File System)
step 9
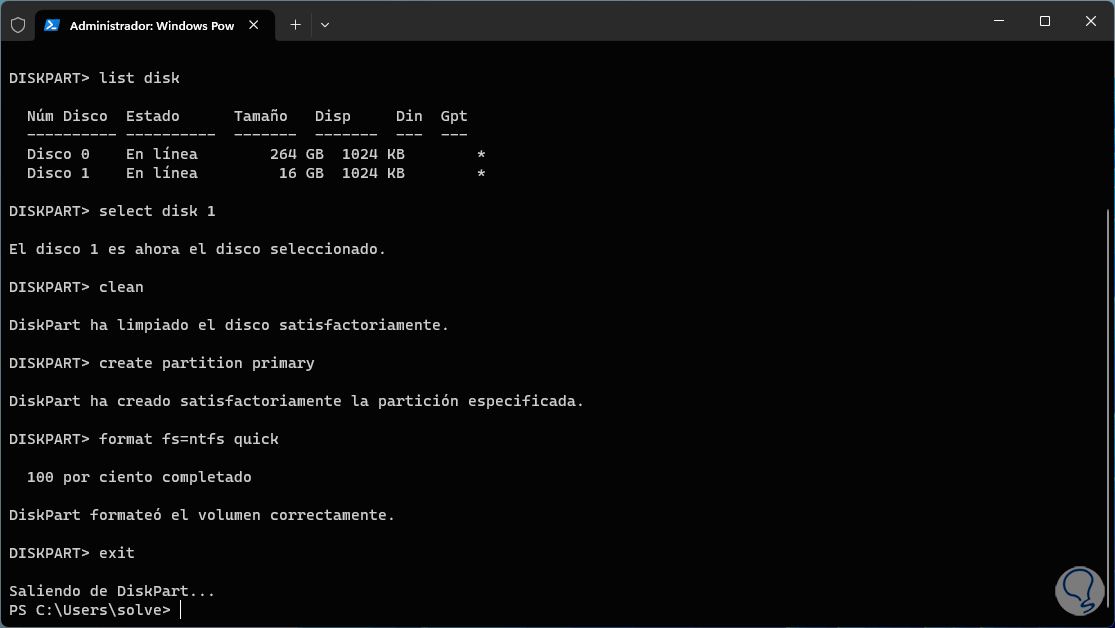
We leave the console with the "exit" command: We can close the terminal.
step 10
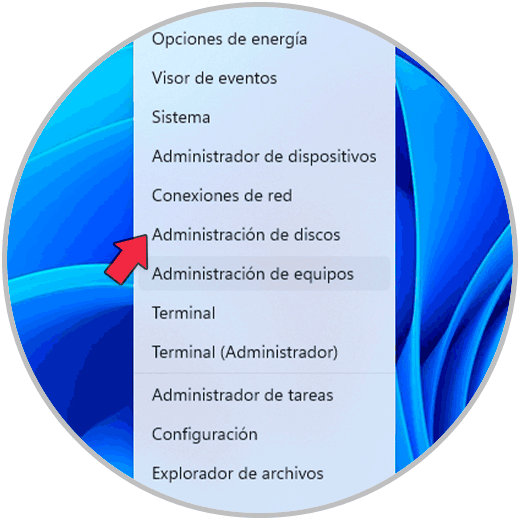
If we have used this method, the drive will be deleted from its assigned letter, to add it and have this we will open the Disk Manager:
step 11
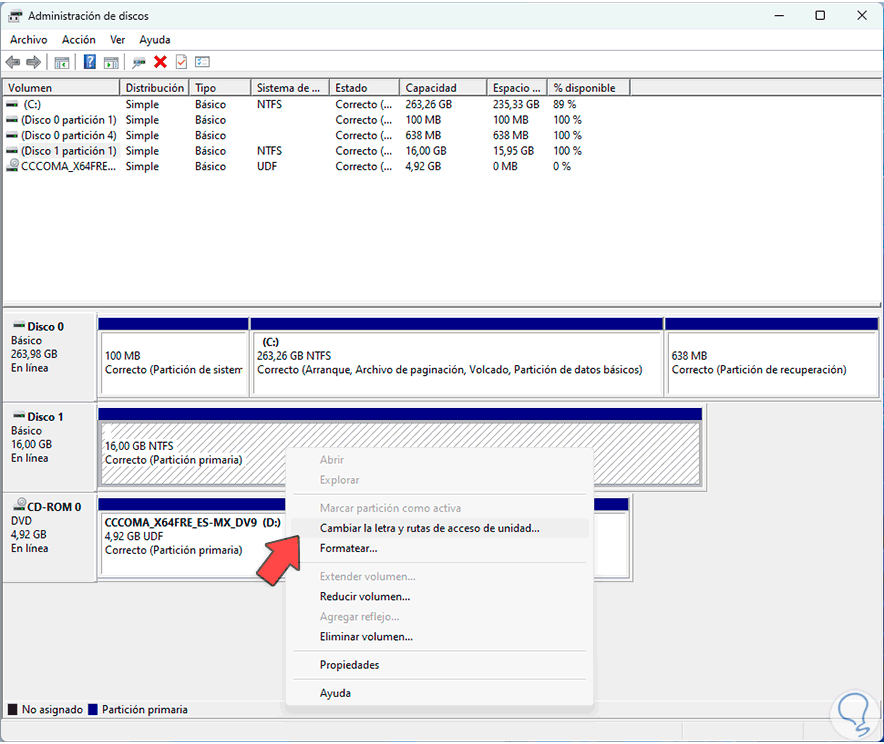
We click on the USB and select the option "Change the drive letter and paths":
step 12
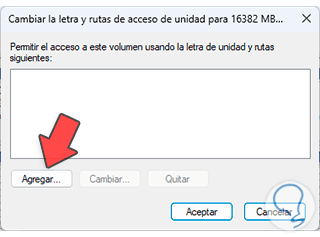
We will see the following:
step 13
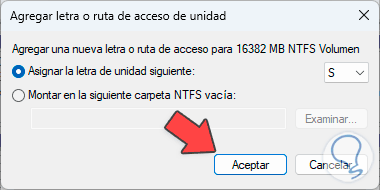
We click on "Add" and define the letter:
step 14
We apply the changes:
So you have these options to choose the best method of formatting a USB in Windows 11..