To stay up to date, remember to subscribe to our YouTube channel!
SUBSCRIBE ON YOUTUBE
Minecraft is one of the most popular games today with millions of downloads and this is achieved due to its construction theme and each of the functions that are integrated into the platform, but today we can find the error 0x803f8001 , this error implies license or activation problems for the game, but additionally it also throws the error that the Launcher is not available for our user's account. Remember that to use Minecraft, the creation of a user associated with an email account is required. ..
This error will prevent us from having access to Minecraft and everything it offers us, which is why TechnoWikis brings you a series of comprehensive solutions to correct this error.
1 Fix Minecraft Launcher error setting region
In this case we are going to check how both the time and the region of the computer are, the reason for this is that since our Minecraft account is directly related to the servers, if any data at the time or region level is incorrect it can cause the data is not read properly resulting in this error, to review this setting in Windows..
Step 1
Let's go to the route:
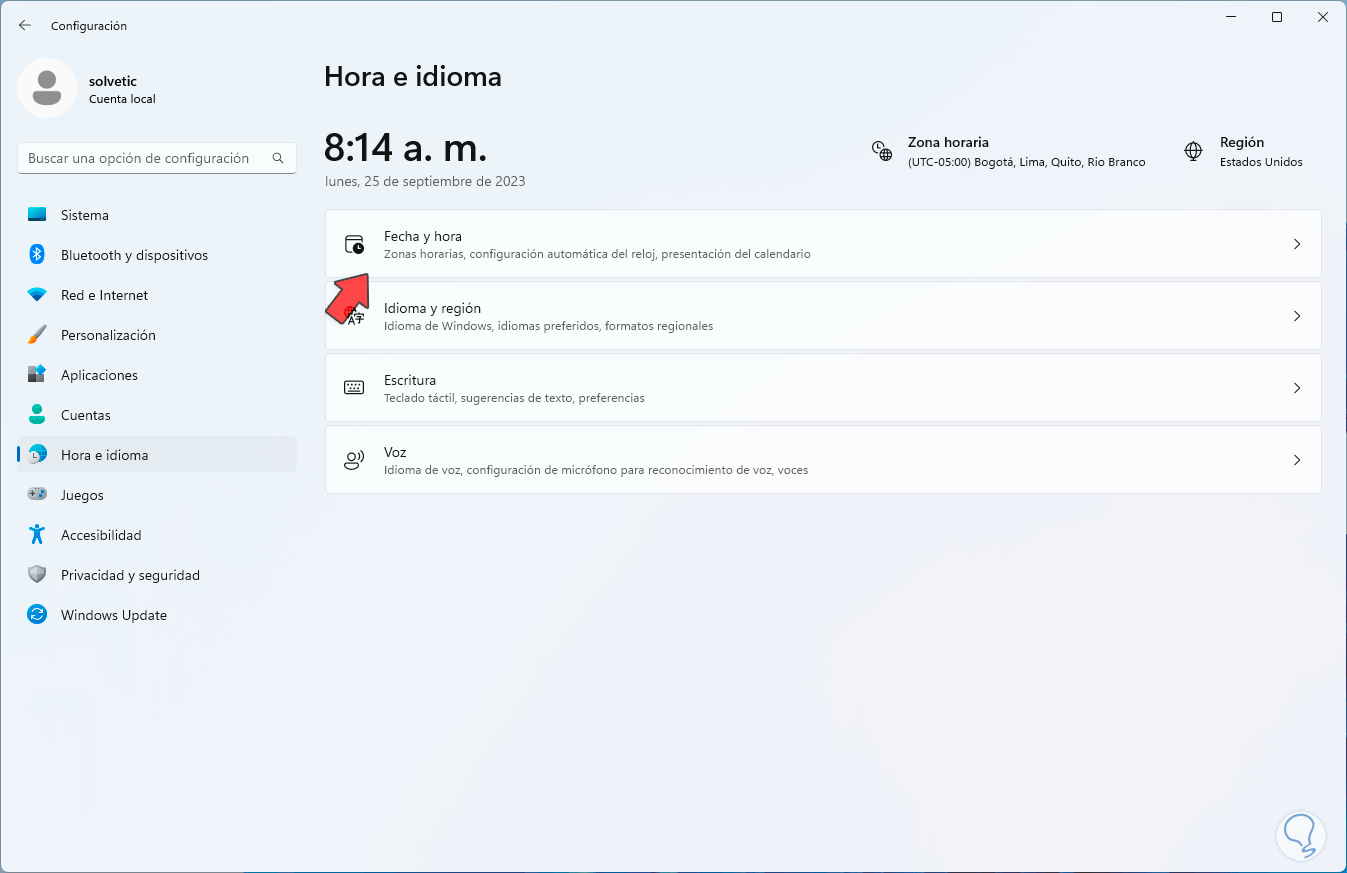
There we click on the “Date and time” section to see the following:
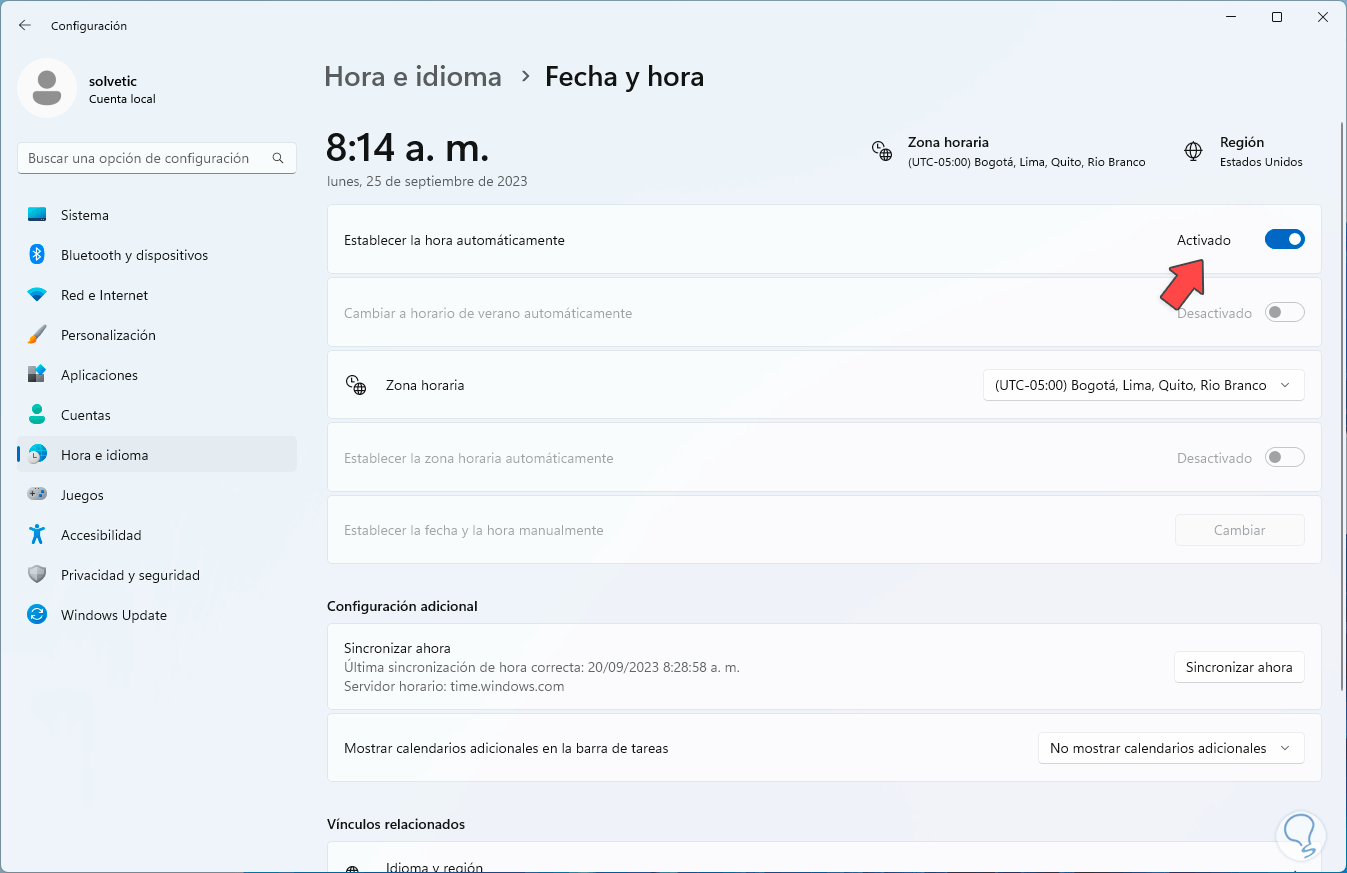
Step 2
There we confirm that the “Set the time automatically” switch is active.
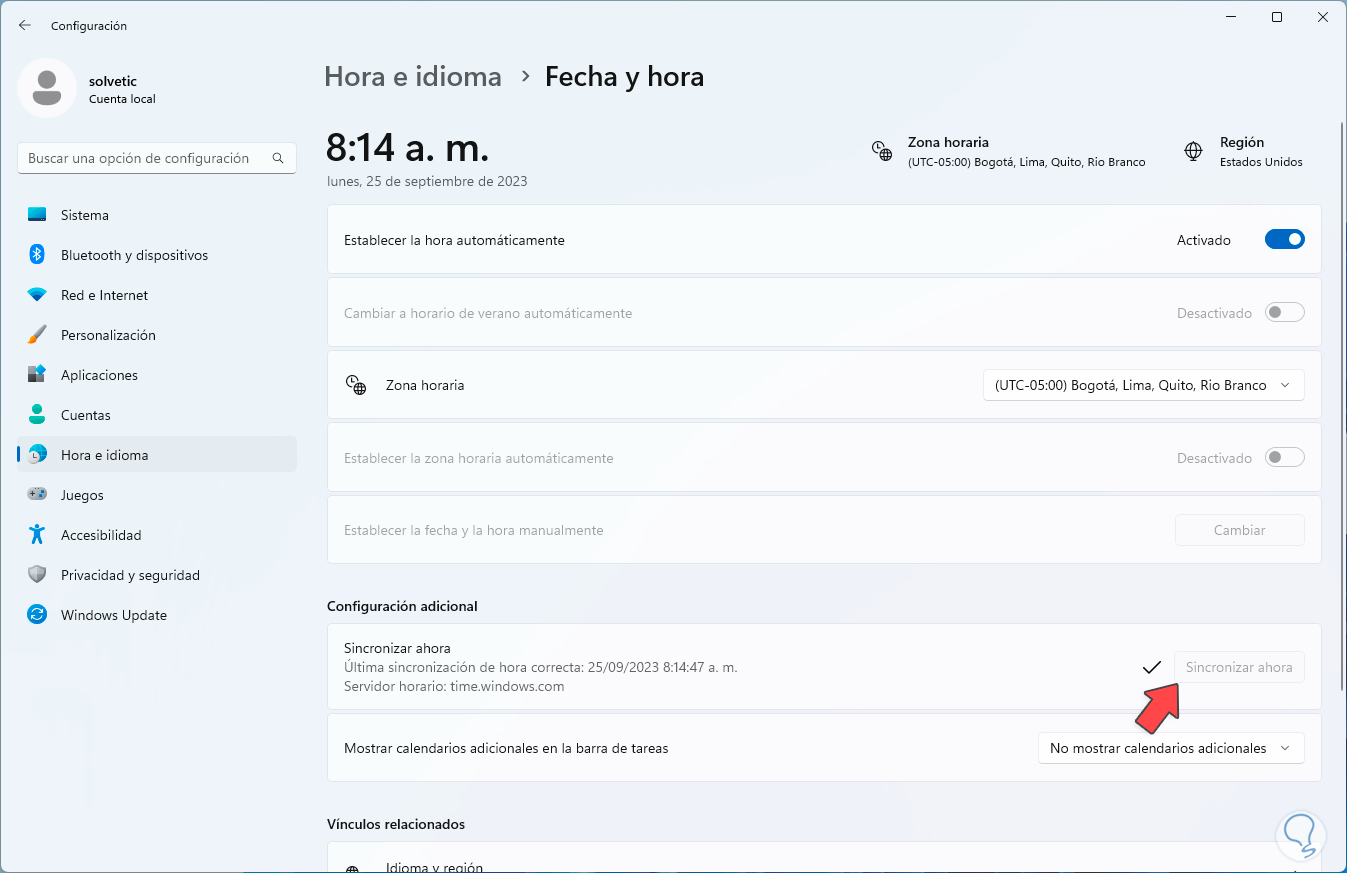
Step 3
After this, we click on “Synchronize now” so that the system clock is synchronized with the Windows servers:
Step 4
Now we go back to the main window:
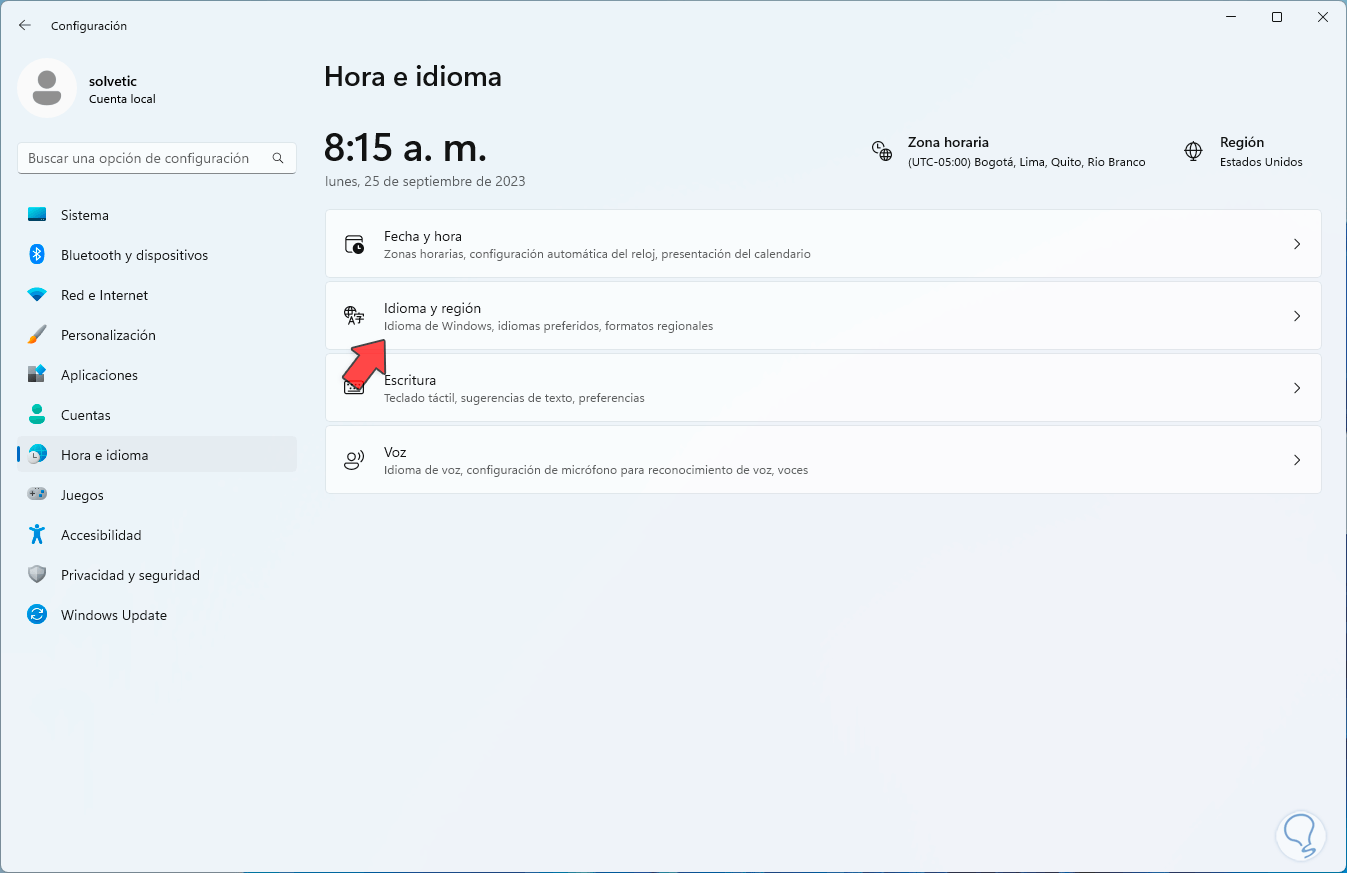
Step 5
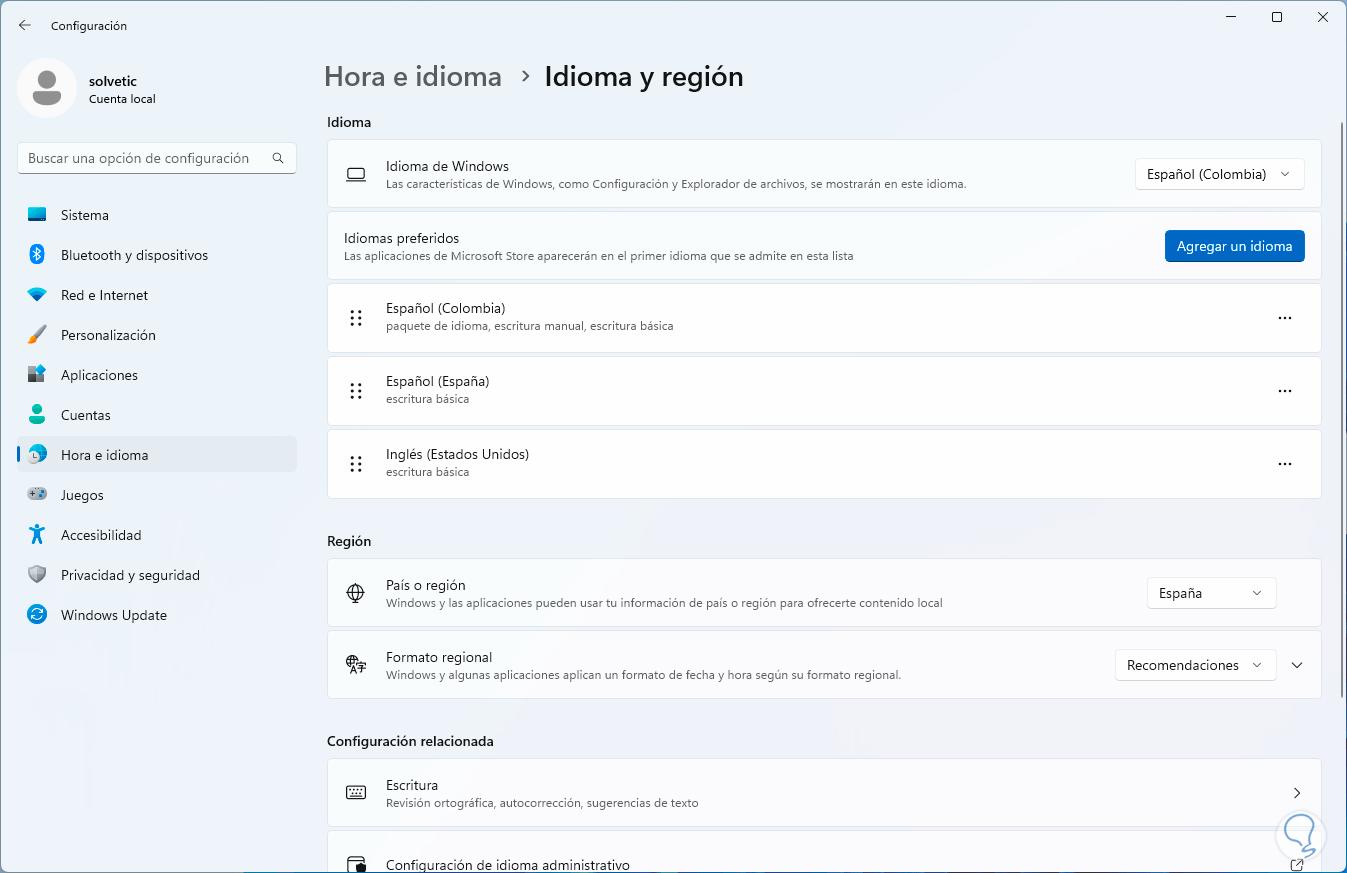
We click on “Language and region”, we confirm that the current region is correct:
2 Fix Minecraft Launcher error with command
The Windows Store is the central point from where we install Minecraft Launcher, its update will also be possible from the Store, but if the Store presents an error we will be faced with error 0x803f8001.
Step 1
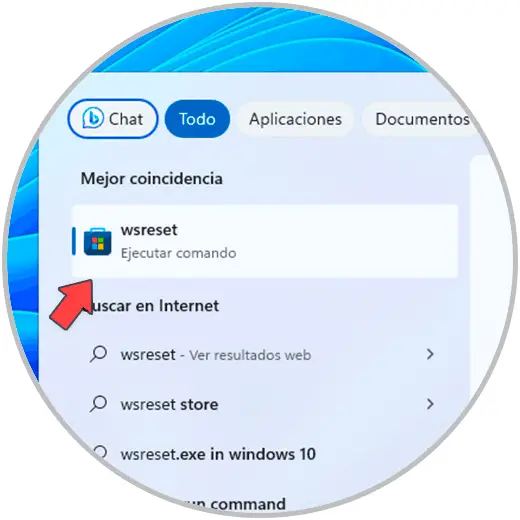
To reset the Store with a command, in the Windows search engine we enter the “wsreset” command:
Step 2
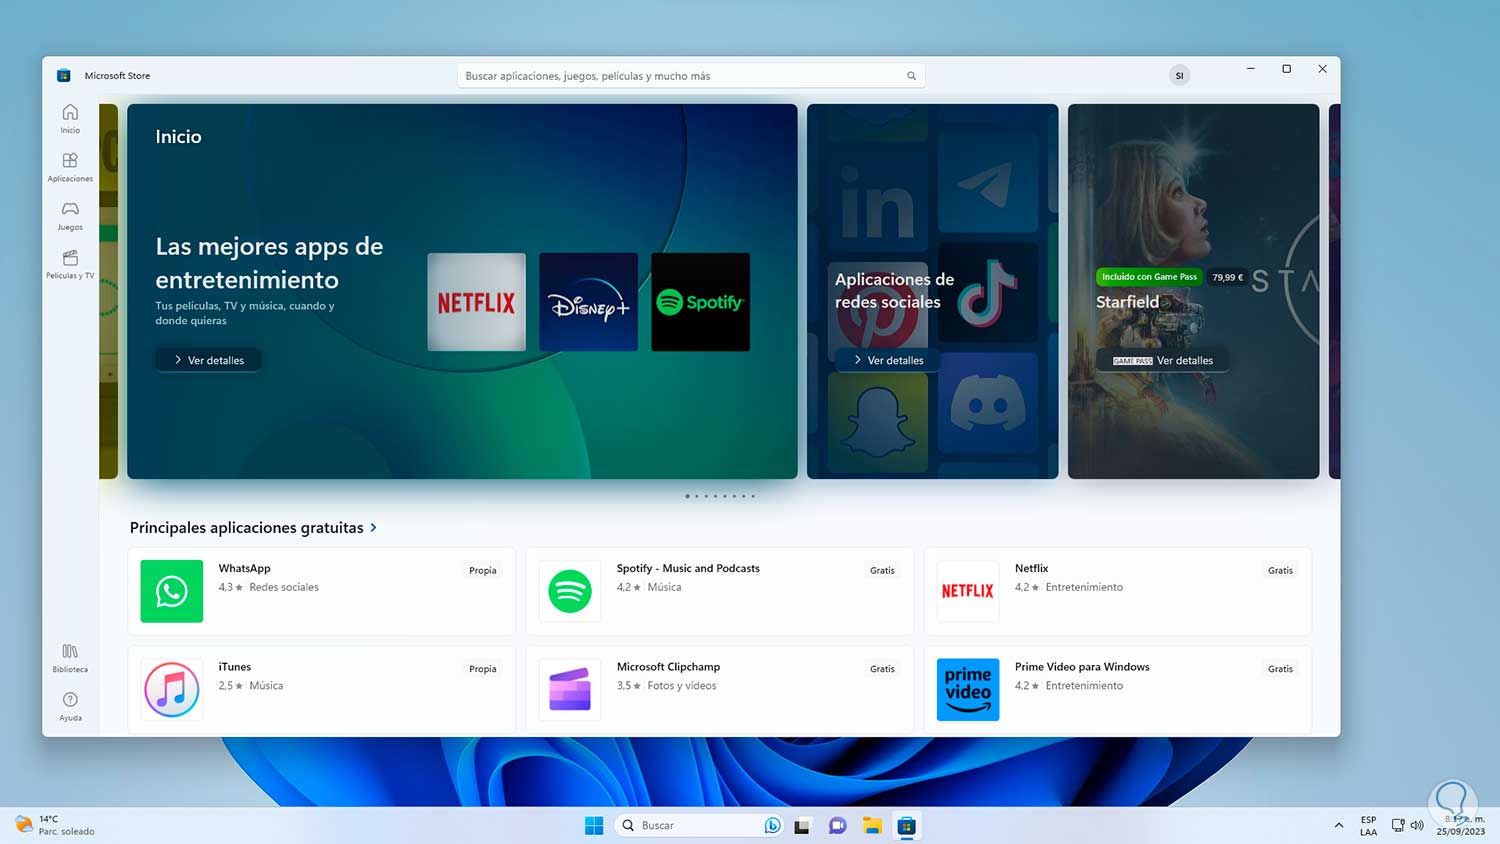
This command (Windows Store Reset) is responsible for resetting the Store in the background, we click on it and the CMD console will open for a few seconds and then the Windows Store will open:
3 Repair Minecraft Launcher error with the Solver
Windows 10 and 11 integrate an application with which there is an option to analyze and repair various elements of the system in a comprehensive way, in this case it is possible to use this utility to repair the Windows Store, we must clarify that in the new Windows updates this tool has been redesigned and not all options may be available.
Step 1
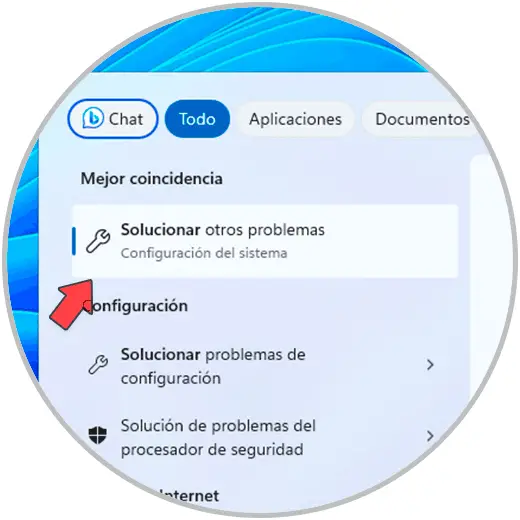
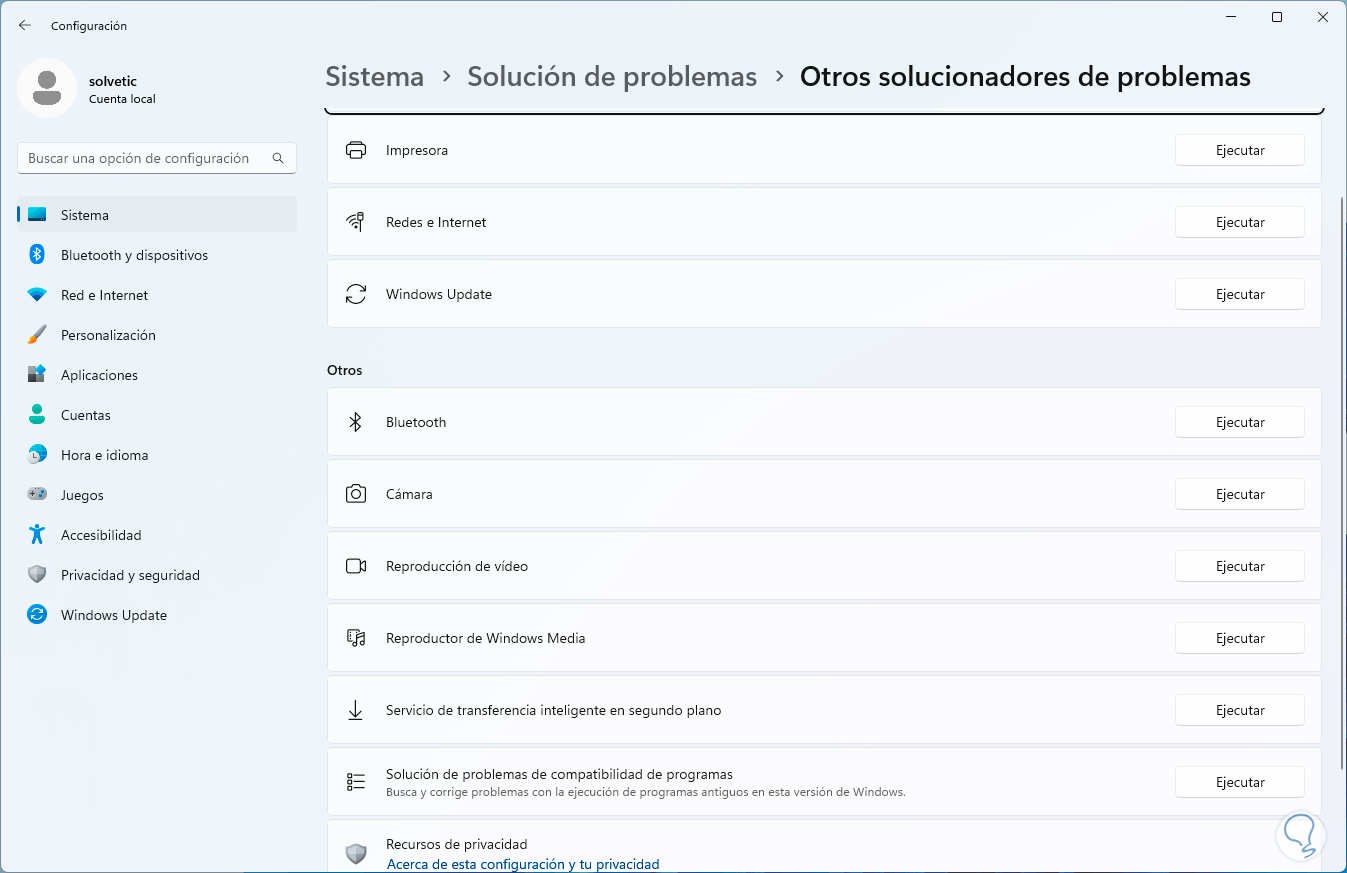
To use it, in the search engine we enter the word “solve”, in the results we click on “Solve other problems”:
Step 2
Now, let's check if there is any option related to the Windows Store:
If there is, click on "Run" and wait for the process to complete.
4 Fix Minecraft Launcher error by updating Windows
Another cause of the Minecraft Launcher error is having an outdated system, remember that developers constantly release updates in search of system improvements.
Step 1
To check this, let's:
Step 2
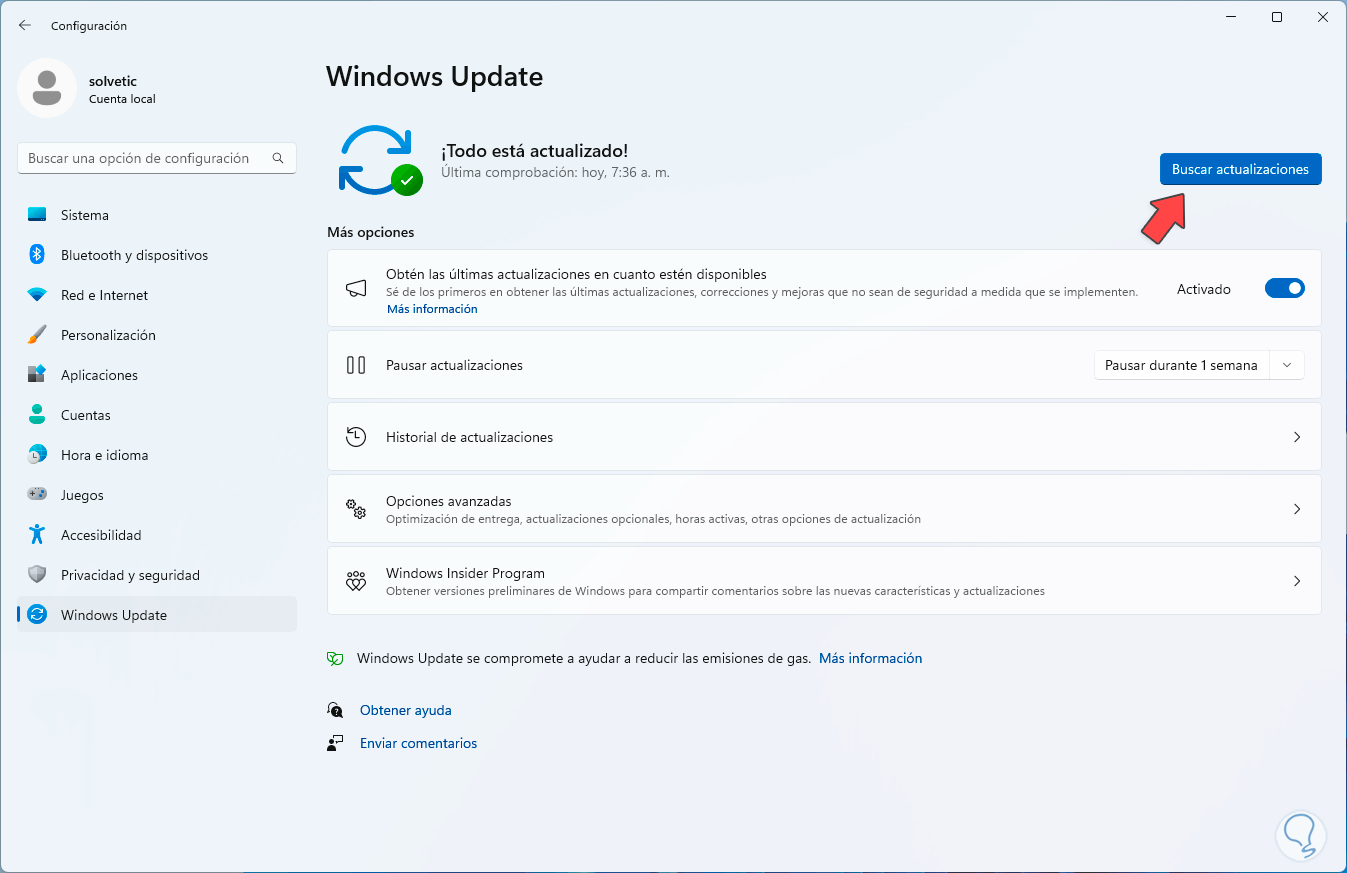
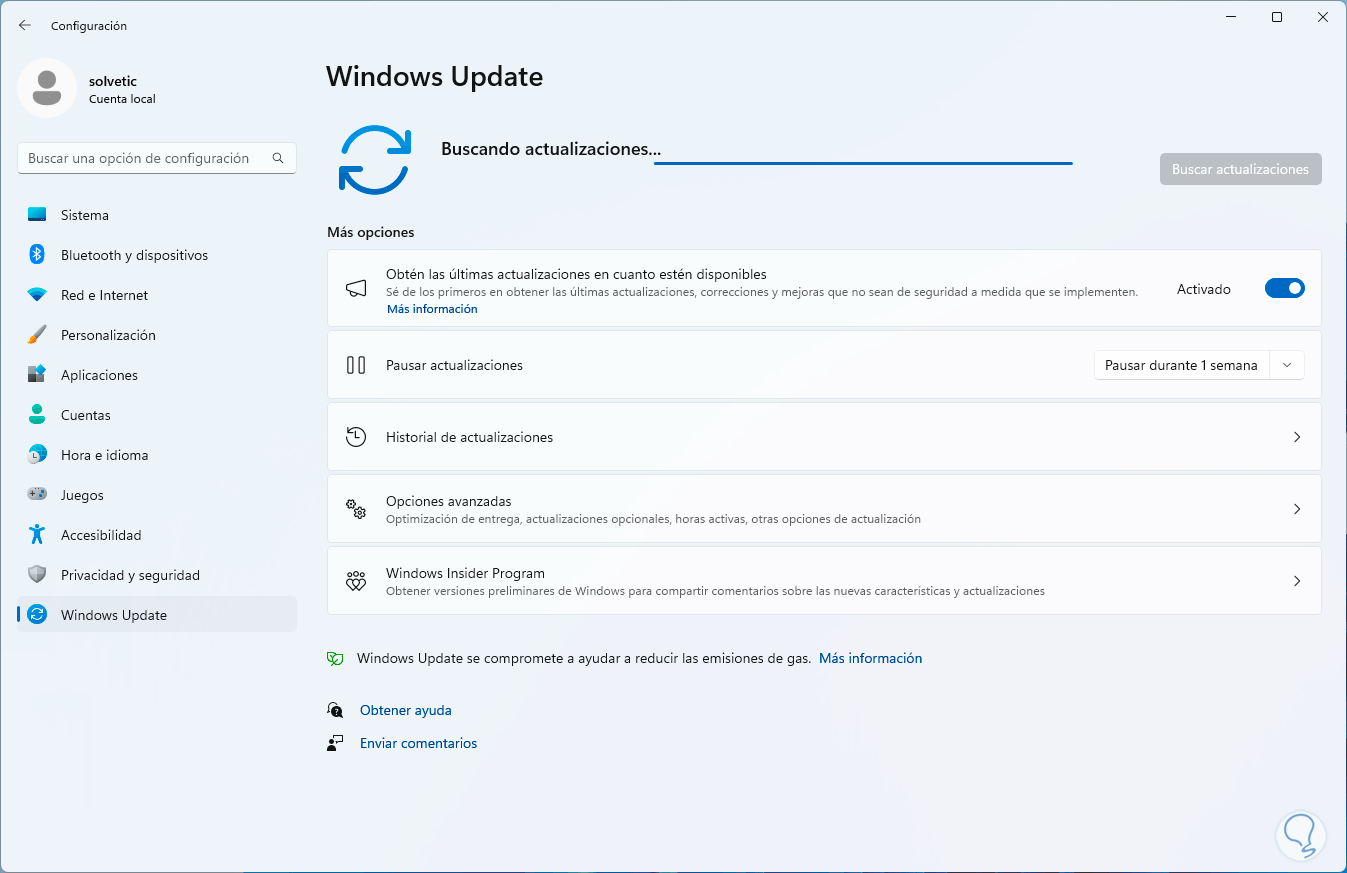
We click on “Check for updates” to begin the search. We wait for it to finish to check if there are updates or not.
5 Fix Minecraft Launcher error by resetting the Windows Store
If the error persists, we can reset the Windows Store, this will return all its values and settings to their default settings.
Step 1
For this case, let's:
Step 2
Then, in the Microsoft Store, we click on its context menu and select “Advanced Options”:
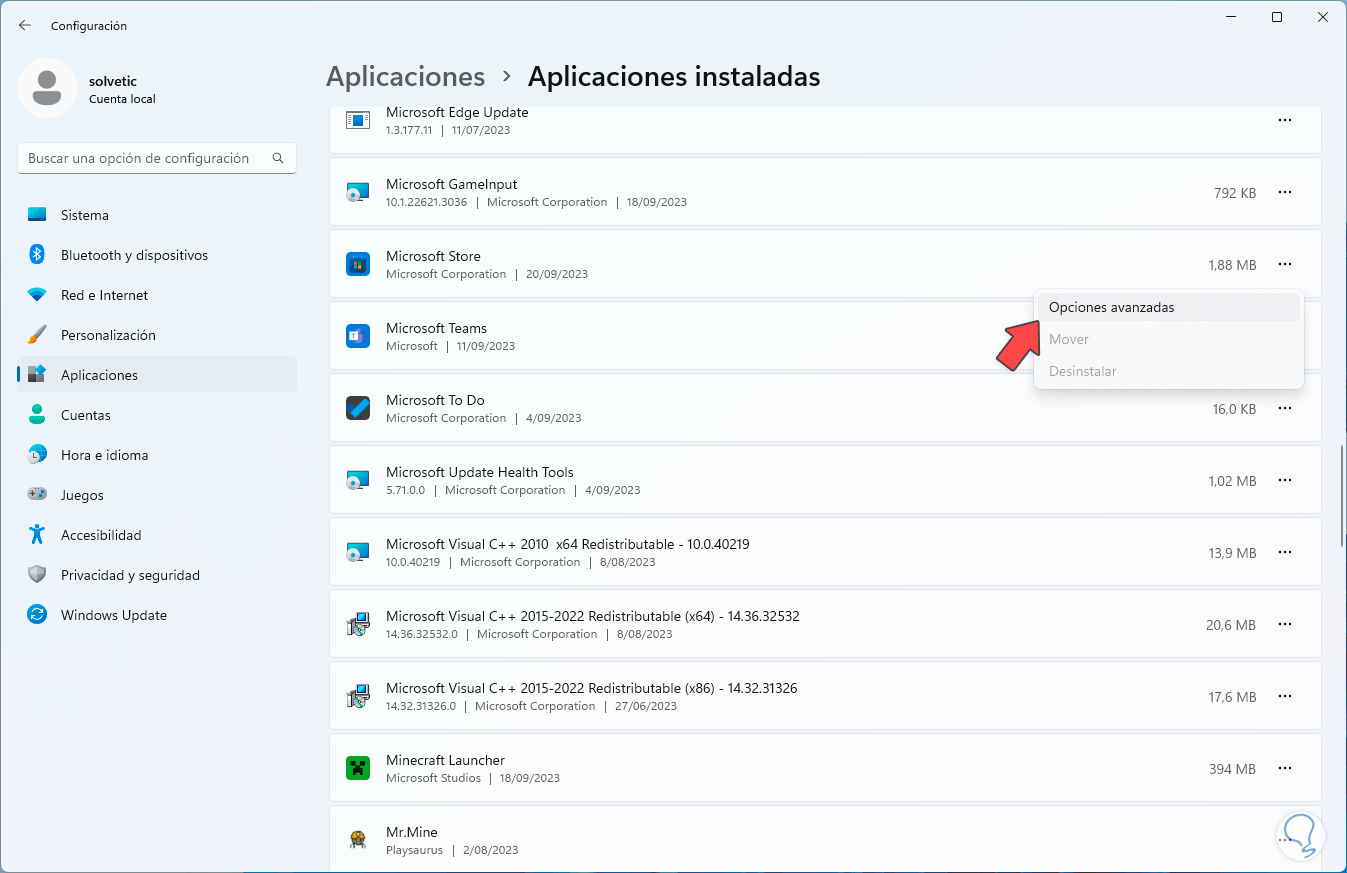
Step 3
We will have access to the following:
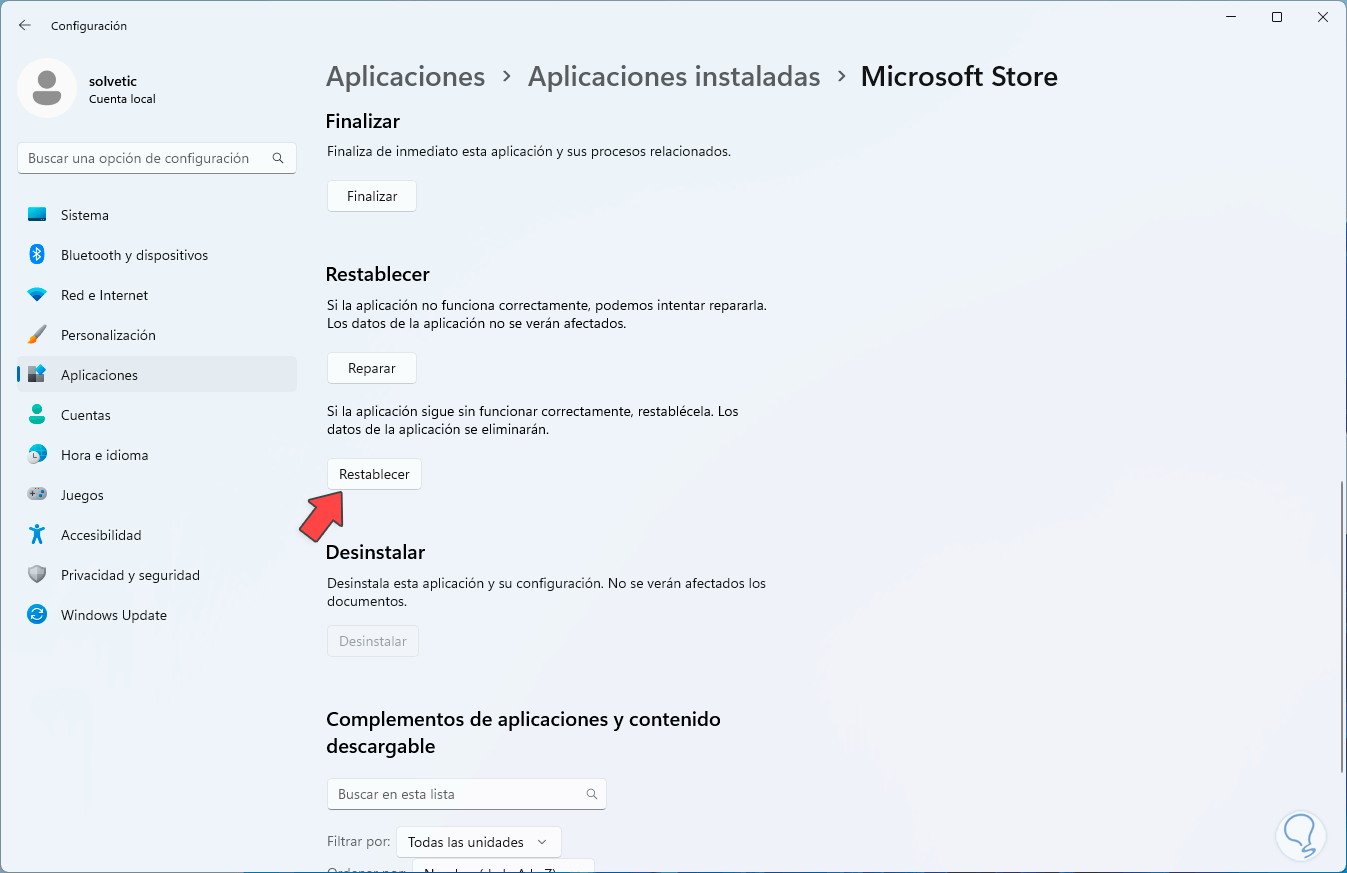
Step 4
We click on “Reset” and we must confirm this operation:
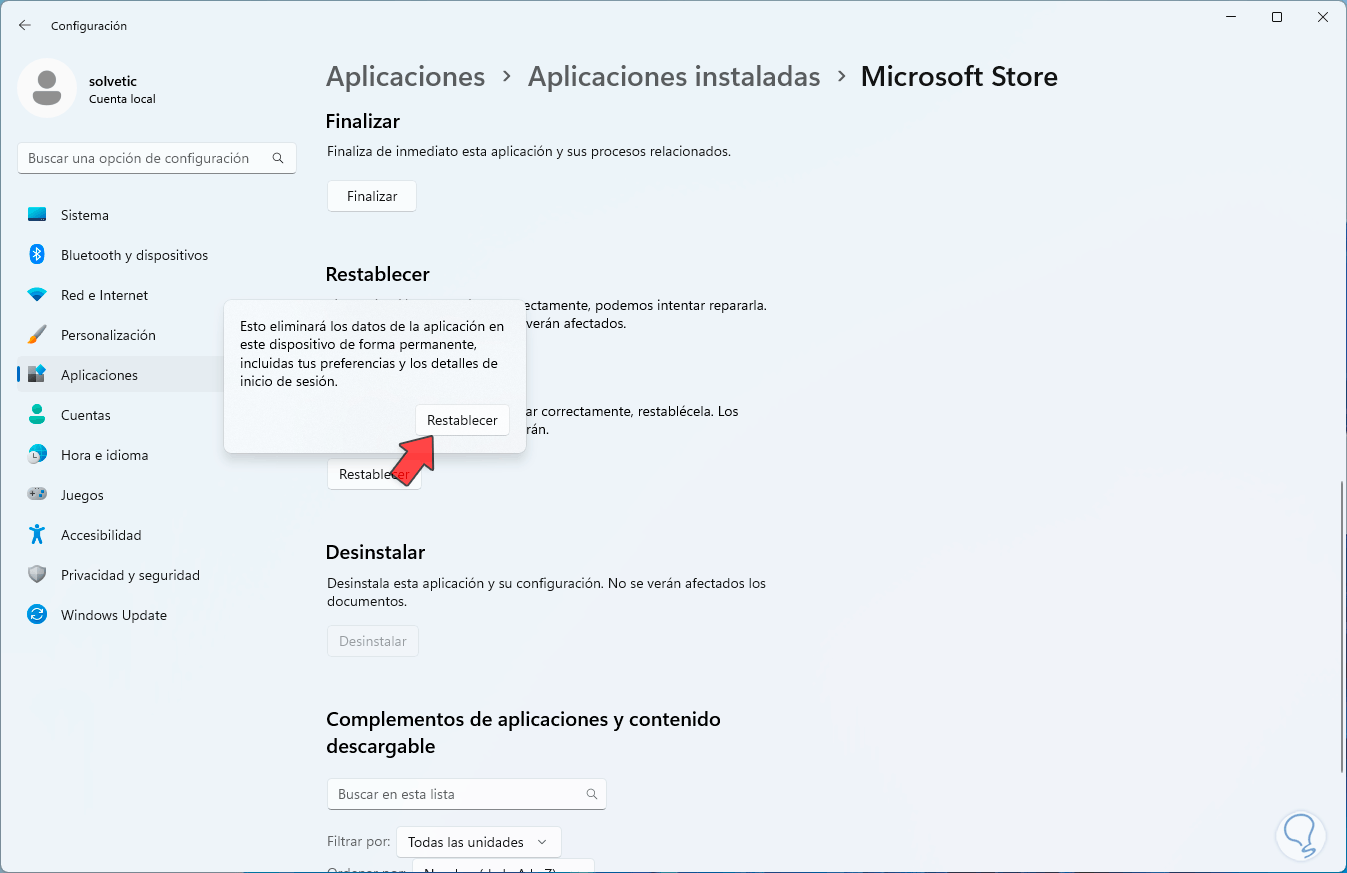
Step 5
We click on “Reset” to start the process:
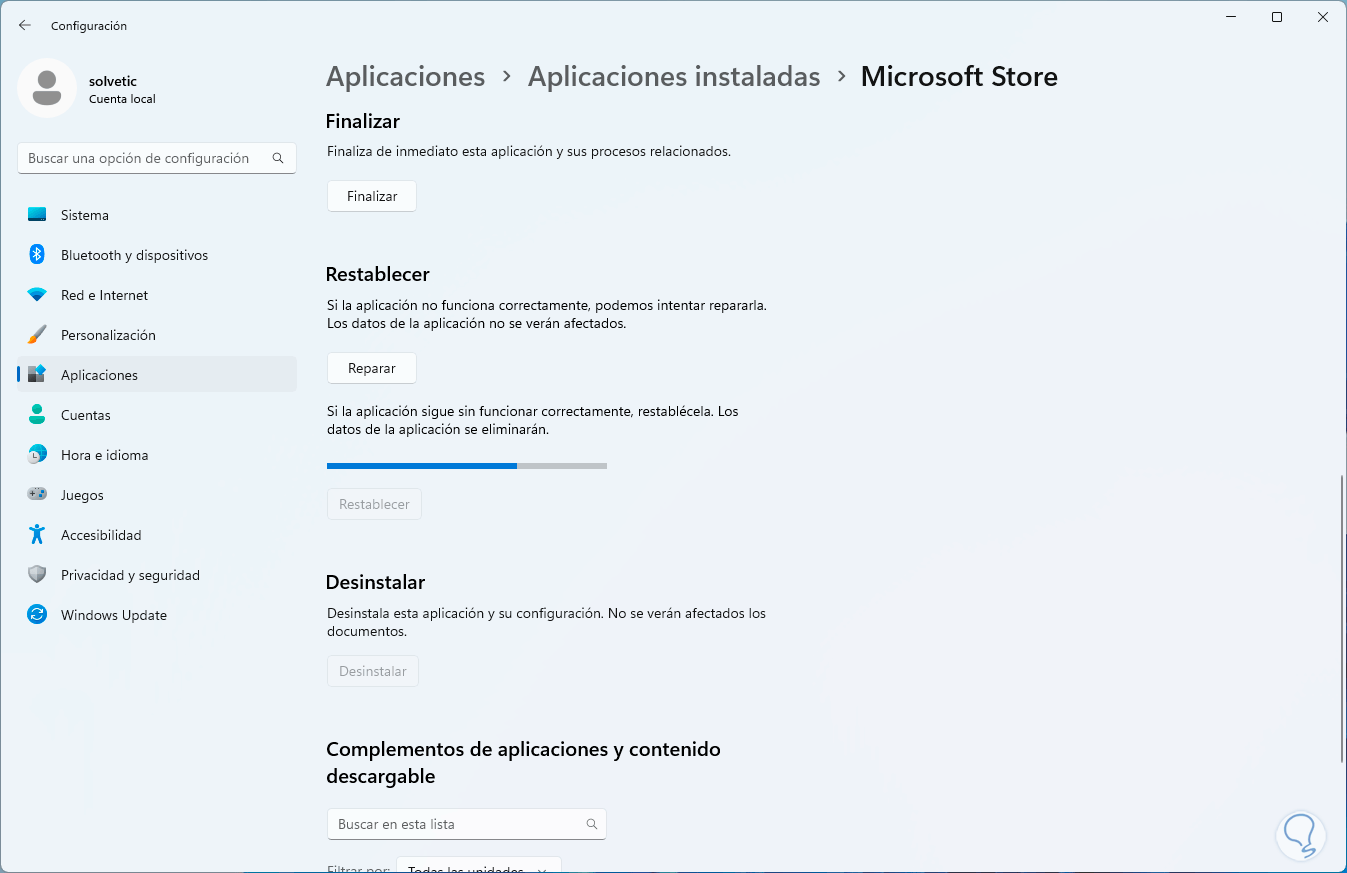
Step 6
We wait for this operation to finish:

6 Fix Minecraft Launcher error by clearing the local cache
As we use Minecraft, a series of elements are hosted locally that allow faster access in the future, this is known as a cache, but there is a possibility that an accumulation of these files causes the error in question, to correct it it is ideal delete these files.
Step 1
We open File Explorer and go to the following path:
C:\Users\solve\AppData\Local\Packages\Microsoft.WindowsStore_8wekyb3d8bbwe
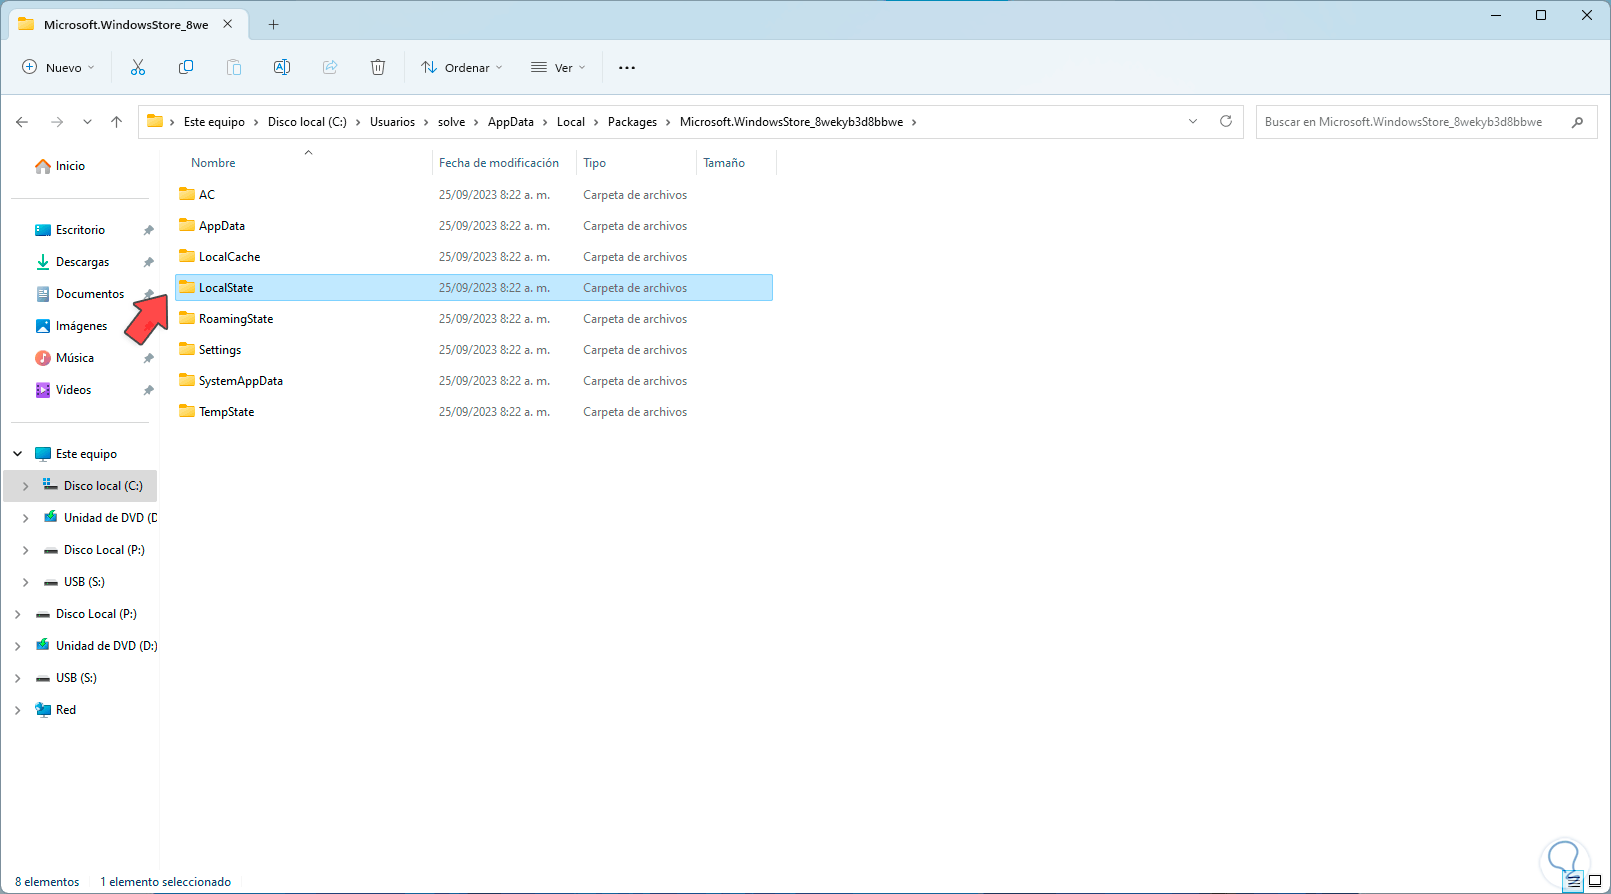
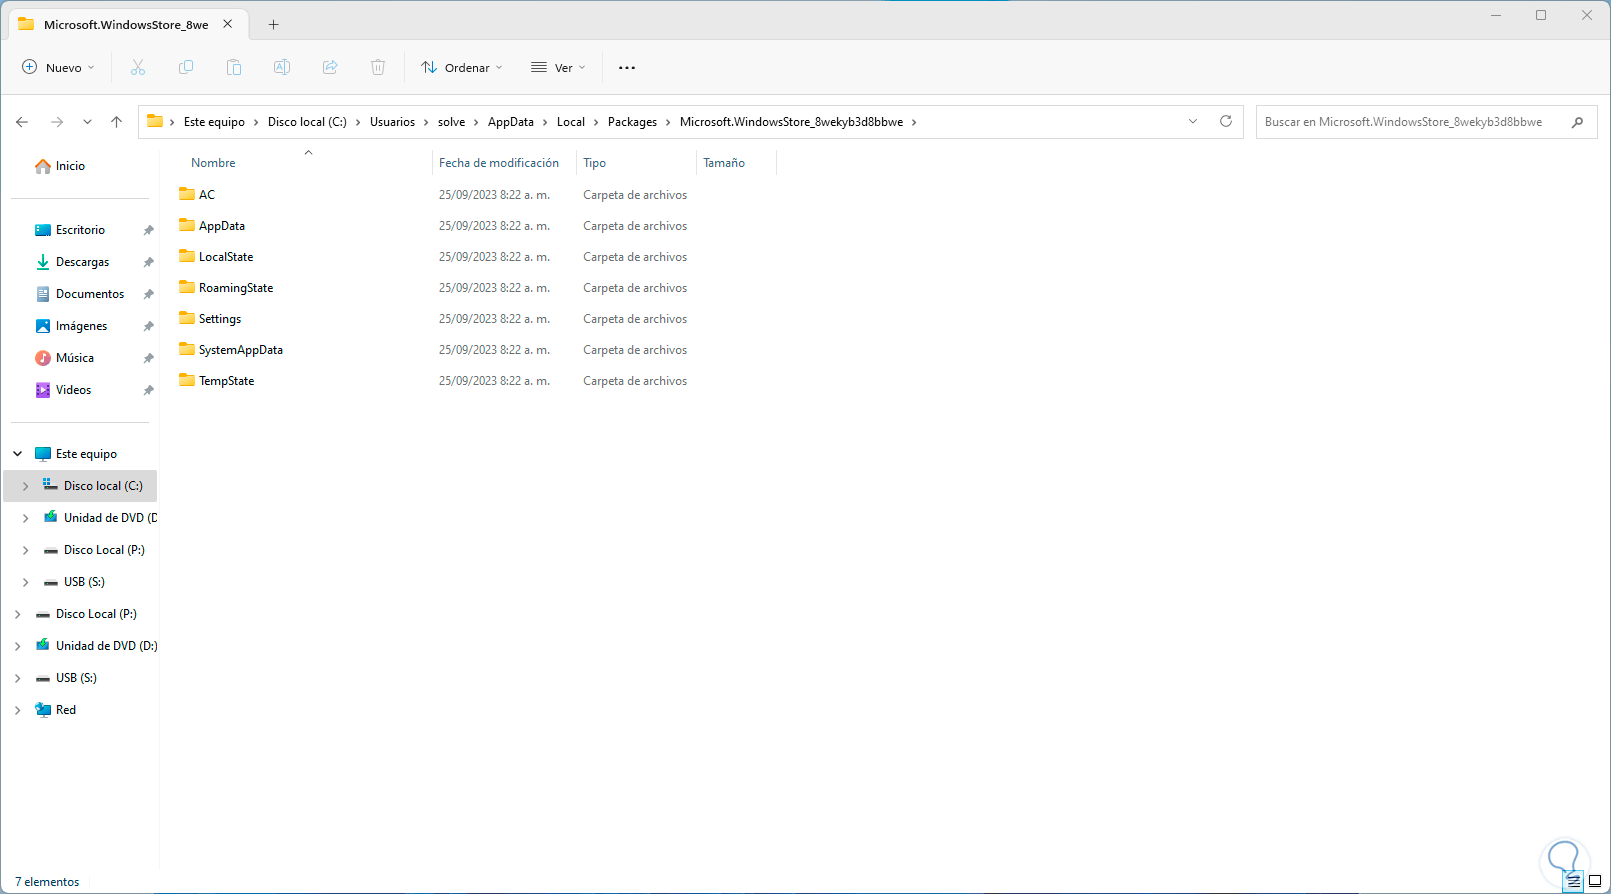
Step 2
We select the “LocalCache” folder and click “Delete” to delete it:
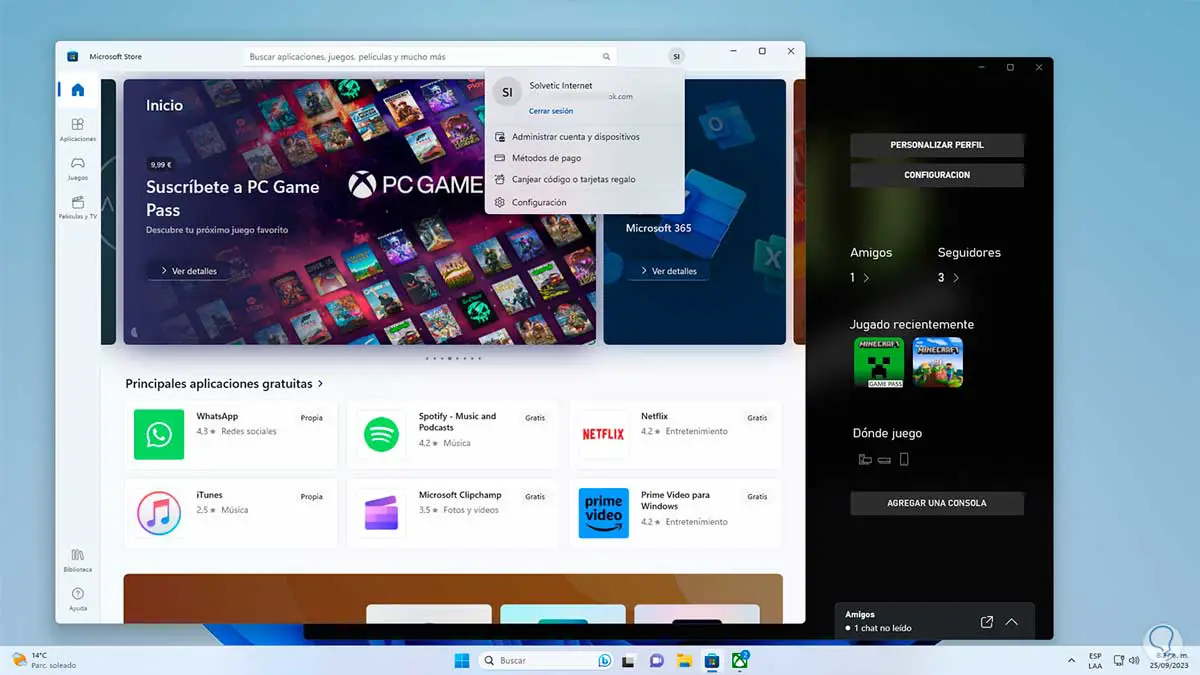
7 Fix Minecraft Launcher error checking user
Another cause of this error is that we have logged in with different users, that is, in the Windows Store with one profile and in the Xbox application with another, Xbox allows us to access the Minecraft game, in this case we open both applications and validate the accounts with which you have logged in:
8 Fix Minecraft Launcher error from Powershell
Step 1
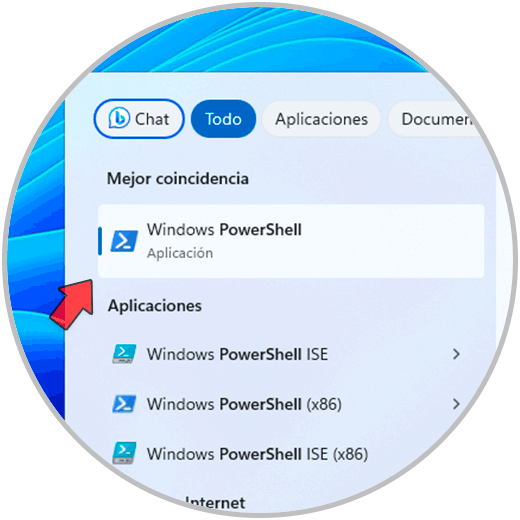
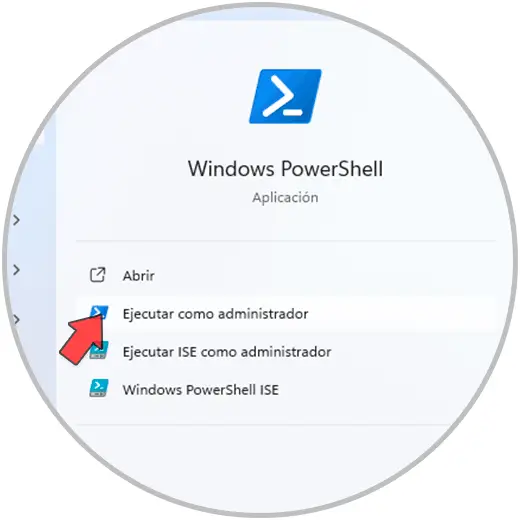
With this step we seek to execute a command to re-register the Windows Store application within which Minecraft Launcher is, this will help the error to be corrected, in this case we open PowerShell as administrator:
Step 2
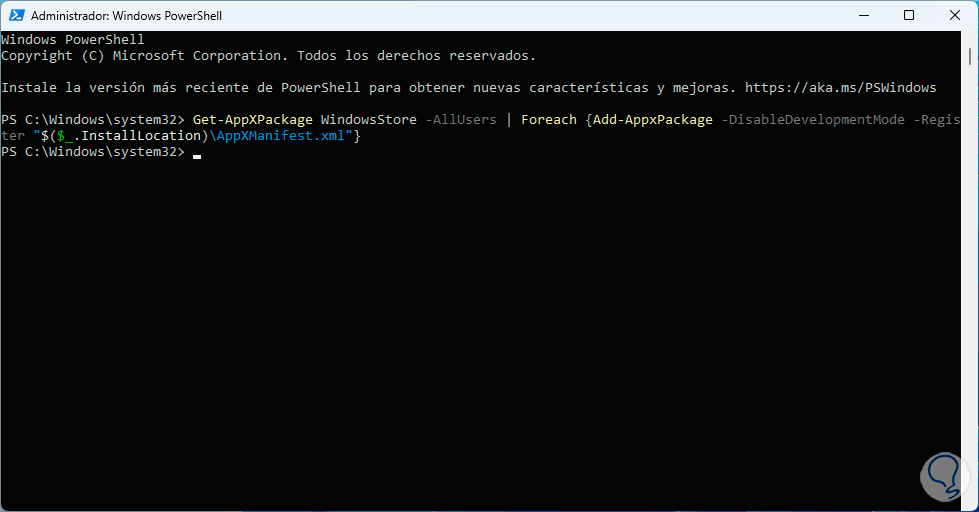
In the console we execute the following command:
Get-AppXPackage WindowsStore -AllUsers | Foreach {Add-AppxPackage -DisableDevelopmentMode -Register "$($_.InstallLocation)\AppXManifest.xml"} 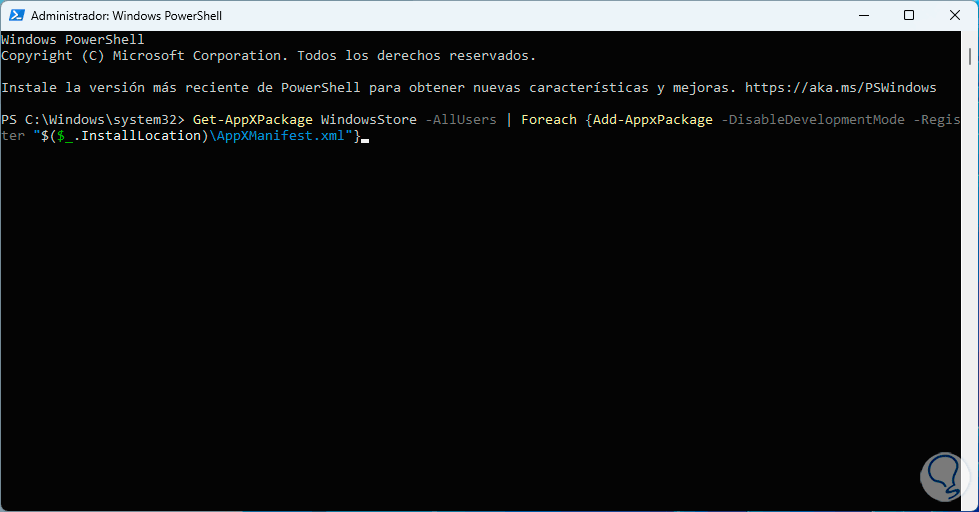
Step 3
We press Enter to execute it:
9 Fix Minecraft Launcher error by reinstalling the Store
Step 1
Now, through some commands it will be possible to reinstall the Windows Store since this option will not be enabled from Settings, for this we are going to open PowerShell as administrators:
Step 2
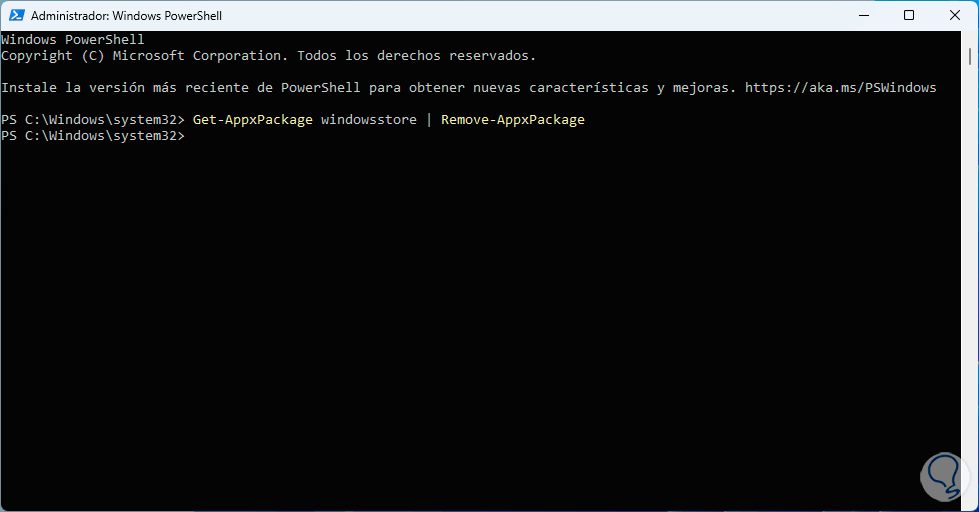
First of all we are going to uninstall the Store with the following command:
Get-AppxPackage windowsstore | Remove-AppxPackage
Step 3
Then we install the Store with the following command:
Get-AppXPackage WindowsStore -AllUsers | Foreach {Add-AppxPackage -DisableDevelopmentMode -Register "$($_.InstallLocation)\AppXManifest.xml"} 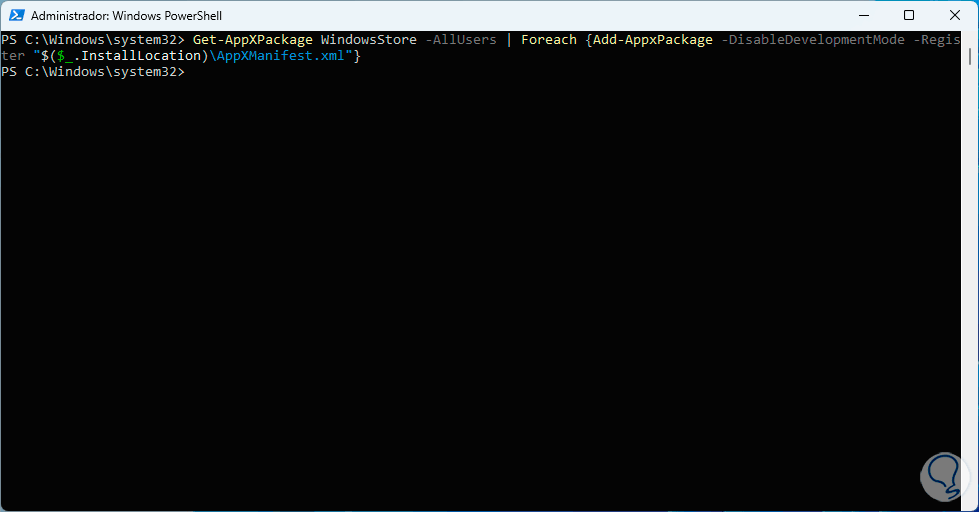
10 Fix Minecraft Launcher error activating TLS
TLS (Transport Layer Security), has been developed as a security protocol which provides privacy and security in network communications, the idea is to verify that the data that is transmitted between cannot receive interceptions or manipulations, this is probably the cause of the error, which is why we are going to enable the various versions of TLS in Windows.
Step 1
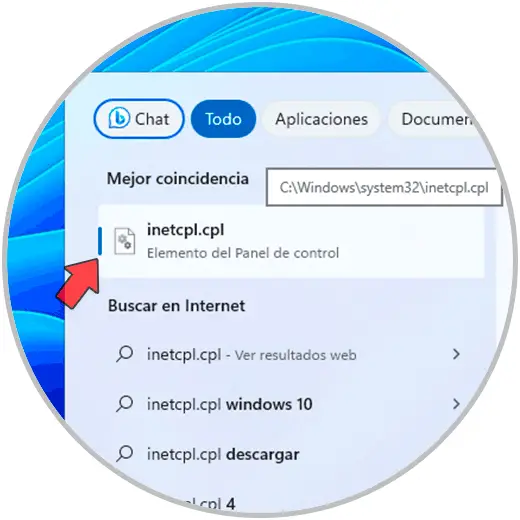
For this, in the search engine we enter “intecpl.cpl”:
Step 2
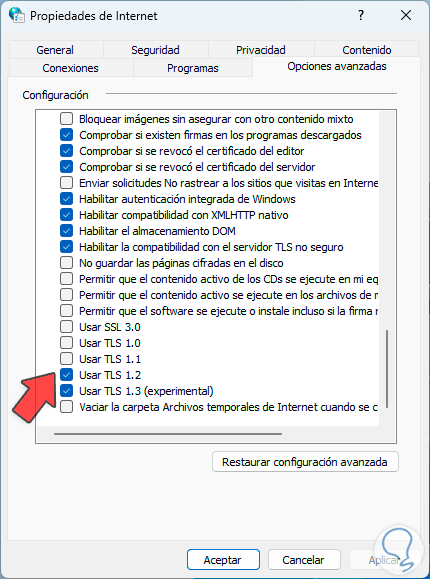
We click on the command and in the displayed window we go to the “Advanced Options” tab:
Step 3
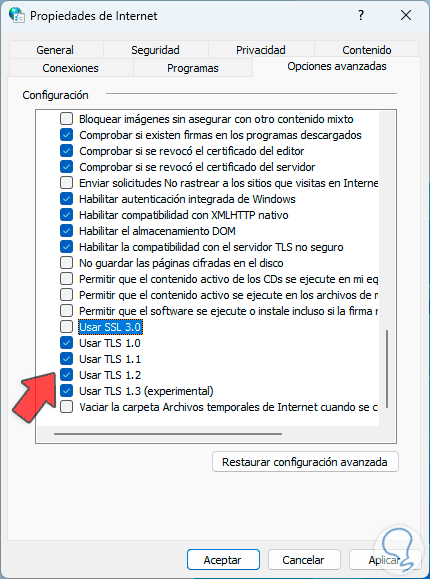
There we activate the various TLS boxes available. We apply the changes.
11 Fix Minecraft Launcher error by changing the drive
With this step we seek to change the drive where Minecraft Launcher can be reinstalled if necessary, this is because the default drive, C, may be full causing read and write errors.
Step 1
For this process we are going to:

Step 2
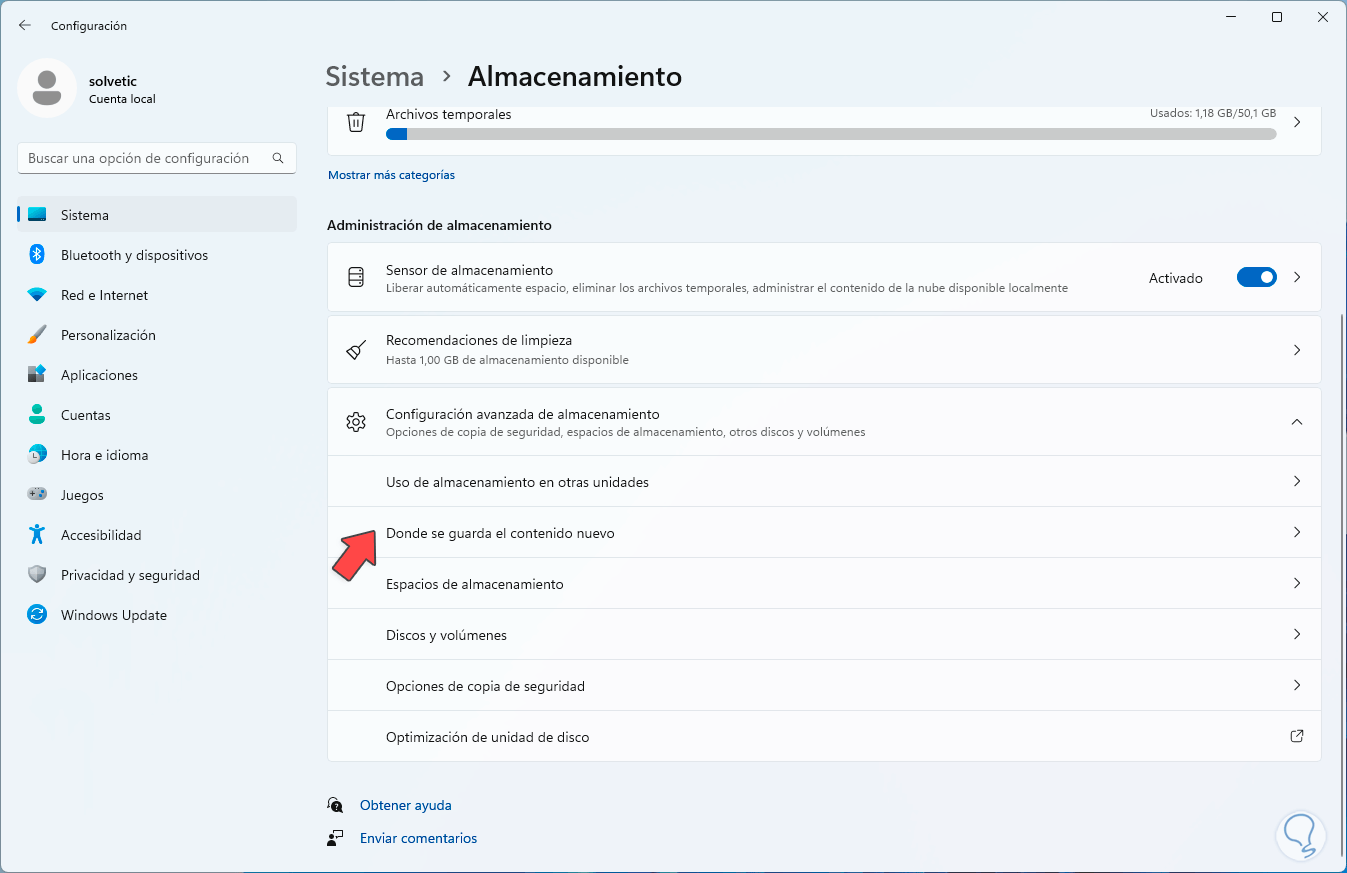
Then, we click on “Advanced storage settings”:
Step 3
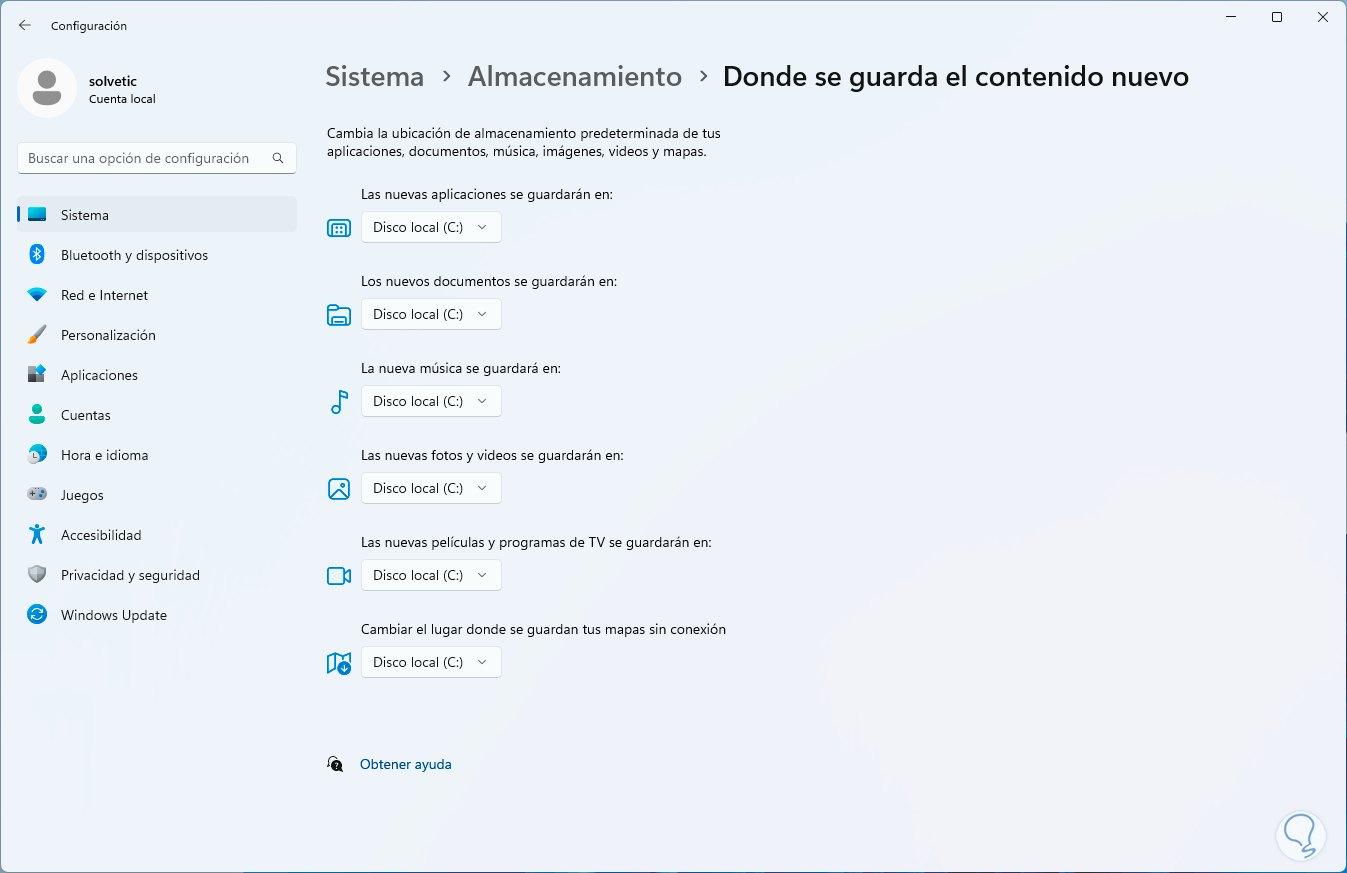
Here we select the option “Where new content is saved”:
Step 4
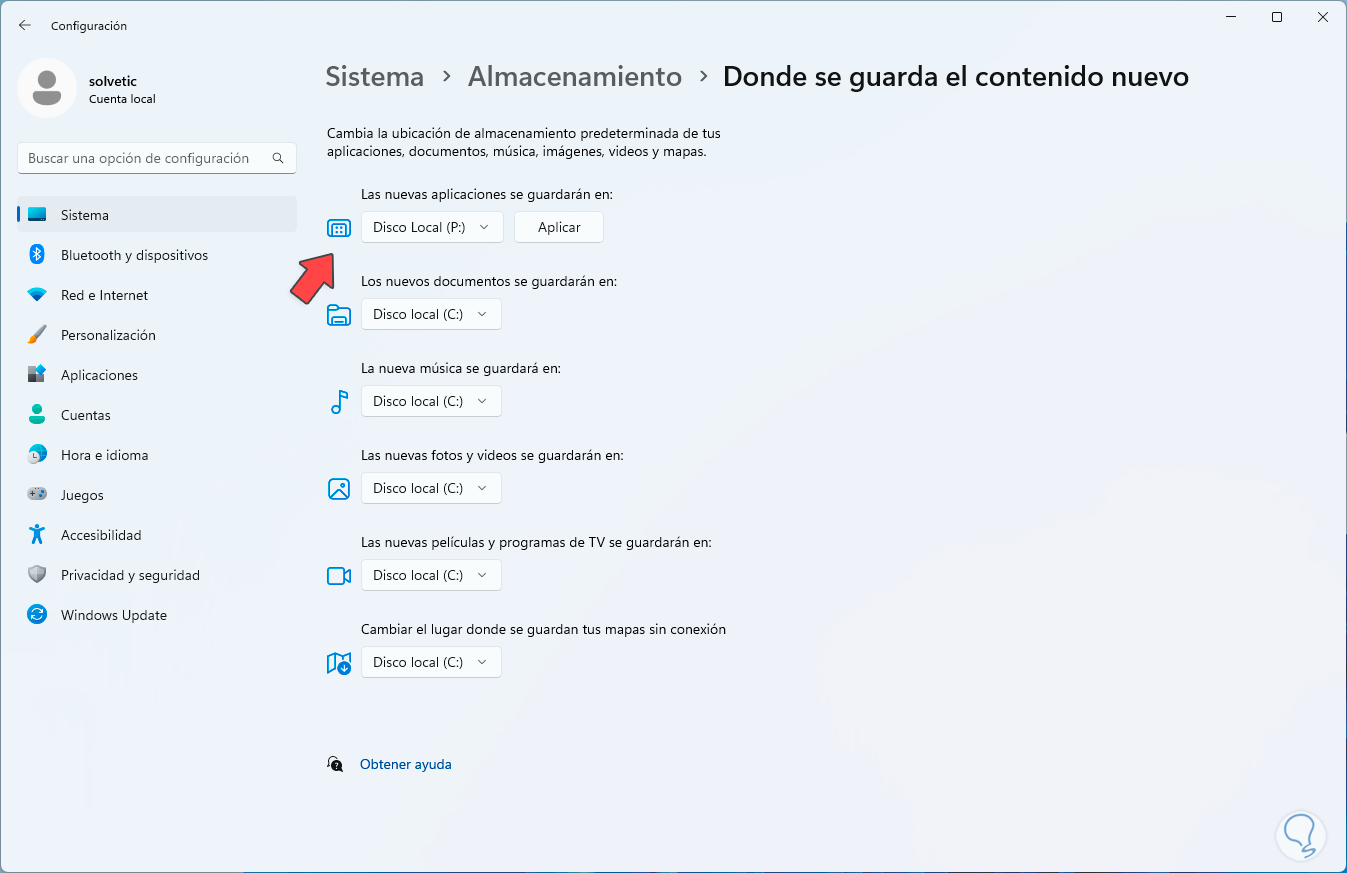
In the “New applications will be saved in” section we establish the new drive:
Step 5
We click on “Apply” to confirm the changes:

12 Fix Minecraft Launcher error from Services
Step 1
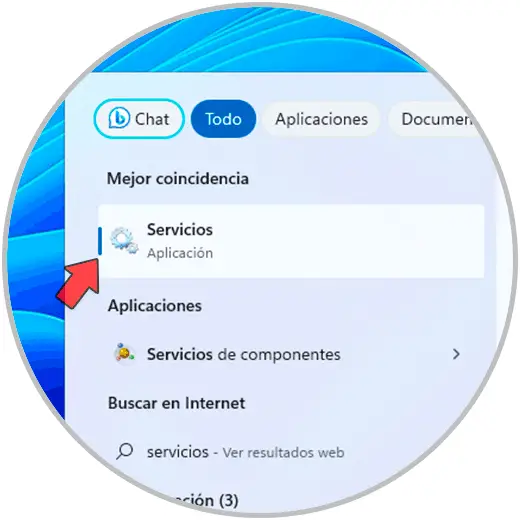
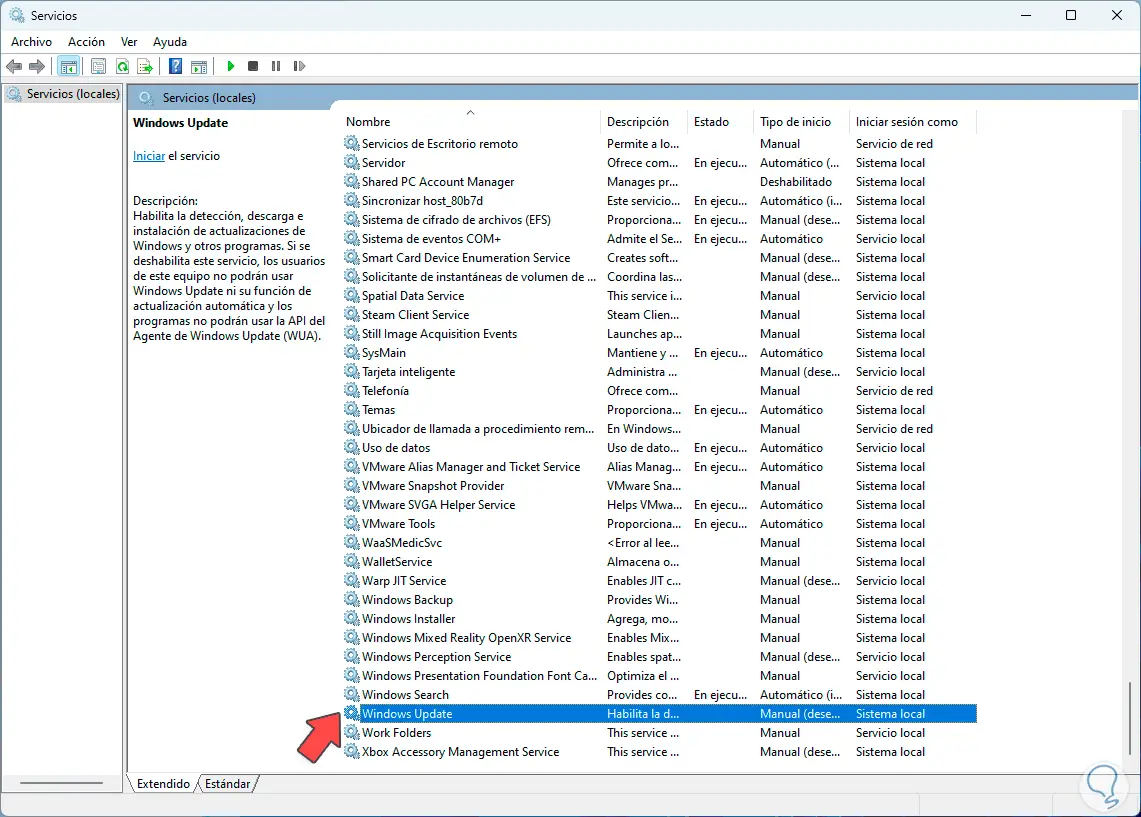
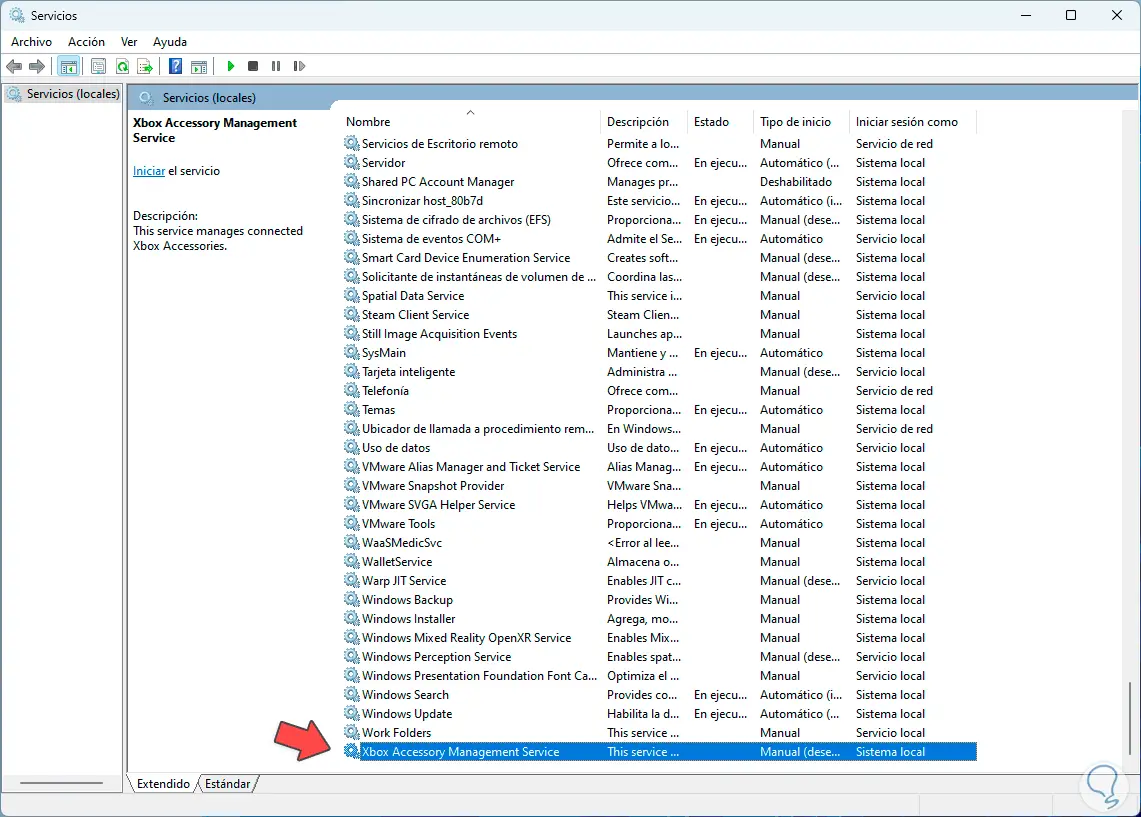
Now, there are various services that play a key role in the behavior of Minecraft, let's review their status, first of all, we open services from the search engine:
Step 2
Now we select the “Windows Update” service:
Step 3
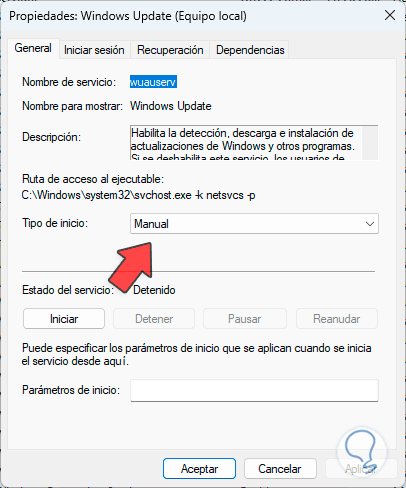
This service is responsible for detecting, downloading and installing Windows updates and other programs. We double click on the service to see its properties:
Step 4
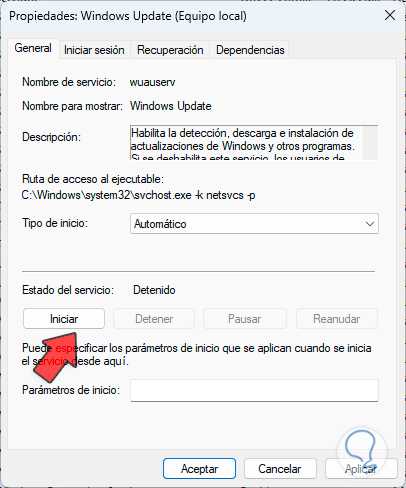
In the “Startup Type” field we set the value “Automatic”:
Step 5
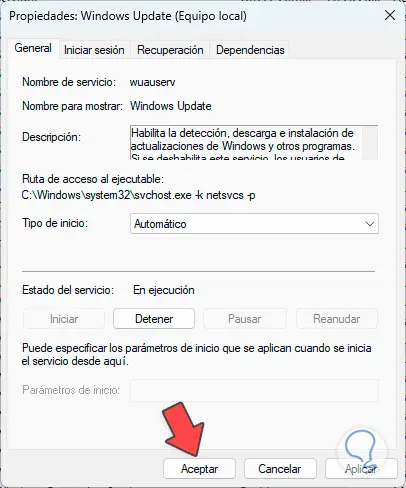
We click on “Start” to activate the service:
Step 6
We apply the changes.
Step 7
Now, we select the “Microsoft Store Installation Service” service:
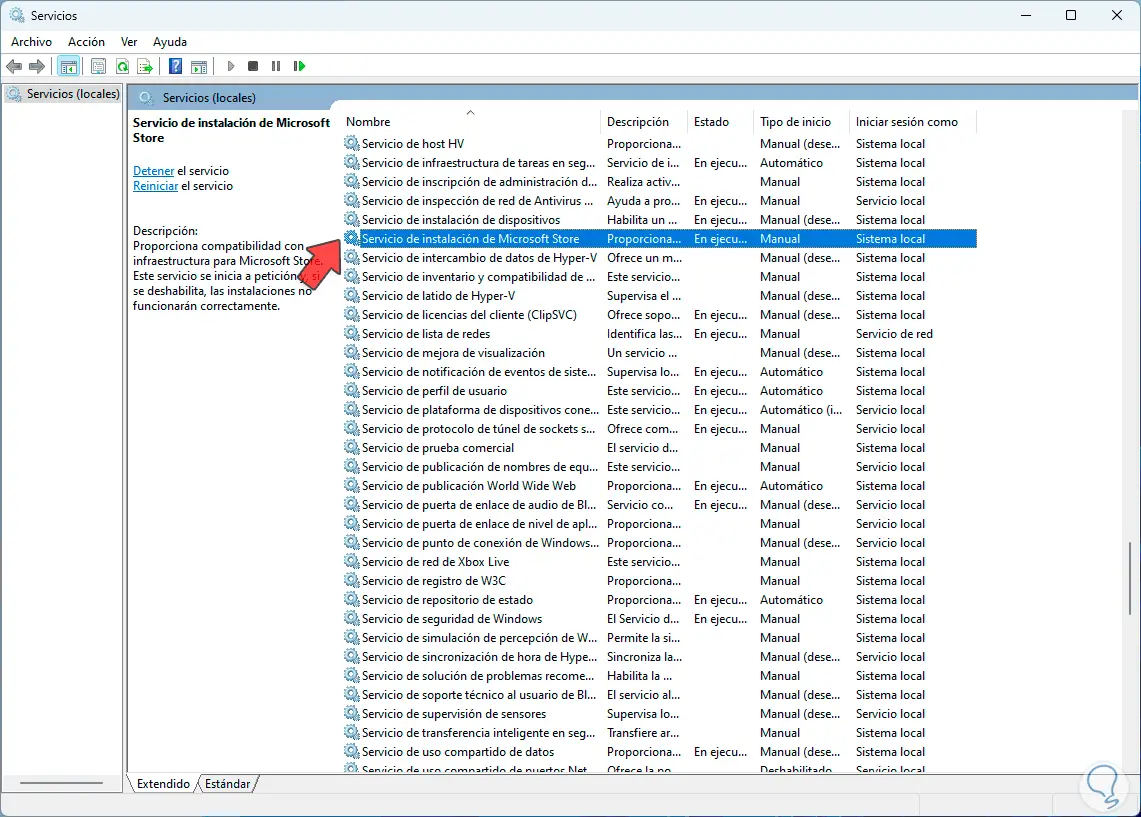
Step 8
It is a service that offers infrastructure compatibility for the Microsoft Store, hence the applications can be used 100%, double click on this service:
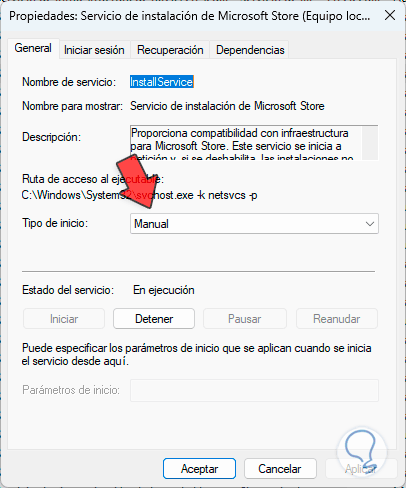
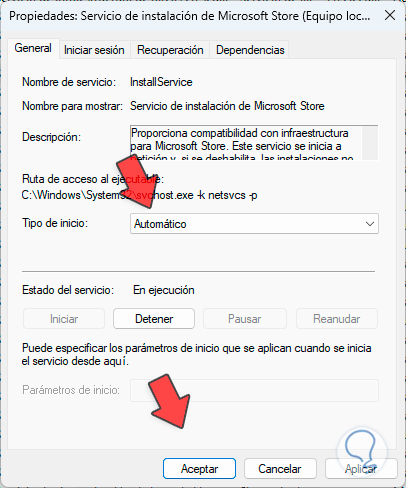
Step 9
We set the value “Automatic”. We apply the changes.
Step 10
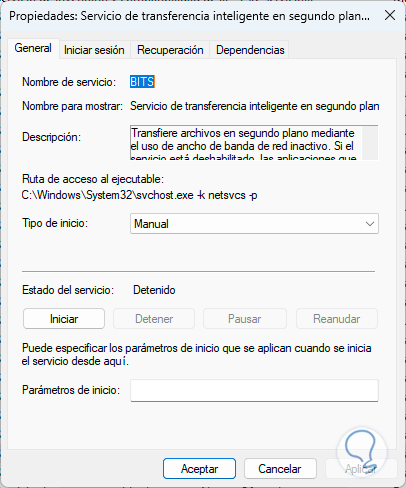
Next, we select the “Background Intelligent Transfer Service (BITS)” service:
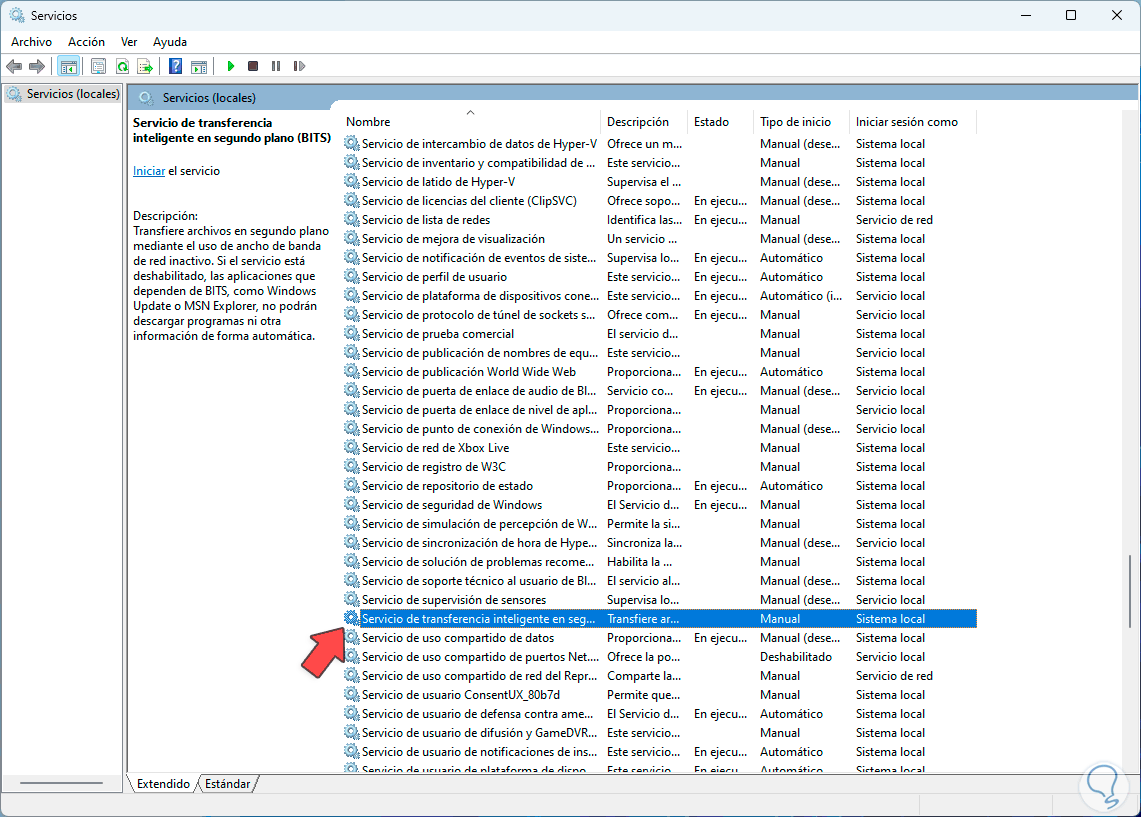
Step 11
This is a service that transfers files in the background using idle network bandwidth, it is key for the entire Minecraft Launcher connection, we double click to see its status:
Step 12
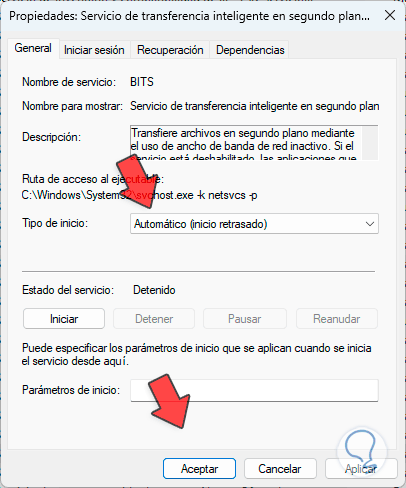
In “Startup type” we assign the value “Automatic”:
Step 13
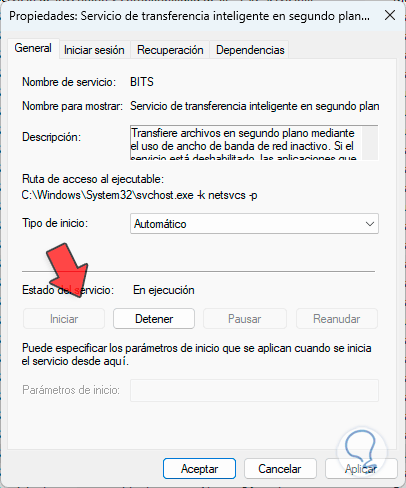
We click on “Start” to activate the service. We apply the changes.
Step 14
Finally, we select the “Xbox Accessory Management Service” service:
Step 15
This is a service that manages Xbox accessories, double click on it to see its properties:
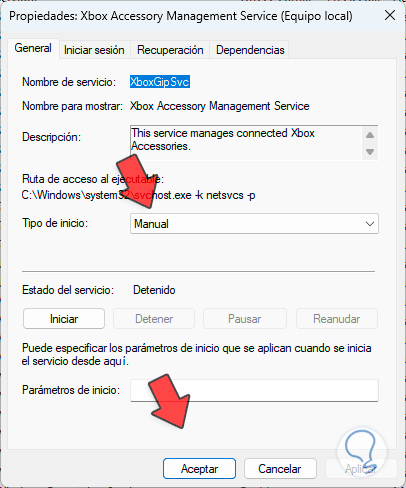
Step 16
In “Startup type” we set “Automatic”:
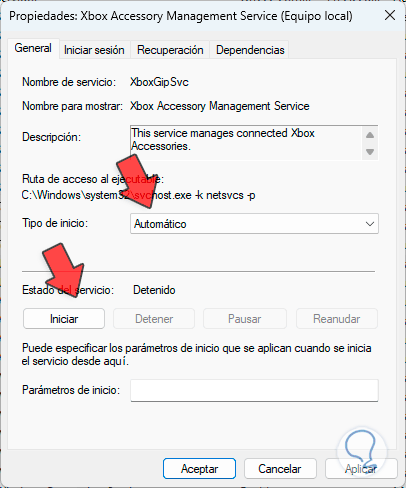
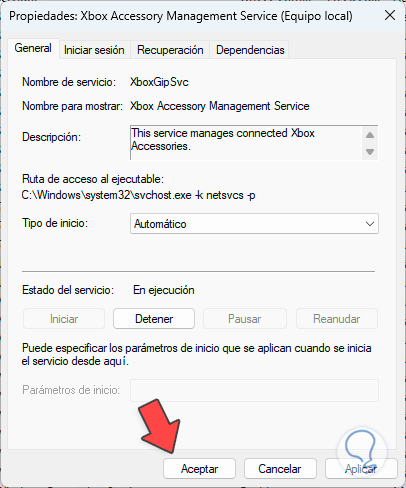
Step 17
We click on “Start” to activate the service. We apply the changes.
13 Fix Minecraft Launcher error from tool
Step 1
Finally it will be possible to update the system through the Microsoft utility, we will go to the following link:
Windows 11
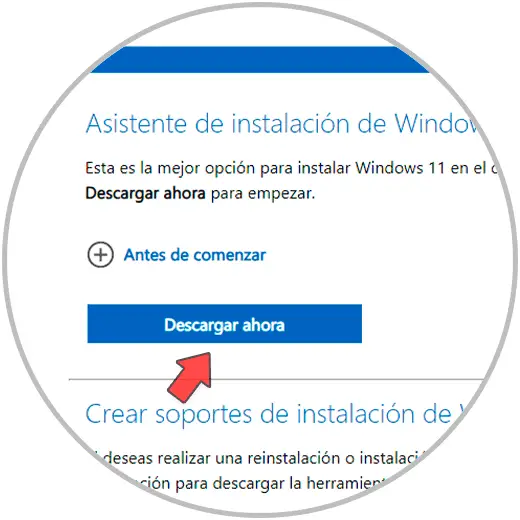
Step 2
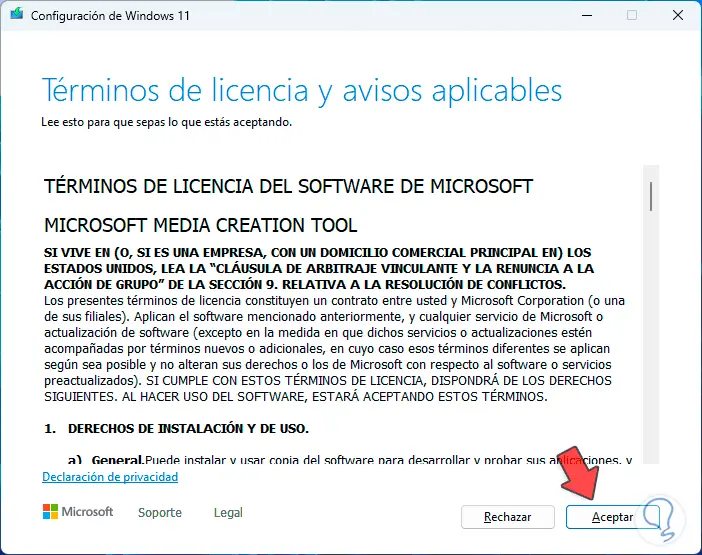
We click on “Download” in “Create Windows 11 installation media”, then we execute the file and accept the license:
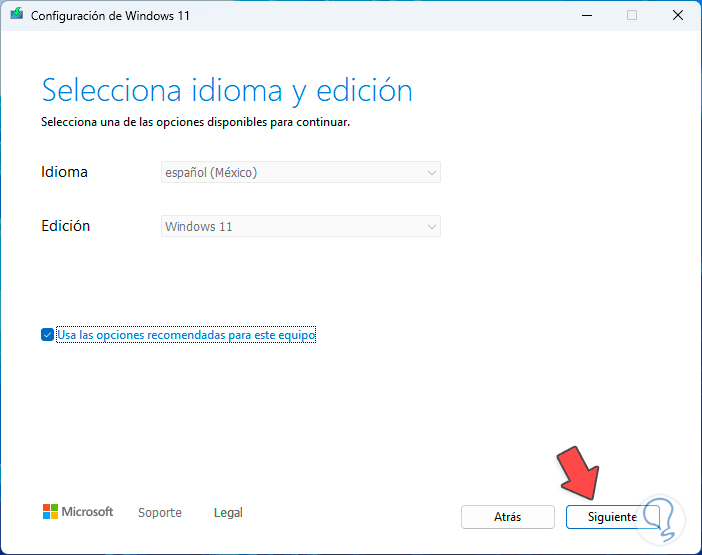
Step 3
Then we define the system model to use. We click on “Next” to see if it is possible to update the equipment from there:
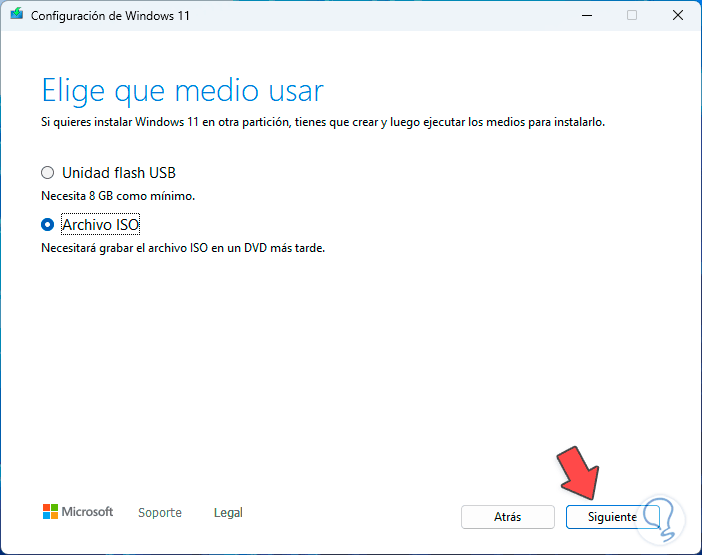
Step 4
There is not always the option to update it, if there is, we follow the steps of the wizard.
These are the options we have to correct the Minecraft Launcher error 0x803f8001 and thus have access to all its functions..