To stay up to date, remember to subscribe to our YouTube channel!
SUBSCRIBE ON YOUTUBE
Windows 10 and Windows 11 integrate numerous tools that are designed to make the user experience as complete as possible, one of these is related to audio and specifically with the volume mixer, with the volume mixer in Windows it is possible:
Features
- Adjust the overall system volume.
- Configure input and output devices.
- Adjust the sound for each application independently.
The default volume mixer opens from the audio icon or from Settings, but there may be times when it does not open, the reasons are varied and at TechnoWikis we will explain various solutions to correct this error..
1 Repair Volume Mixer by running Troubleshooter
Step 1
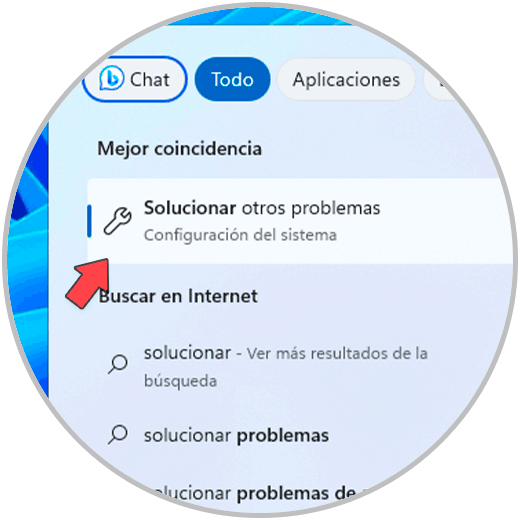
This is a utility integrated into the system itself which is responsible for carrying out a detailed analysis of the problem and automatically corrects the errors detected or provides the user with the solutions that can be taken. To use this method, in the search engine we enter “solve ” and in the results we click on “Solve other problems”:
Step 2
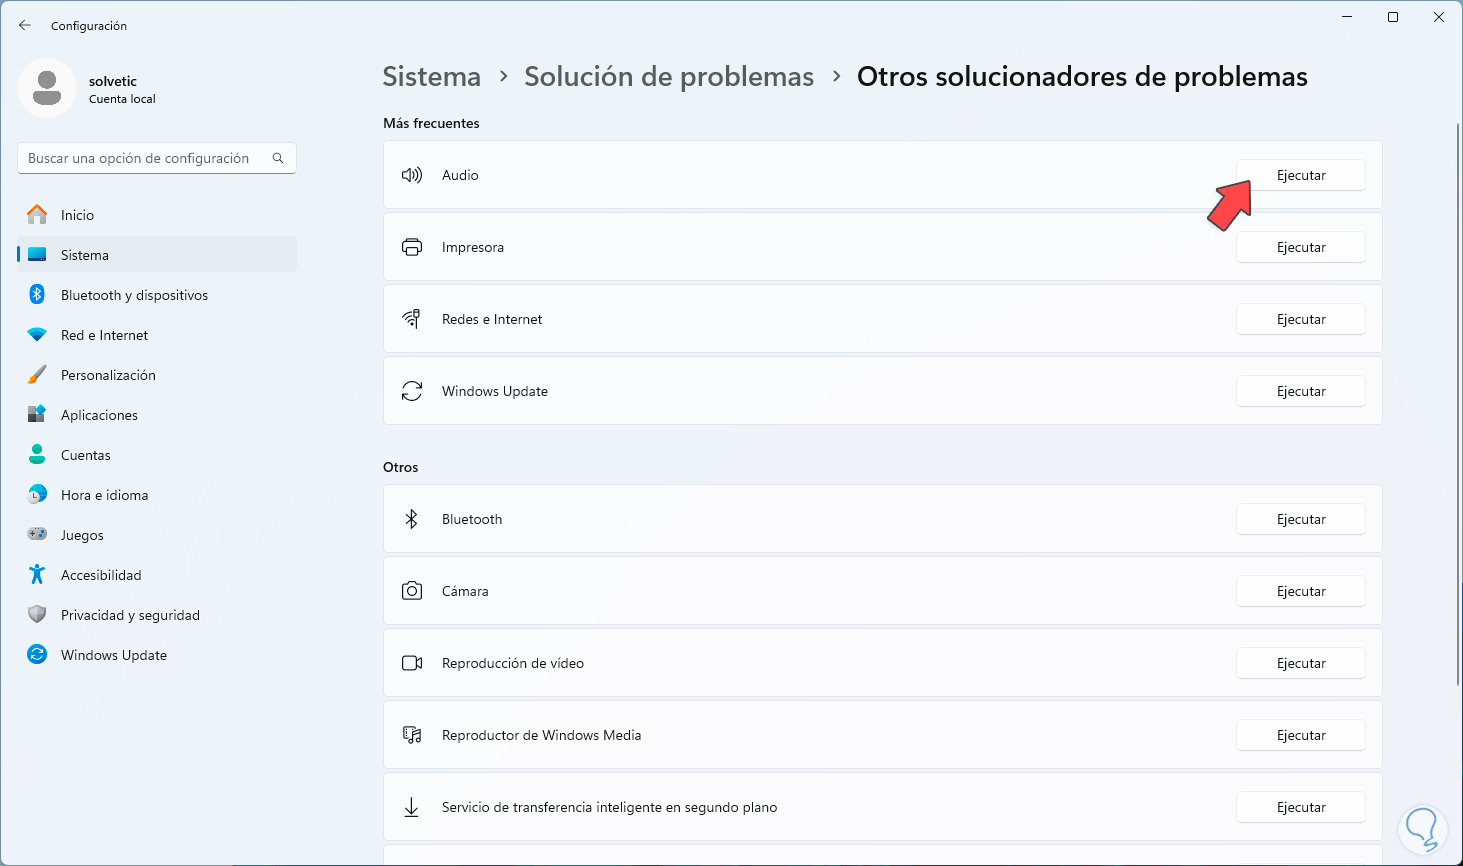
After this, in the “Audio” section, click “Run”:
Step 3
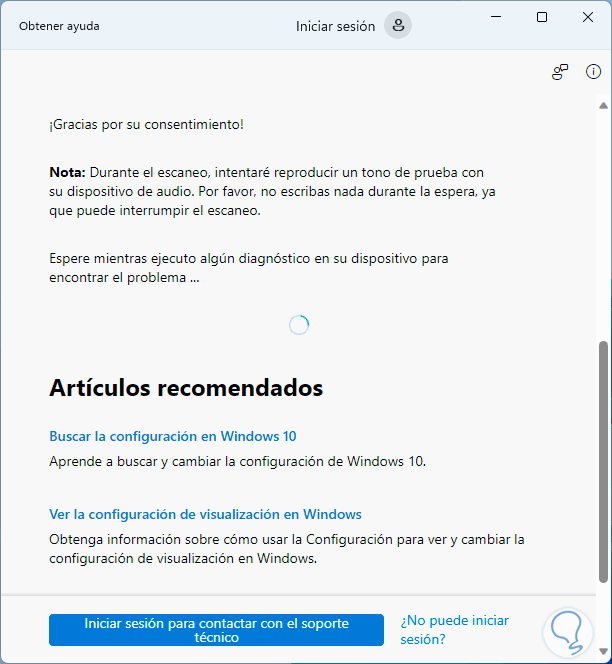
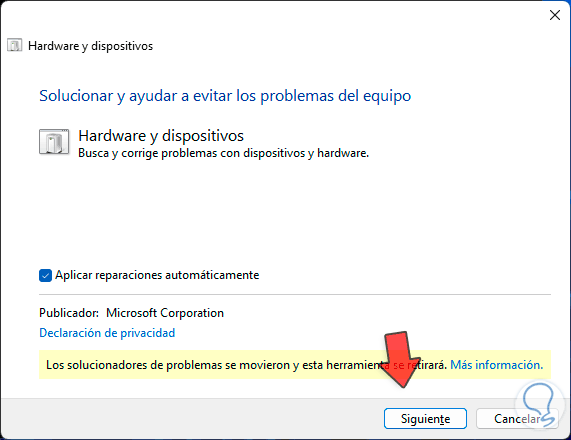
The new troubleshooting wizard will open:

Step 4
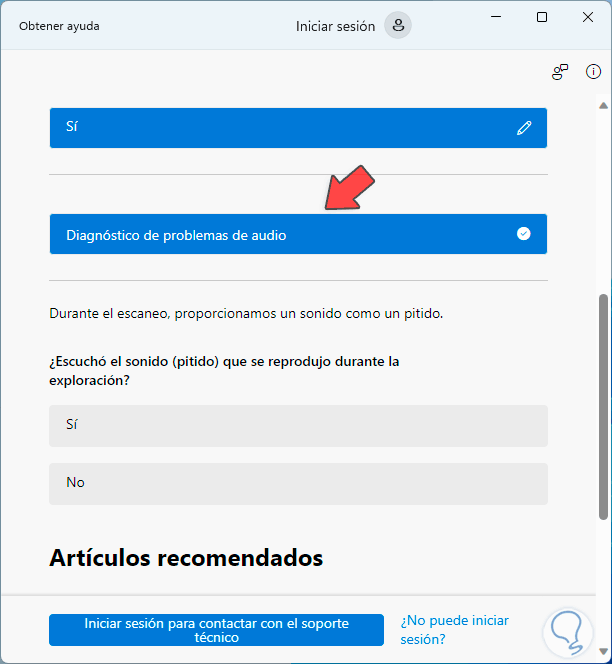
There we click on “Yes” to start the analysis:
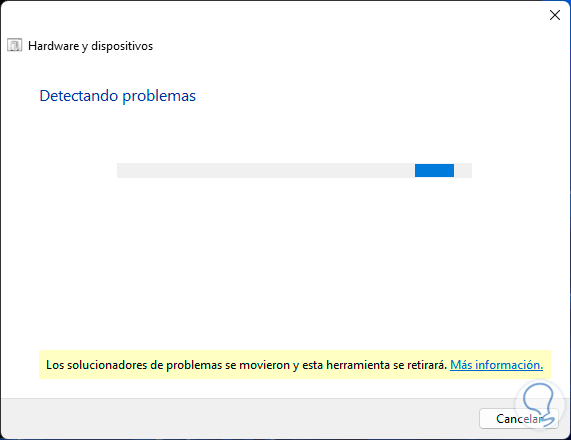
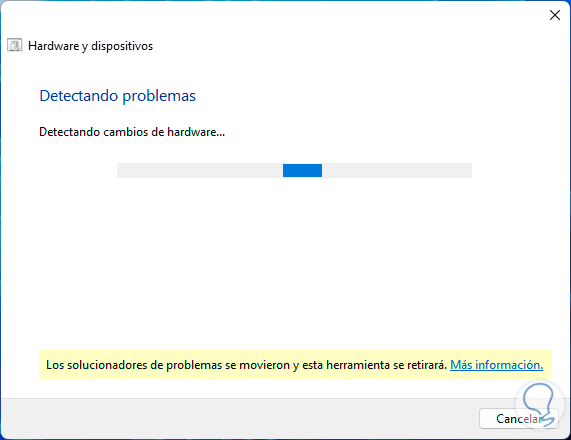
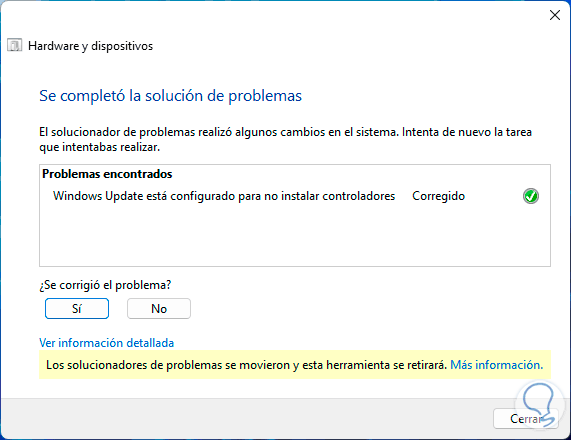
Step 5
At the end, we find the help provided as well as the repair or related advice:
2 Repair Volume Mixer by restarting Windows Explorer
Because the Volume Mixer is integrated into the Windows configuration, many of its functions go hand in hand with Windows Explorer, therefore, if the Explorer has errors, the mixer will also have them, in this case it is enough to Apply a reset to Windows Explorer.
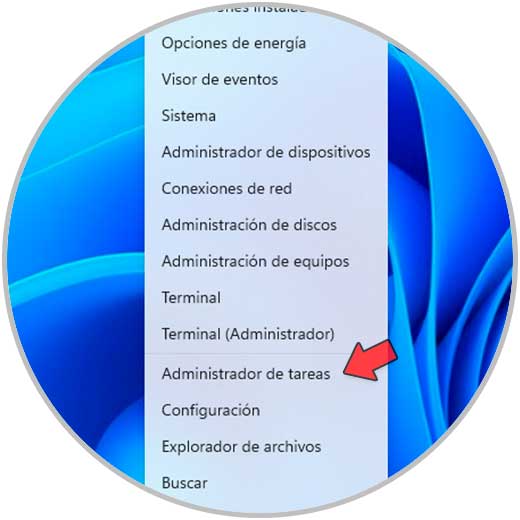
Step 1
To achieve this we open the Task Manager from the Start menu:

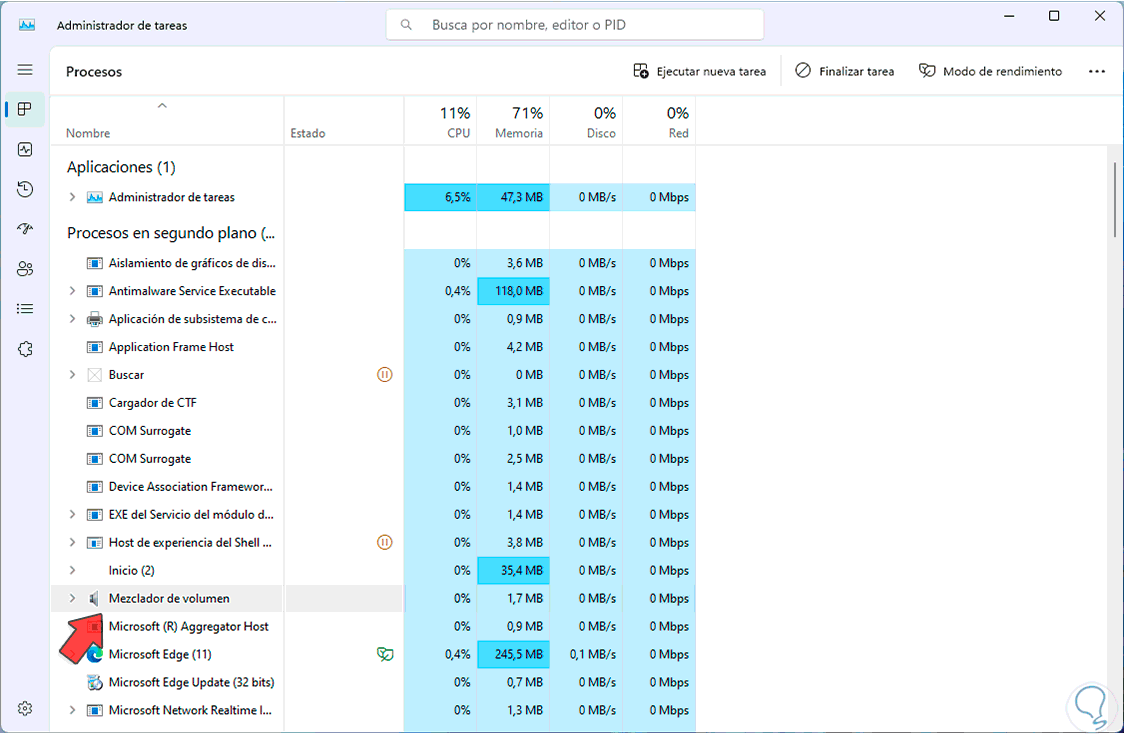
Step 2
In the Task Manager, we locate Windows Explorer:
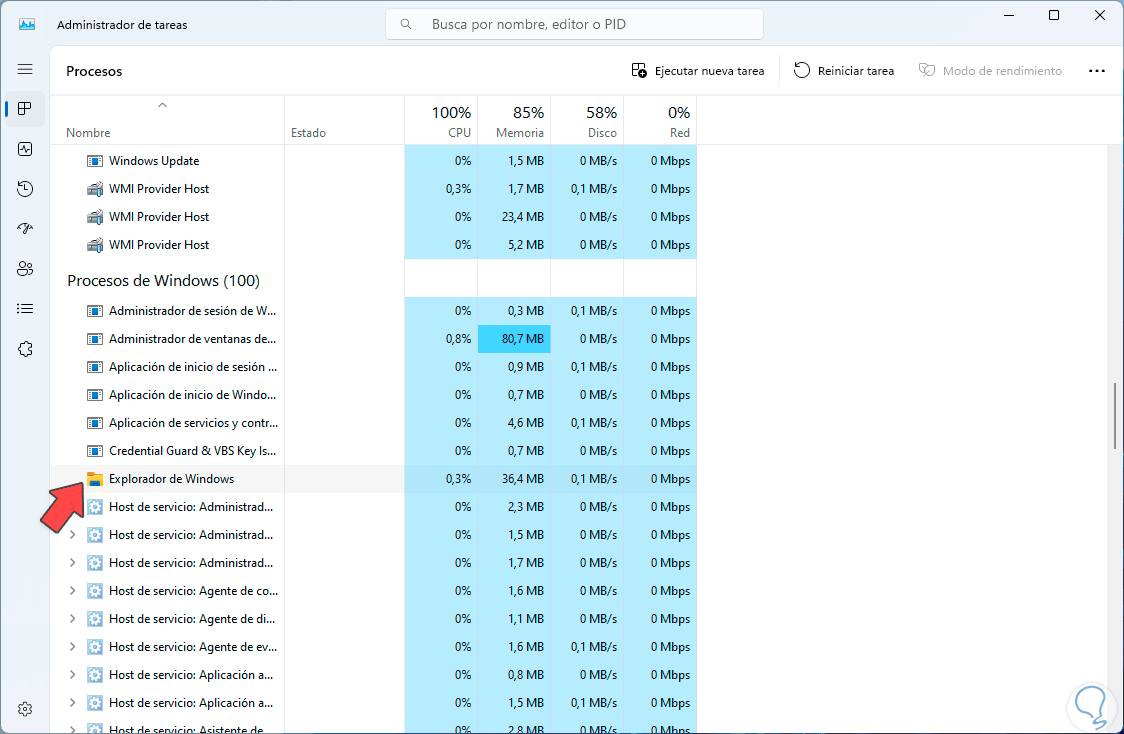
Step 3
We click on “Restart task” and we can see how the environment loads again:
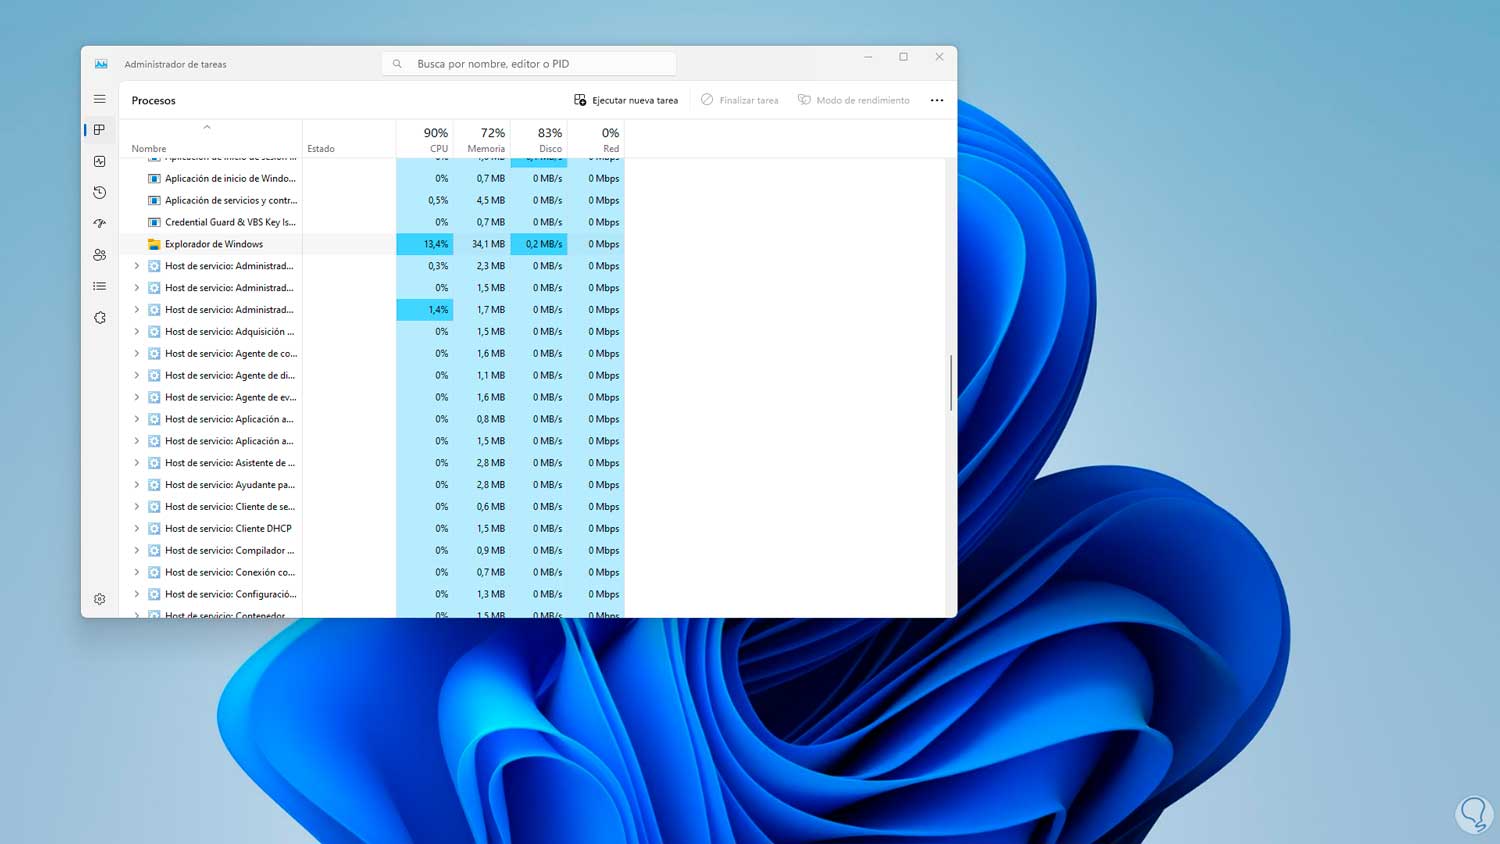
Step 4
We wait for it to load completely to test Volume Mixer:
3 Repair Volume Mixer by checking the audio service
Step 5
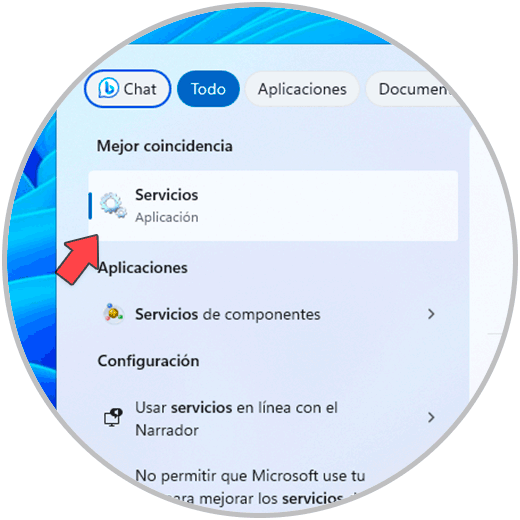
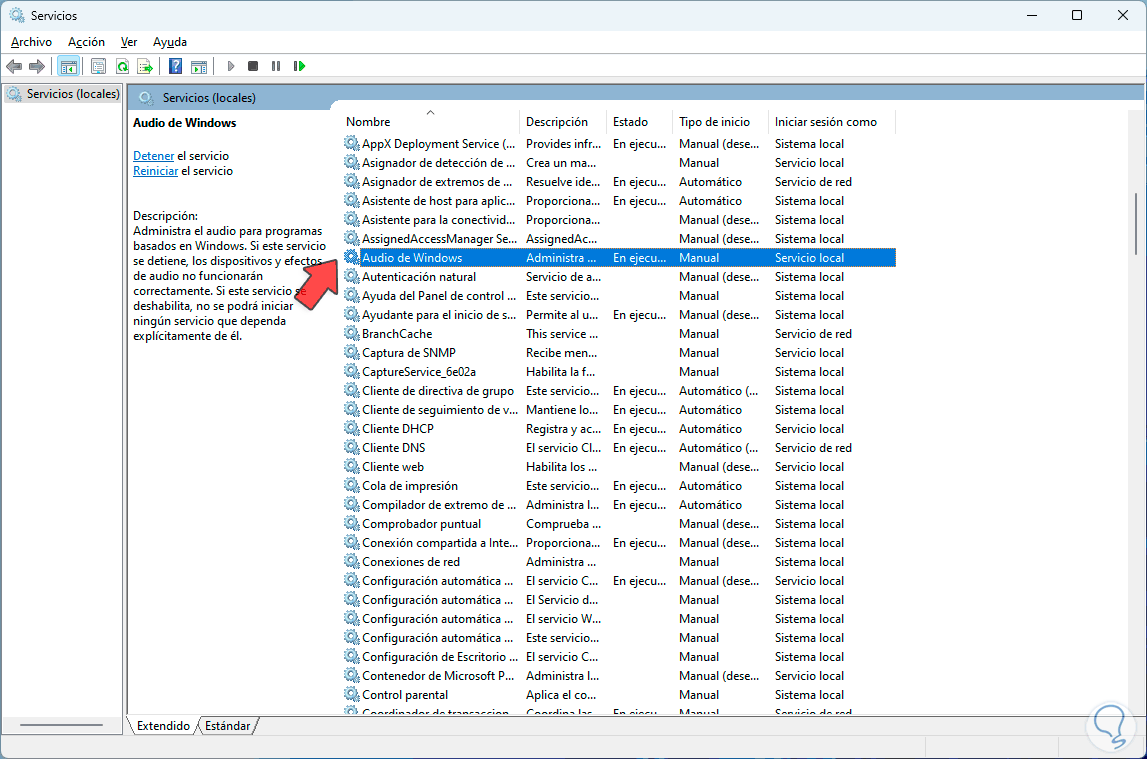
A common error that prevents the Volume Mixer from opening is related to the audio service, this service ensures that not only the sound but many of the features can be carried out normally in Windows, to check the status of the audio service, we open services from the search engine:
Step 6
In the services console we locate the “Windows Audio” service:
Step 7
We double click on this service to see its properties:
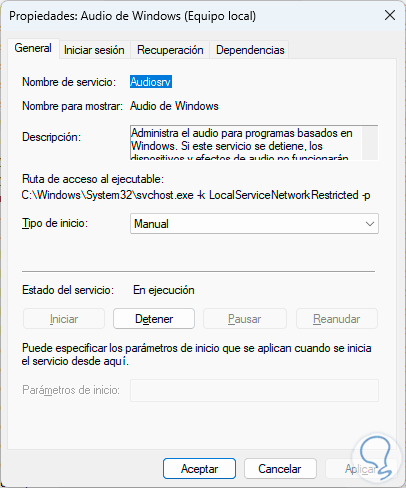
Step 8
In the “Type of service” field we set the value “Automatic”:
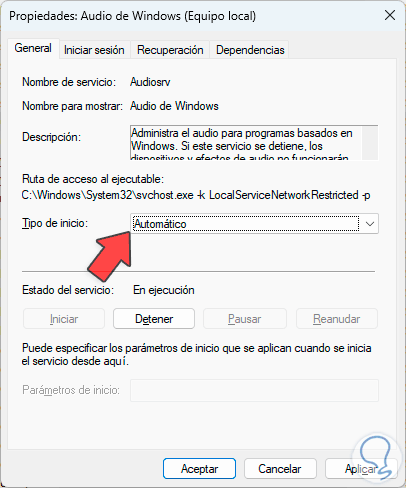
Step 9
We apply the changes.
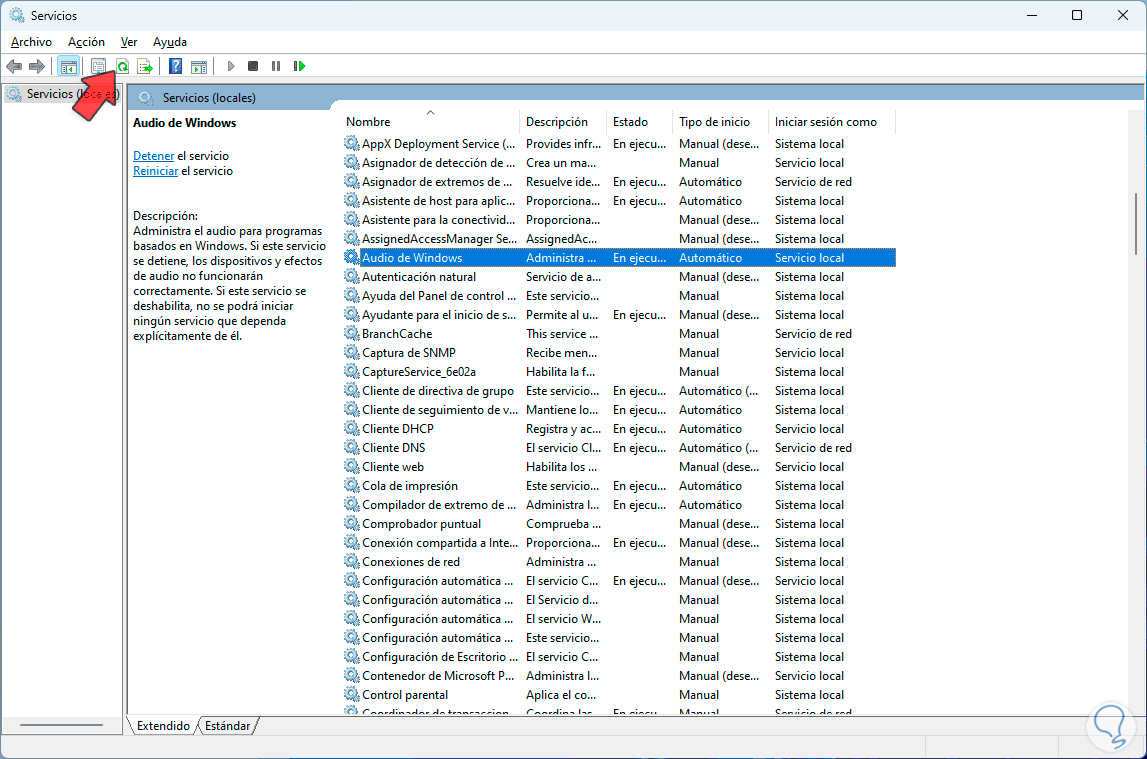
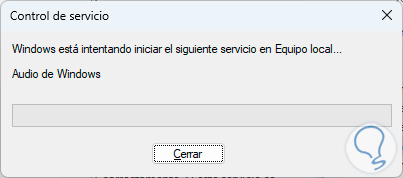
Step 10
Now, at the top we click on “Restart”, we hope that this service will be restarted:
4 Repair Volume Mixer from Console
Step 1
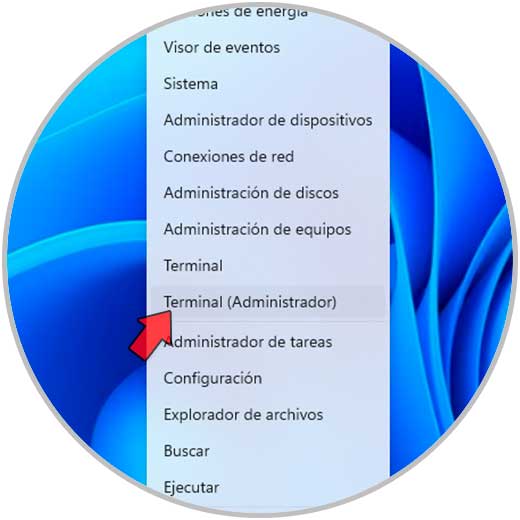
This is another of the options that Windows offers us to solve the error of not accessing the Mixer, to do this we open the terminal as administrator by right-clicking on the Start menu and clicking on the respective option:
Step 2
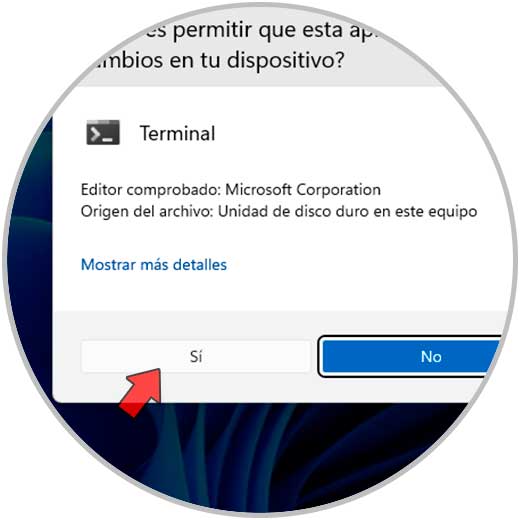
In the UAC window we click “Yes”:
Step 3
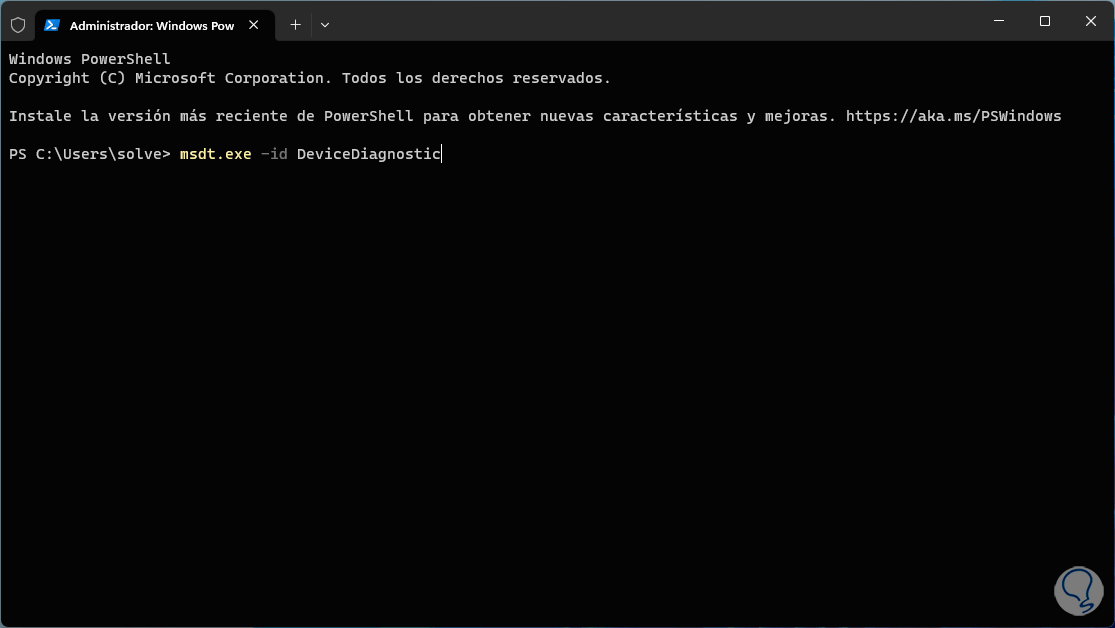
In the console we execute the command:
msdt.exe -id DeviceDiagnostic
Step 4
Pressing Enter will open the following:

Step 5
We click on “Advanced options” and validate that the “Apply repairs automatically” box is active:
Step 6
We click on “Next” to start the analysis:
Step 7
We see that it performs various types of tests:
Step 8
At the end we find the results obtained:
5 Repair Mixer Volume by Resetting Mixer
With this process we seek to restore the default values of the Mixer and the reason is that many times we make configurations that may affect the proper use of it, to restore it.
Step 1
Go to the route:
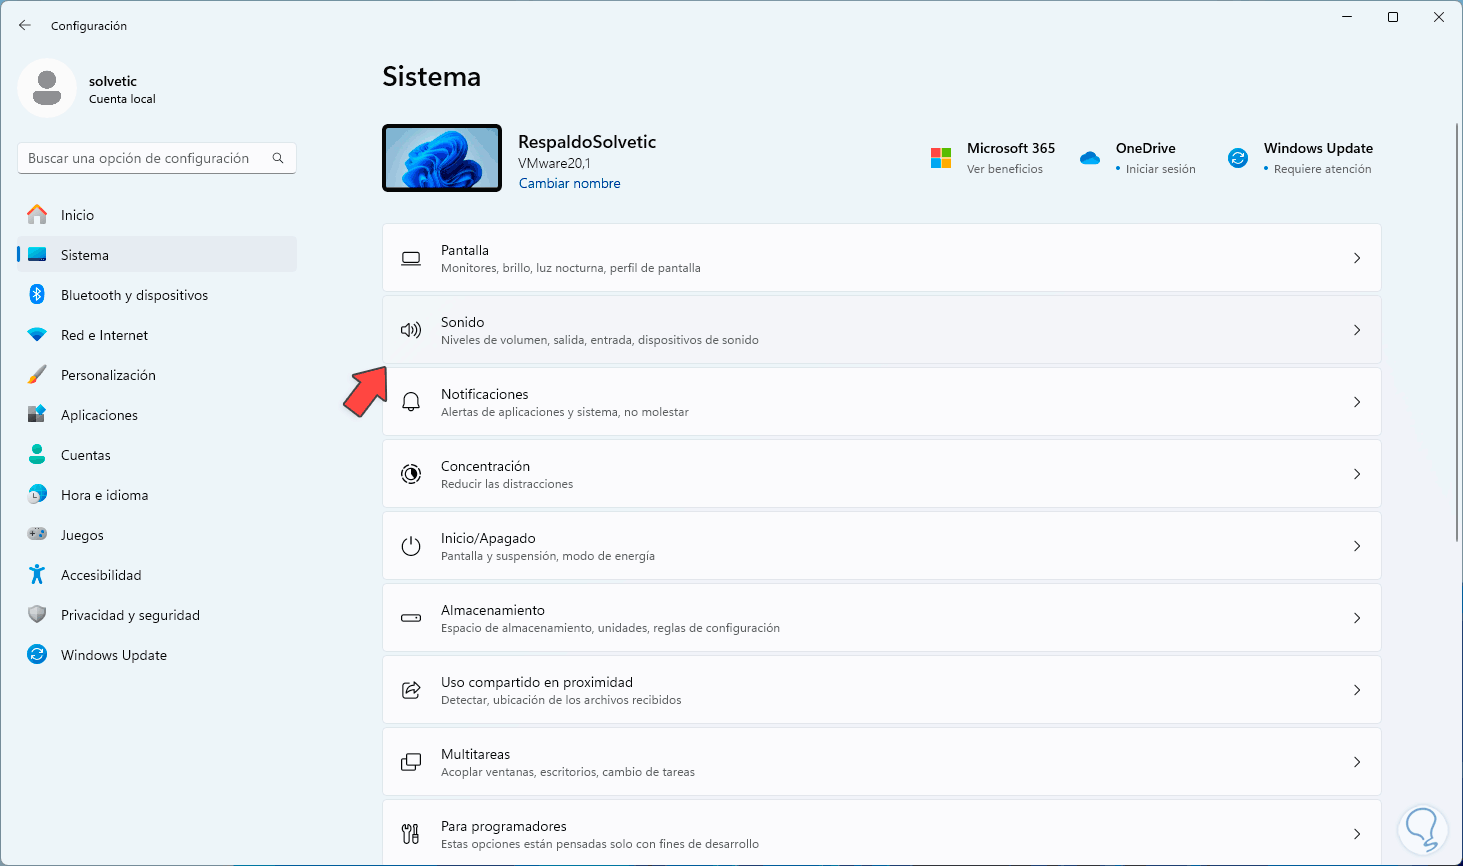
Step 2
In Sound, go to the bottom and click on “Volume Mixer”:
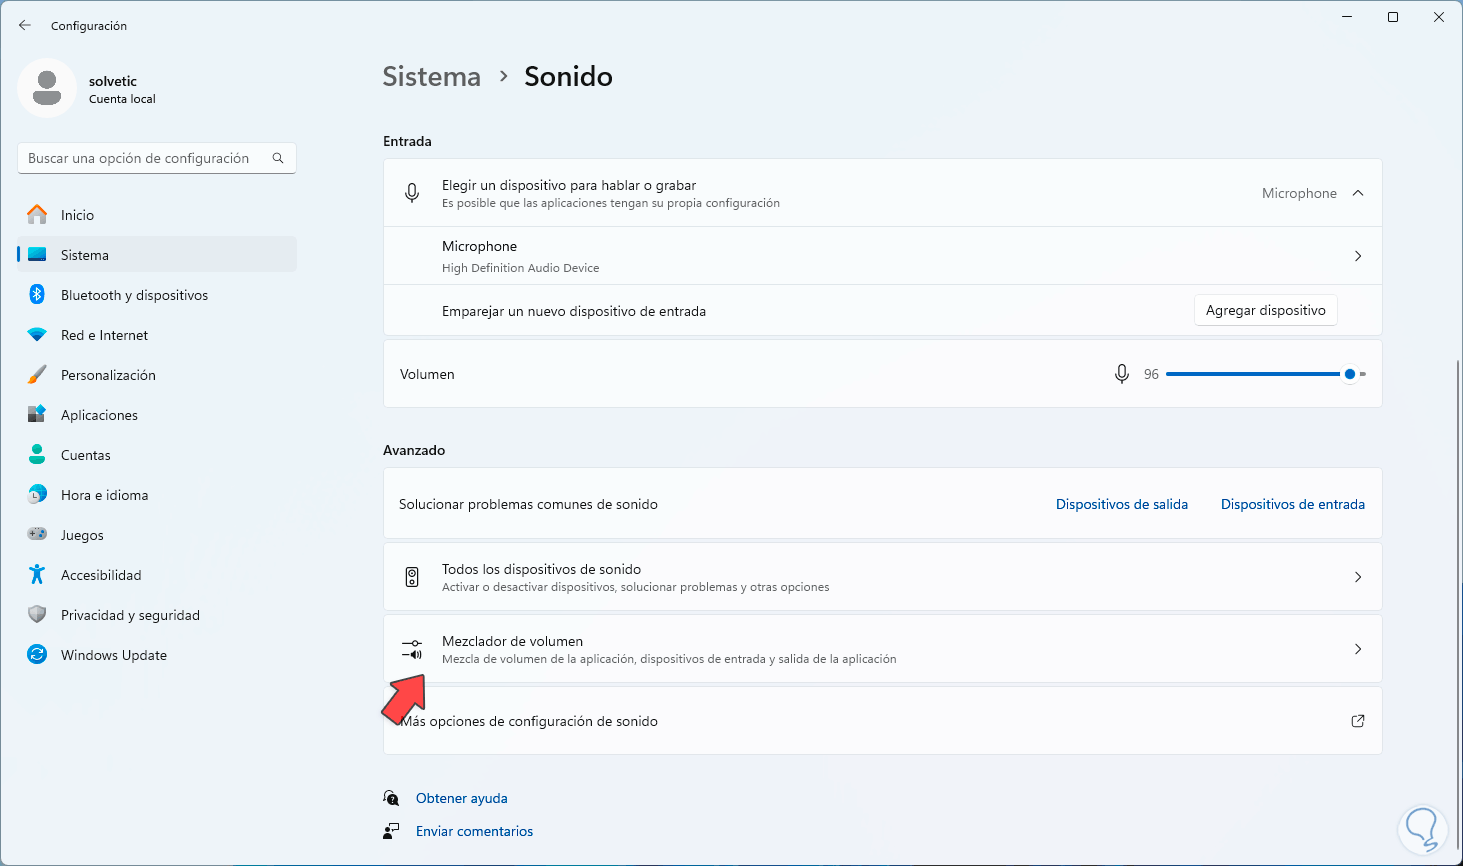
Step 3
By clicking there we will see your options:
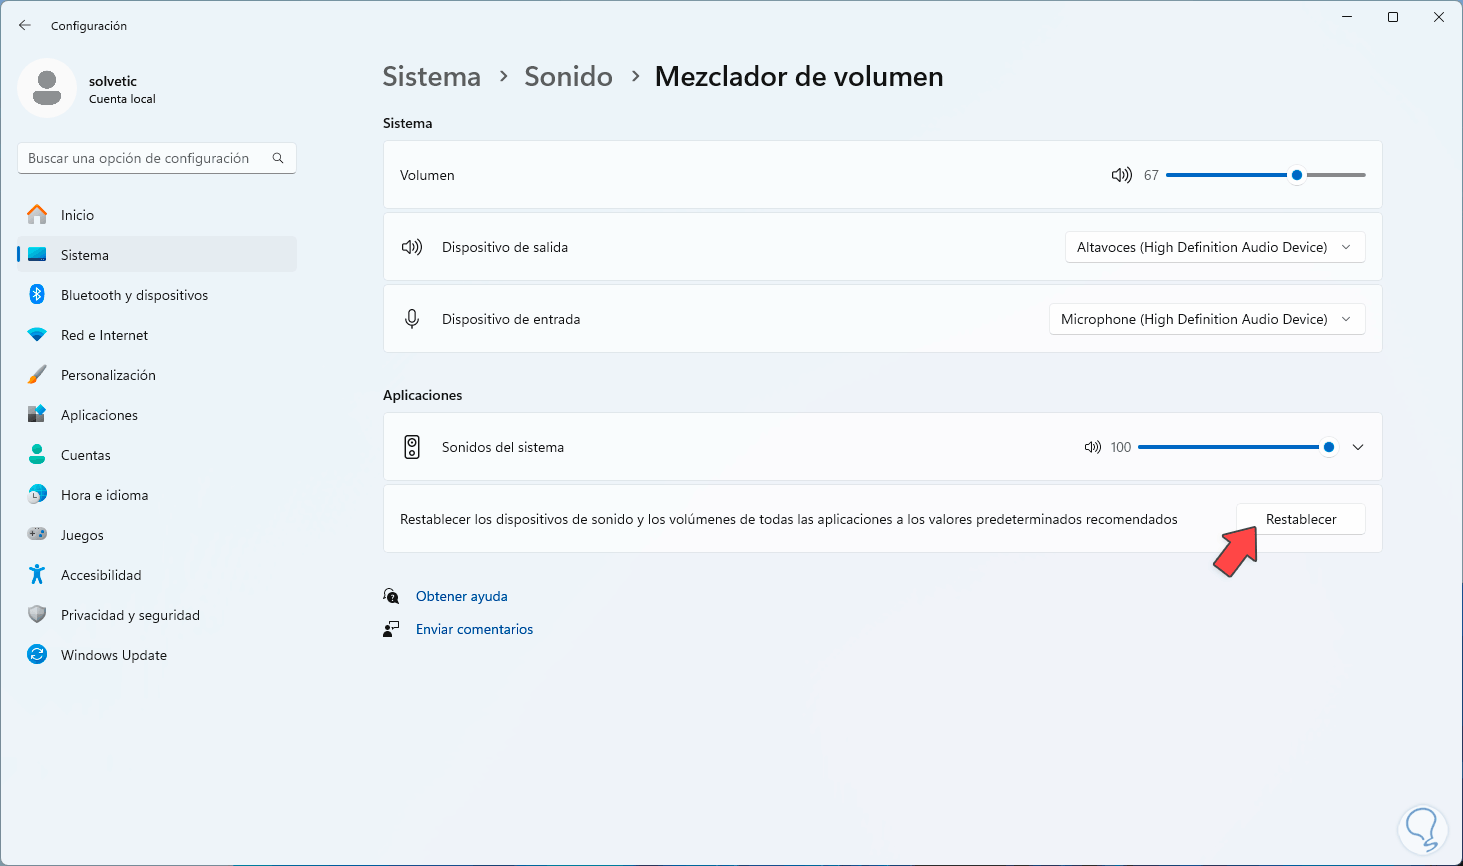
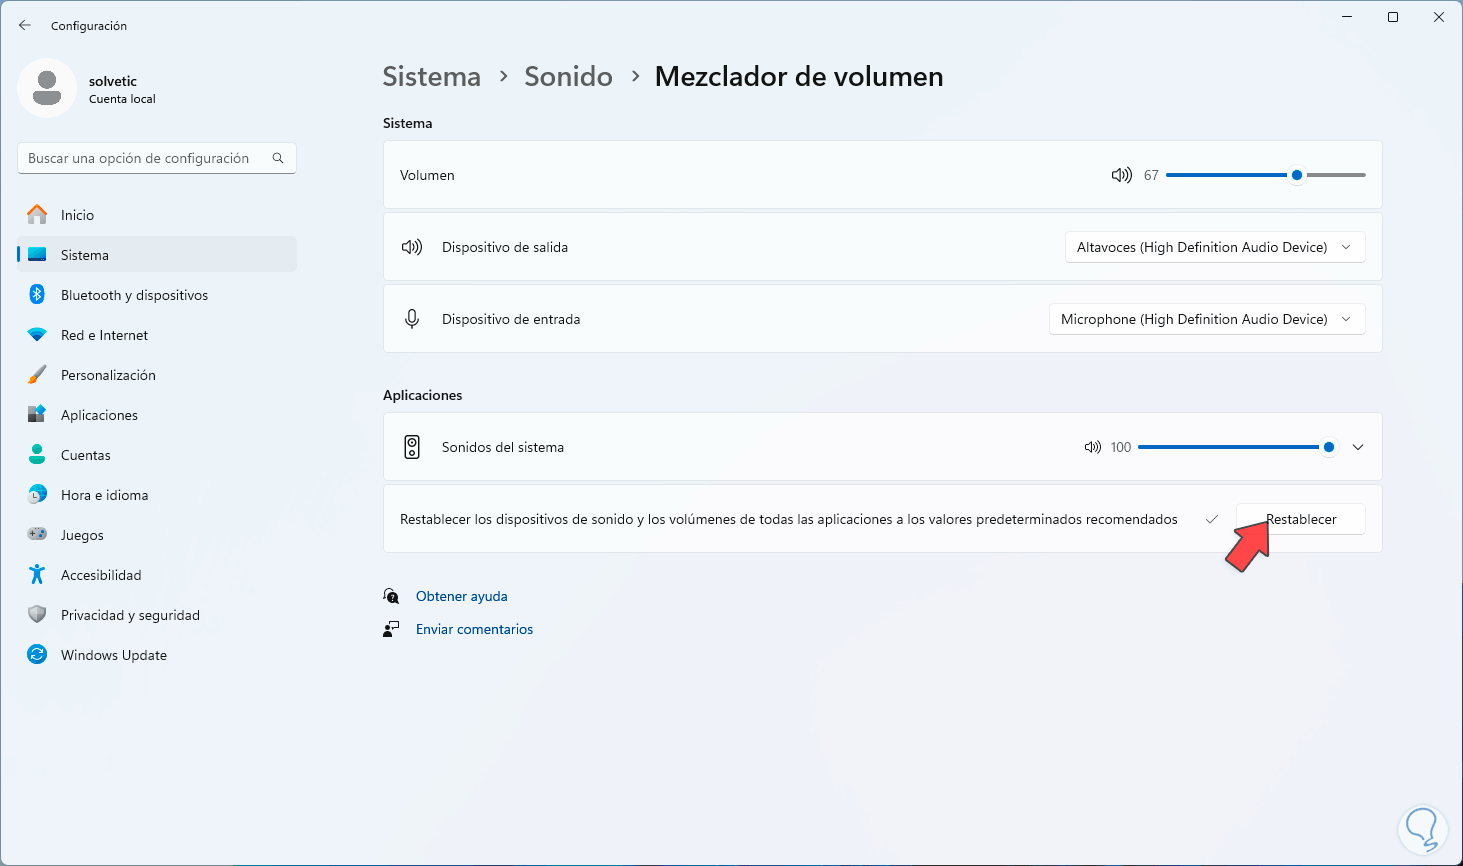
Step 4
We click on “Reset” to return the Mixer to its default values:
6 Repair Volume Mixer by pinning the Mixer
Step 1
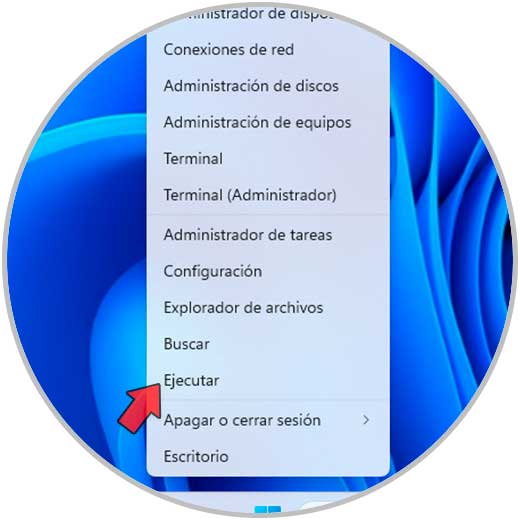
In case the Volume Mixer does not open from Settings or from the volume icon, we can pin it to the taskbar and thus access it with a single click, in this case, we right click on the Start menu and select “ Execute":
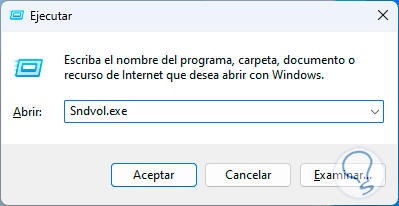
Step 2
In the Run window we enter the command:
Sndvol.exe
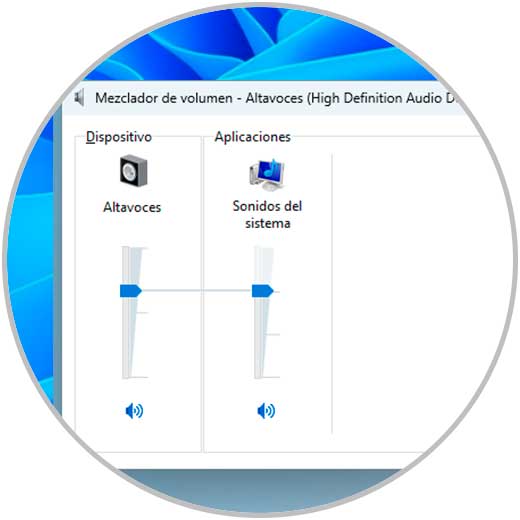
Step 3
Clicking OK will open the System Volume Mixer:
Step 4
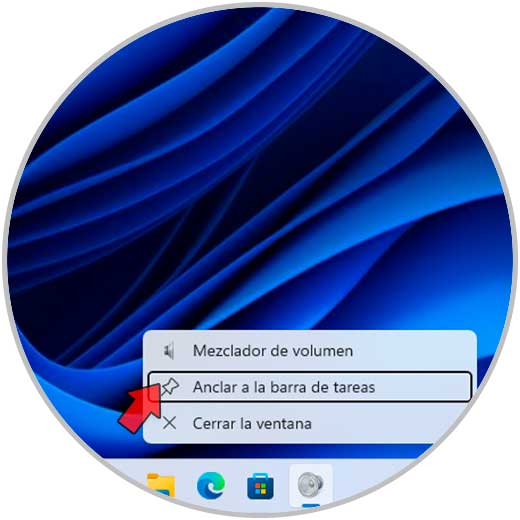
Now, we right click on the access or application in the taskbar and then click on “Pin to taskbar”:
Step 5
Now we can see the access to the Volume Mixer pinned to the bar:
7 Fix Volume Mixer by restarting disabling exclusive use
Step 1
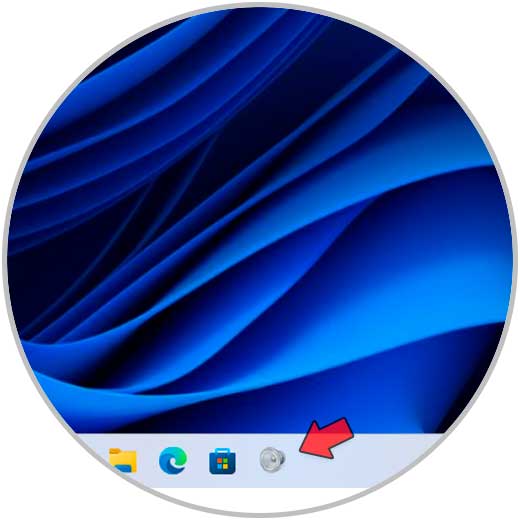
Exclusive mode is a Windows feature in which some applications have the power to take control of the audio, this naturally prevents the sound from being standard for the entire system and will cause some features, such as the Volume Mixer, to be disabled. are affected, to disable this function, we right click on the volume icon in the taskbar and select the “Sound Settings” option:
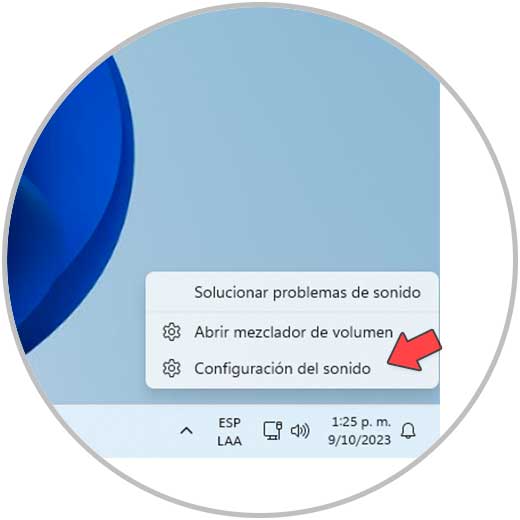
Step 2
The following will open: There, at the bottom, click on “More sound configuration options”
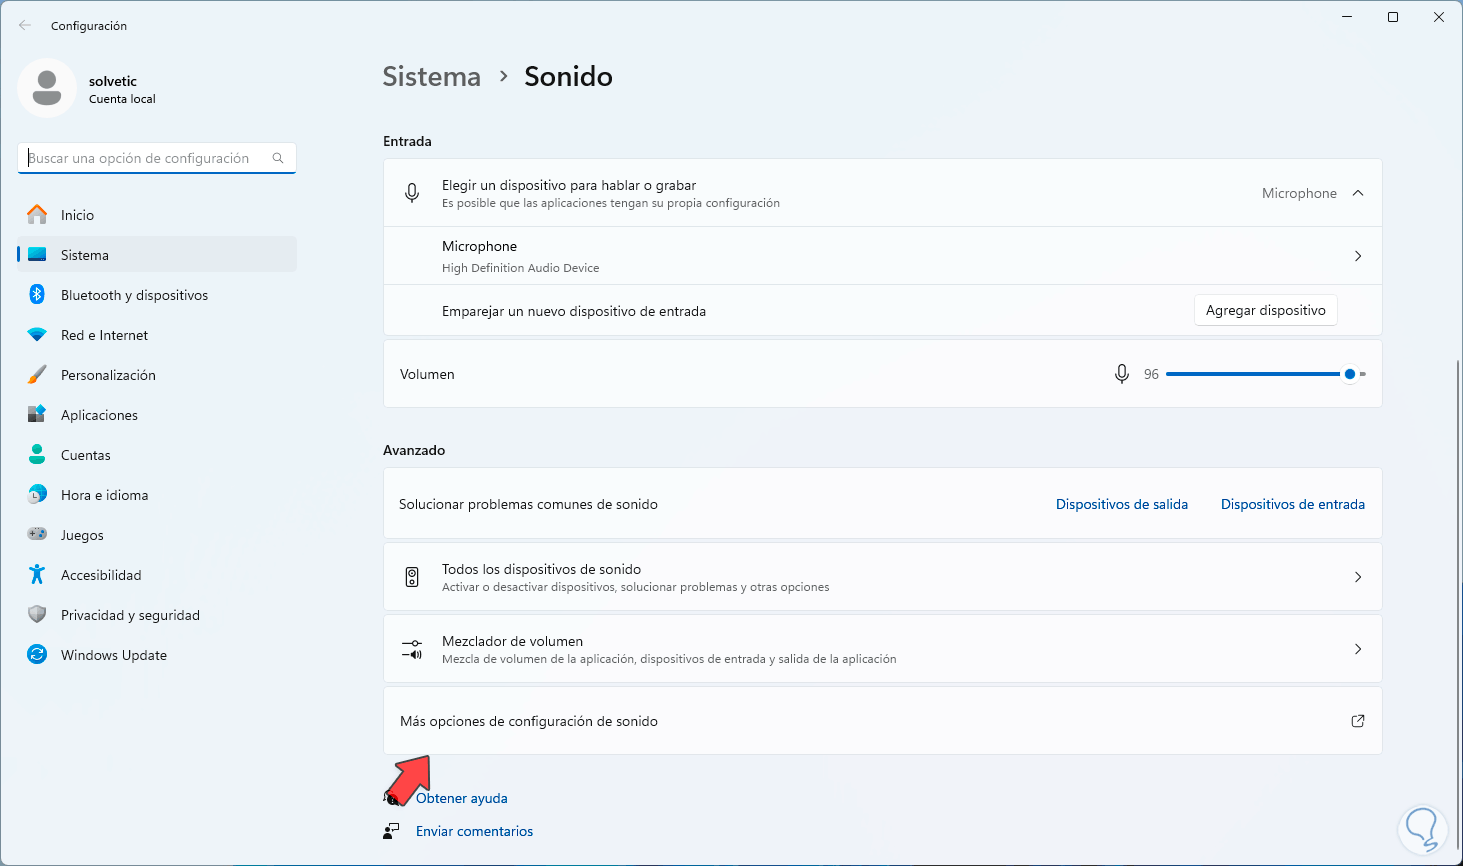
Step 3
The following pop-up window will open. We select the device and click on “Properties”
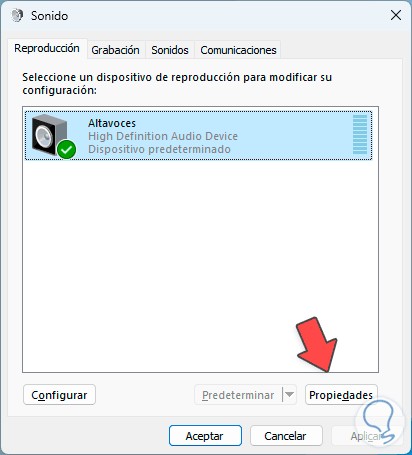
Step 4
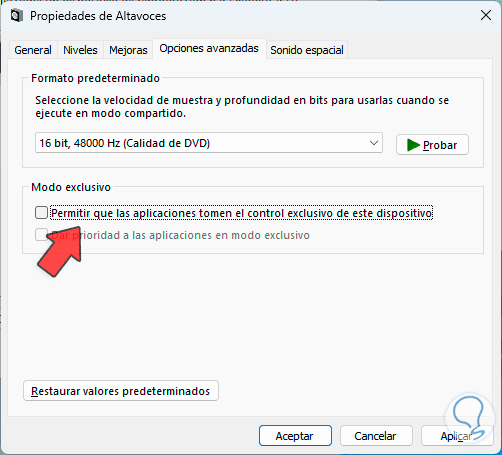
Let's go to the "Advanced Options" tab:

Step 5
Here, we uncheck the “Allow applications to take exclusive control of this device” box:
We apply the changes..
8 Repair Volume Mixer by restoring the system
When restoring the system, the goal is to return the computer to a previous date where everything worked properly. In order to do this, you must have the automatic restore point creation configuration active. These will create points from time to time to where the equipment can be restored.
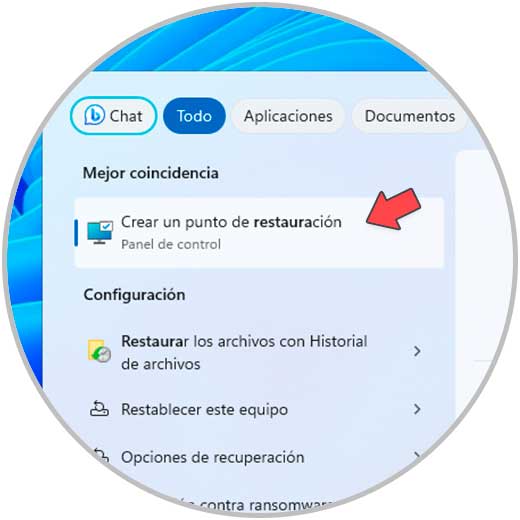
Step 1
To use this method, enter “restore” in the search engine, click “Create a restore point”:
Step 2
We will see the following:
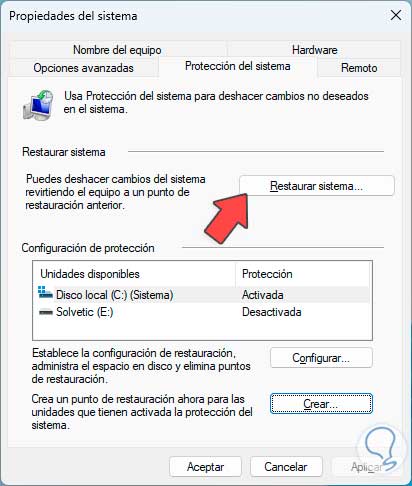
Step 3
We click on “System Restore”, the wizard will open:
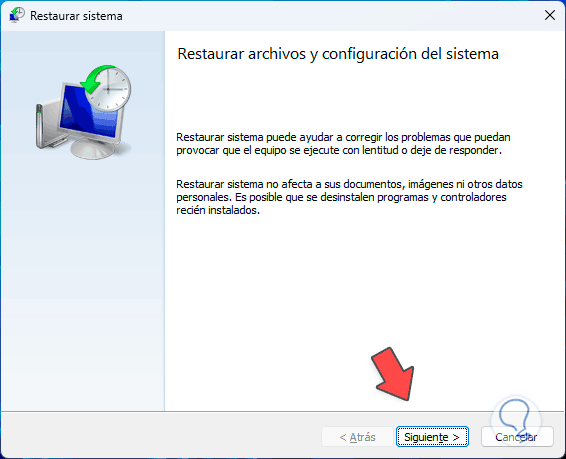
Step 4
By clicking “Next” we select the restore point:
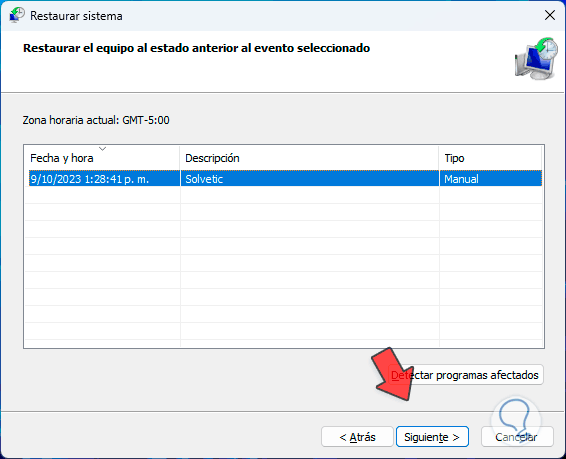
Step 5
Then we will see a summary of the operation. By clicking on “Finish” we will see the following:
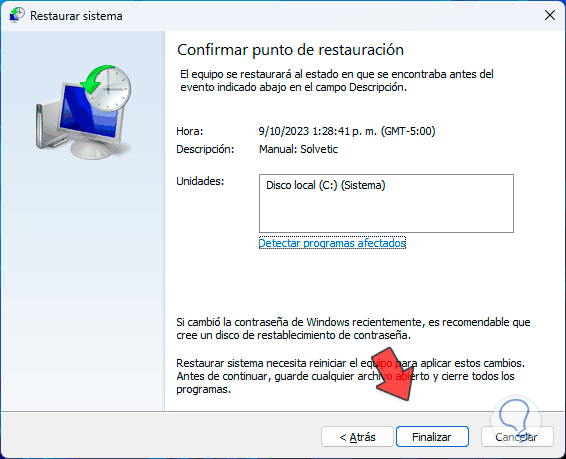
Step 6
There we click on “Yes” and wait for the process to complete.

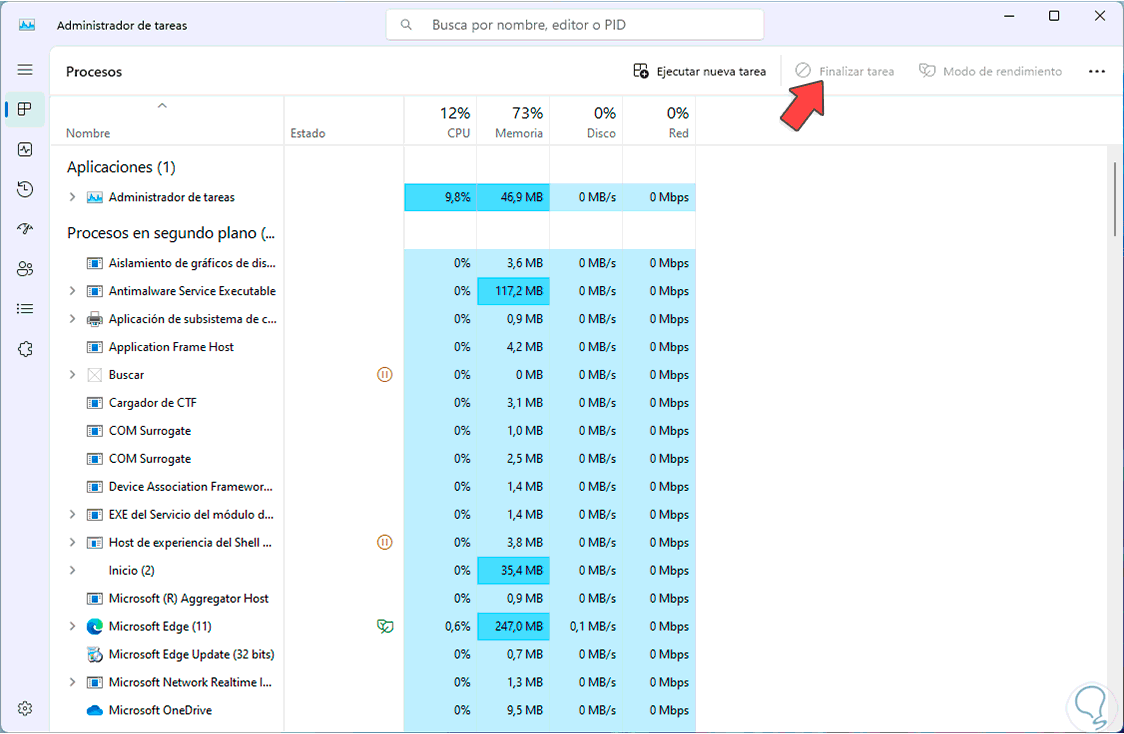
9 Repair Volume Mixer finishing the process
Step 1
Finally we can finish the process to open a new one, in this case we open the Task Manager:
Step 2
We locate the “Volume Mixer” process:
Step 3
We click on “End Task” to close it completely. Now we can open it again.
These are comprehensive options that TechnoWikis gives you to fix the Volume Mixer not opening error..