One of the main advantages of using Mac computers is the reliability, security and efficiency of this type of devices and that beyond its current cost, both Mac hardware and software has always been an icon of excellence..
When we have a team of some years, it is likely that the time will come when we need to update ourselves since we know that Apple specifies a range of dates to be able to install its latest operating system versions , for example, if we have a MacBook Pro 2011 will be impossible for us to use and enjoy macOS Mojave since it is required that this be from the year 2012.
If we decide to change equipment, it is normal for the old equipment to be sold or given to an acquaintance and that is why, mainly for security reasons, that the files stored there are deleted securely..
Differences between the different types of hard disk
Current hard drives have better security and efficiency features, this is seen with solid state hard drives (SDD). Here there is an important point that we must keep in mind and that is that older Mac computers are equipped with mechanical hard drives (HDD) and the most recent ones have by default solid state drives (SDD) and perhaps some ask, What importance do you have this TechnoWikis will explain them below.
The main difference lies in the way in which the deletion of the files is managed, when we use an HDD hard disk , the elements that we erase occupy a small space at the physical level on the surface of the disk, so that the file can be available so that this Be overwritten with data. Hence, there are a number of tools that retrieve information from both hard drives and removable media.
In the case of solid state hard drives, SSD, they have the characteristics that they move the files internally so that, if a file is overwritten on this disk, what is really done is to create a new file that will be hosted in a new location. Seen this way, the file will still be on the SSD disk and can be recovered.
Until the OS X 10.3 operating system, Apple developers implemented a new function called Secure Empty Trash specially designed to increase security when deleting items . This function was based on the pattern of the US Department of Defense. UU. which overwrites the data seven times for its complete and total erasure, thus, this function on SSD hard drives is not available..
The first thing we recommend is that you watch this video of us where we explain how to perform a secure erase of USB drives or a disk on Mac. They will help you to fully understand all these options, such as overwriting and types of secure erasure.
To keep up, remember to subscribe to our YouTube channel! SUBSCRIBE
For this reason TechnoWikis will give a series of tips to securely delete our files in macOS Mojave .
1. How to delete files securely using the Mac terminal
In previous versions of macOS, we had the command line option which contained the "srm" command which was developed to delete files and folders safely, the srm command overwrites the data in the target files several times before Total elimination
Apple eliminated this command from the macOS Sierra version due to the incorporation of SDD hard drives, but we still have the opportunity to use it if necessary.
Step 1
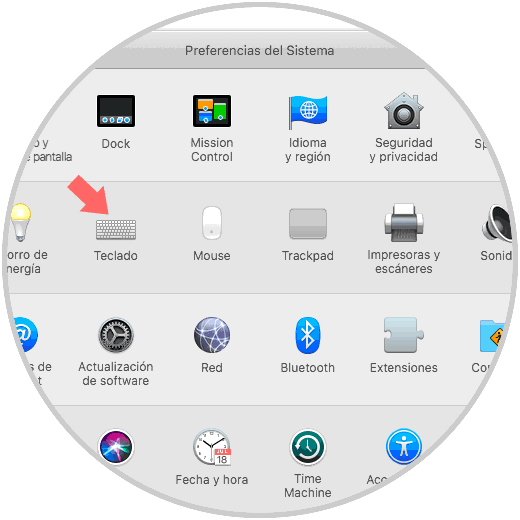
To perform this process, we go to System Preferences where we will see the following:
Step 2
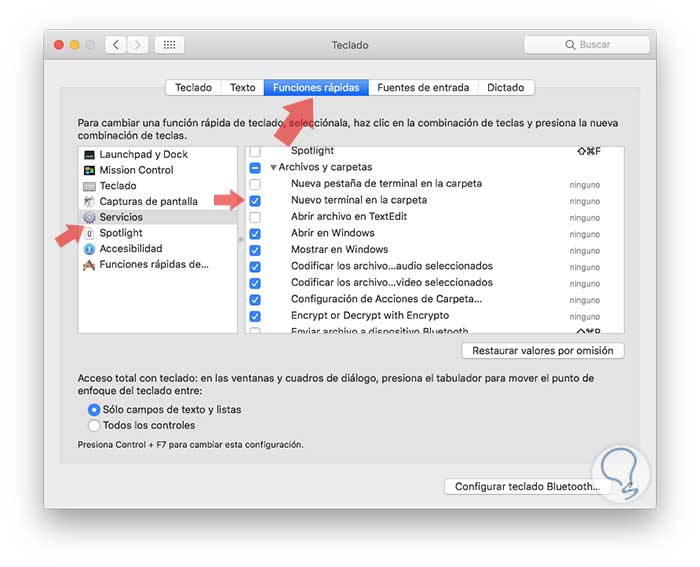
There we select the Keyboard category and in the window that will be displayed we go to the Quick Functions tab and there we go to the Services category where we will activate the New terminal box in the folder:
Step 3
If we want to open the folder in a new terminal tab, we will activate the New terminal tab in the folder box.
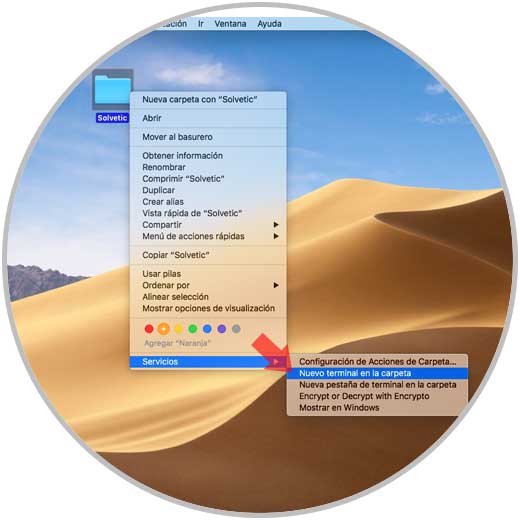
Now we will go to the folder where the files that we are going to delete are stored securely, we will right click (Ctrl + click) on it and go to the Services line and there we select the option New terminal in the folder:
Step 4
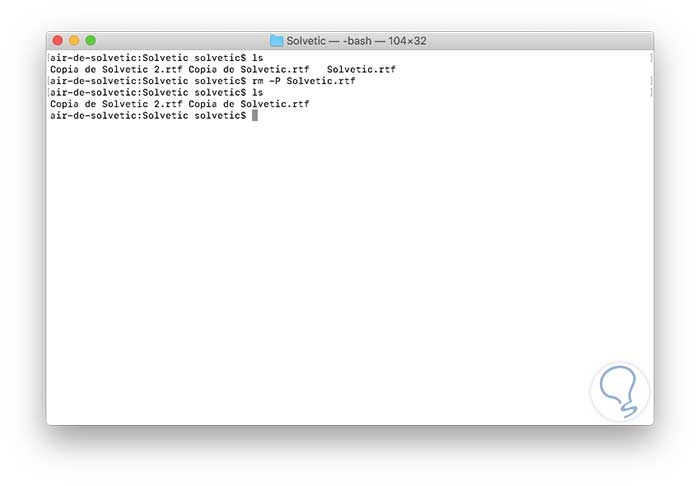
When executing this, a terminal console will be opened where we will execute the following syntax:
rm -P (File)
We will list the content with ls, then execute the previous command and again use ls to validate that the file has been safely deleted:
2. How to delete files safely using TRIM on Mac
When we buy a Mac computer with an SSD hard drive, by default it brings an integrated tool called TRIM. This command has the task of avoiding the decrease of the performance of the SSD disks with the use, since it is in charge of sending to the disk all the information of the block that is available to be erased in order to reduce the number of writes in the physical unit as such.
Thus, the memory cells will be deleted at the moment when a file is deleted so that the writing of the disk is facilitated, optimizing its useful life. On all SSD hard drives, the TRIM command is automatically executed by cleaning the data in that marked space.
To enable TRIM in macOS Mojave we go back to the terminal and there we will execute the following:
sudo trimforce enable
The following message will be displayed:
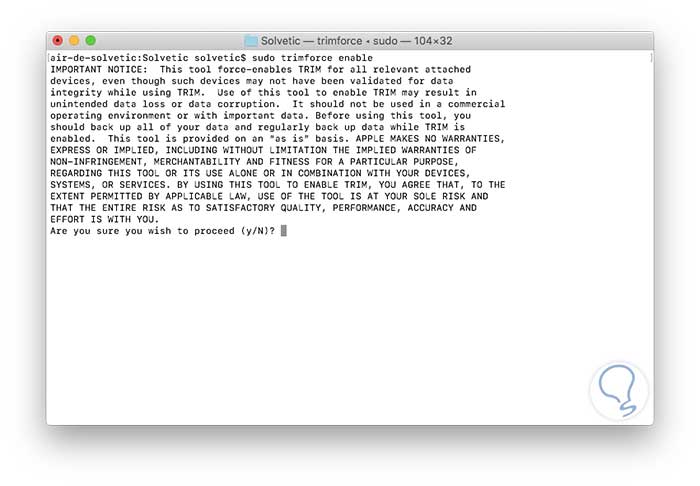
There we enter the letter and to accept and it will be necessary to restart the system to apply the changes. Apple does not guarantee the use of the TRIM tool and warns us that it must be used under our responsibility for which TechnoWikis advises to create a backup before proceeding with this authorization.
3. How to delete secure files using a Mac encrypted disk image function
As a rule, most of the software for macOS Mojave is in the format of disk images or .dmg files. These disk images are in the ability to package and distribute files securely using various media and best of all, this guarantees us not only the availability of the information but the security of it.
macOS Mojave allows us to create disk images in a simple way and encrypt them thanks to Disk Utility, with this, in this image we can store private information and protect it from unauthorized access.
If we use this disk image to delete the files, it will be possible to move the files and folders we want to delete to the created disk image, block that image and then delete the .dmg file, so the disk image will encrypt the files so that They are not recovered by any tool.
Step 1
To carry out this process, we access the disk utility using one of the following options:
- Entering the term disks in Spotlight and there select the utility
- Use the Go / Utilities / Disk Utility path
- Using the key combination ⇧ + ⌘ + U and in the pop-up window select Disk Utility
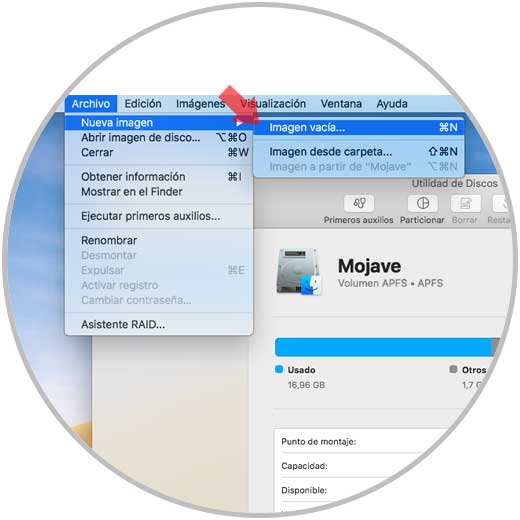
Once we access the disk utility we go to the File menu and there we select New image / Empty image:
Step 2
In the displayed window we will enter details such as:
- Name of the image to create
- Location where it will be stored
- Define partitions and more
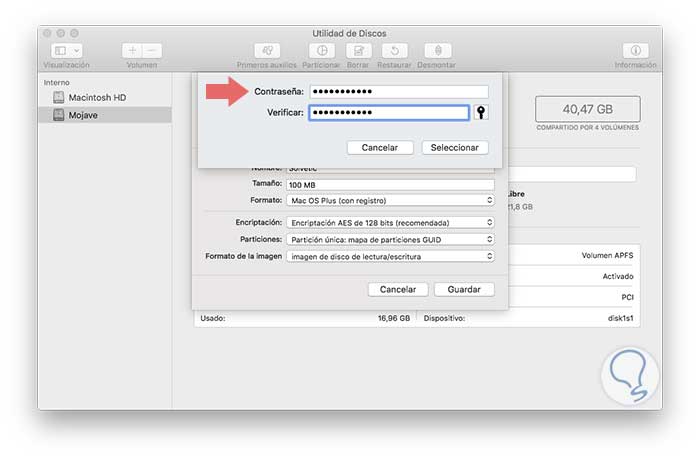
But there a key point for security is the Encryption field which allows us to select 128-bit AES Encryption or 256-bit AES Encryption which is more secure but affects the performance of the equipment.
For this case we select AES of 128 bits and we will see that it is required to add the password for the image:
Step 3
Click on Select and we will see the added information:
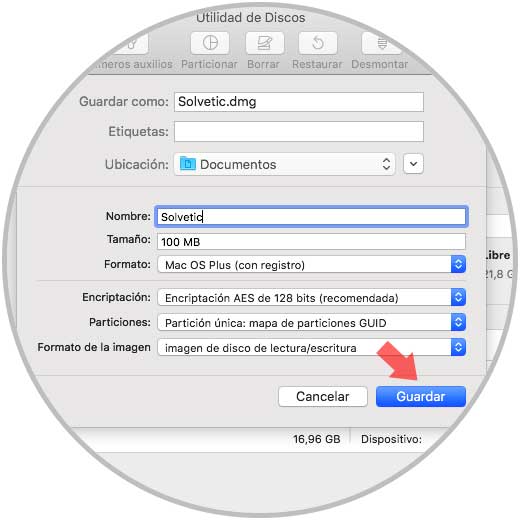
Step 4
Click on the Save button and we will see that the image is created according to our parameters:
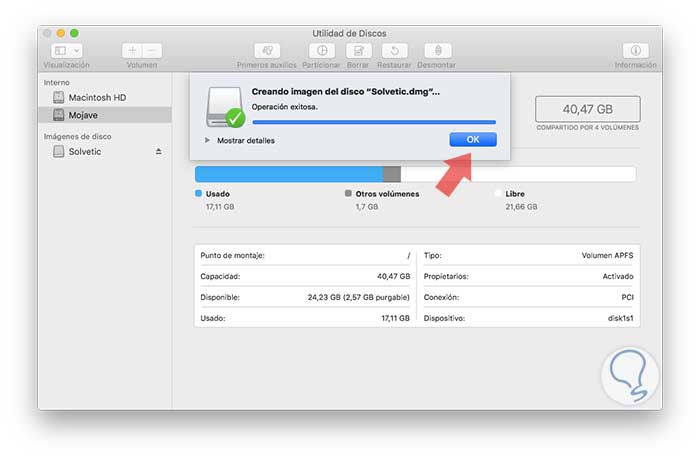
Step 5
Click OK to exit the wizard and now we will see this image available in the macOS Mojave disk utility:
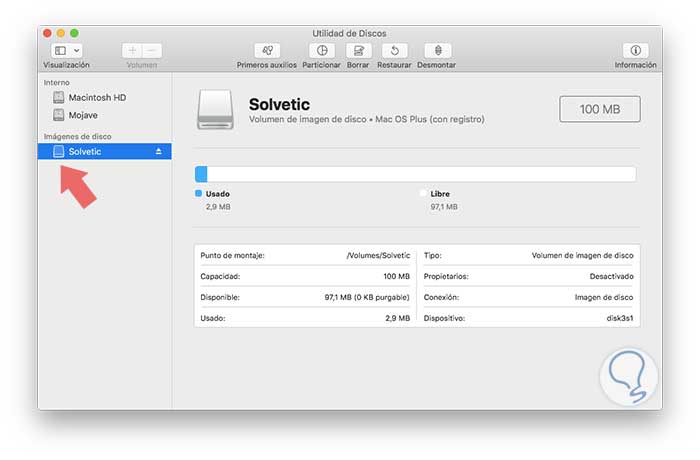
Step 6
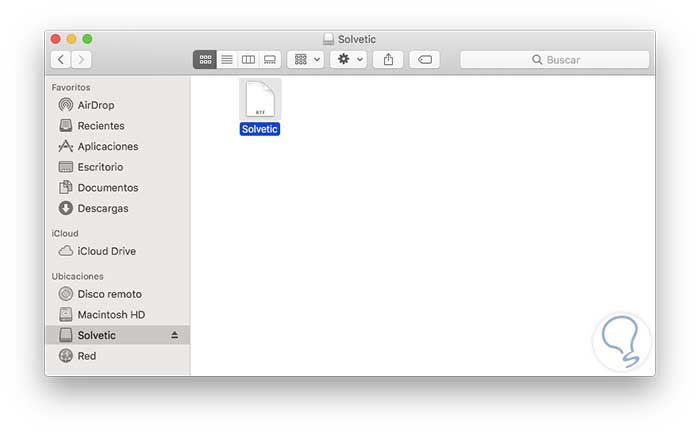
Now we can move there all the elements we want to remove:
Step 7
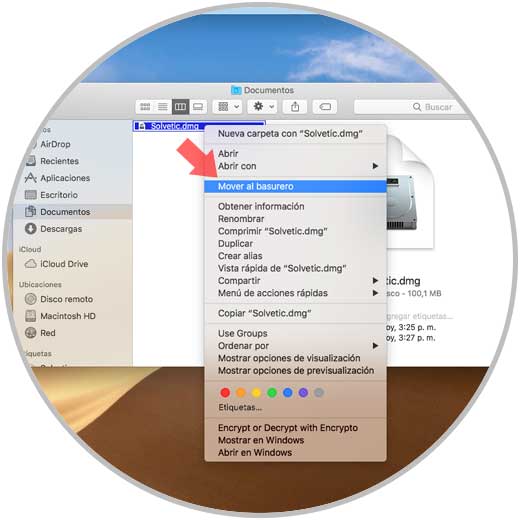
To exit the image, we will right click, Ctrl + click, on it and select Eject:
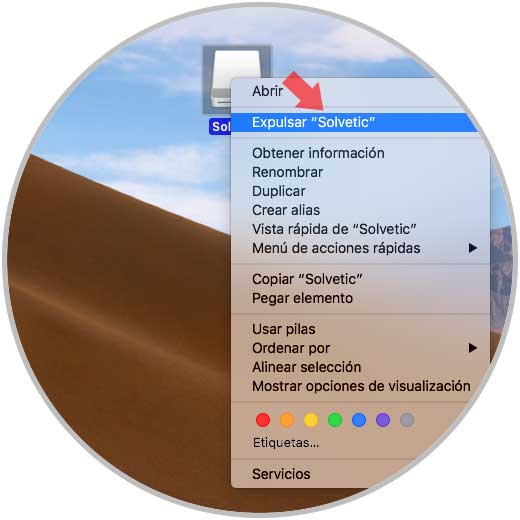
Step 8
All the files that we copy in the image of the created disk will be encrypted, now we can move the .dmg file to the dump and in this way the files stored there will be safely deleted.
4. How to delete files safely using free Mac applications
Undoubtedly, another of the practical options we have for the complete deletion of elements in macOS Mojave is the use of free applications which allow us to execute this process in various practical ways, we will see a special one for this task:
Permanent Eraser
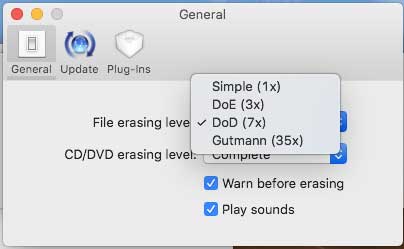
Permanent Eraser is one of the best options to use since it offers us different additional cleaning methods such as the 3-pass DoE algorithm or the 35-pass Gutmann algorithms to ensure complete deletion of the files.
This utility overwrites the data several times, then encodes the name of the original file and blocks the size of the file before proceeding with the total deletion of this, once this process is carried out, the files will be impossible to recover.
features
Some of its most outstanding features are:
- We can drag a CD-RW or DVD-RW into the application to permanently erase the contents of the disc
- It is compatible with Automator and macOS Mojave services
- It runs natively on PowerPC computers and Intel-based Macintosh computers
- It can be integrated into the Finder
Your free download is available at the following link:
Permanent Eraser
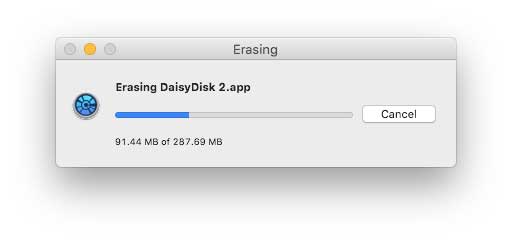
Step 1
Once downloaded, we proceed to its installation and execution and the application environment will be as follows:
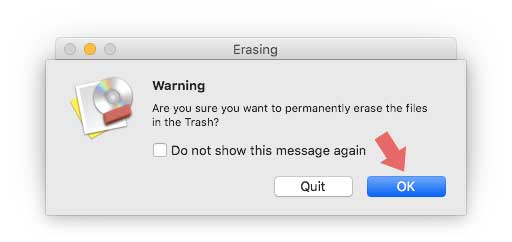
Step 2
There we can click on the Ok option to delete the files in the macOS Mojave dump:
Step 3
Now, we can go to the preferences of the application where initially we will have the opportunity to define the level of deletion of the files:
Step 4
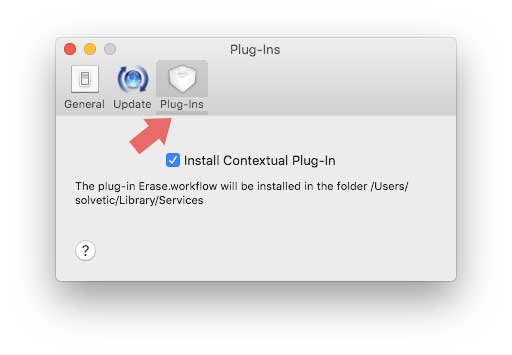
In the Plug-ins tab we can activate the Install Contextual Plug-In box in order to link the application to Mojave services:
Step 5
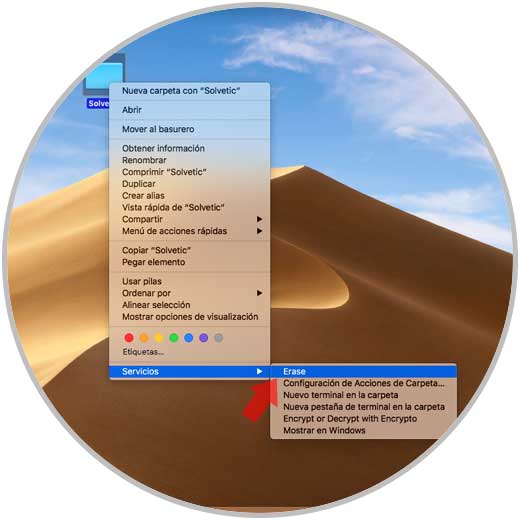
When activated, just right click on the item to be deleted and go to the Services section and select Erase. In this way we will perform the deletion process automatically.
Step 6
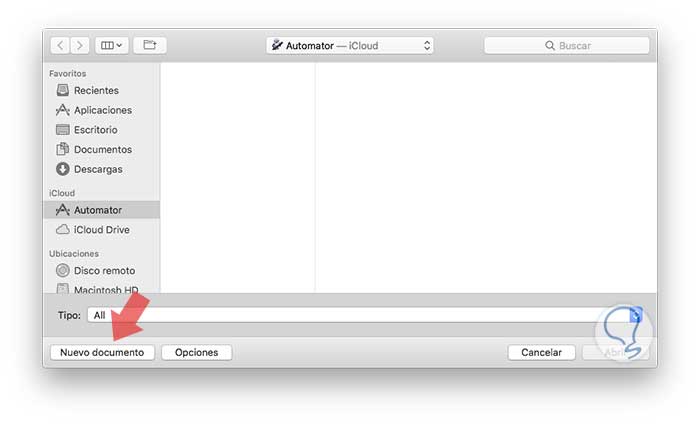
If we want to use this application permanently in the macOS Mojave Finder, we open the Automator application and click on the lower button New document:
Step 7
Clicking there will display the following window where we select Application:

Step 8
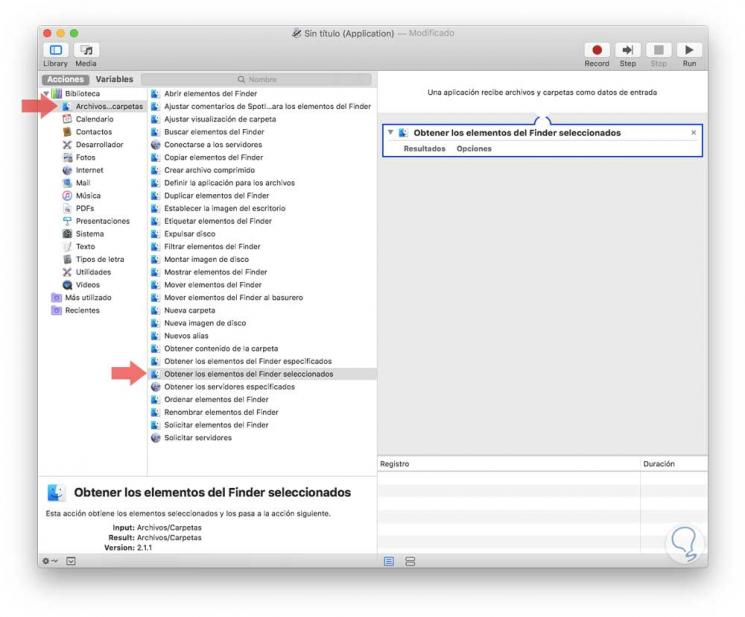
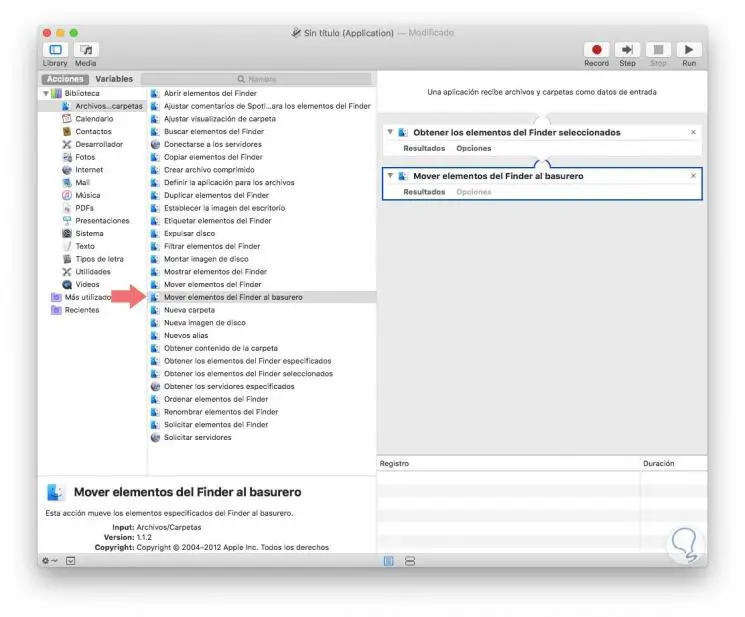
Click on the Choose button and in the new window we select the category Files and folders and there we drag to the right panel the option Obtain the selected Finder elements:
Step 9
Then, we drag the option Move Finder items to the dump:
Step 10
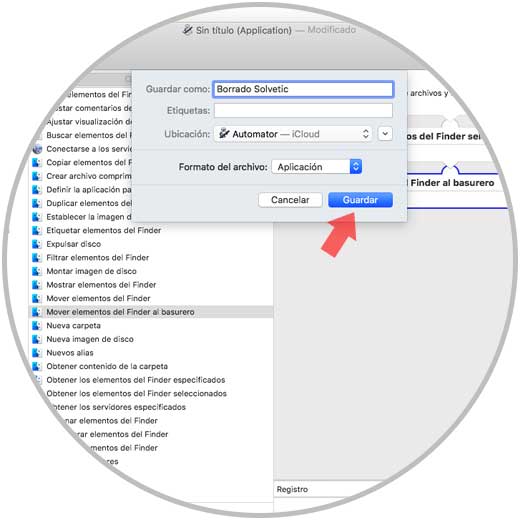
We go to the File / Save menu to store the created application. Click on the Save button to apply the changes.
Step 11
Now we will go to the route where the created application was hosted and there we will use the Command + Option keys while dragging this towards the Finder:
+ ⌥ ⌘ + ⌥
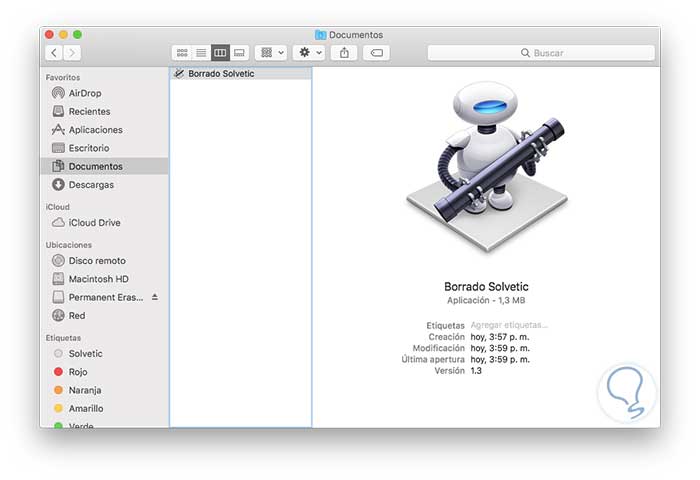
In this way when we access some element in the Finder gown with clicking on the application that we have added to the Dock and thus the objects will be removed.
We can see that the options for the secure deletion of our data are varied and effective in macOS Mojave, remember the importance of completely deleting the data since we never know in which hands they can fall.