The managing different files and documents on your computer has become an almost daily task for many of us. We store a lot of information on our computers, with the intention of accessing it at another time or sharing it with our contacts through different means..
Working with files in macOS, and in all operating systems , is a constant where we must learn to have the best possibilities for managing them and when it comes to large files, the most appropriate option will be to use a program that allows us to compress and then decompress these types of files to access their content. We must bear in mind that these programs must have the best security and performance options.
One of the best options to use is Keka and today we will talk a little about this free utility for Mac..
What is Keka
Keka is a utility thanks to which the compression and decompression tasks will be somewhat simple. The reason is that access to the utility is not always required, just drag and drop the files or folders to the Keka icon and thereby generate the compressed file.
Security is a key aspect in archives work and that is why Keka gives us the opportunity to assign an access password. To do this, Keka uses the AES-256 specification for encrypting 7z and Zip 2.0 files. legacy in the case of Zip files.
Compatibility
Keka supports the following format types:
Records
Keka allows us to extract files in some formats such as:
To stay up to date, remember to subscribe to our YouTube channel! SUBSCRIBE
1. How to install Keka on Mac to open RAR files
Step 1
Keka can be downloaded at the following link:
Keka

Step 2
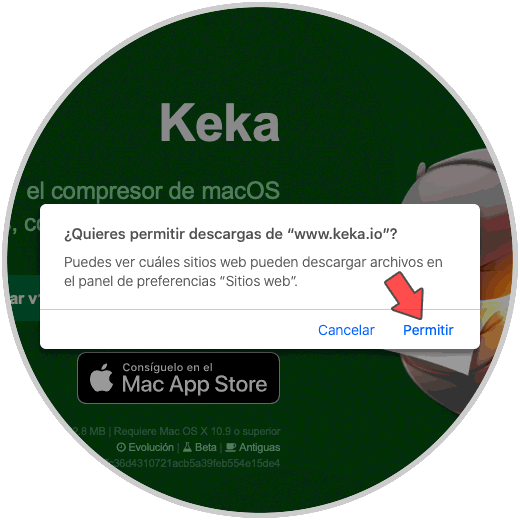
There we downloaded the application and macOS Catalina will launch the following warning:
Step 3
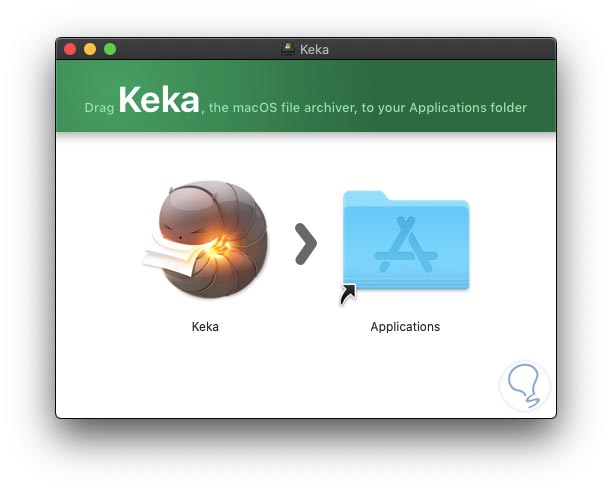
We click on "Allow" and once downloaded run it and see the following:
Step 4
There we drag the access to Applications and we will be warned by macOS:
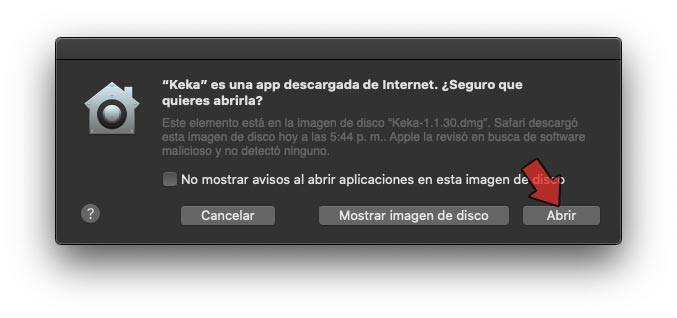
We click Open to run Keka..
2. How to compress a Mac file with Keka
Step 1
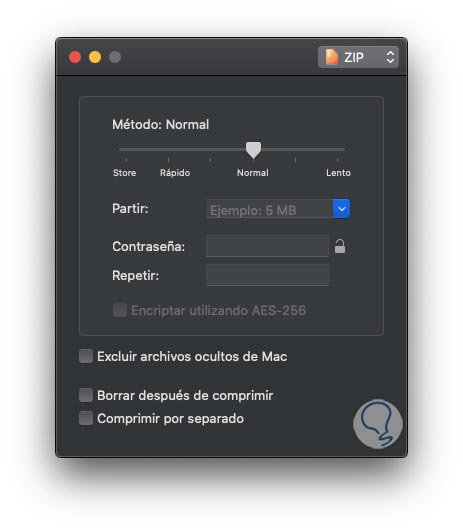
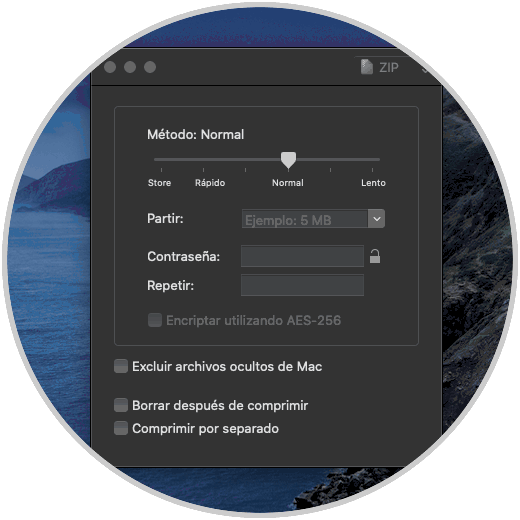
When accessing Keka, the following window will be displayed where it is possible to define aspects such as:
- Type of format to compress the file or files
- Compression method (Normal, fast, etc.)
- Option to exclude hidden macOS files
- Lets you delete the content after compressing
- Possibility to compress each file separately
Step 2
Now, to compress a file with Keka in macOS, just drag it to this window:
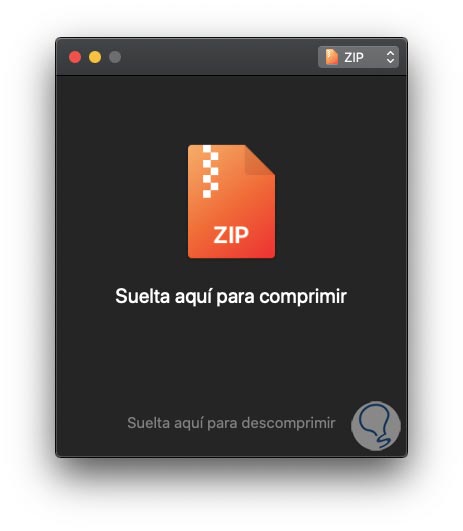
Step 3
Once we drop it there we enter the name and desired path for this file:
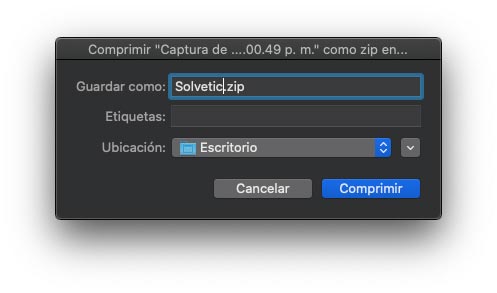
Step 4
We click "Compress" to complete the process and we can see the compressed file in the indicated path:
It's that simple to compress a file with Keka.
3. How to unzip a file in macOS with Keka
Step 1
It is much simpler than you think, for that we simply drag the compressed file to the Keka window and we will see the following:
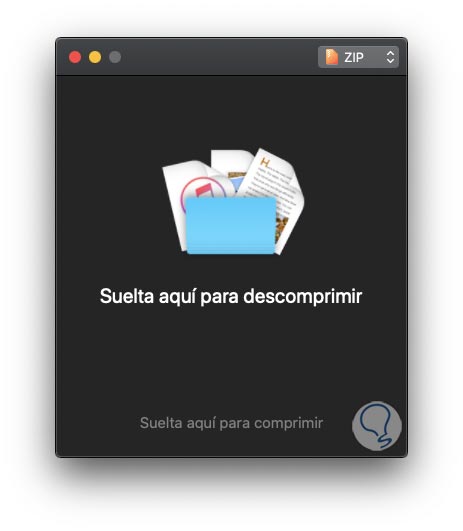
Step 2
We drop the file and we will see the following:
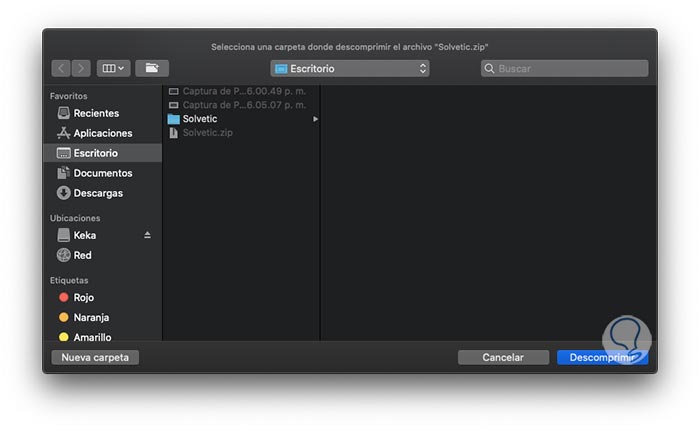
There we will simply define where the file should be unzipped. You can see how Keka is a simple utility for these actions.
Step 3
It is possible to go to the File - Keka Preferences menu to edit aspects such as:
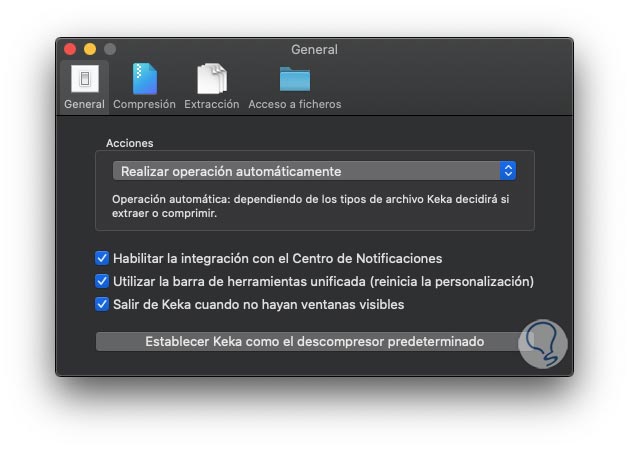
general
In the "General" section we can:
- Perform tasks automatically
- Allow it to integrate with system notifications
- Leaving Keka with certain conditions
Compression
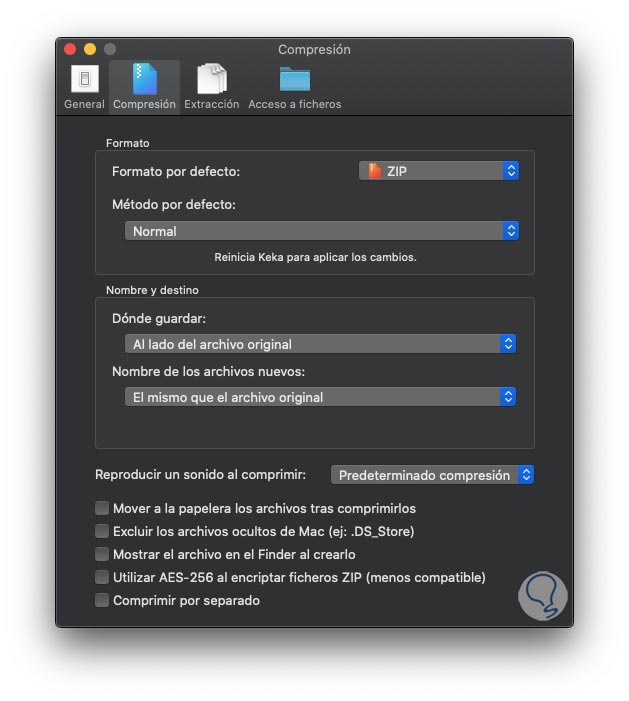
In the "Compression" tab it is possible:
- Set the default format to use
- Define which method to use
- Set the path where the files will be saved
- Adjust compression variables
Extraction
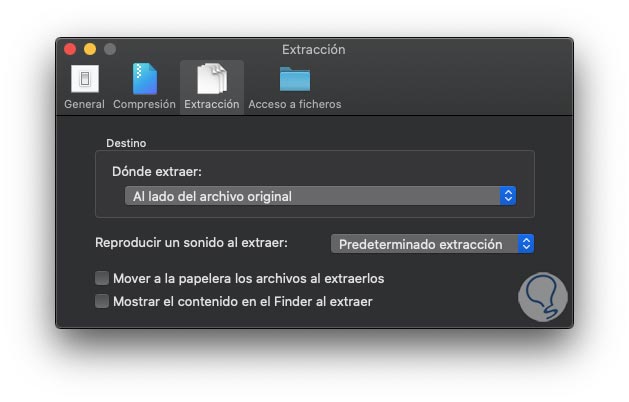
In the "Extraction" tab it is possible:
- Establish where the information will be extracted
Files
In "Access to files" we can:
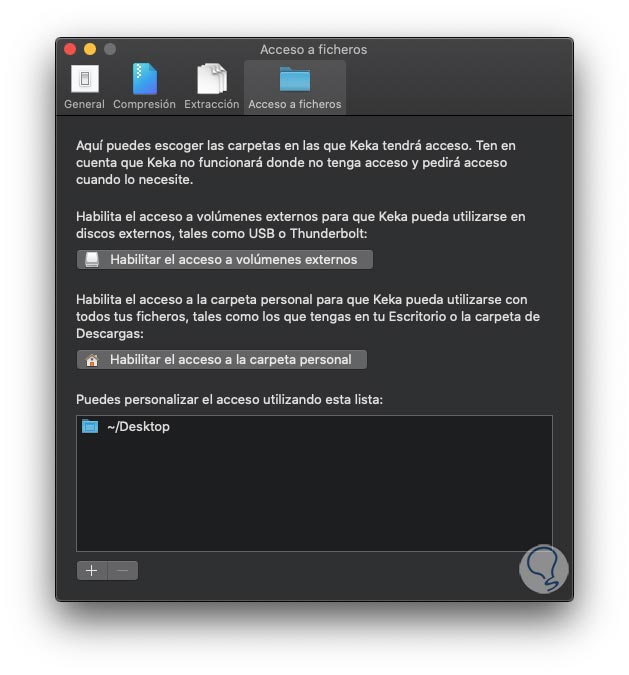
We are ready to perform extraction and decompression tasks on macOS thanks to Keka.