It is no secret to anyone that one of the most popular Linux distributions for its features, simplicity of use and customization options, both at the user and organizational level, is Ubuntu which is currently in its 18.04 version, but what some Users do not know is that Ubuntu offers us a series of special versions that have been targeted to specific users and one of them is Ubuntu Studio. TechnoWikis will explain through this tutorial what Ubuntu Studio is and how we can install it easily..
What is Ubuntu Studio?
Ubuntu Studio has been developed as a free and open source operating system being the root of the traditional Ubuntu distro. Ubuntu Studio is a distribution that has a specific approach to multimedia elements since it comes pre-installed with a wide selection of the most common free multimedia applications, and has been configured to obtain one of the best performances towards all work in Ubuntu Studio as audio, graphics, video, photography and publication making it unique in its class.
Ubuntu Studio is released every six months, but a long-term release (LTS) version is released every 2 years.
To use Ubuntu Studio and enjoy its benefits we can download it for free in the following link..
Ubuntu Studio
1. Features of Ubuntu Studio
Some of the features of Ubuntu Studio, by categories are:
Audio
Ubuntu Studio has some of the most traditional and recently updated audio software applications on Linux such as:
- JACK: It is a low latency audio and midi server, which has been designed for professional audio use, with JACK it will be possible for all Jack-compatible applications to be connected to each other. One of the programs to control the jack server is Qjackctl, some of its functions are:
- Provide low latencies (less than 5 ms with the appropriate hardware)
- Provide flexible connections
- Act as transport for Jack detection applications
- Ardor: It is a digital audio workstation (DAW), created to record, mix and master audio elements, among its features we have:
- Unlimited audio tracks
- Unlimited pre and post fader add-ons
- 32-bit floating point audio path
- Full integration with all JACK applications
- Synchronized playback with video
- Sequencers and synthesizers: Ubuntu Studio is installed with other audio applications such as:
- Audacity
- Qtractor
- Hydrogen
- Yoshimi
- Virtual Guitar Amps: Utility to simulate guitar amplifiers.
- Audio Programming: It has an application such as supercollider, csound and Chuck for professional audio editing.
Graphics
Ubuntu Studio also has great utilities at a graphic level such as:
- Blender: it is a 3D content creation package with which it will be possible to create 3D models and animate scenes, this Blender application has its own game engine and is compatible with various accessories, some of its features are:
- Various shading options
- Integrated game engine
- Images and composition
- Animation scene
- Inkscape: It is a vector graphics editor that counts skills similar to those of the traditional and powerful Illustrator, CorelDraw or Xara X, which focuses on the use of the W3C Standard Scalable Vector Graphics (SVG) file format.
- GIMP or Gnu Image Manipulation Program, is a program for editing images with great features.
- MyPaint: is a digital painting tool specially designed for work on graphic tablets, it has a large collection of brushes, including ink and carbon, some of its features are:
- Simple and minimalist user interface
- Extensive brush creation and various configuration options
- Basic layer support
Video
Another multimedia element that has a great field in Ubuntu Studio is the video which offers applications such as:
- Openshot: It is a video editor for Linux with which it will be possible to add videos, photos and music to create DVDs, YouTube clips and is compatible with a variety of other formats.
- FFMPEG: it is a multimedia framework with the ability to decode and encode almost any type of file, in addition to it, it has libavcodec, libavutil, libavformat, libavdevice, libswscale and libswresample and ffmpeg, ffserver, ffplay and ffprobe, which are the utilities to transcode, stream and play with full compatibility.
- DVDStyler: As the name implies, it will be possible to create our own DVD covers with simplicity thanks to its functions that include:
- Compatible with MPEG-2, MPEG-4, DivX, Xvid, MP2, MP3, AC-3 and other audio and video formats.
- Supports AVI, MOV, MP4, MPEG, OGG, WMV and other file formats
- Allows the creation of a slide show
- Easy to use interface with drag and drop support
Photography
Ideal for photo lovers, Ubuntu Studio has a series of practical tools such as:
- Darktable: is an application for the work of material photography and RAW development, which is responsible for the management of digital negatives in a database, where it will be possible to see them through an illuminated table with zoom and thereby develop raw images and apply improvement with multiple integrated tools.
- Shotwell: It is a dynamic utility to organize our photos which has functions such as:
- Import multiple formats
- Edit labels
- Convert formats
- Publish directly on social networks
Publication
Ubuntu Studio has some options, but it will be possible to install more tools for publishing books from the repository through the Software Center, some of the options are:
- Caliber: Offers various types of templates for common formats, such as kindle, various types of tablets and other hardware readers, and much more to facilitate this type of action.
- Scribus: It is a utility to create professional publications in PDF and has templates for posters, business cards, brochures and more.
- LibreOffice: Known to all Linux users, one of the most useful options is LibreOffice Writer through which we can create text and save various formatting options including MS Office formats, as well as export to PDF.
2. Install Ubuntu Studio
Step 1
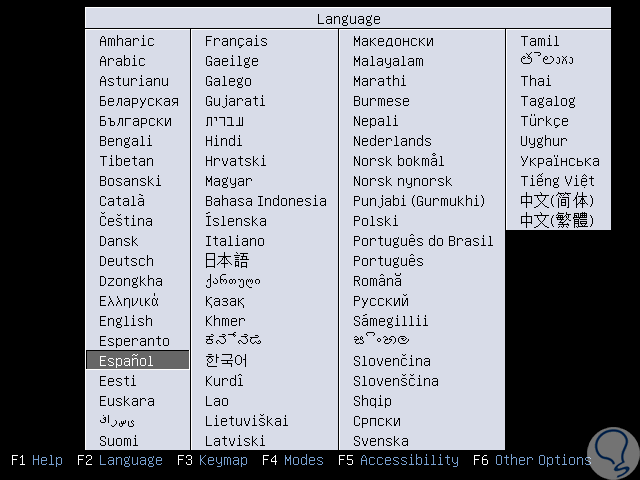
Once we download the ISO image we proceed to burn it to a DVD or a bootable USB media, then we configure the boot of the device from this medium and this will be the first window we see of Ubuntu Studio where we will select the desired language:
Step 2
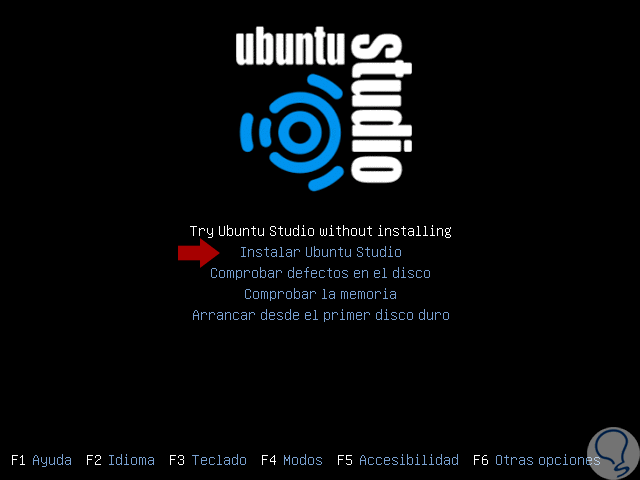
Once we select the language we will see the following window where we will have alternatives such as:
- Try Ubuntu Studio are to carry out a local installation
- Boot from any existing Ubuntu Studio installation
Step 3
Select the line “Install Ubuntu Studio†and we will see the following:
Step 4
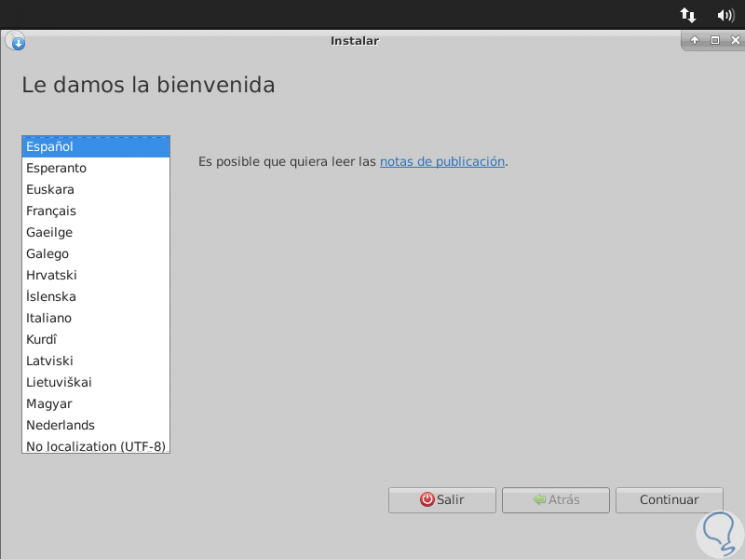
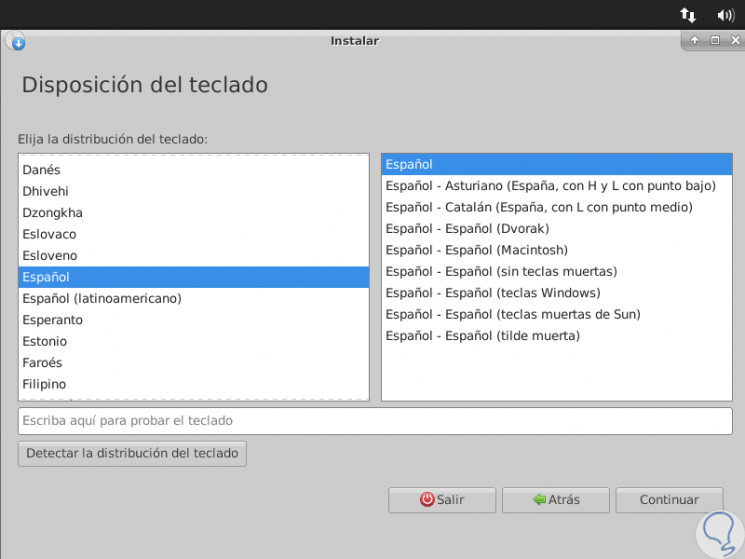
Click on the "Continue" button and then define the language and layout of the keyboard to use:
Step 5
Once defined click on "Continue" and now we can download the latest updates and install third-party programs, if we wish:
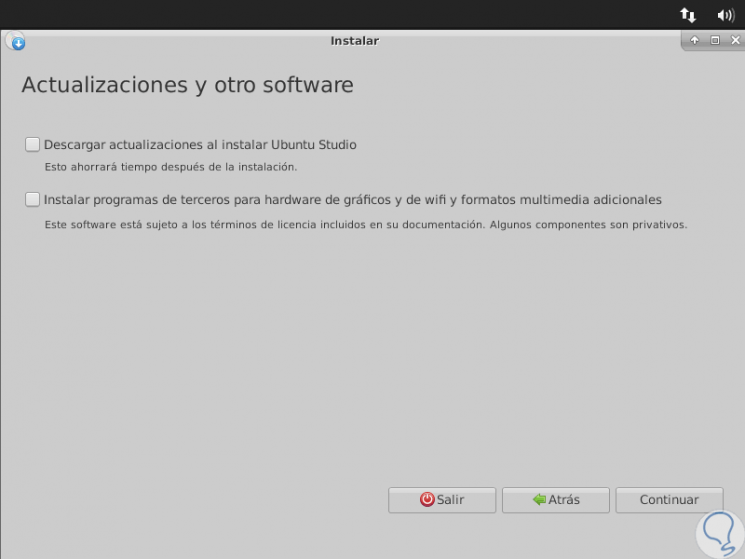
Step 6
Activate the desired boxes and click on “Continueâ€, now we will select the multimedia packages to be installed:
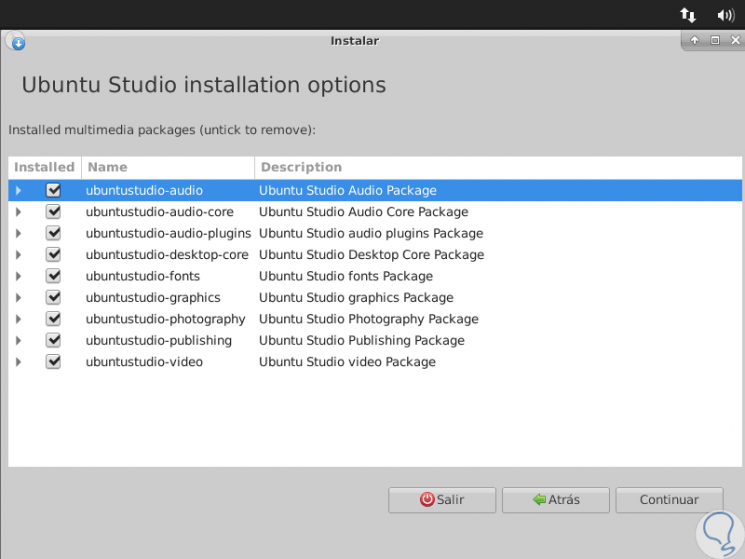
Step 7
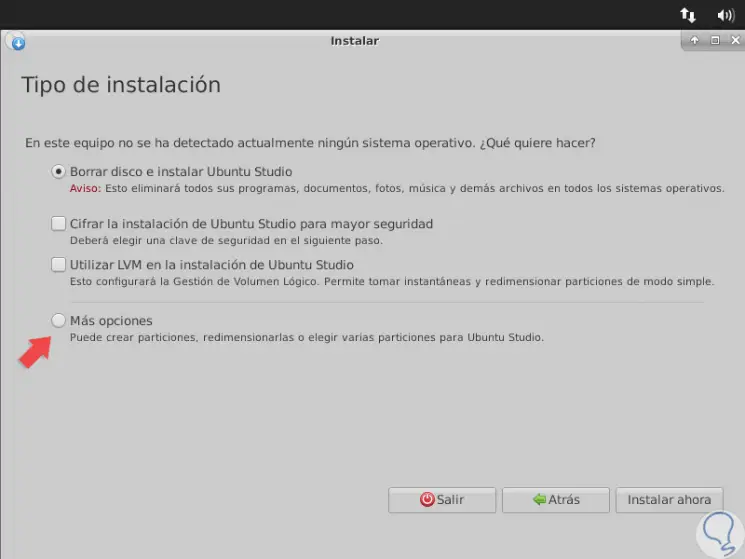
There we can uncheck the boxes we want so that this package is not installed, by clicking on “Continue†we will have the following options:
- Erase disk and install Ubuntu: This option takes the default values, formats the disk and install Ubuntu Studio.
- Encrypt the installation if we want more information security
- We can use LVM (Logical Volume Management) for better control over the disk and its partitions
- Check the “More options†box if we want to create partitions or allocate spaces for swap, root, etc.
Step 8
By default the first box is activated and we can click on the "Install now" button and the following message will be displayed:
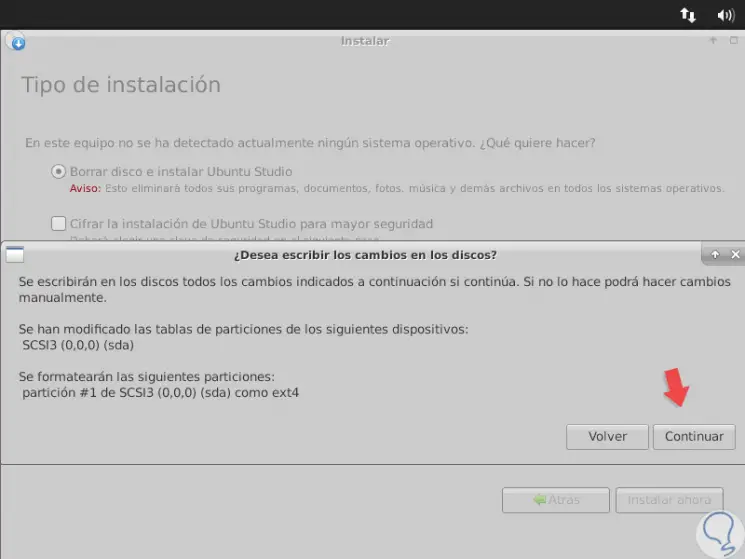
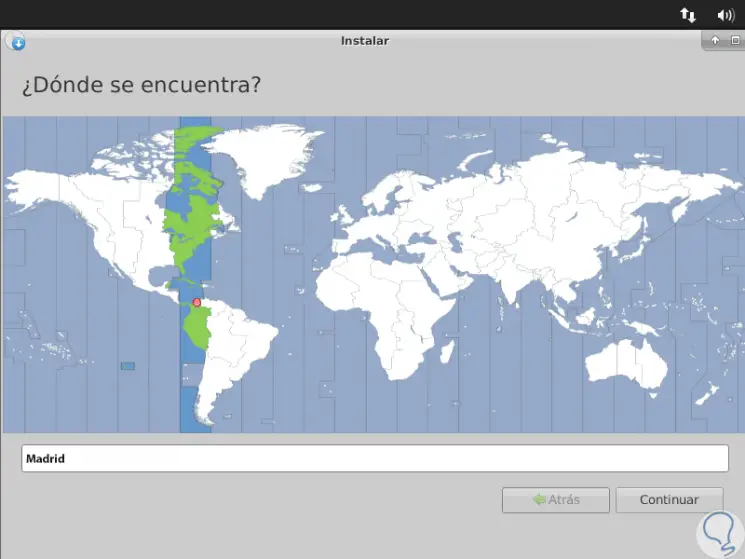
Step 9
There we click on Continue to write the changes to the disk. Next, we select our geographical location:
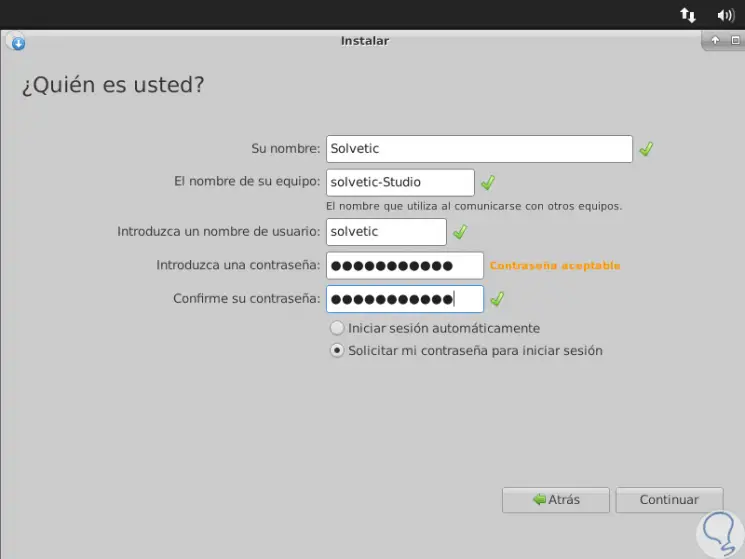
Step 10
Click on “Continue†and now we will define the username and password for Ubuntu Studio:
Step 11
Click on Continue and we will see the following:
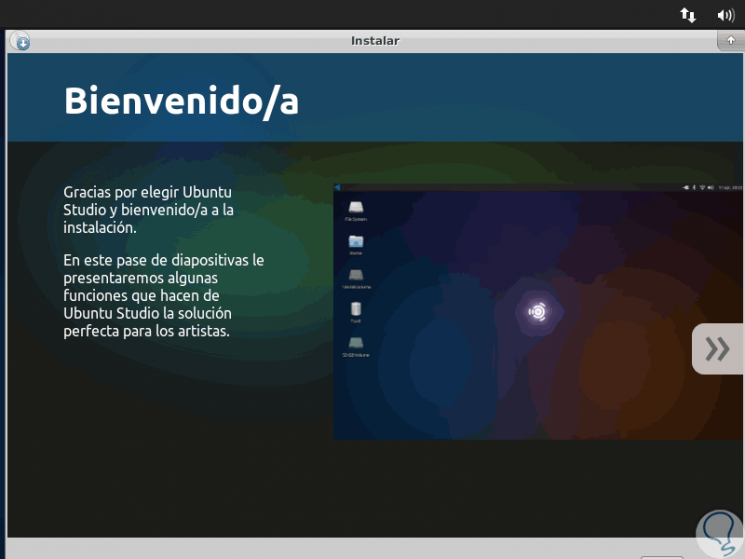
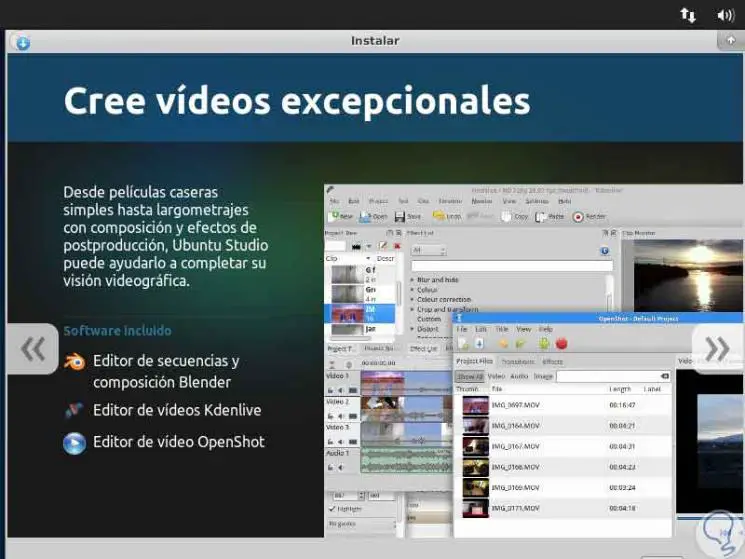
Step 12
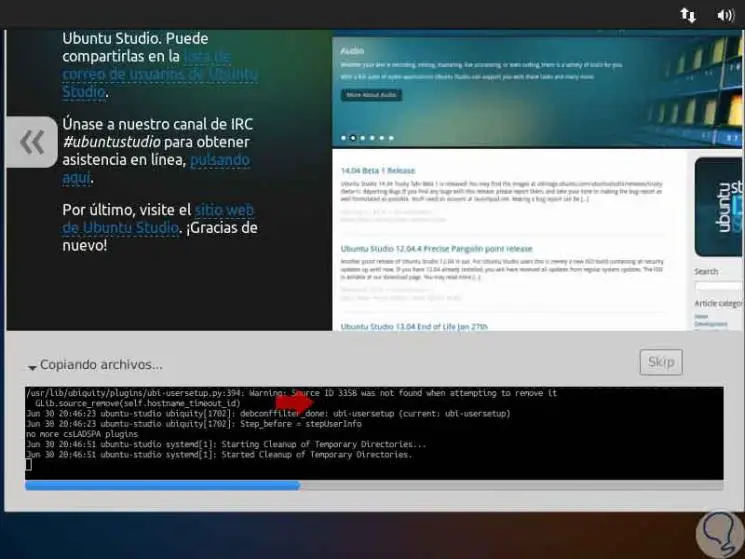
There we can see a series of slides where Ubuntu Studio applications are deployed:
Step 13
At the bottom we will see the installation status of Ubuntu Studio:
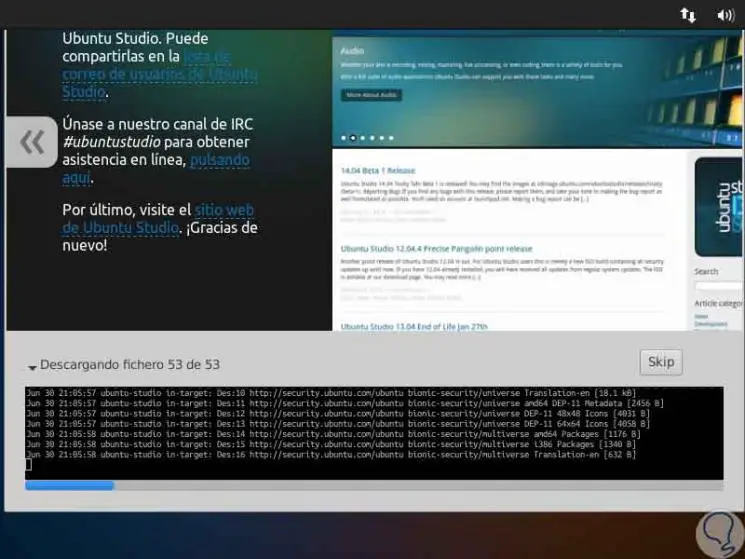
Step 14
We can see that all necessary add-ons and repositories are downloaded:
Step 15
Once this process is finished we will see the following:
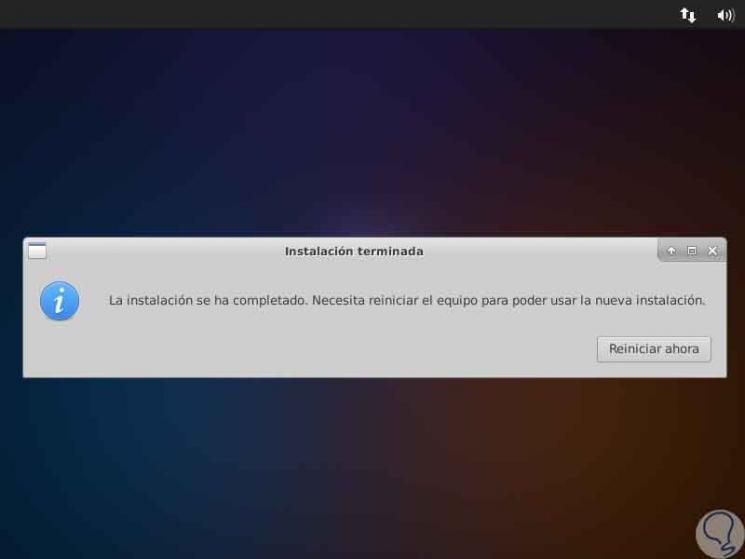
Note
Ubuntu Studio will automatically install the GRUB bootloader.
Step 16
Click on the "Restart now" button and we will see that the respective process starts, then we must enter the password that we have defined during the installation:
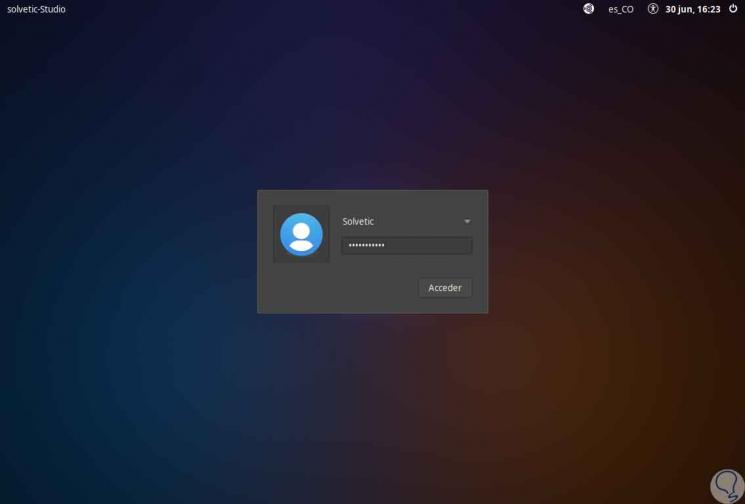
Step 17
Click on the "Access" button to log in and enjoy all that Ubuntu Studio offers:
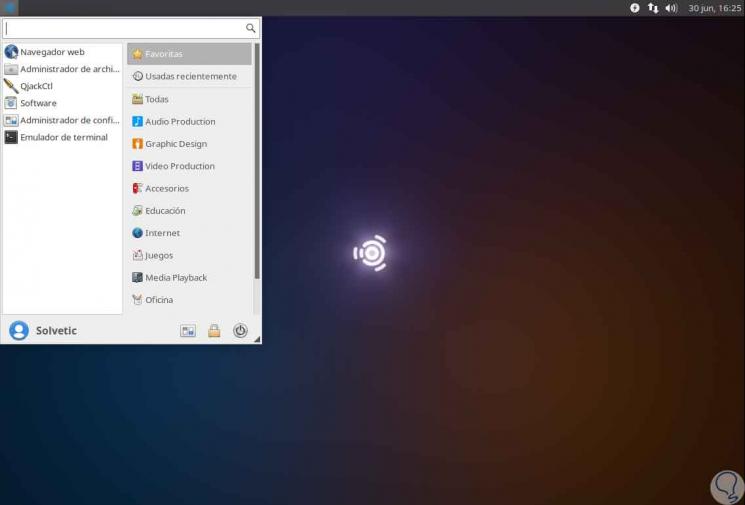
There we can go to its different applications to enjoy and make the most of each of them thanks to Ubuntu Studio..