We can often record videos or upload them to our Windows 10 operating system to highlight a presentation , send them to our friends or family or simply to watch them again and again on the computer locally..
Now, for some of these videos, we may want to apply some kind of change to have a much more impressive presentation and what many Windows 10 users are unaware of is that Windows 10 itself has a hidden video editor with which it will be possible to carry out actions such as:
- Create our own home movies or slide shows
- Create videos automatically.
This function is part of the well-known application of Photos in Windows 10 and through this tutorial we will learn how to use this hidden editor to add a better presentation to our videos.
1. Crop, reduce, take photos or draw on a video in Windows 10
Step 1
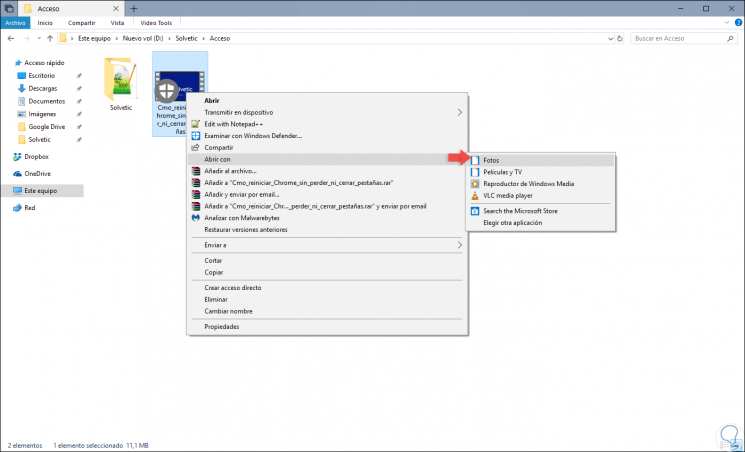
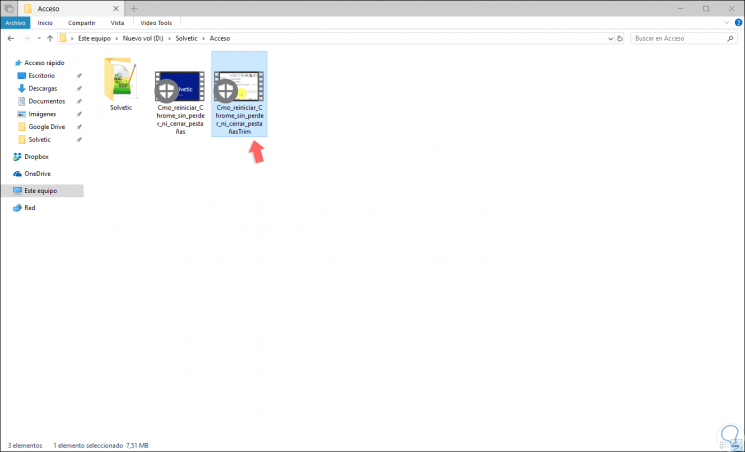
To carry out these traditional actions in a video, it must be opened with the Photos application, for this, we select the video, right click on it and select the option “Open with†and select the option “Photosâ€:
Step 2
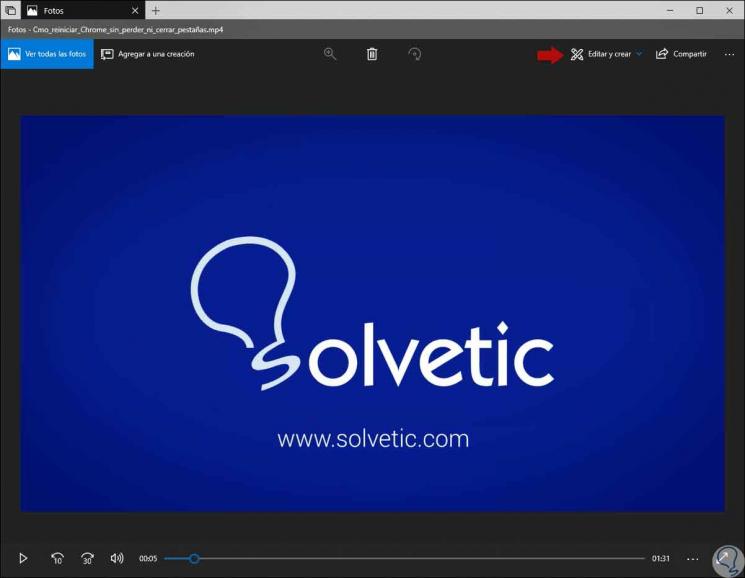
The video will automatically be opened and will start playing in the Photos application:
Step 3
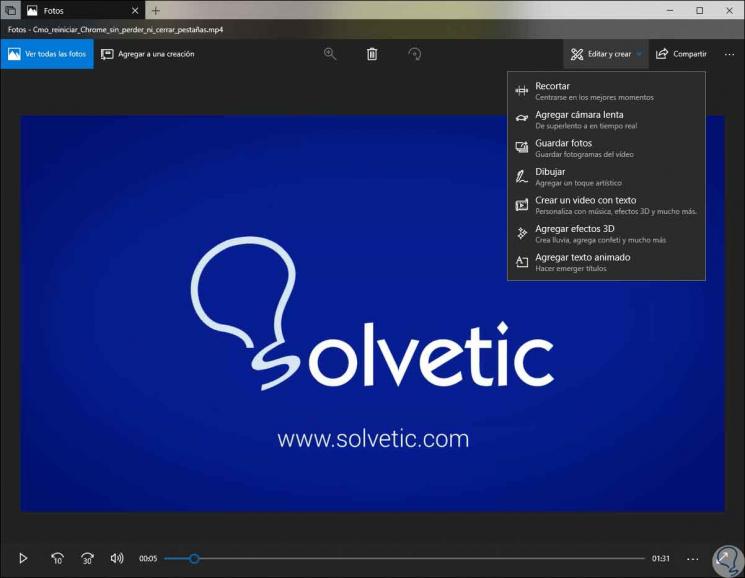
There we will click on the “Edit and create†line so that options such as:
- Add slow motion effect and much more
Step 4
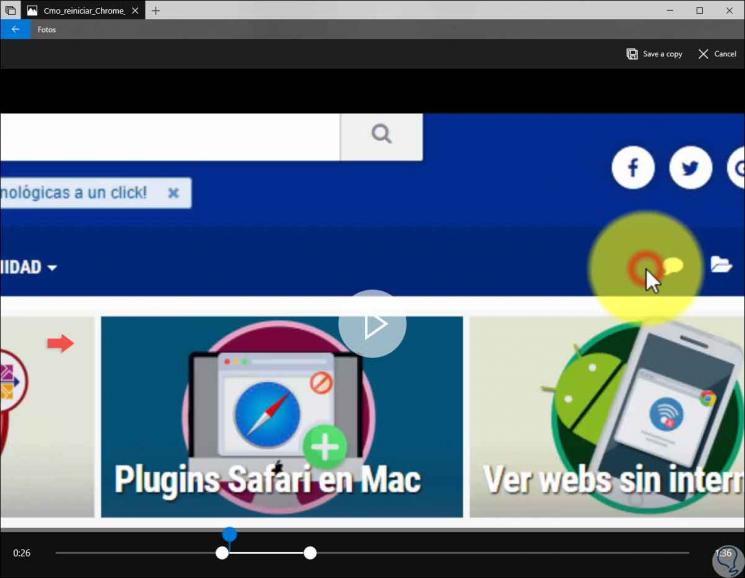
If we want to trim the video, we select the “Trim†option, the video will open again and there just drag the two points in the playback bar to select the part of the video that will be active, everything else will be deleted, it is possible Drag the blue pin icon to display what appears in that section of the video or click on the Play button to play the video section that we have selected in this process:
Step 5
Once these video limits are defined, we can click on the “Save a copy†option located in the upper right to save a copy of the cropped section of the video, if we do not want to save the changes we will click on “Cancelâ€.
When the changes have been applied, the Photos application does not directly affect the original video, instead it stores a copy, in the case of the Crop option, with the ending “Trimâ€:
Step 6
Some tools available in Photos play a similar role in terms of operation, for example, the “Add slow motion†tool allows us to select a slower speed, and then apply it to a section of the video file to create a slowing down appearance:
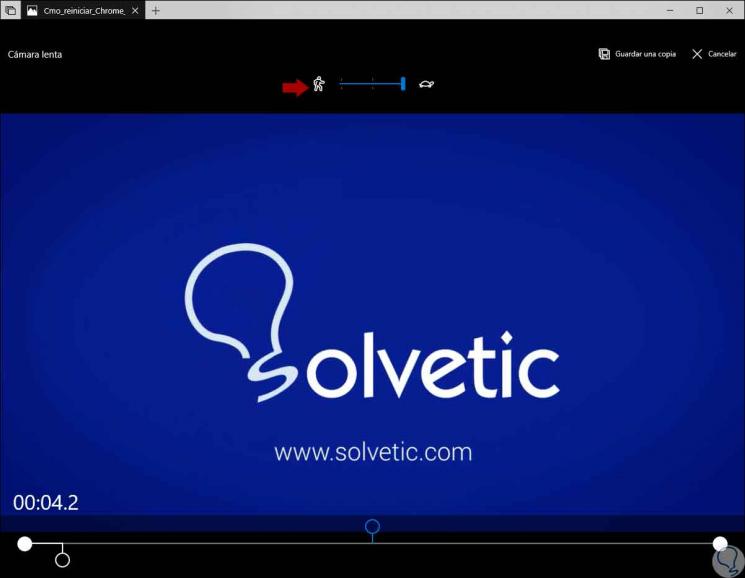
Step 7
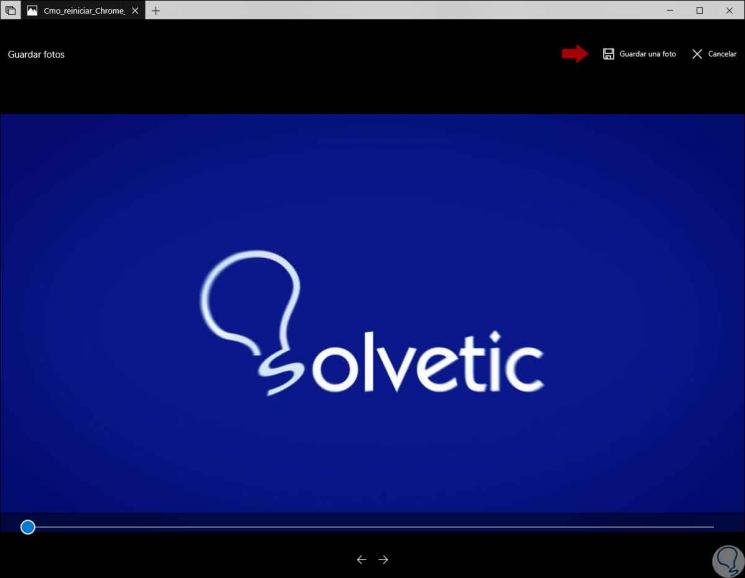
At the top it will be possible to define the speed level to apply. With the “Save photos†tool we will have the opportunity to select a frame of the selected video and save it as a photo itself.
By selecting this tool we will see the following.
Step 8
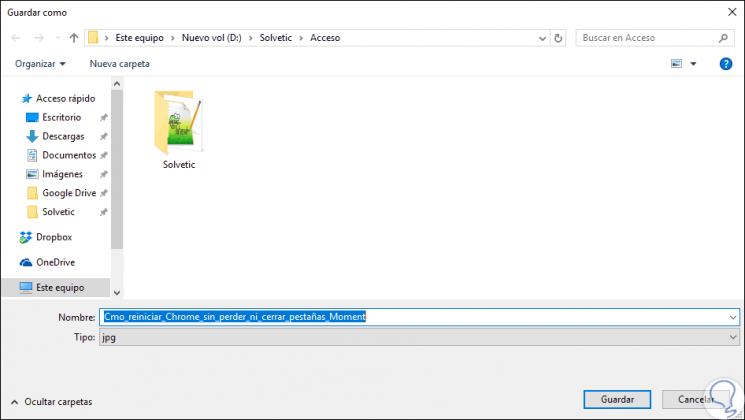
At the bottom of the window we can see the "Previous frame" and "Next frame" buttons which allow us to select a specific frame of the video file and once defined click on the "Save a photo" button located at the top . By clicking there we will see that this photo will be saved with the extension .jpg:
Step 9
Another of the most useful tools that allow us to add a new scheme to the video is the “Draw†tool which allows us a series of tools to draw in the video.
Clicking on it we will see this:
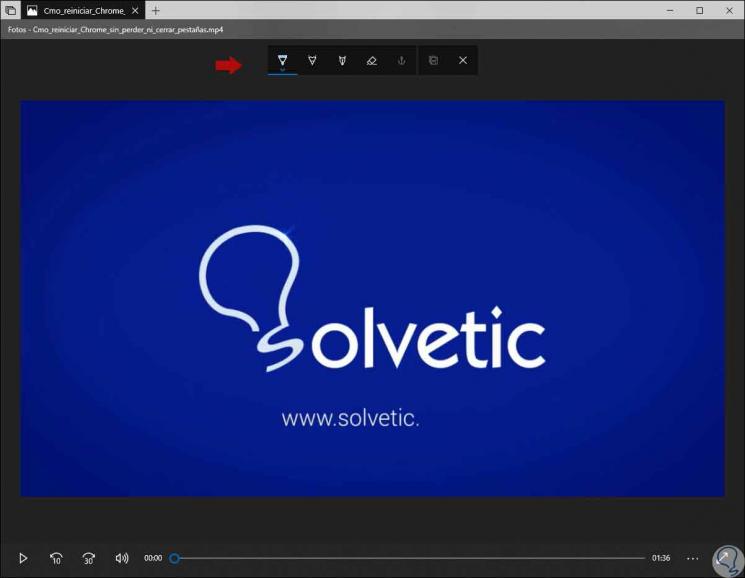
Step 10
We can use utilities such as:
- Eraser tools or select a new range of colors.
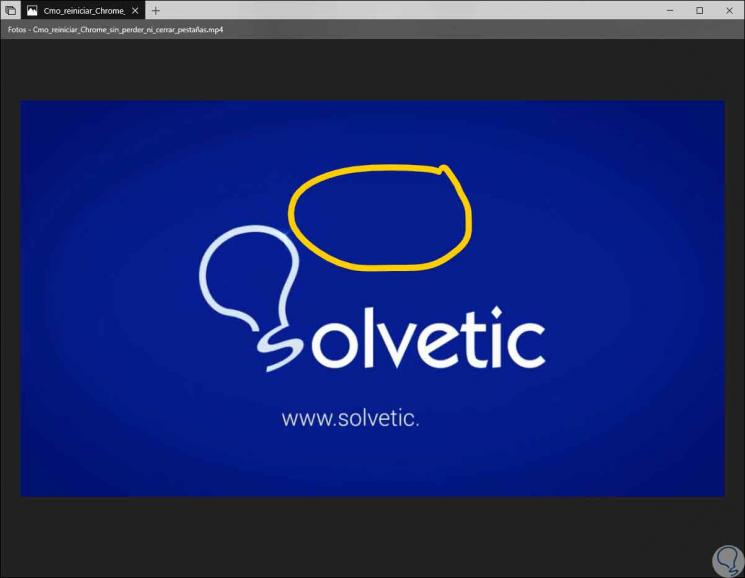
Everything we draw will look on the screen during the video, as if it were drawing, but then fades and disappears after a few seconds.
2. Merge videos, add text and apply 3D effects in Windows 10
These are some advanced features of Windows 10 for editing our videos thanks to its integrated editor.
Step 1
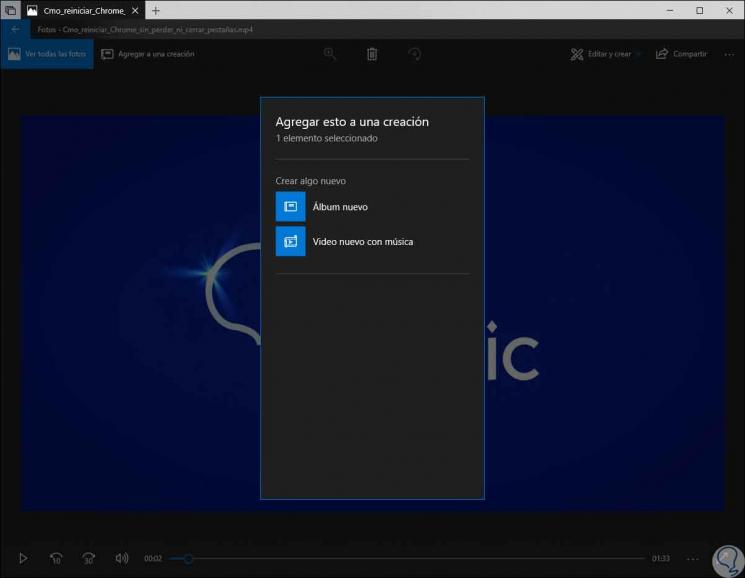
To start the creation of a video project, we must click on the tool "Create a video with text" or "Add 3D effects" or we can also click on the button "Add to a creation" in the upper left corner at the moment to have an open video, and then click on "New video with music".
Note
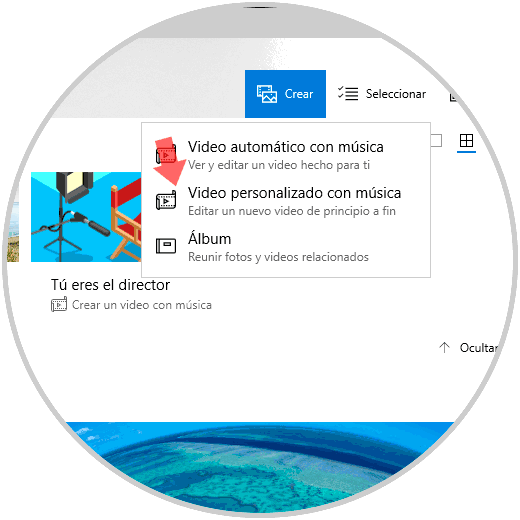
Another alternative to start a custom video project is by accessing the Photos application from the Start menu and then clicking on “Create / Custom Video with music†on the main page of the application.
Step 2
Selecting the option “Automatic video with music†gives us the possibility to select our own photos or videos. The photo application automatically combines them into a personalized video.
When selecting the option to create the video we must assign a name:
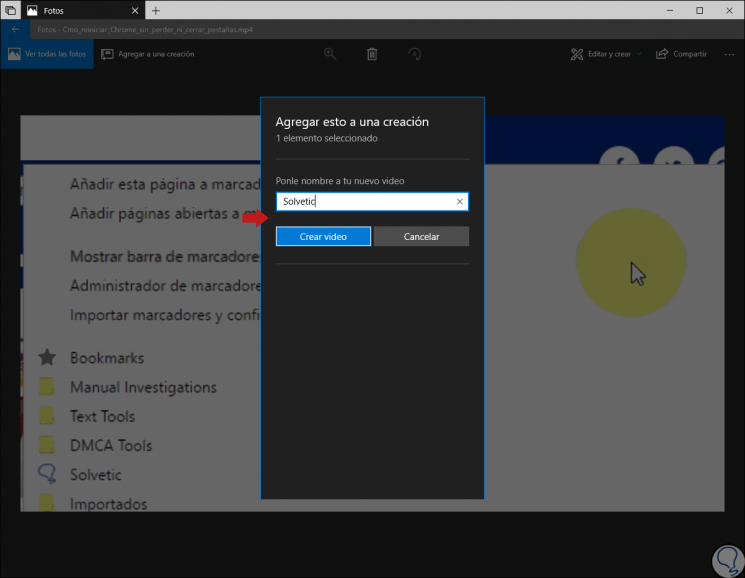
Step 3
Click on the “Create video†button and it is necessary that we add at least one video or one photo to create a personalized video.
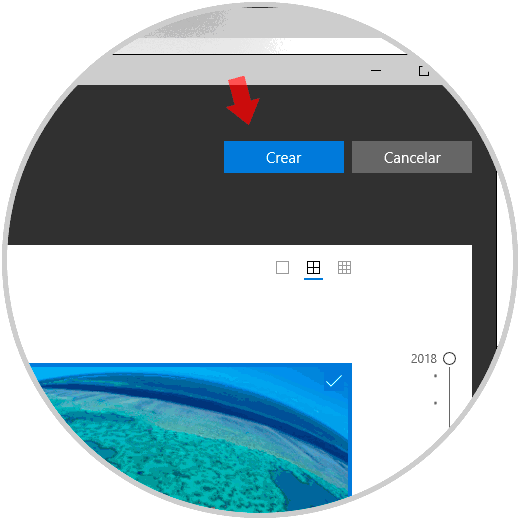
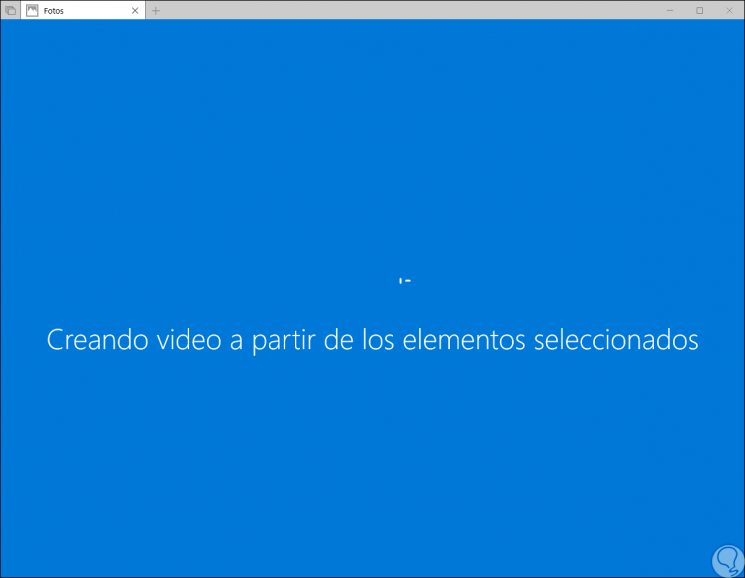
Step 4
Once the elements have been selected, click on the “Create†button and we will see that the creation process begins:
Step 5
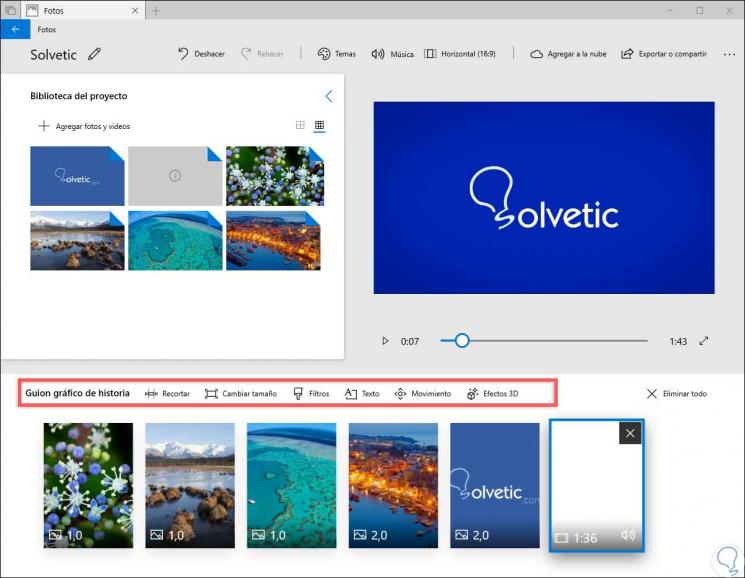
Once the environment is finished you will have a screen with the project library, a video preview and a storyboard panel for editing tasks:
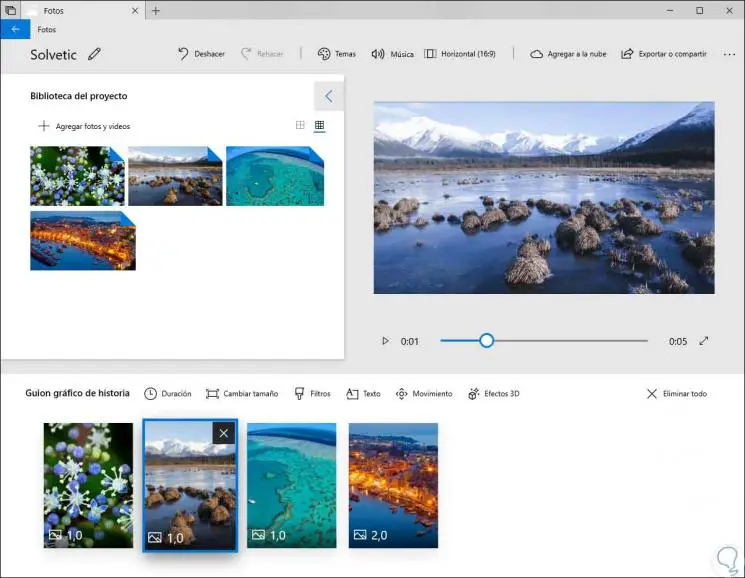
Step 6
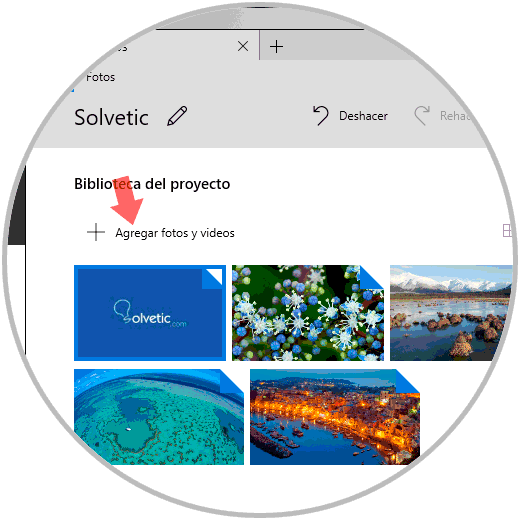
To add one or more videos, or photos, to the active project, we can drag them from the project library to the storyboard or click on the “Add photos and videos†option in the project library to add more videos to the library and then drag them to the storyboard:
Step 7
In the case of adding a video some additional tools such as visual filters, insert text, apply motion effects with Motion and insert 3D effects with 3D effects will be displayed:
Step 8
Most of the options are very simple to use, cropping reduces the length of the video, changing the size allows us to edit the dimensions of this and one of the most striking is the “Filters†option where a series of alternatives are displayed to add a effect to the selected item.

Step 9
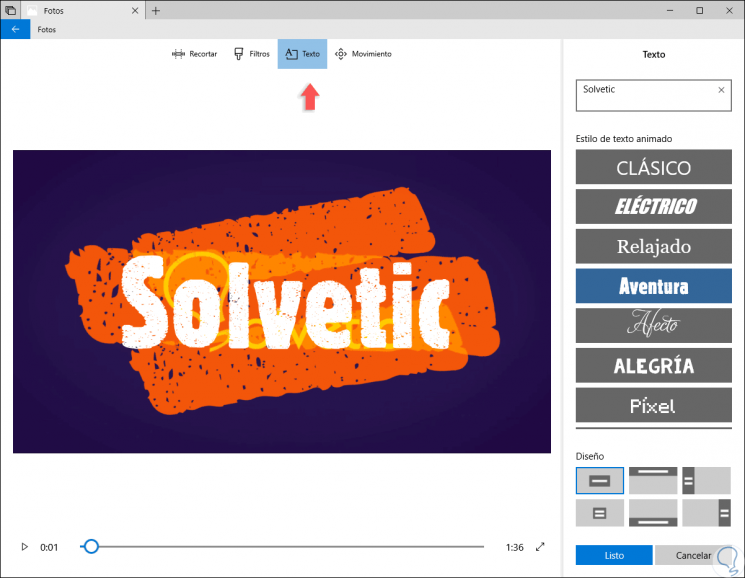
The Text tool gives us different styles and designs of animated text which can be used in different locations of the selected video:
Step 10
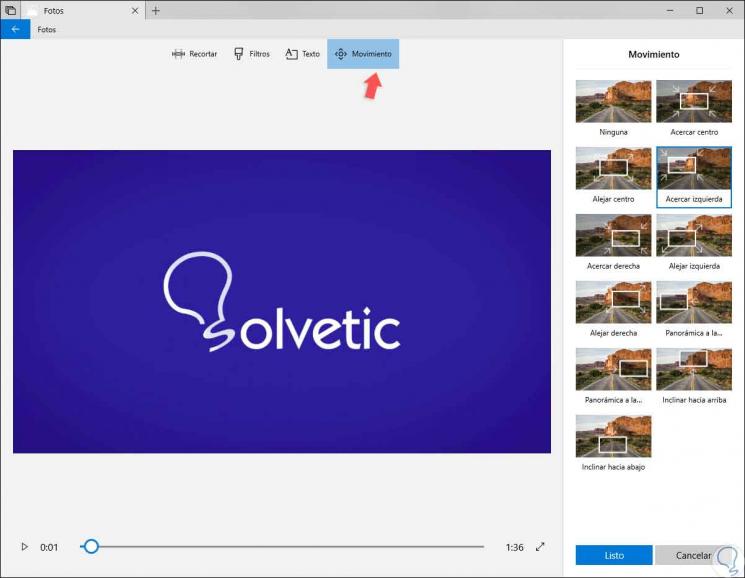
With the Motion tool we can select different camera movement styles for the selected video or photo and add even more effects to it:
Step 11
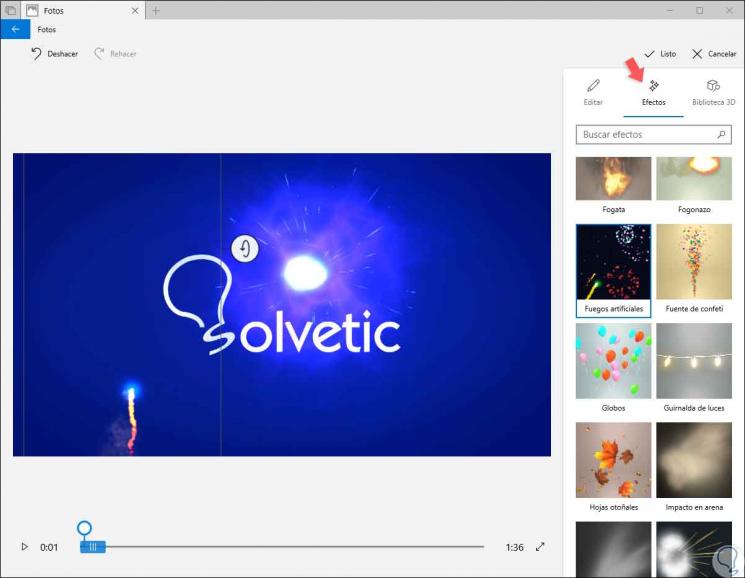
All this is found in the "Filters" section, another of the useful actions of this integrated editor is the option to use 3D Effects which undoubtedly add even more dynamism to our videos since this 3D library of effects has effects such as Neon balls, bubbles, waterfalls, electric sparks and many more.
Step 12
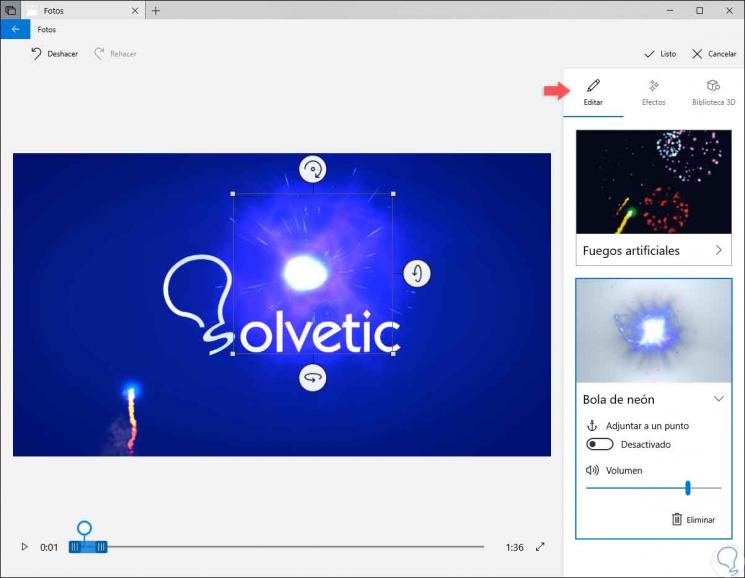
It is possible to apply one or more 3D effects, and each effect has different options to customize it, some 3D effects must be placed somewhere specific to the scene, while others apply to the entire scene in general.
Step 13
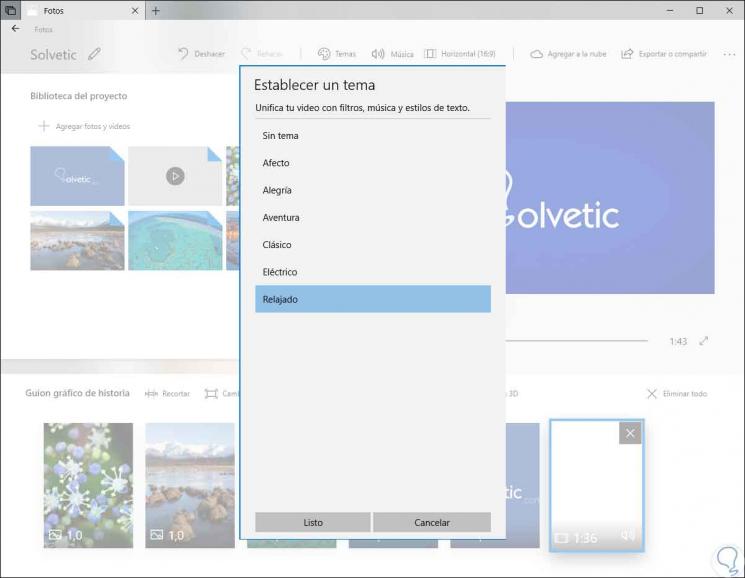
Photos has an option called Themes located at the top of the window and thanks to it it will be possible to choose different themes, these contain filters, music and text styles that work together and can be completed with preview videos that display as It will be its final appearance:
Step 14
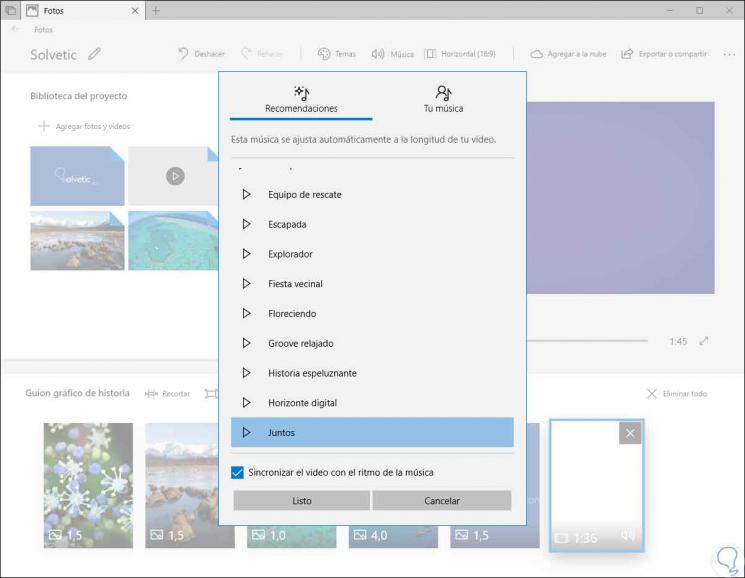
To add music to a specific video, we must click on the "Music" button at the top. The Photos application includes some options of our own music to select, but of course we can also select the “Your music†tab to insert a music file from our library:
Step 15
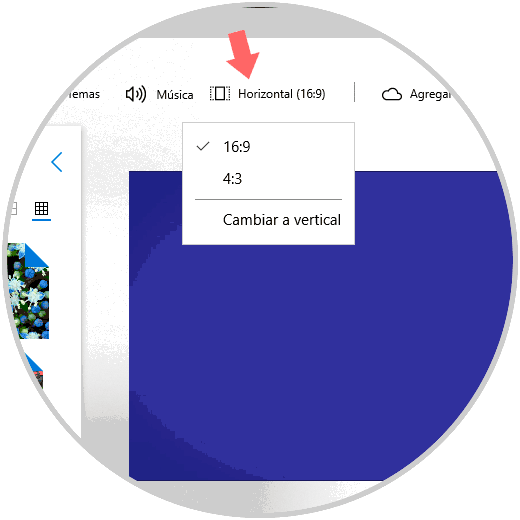
At the bottom we can check the box "Synchronize the video with the rhythm of the music" to create a harmony between them. We also have an aspect ratio option in the toolbar which can be used to switch between different view and portrait orientations for the selected video.
Step 16
At the end of the creation of our video we can click on the “Export or Share†option to export the video project to a file where we have the opportunity to select the best option to use:
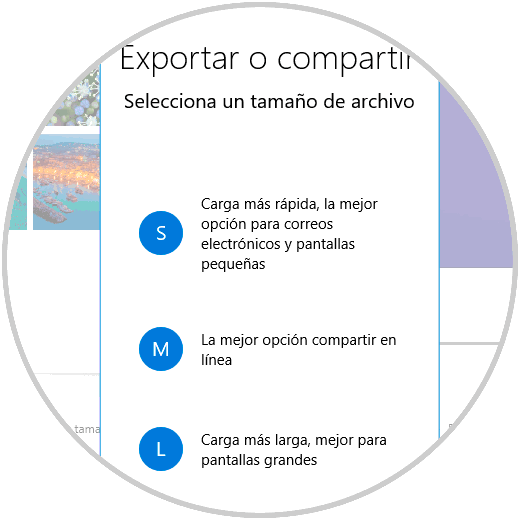
Step 17
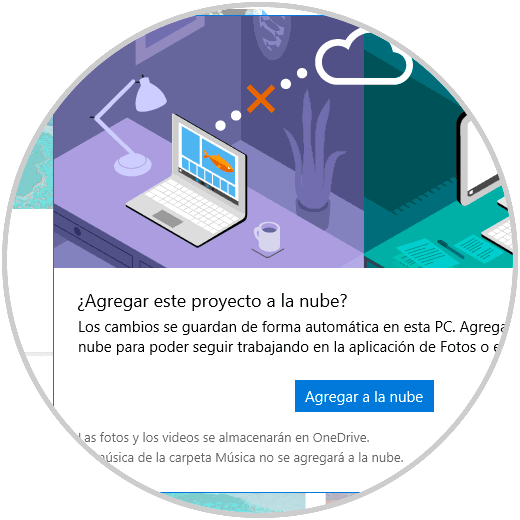
We can also click on the “Add to the cloud†button if we want to upload the video to the Microsoft cloud, this allows us to resume editing in the Photos application on another computer where you have logged in with the same Microsoft account.
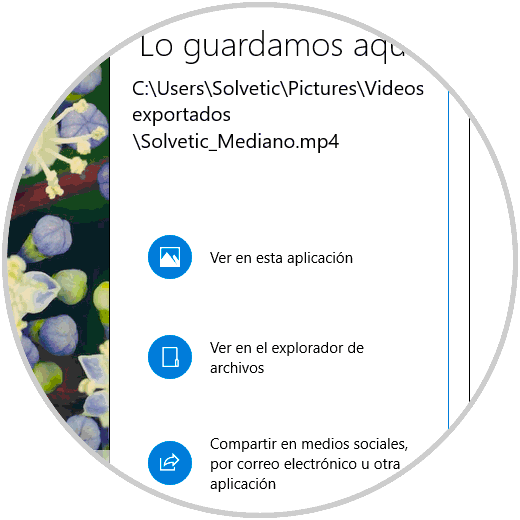
Step 18
The Photos application exports the video and tells us where it is stored locally:
As we can see, this hidden editor of Windows 10 has the necessary tools to create projects of the highest quality and with the best functions at the effects level.