Gmail is the messaging platform of Google through which it is possible to access various practical features not only in writing and receiving email but also in a set of features that will make the messaging experience really practical..
Within its various functions and features we have one in particular that will give us the opportunity to use Gmail in offline mode, or offline, to give us the freedom to use Gmail even without being connected to the network.
With the Gmail offline mode it will be possible to use the email service without an active Internet connection through which emails are stored on our hard disk, with the Gmail offline mode it will be possible to carry out tasks such as:
- Compose new emails and send them.
The email will be hosted in the Outbox folder until Internet connectivity is active again and when this happens all the emails stored there will be sent. Now we will see how to activate this mode in Gmail from the email manager itself or using its official application.
To keep up, remember to subscribe to our YouTube channel! SUBSCRIBE
1. Configure Gmail Offline mode or without an Internet connection
Step 1
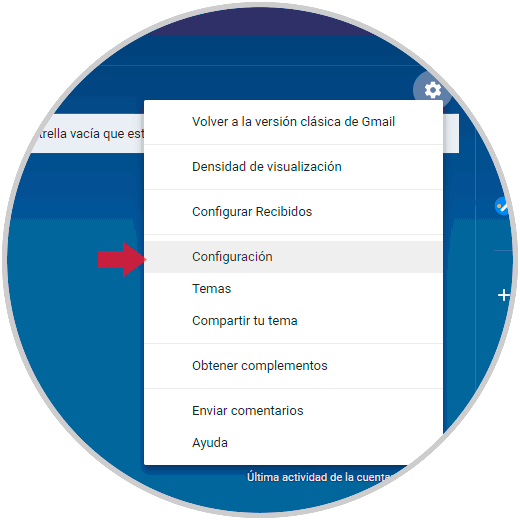
For this, we will access our Gmail account and there we click on the gear icon located at the bottom of our account and in the options displayed select “Settingsâ€:
Step 2
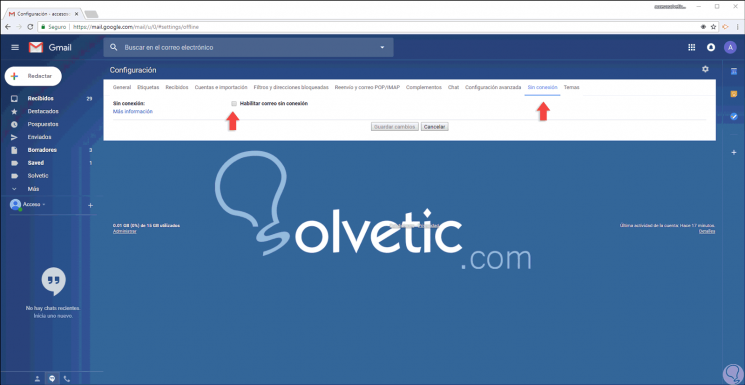
In the new window that will be opened, we go to the "Offline" section where we will see the following:
Step 3
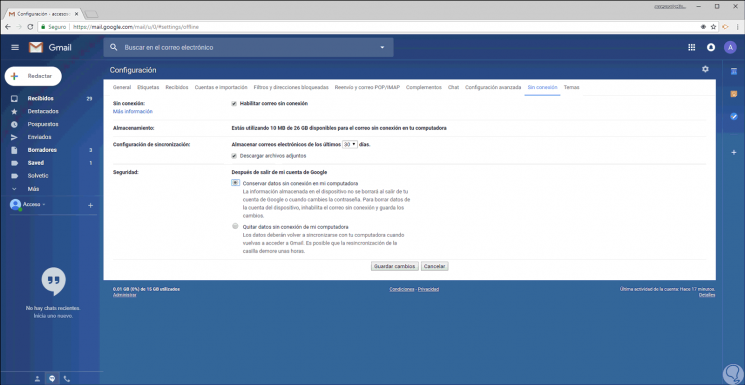
There we activate the “Enable offline mail†box and the following options will be active:
Step 4
There we have the following actions:
- Define the amount of time the email will be stored (7, 30 or 90 days)
- Activate the option to keep attachments
- Define the action to be taken when leaving the Google account, there is a brief summary of each one.
Step 5
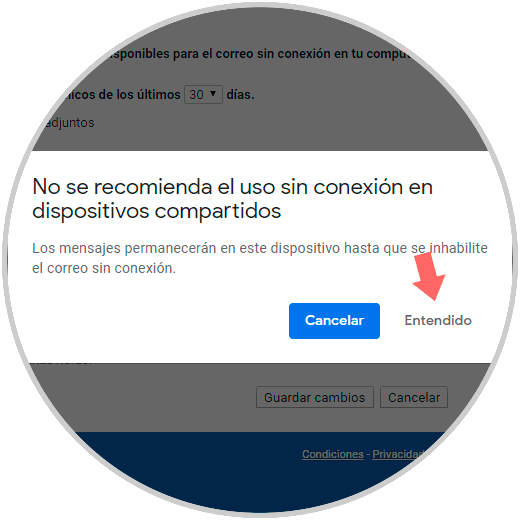
Click on the “Save changes†button to apply the configuration and we may see the following. If we are sure, click on the "Understood" button. Now the offline mode is active and a logo will appear every time the synchronization process is enabled. In this way we have enabled the offline mode of Gmail.
Step 6
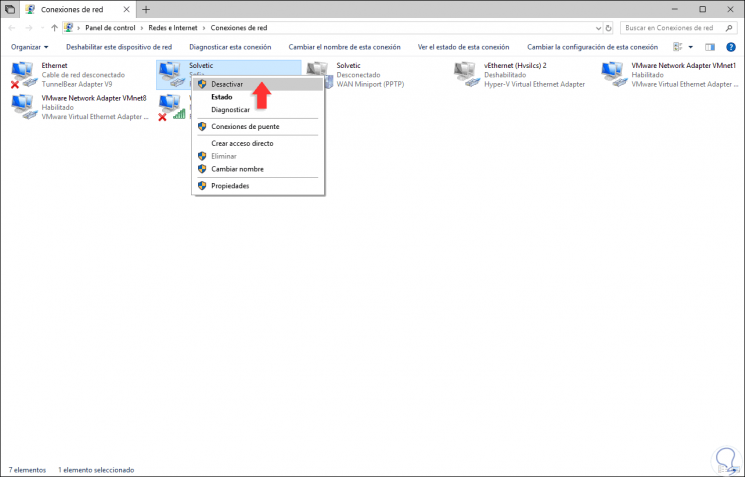
Now, to verify that we can access Gmail without an active internet connection, we will go to the following route:
Step 7
There we will right click on our network adapter and select the option “Disableâ€:
Step 8
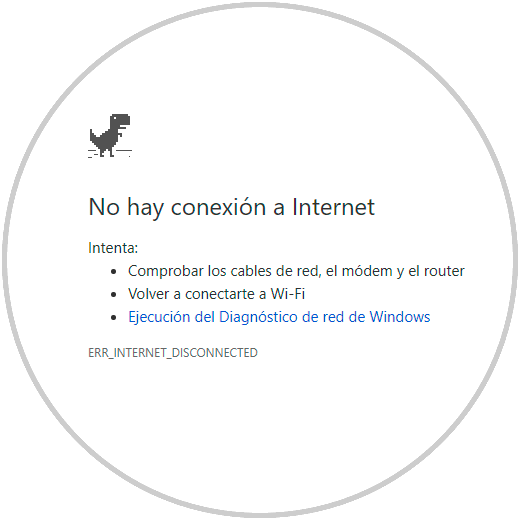
We check that we have no connection:
Step 9
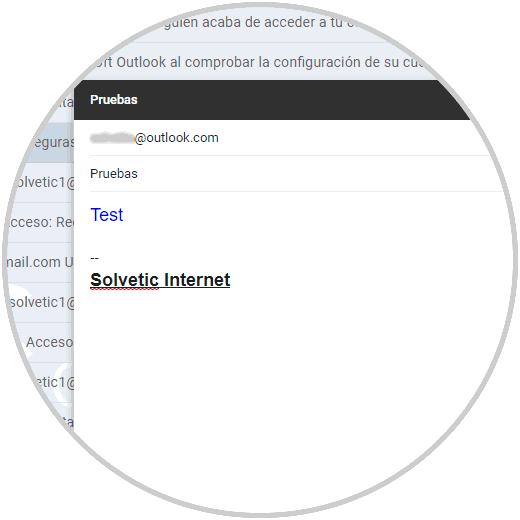
Now we access Gmail and this will be what we will see:
Step 10
We are able to write emails and we can see in the left sidebar that there is no connection.
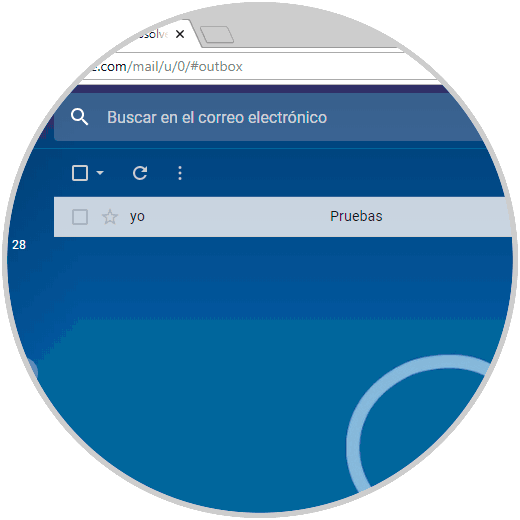
At the moment of sending said mail we can see that it is stored in the outbox until there is a new connection:
2. Install Gmail app offline in Chrome
We also have the possibility of using an application available in the "Chrome web store".
Step 1
Go to the following link to download the Gmal application offline.
Gmail offline
Step 2
Tap Add to Chrome to use it and add it as an option to your Chrome browser.
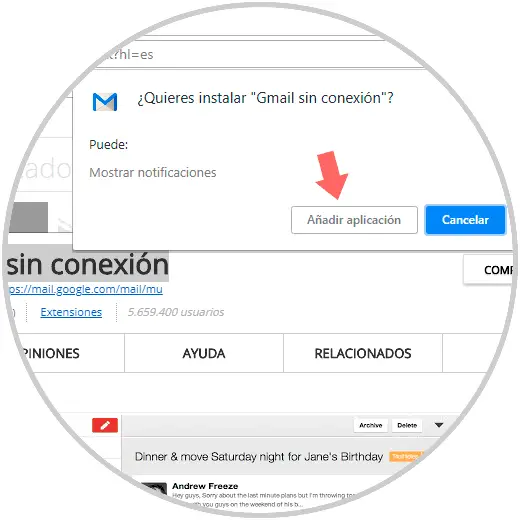
Step 3
Once added in the following route it will appear along with the rest of the applications that we have installed.
chrome: // apps /
Step 4
We will see that you ask us for permission to access Gmail offline so we verify that we do.
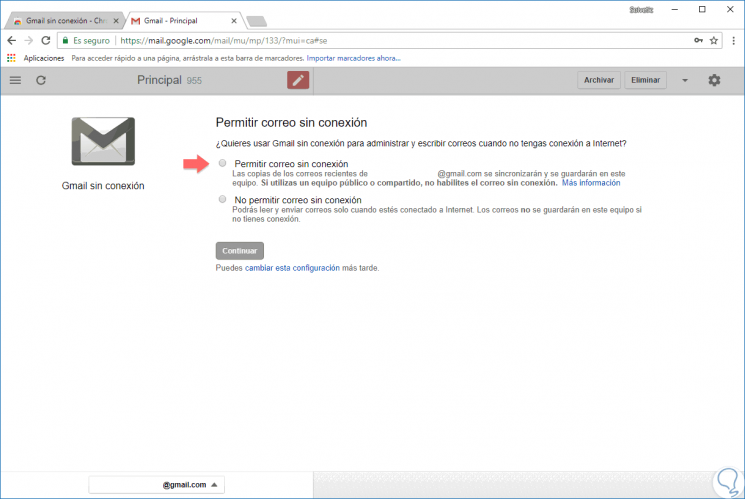
Step 5
We can already see our emails without having Internet and we can send emails, they will remain in the Outbox until there is Internet again. We have a top reload button to refresh the latest modifications.
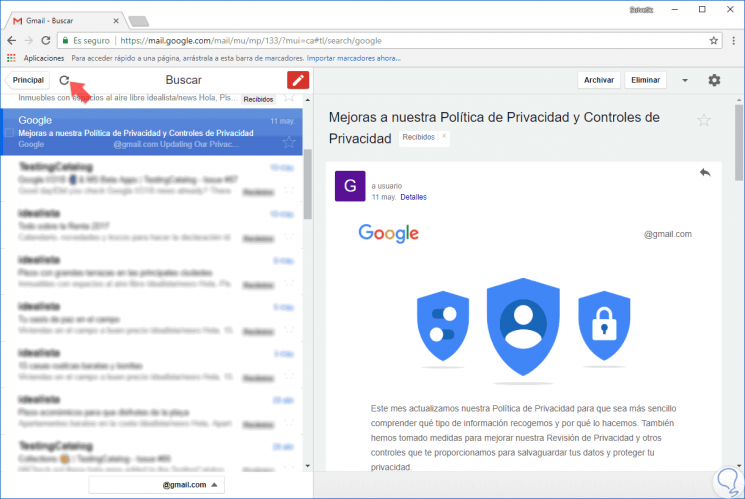
In this way Gmail offline offers us a comprehensive solution to perform messaging tasks and leave them ready for when there is a new connection..