There are some applications developed with the objective of virtualizing multiple operating systems and although each one has its own functions and characteristics, we know the importance of virtualization in the IT world since thanks to it we will be able to test systems and applications without affecting a productive environment and without investing large amounts of money or hardware resources in equipment ..
To keep up, remember to subscribe to our YouTube channel! SUBSCRIBE
1. Enable Hyper-V in Windows 10
Step 1
One of the best known platforms for the entire virtualization process is Hyper-V, this is integrated into the Windows operating system, in this case Windows 10, and we must enable it in the following route. There, we click on the option "Activate or deactivate Windows features" and in the displayed window we activate the "Hyper-V" box. Clicking on Accept will need to restart the system to apply the changes.
- Programs and characteristics
Step 2
Now, it is normal that we run several virtual machines there and at some point, be it for any support or administration task, we must edit the name of one of the machines in order to have better control over them and it is for this reason that TechnoWikis It will explain the various ways to modify the name of a virtual machine in Hyper-V.

2. Modify Hyper-V virtual machine name graphic mode
In this case we have two possibilities in graphic form that are:
Using F2 key
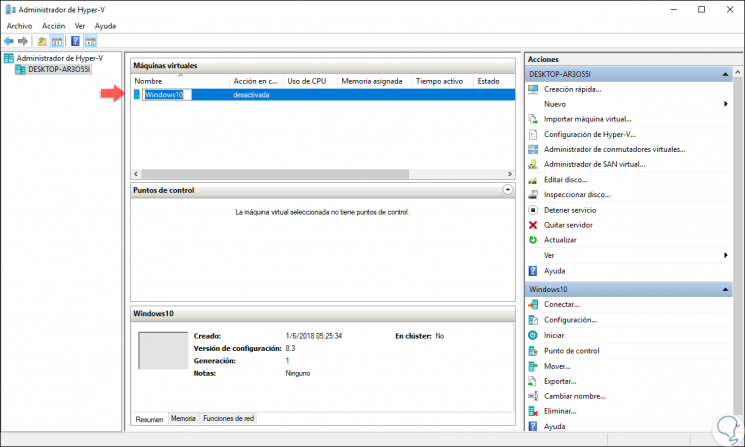
For this method, we will access the Hyper-V Administrator and there we select the virtual machine to edit and press the F2 key, we can see that the edition of the selected virtual machine name is enabled:
There we will simply enter the desired name and press Enter to apply the change:

Using the option integrated in Hyper-V Manager
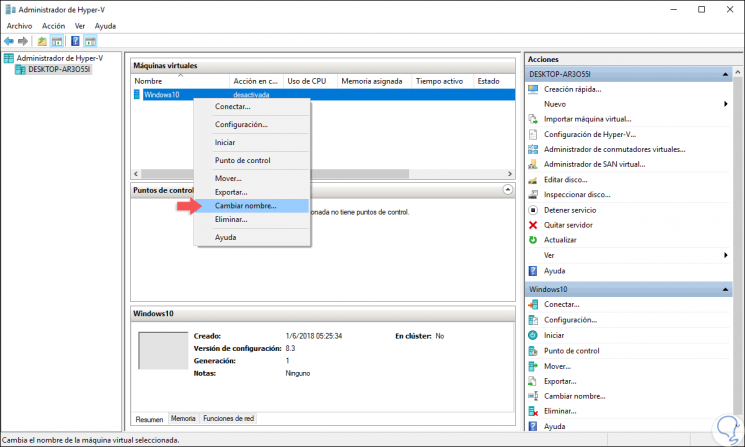
To make use of this option, we access the Hyper-V Administrator again and there we will right click on the virtual machine to be edited and select the option “Renameâ€:
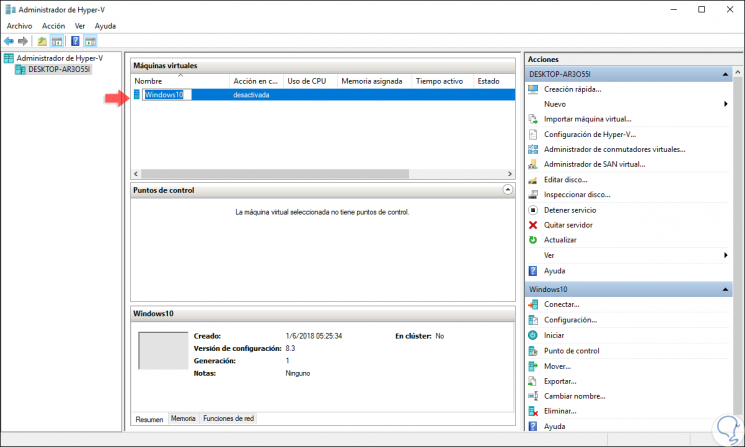
Selecting this option will enable editing of the name and we will set the desired one:
3. Modify Hyper-V virtual machine name using PowerShell
Step 1
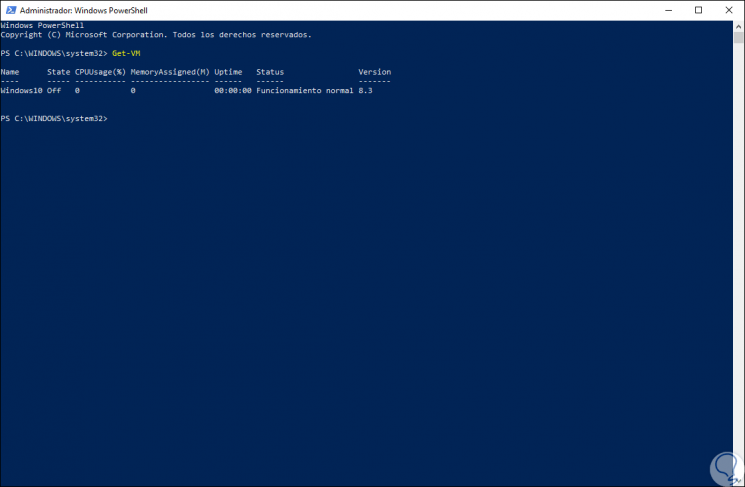
Now, we can edit the name of the virtual machine from Windows PowerShell, for this, we access Windows PowerShell as administrators (By right clicking and selecting the option “Run as administrator†and we will execute the following cmdlet:
Get-VM
Step 2
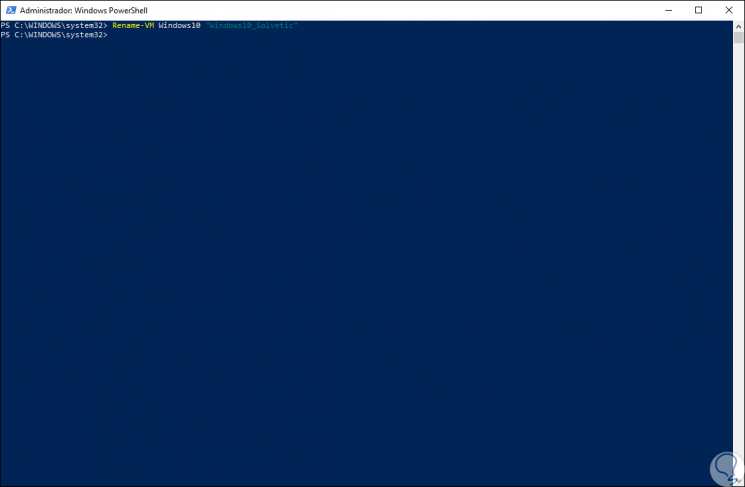
Now, let's edit the name of the virtual machine using the following syntax:
Rename-VM Current_name "New name"
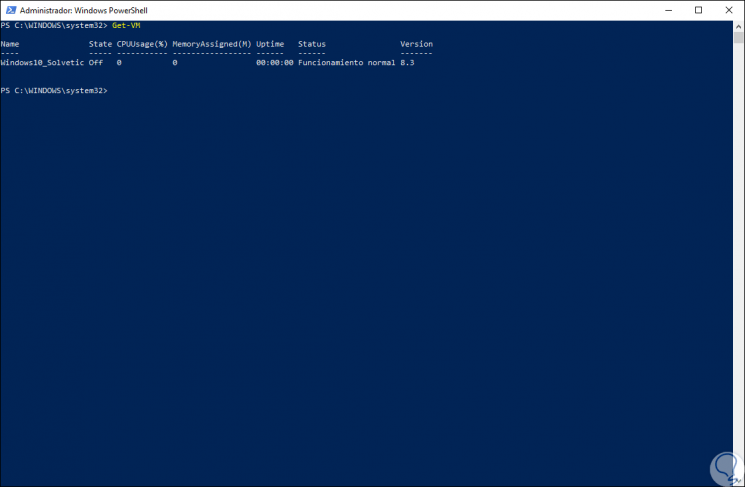
Step 3
When using the Get-VM cmdlet again, we check the new name that we have assigned to the selected virtual machine:
As we can see, these methods are practical and will give us the opportunity to have a better control and administration of Hyper-V especially if we use multiple and varied virtual machines since we can define exactly the purpose of each one.