Instagram is one of the most popular social networks that creates more interaction among its users. Due to its visual content in the form of photos and videos, it has become a reference when publishing photographs..
Instagram includes some options to edit the photographs that we upload as your fixtures , but if we investigate some profiles we see that there are many original ways to publish on our wall and make it more attractive, such as mosaics.
Some time ago Instagram introduced in its application the possibility of uploading several photographs (up to 10) in the same publication on the wall, which our followers can see sliding over them. This function allows you to upload a photograph that can be seen in full by sliding on it, which is an original and unseen way of publishing photos on our wall that can attract attention and please our followers..
Another of the very striking options on Instagram is to publish panoramic photos , but when we want to do it directly on Instagram it cuts them by default. Which is quite annoying and does not give us the desired result.
This is why today in TechnoWikis we will explain how to publish a photo in several parts or how to publish a panorama without cropping in an Instagram post..
1. How to divide photo into two or three parts for Instagram
To divide a photo and that we can see it complete when sliding in an Instagram post, the steps we are going to have to follow are these:
Step 1
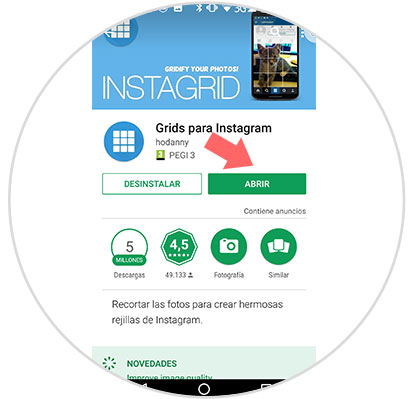
Download the following application “Grids for Instagram†in the following link:
Grids for Instagram
Once you have downloaded it, click on “Open†to access the application.
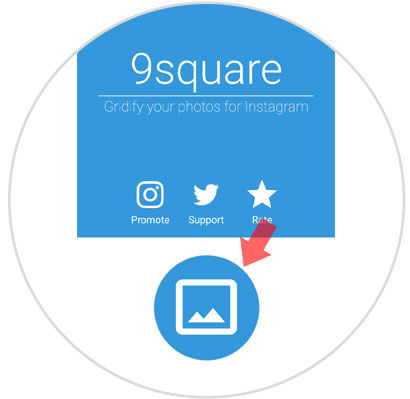
Step 2
Once you have entered, click on the "Gallery" icon to find a photo to crop in your phone's gallery.
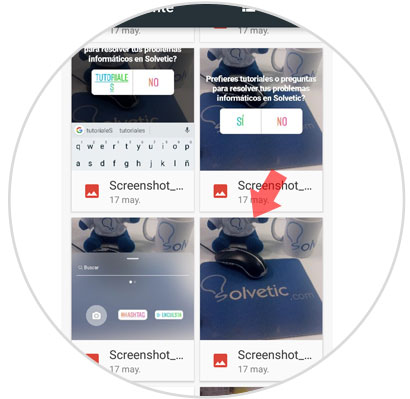
Step 3
Thumbnails of the images you have saved will appear. Click on the chosen one to continue.
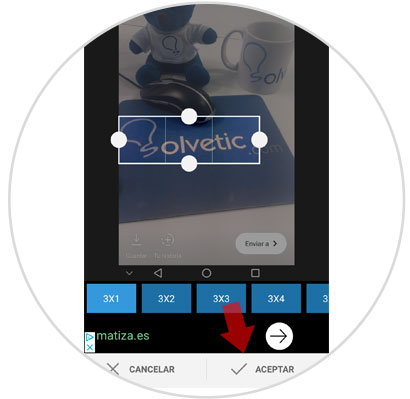
Step 4
Various options for cropping will appear at the bottom. You can adjust the one you choose by clicking on the corners and enlarging or dwarfing the rectangle. Place the rectangle above the area of ​​the photograph you want to cut, each part of it will correspond to an image. Press "Accept" at the bottom to continue.
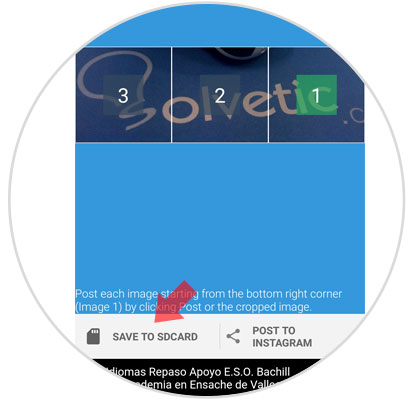
Step 5
The cropped image will appear and marked with a number in each of its parts. Press "Save to SDcard" to save the selected area of ​​the photo and cropped on your phone.
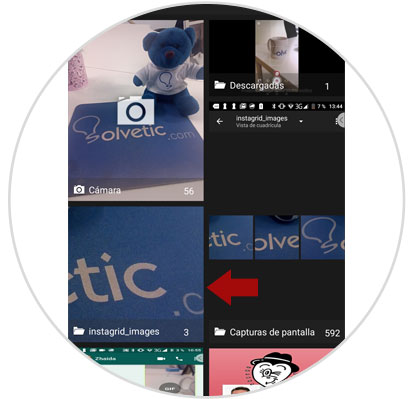
Note
In the gallery of your phone a new folder will be created with the App clippings.
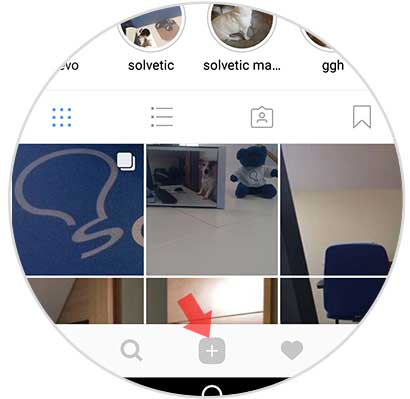
Step 6
Enter the Instagram application and click on the “+†icon in the lower bar to add a new post on your wall.
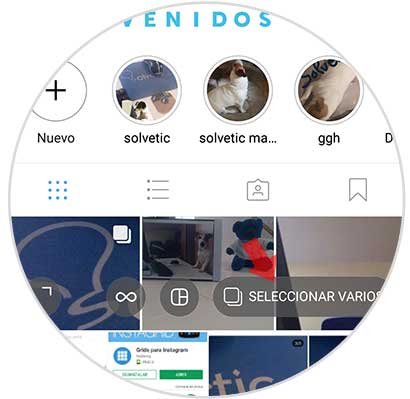
Step 7
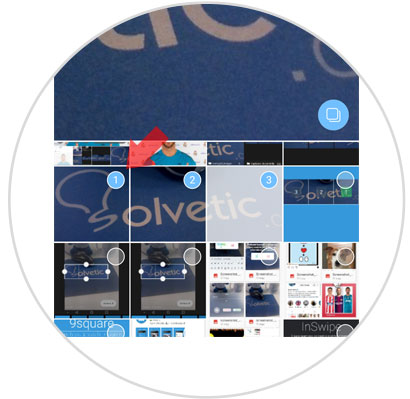
Click on the “Select several†button to add several images to your publication
Step 8
Select the three parts of the image in order. Remember that the one you want to be seen first must be number 1, and so on. When you have finished click on “Nextâ€
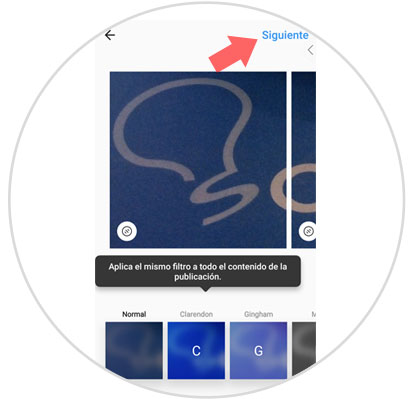
Step 9
If you select a filter, remember to put the same in all parts to maintain the continuity of the image. Click on "Next" to continue.
Step 10
Add a footer and press "Share" in the upper right corner to post on the wall.
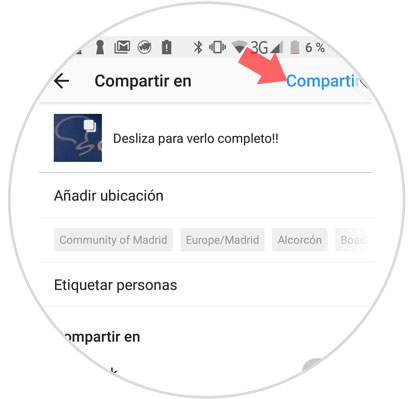
Each part will look like an image but will maintain continuity when your followers slip over the post
2. How to post Instagram panoramic photo
In many cases, especially when we make a trip with great landscapes, panoramic photos are a good option to publish in our Instagram feed. Surely you have seen many ways to publish panoramic photos on Instagram, and for this reason now in this section in TechnoWikis we will explain how to do it in a swipeable way, that is, to be able to see it as we slide in a publication or in a complete way without trimming .
For this, the steps that we are going to have to follow are going to be the ones that we will explain below:
Step 1
You will have to download the application called Panorama Crop for Instagram on your mobile through the following link:
Panorama Crop Instagram
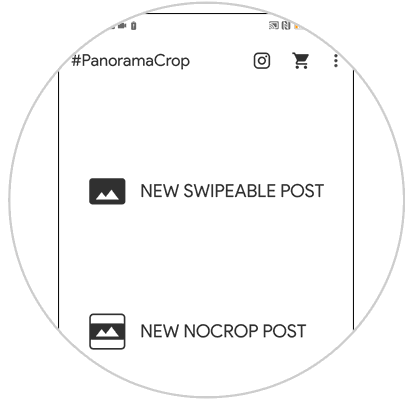
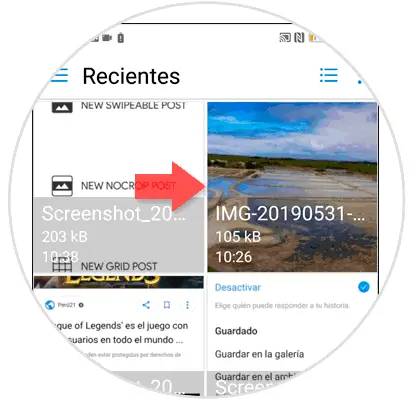
Select the type of panorama you want to upload on Instagram.
New Swipeable Post
If you want to publish the panoramic photo so that it is cropped and you can see it sliding inside a publication.
New Nocrop Post
If you want to publish the photo completely without being cut within an Instagram post
Step 2
Once you have selected the mode of publication, choose the panoramic photo you want to publish in the gallery of your mobile.
Step 3
Depending on the option you have chosen (sliding photo or full panoramic photo) the result will be different:
Swipeable photo
If you choose to be slider, the photo will be cropped so that it can be viewed as you slide in a post. At the bottom you can select the number of parts where you want it to be cut. Once you have set your preferences, click on the check located in the upper right corner.
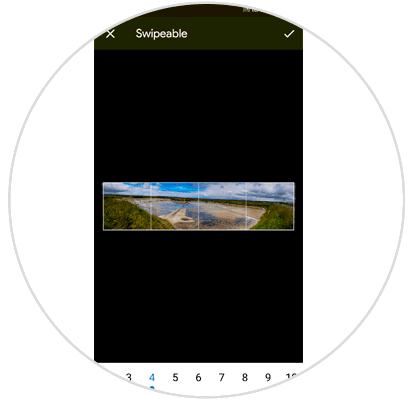
When you press the App it will show you a preview of the result.
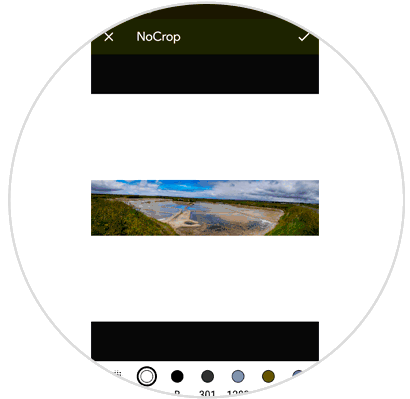
Full panoramic photo
Here you will see the panoramic photo without cropping. In the lower part you can set the color of the upper and lower frame. Click on the check to confirm.
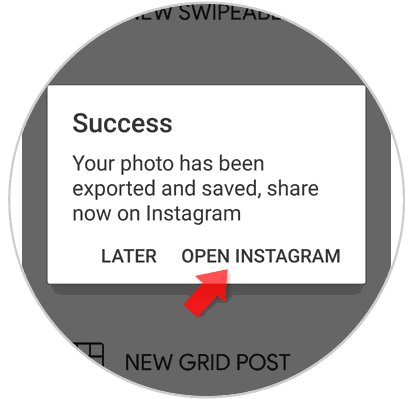
Step 4
Once the complete photo has been exported, click on “Open Instagram†to open Instagram and publish it directly within the App.
Note
Click on "News" to post on your wall or on "History" to post on the Stories and you're done.
In this way you can publish a photo in several parts panoramic mode or a complete panorama on your Instagram wall.