Nothing more interesting than those tools and utilities that facilitate the task of management and control in a corporate environment and when using Windows Server we know very well that Group Policy Objectives or GPO (Group Policy Object) are one of the best options to use because thanks to them we can create a policy that can be applied either to the entire domain or to a single OU (Organizational Unit) in particular and thus restrict the use or access to certain parameters or, forcing a certain configuration on client computers..
Microsoft with its new edition Windows Server 2019 continues to offer us this functional practice to have better control over all the elements of the organization.
What are the GPOs?
The GPOs (Group Policy Object) are in themselves a set of policies that can be created in different areas of the server either to prevent users from executing an action, such as accessing the C drive or connecting devices USB, or generate that the teams perform certain actions such as applying automatic updates.
A GPO is a virtual collection of policy settings and each has a unique name, similar to a GUID. To correctly use a GPO it is necessary to take into account the following:
- The local network must be structured in AD DS, so that at least one of the servers to be used must have the AD DS (Active Directory) function installed.
- The computers to manage must be attached to the domain and users must use the domain credentials to log in to the computers.
- You will need to have permissions to edit the Group Policy in the domain, and this is achieved by being part of the group of Administrators or Group Policy Administrators.
Types of group policies
There are basically two types of group policy for Windows Server which are:
- Default Domain Policy: This default policy and within it we find policy settings that can be applied to all computers and users in the current domain.
- Default Domain Controller Policy: It is another policy that is created by default, and in it we have policy settings that are applied exclusively to available domain controllers.
Group policies are categorized into sections and each has specific elements to manage such as:
Windows settings
At the Team Configuration level we have:
- Policy-based quality of service (QoS)
Windows settings
At the User Configuration level we have:
- Policy-based quality of service (QoS)
Now we will know how to create a GPO in Windows Server 2019..
1. Create the GPO in Windows Server 2019
Step 1
For this, we have two options:
- Use the following key combination and execute the gpmc.msc command and press Enter or Accept
+ R
gpmc.msc
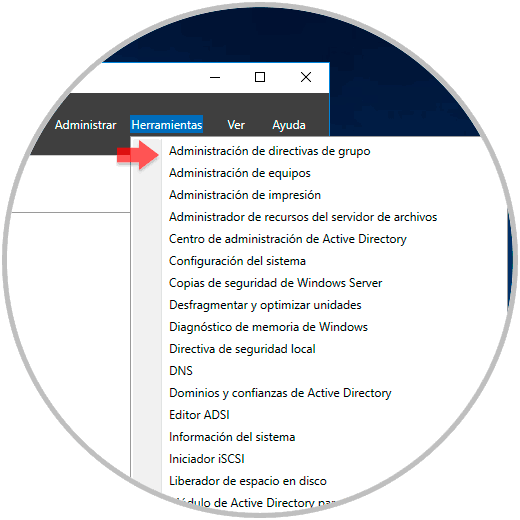
- Go to Server Manager and there go to the "Tools / Group Policy Management" path
Step 2
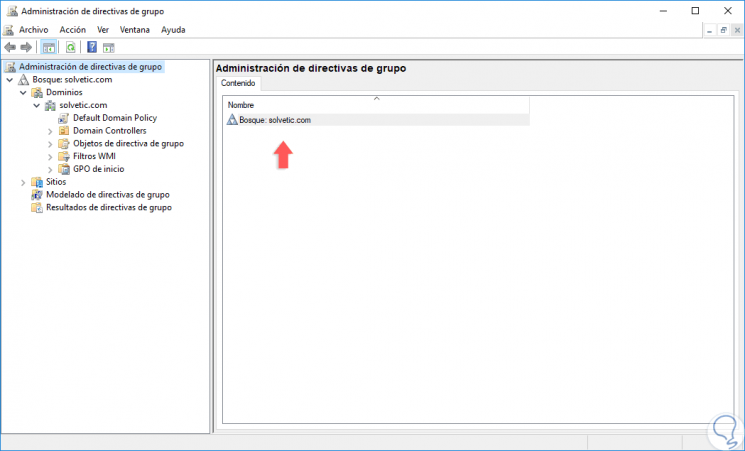
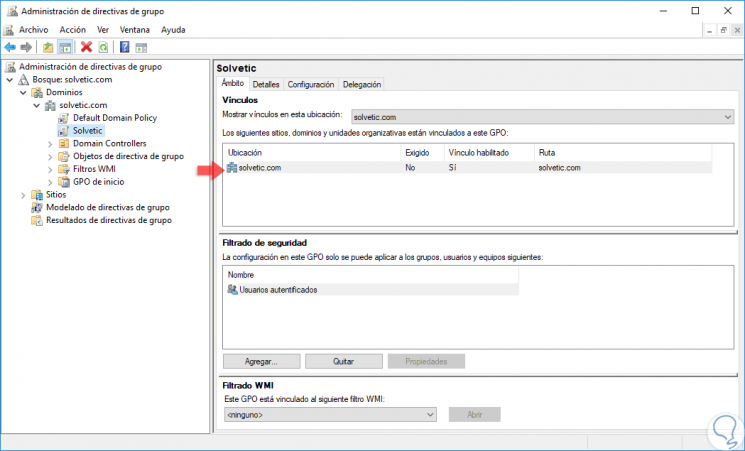
The following window will be displayed where, when deploying our forest, we will have the domain structure:
Step 3
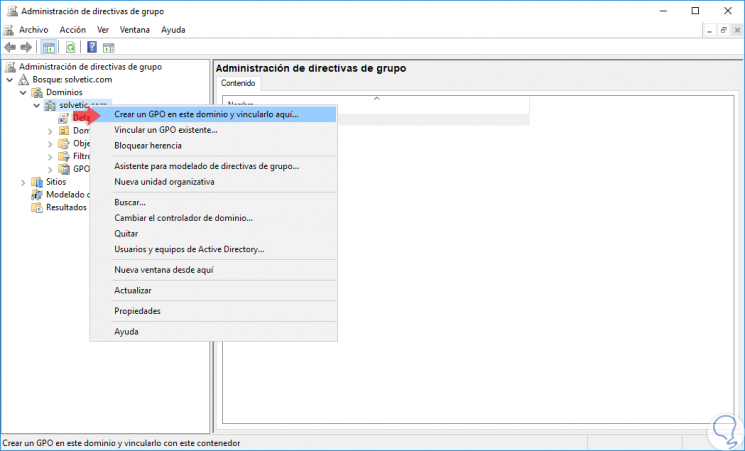
To create a new GPO we will right click on the domain and select the option “Create a GPO in this domain and link it hereâ€:
Note
We can also link a GPO to an existing OU if this is the case.
Step 4
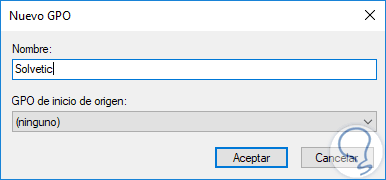
When selecting this option we will see the following window where we will assign a name to said GPO:
Step 5
Click on Accept and we will see that our GPO has been created correctly:
2. Edit a group policy in Windows Server 2019
Step 1
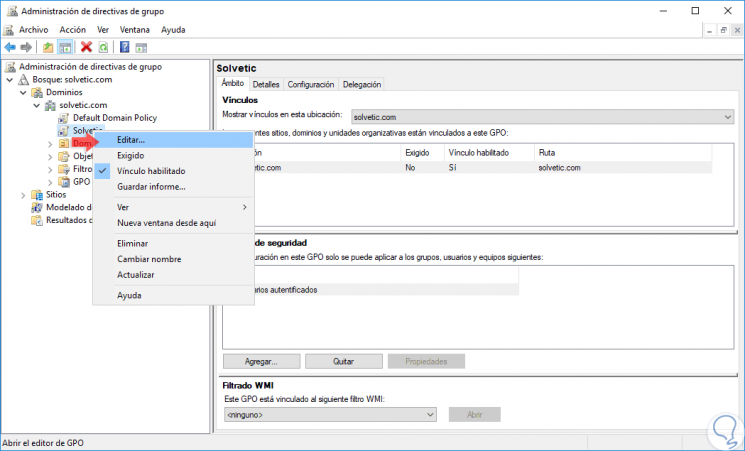
To start the editing process of our GPO we will right click on it and select the "Edit" option:
Step 2
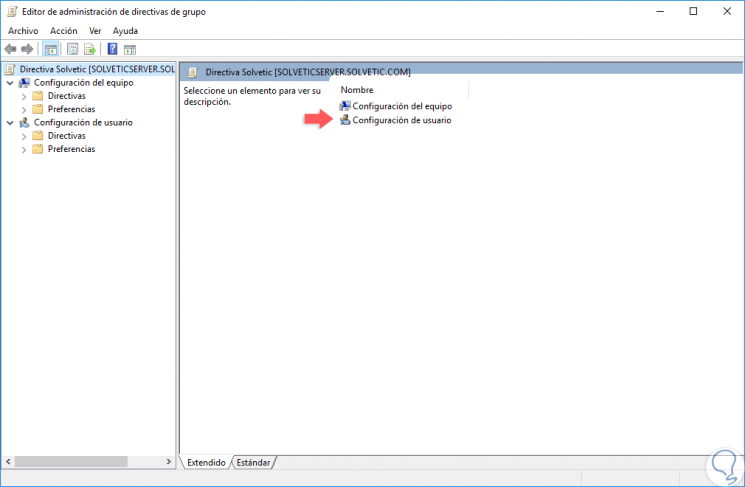
This will lead us to the group policy console where we will see the following options:
Step 3
As we see there are the sections that we have mentioned before, Computer Configuration and User Configuration.
Each of these sections has a subdivision of options to select and in each of them we find special policies:
Step 5
Each section has a series of diverse policies:
Step 6
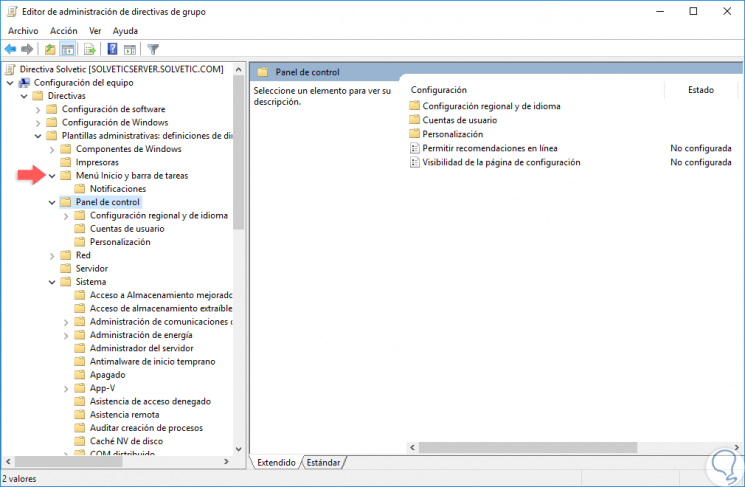
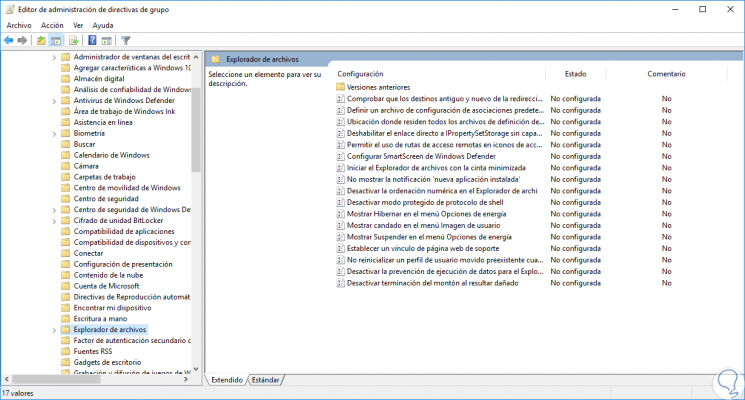
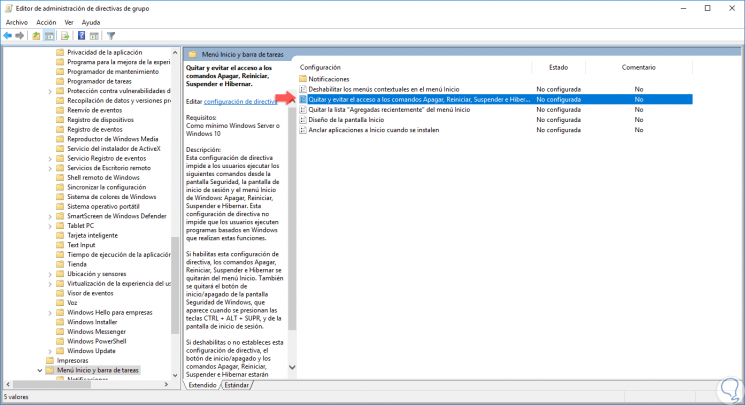
To edit and apply an action to the created GPO, for this case, we will go to the section "Computer Configuration / Windows Components / Start Menu and Taskbar" where we will select the policy called "Remove and prevent access to Shutdown, Restart, Suspend and Hibernate commands:
Step 7
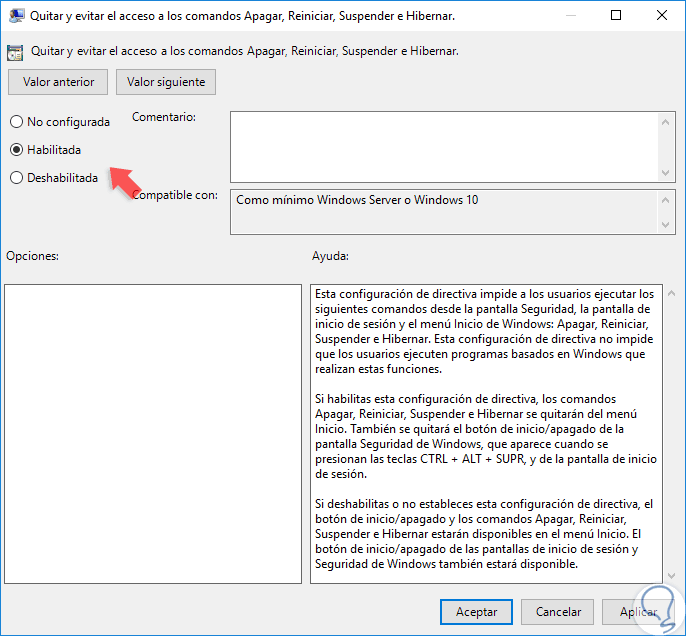
We double-click on this policy and in the new window we will activate the “Enabled†box:
Step 8
In some special policies, additional options for its configuration will be displayed. Click on the "Apply and Accept" button to save the changes. Now, on all computers in the domain, including the server, we will see that the shutdown buttons are not available:
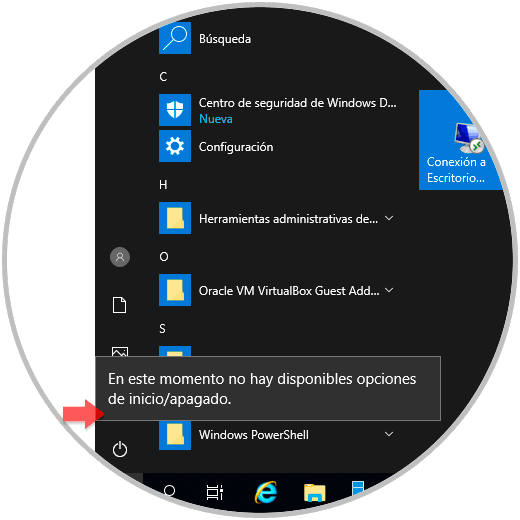
Step 9
This is because the GPO was created in the domain directly and not in a single OU. At the level of GPO management we have some options such as:
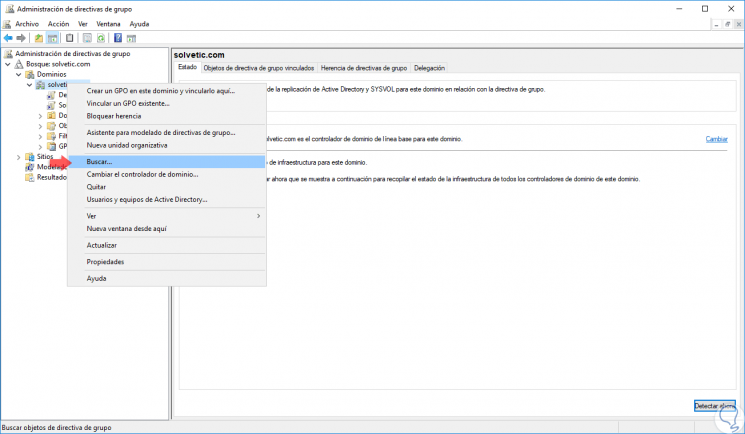
Look for
By right clicking on the domain we can select the "Search" option to find a GPO based on the parameter we define and it is useful when we have numerous policies created
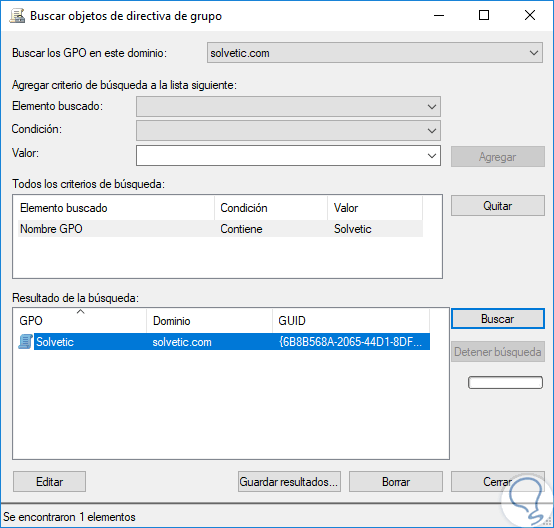
In the window that opens we will enter the search parameters to obtain the best results:
General configuration
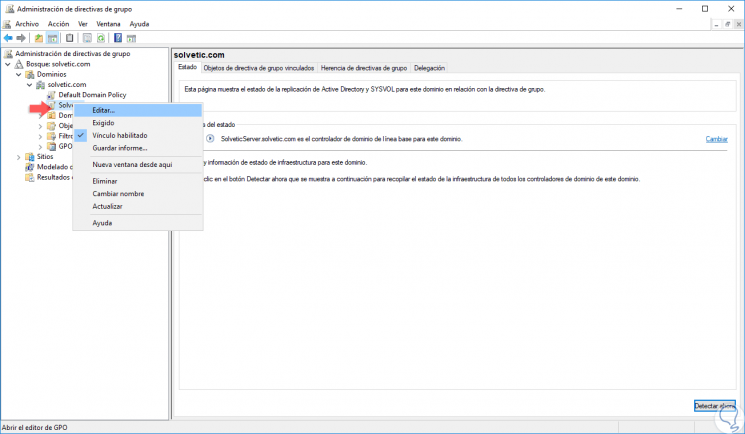
By right clicking on our policy we can see a series of options to use as:
- Edit: Allows us to make changes to the selected GPO
- Required: Forces the value of the selected GPO
- Link enabled: This option allows us to create a link of this GPO with a domain or other existing GPOs in the local network
- Save report: This option is responsible for creating and storing an HTML file with details of the policy created.
- Rename: Modify the name of the current policy
- Delete: Deletes the selected GPO
- Update: Refresh the changes made to the policy
- Help: Deploy GPOs help in Windows Server 2019
3. Delete a GPO in Windows Server 2019
Step 1
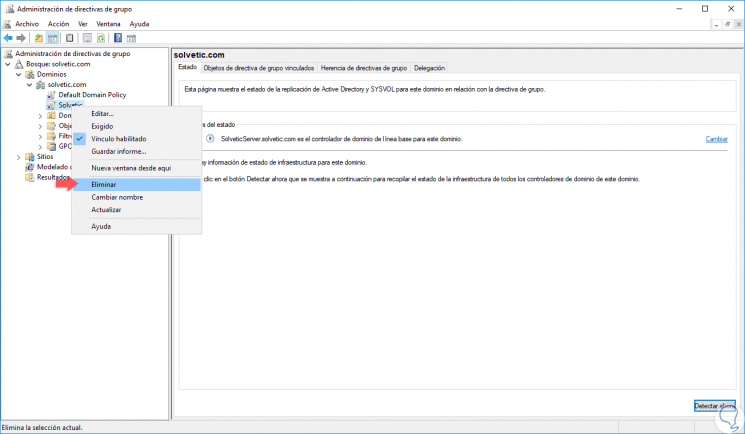
When we consider that a GPO will no longer be necessary to have that GPO there, we can remove it and for this we will right click on it, once we access the policy manager, and select the Delete option
: 
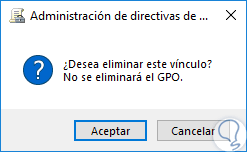
Step 2
The following message will be displayed. There we click on OK to confirm the elimination of this GPO.
The GPOs have been developed with the objective of being an ally in the entire administration and control process on the various elements of the system both at the software and hardware level, thus allowing a central control of all these steps without resorting to waste of time or of unnecessary resources.