From our mobile devices we make a large number of photographs of many situations in our life such as travel, birthdays and any type of event, even our daily life..
Although having these photos on the mobile phone is fine, many times we also like to have our photos on the computer to make sure we don't lose them . Uploading them to our preferred cloud storage service or passing them through a cable are some of the ways we have to do it, but if it is true that doing it through WiFi in a quick and simple way we can like it more and be more useful.
For this Microsoft has an application that we can download on our phone and that allows us to pass photos of our Android or iPhone mobile to our Windows 10 PC in an easy, simple way and that today in TechnoWikis we will explain how to do it step by step. We will have to do the following:
Step 1
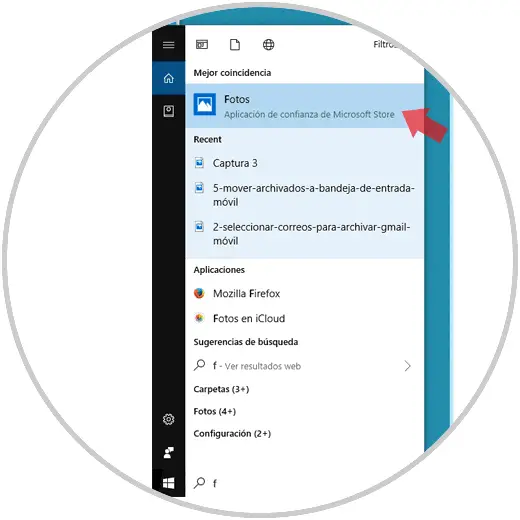
Open the "Photos" application on your Windows 10 PC by looking in the Cortana bar located in the bottom bar and clicking on the application.
Step 2
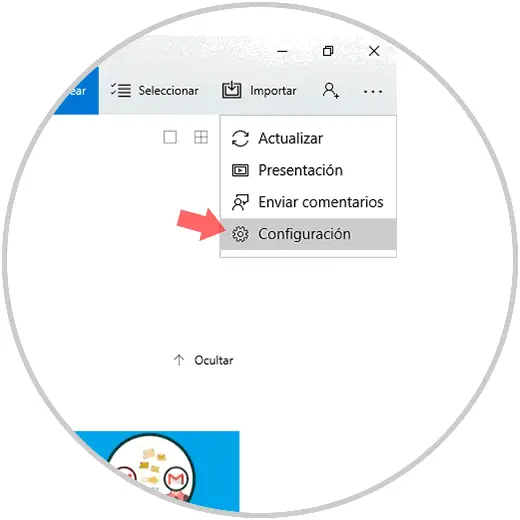
Within the “Photos†application, click on the icon of the three horizontal dots located in the upper right corner of the screen and a window will be displayed. Press the "Settings" option
Step 3
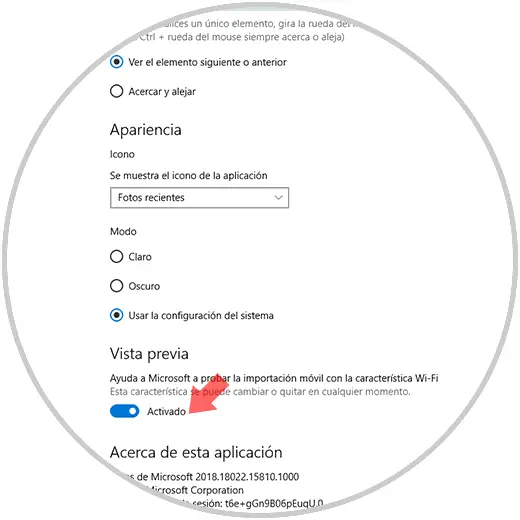
Within this option, in the "Preview" section, activate the "Help Microsoft to test mobile import with the WiFi feature" tab
Step 4
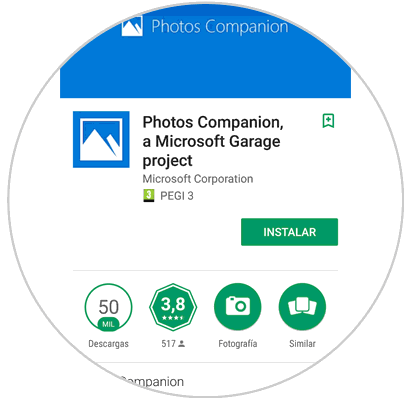
Download the “Photos companion†application on your mobile phone and when it is downloaded to your Android or iPhone terminal press the “Open†button
Step 5
You will appear on a new screen on your mobile. Press the "Send Photos" button to start.

Step 6
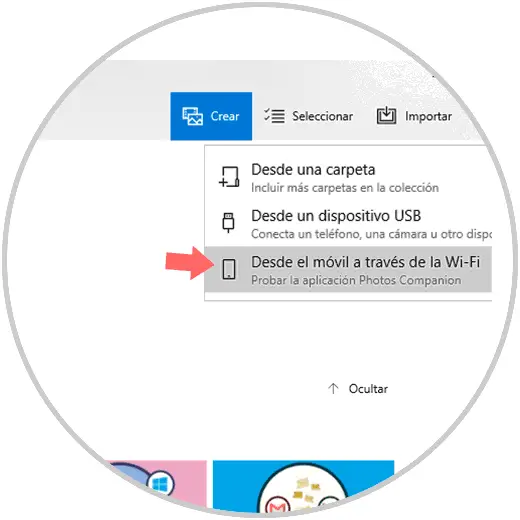
Now, in the application "Photos" on your PC at the top of the screen you will see the option "Import" Click here and a window will be displayed where you must press "From mobile via WiFi"
Step 7
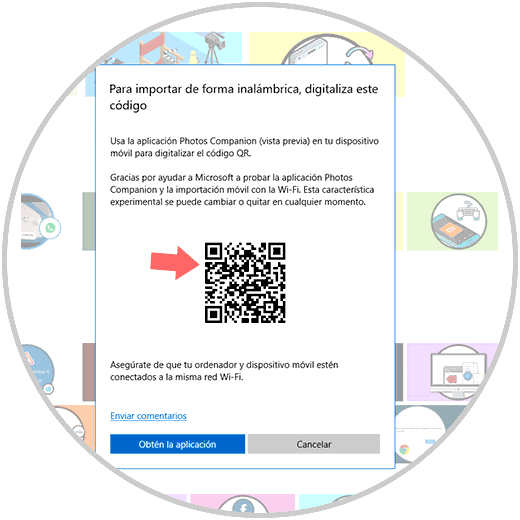
A QR code will appear on the screen of your PC that you should scan with your mobile camera focusing on it. When you pick it up, it will automatically go to the next screen without touching any keys.
Step 8
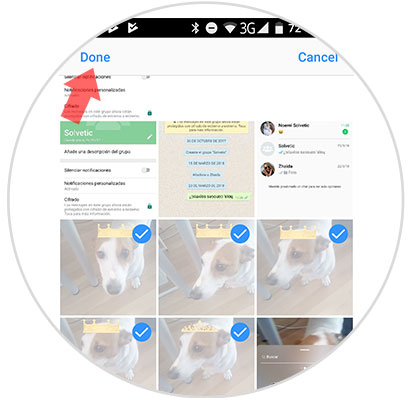
A mosaic with the photos will appear on the screen of your terminal, select the ones you want to send by clicking on them and once done click on the upper left corner in “Doneâ€
Step 9
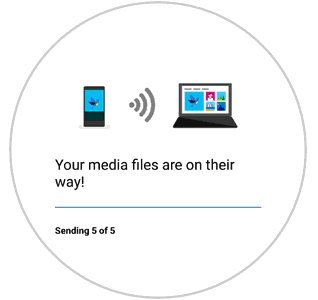
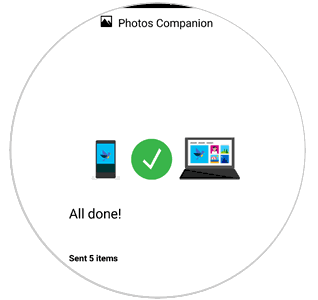
You will see how the photos are sent to your PC as the bar progresses. And when finished, it will notify you with a message. It is done.
Step 10
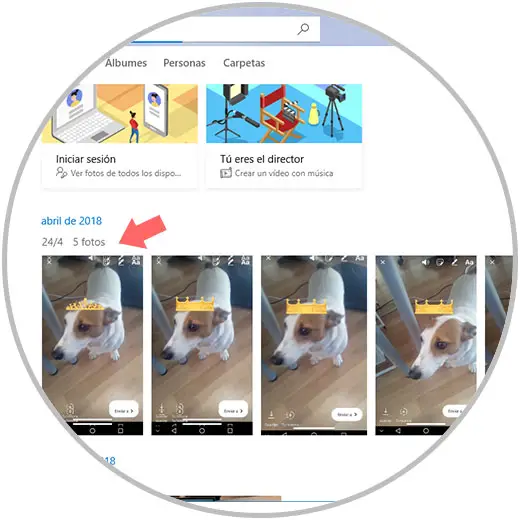
Now, if you review the application of “Photos†on your PC you will see the images that you sent from your archived terminal on the day of the shipment.
Note
It will be necessary that both the PC and the terminal are connected to the same WiFi network to be able to send the images correctly and without failures.
It's that simple to send photos from our Android phone or iPhone to our PC using this application created by Microsoft..